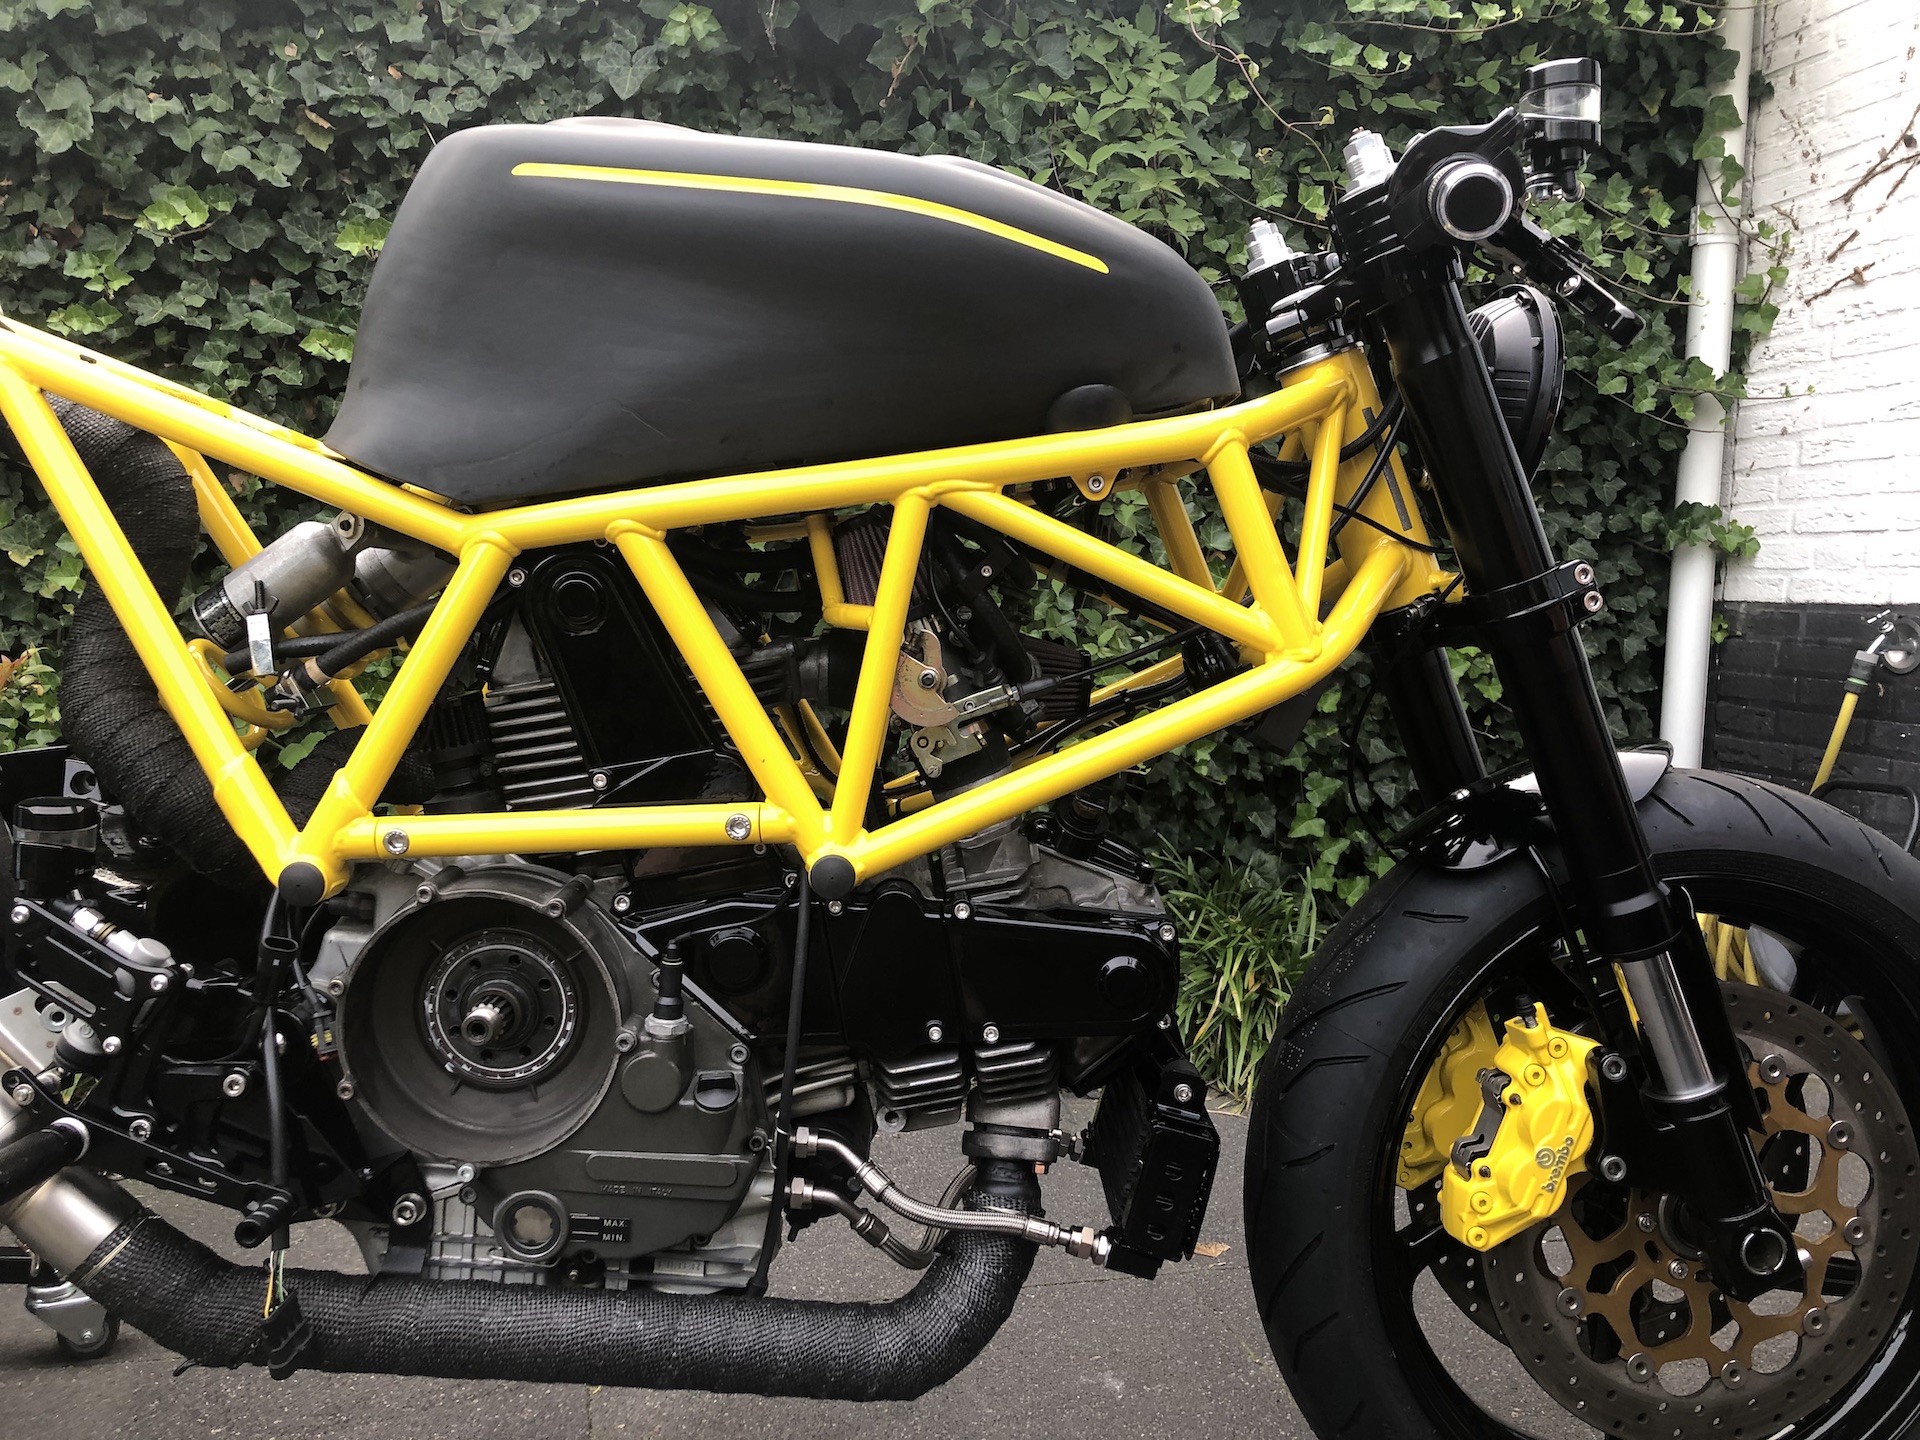
DUCATI FUTURI 900CR
BUILD FINISHED – My first motorcycle shed build i have ever done. Done some work on other bikes (friends/family), but never this extreme, and never for myself. The bike is called Futuri, a homage to a inspiring project i worked on a few years back (thanks Stijn).
Inspired by the NCT Predator bike featured on Pipeburn. Oh man i was instantly in love when i saw that bike. 1 year later in July 2019 i started work on my own version of this bike. Not a replica, but heavily inspired with my own vision on certain design and technical choices.
Not everything is covered but you can see almost all steps i have taken and how i developed my skills while working on the bike.
Futuri 900CR is featured on “Return of the Cafe Racer“, “Manners.nl” and “Autoevolution“!
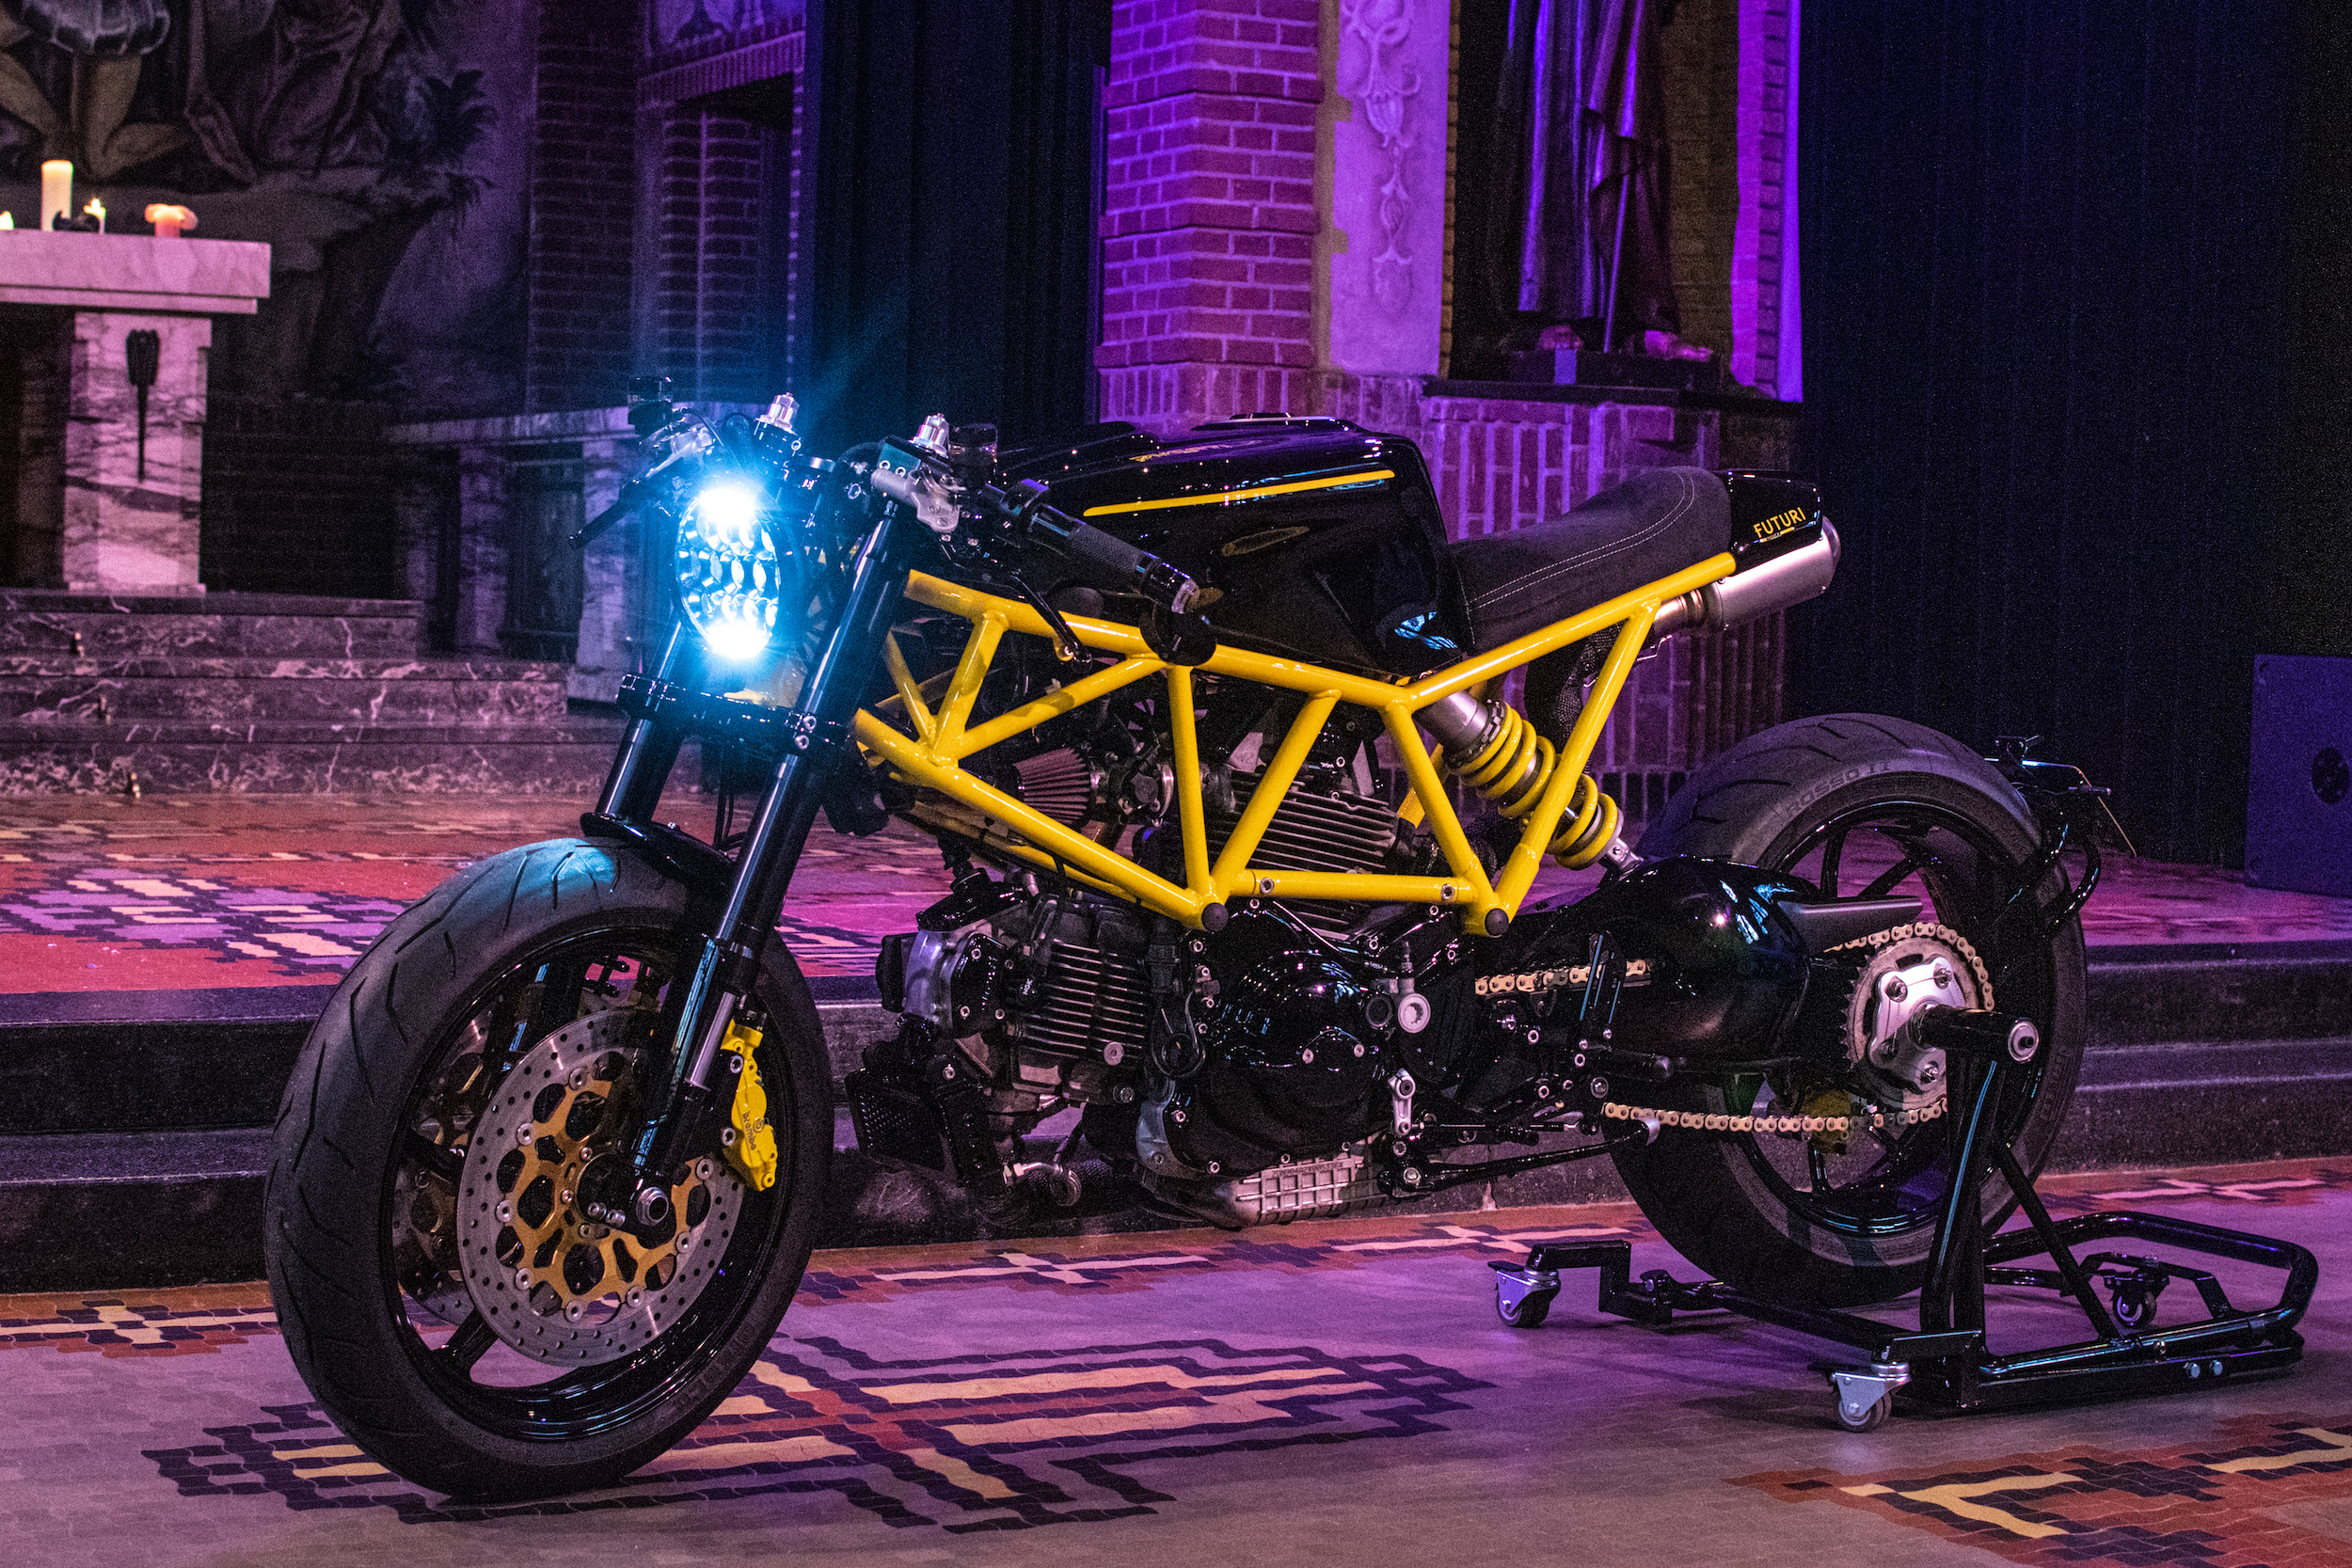
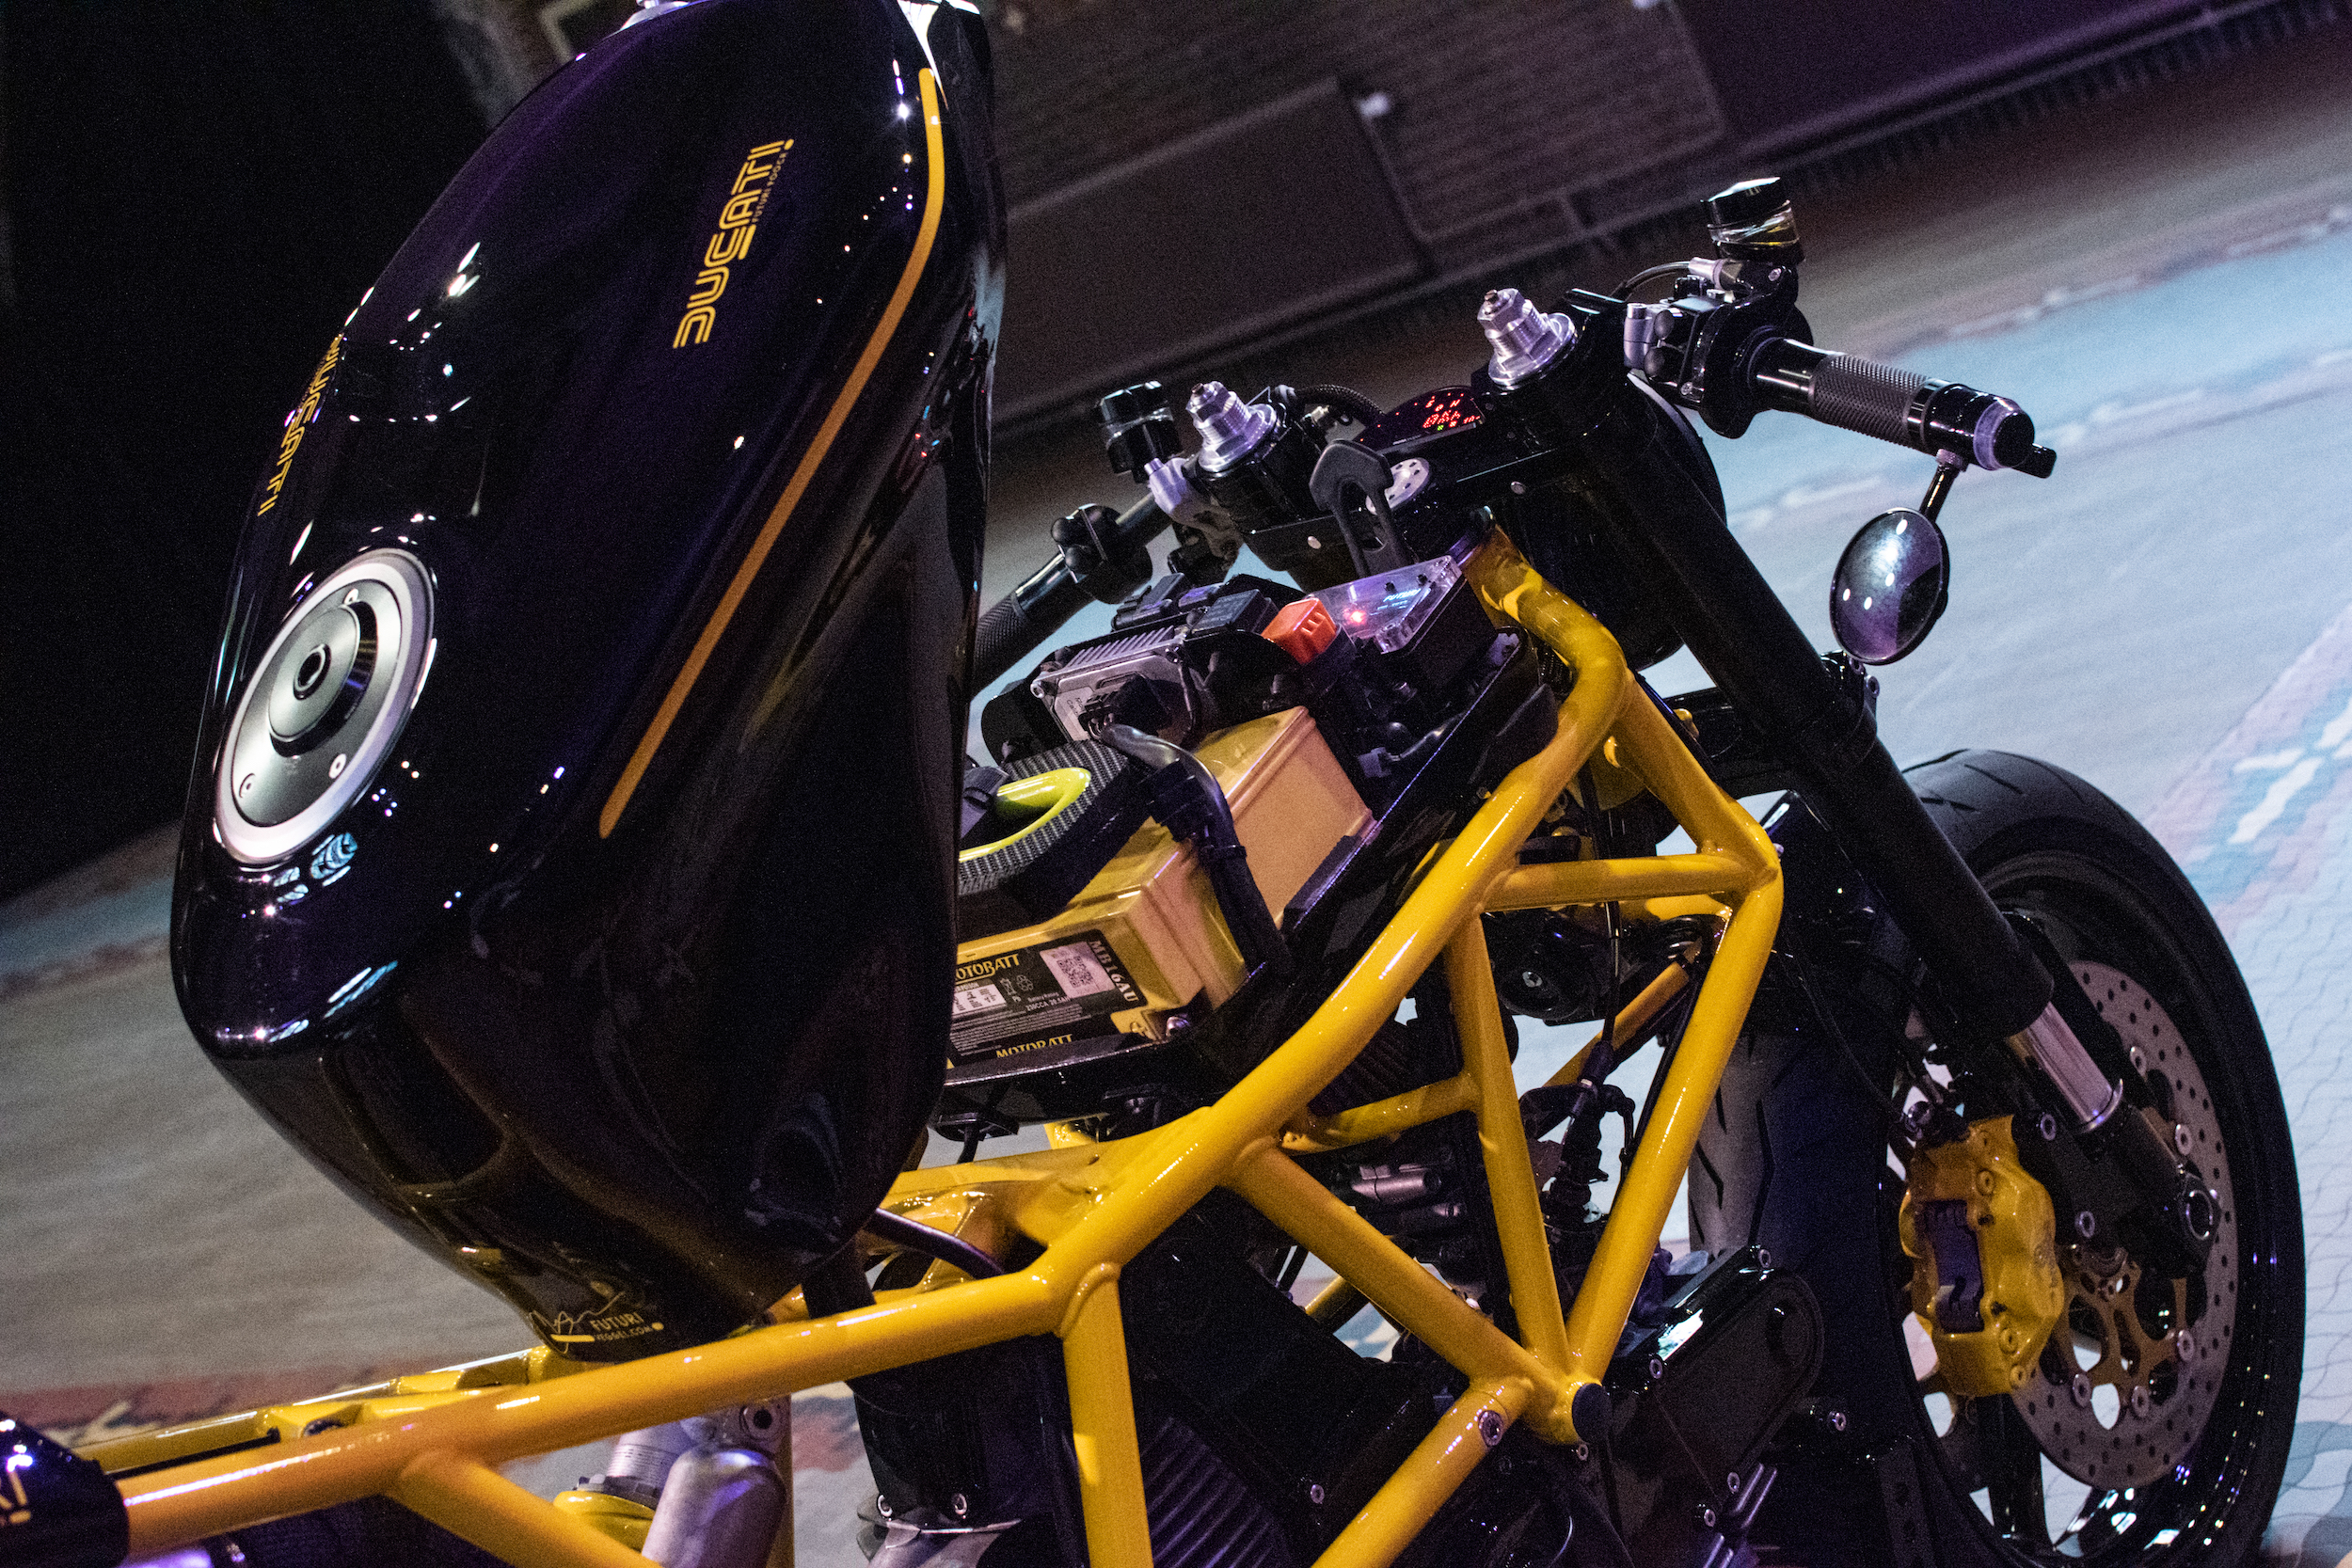
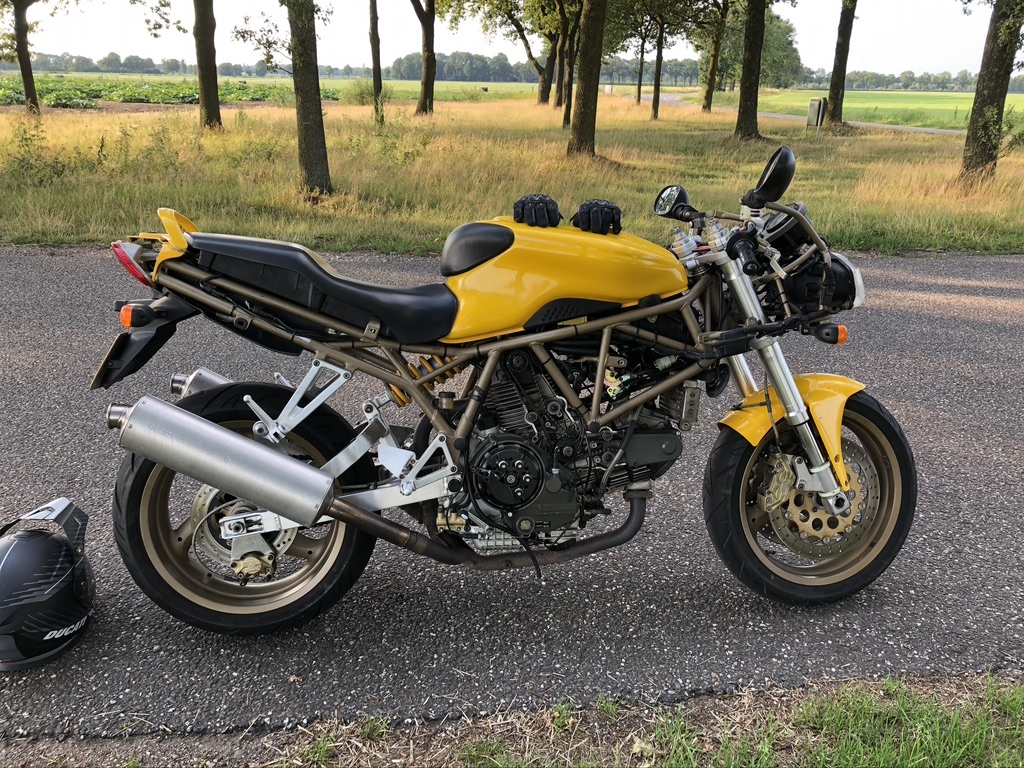
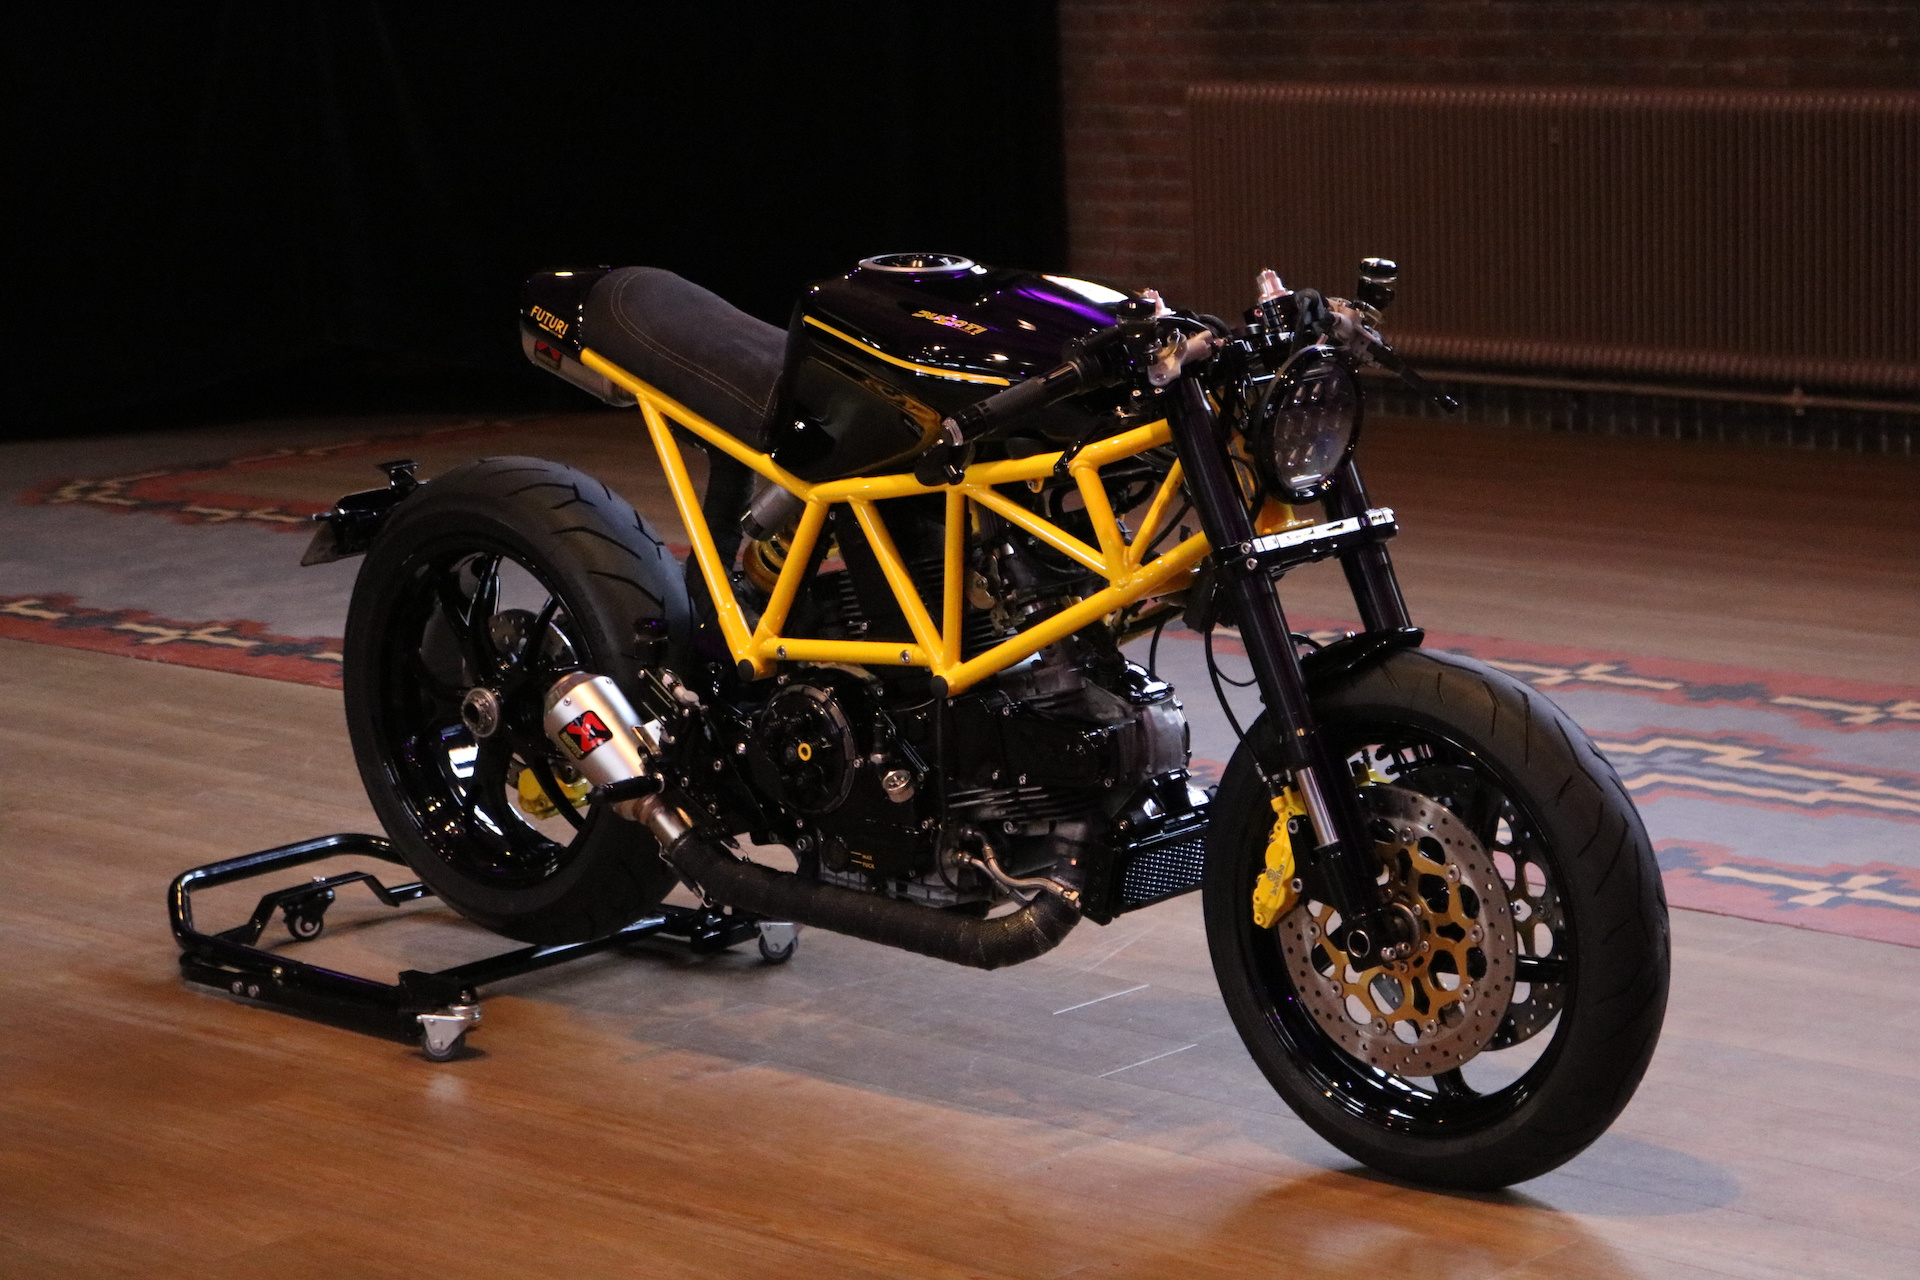
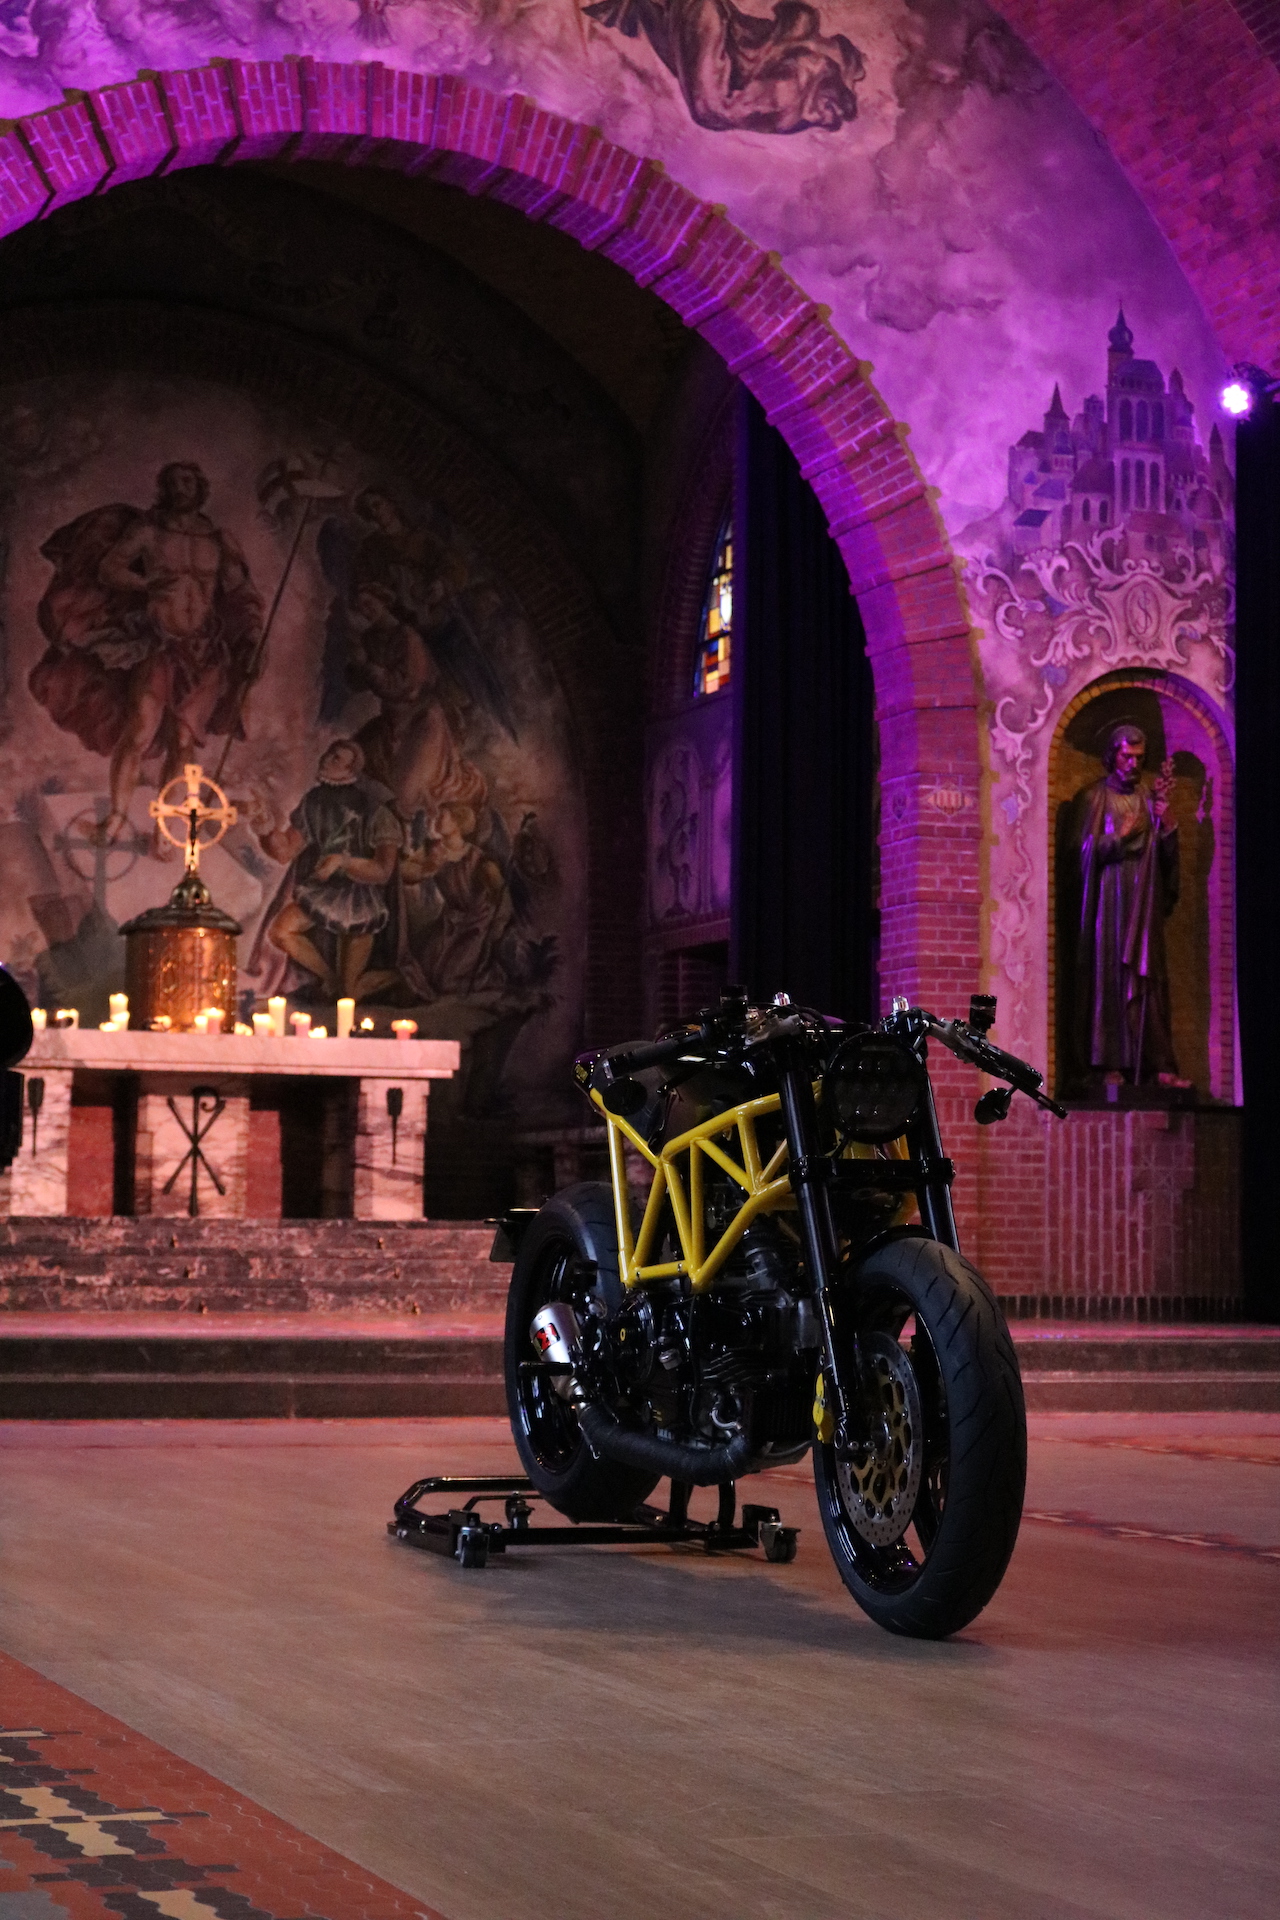
FUTURI 900CR
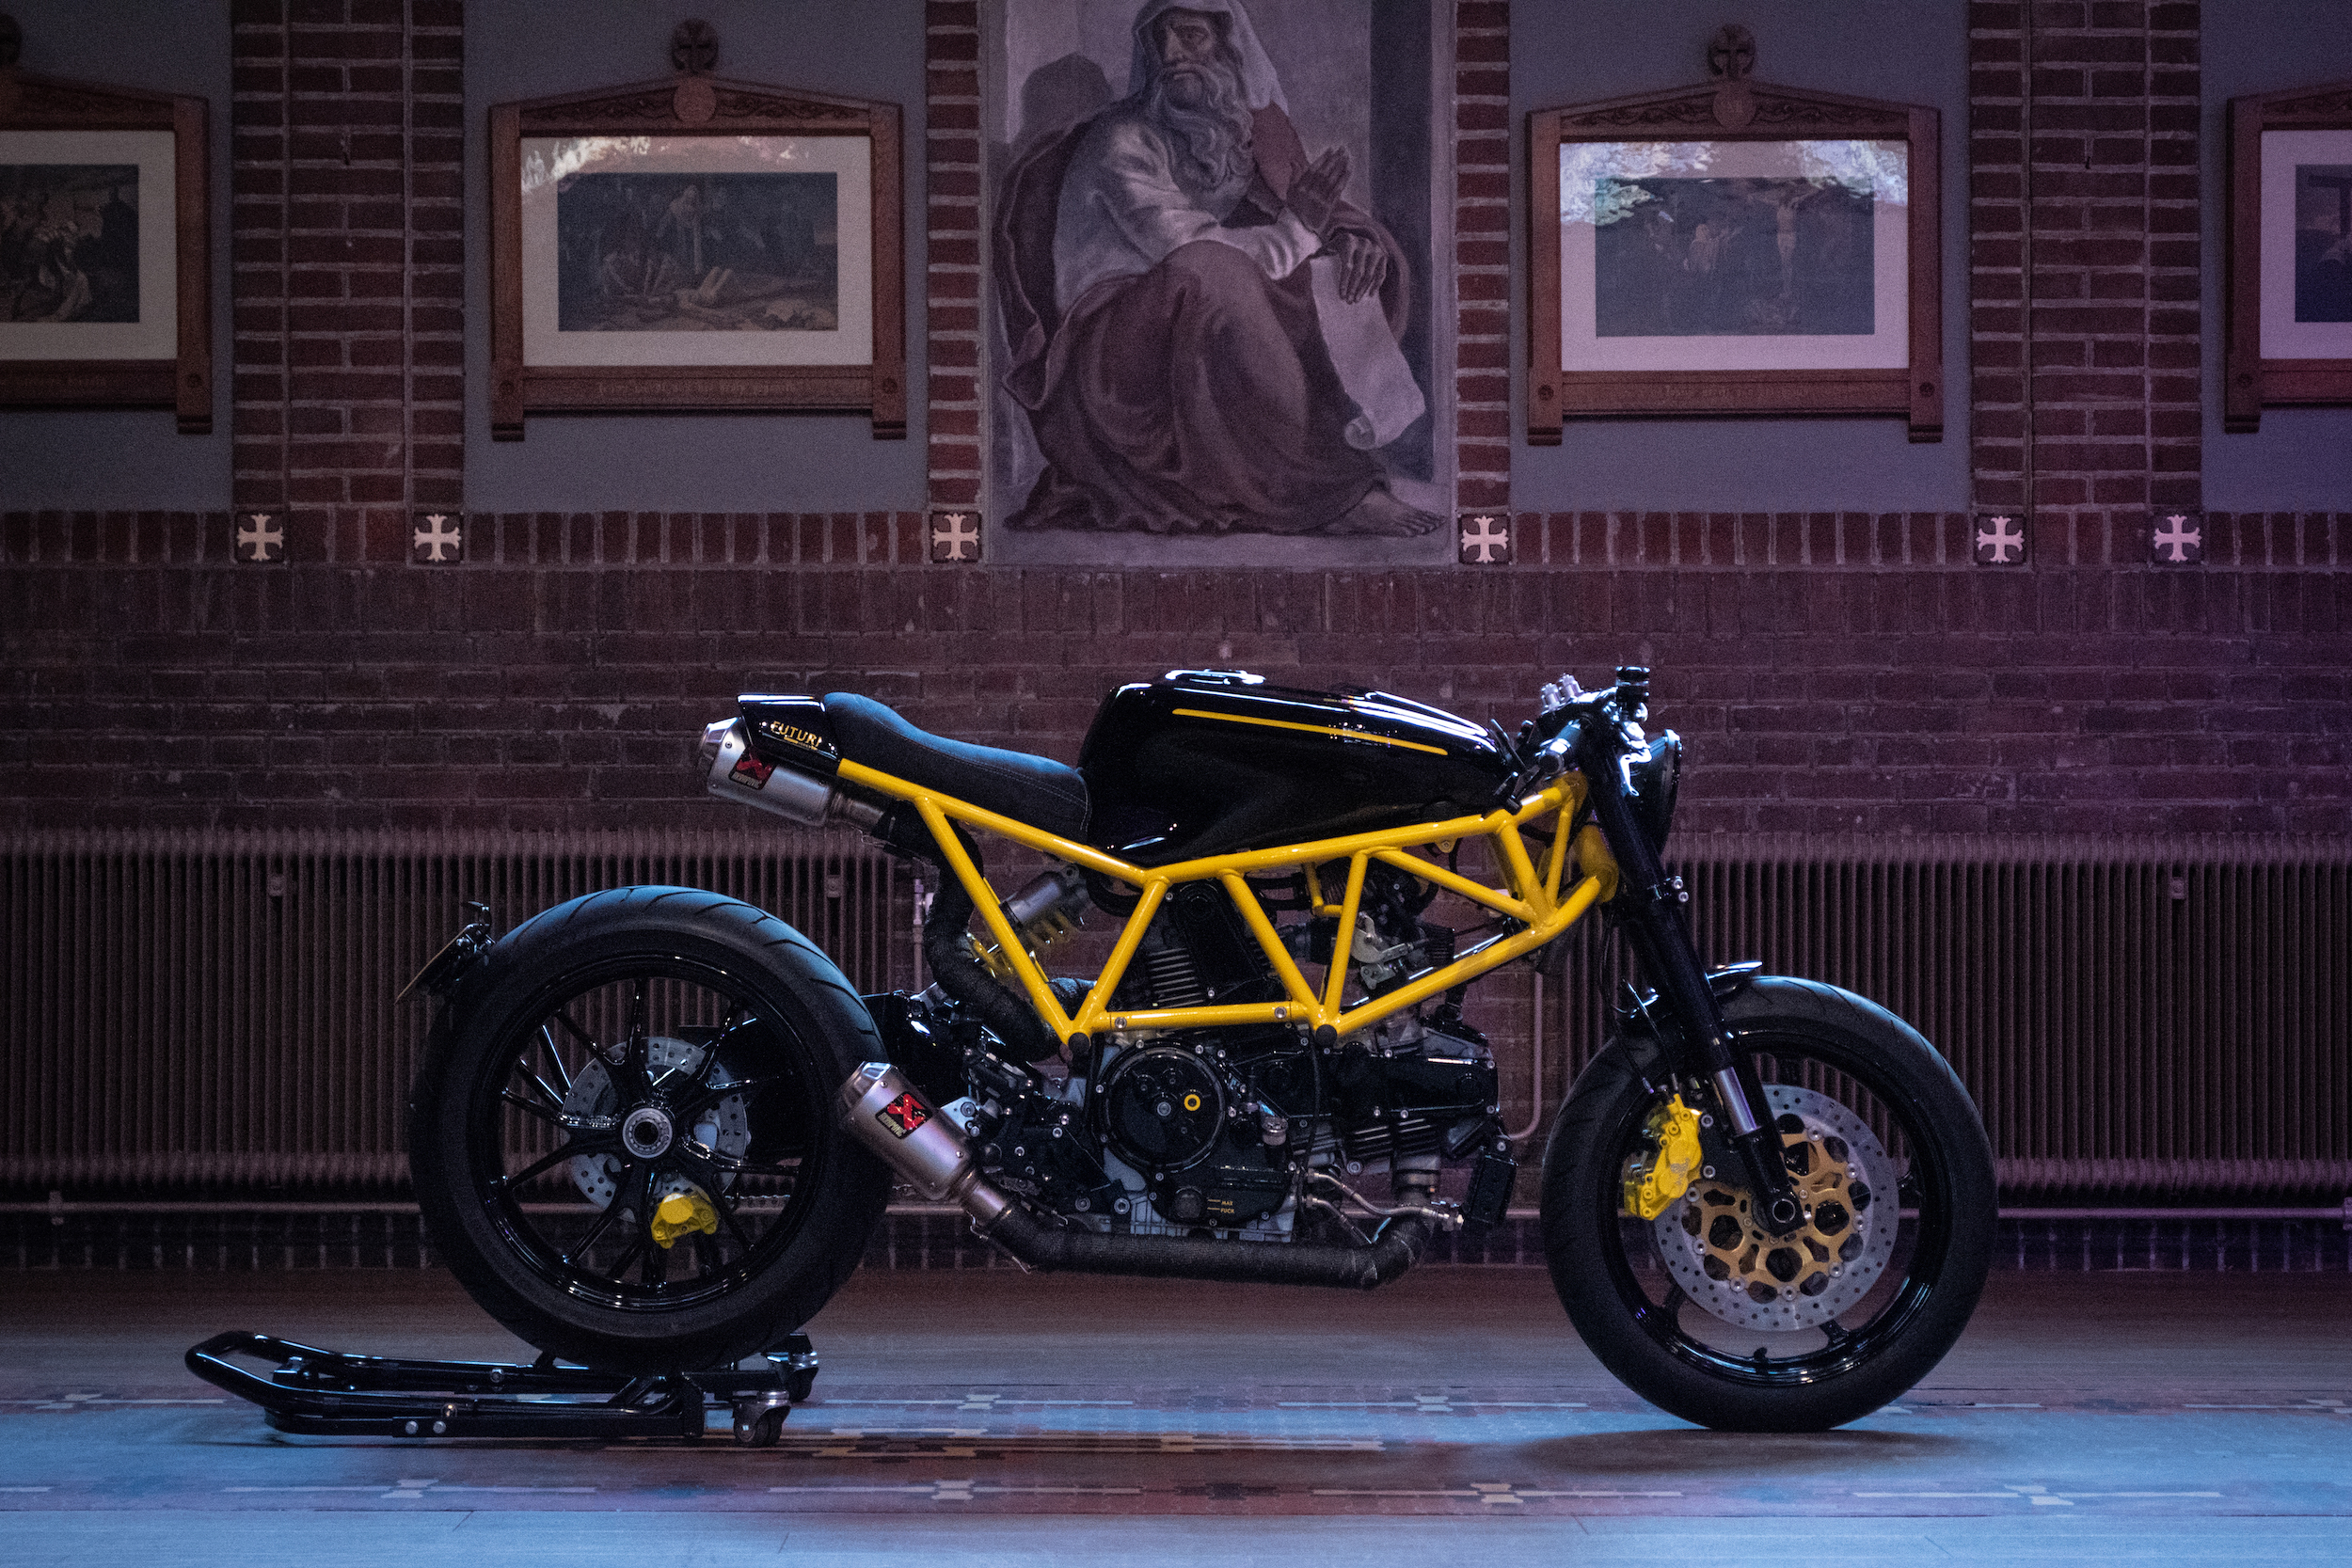
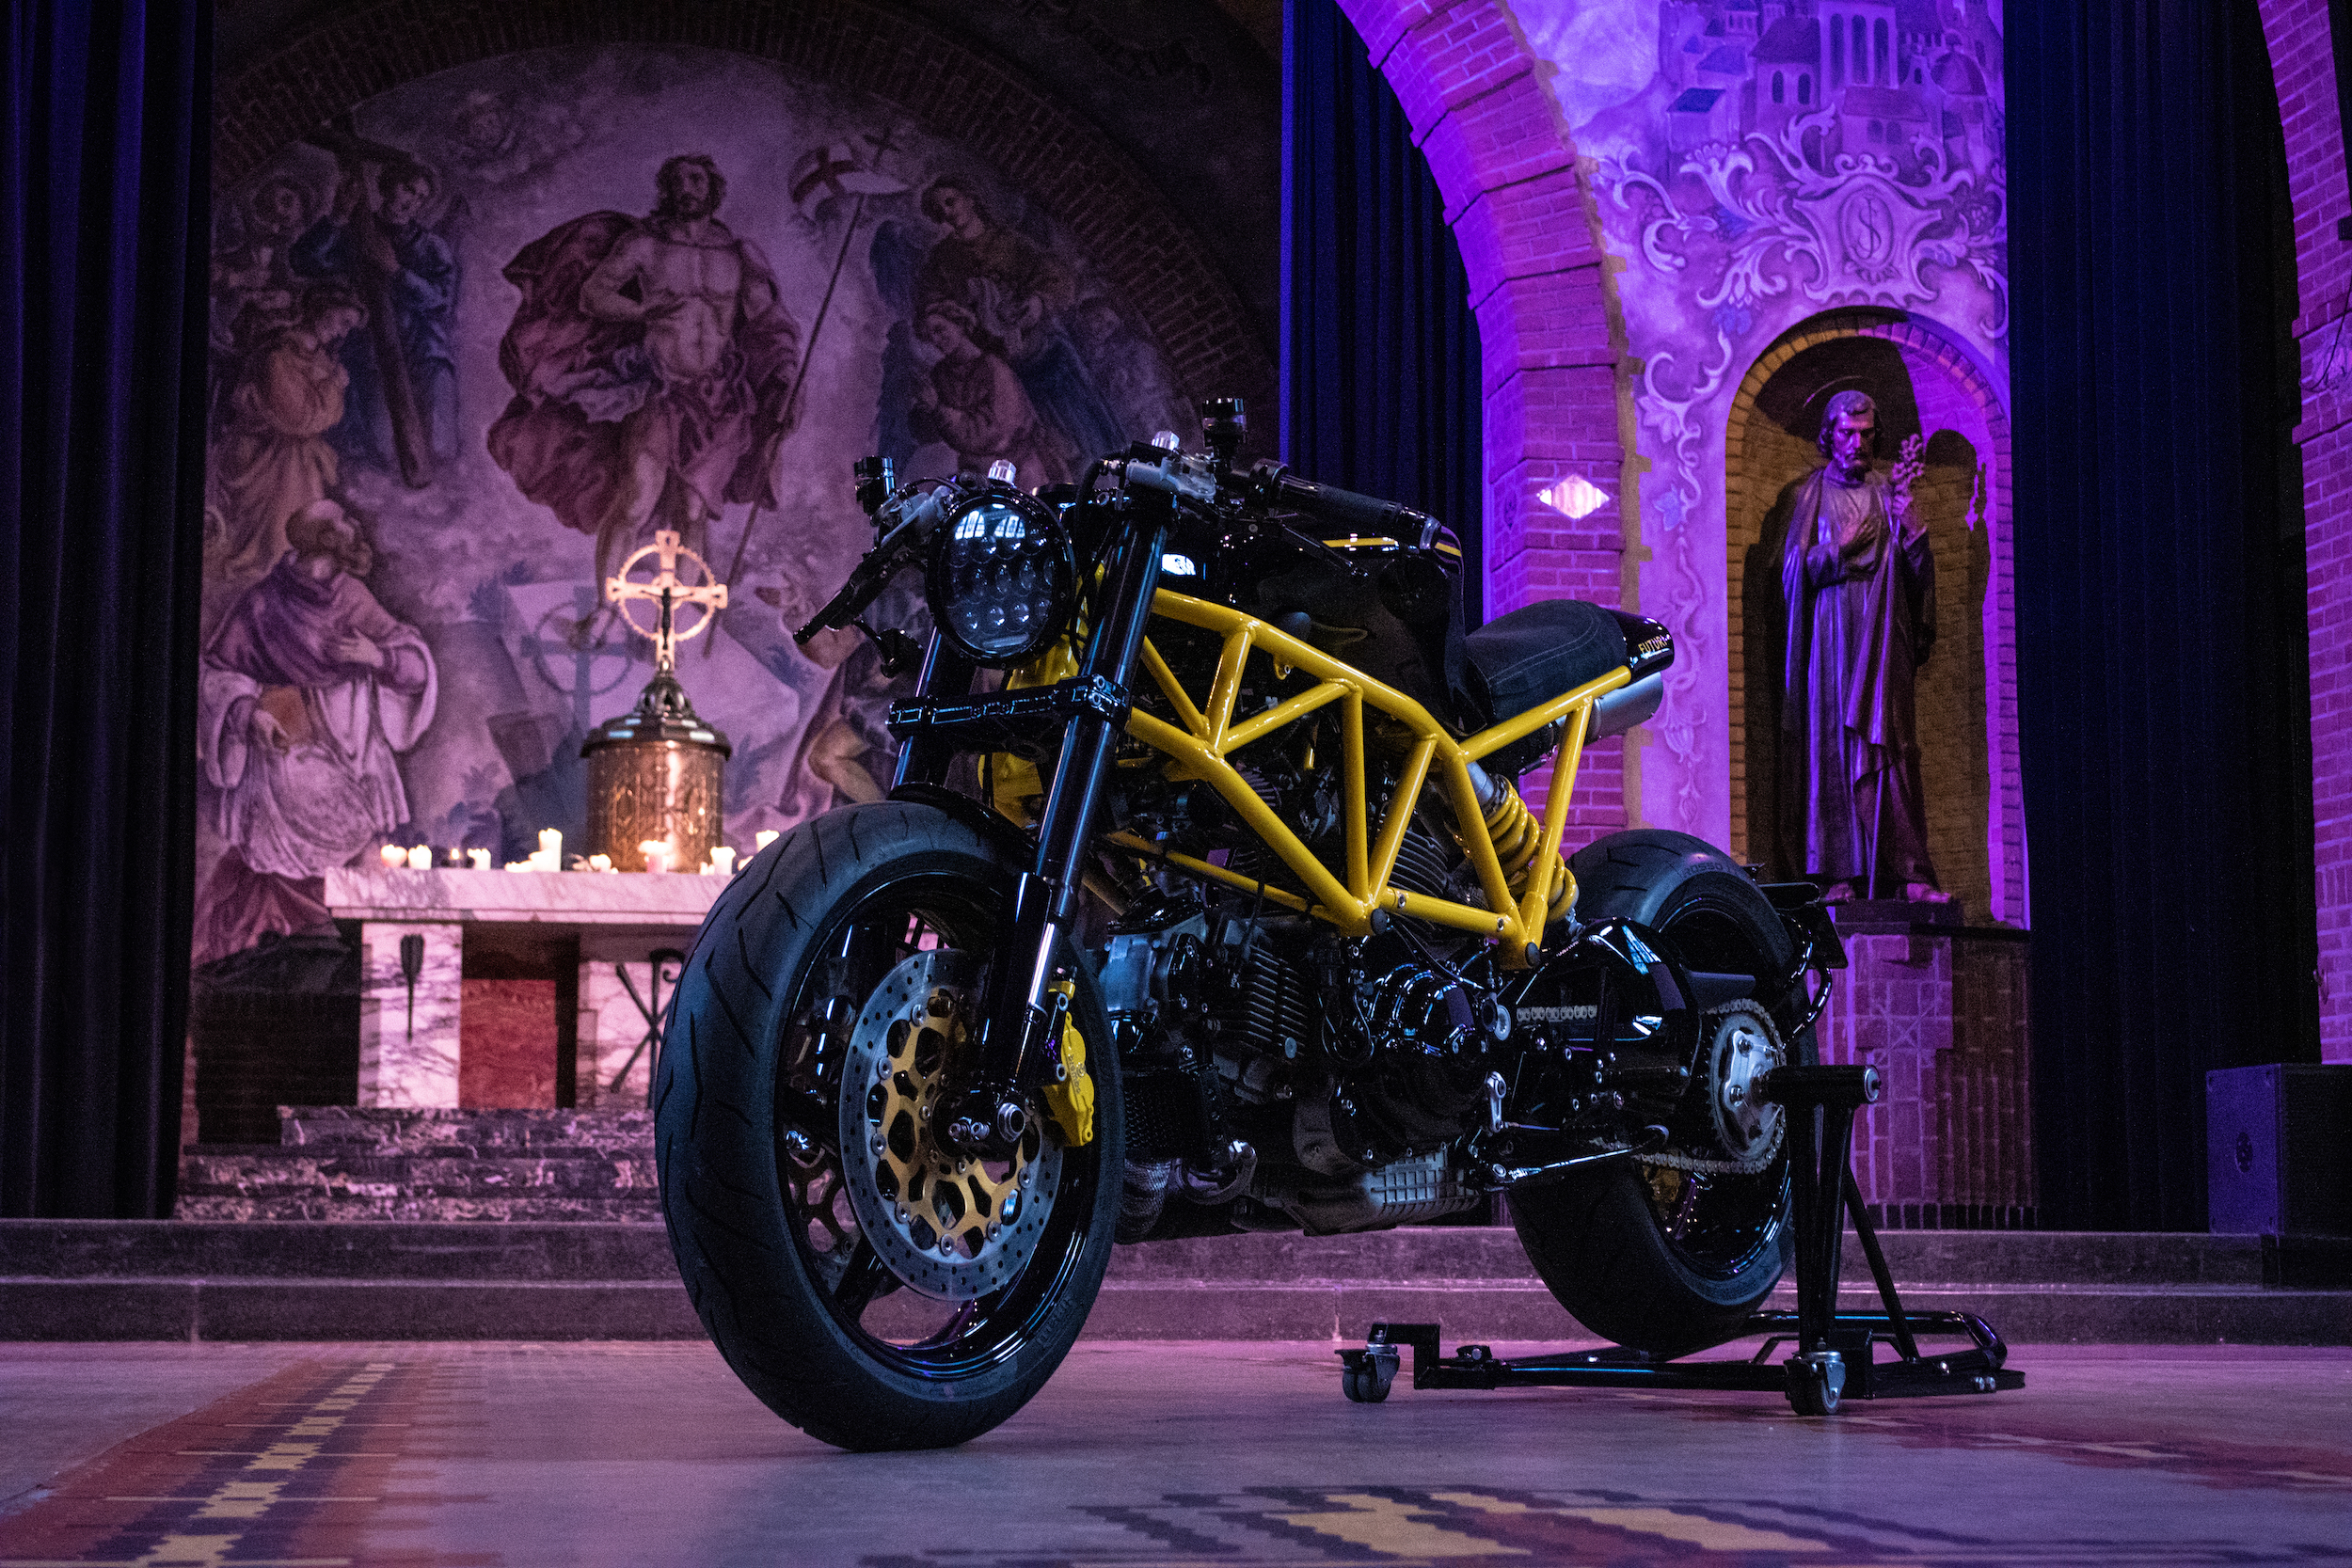
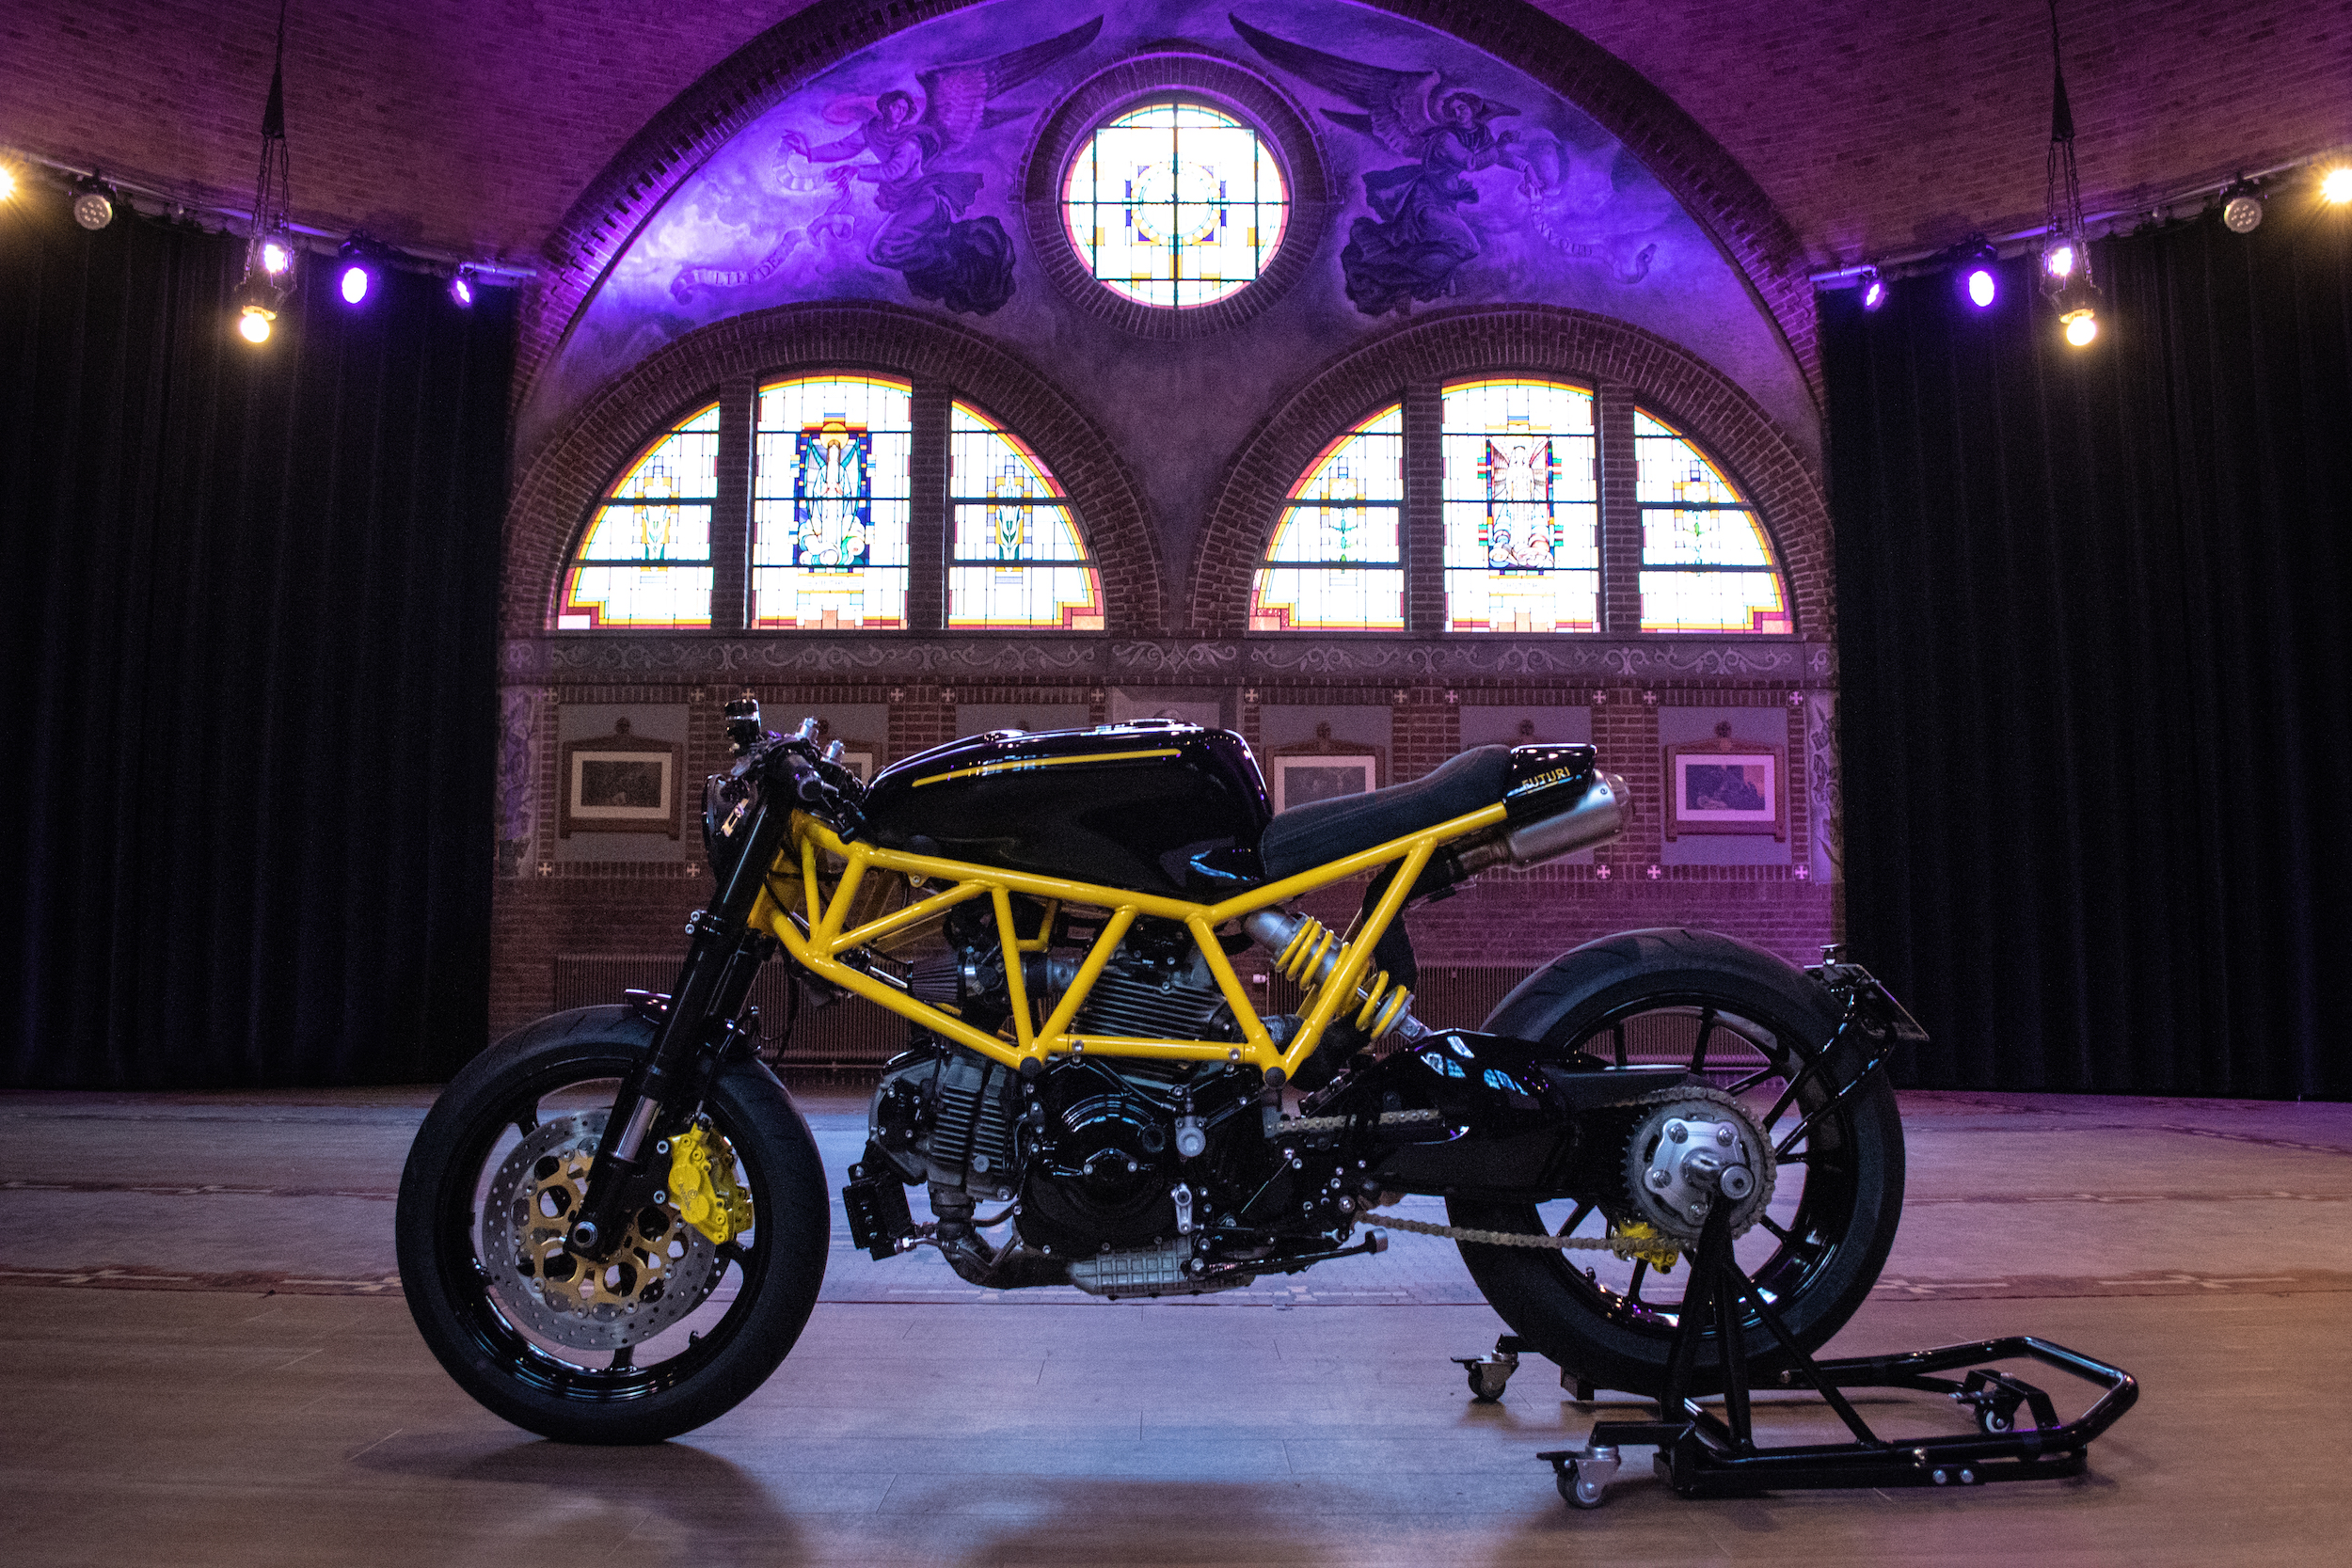
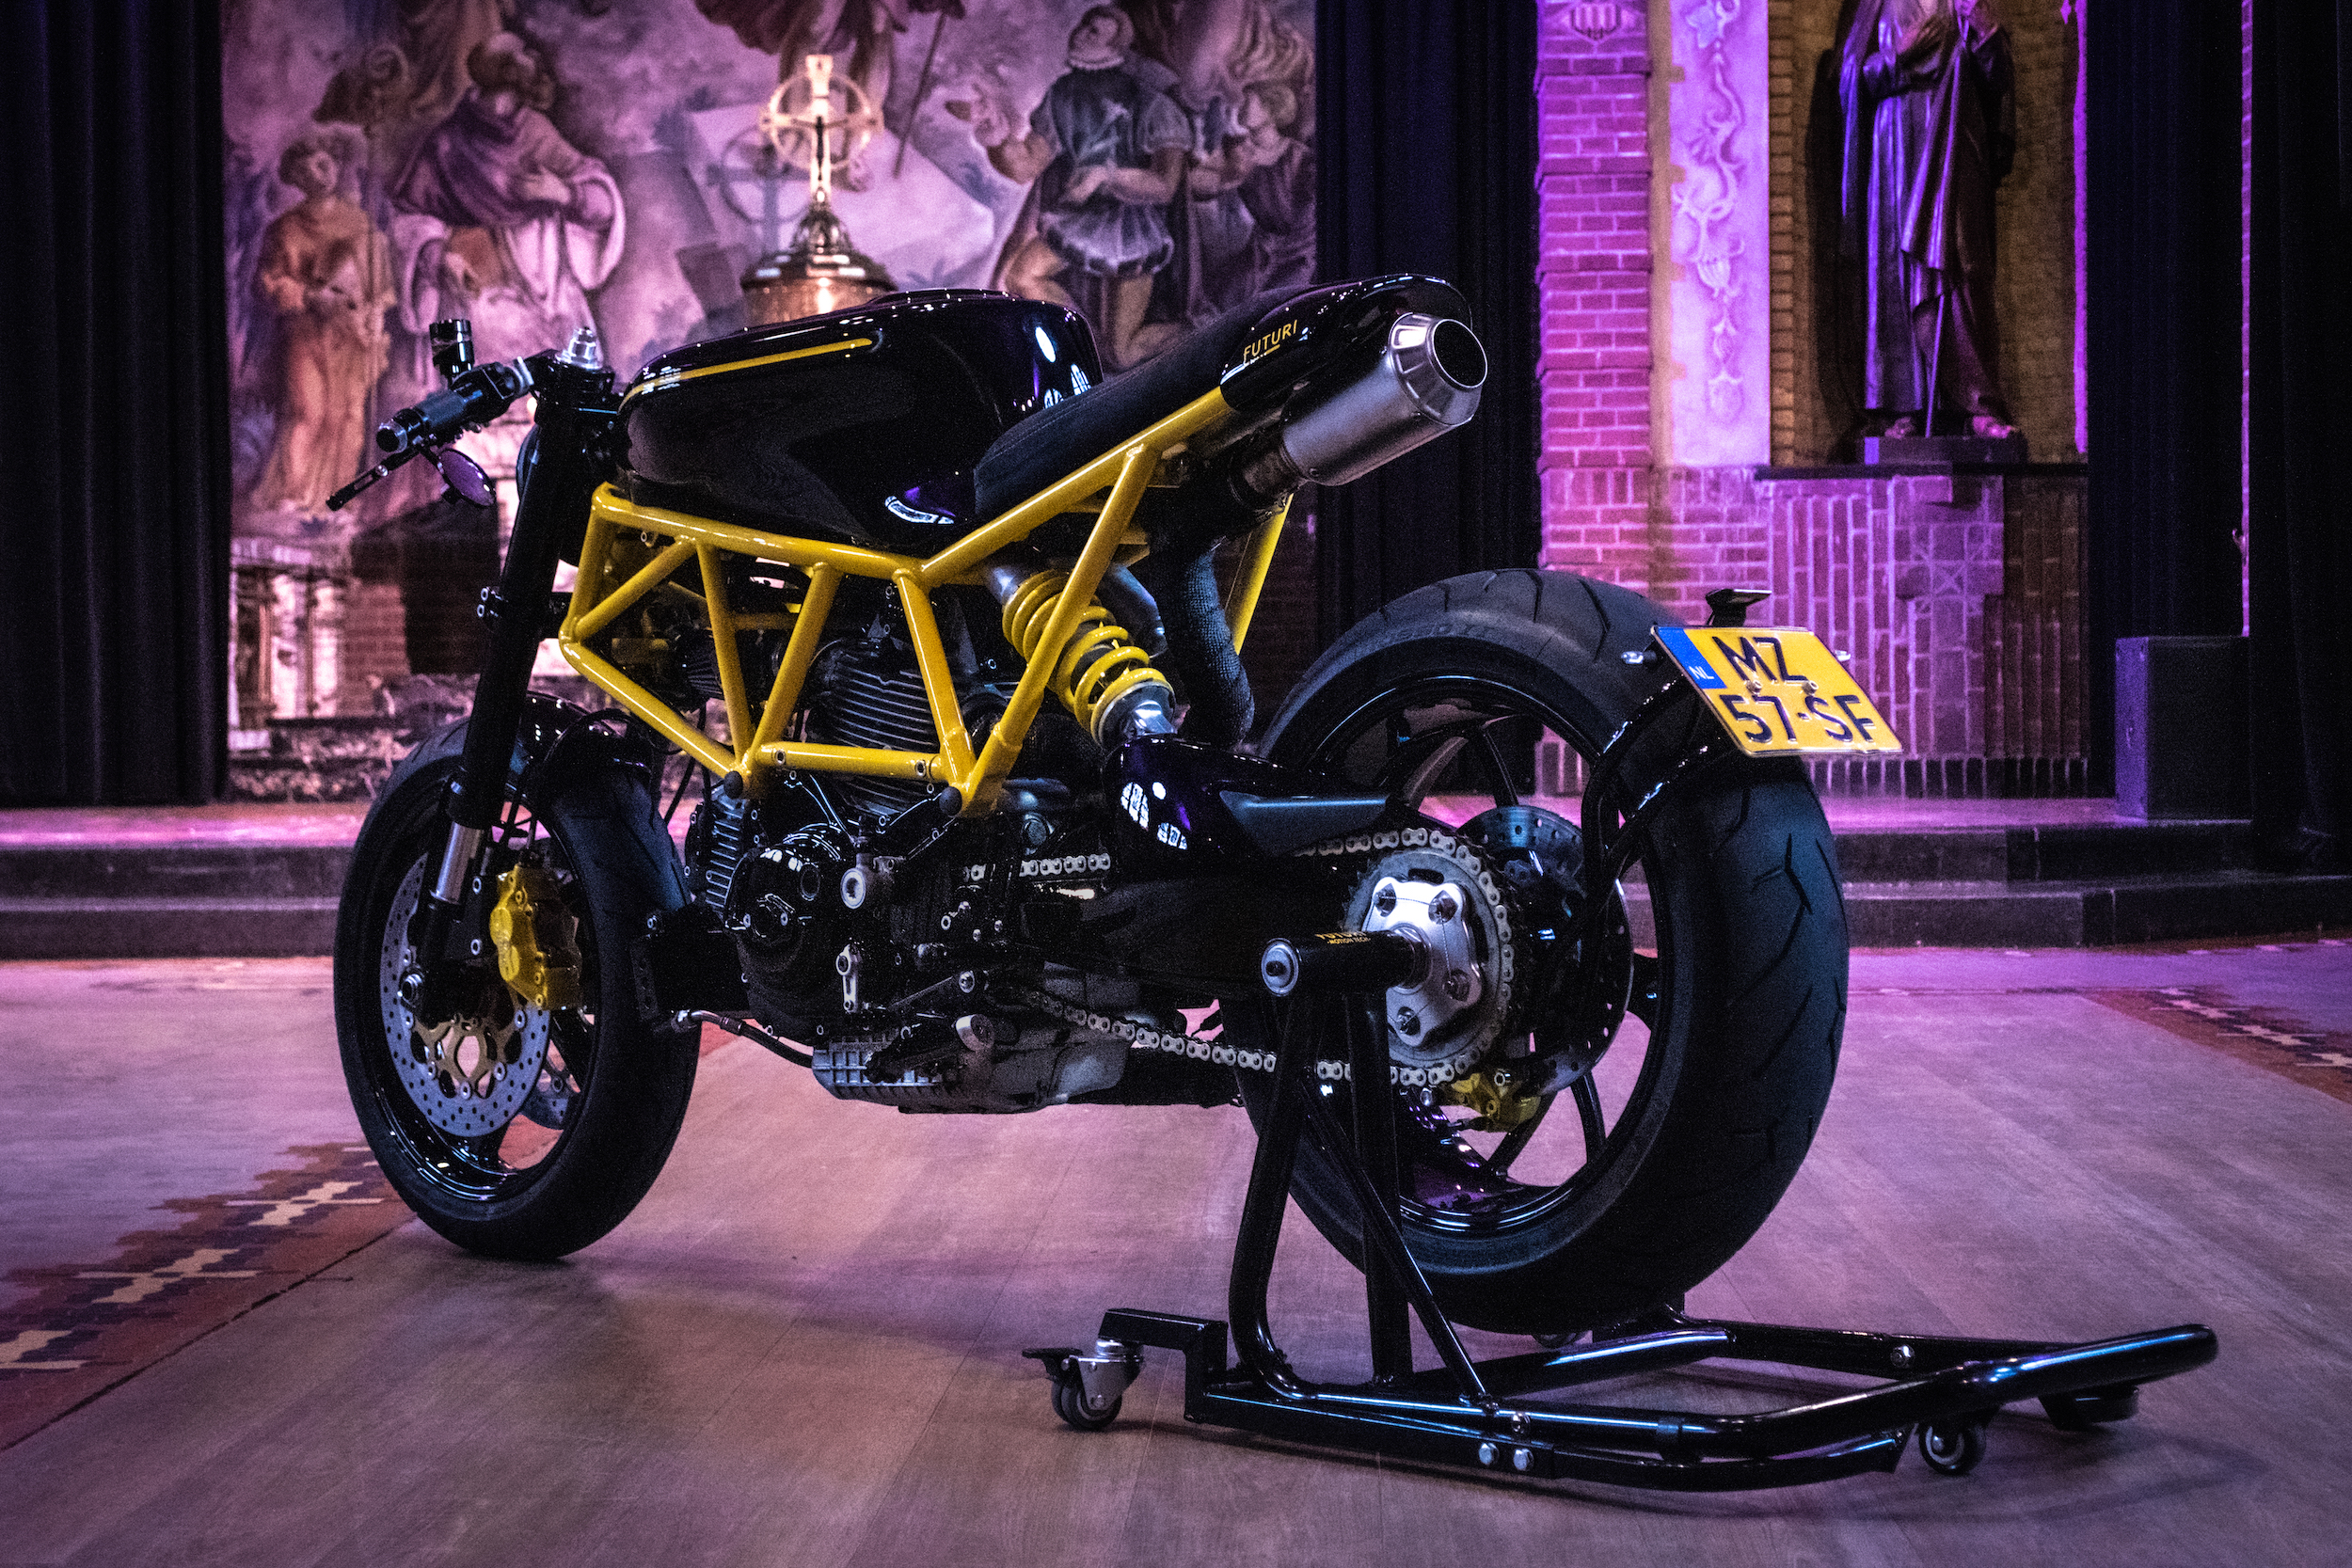
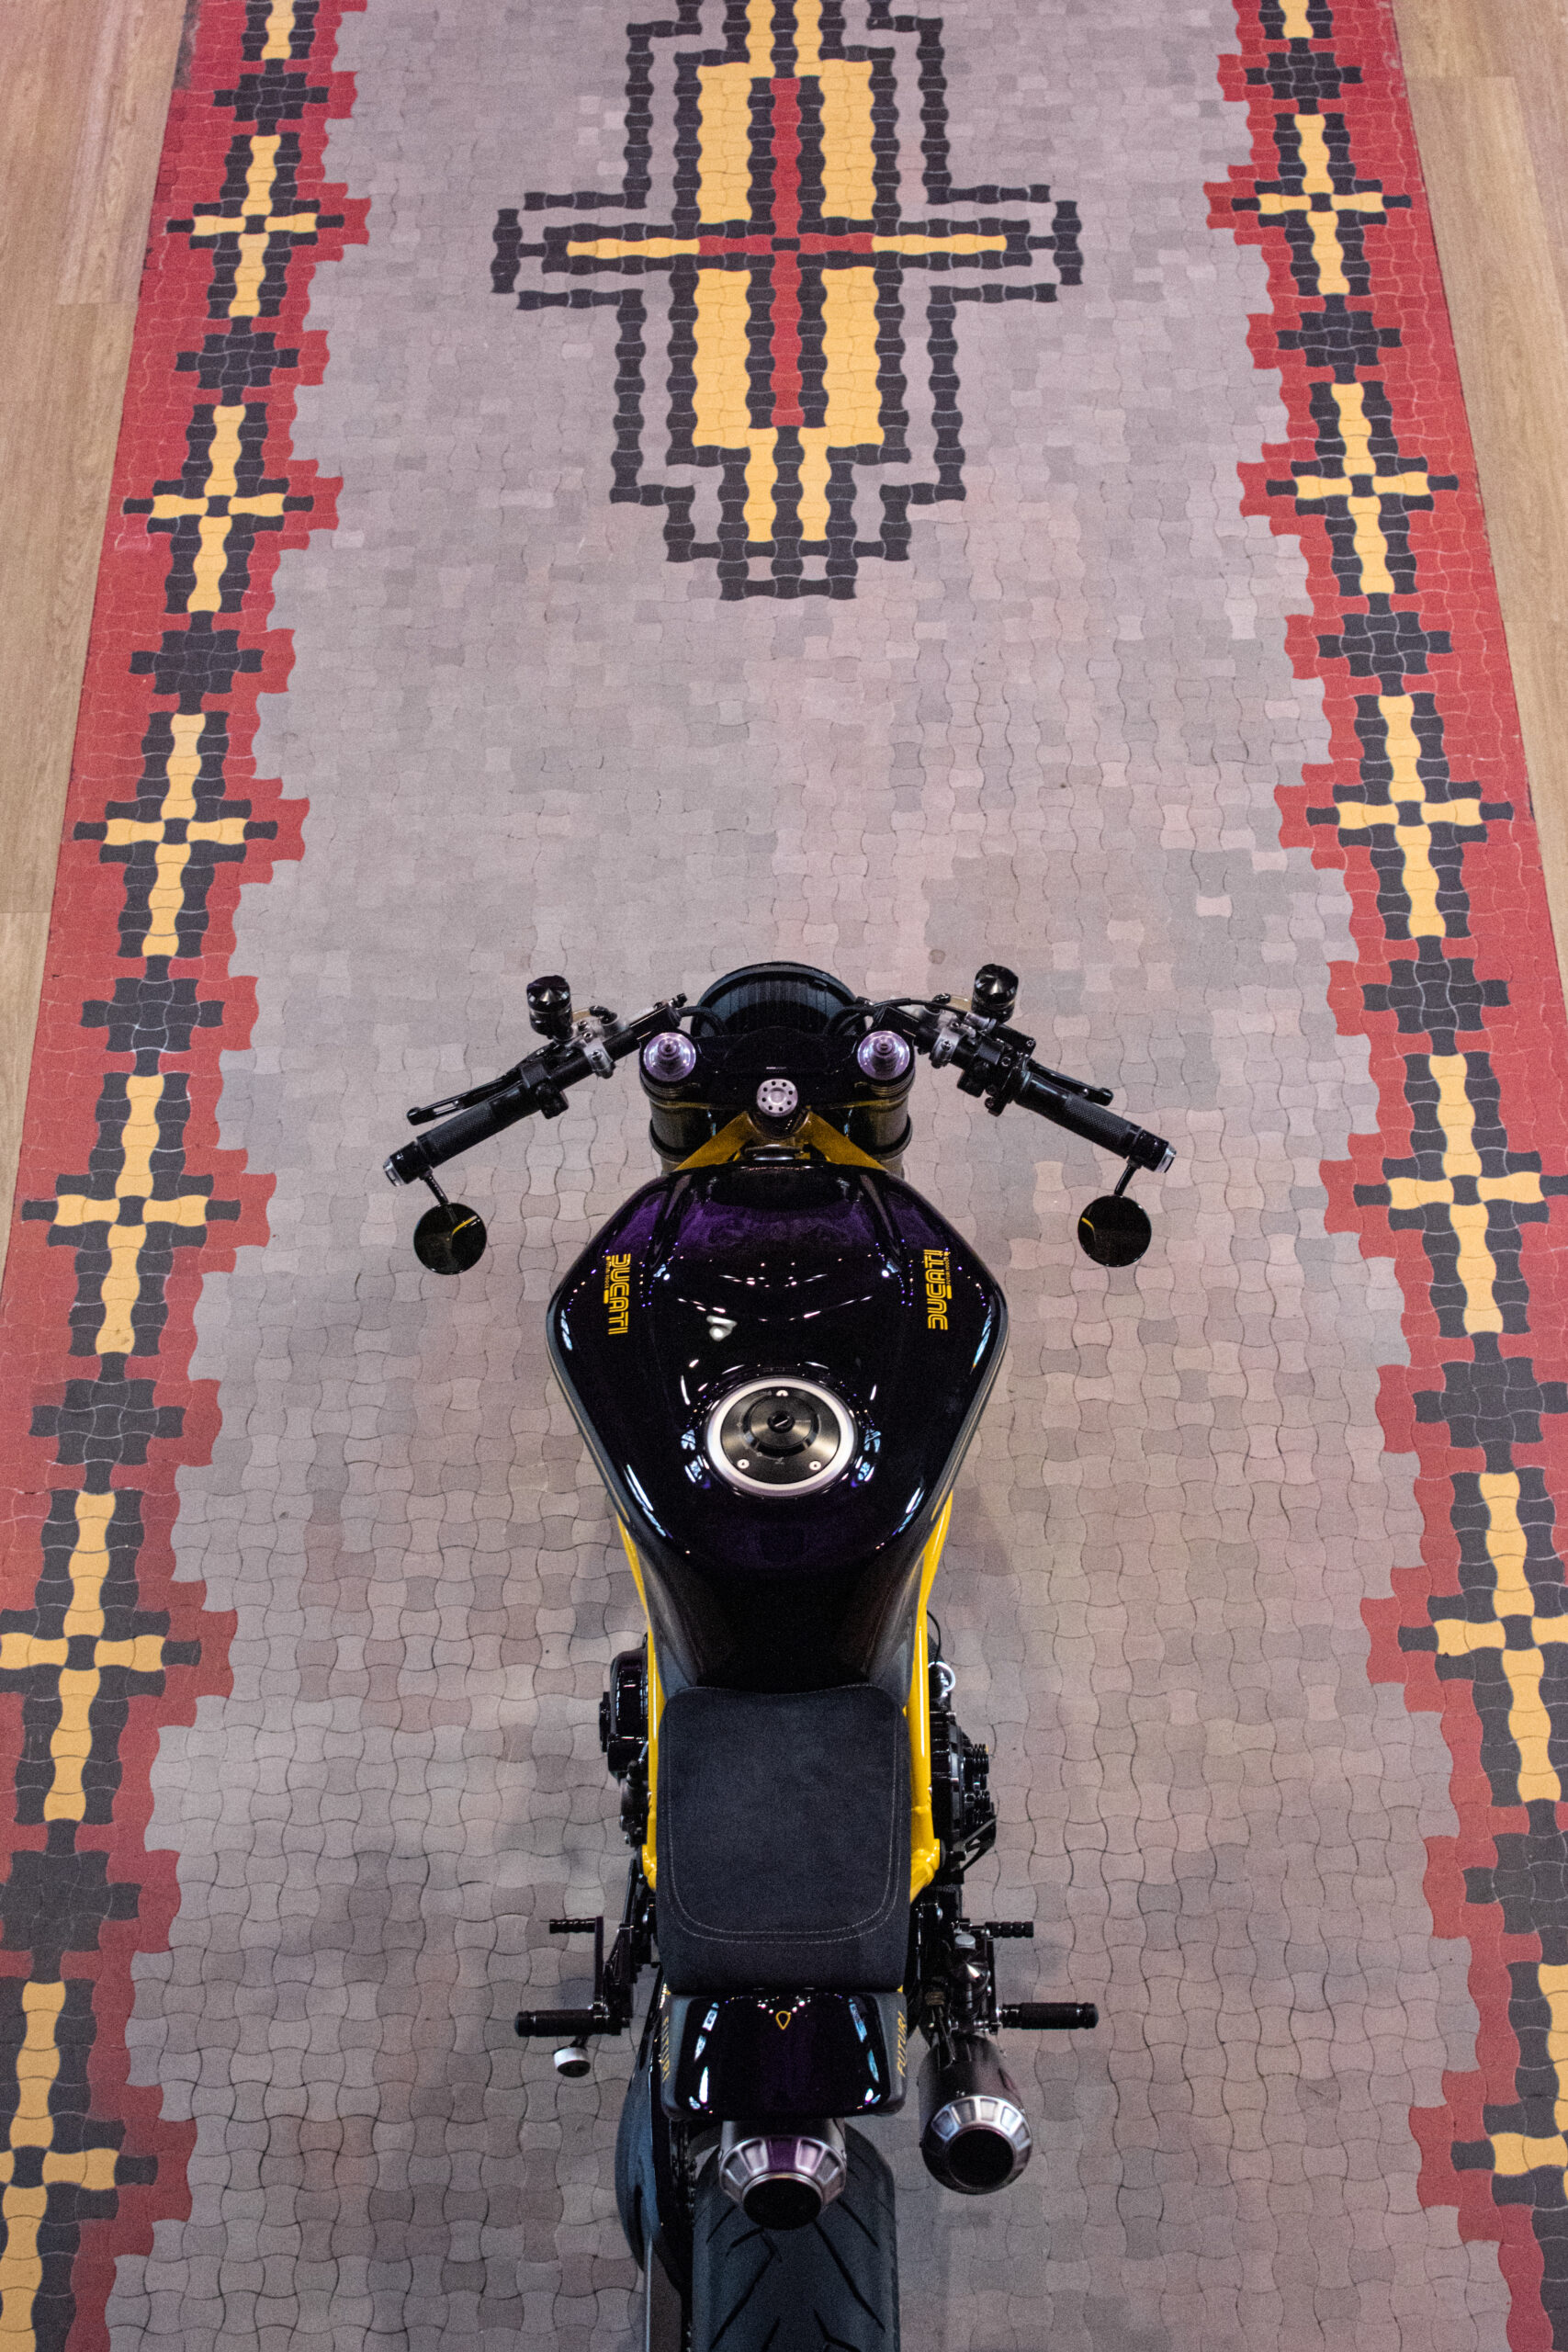
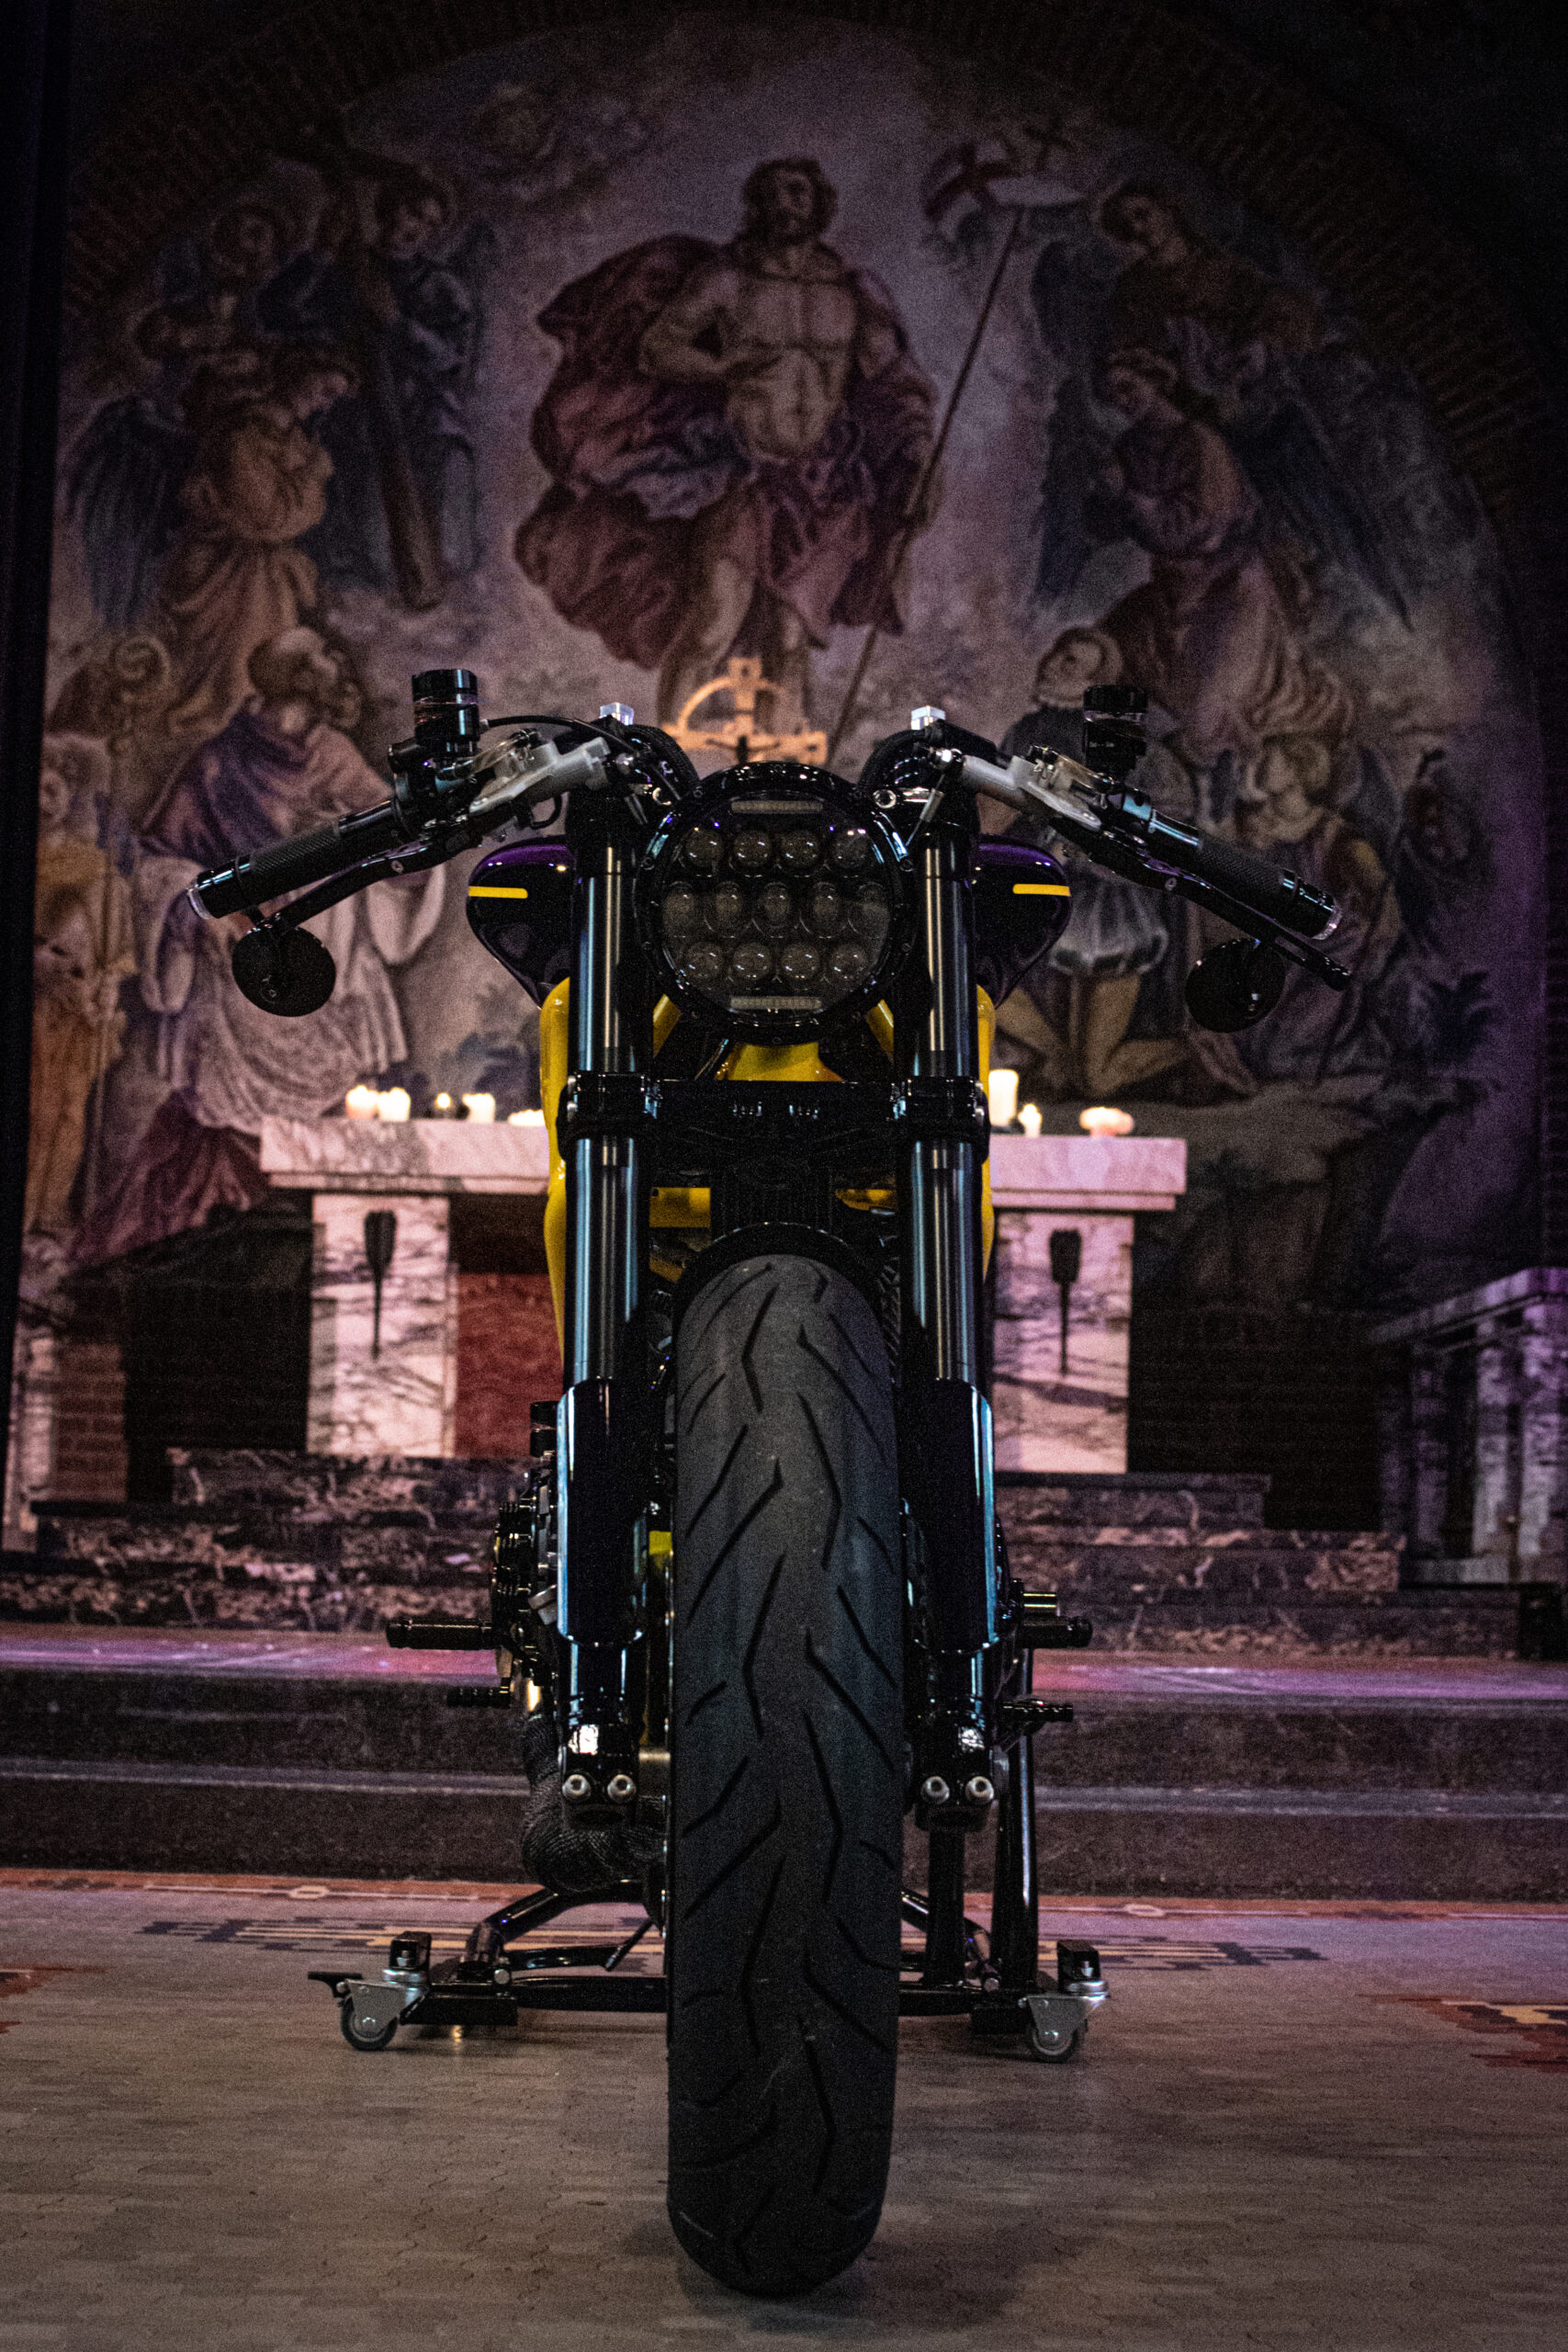
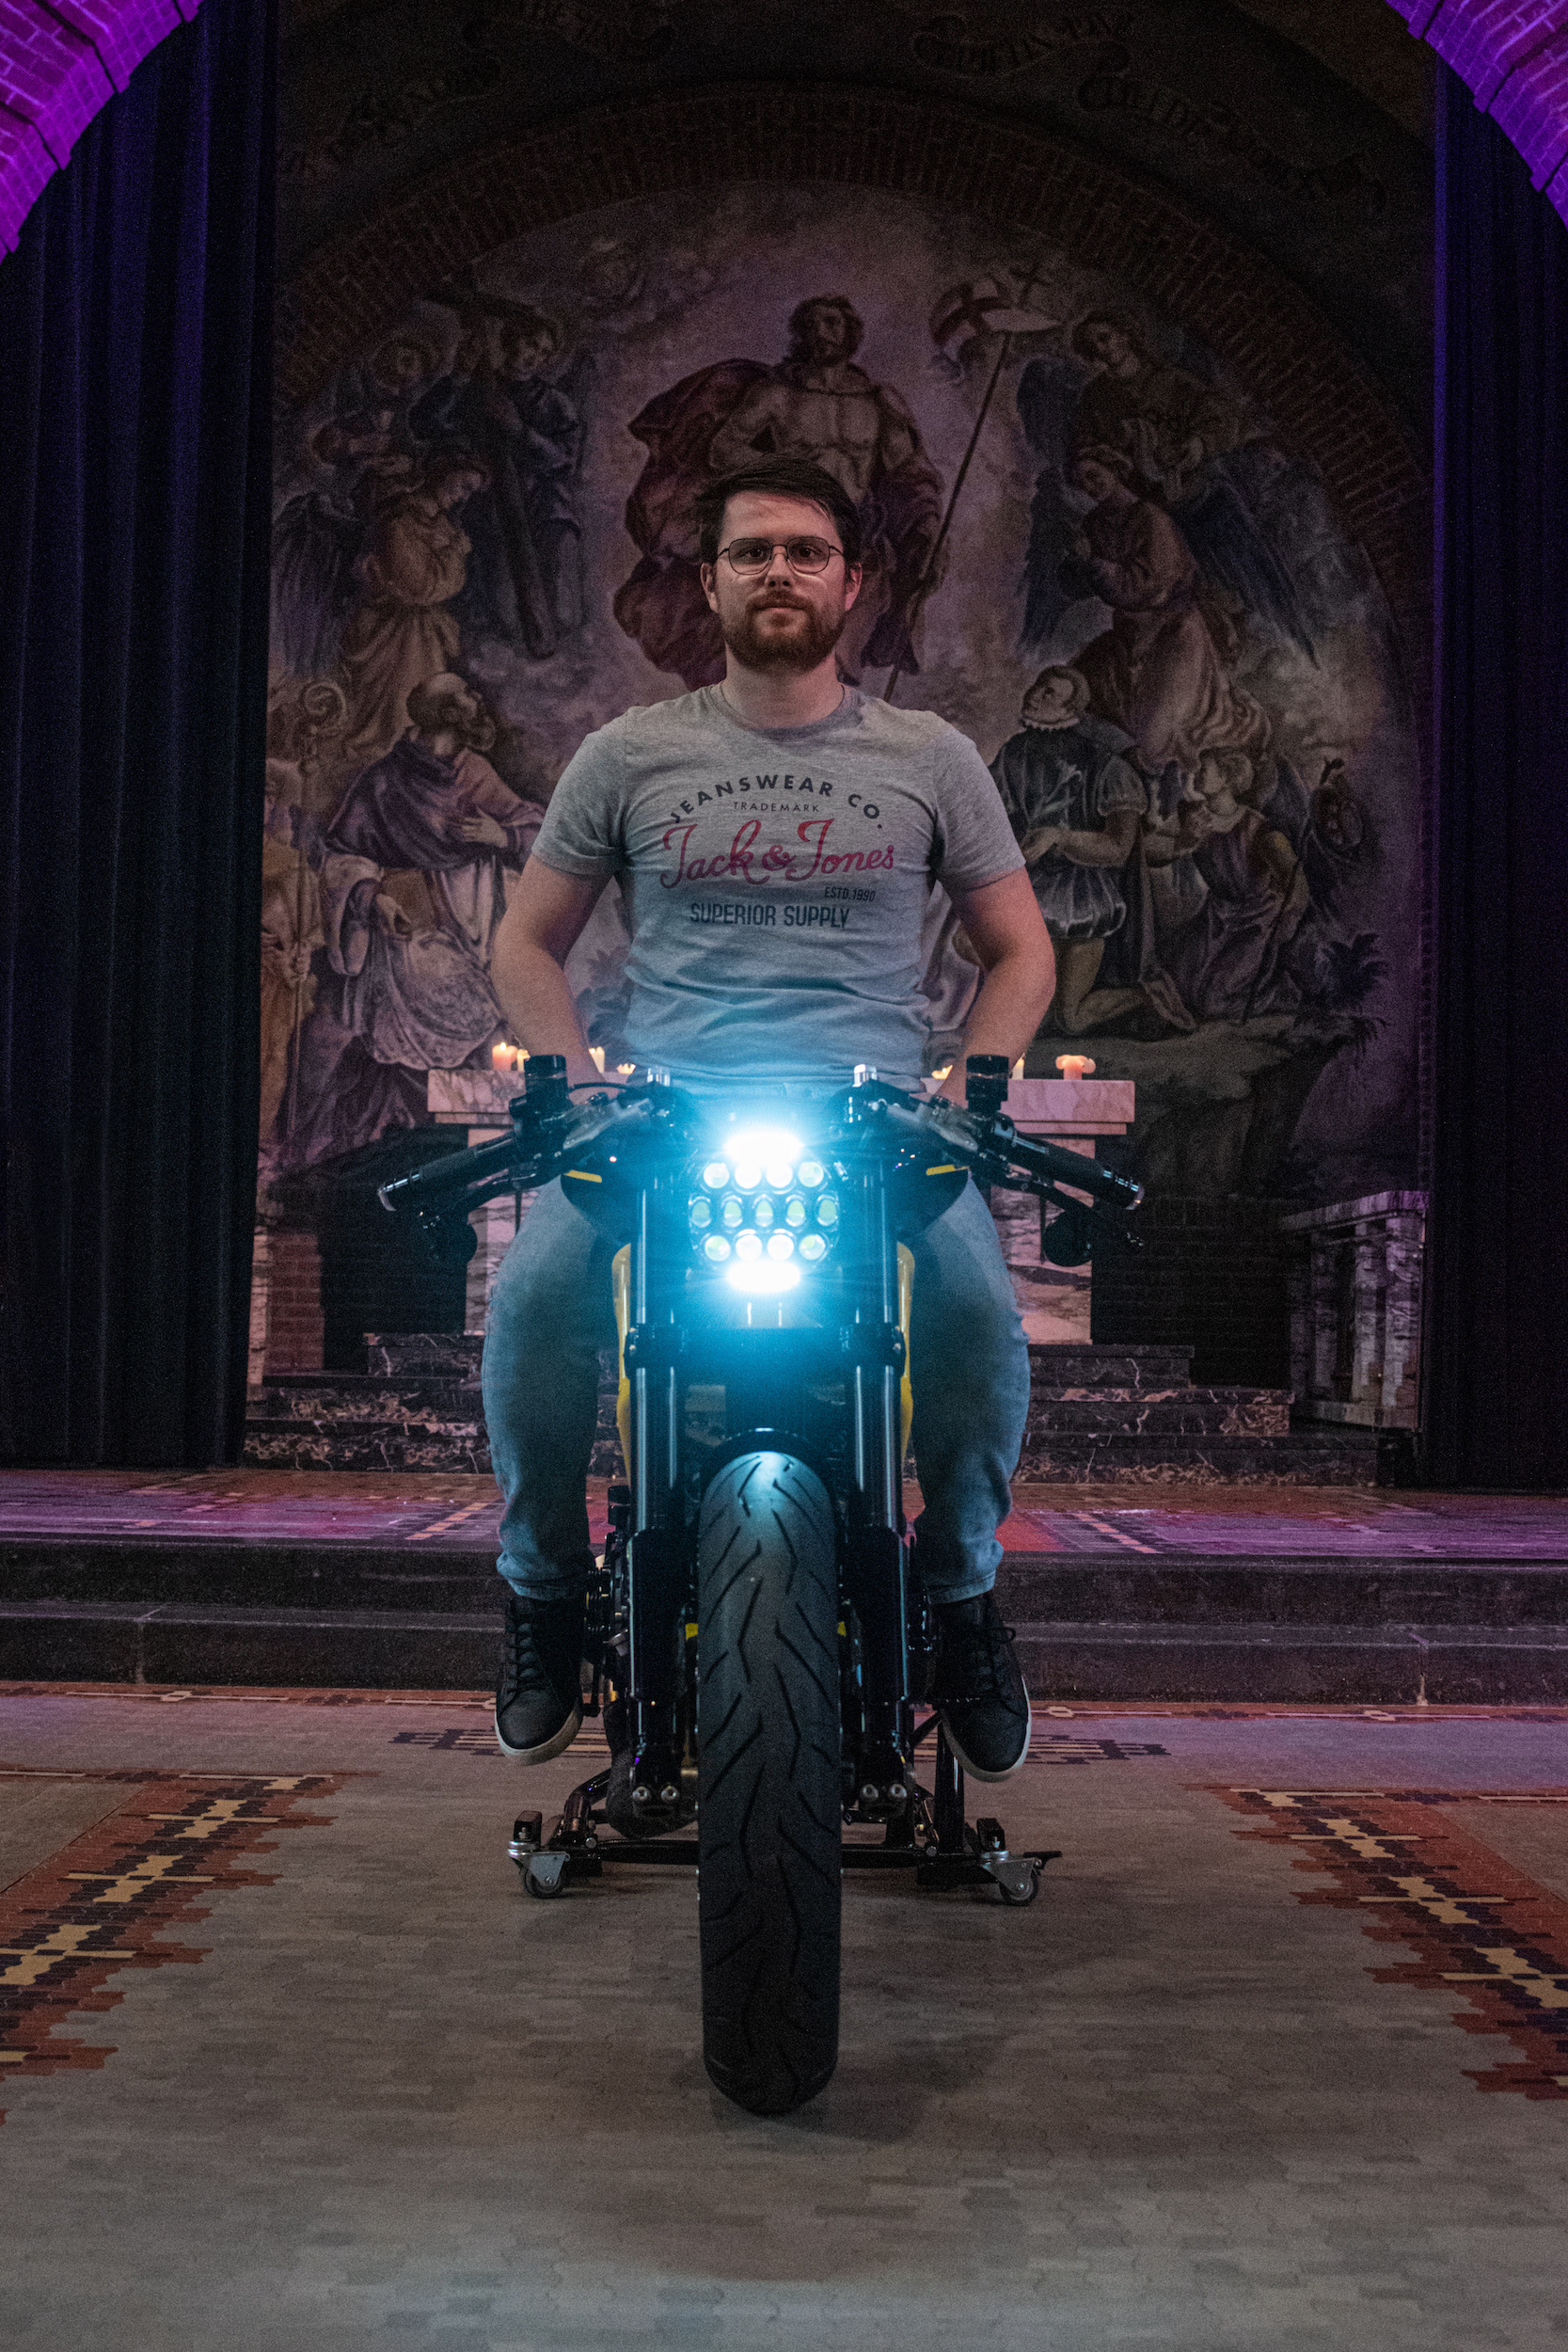
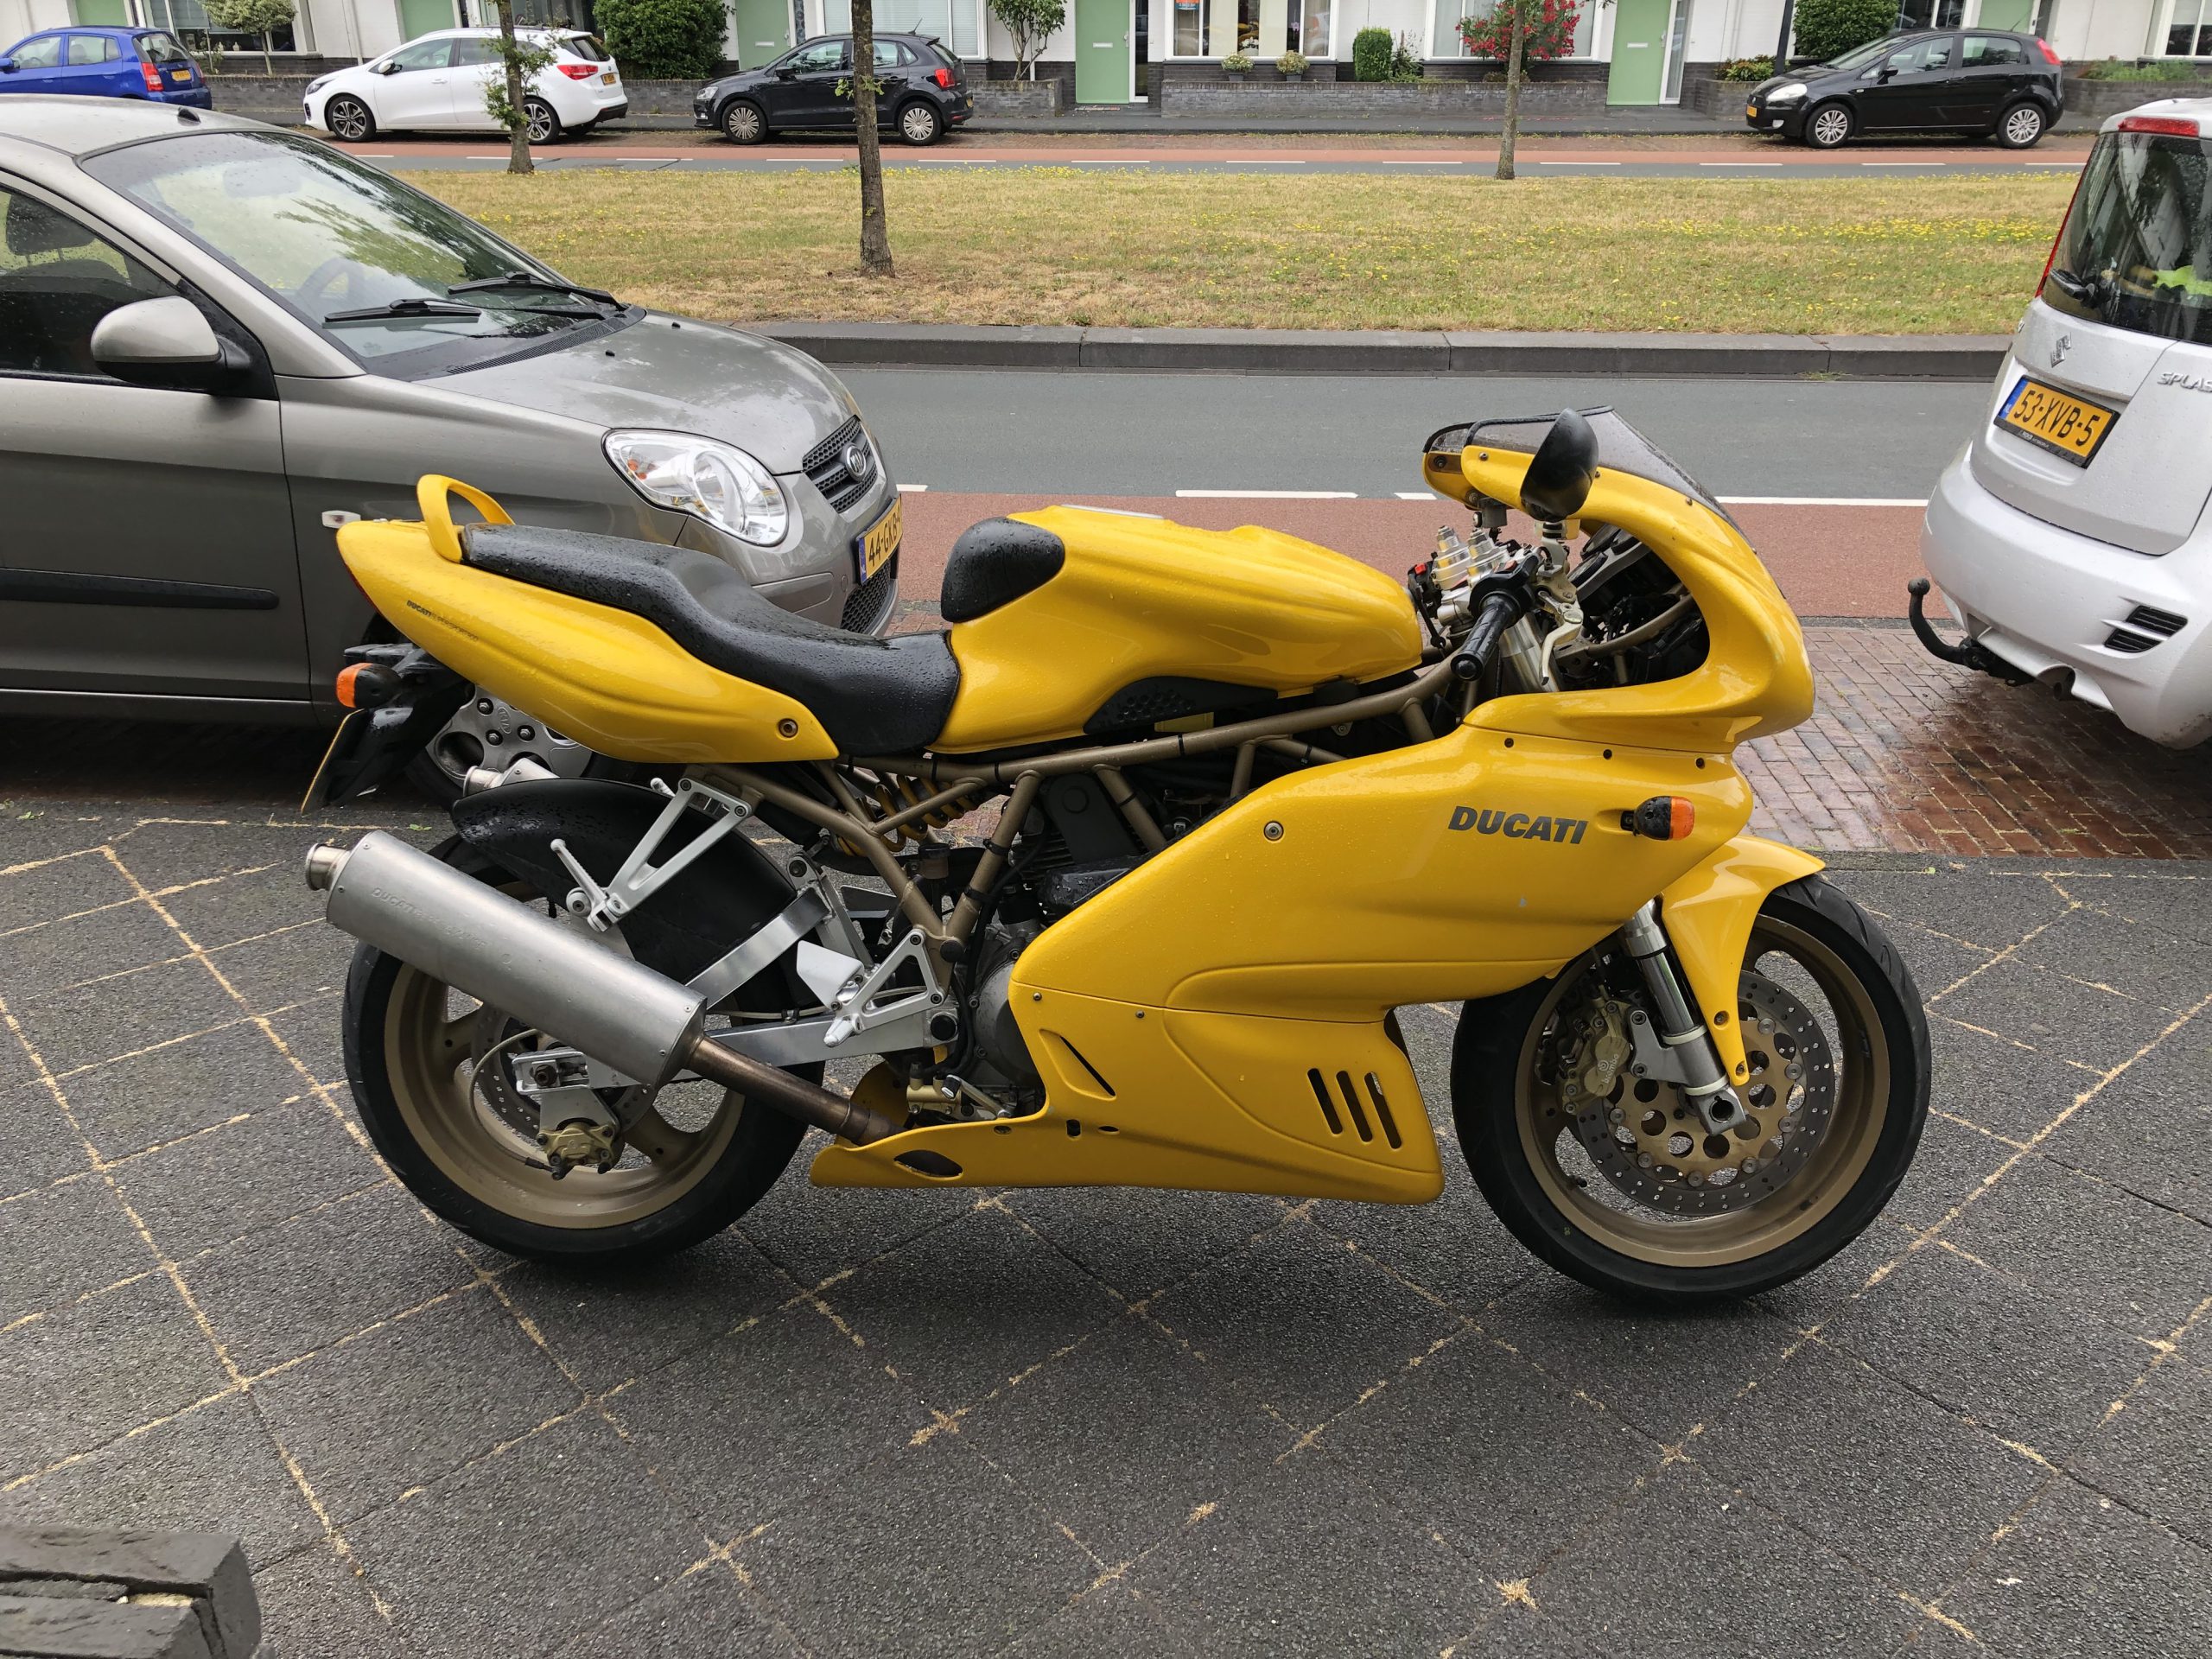
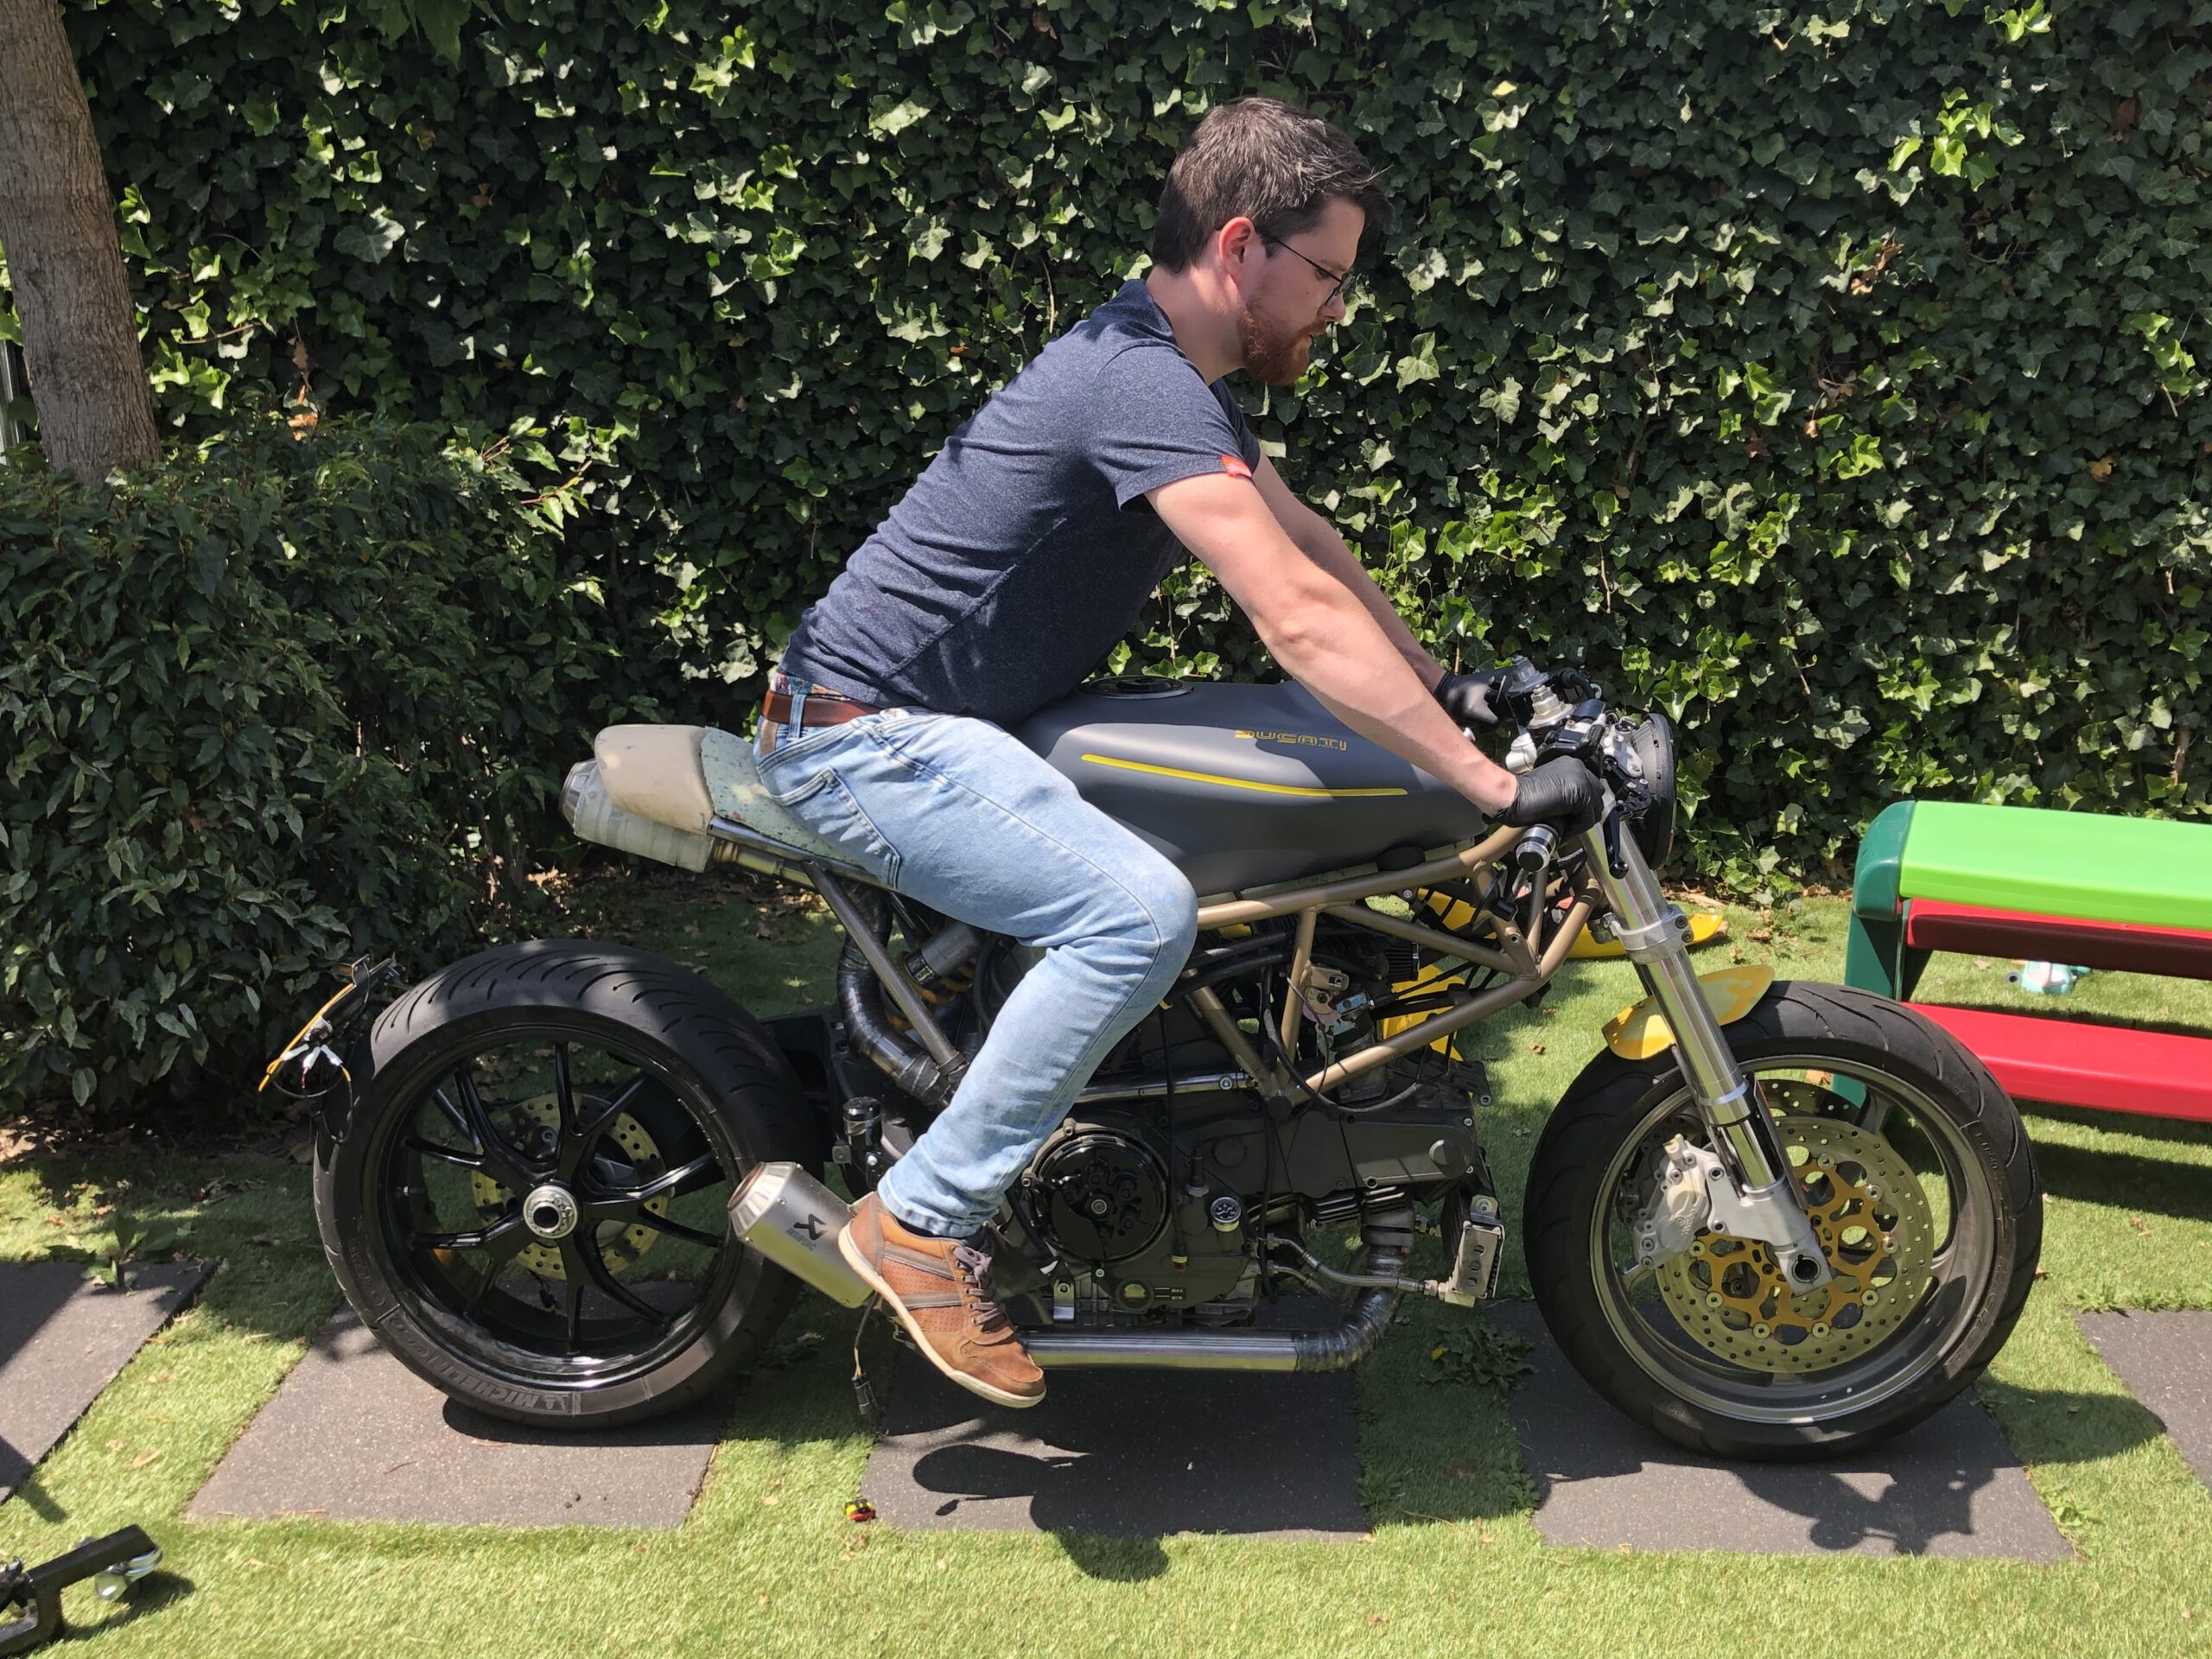
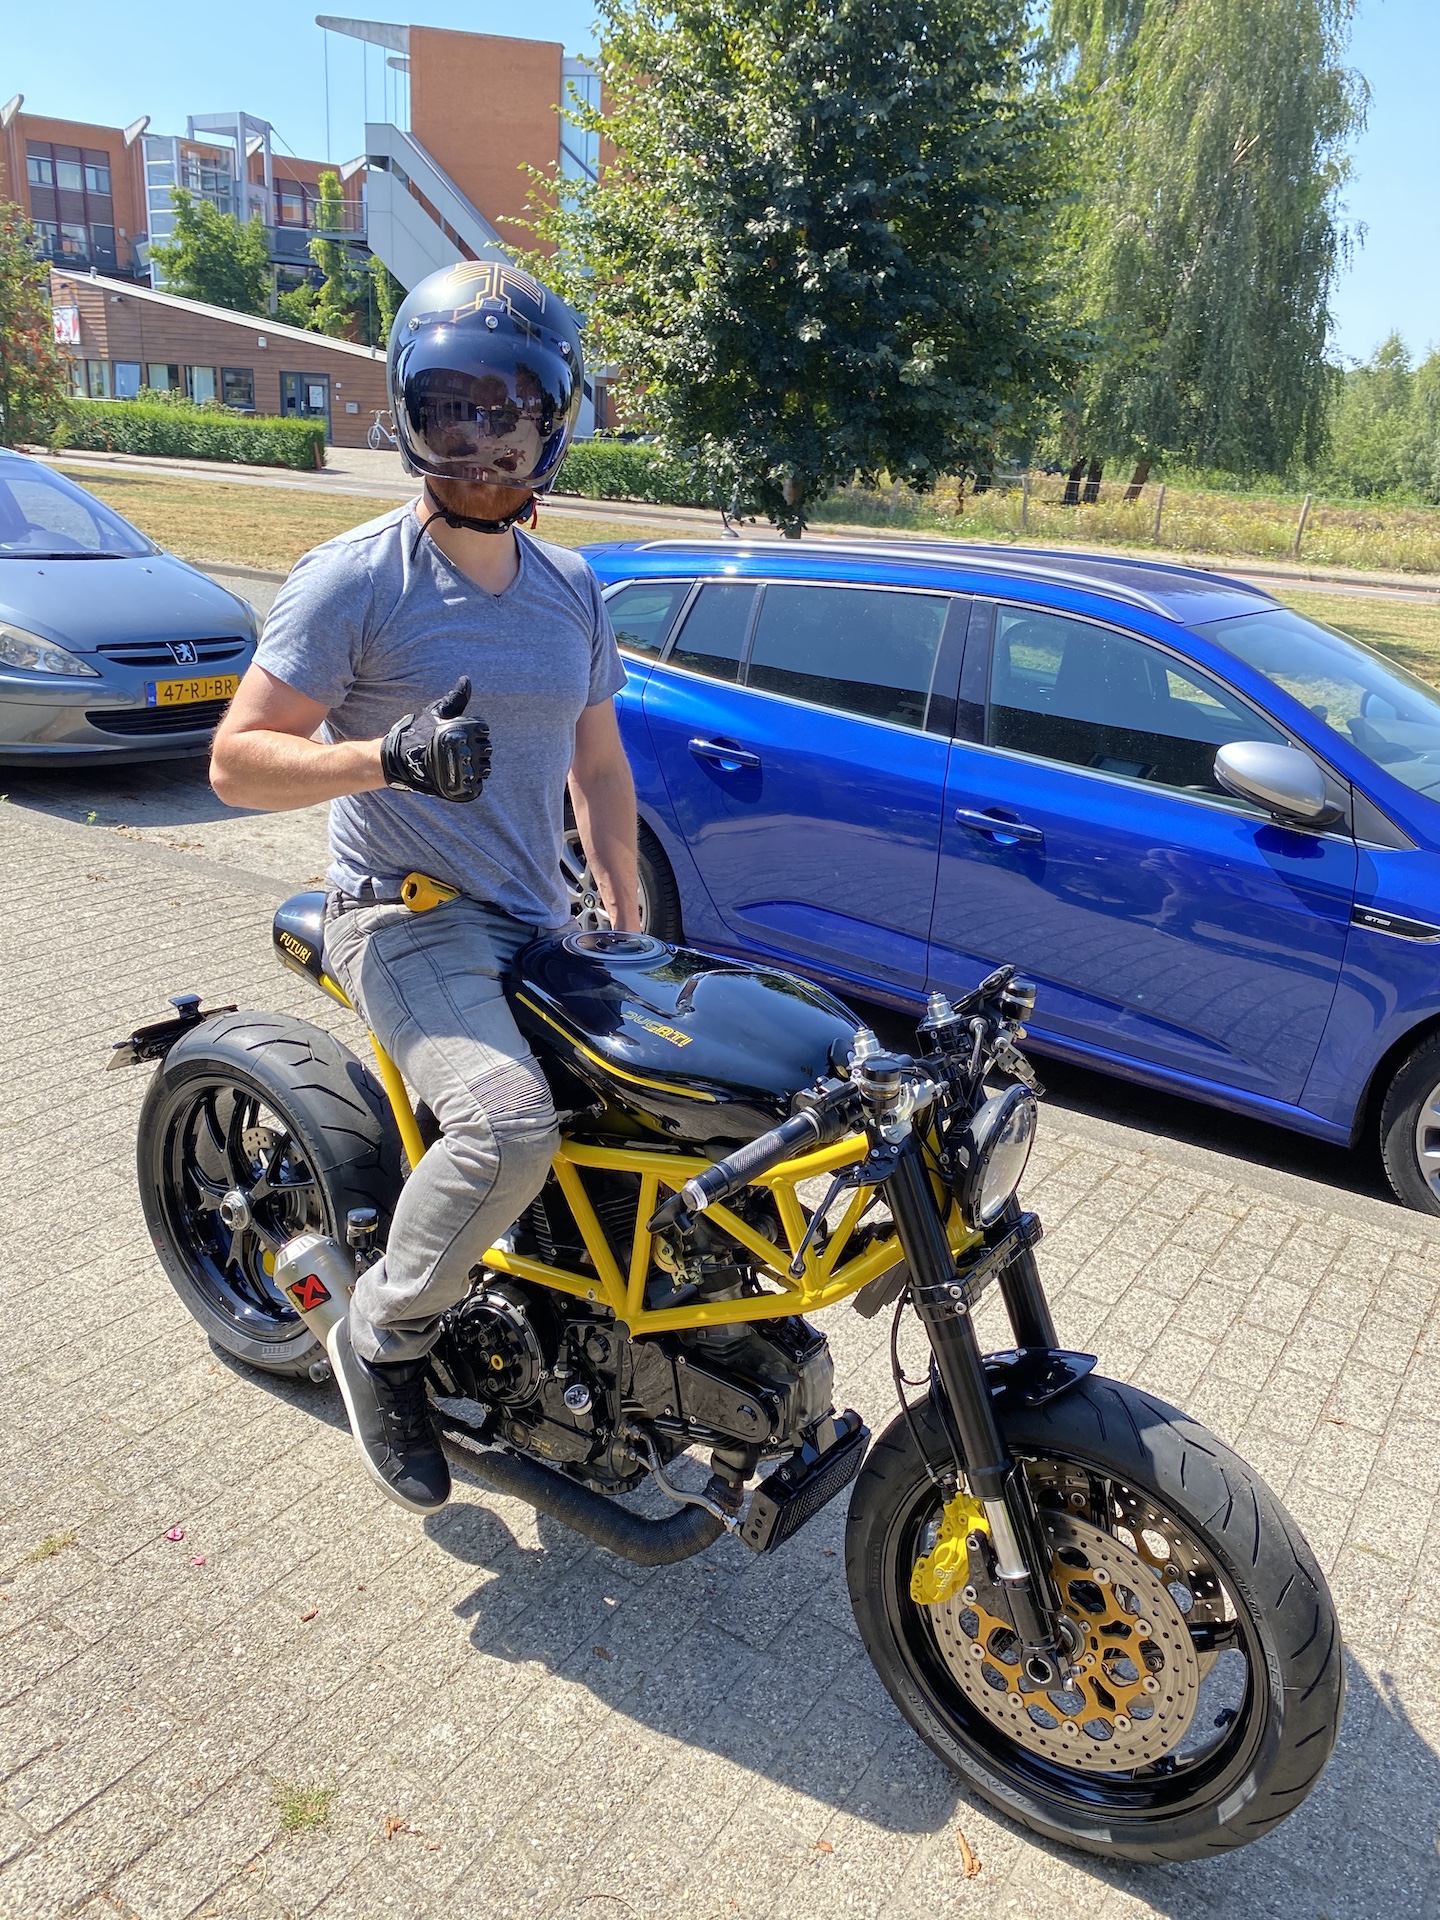
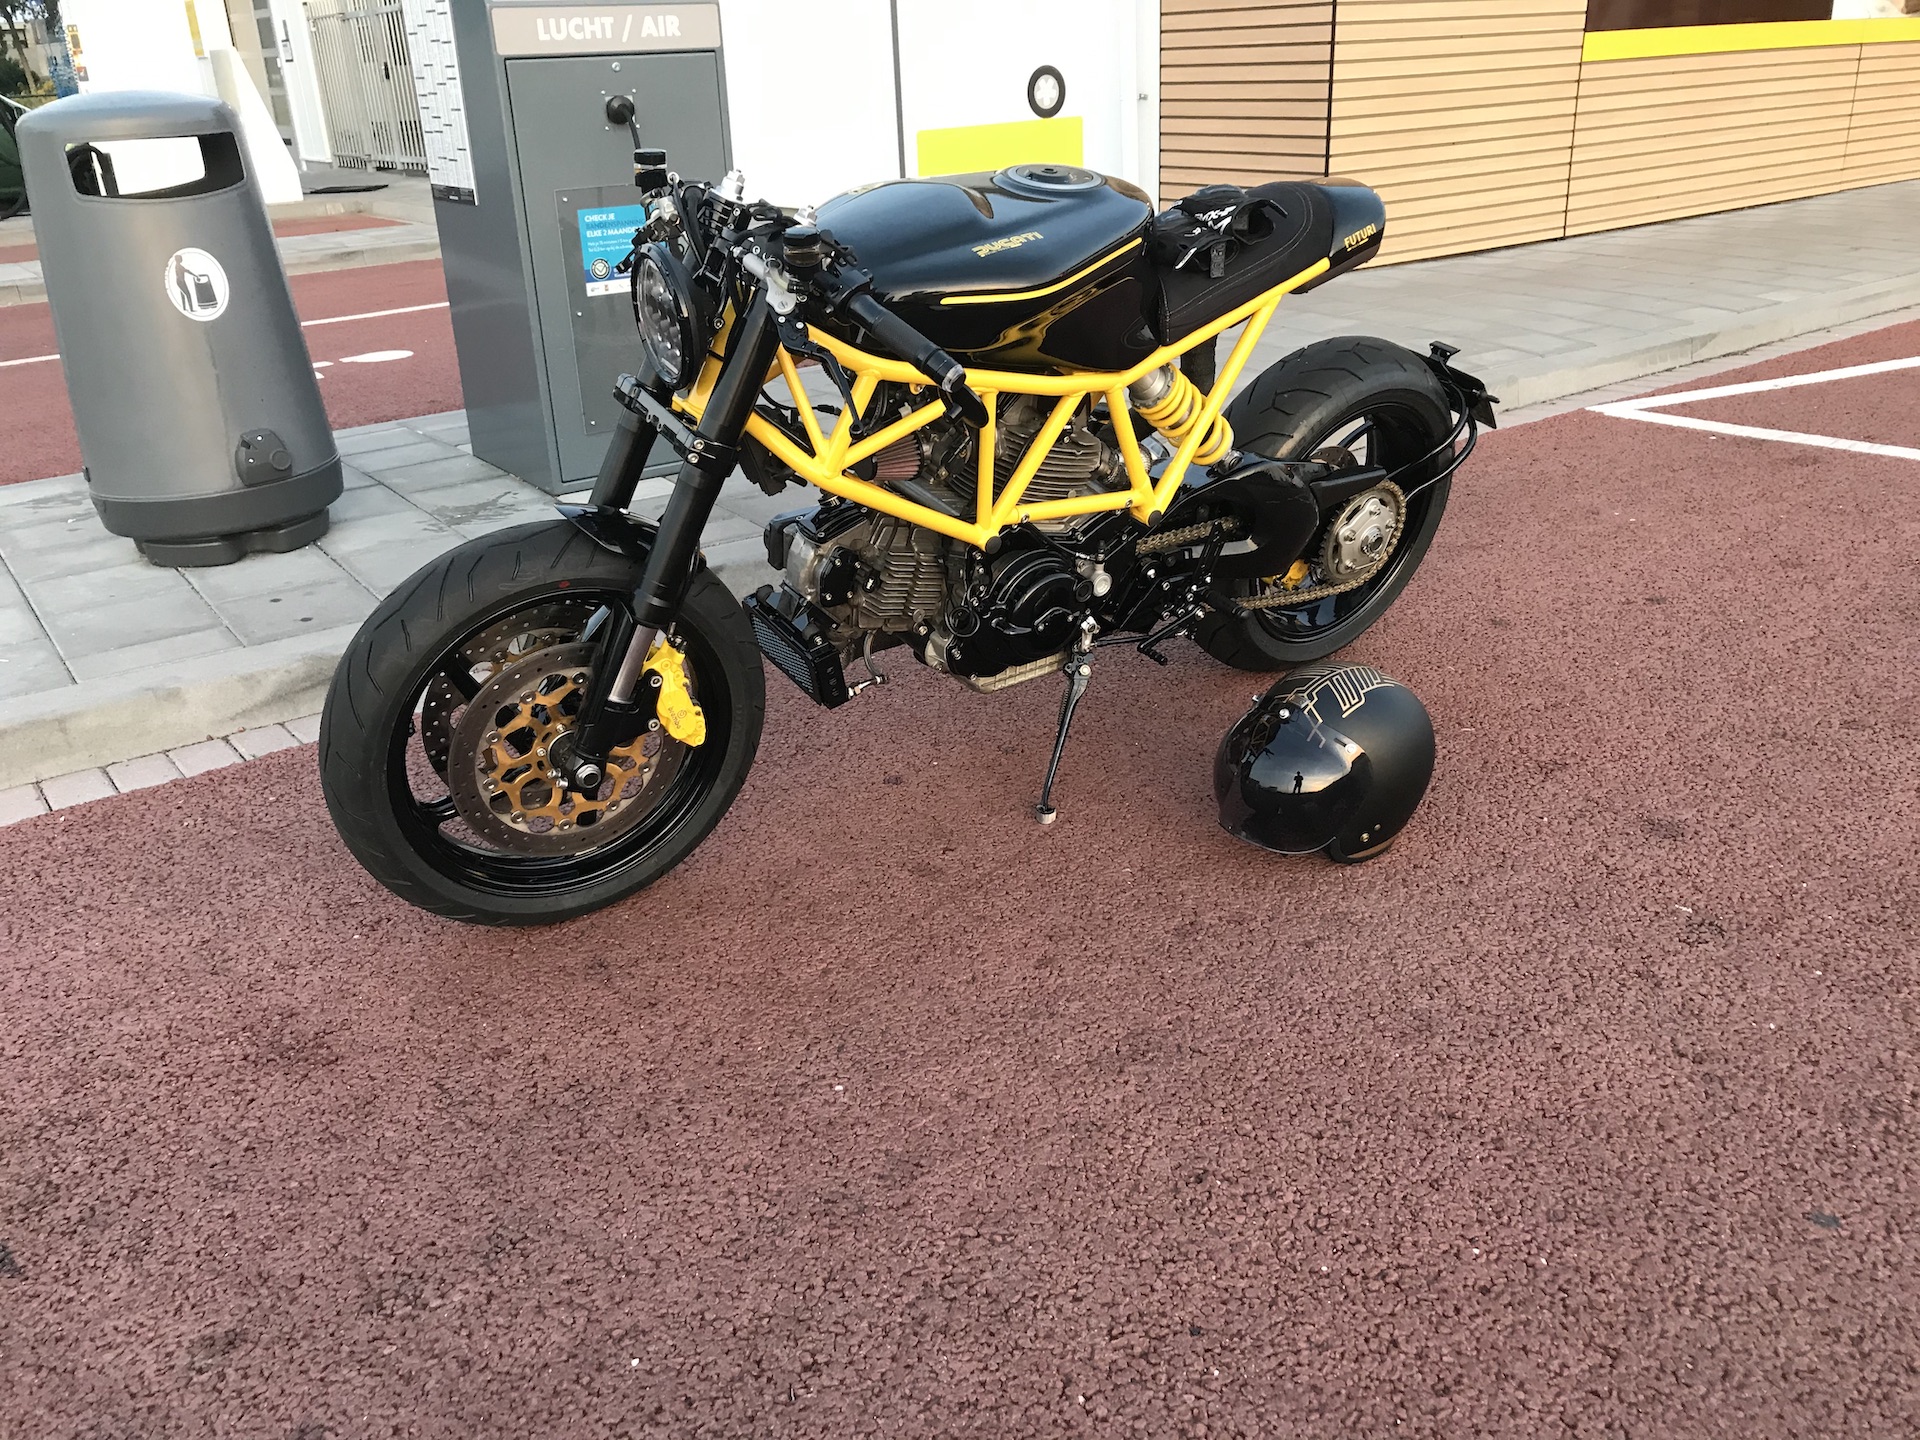
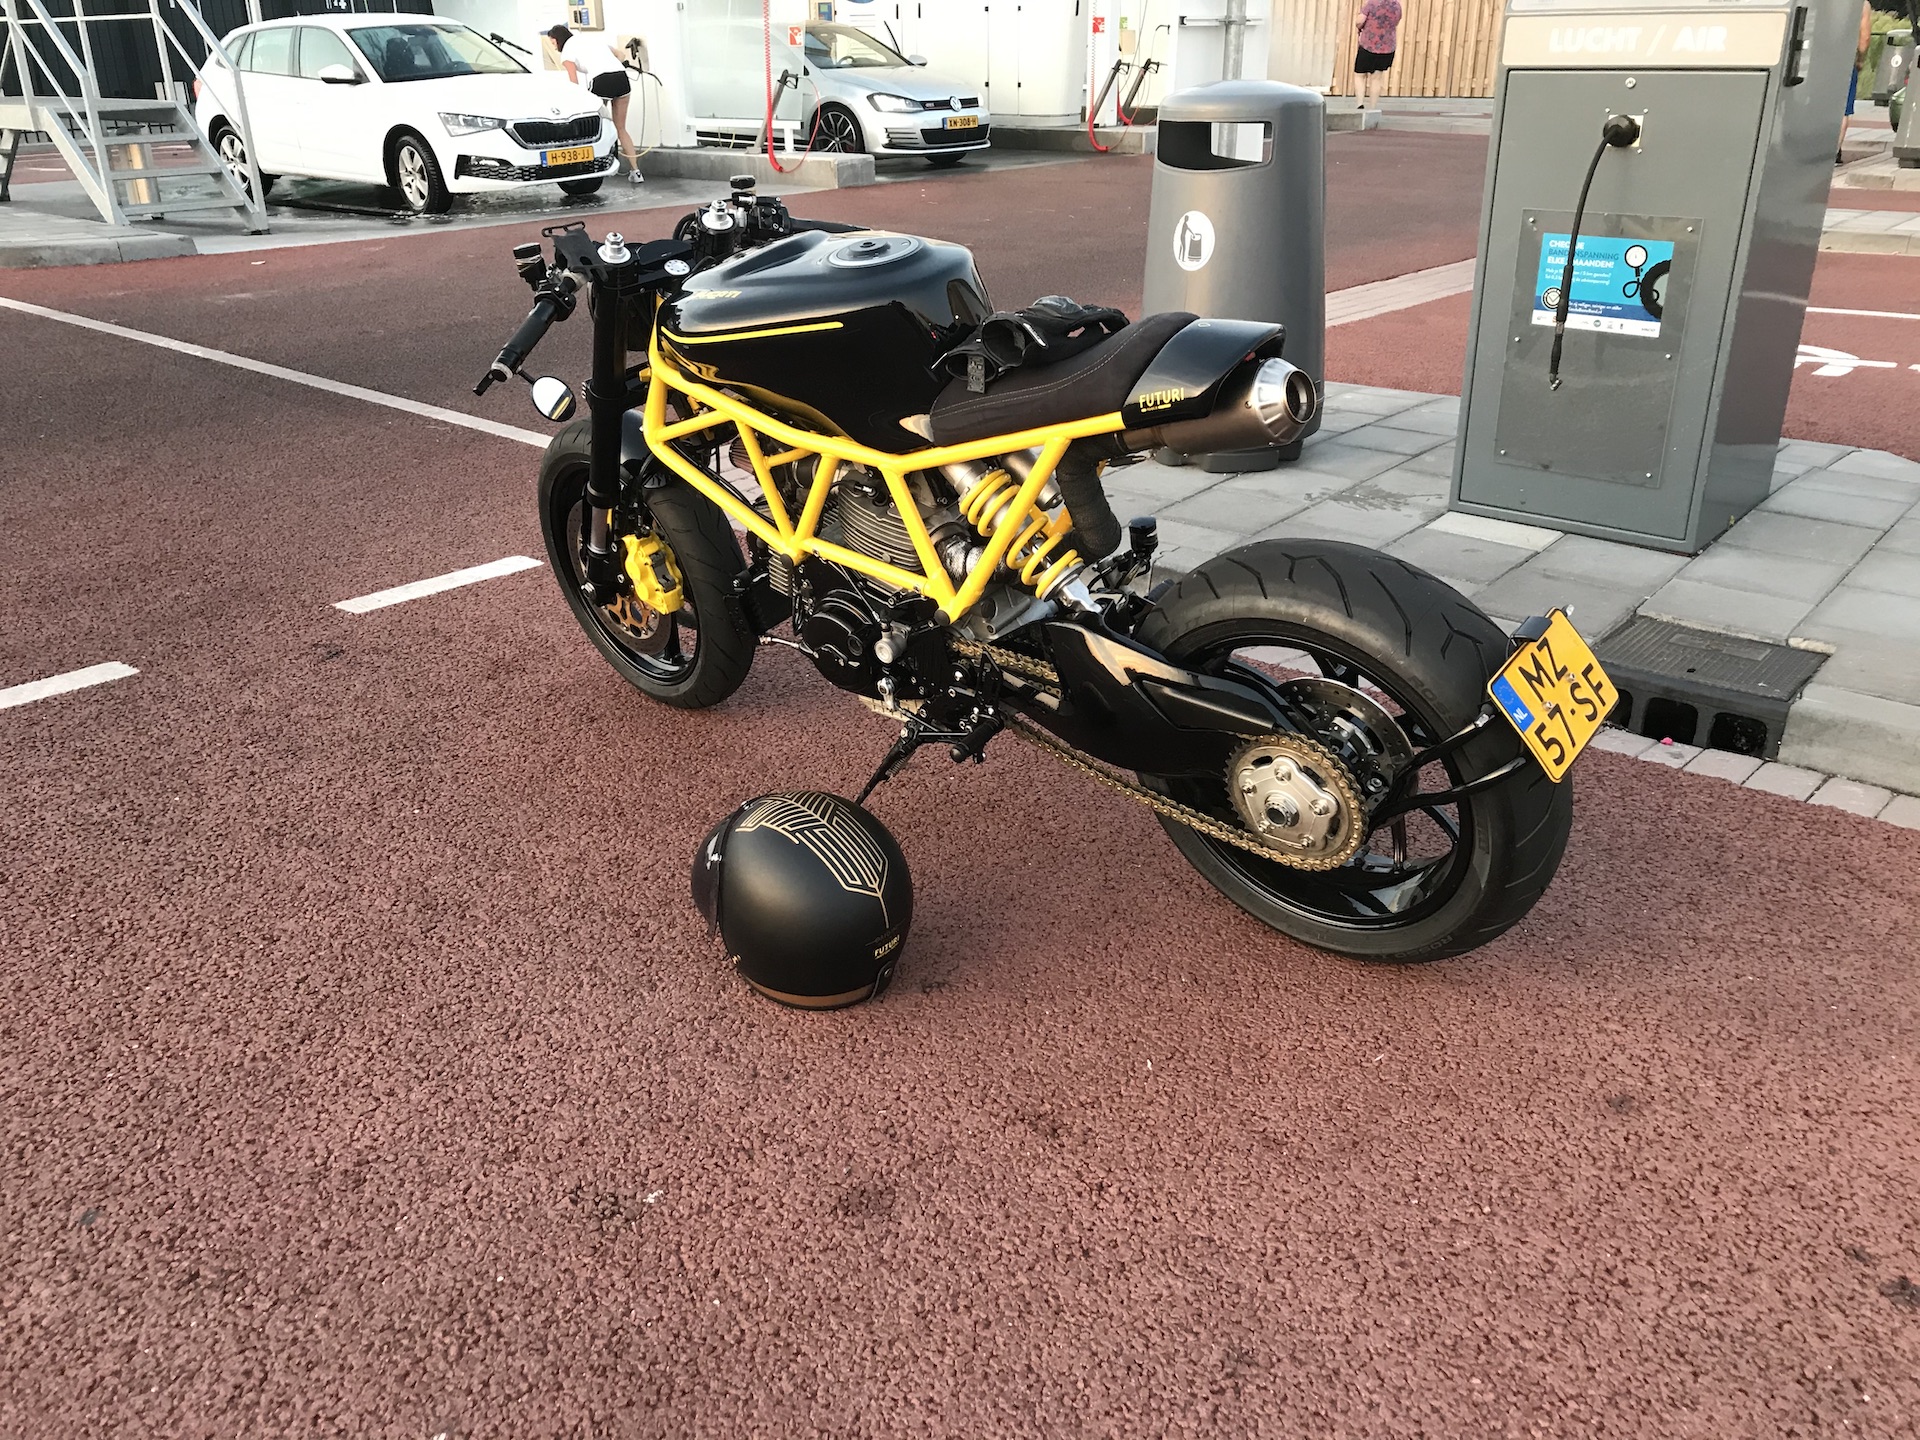
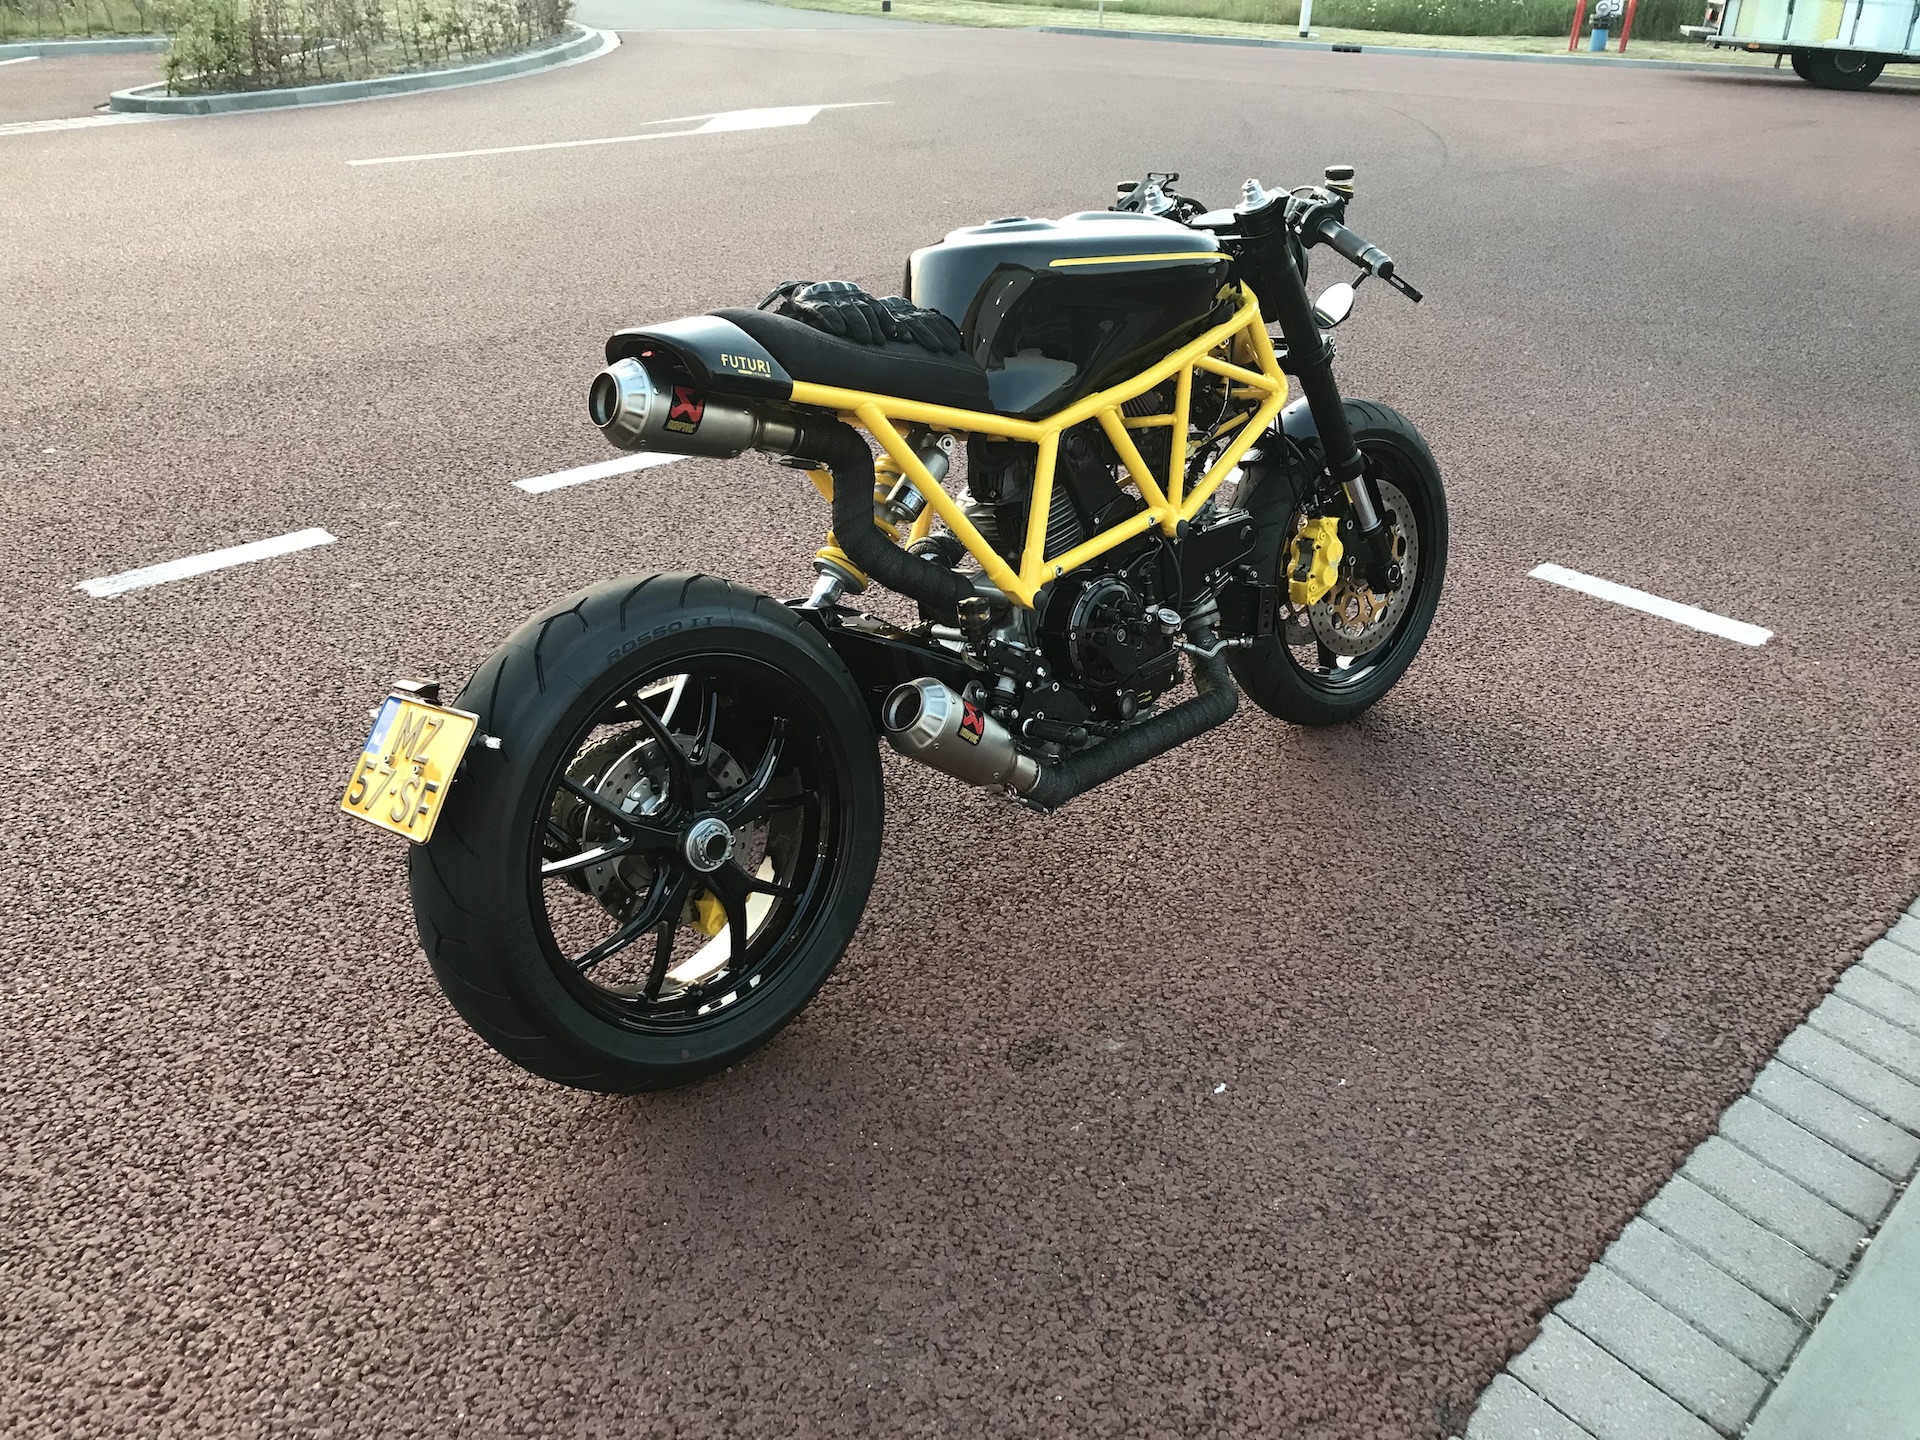
THE FINAL RESULT


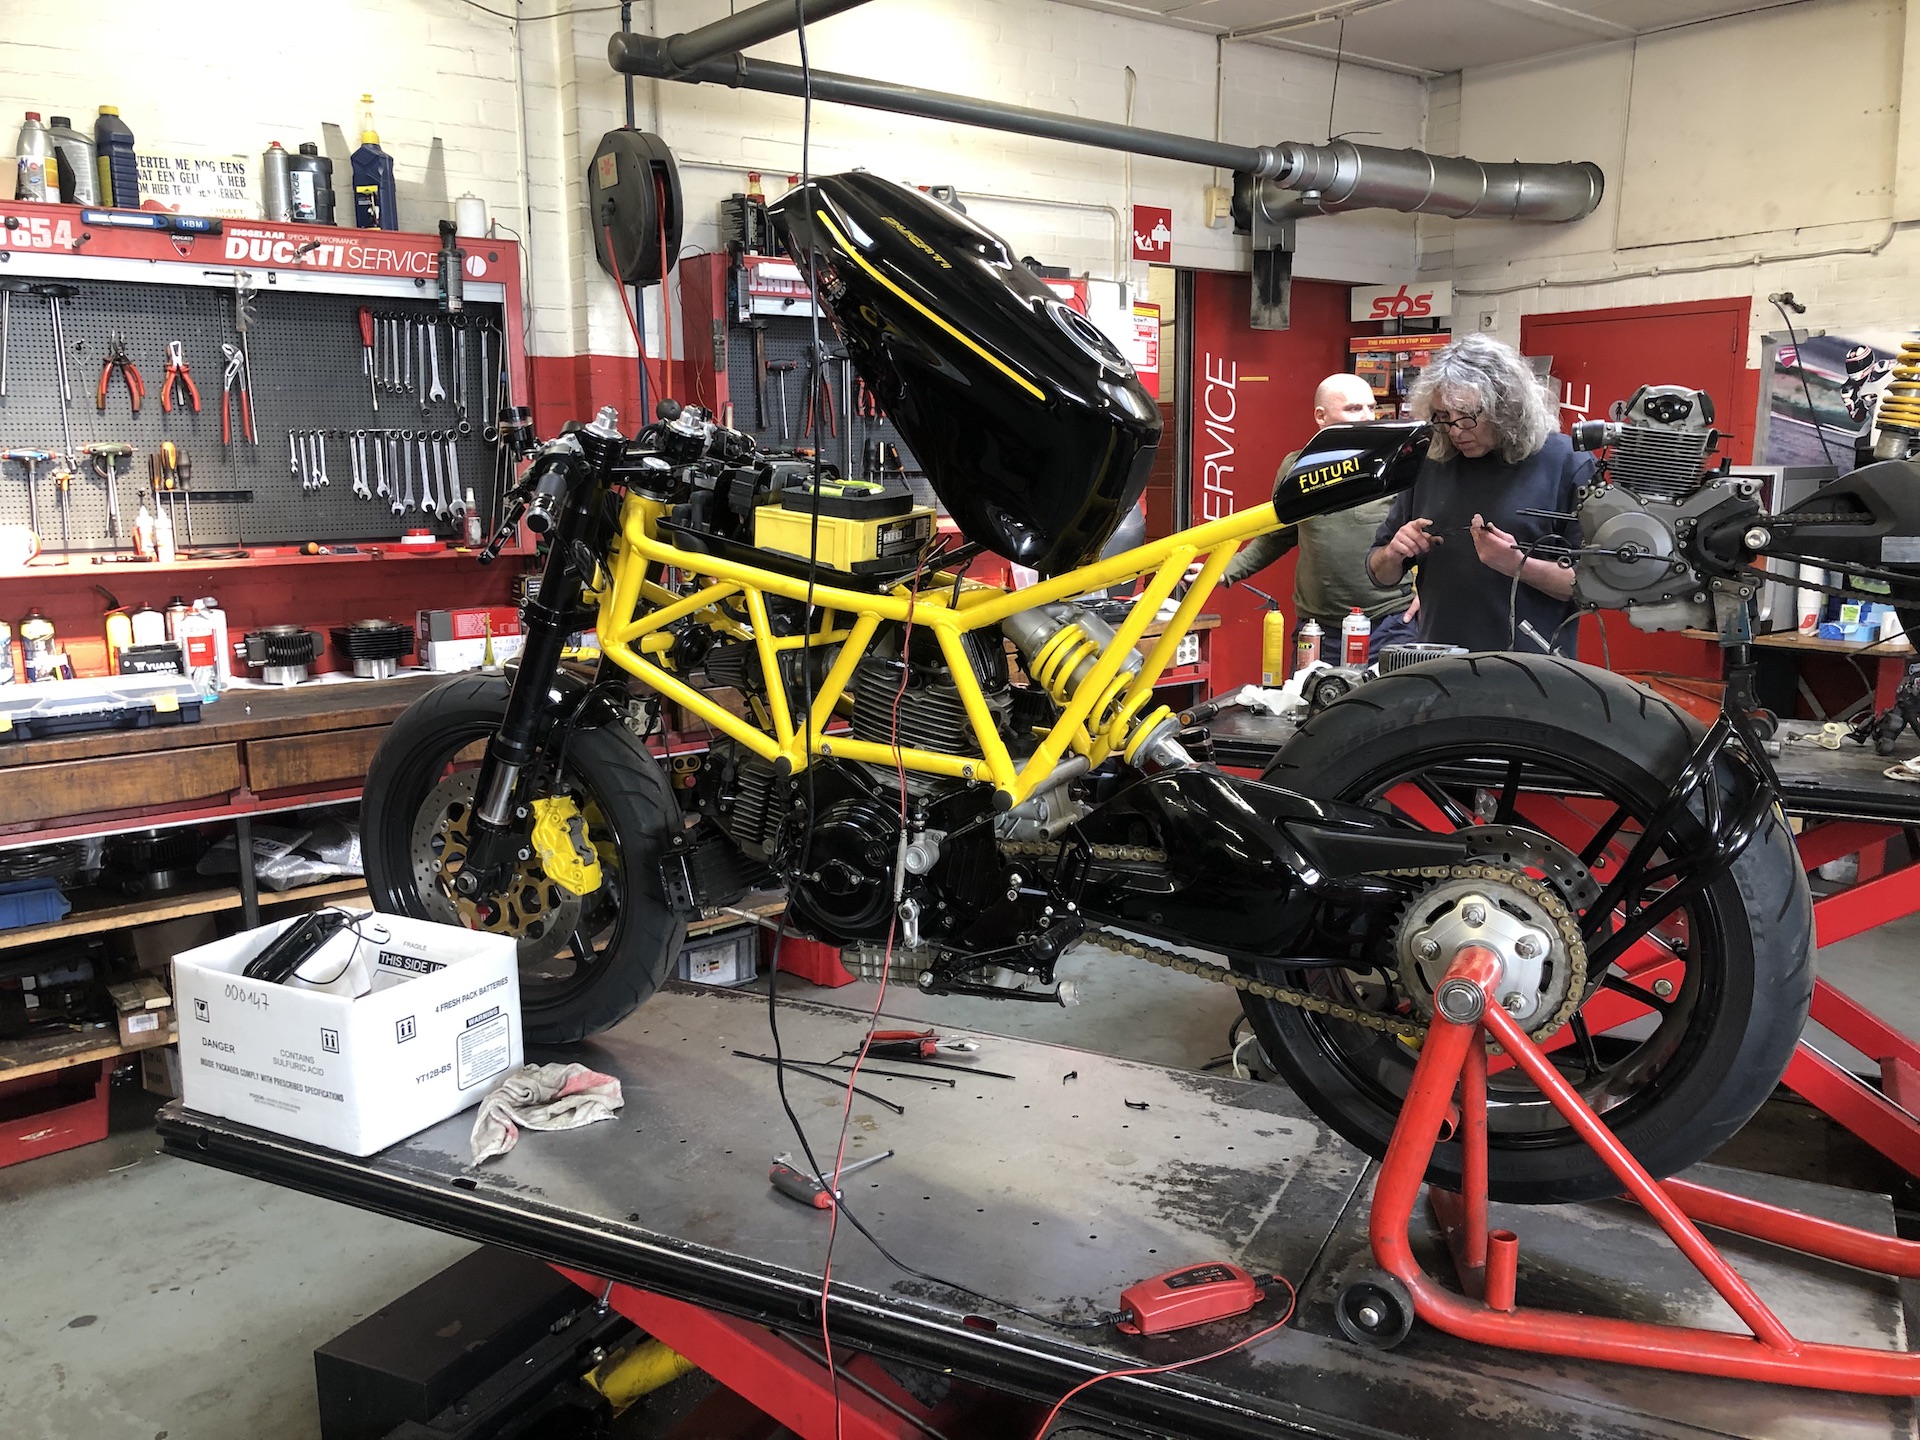
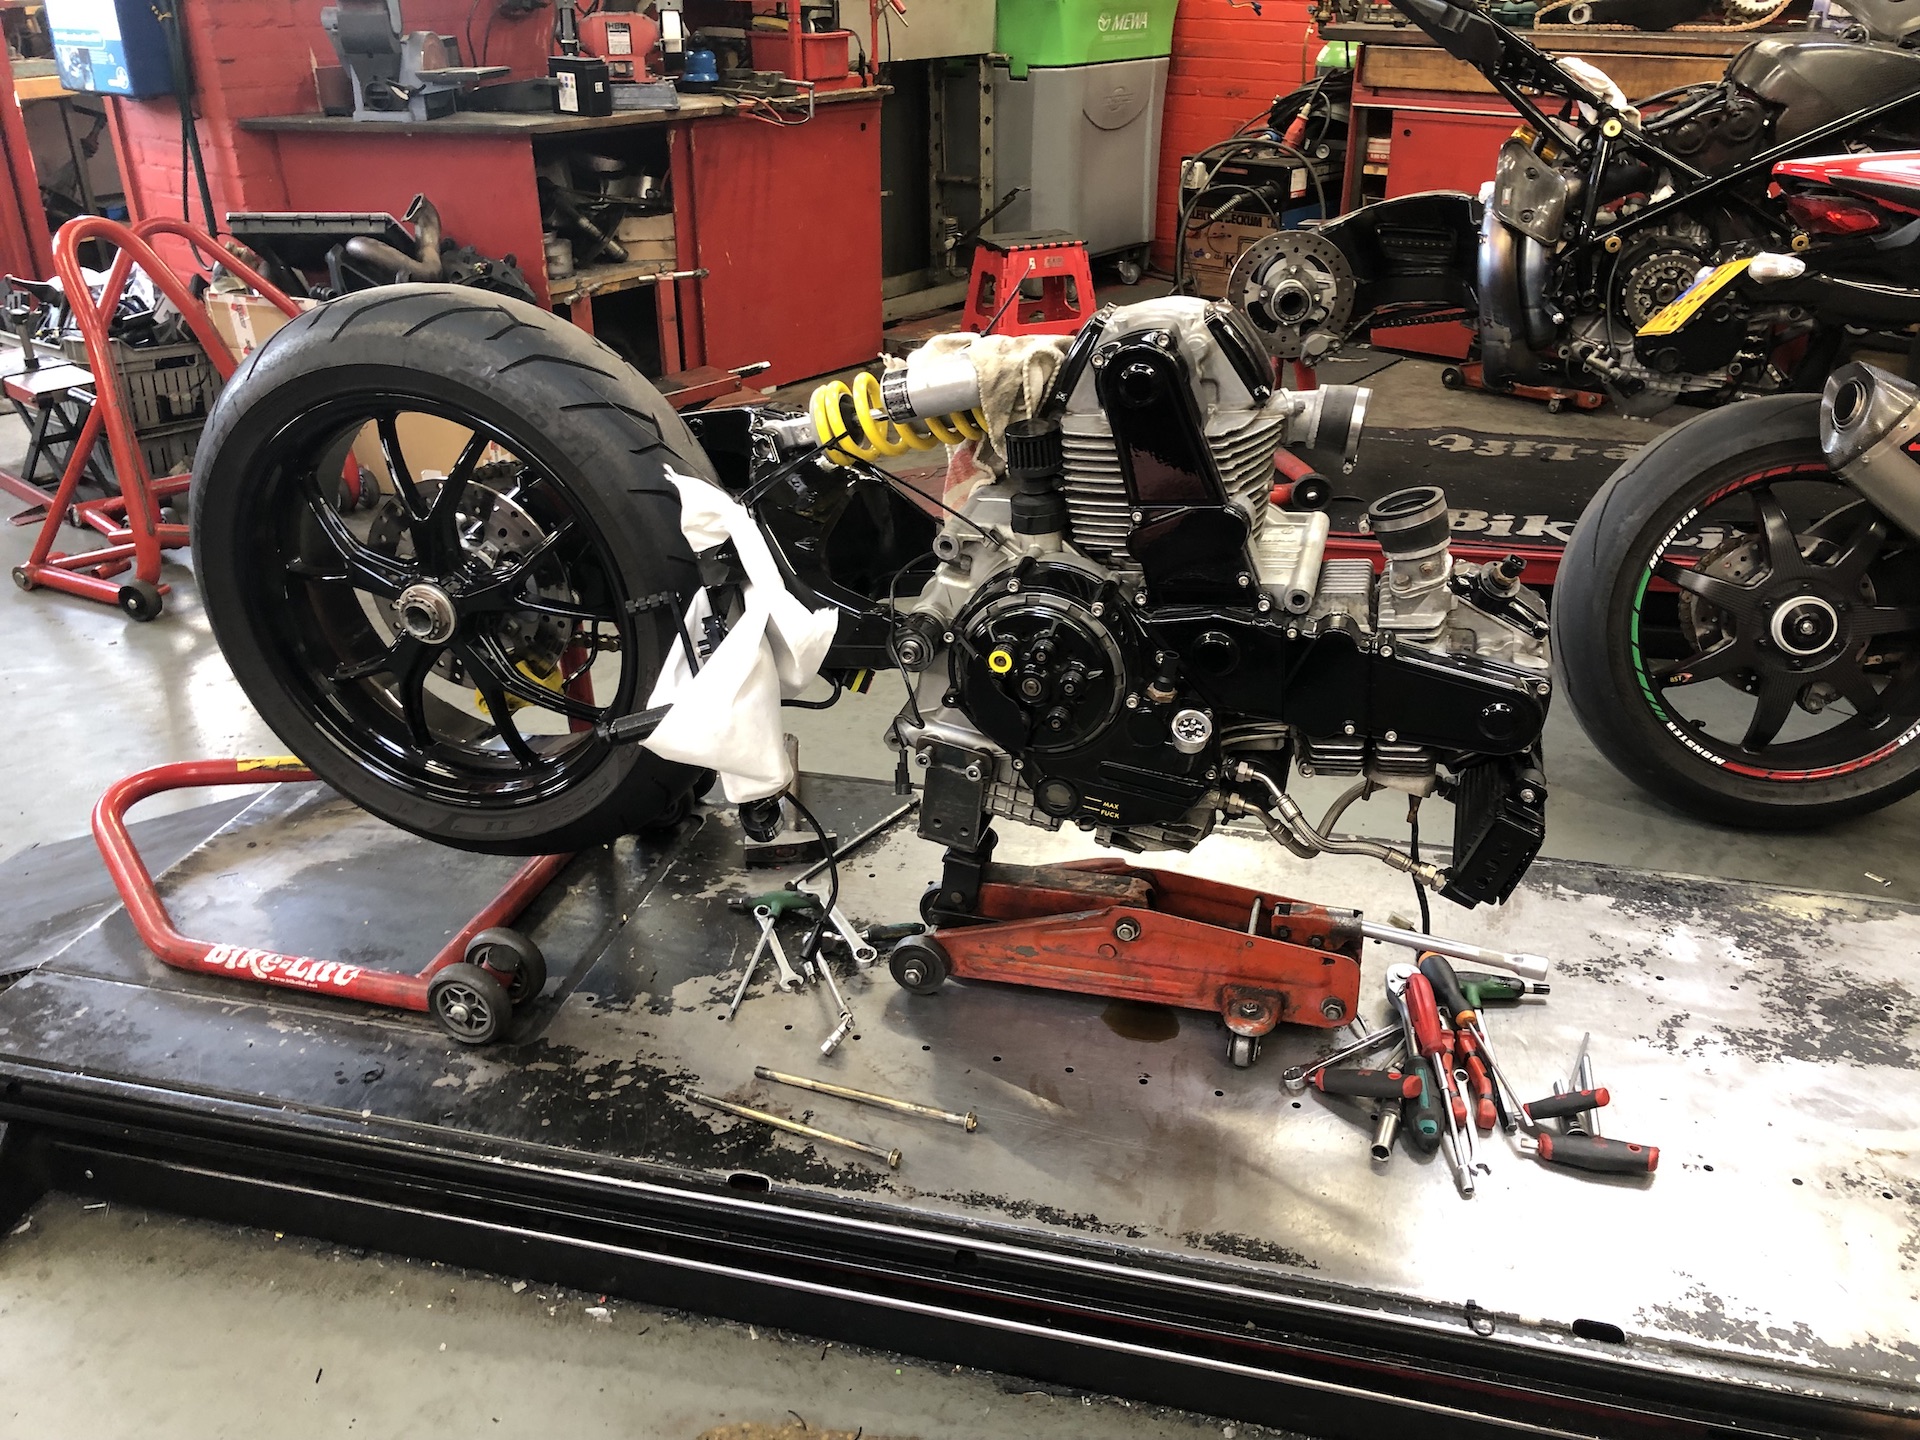
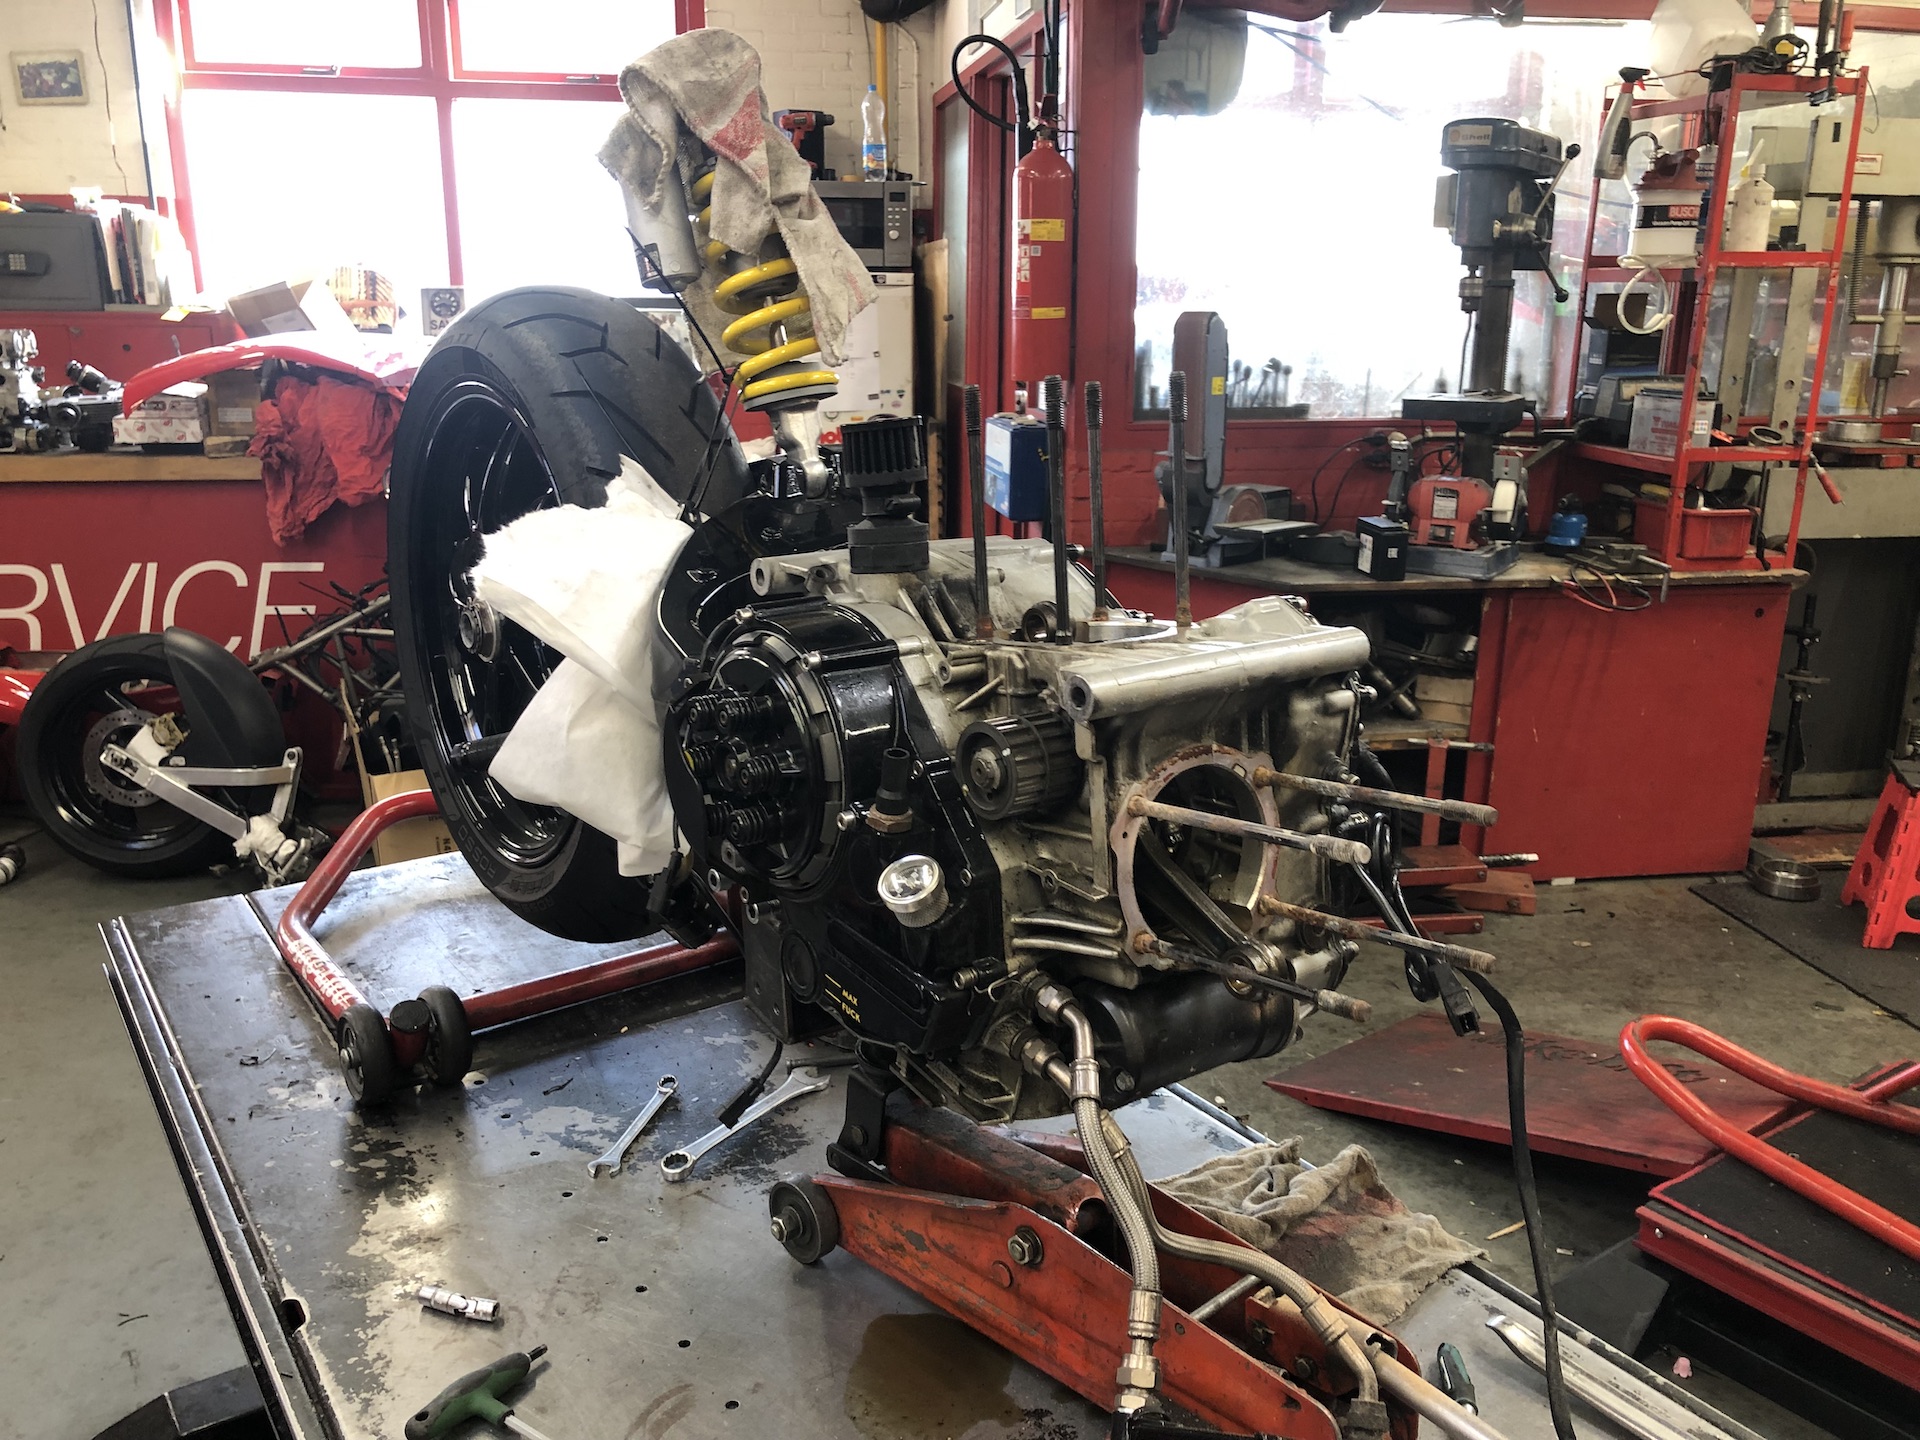
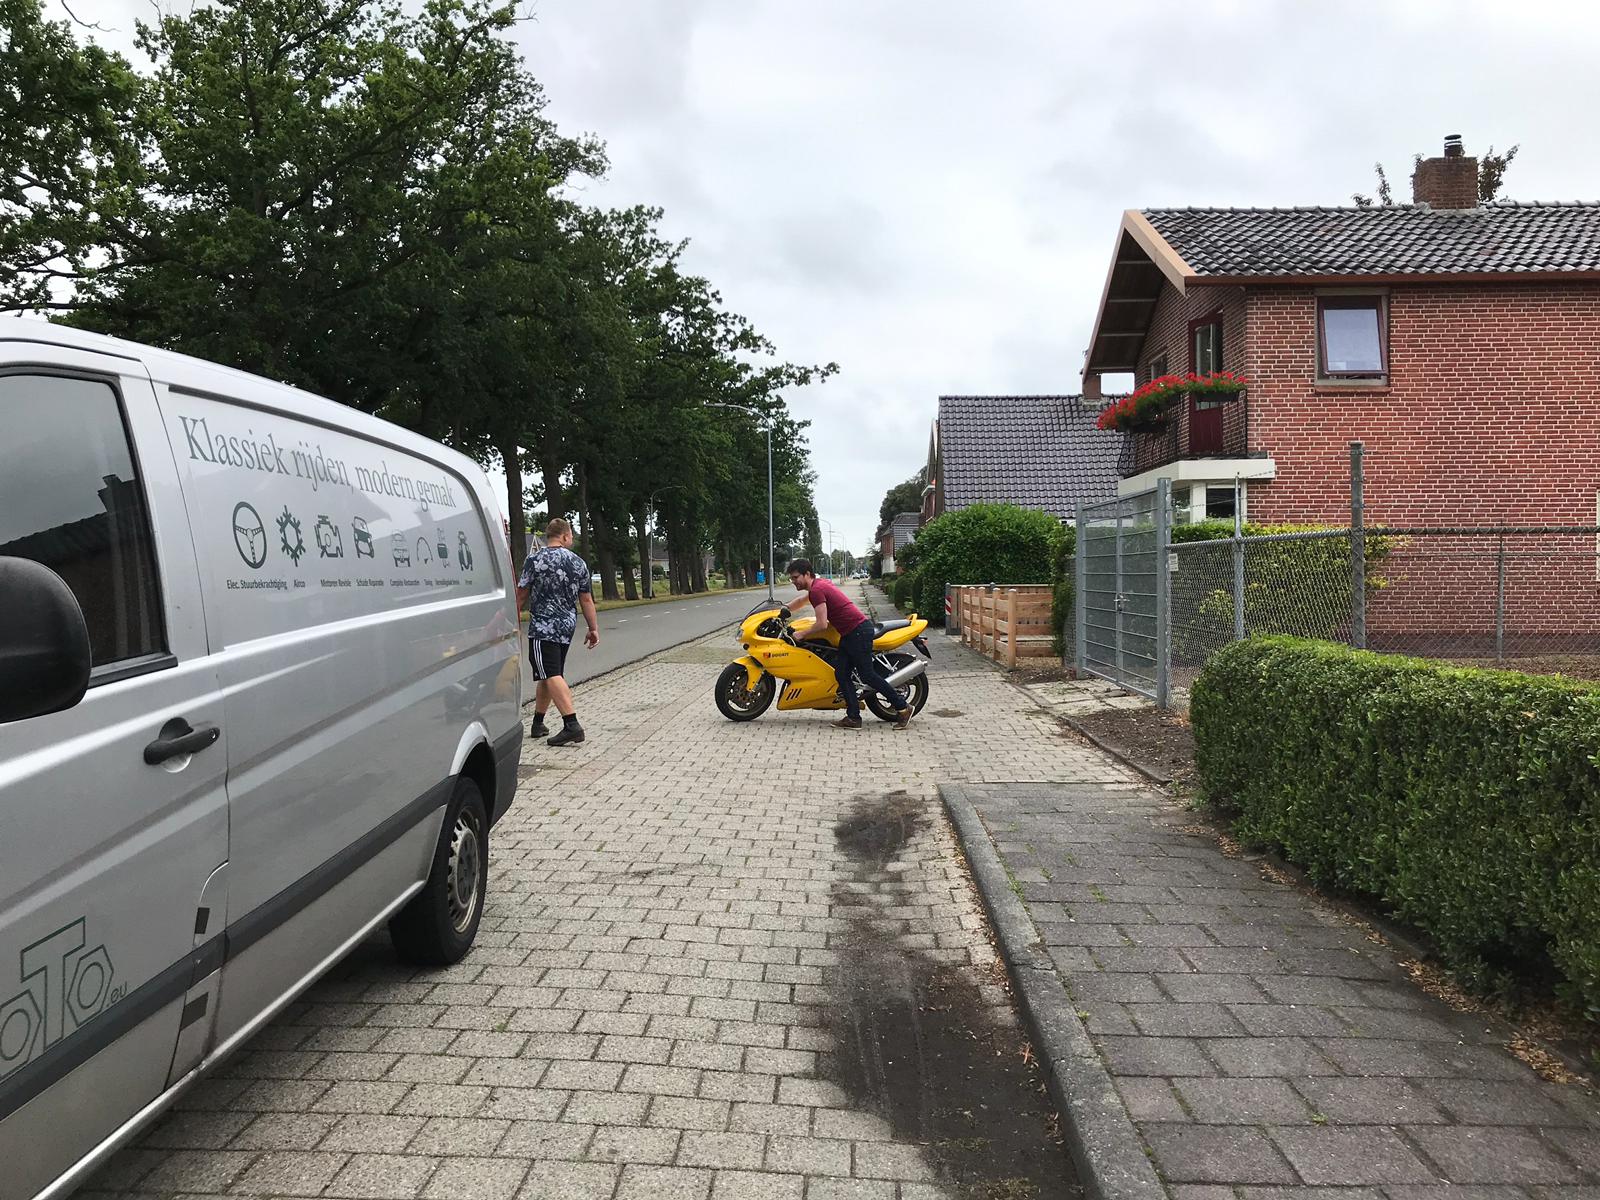
BACK FOR TUNING & MAINTENANCE, 1 YEAR LATER
The new owner of the bike drove a full year on the bike with minor issues. But just to make sure everything was good for the upcoming season we planned large maintenance. And offcourse 1 thing that also had to be done was some tuning!
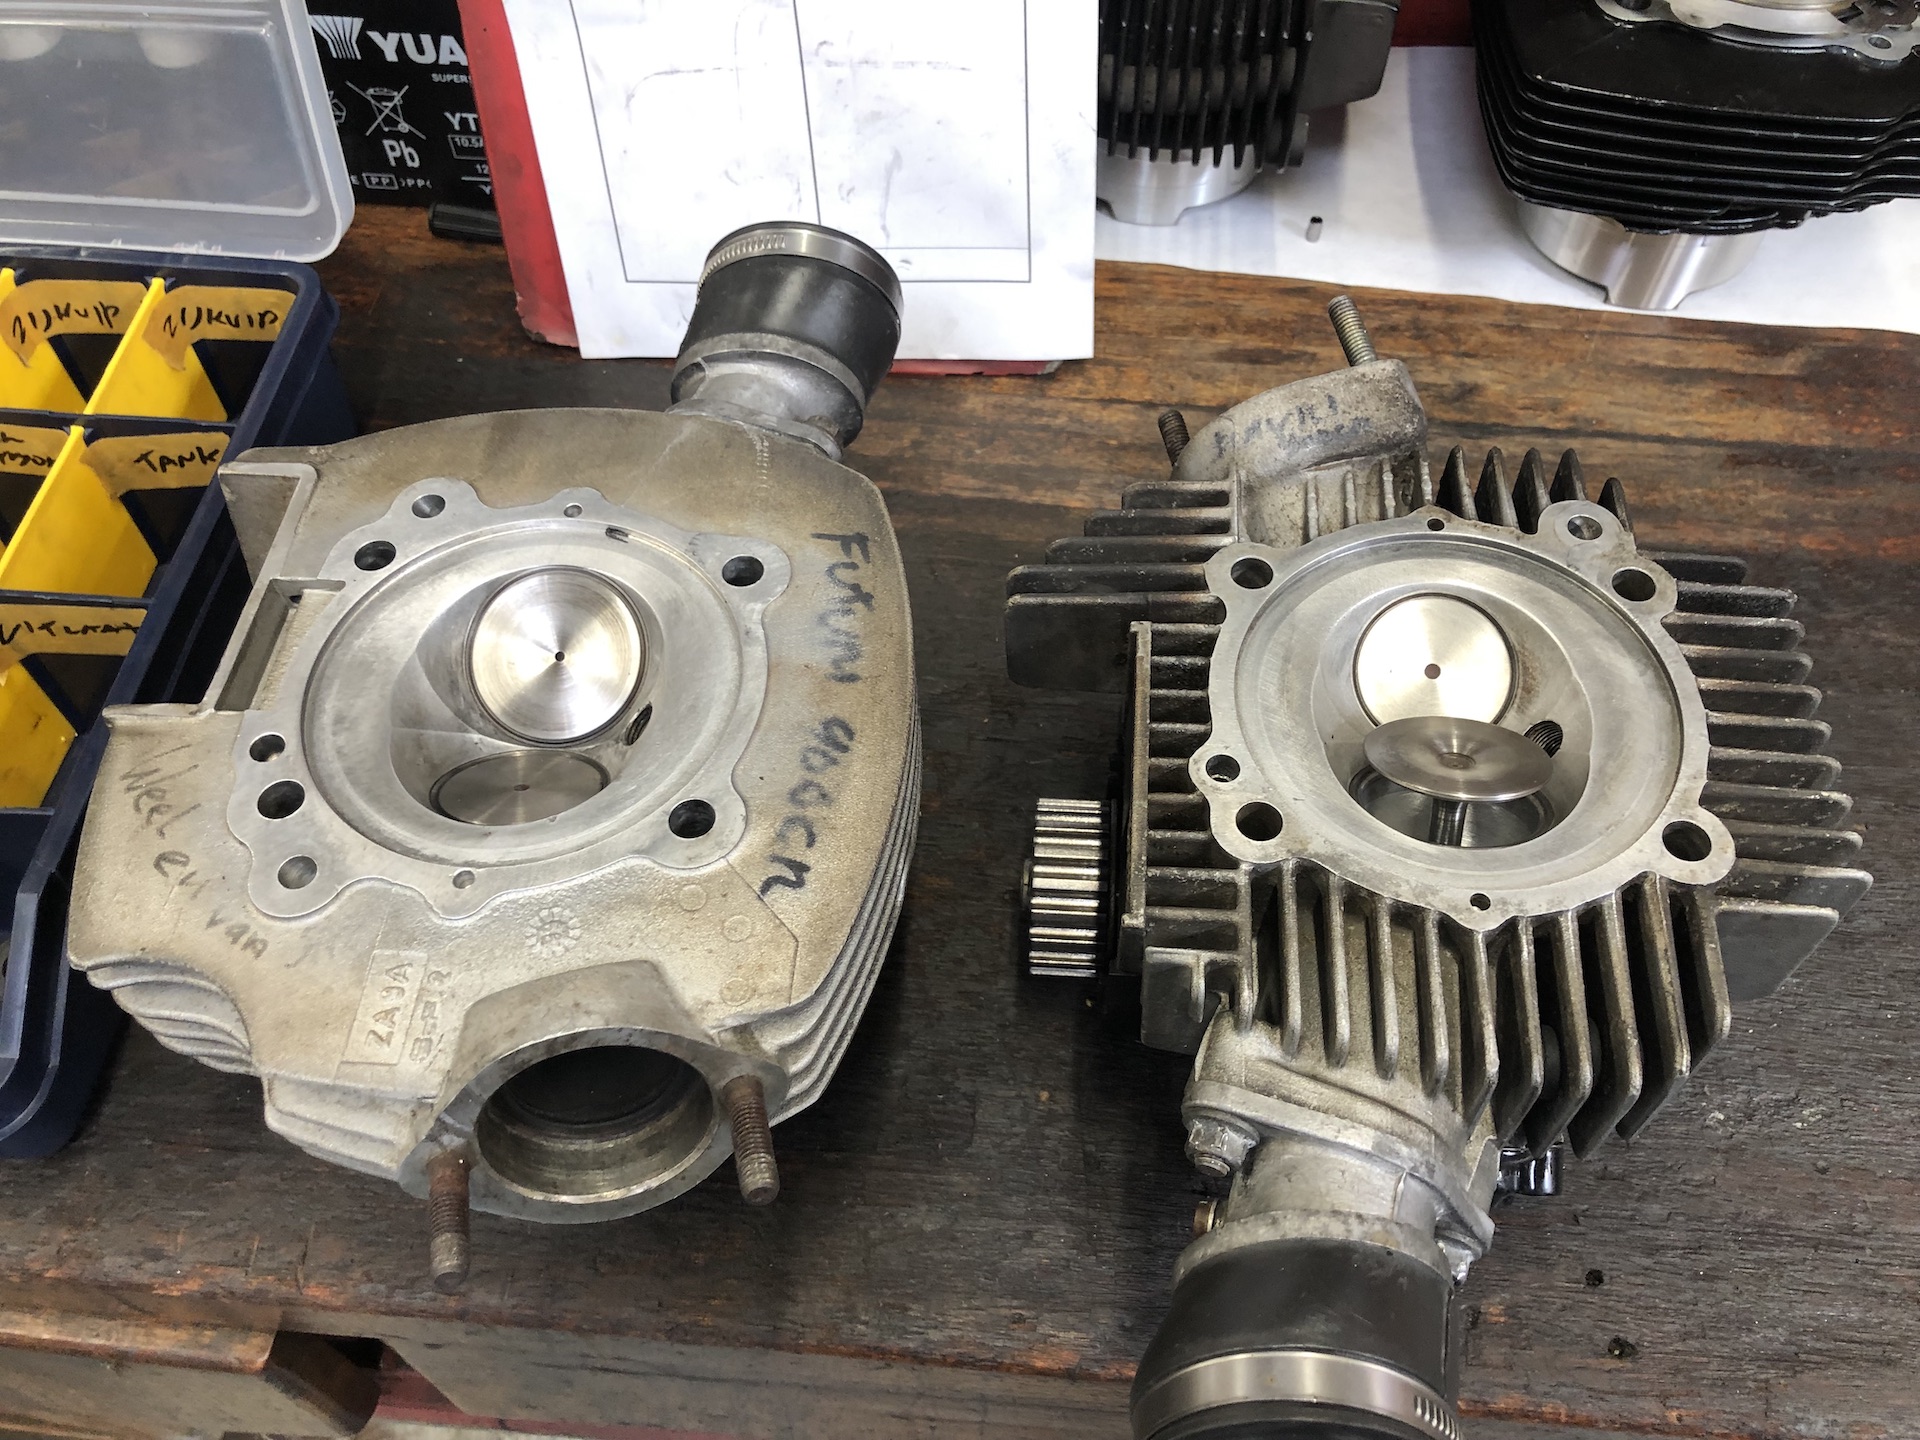
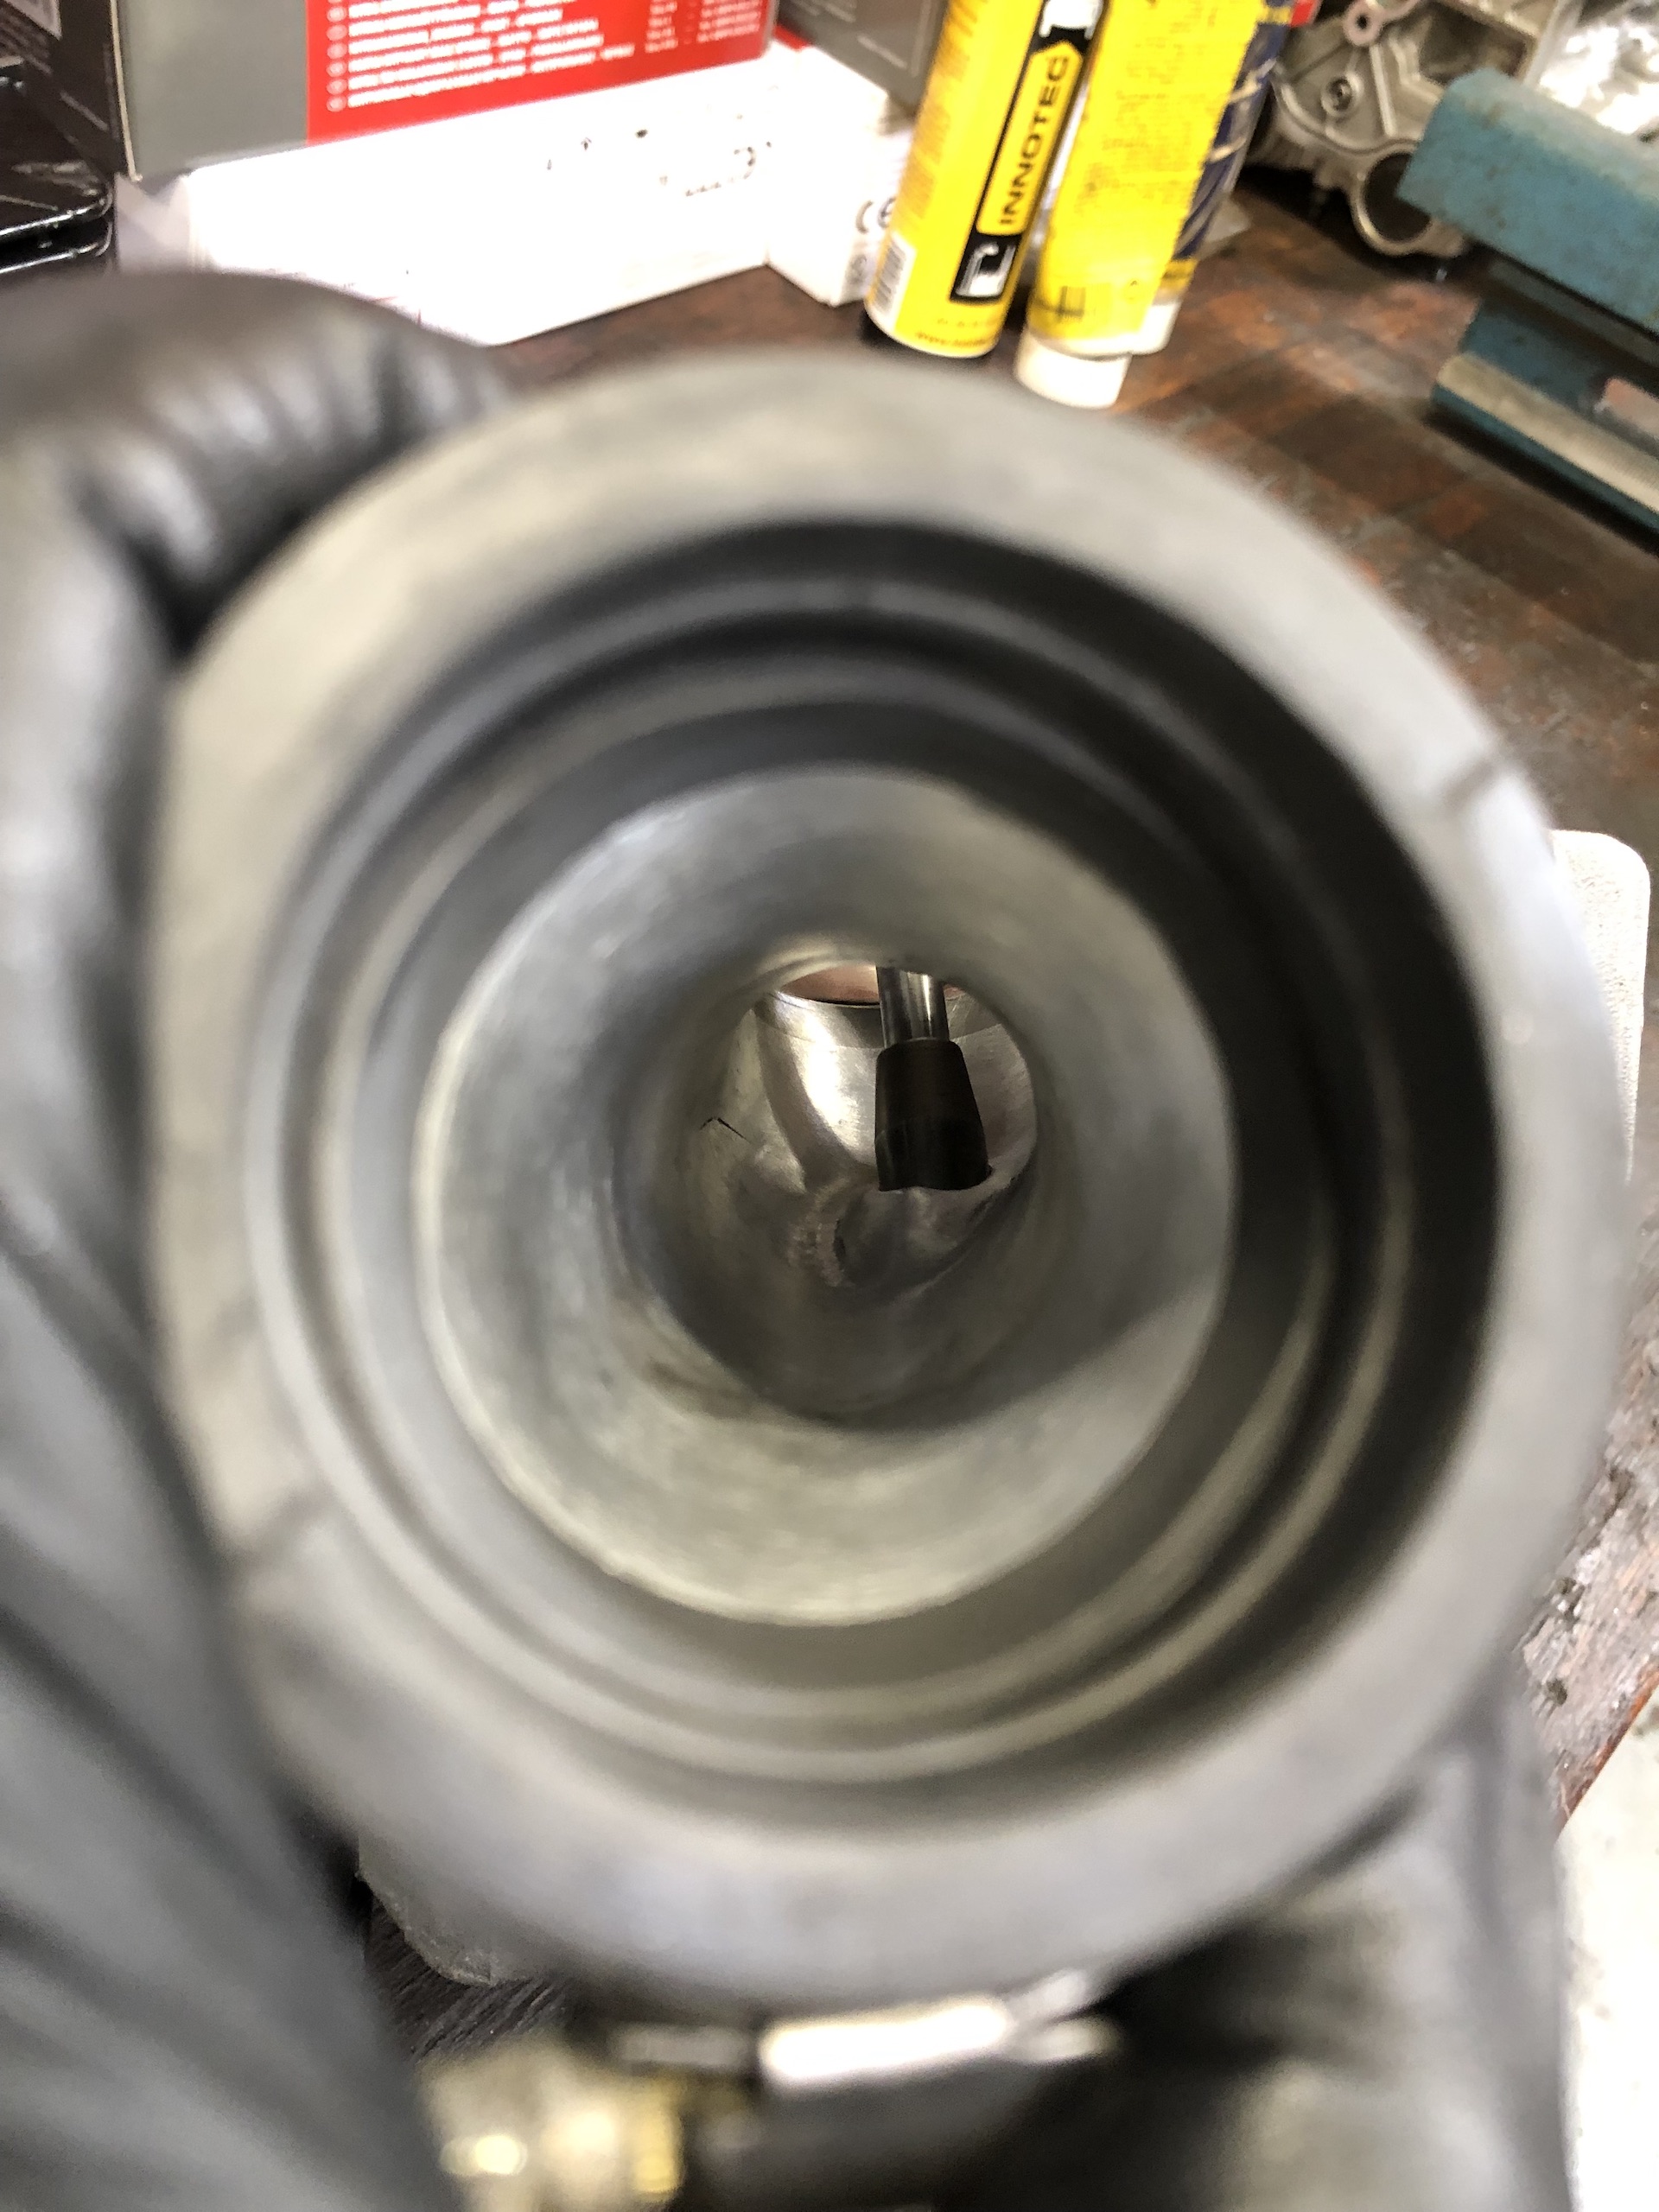
Cylinders and heads all looked brand new. Looks like they were replaced in the past by the previous owner. Intake has been flowed to allow for maximum power. As you can see in the videos we went from 78HP on the rear wheel to 88HP. More then a 10% increase!
Bike is all ready now for the Bike Shed London Show 2022.

THE BUILD PROCESS
THE ORIGINAL BIKE
The original bike i bought in July 2019. A Ducati 900SS IE (injection) from 1999. It ran, not great, but it ran ;). Only did a short testdrive since i did not know how the quality of the belts were. Also had a horrible noise from the clutch. No cracks at the stearing head.
DISMANTELING AND 1ST SERVICE
First thing i wanted to do was to completely check the engine and give it a service. Just to make sure the valve clearances were ok, belts, oil etc etc. First time ever doing this, but thinking with logic and following guides helps allot.
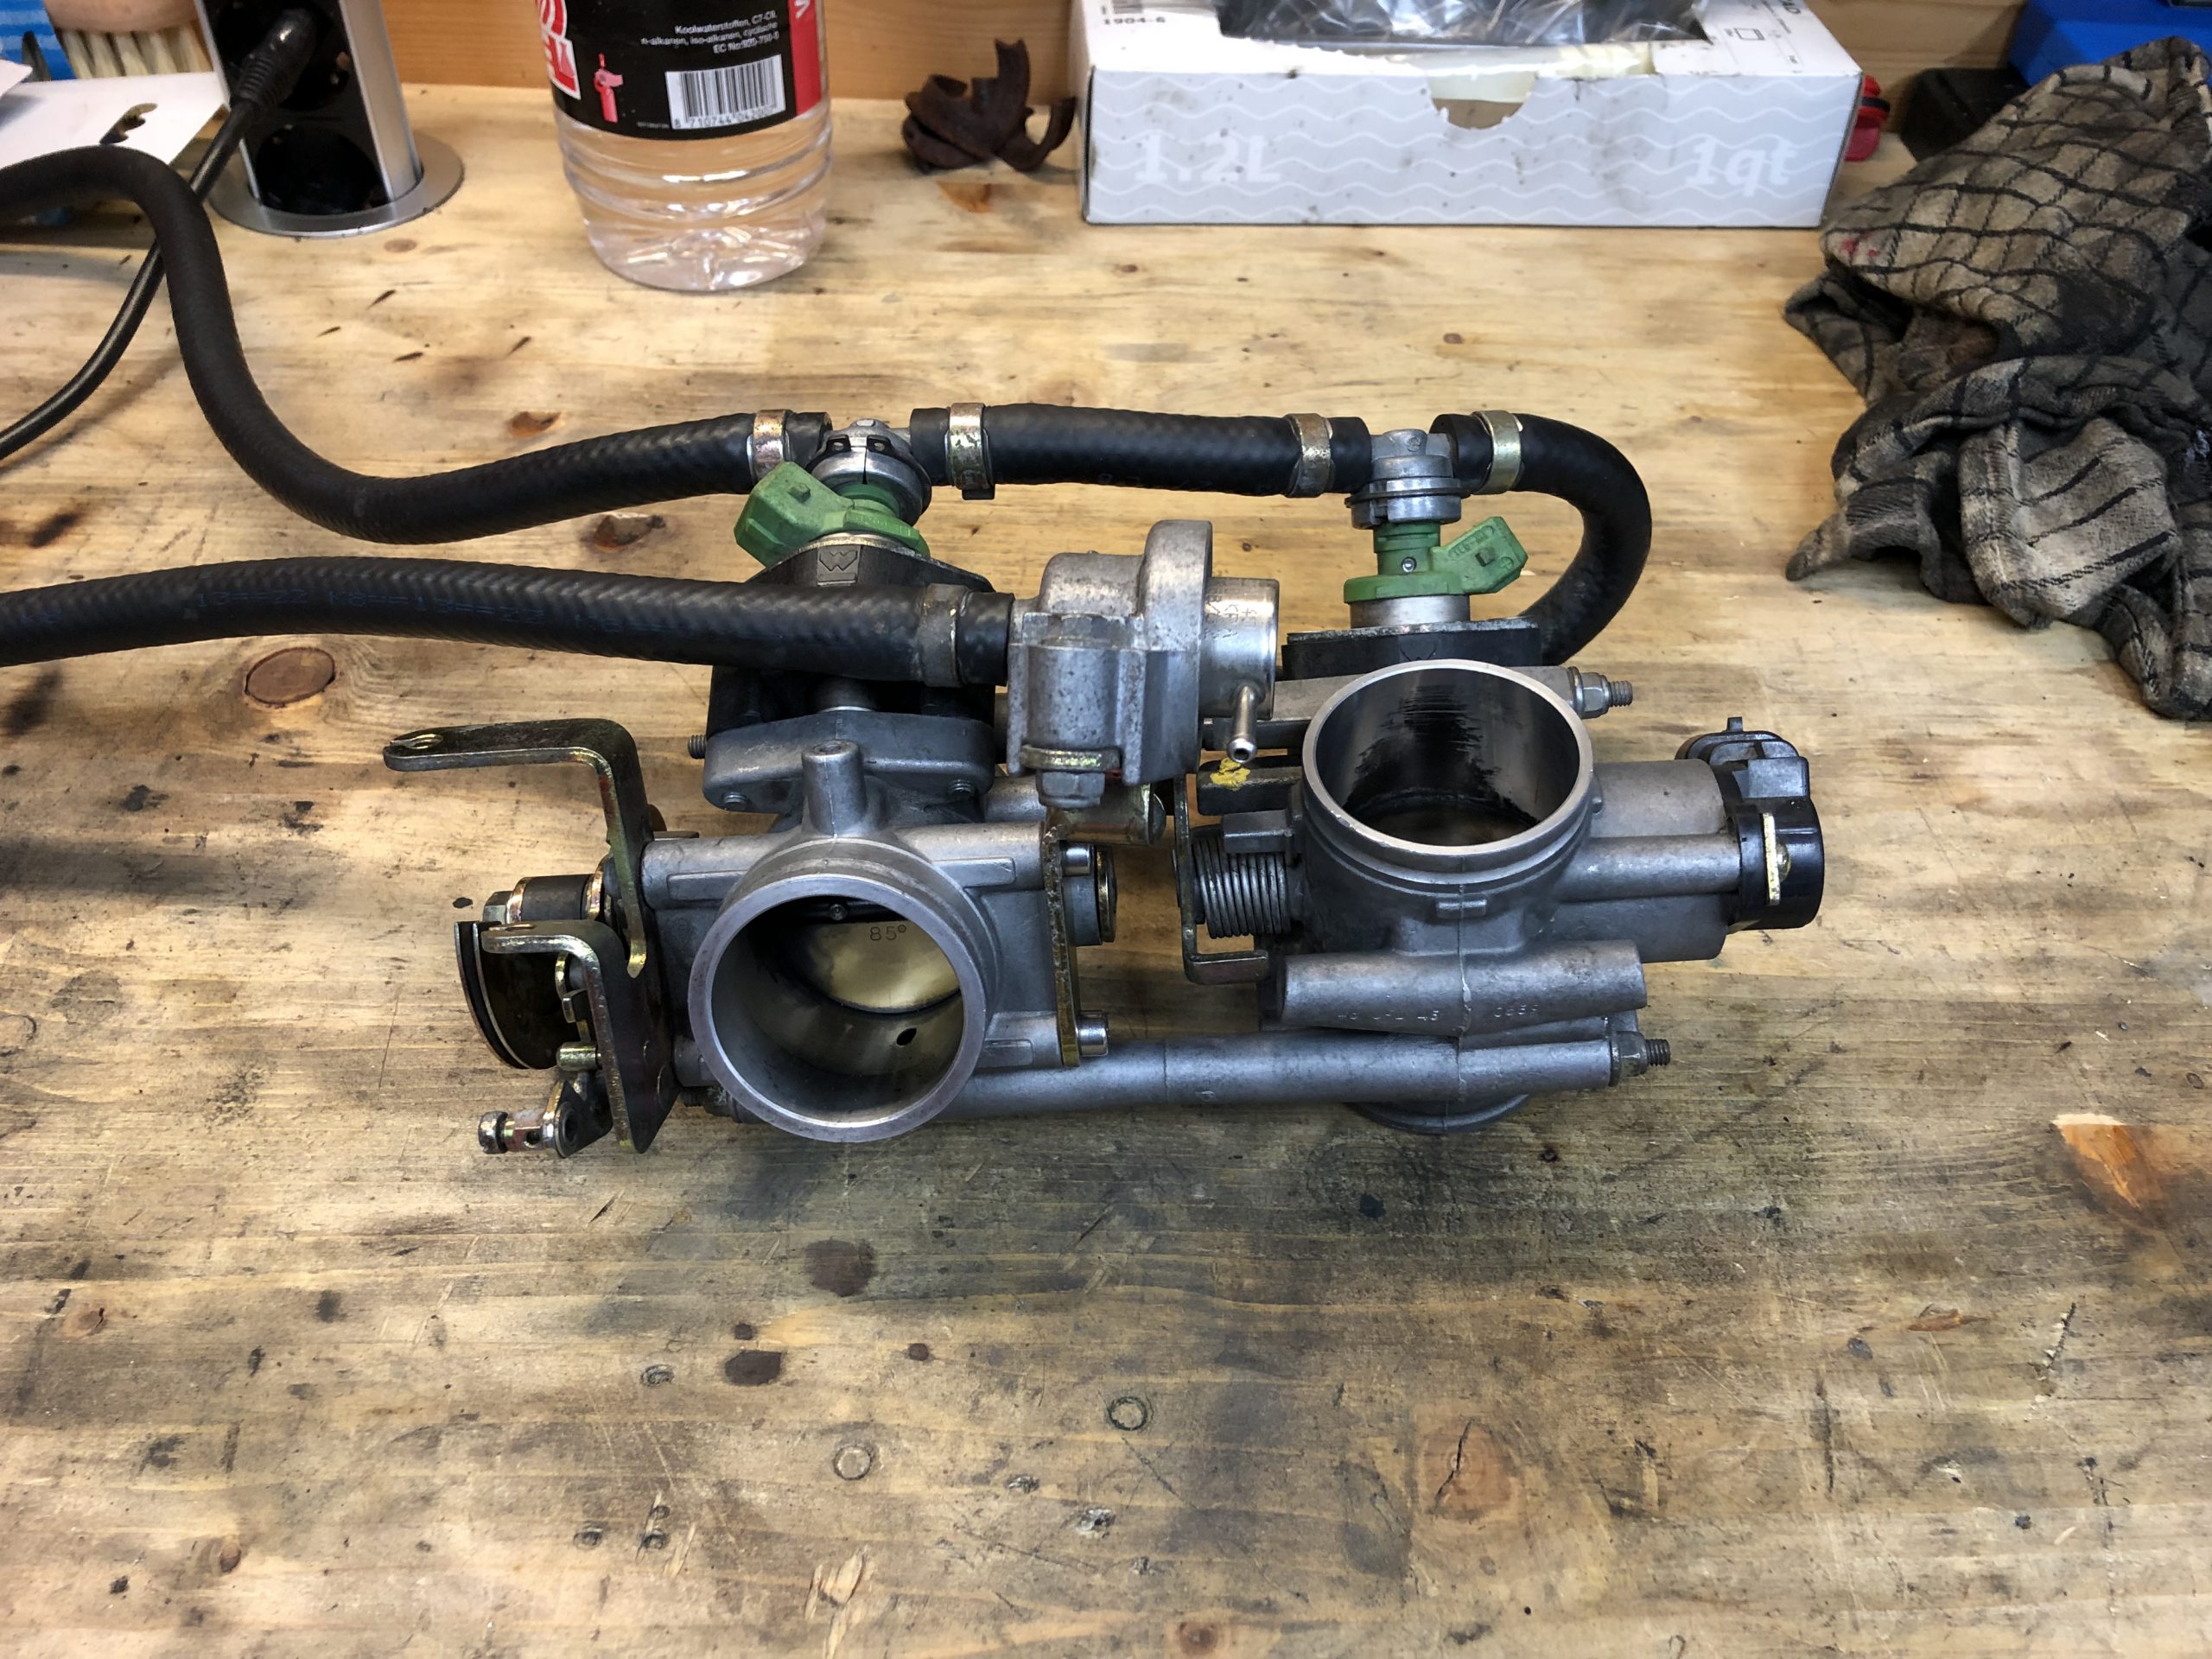
Throttle body’s were dirty as fuck and the tank had allot of gunk in it. Nothing i could not handle.
The video shows the reason why the clutch was making such a bad noise haha.

REBUILDING FOR THE FIRST ‘REAL’ TEST DRIVE
Everything clean, checked and serviced it was for time for the first real testdrive. Brake fluids were replaced, new clutch plates and pressure plate also.
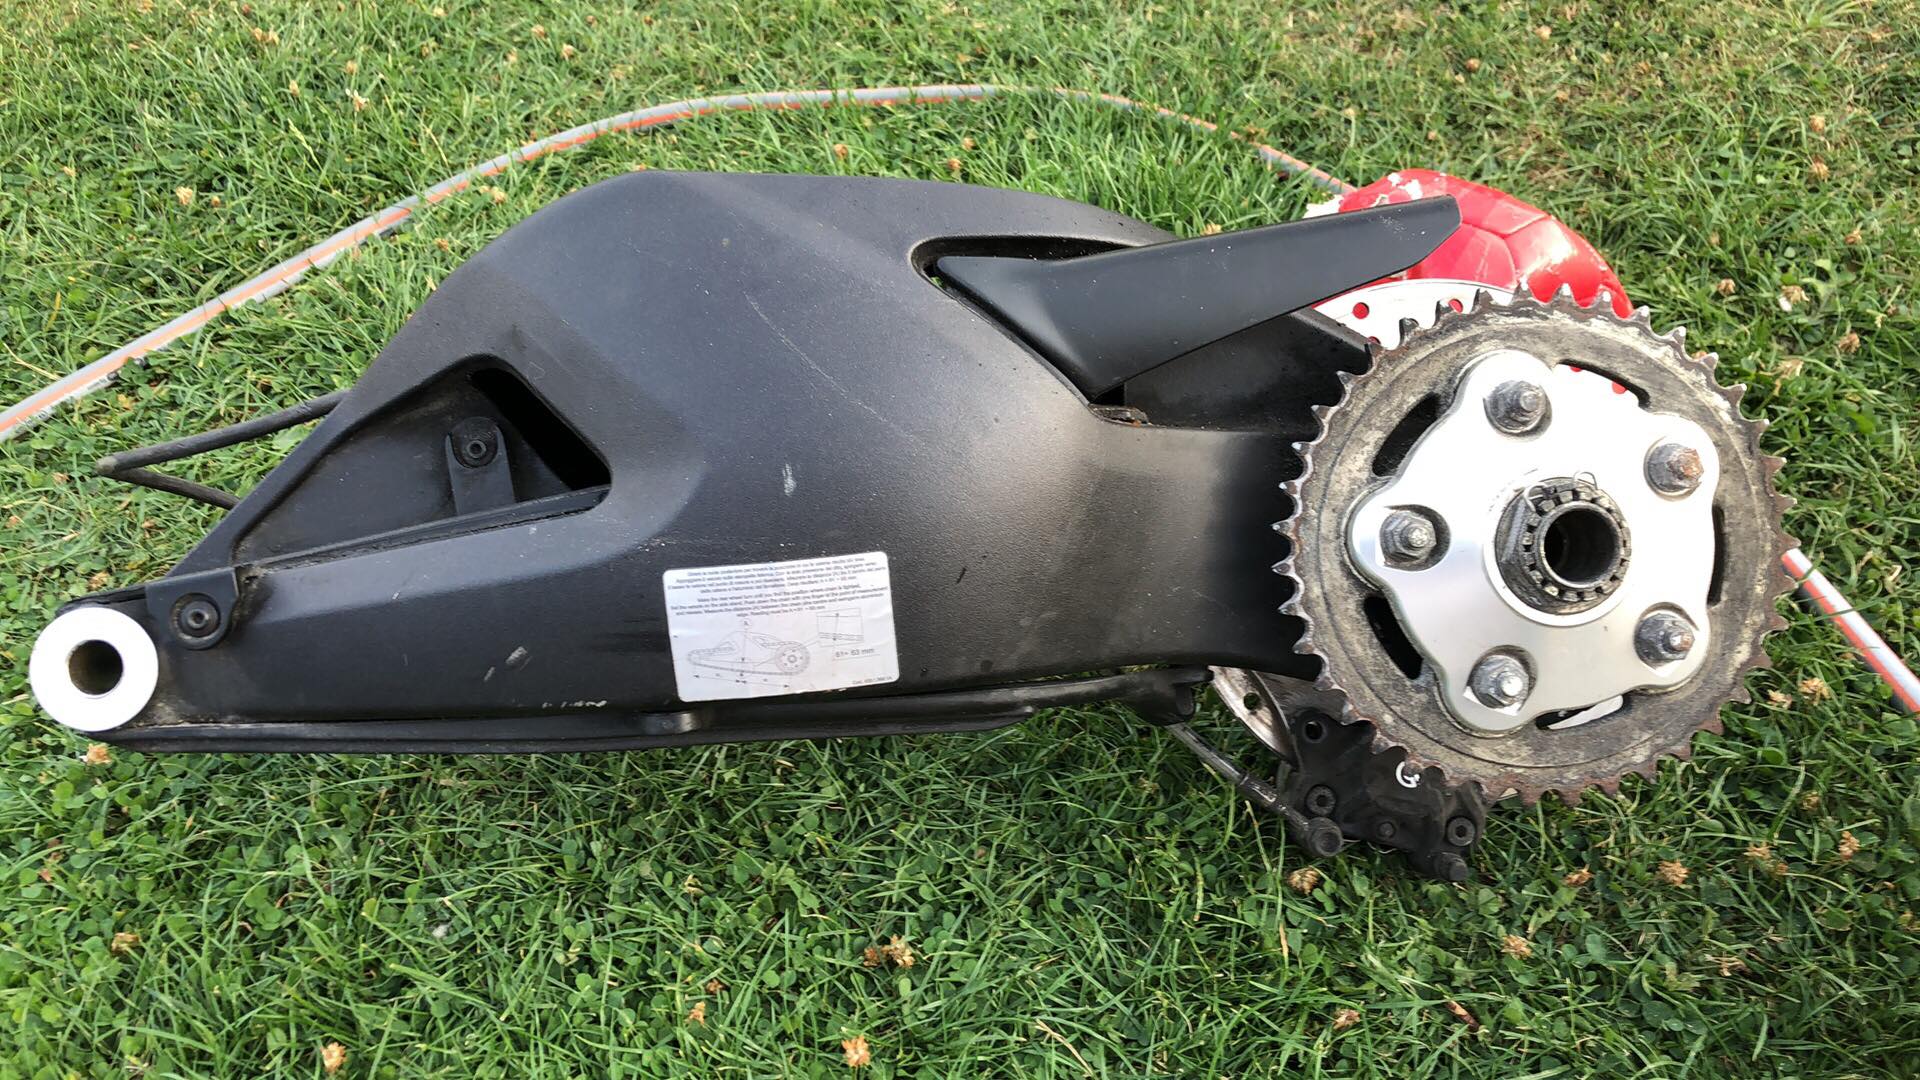
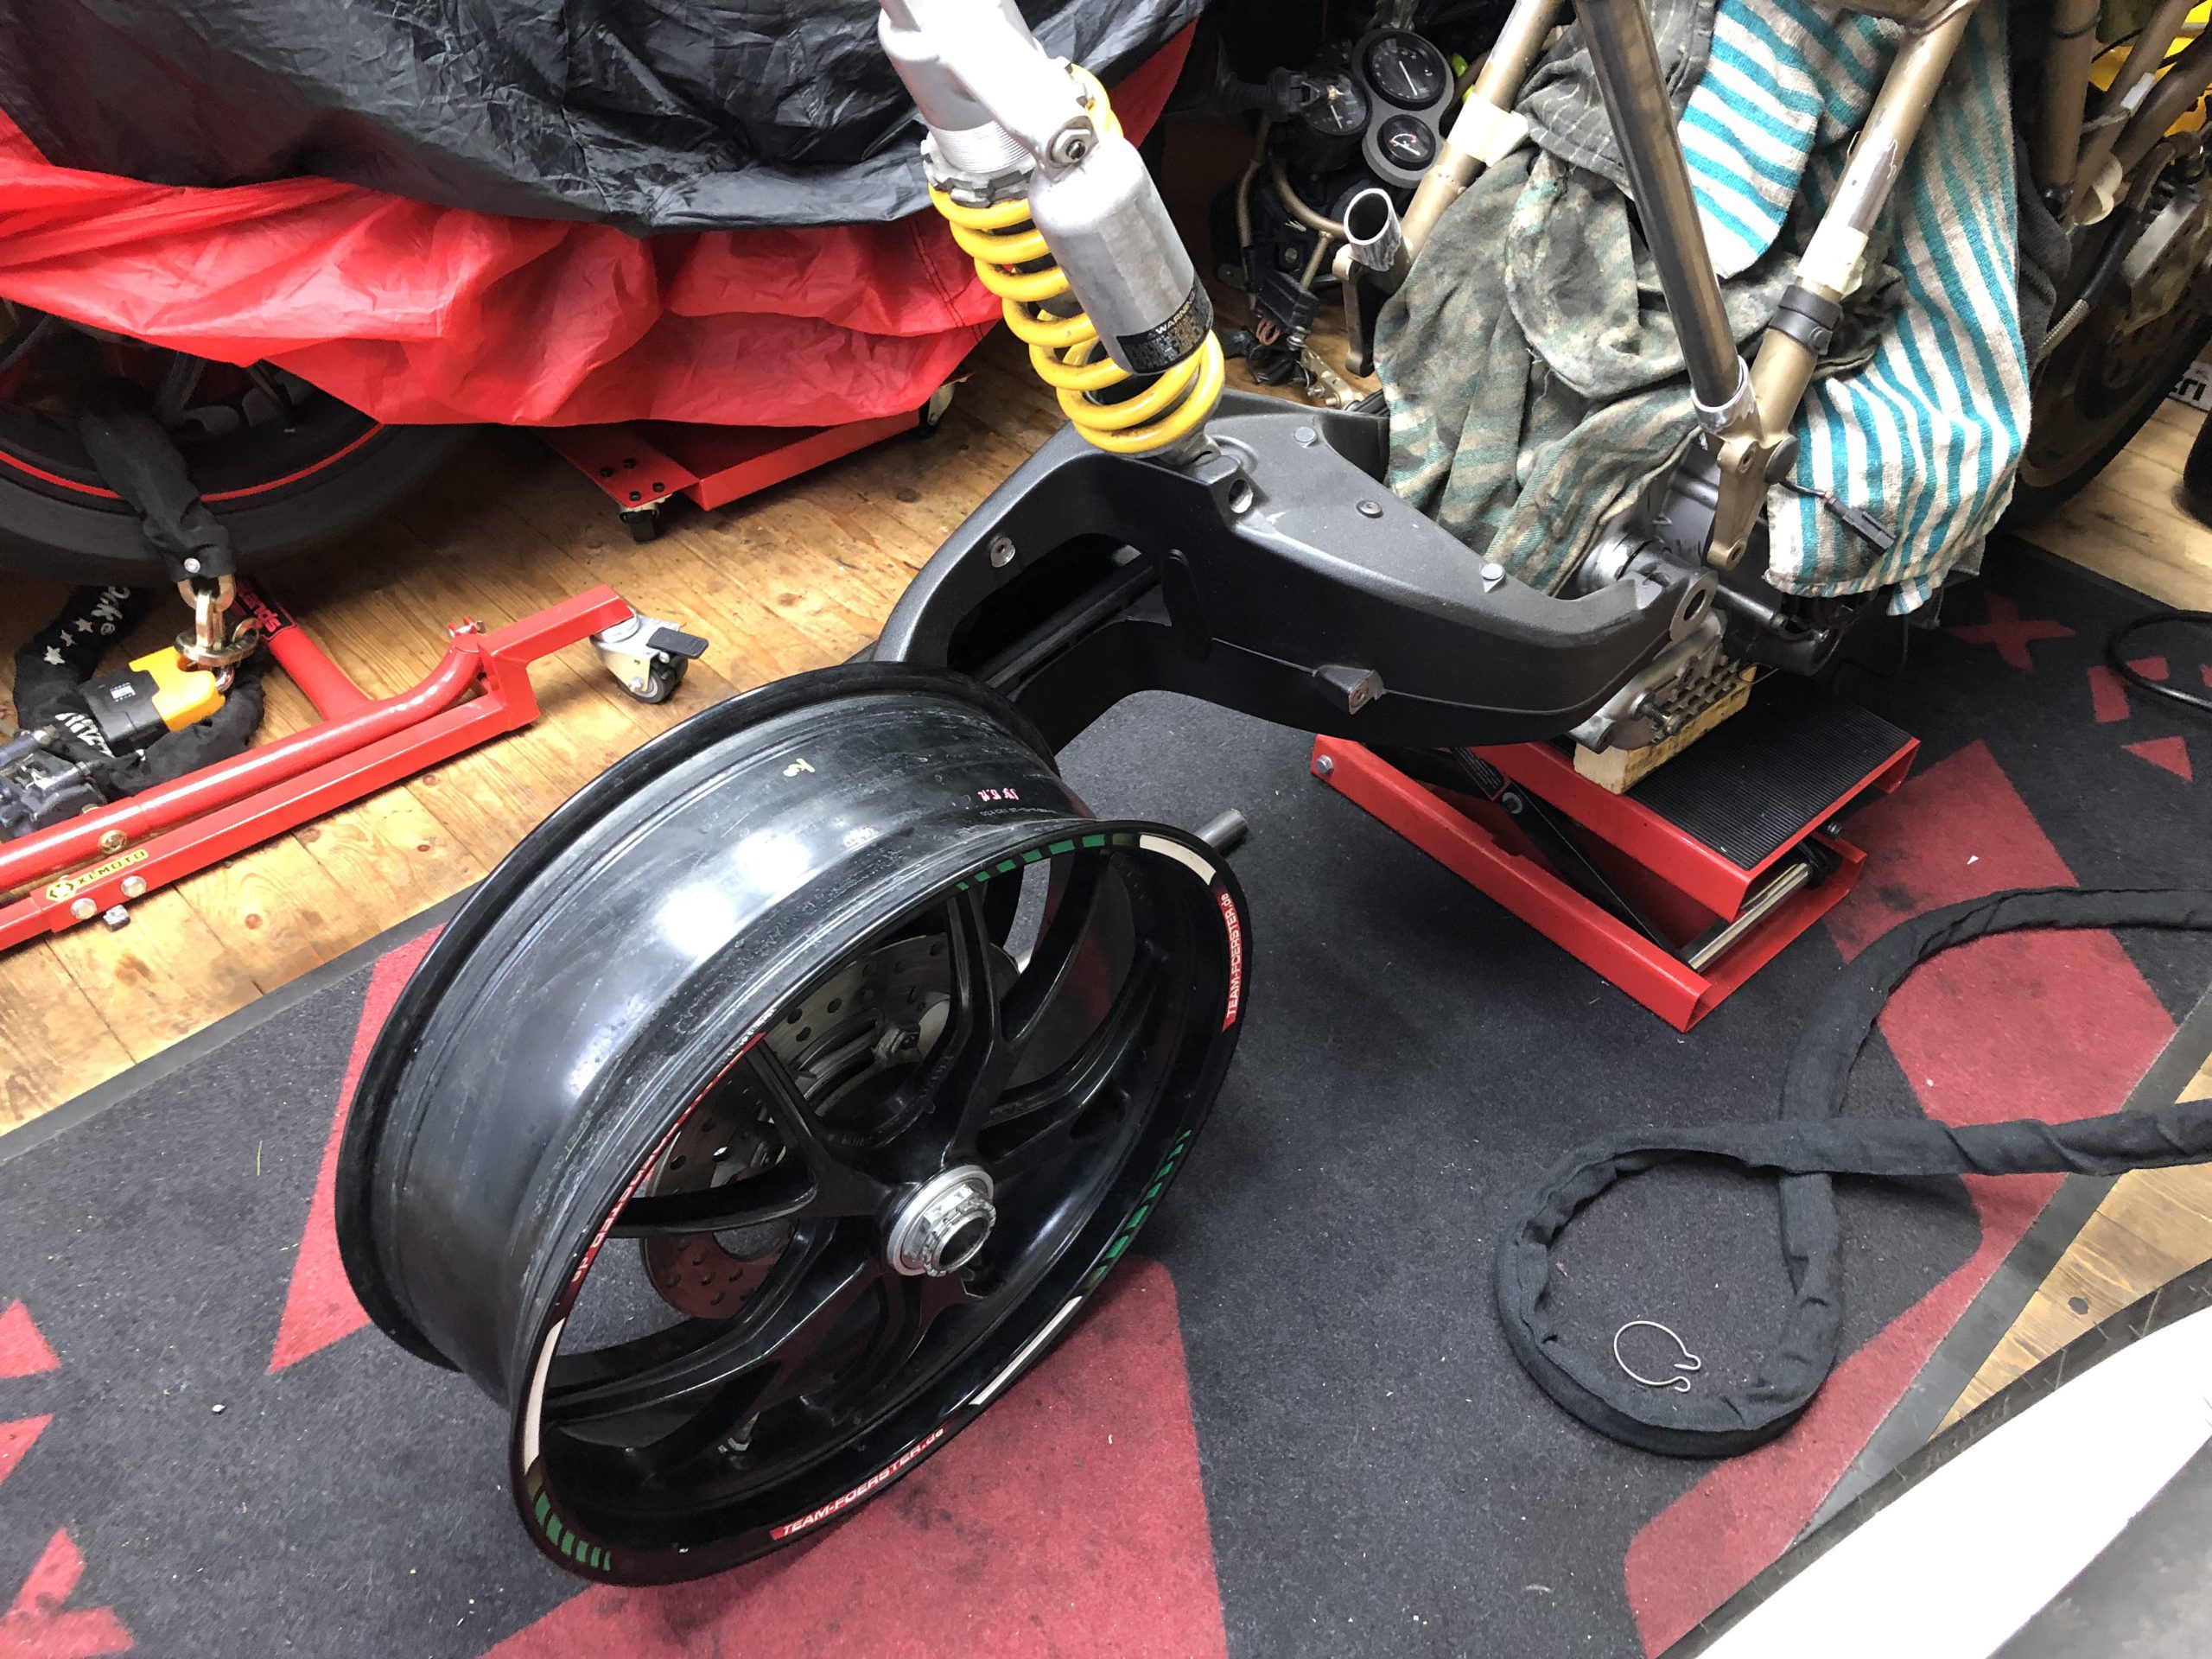
SINGLE SIDED SWINGARM
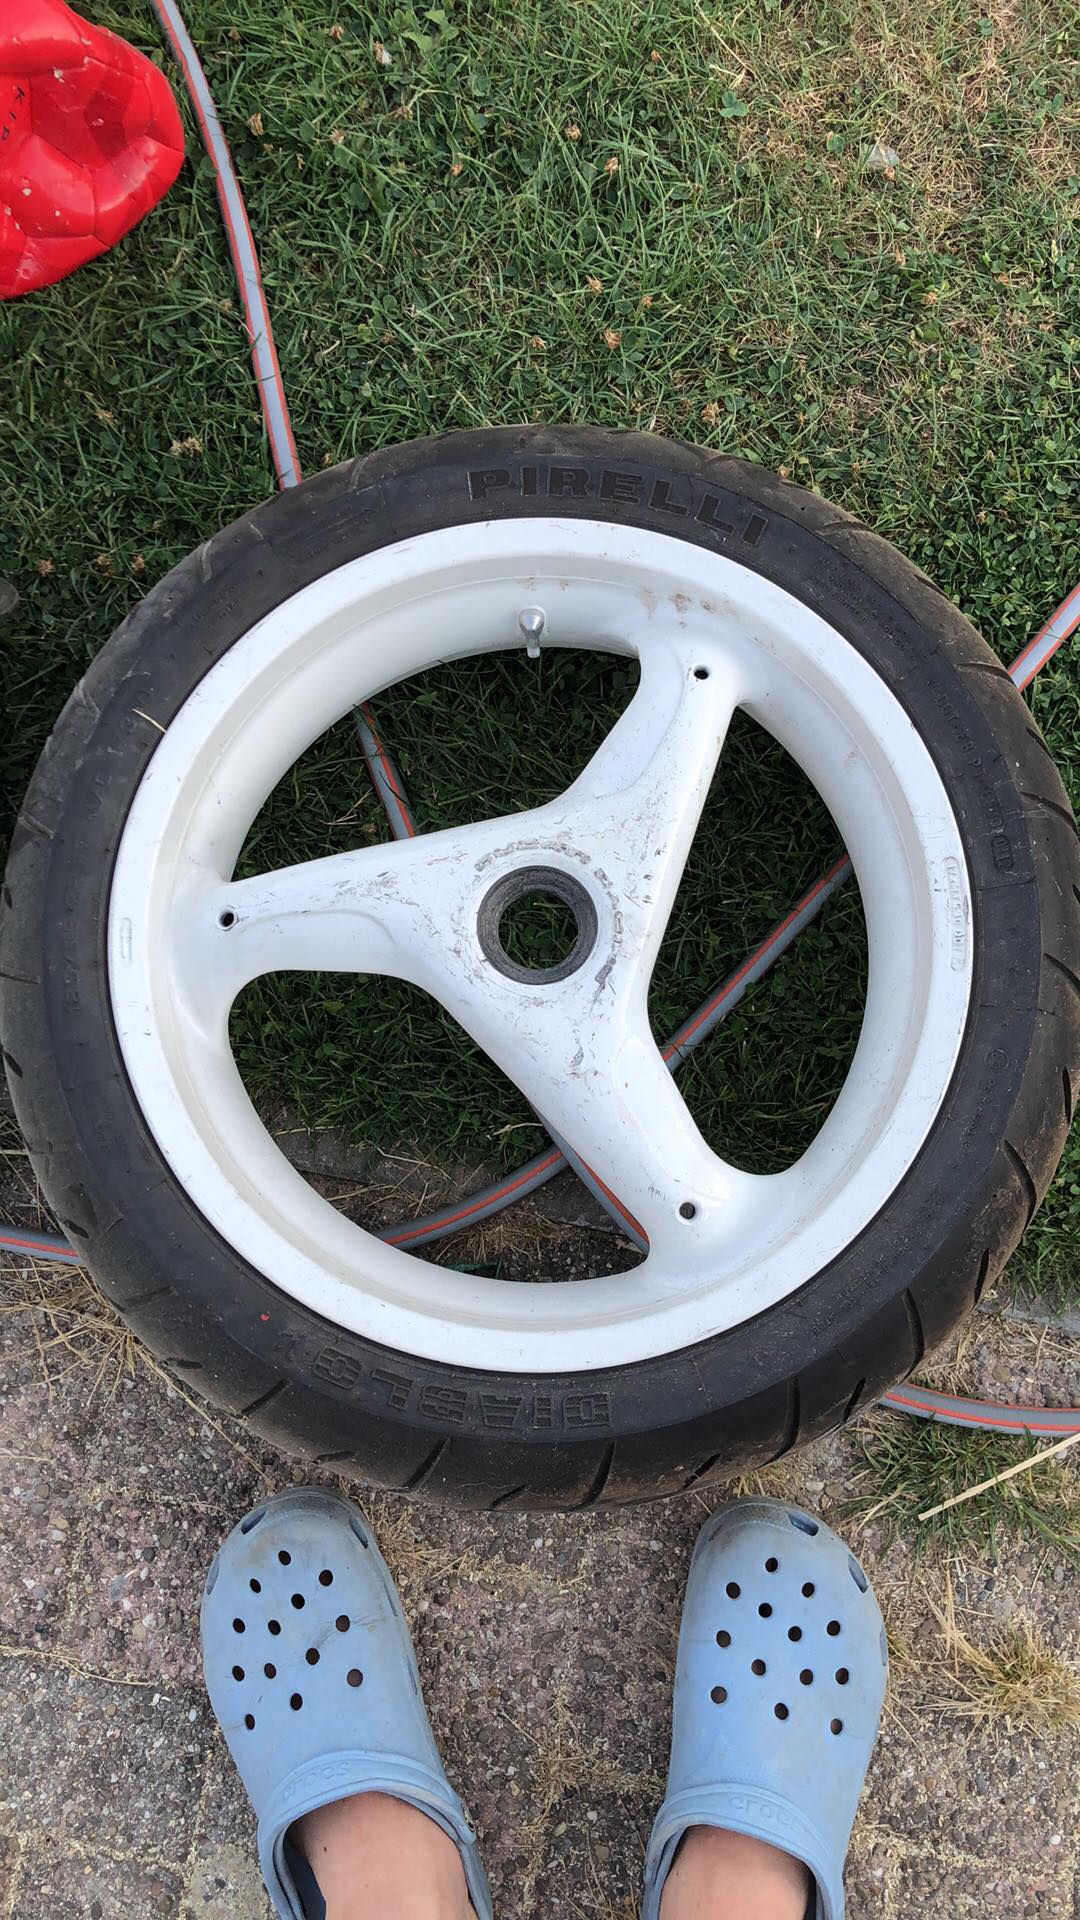
Managed to buy a SSSA from a Monster 796. Complete with axle, sprocket, caliper and disc. Also an ugly ass Brembo 3 spoke wheel for temporary fitment.

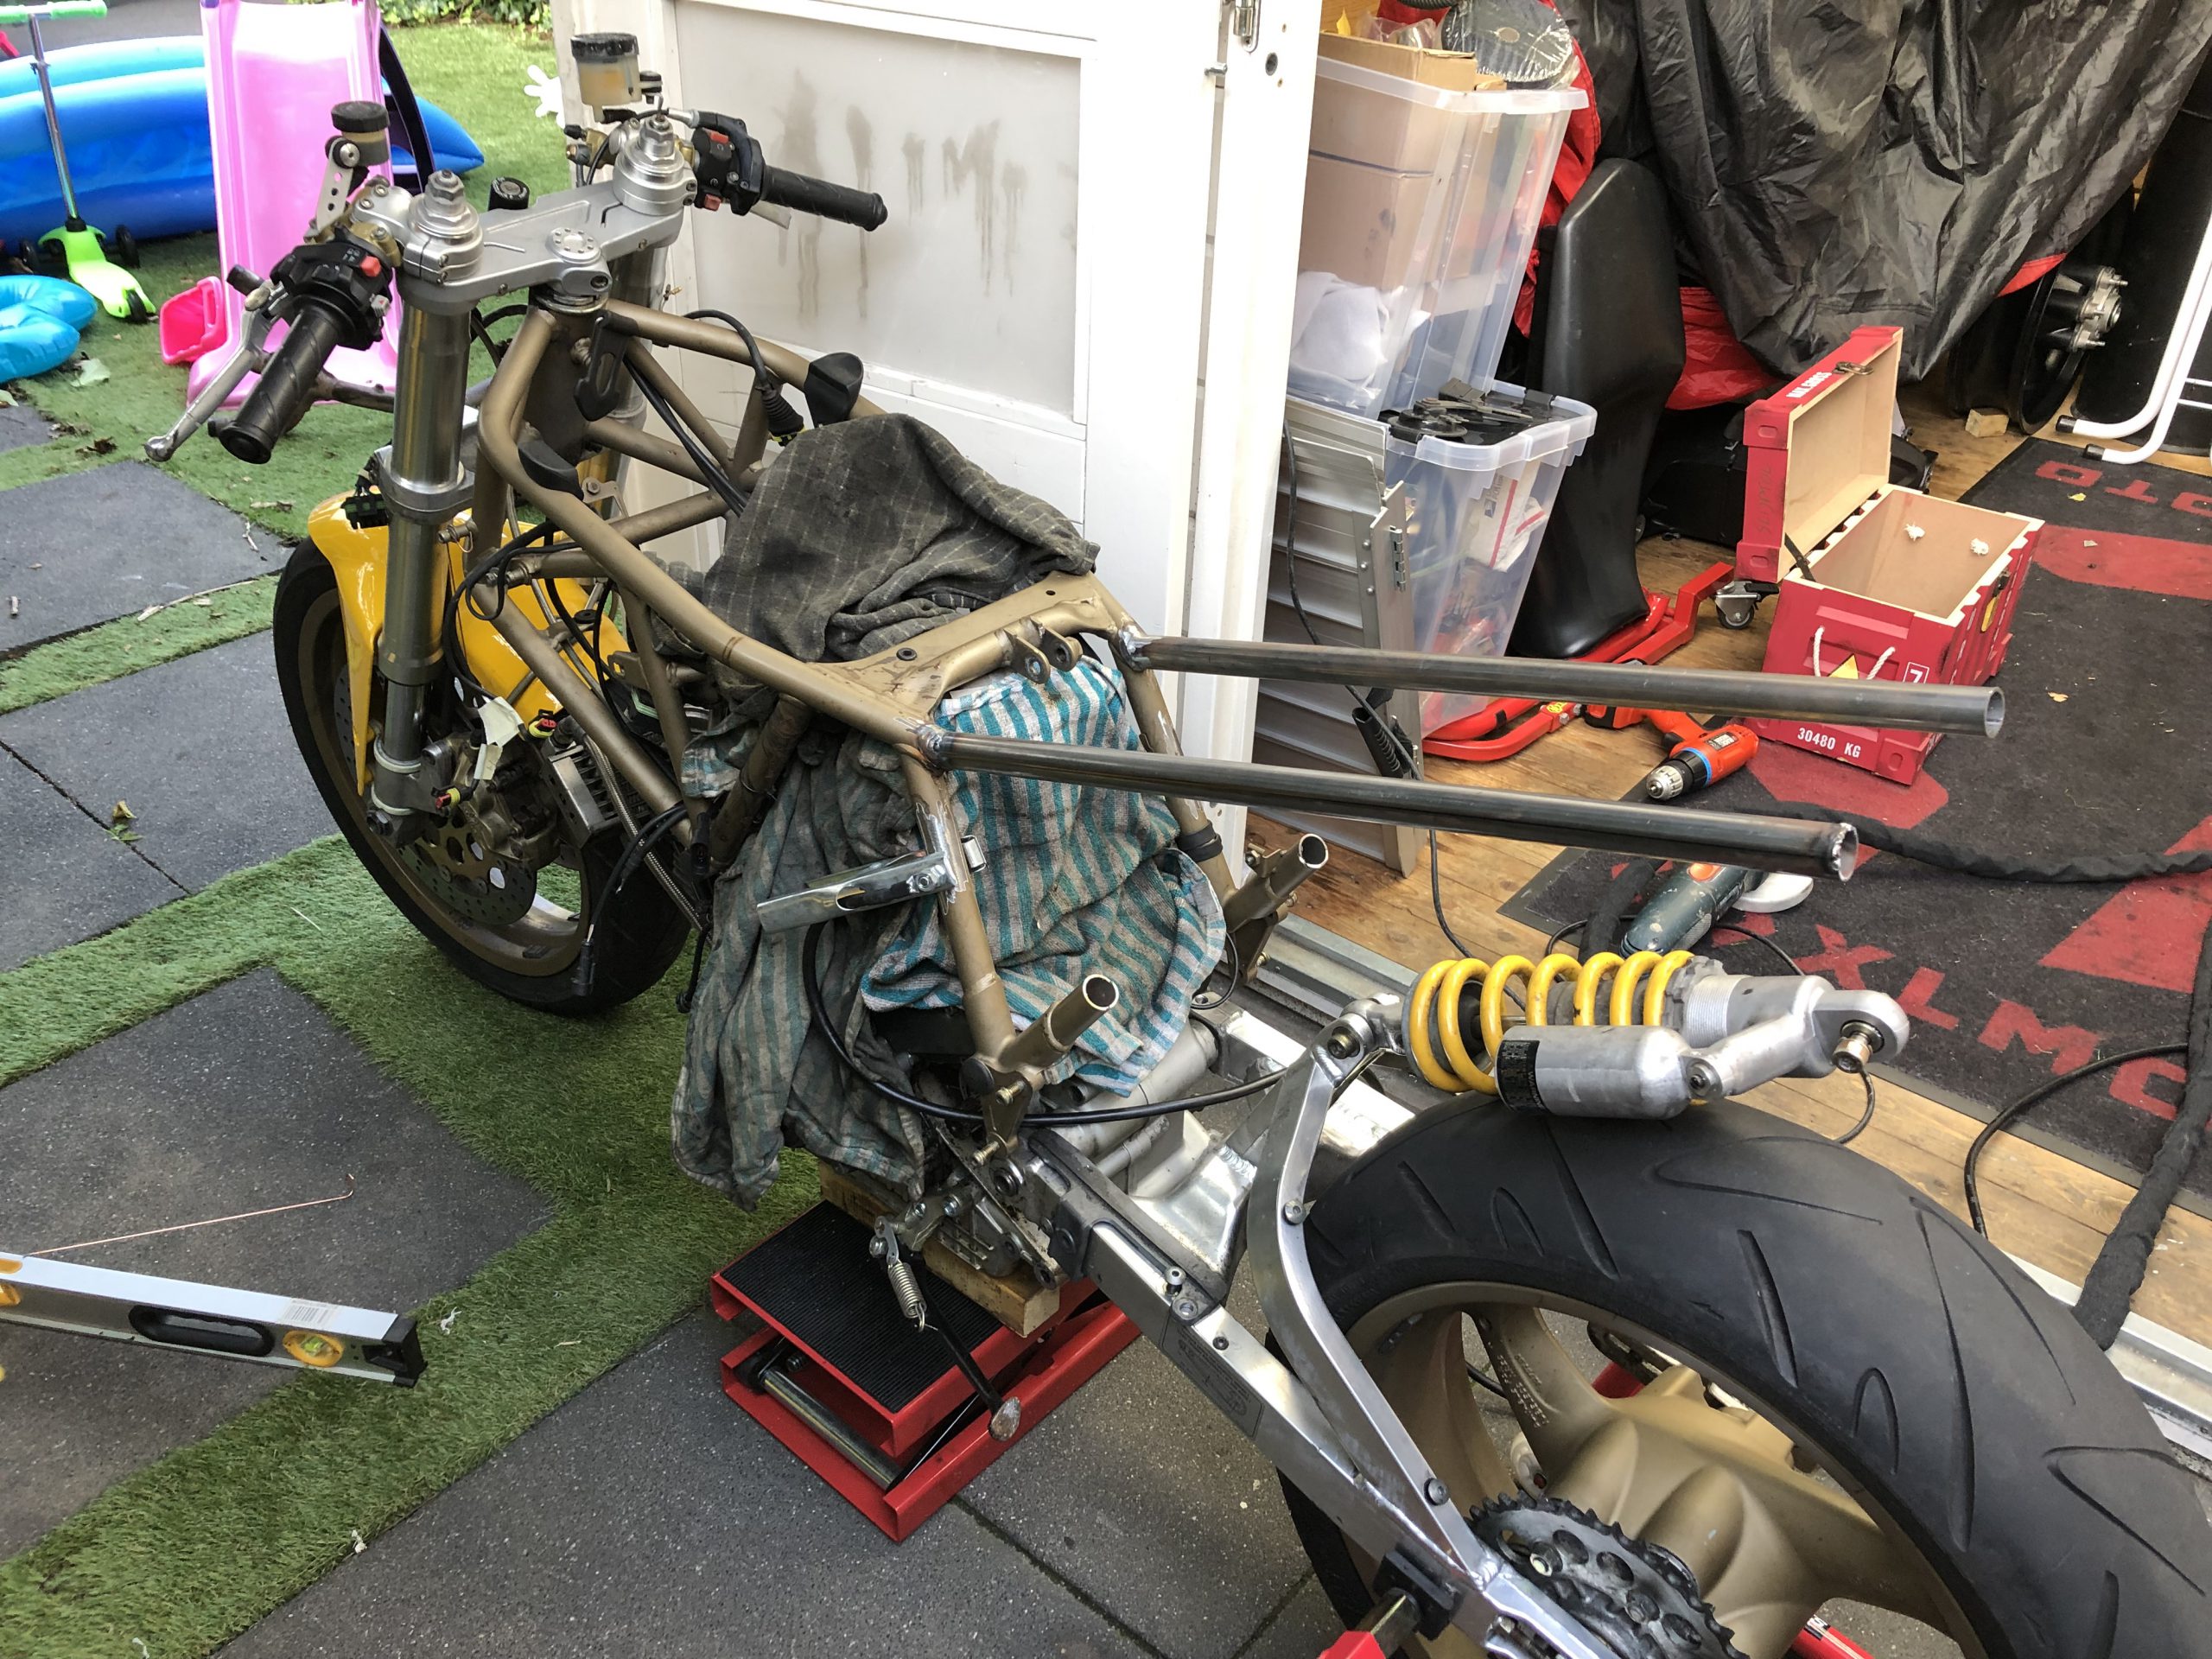
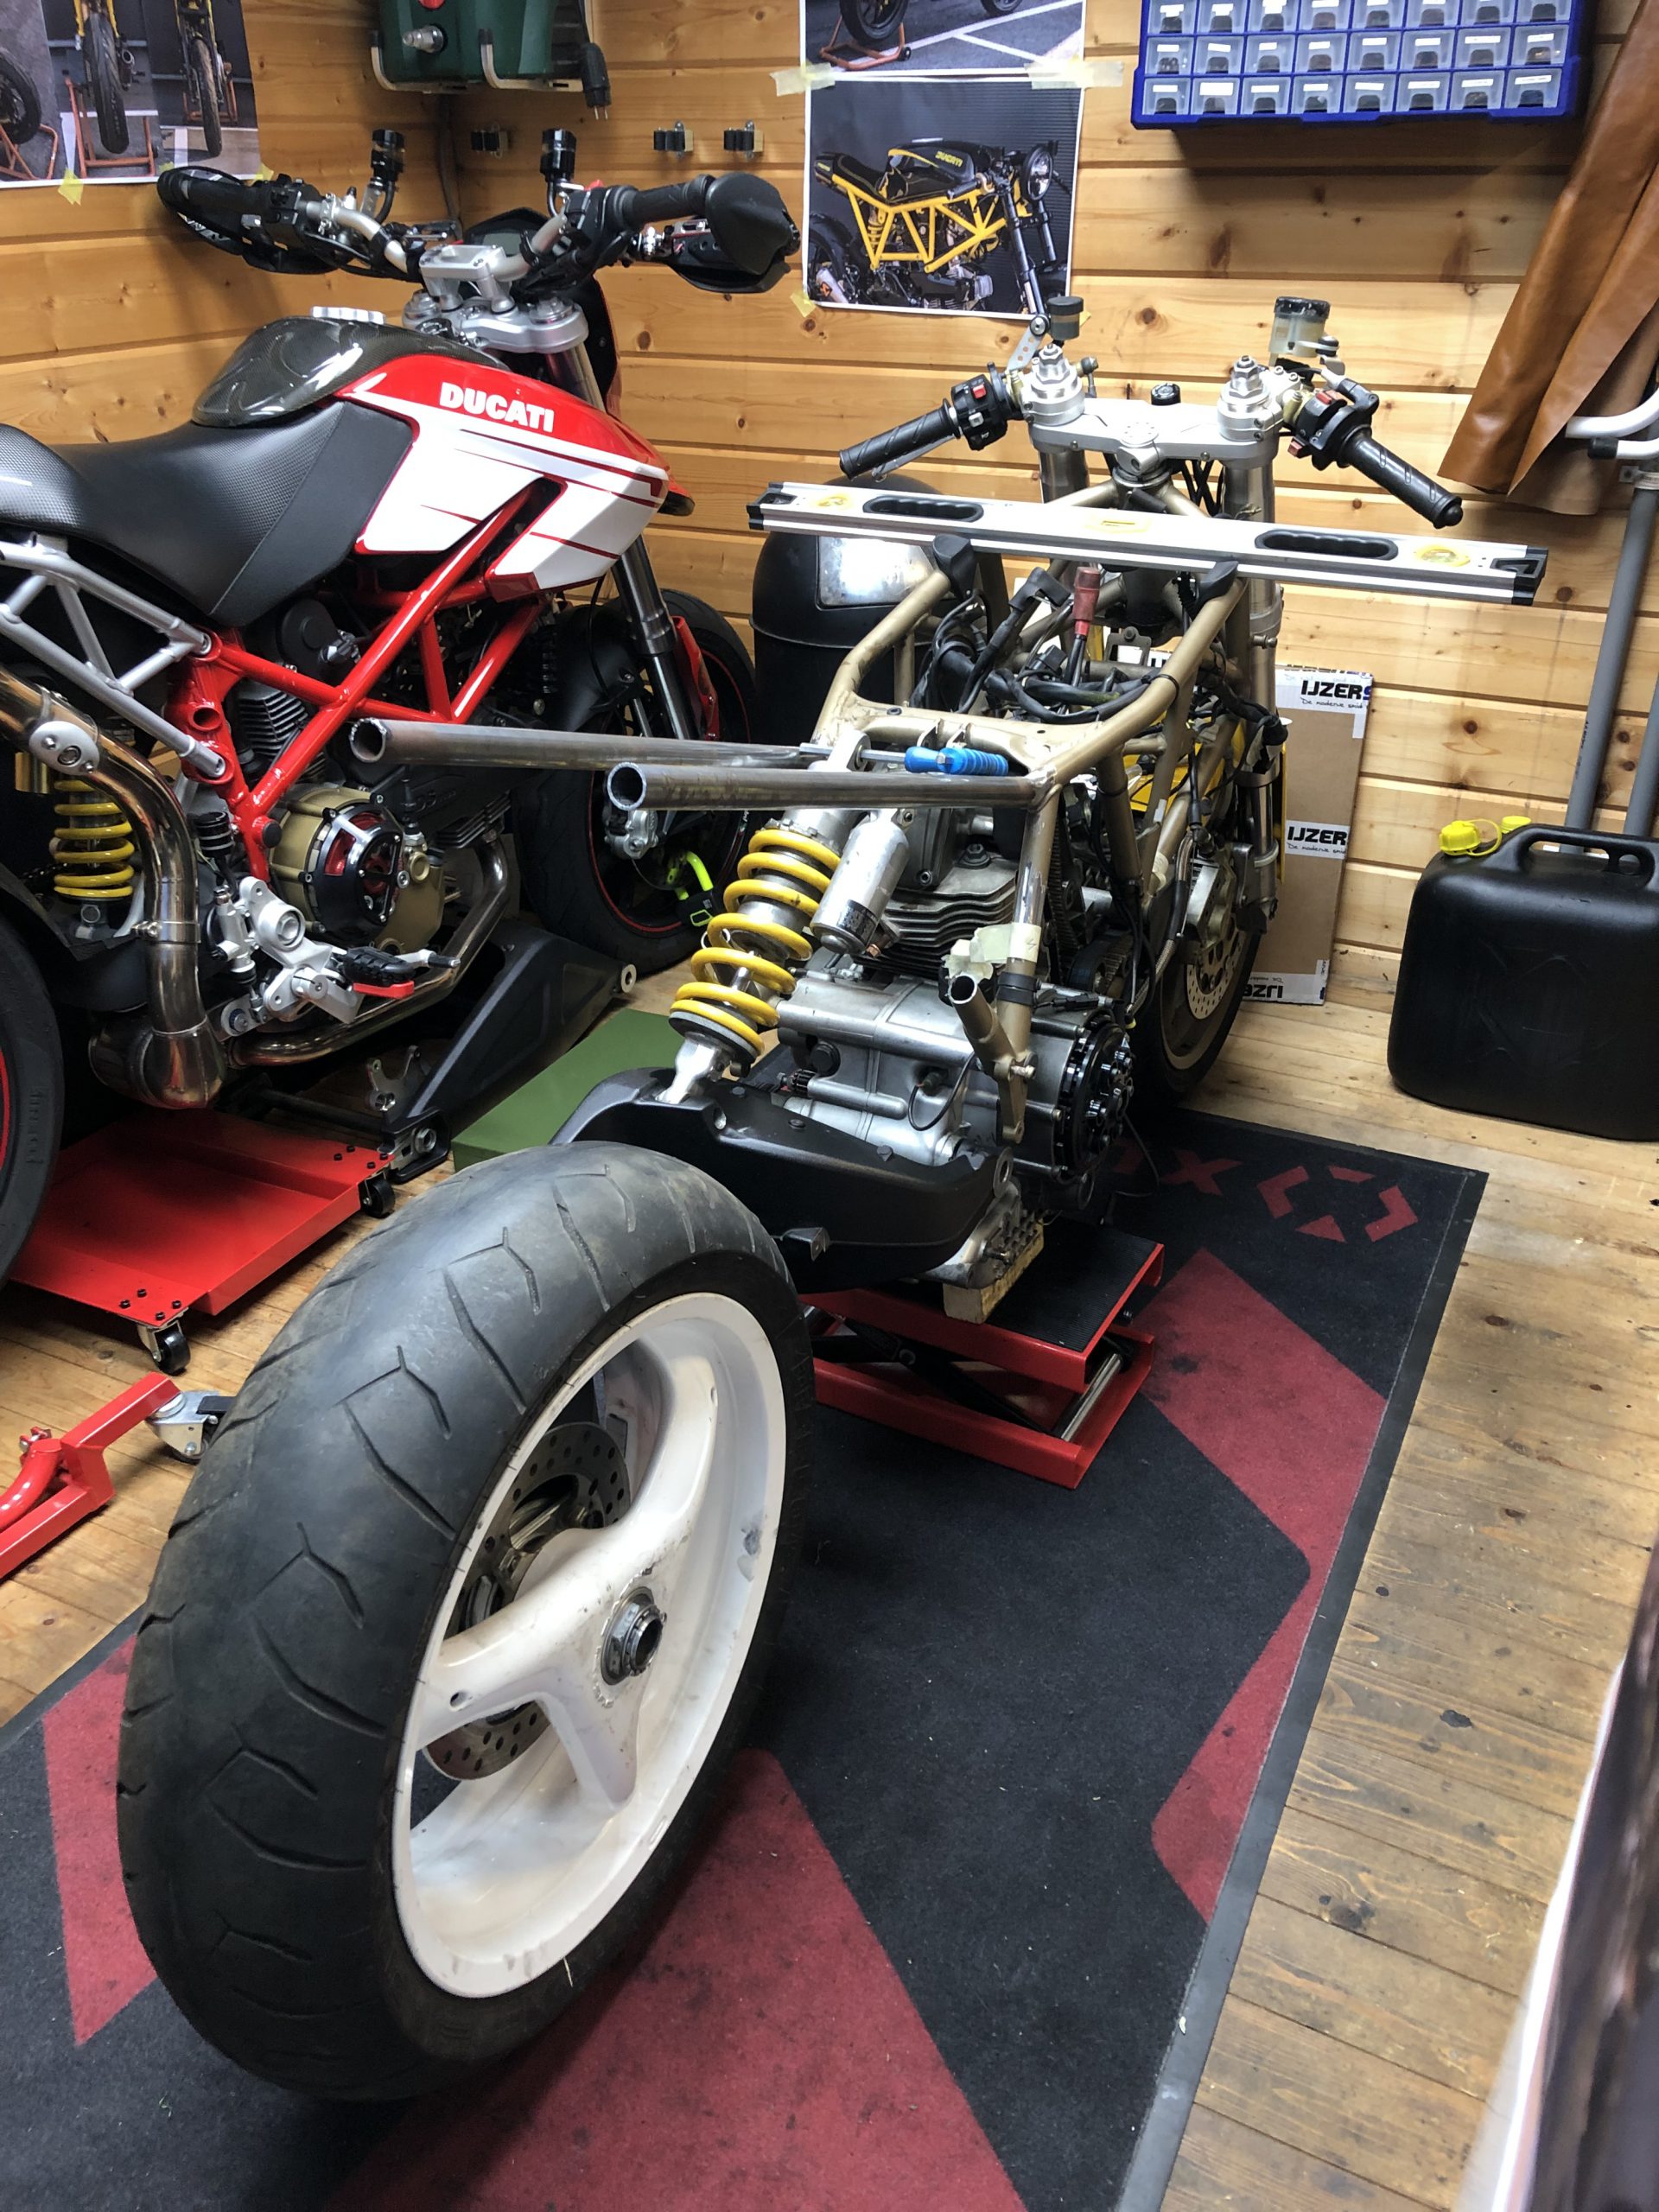
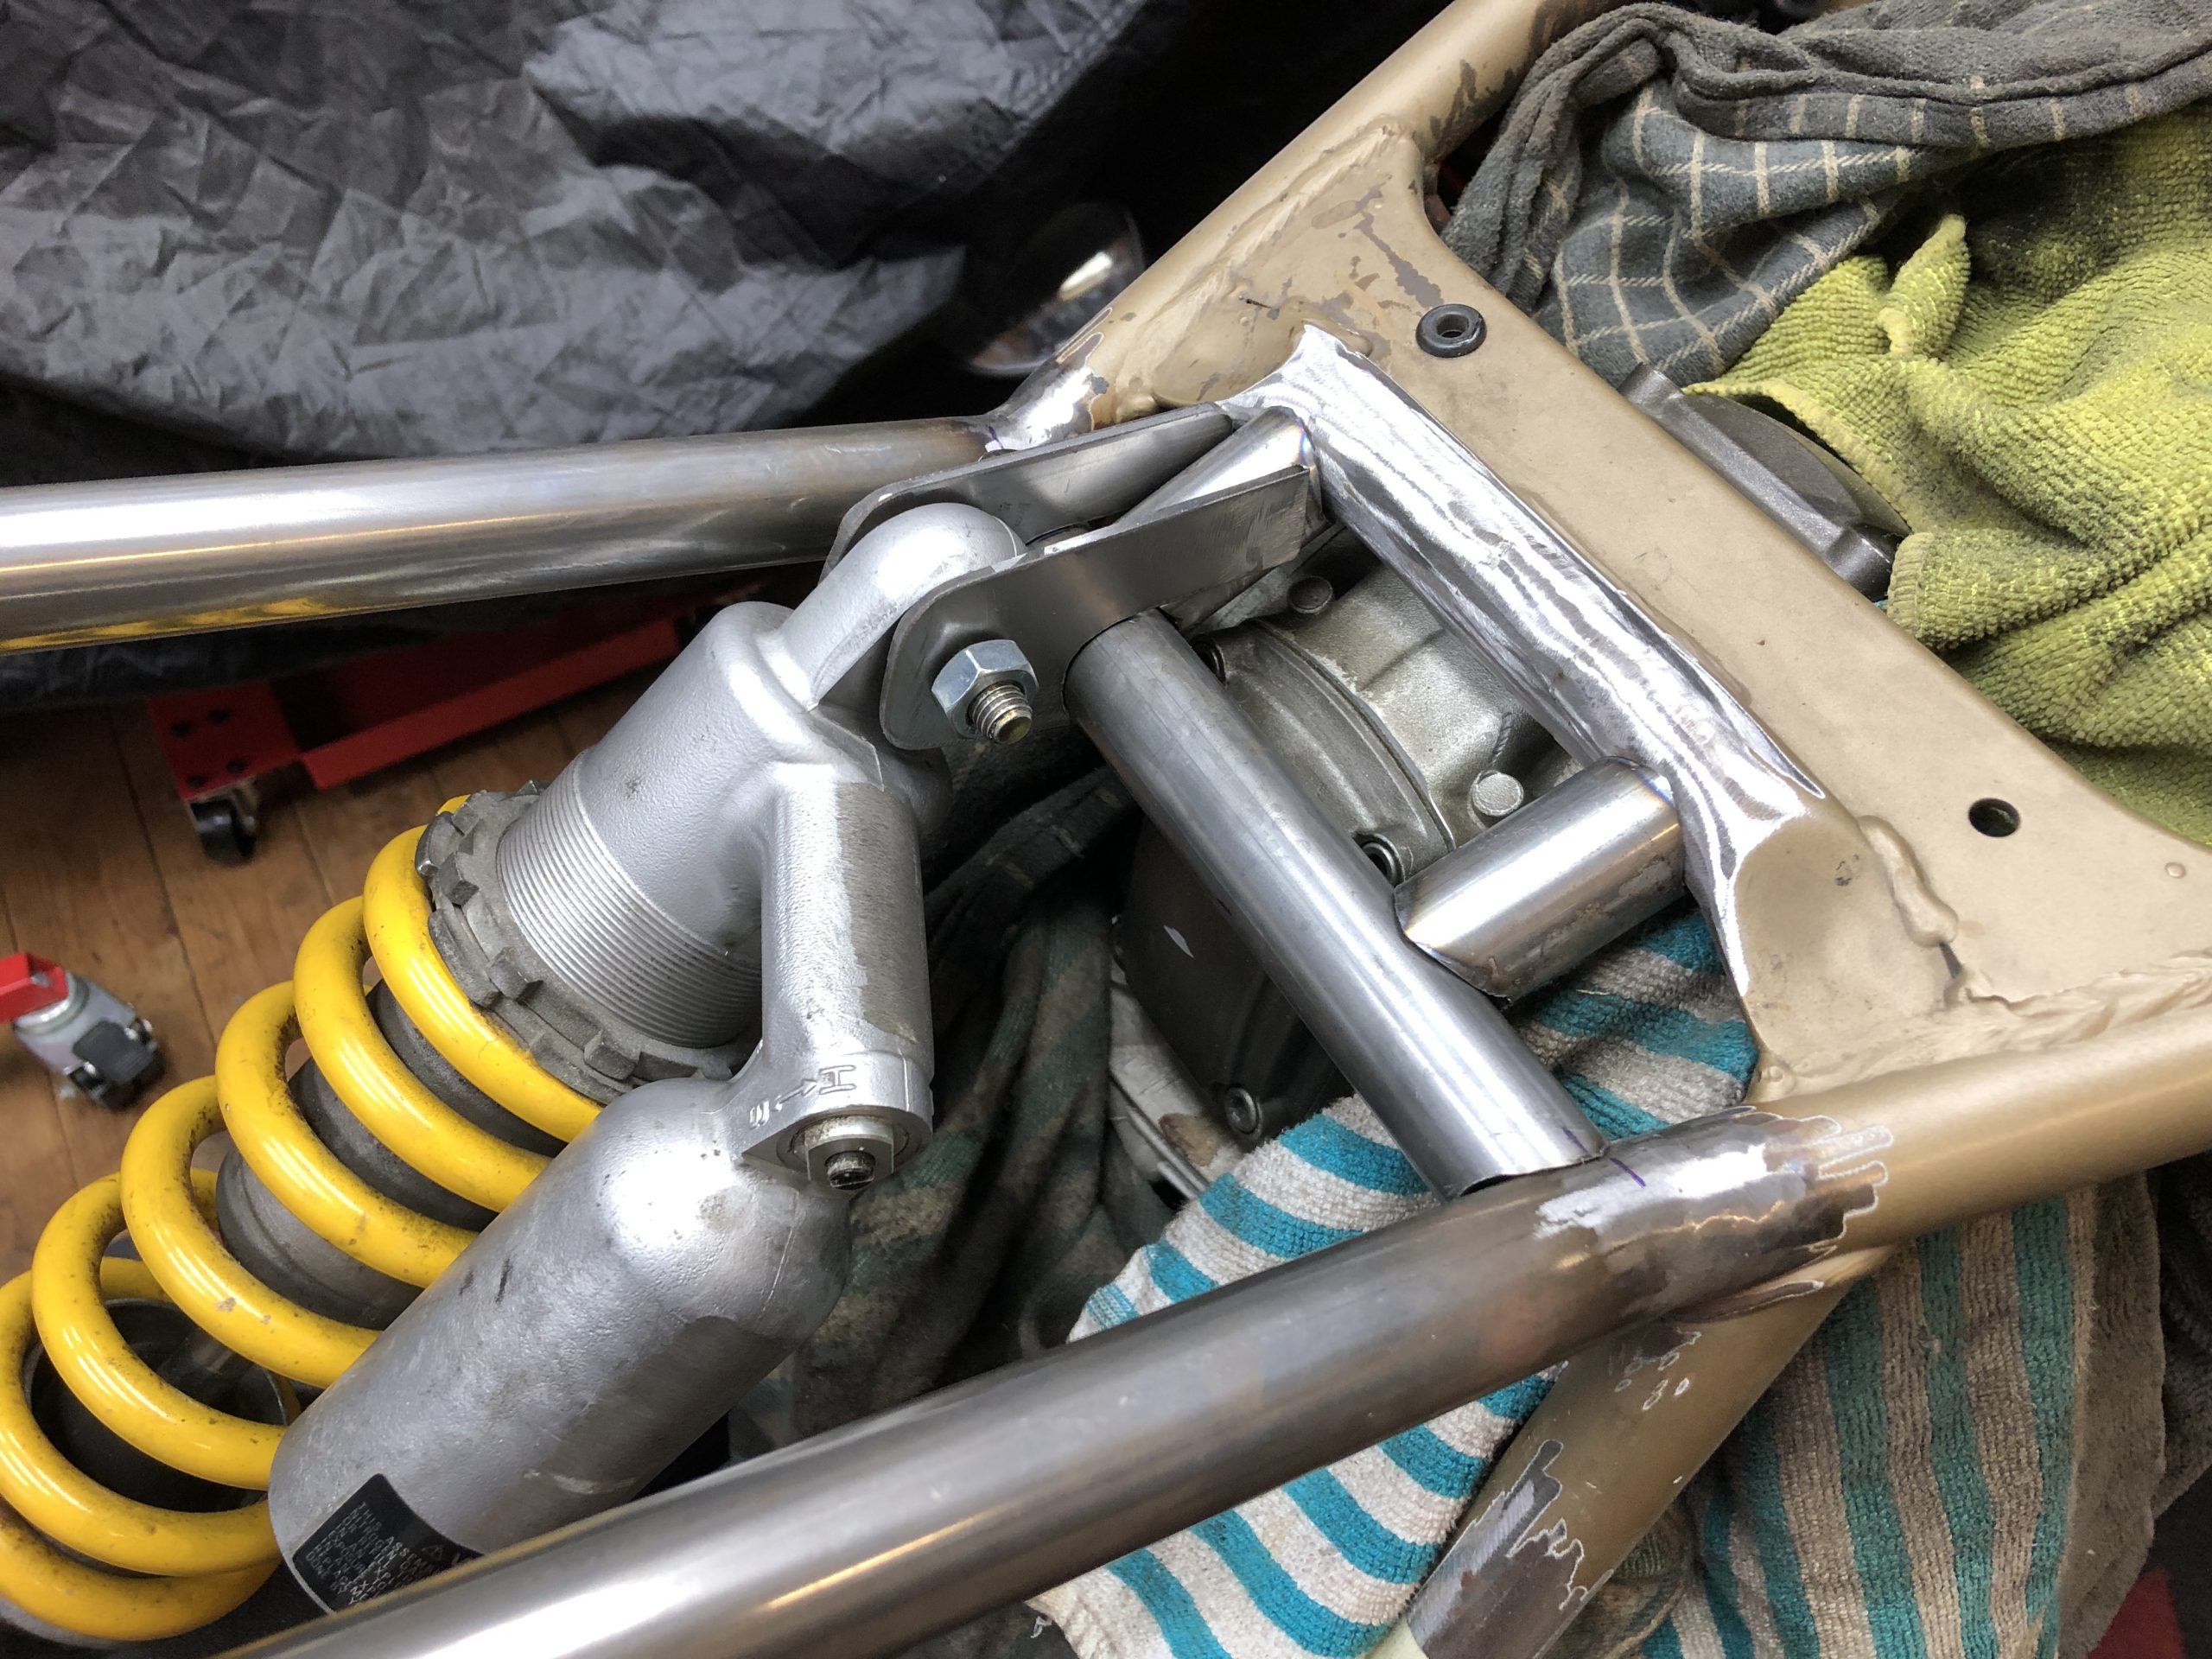
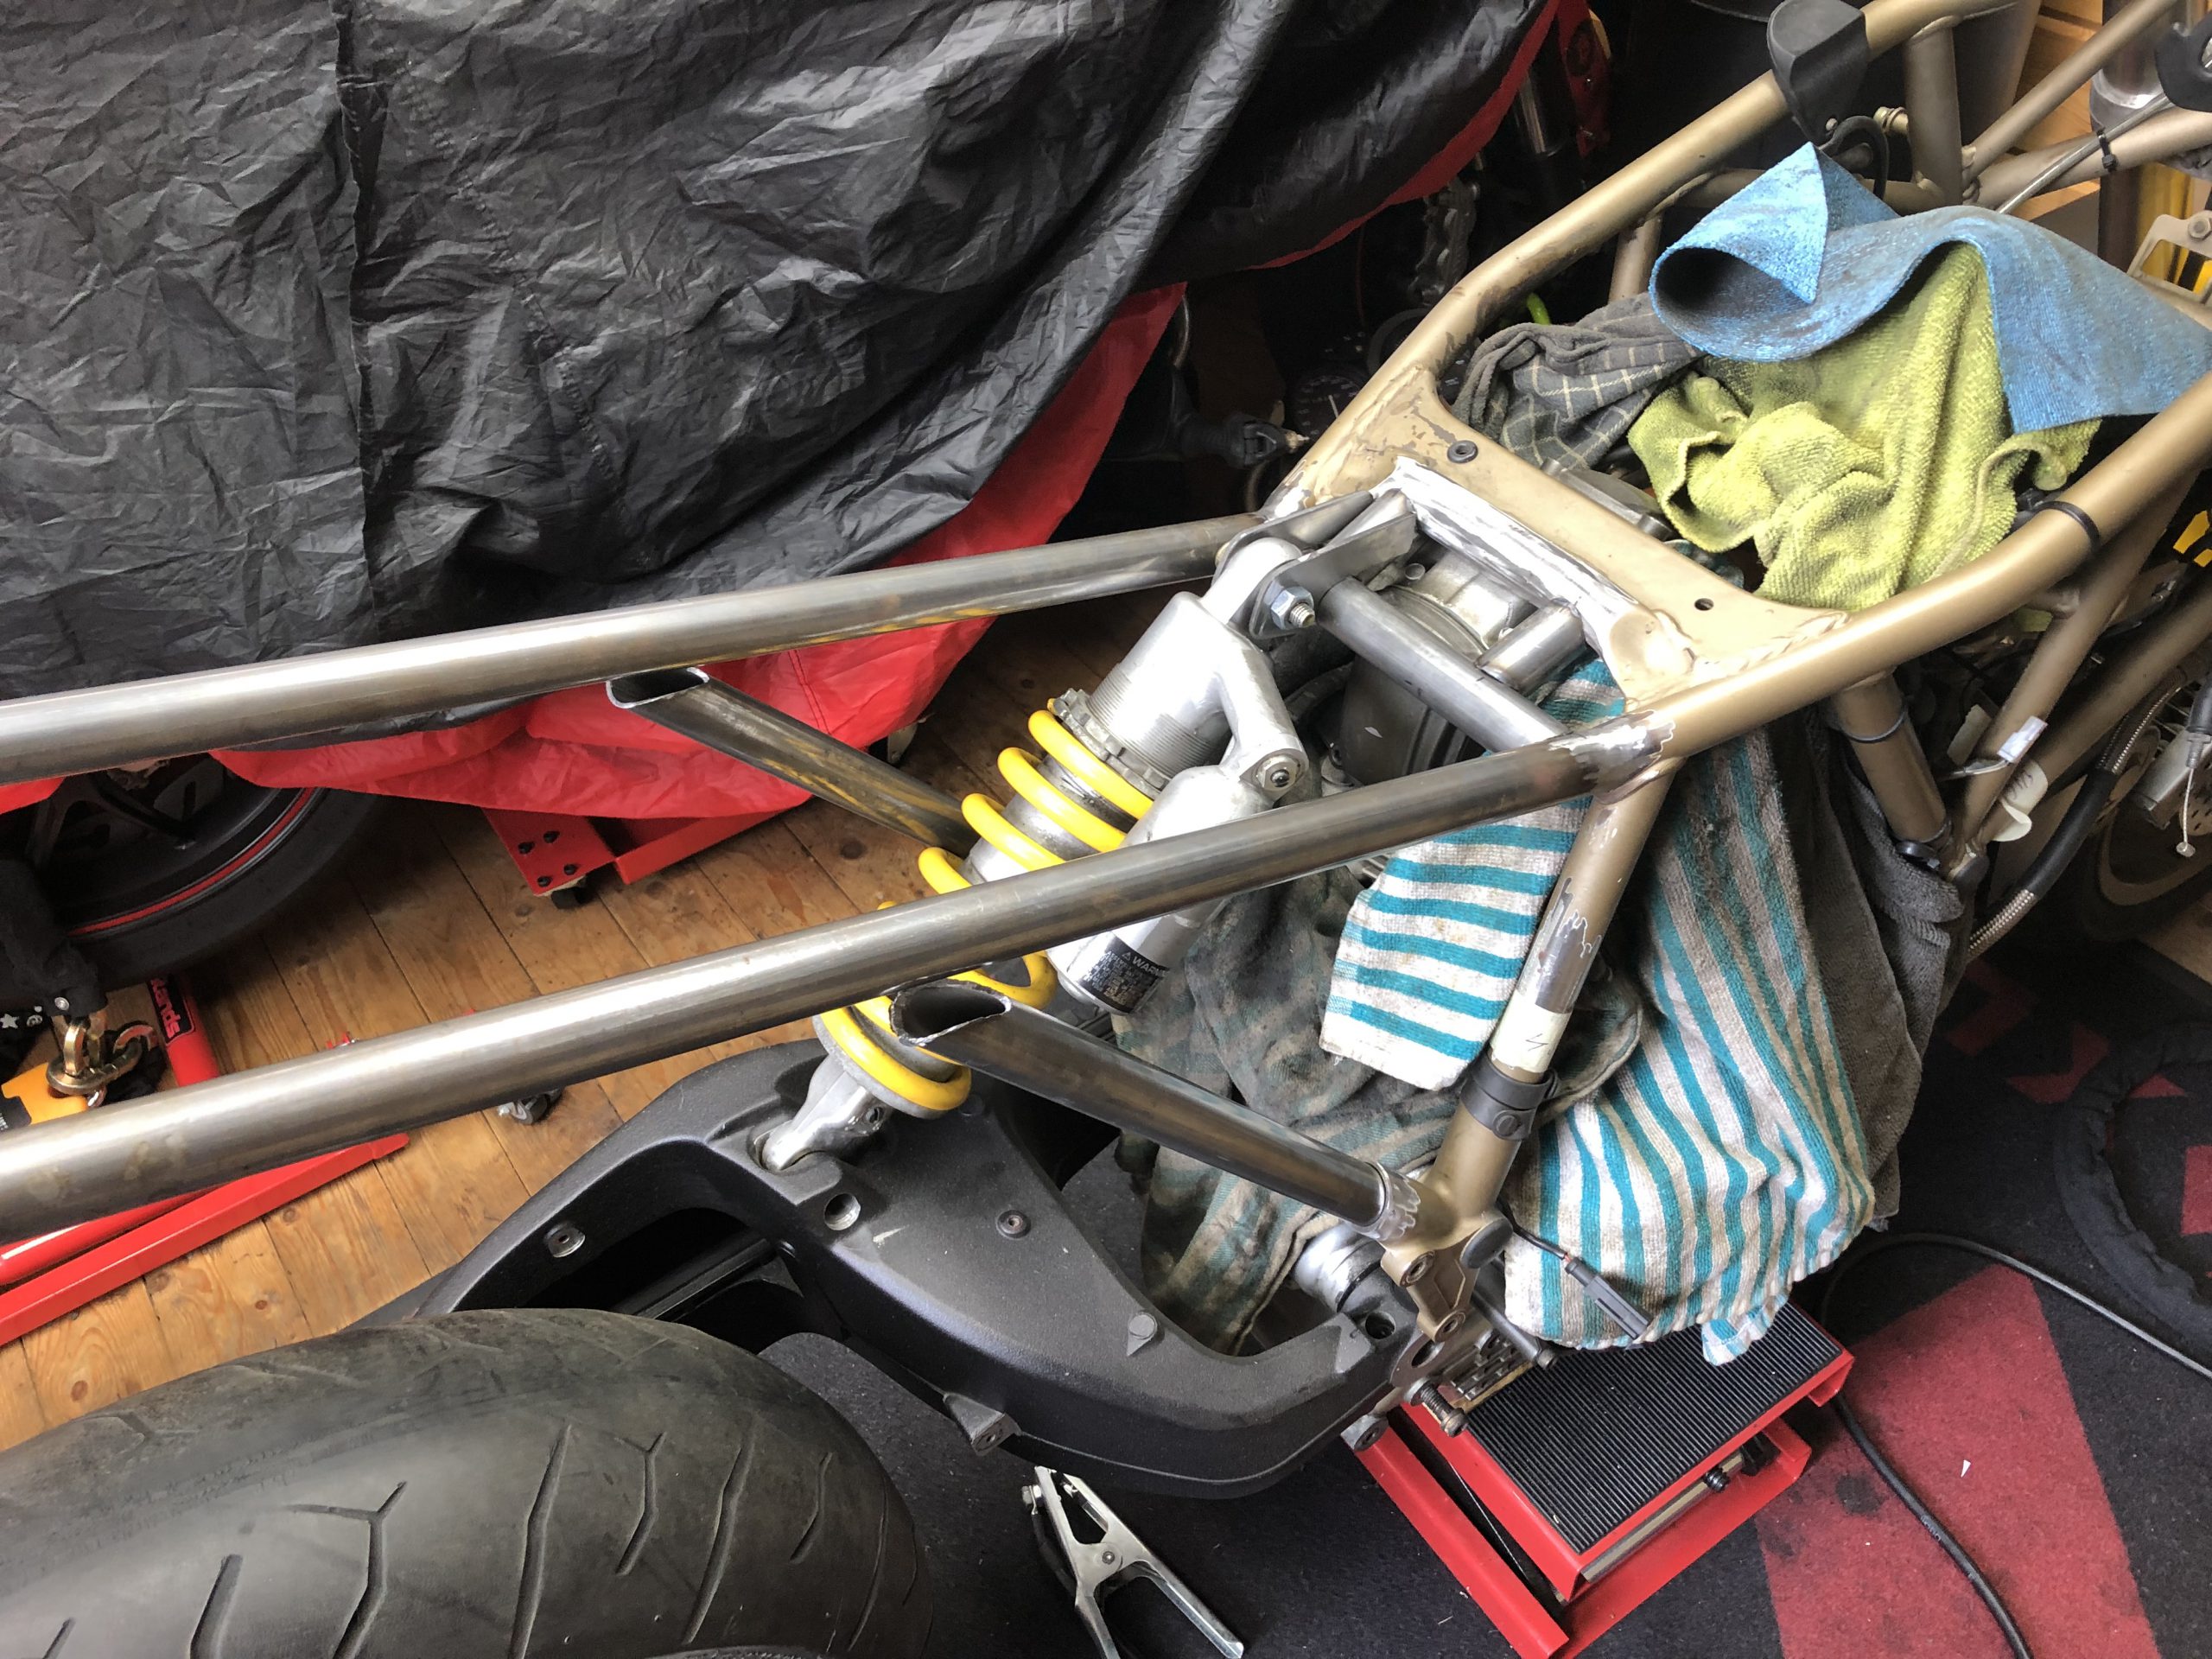
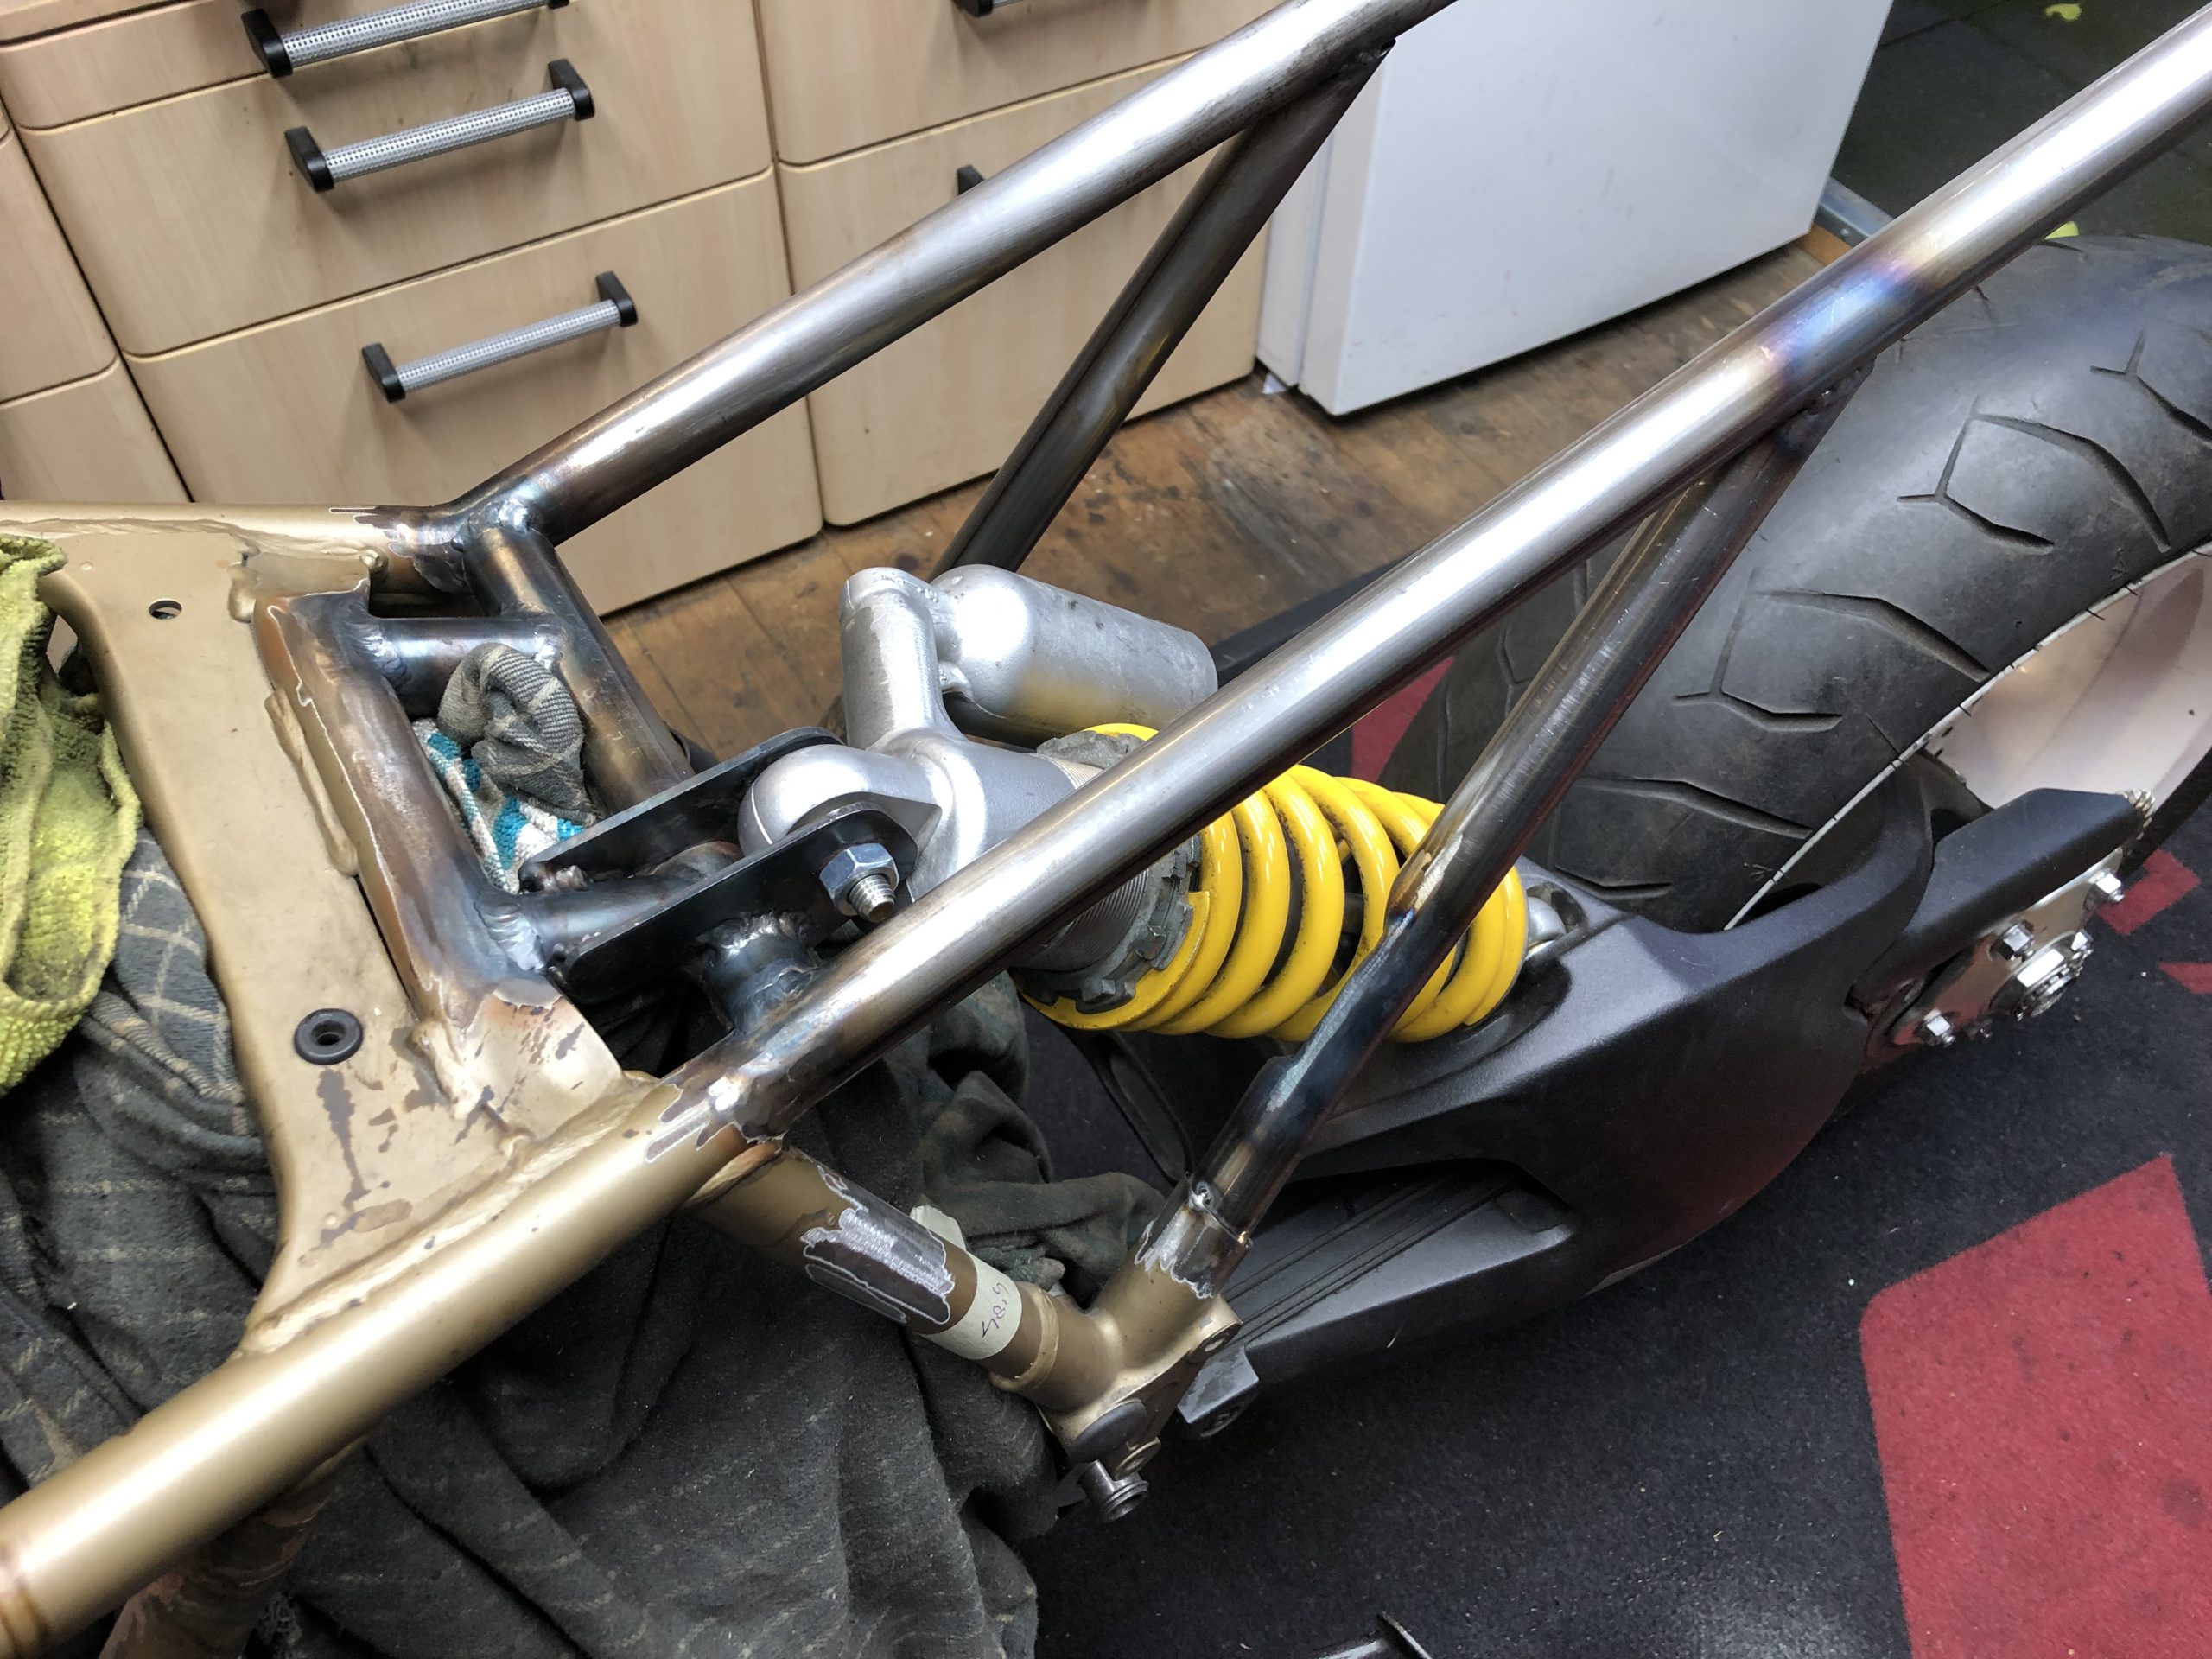
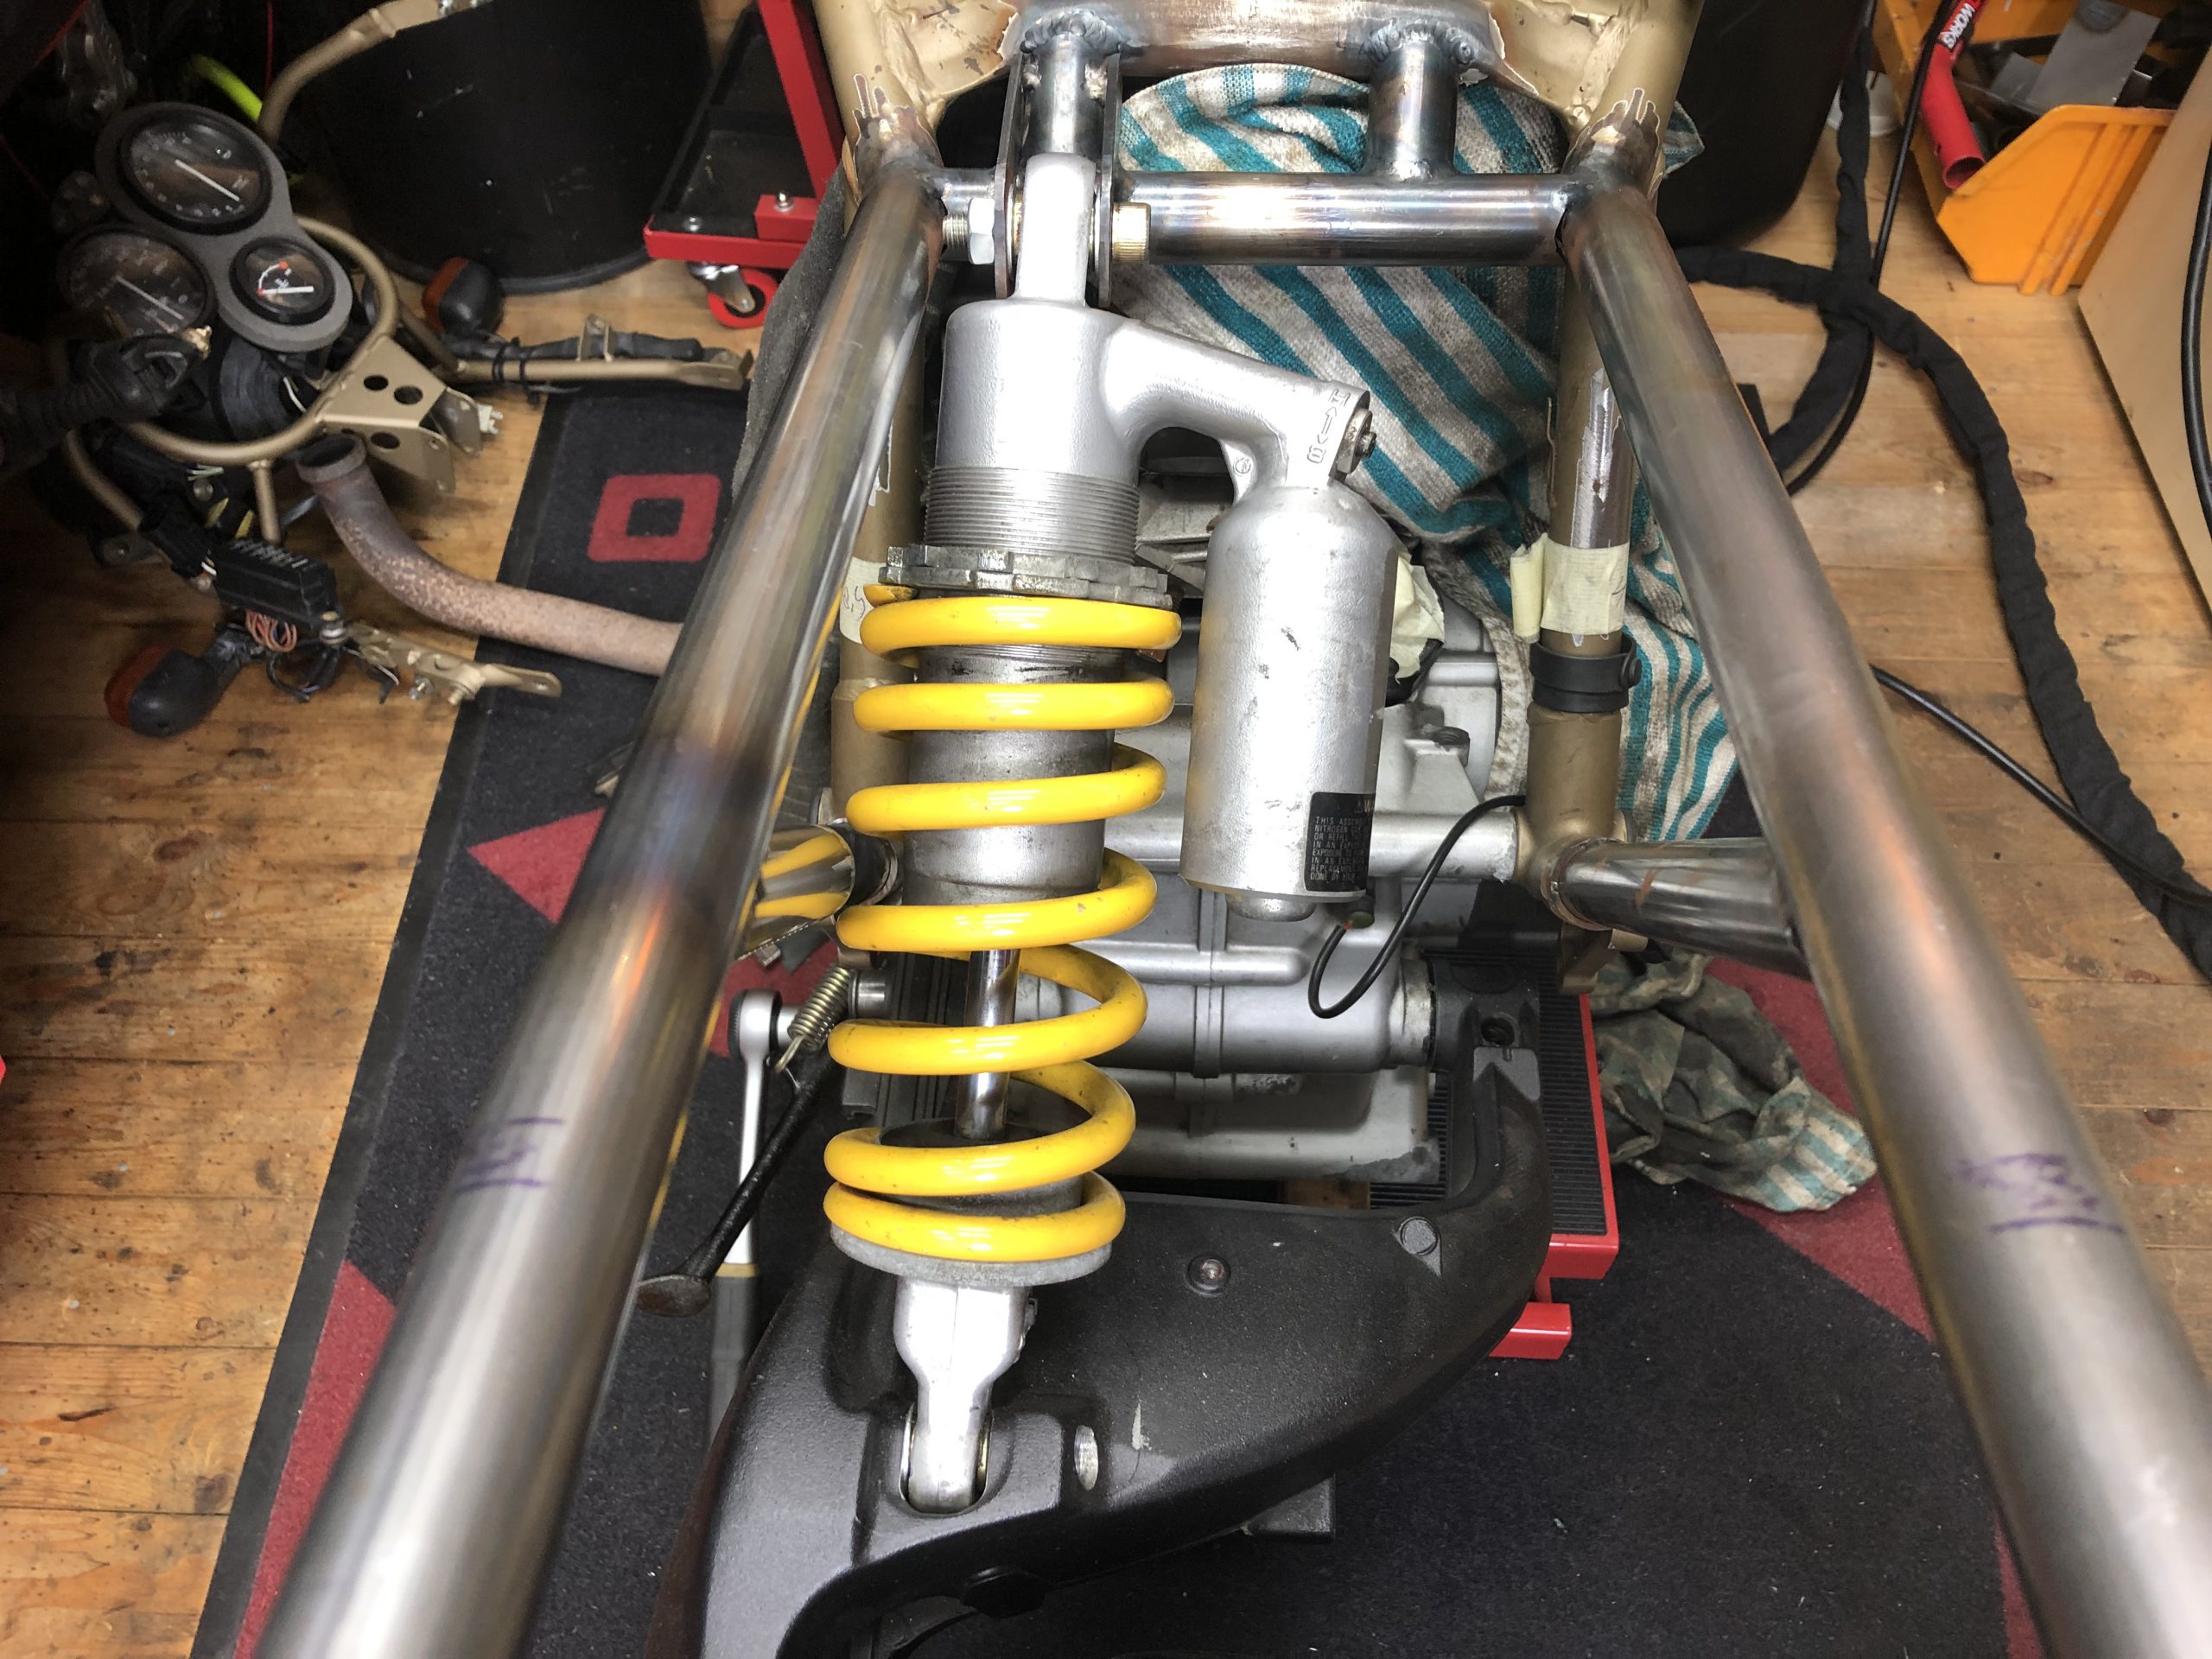
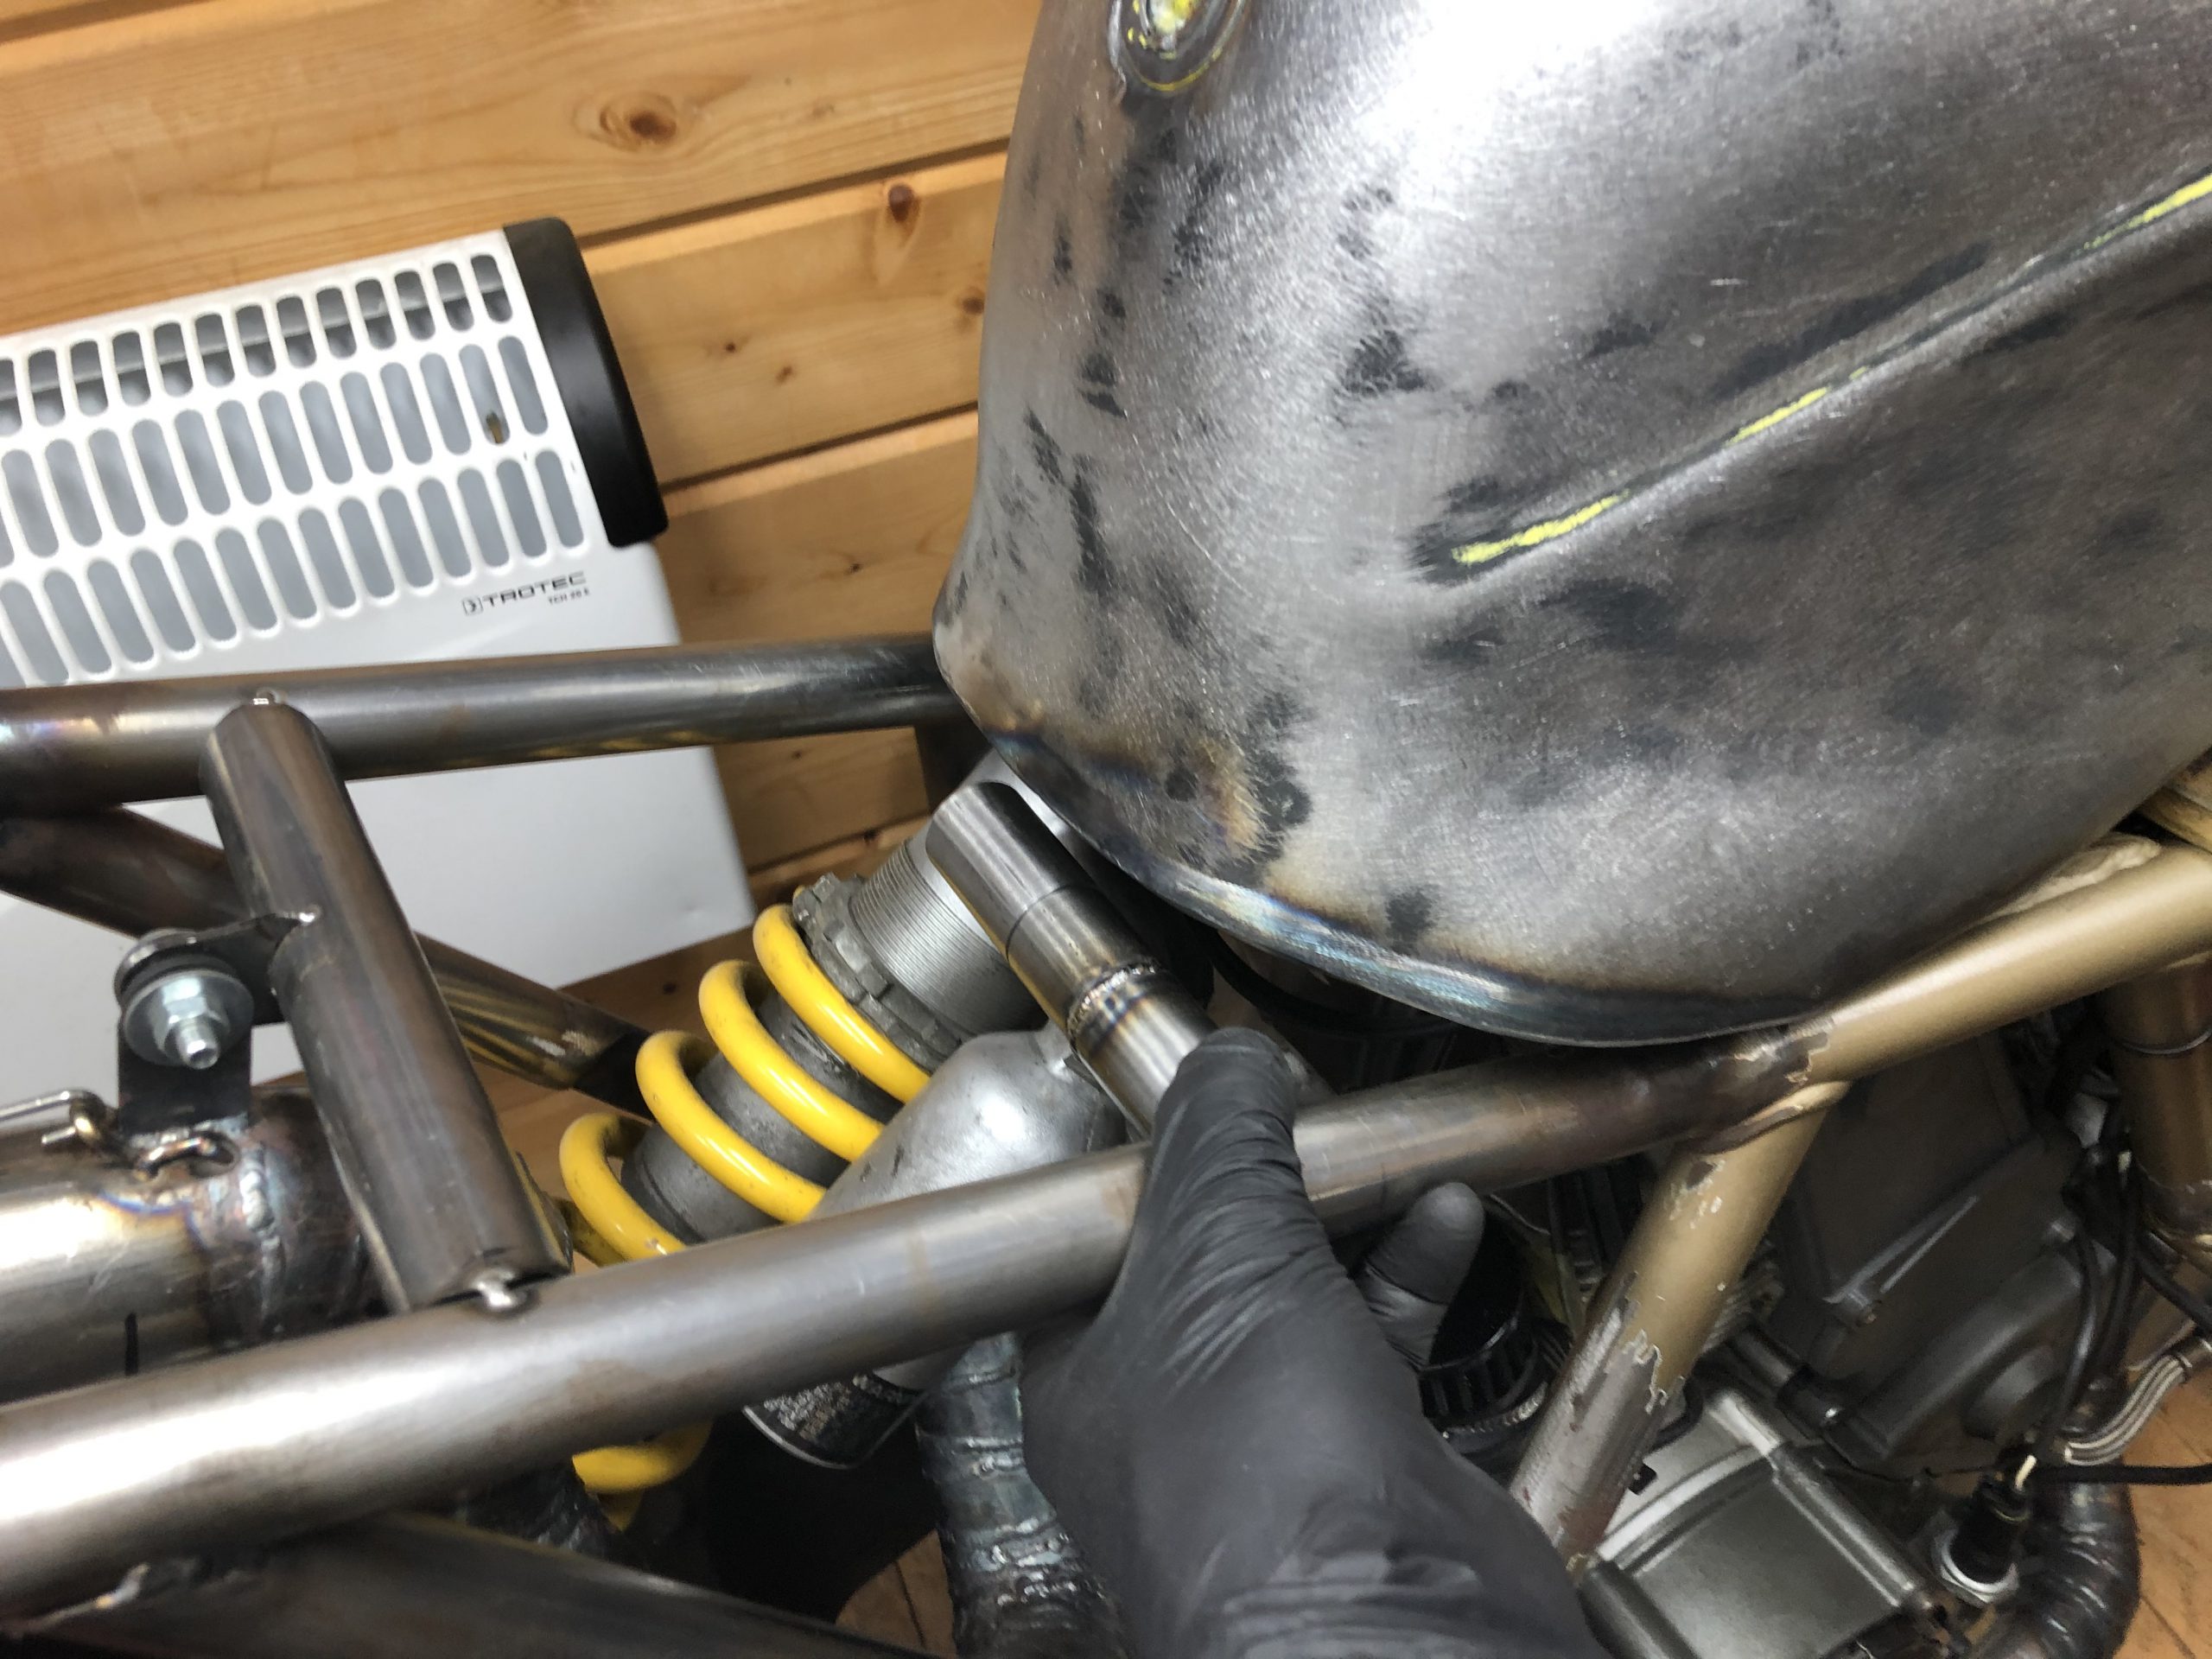
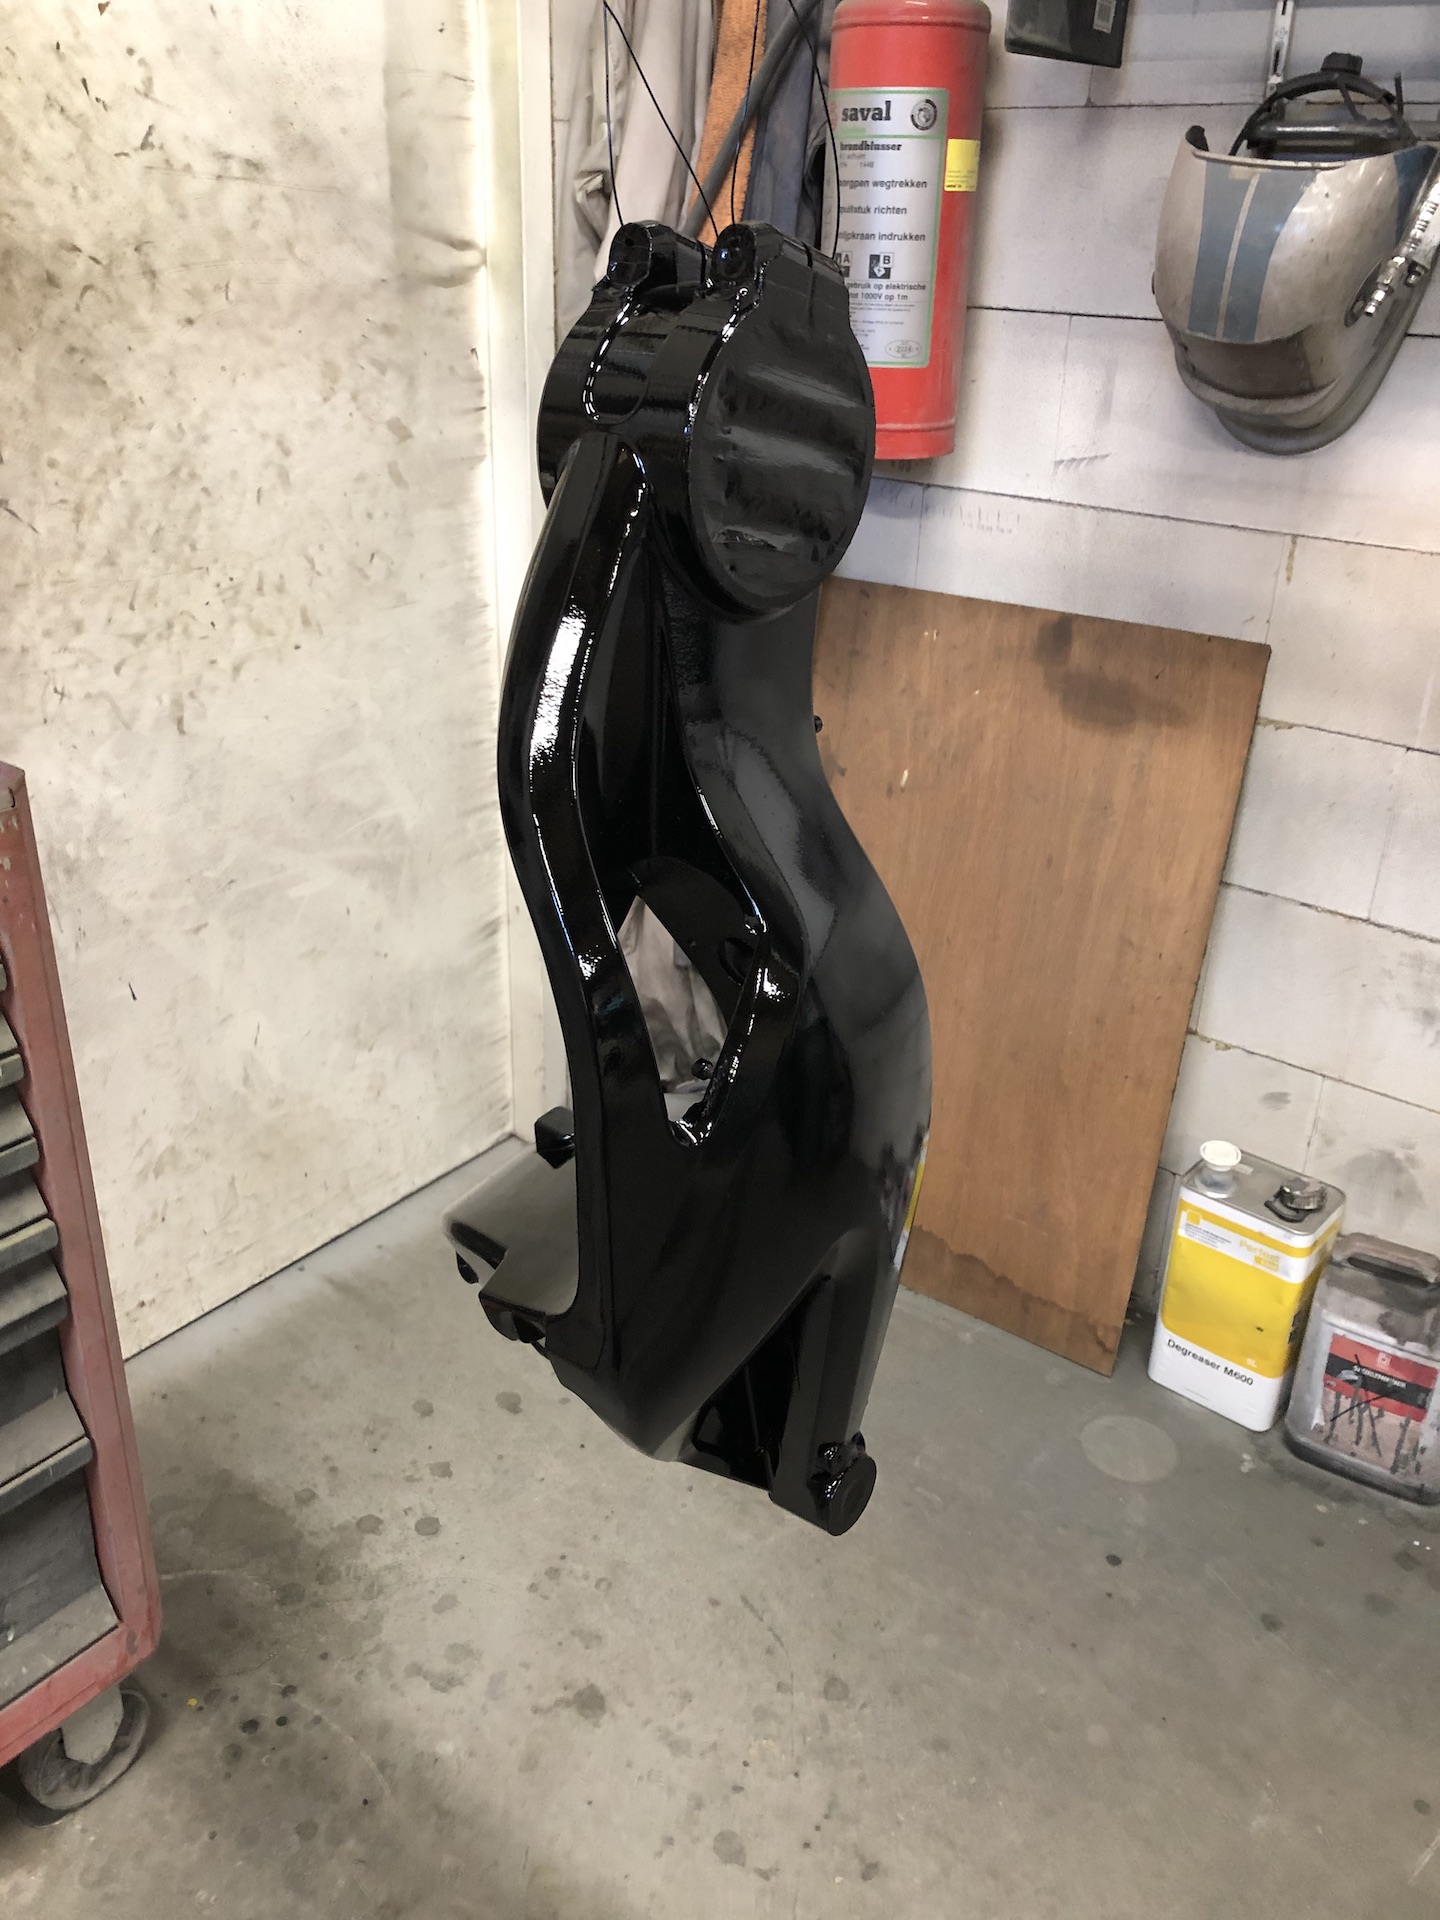
CUSTOM SUBFRAME & SHOCK MOUNT
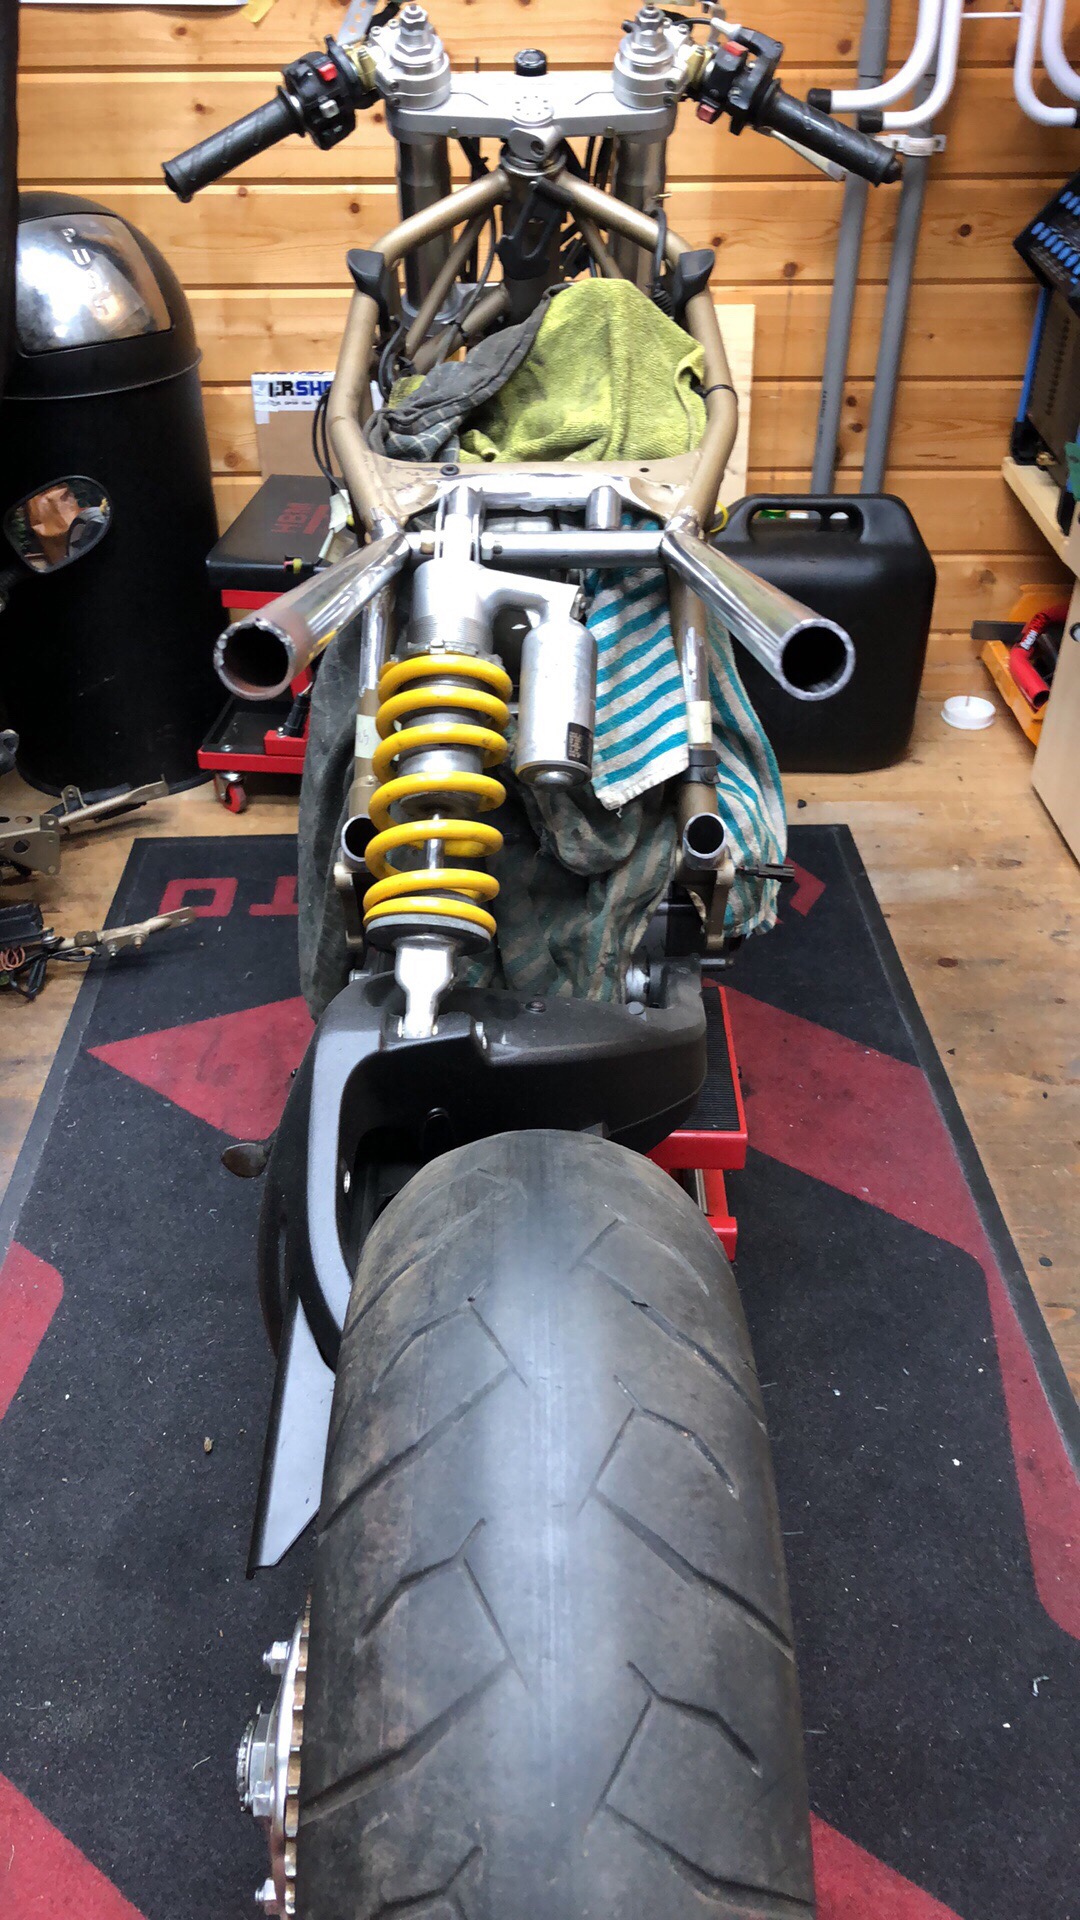
Started working on the custom subframe and rear shock mount. A challenge to get everything level.
I didnt want the rear shock interfering with the subframe but also didnt want a ugly bulge at the side. So with the rear shock at a slight angle and a notch in the subframe a clean look is achived!

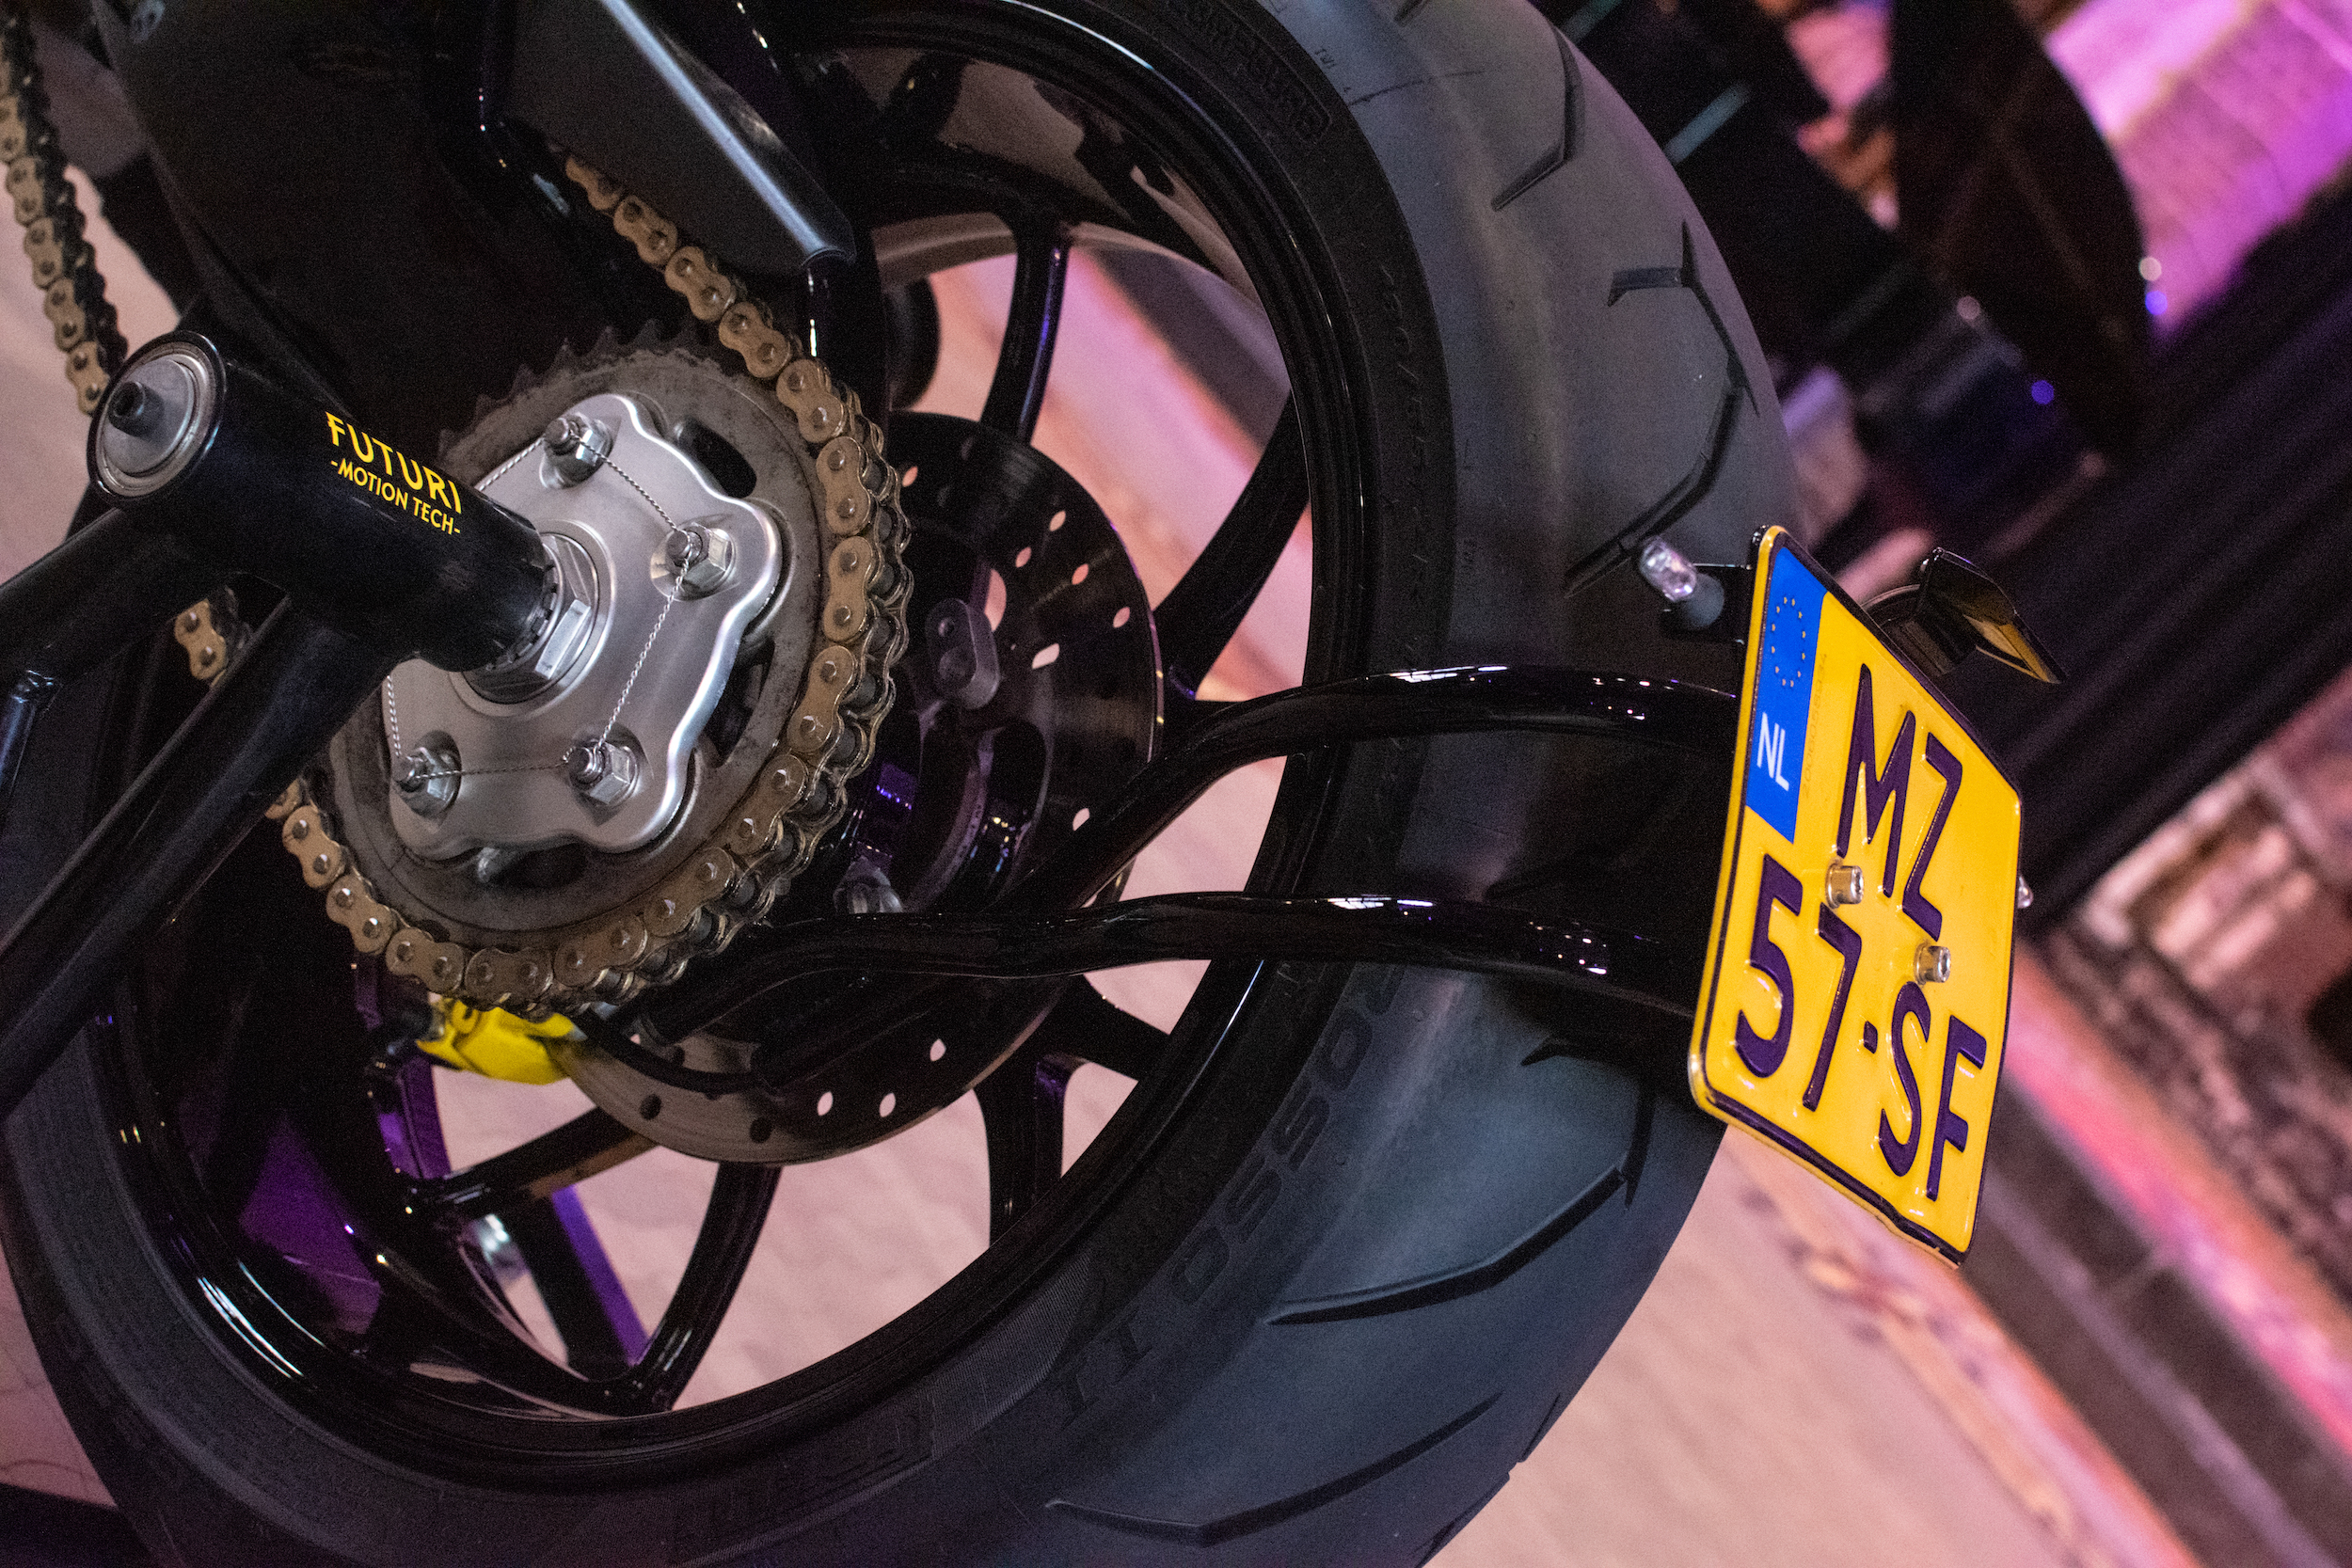
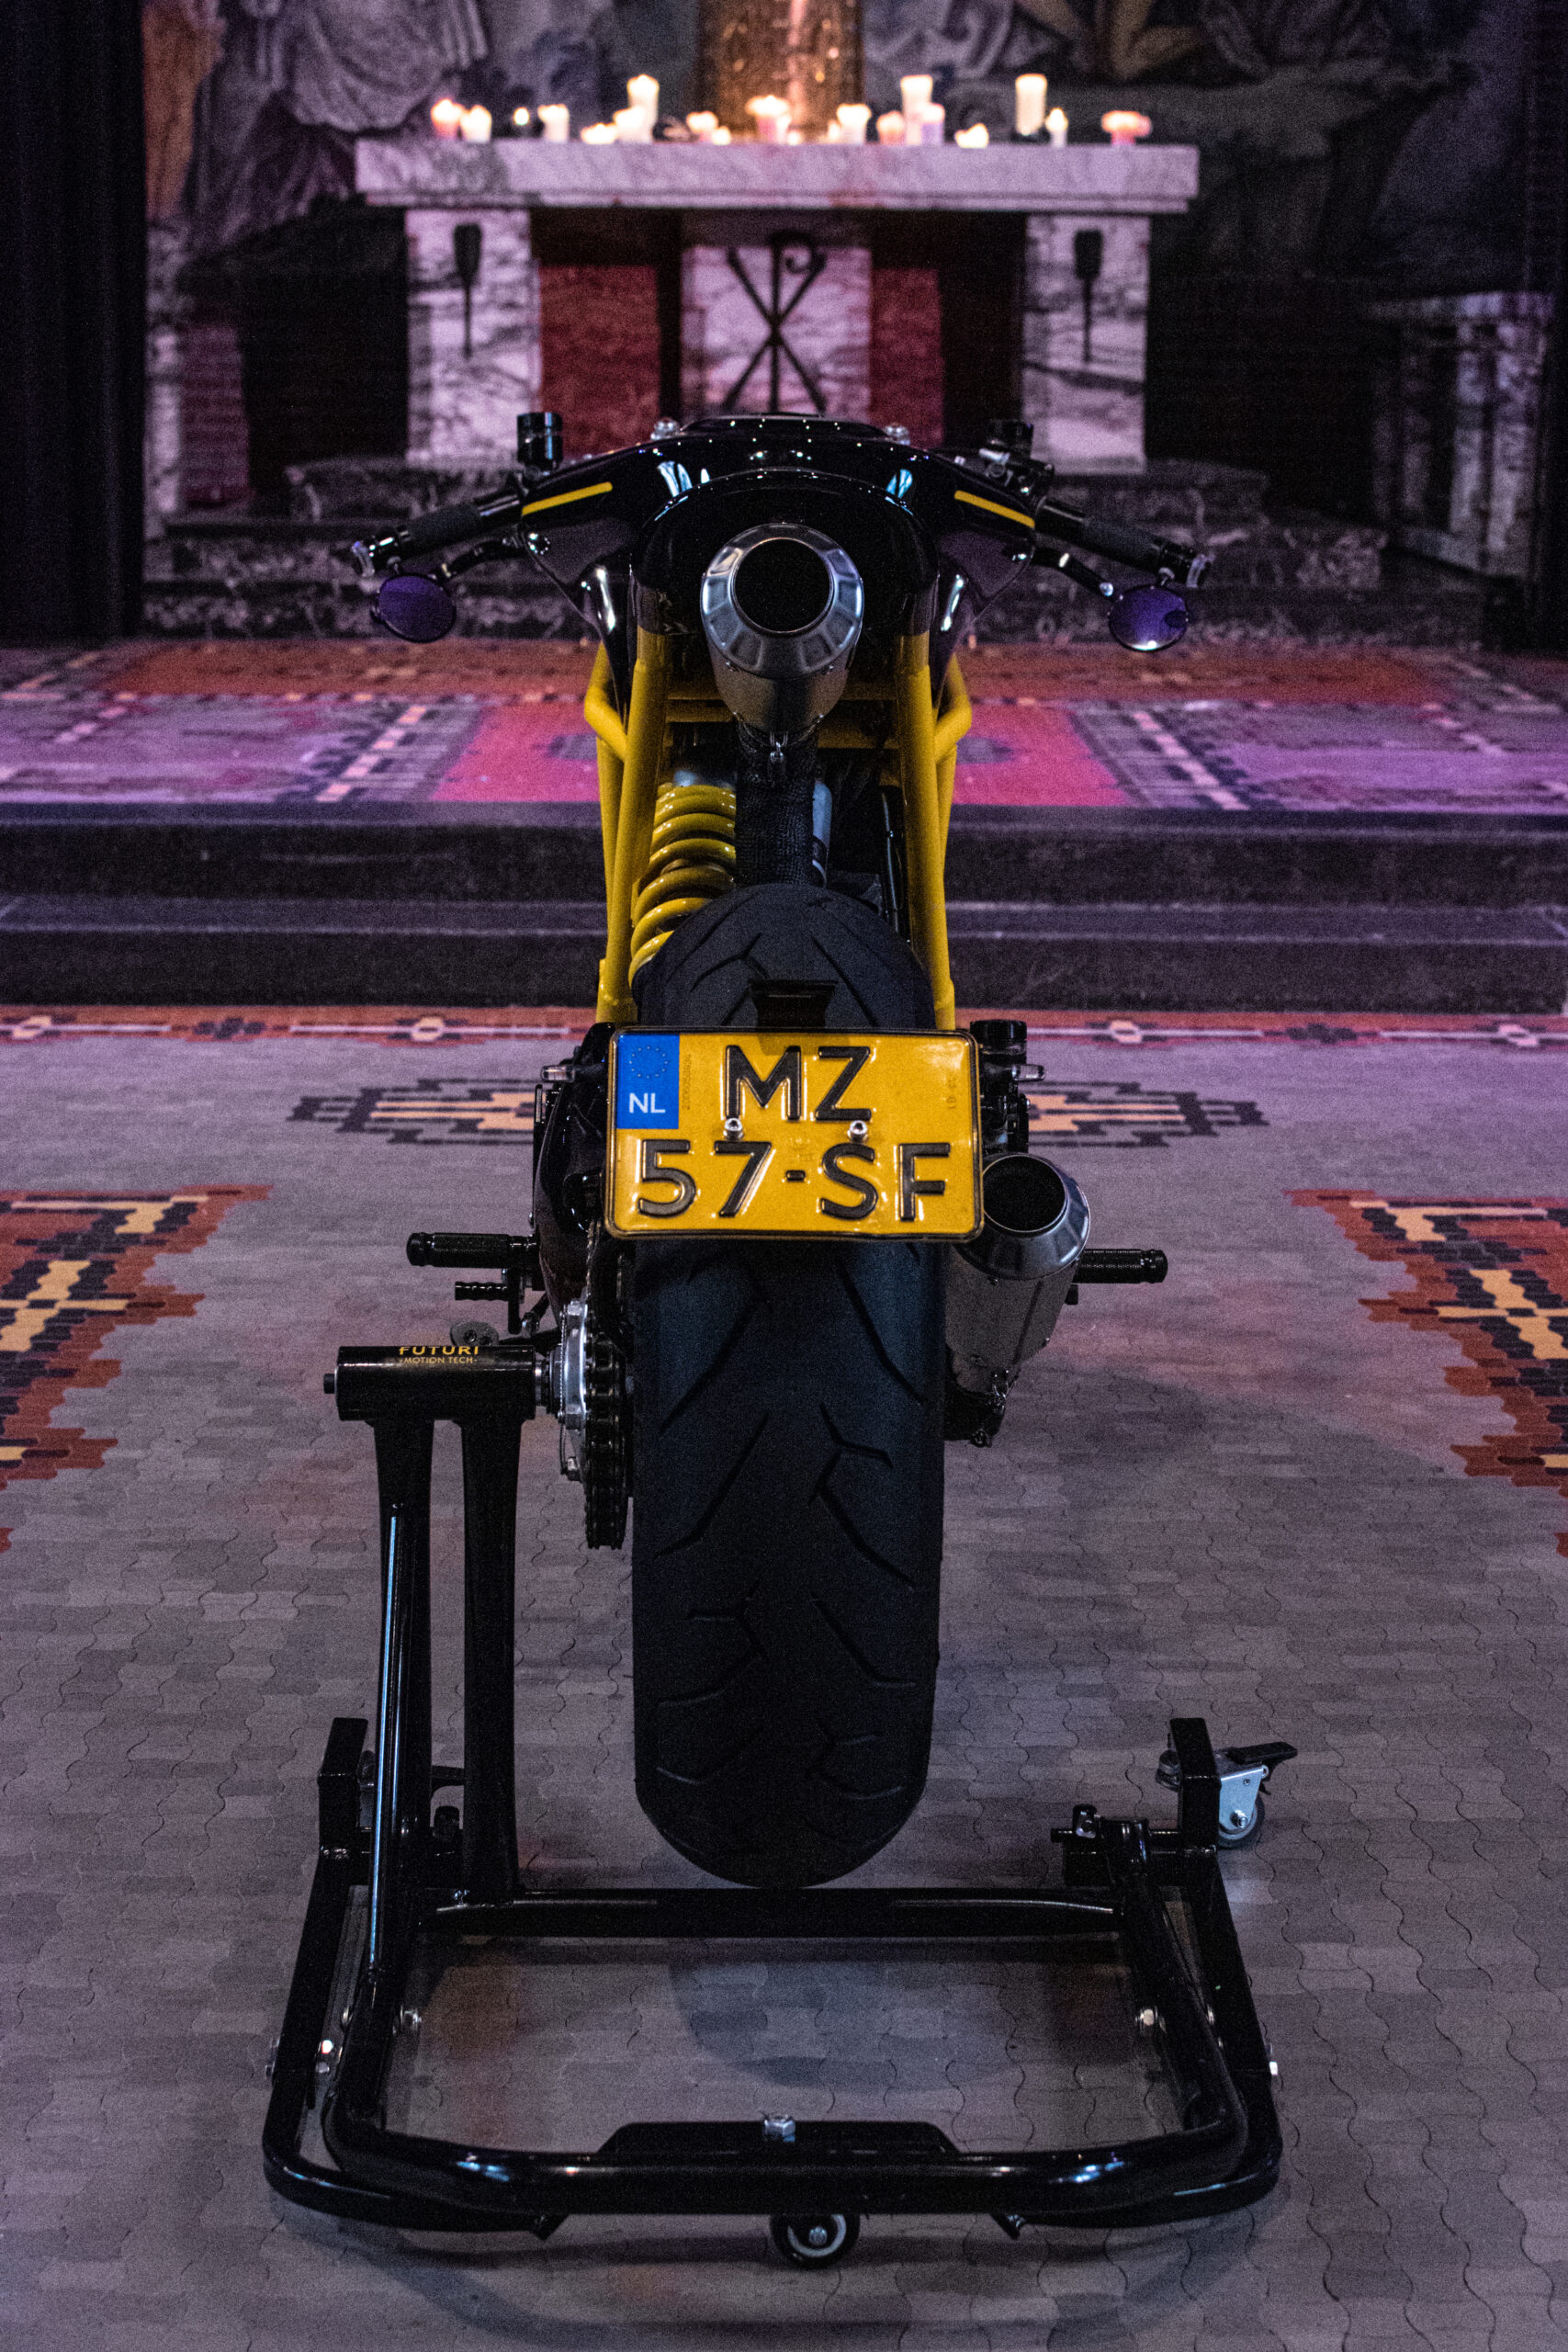
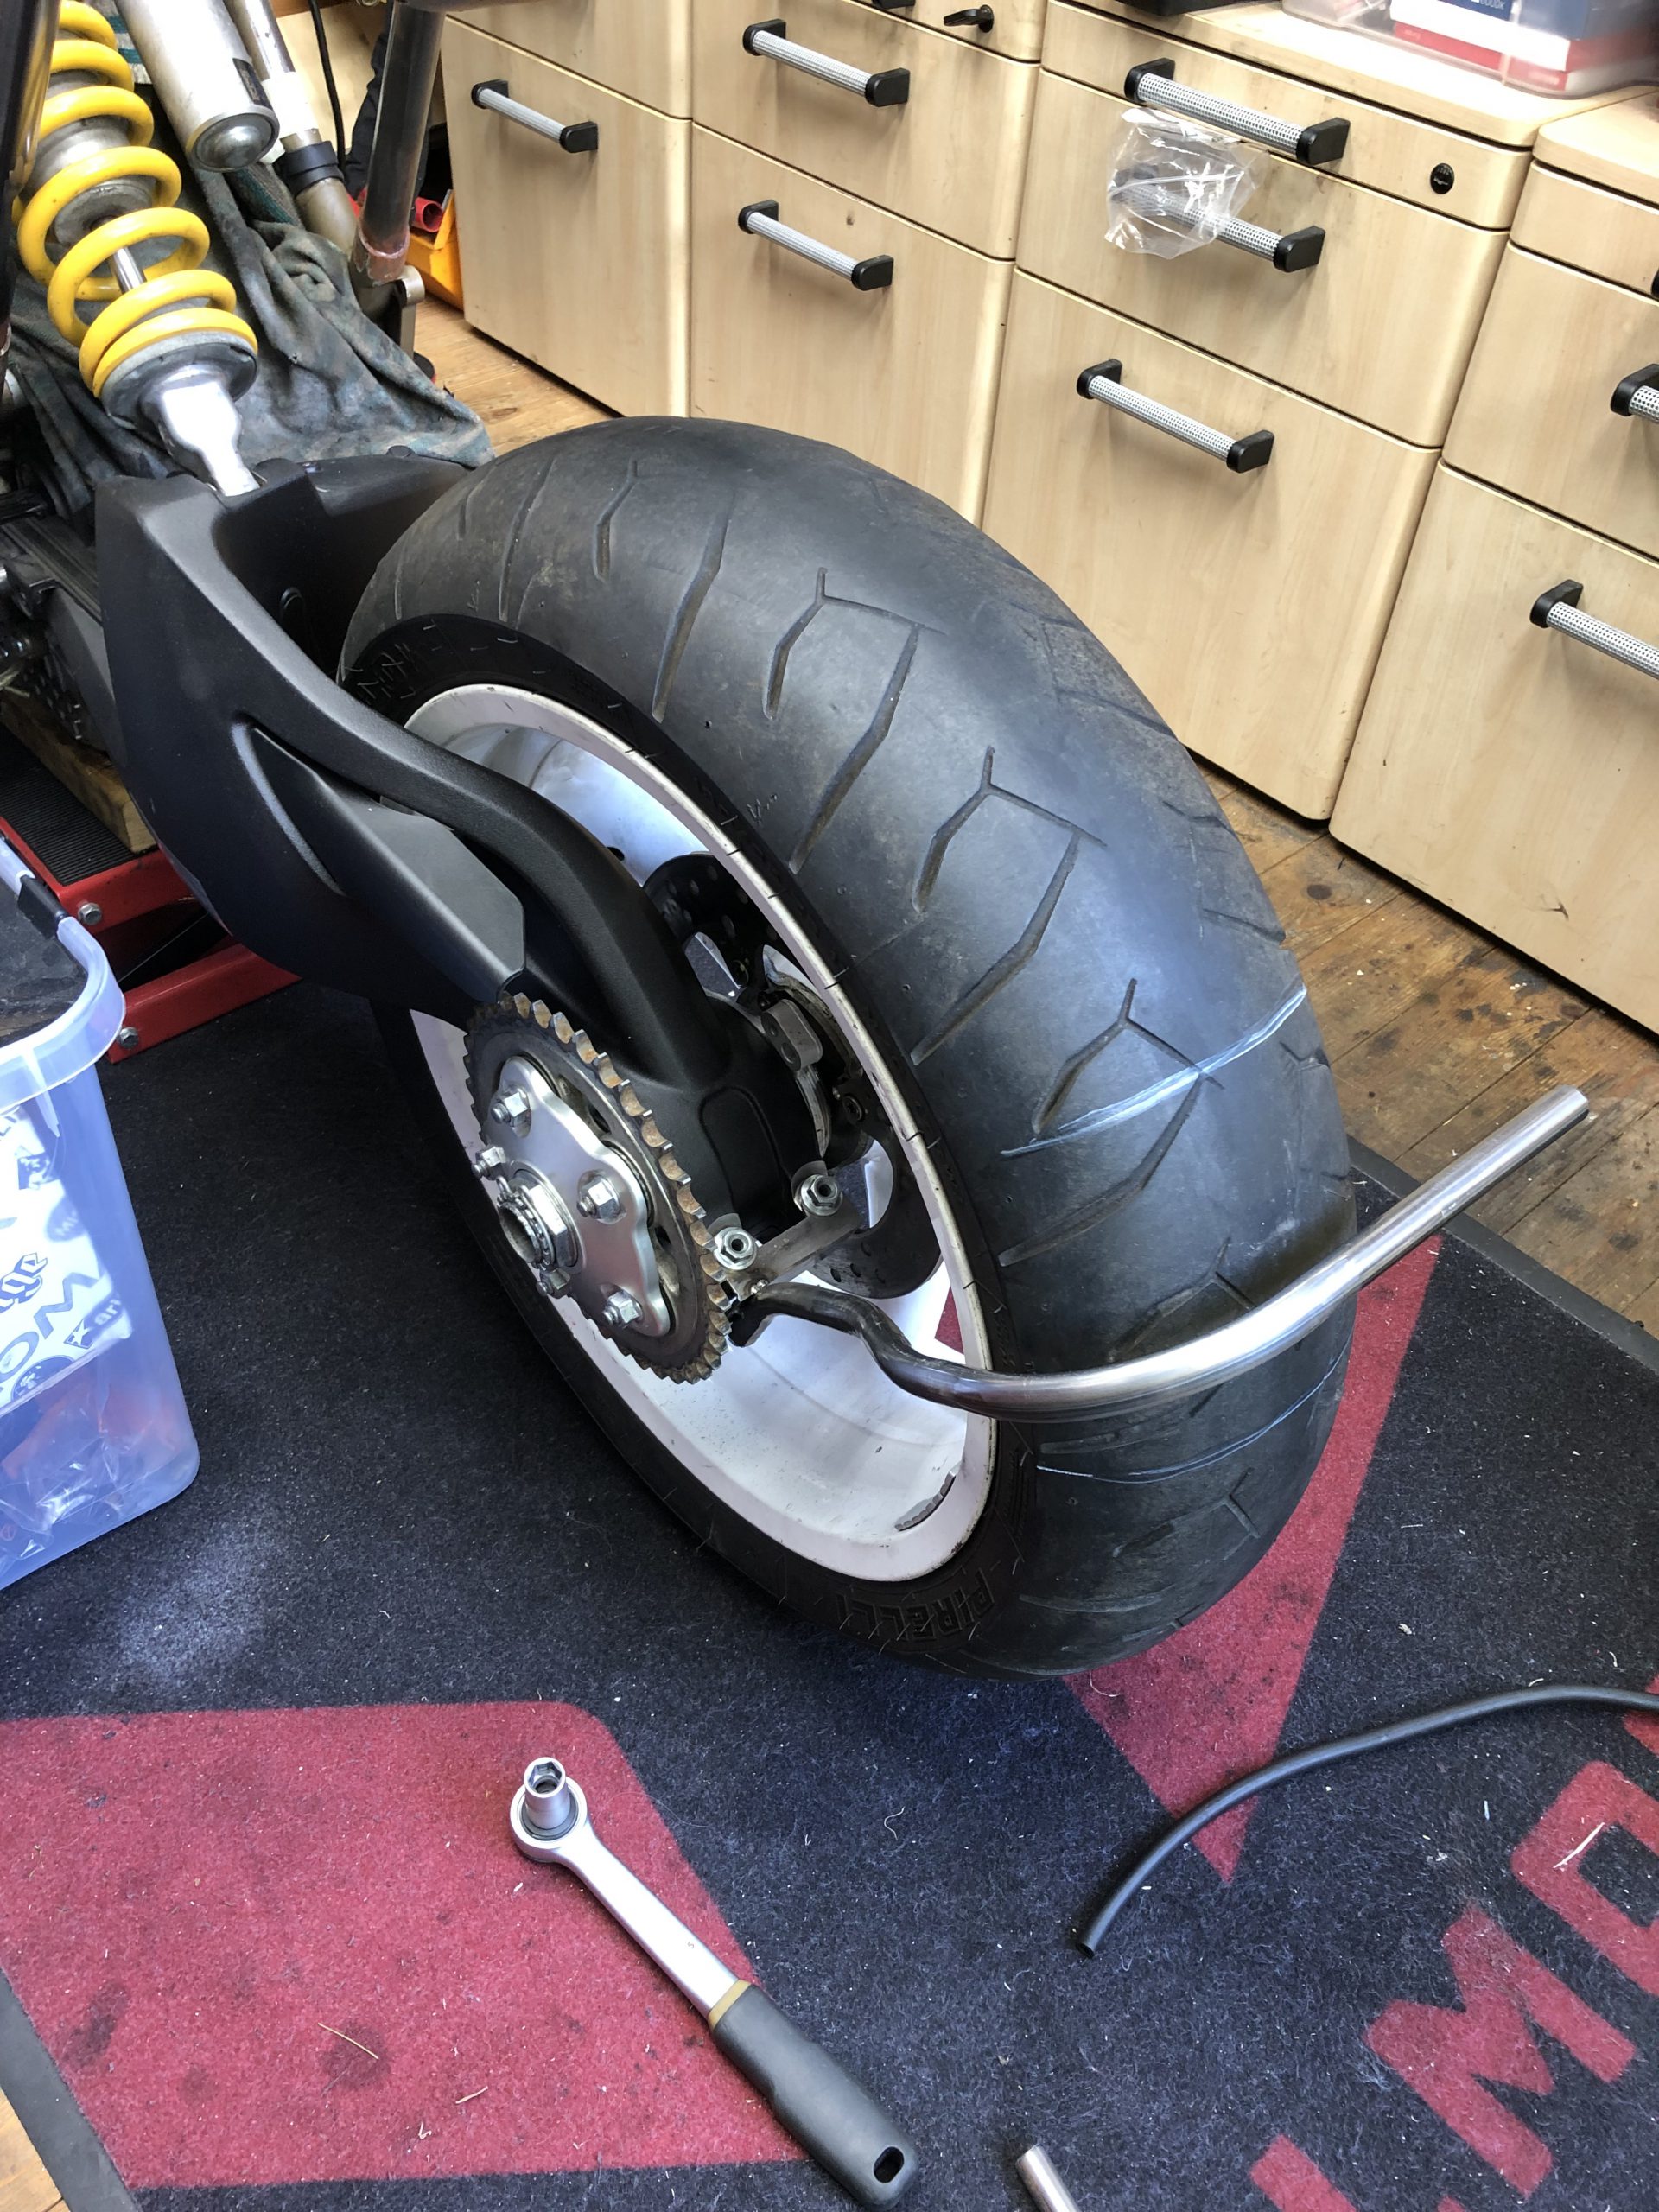
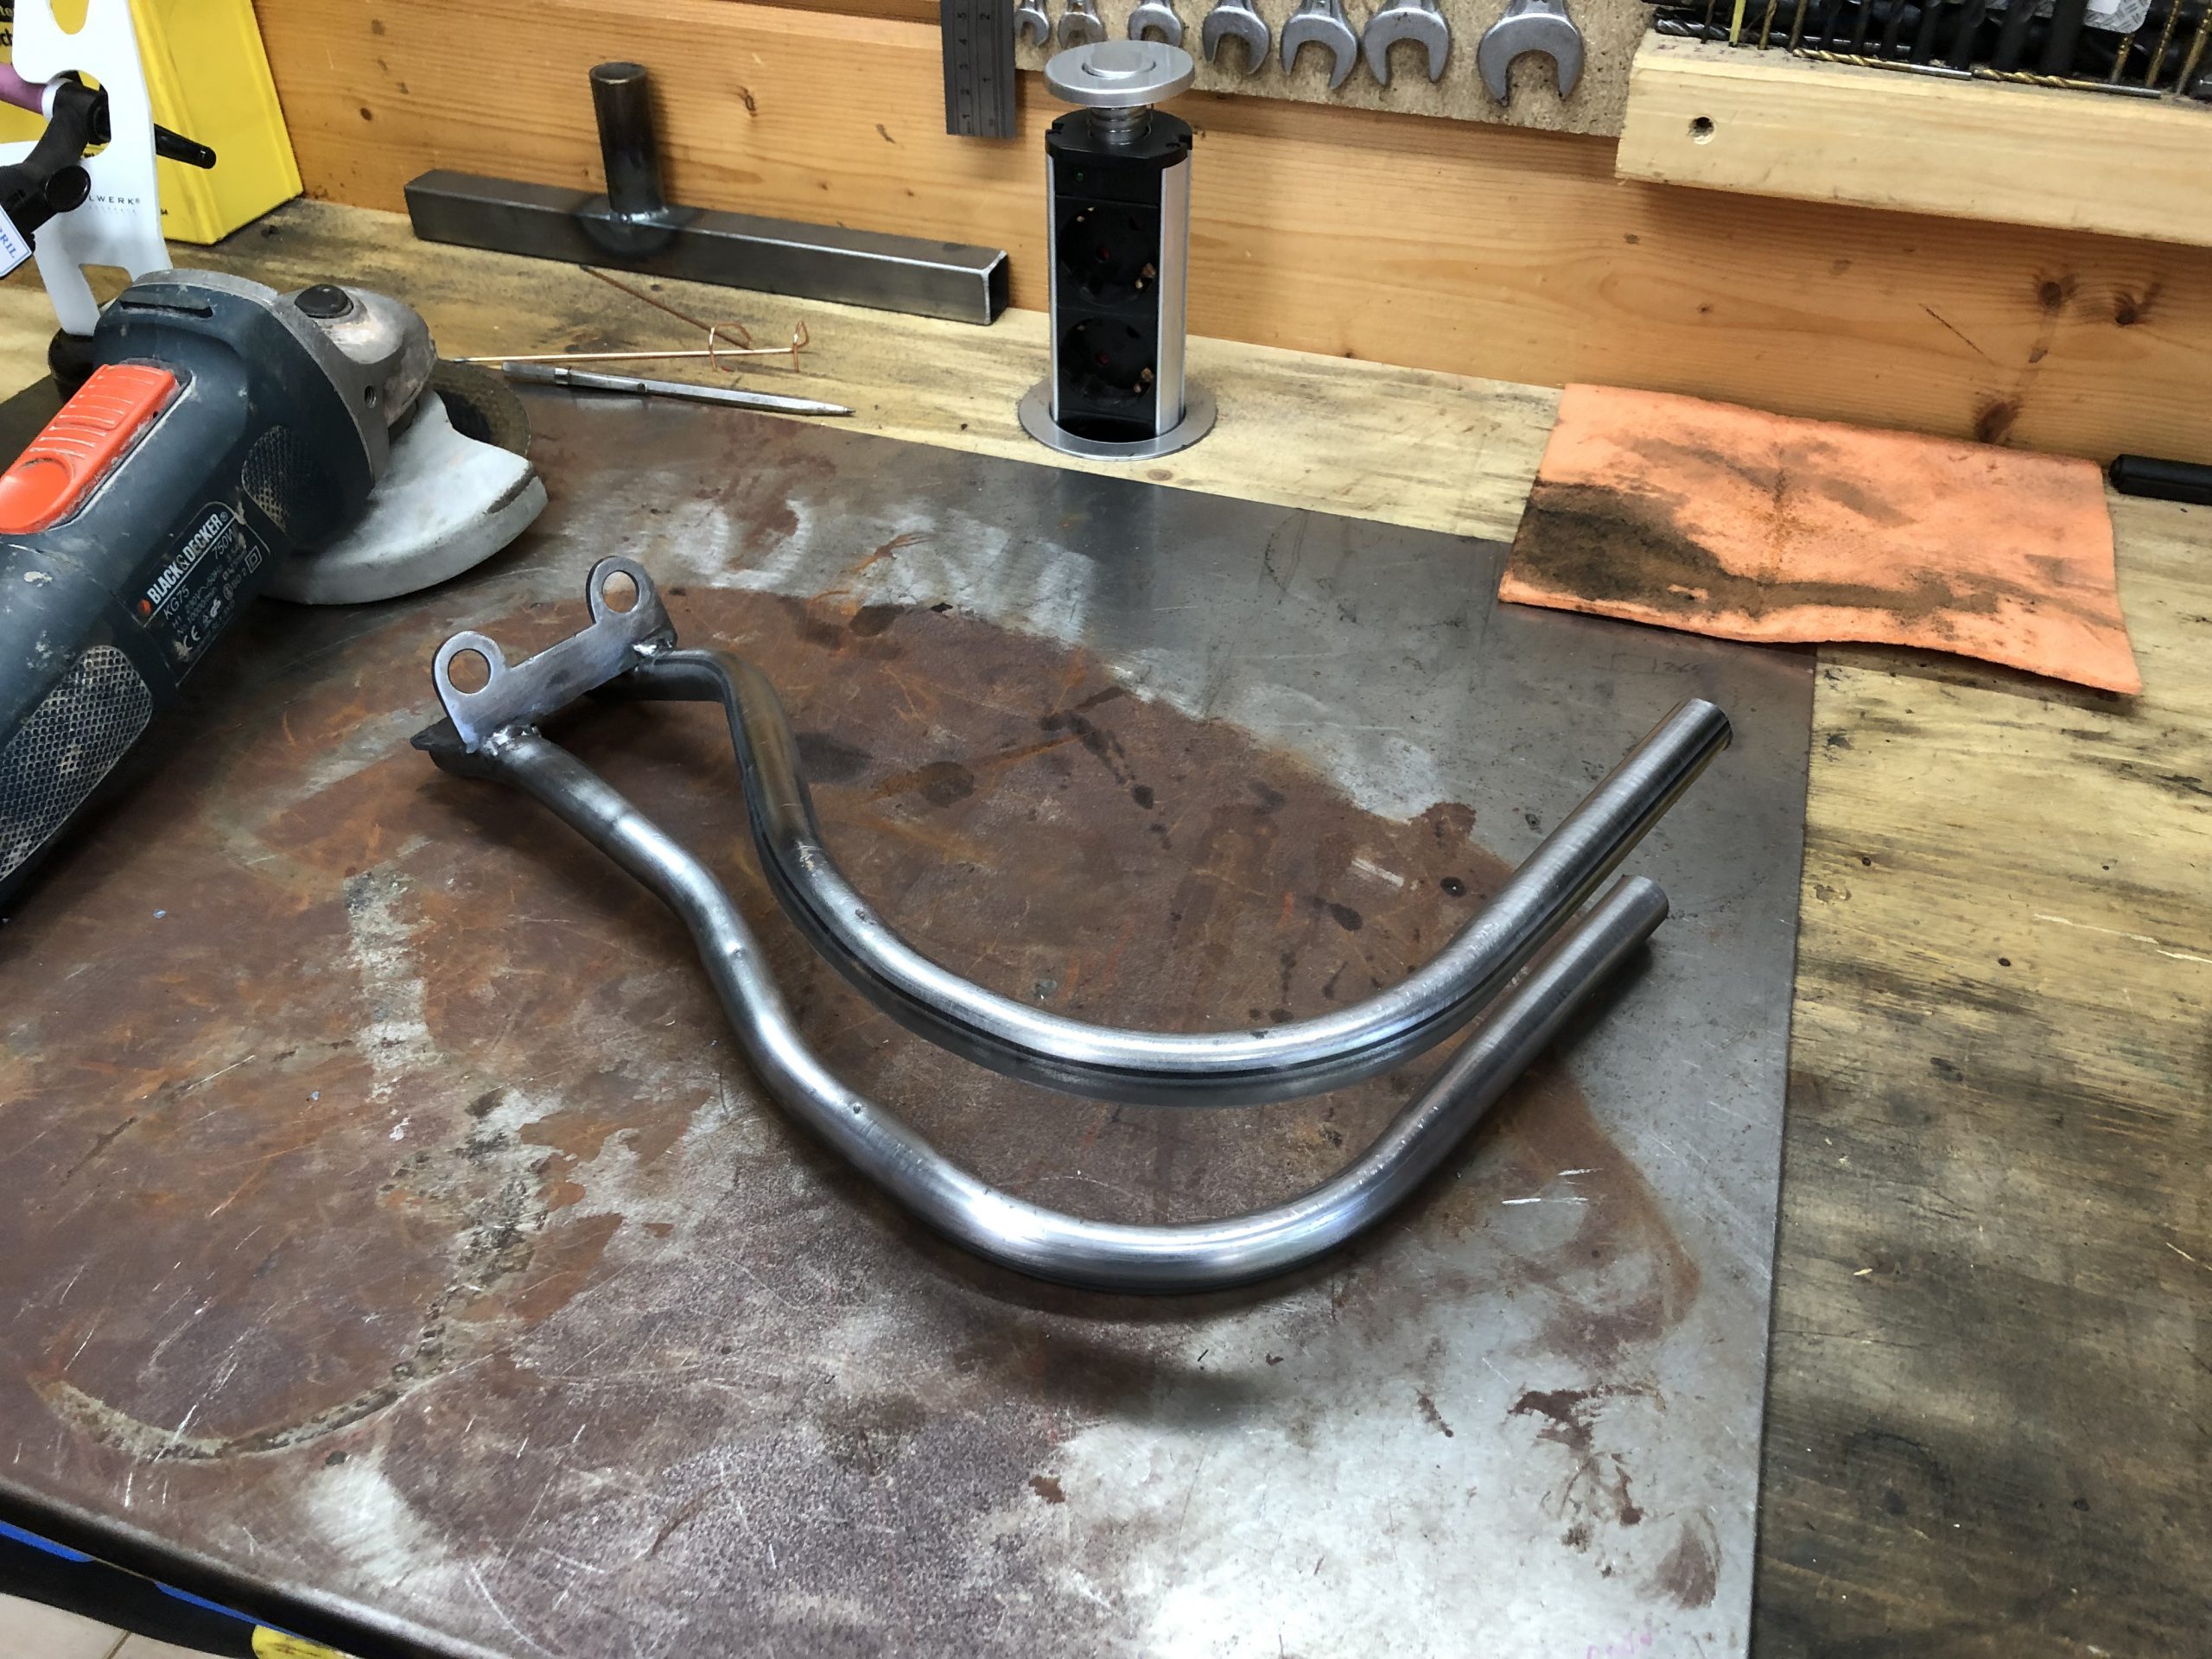
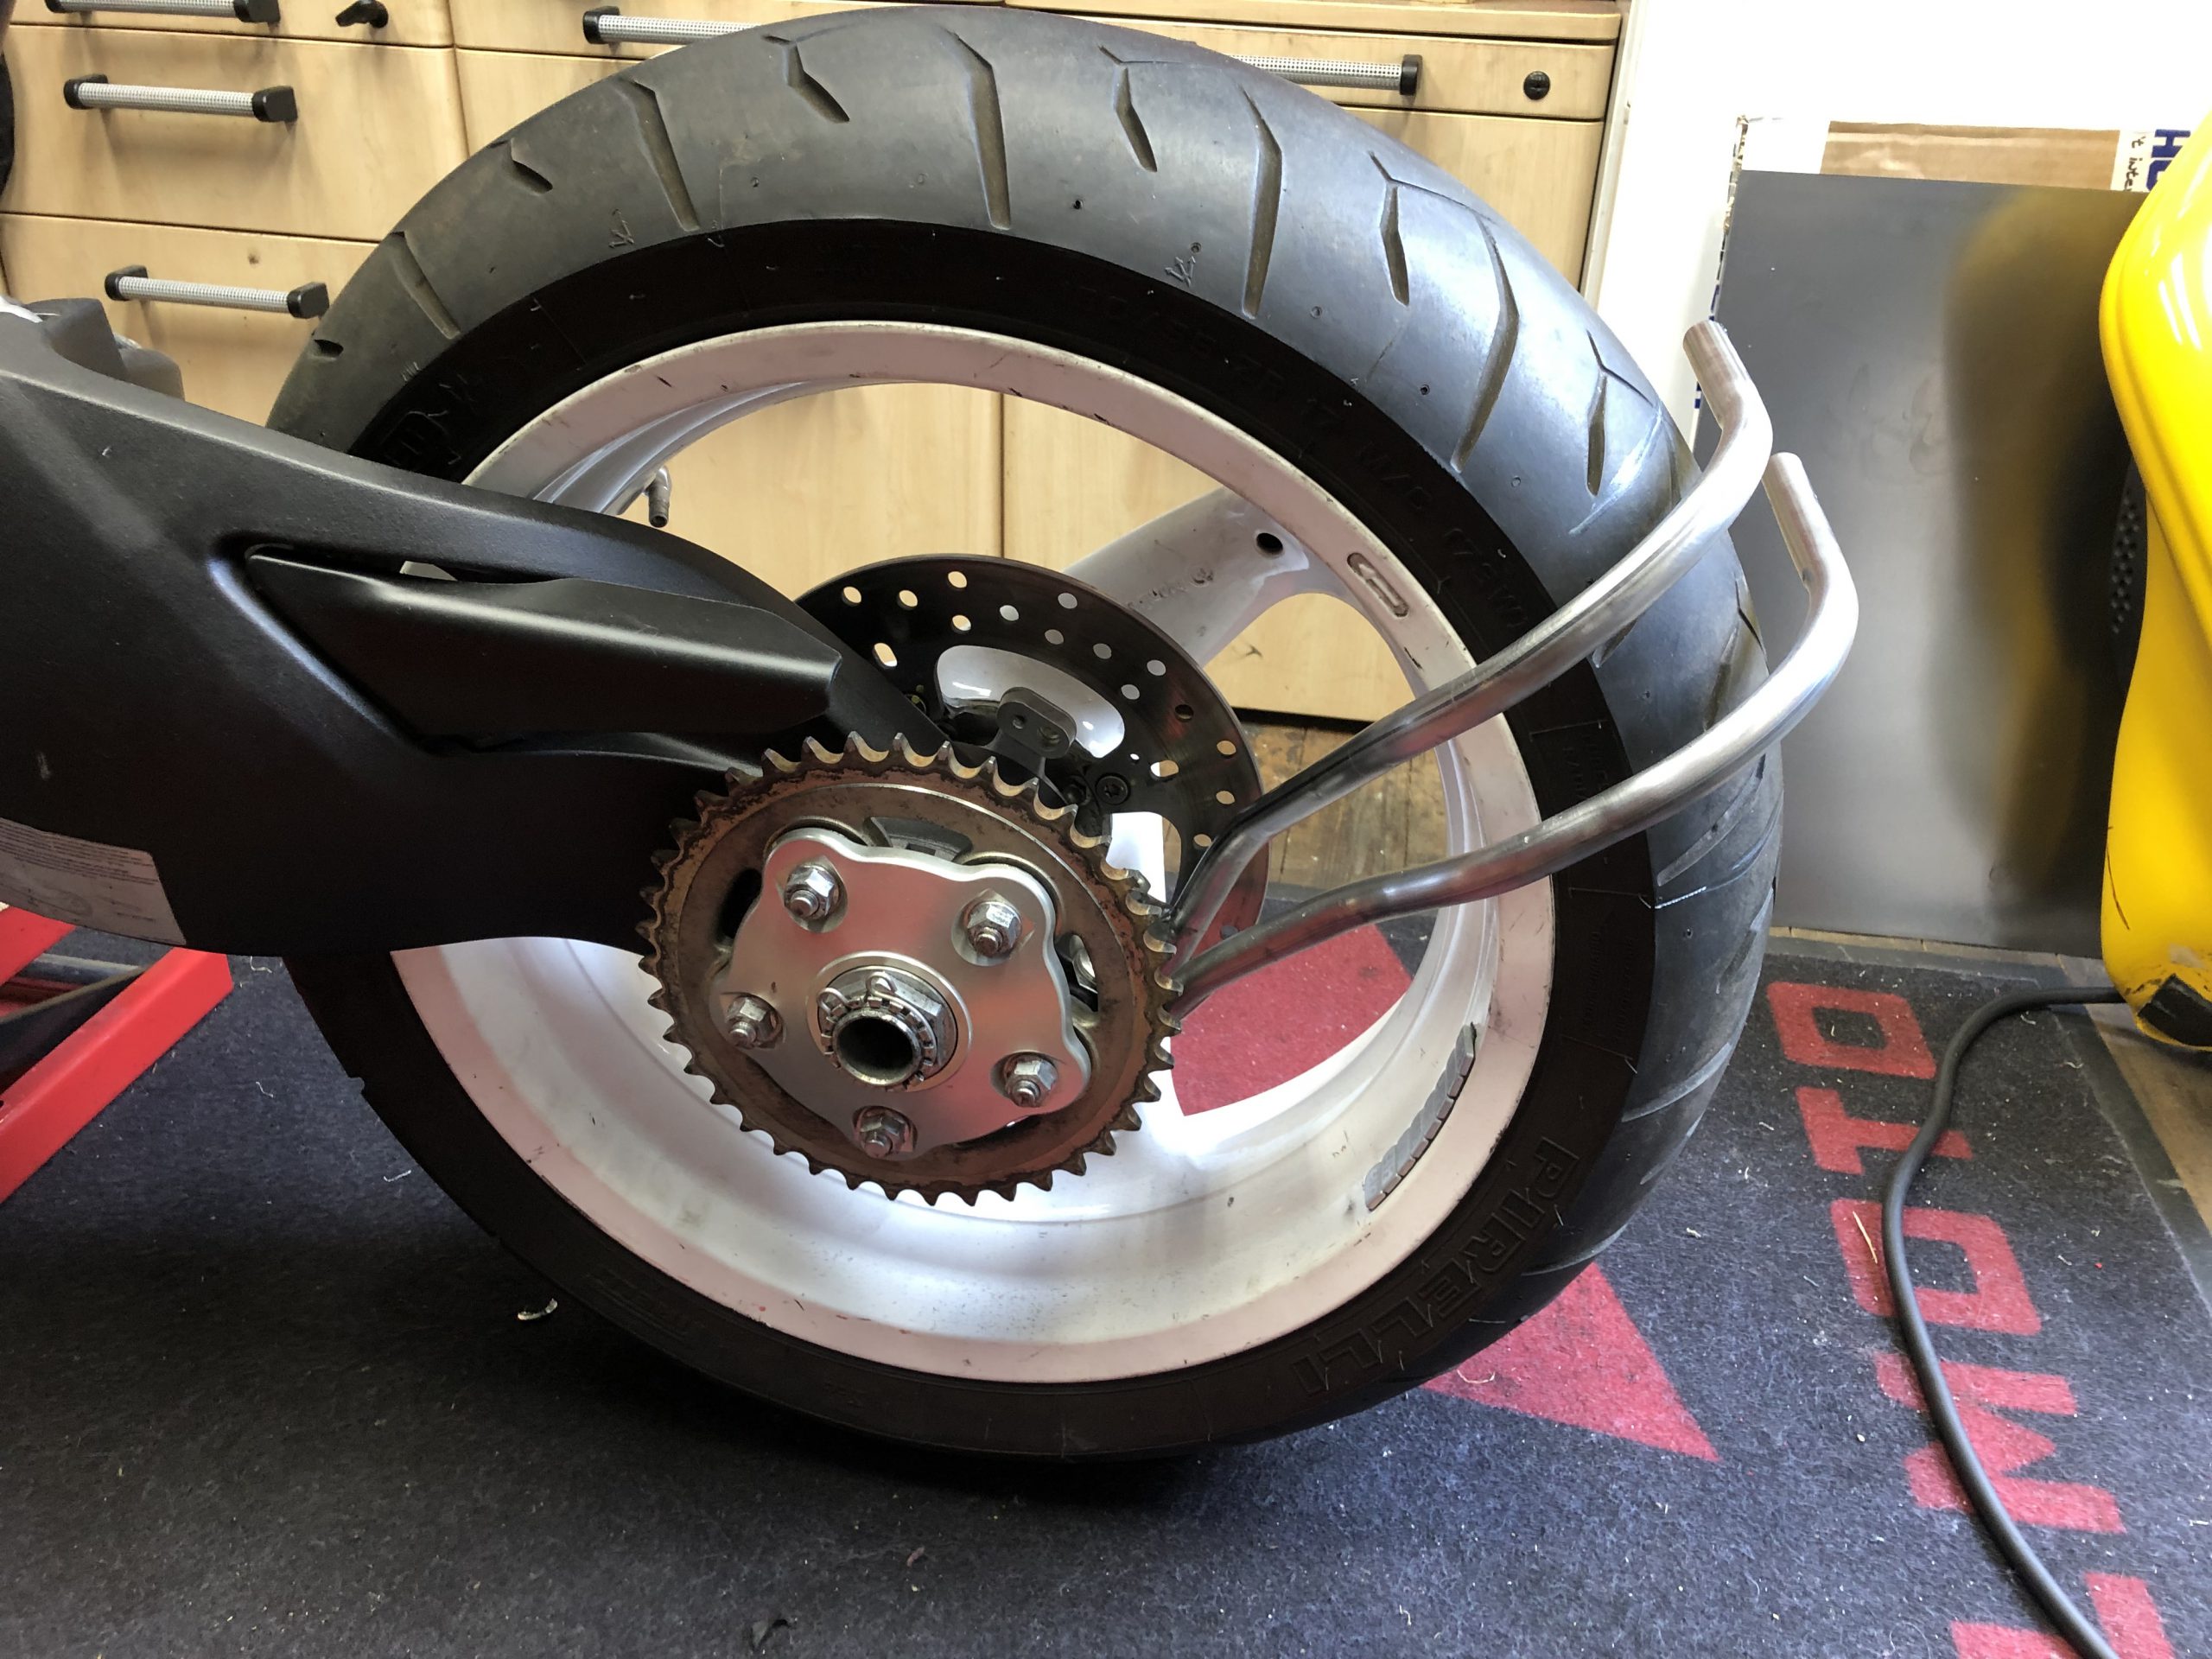
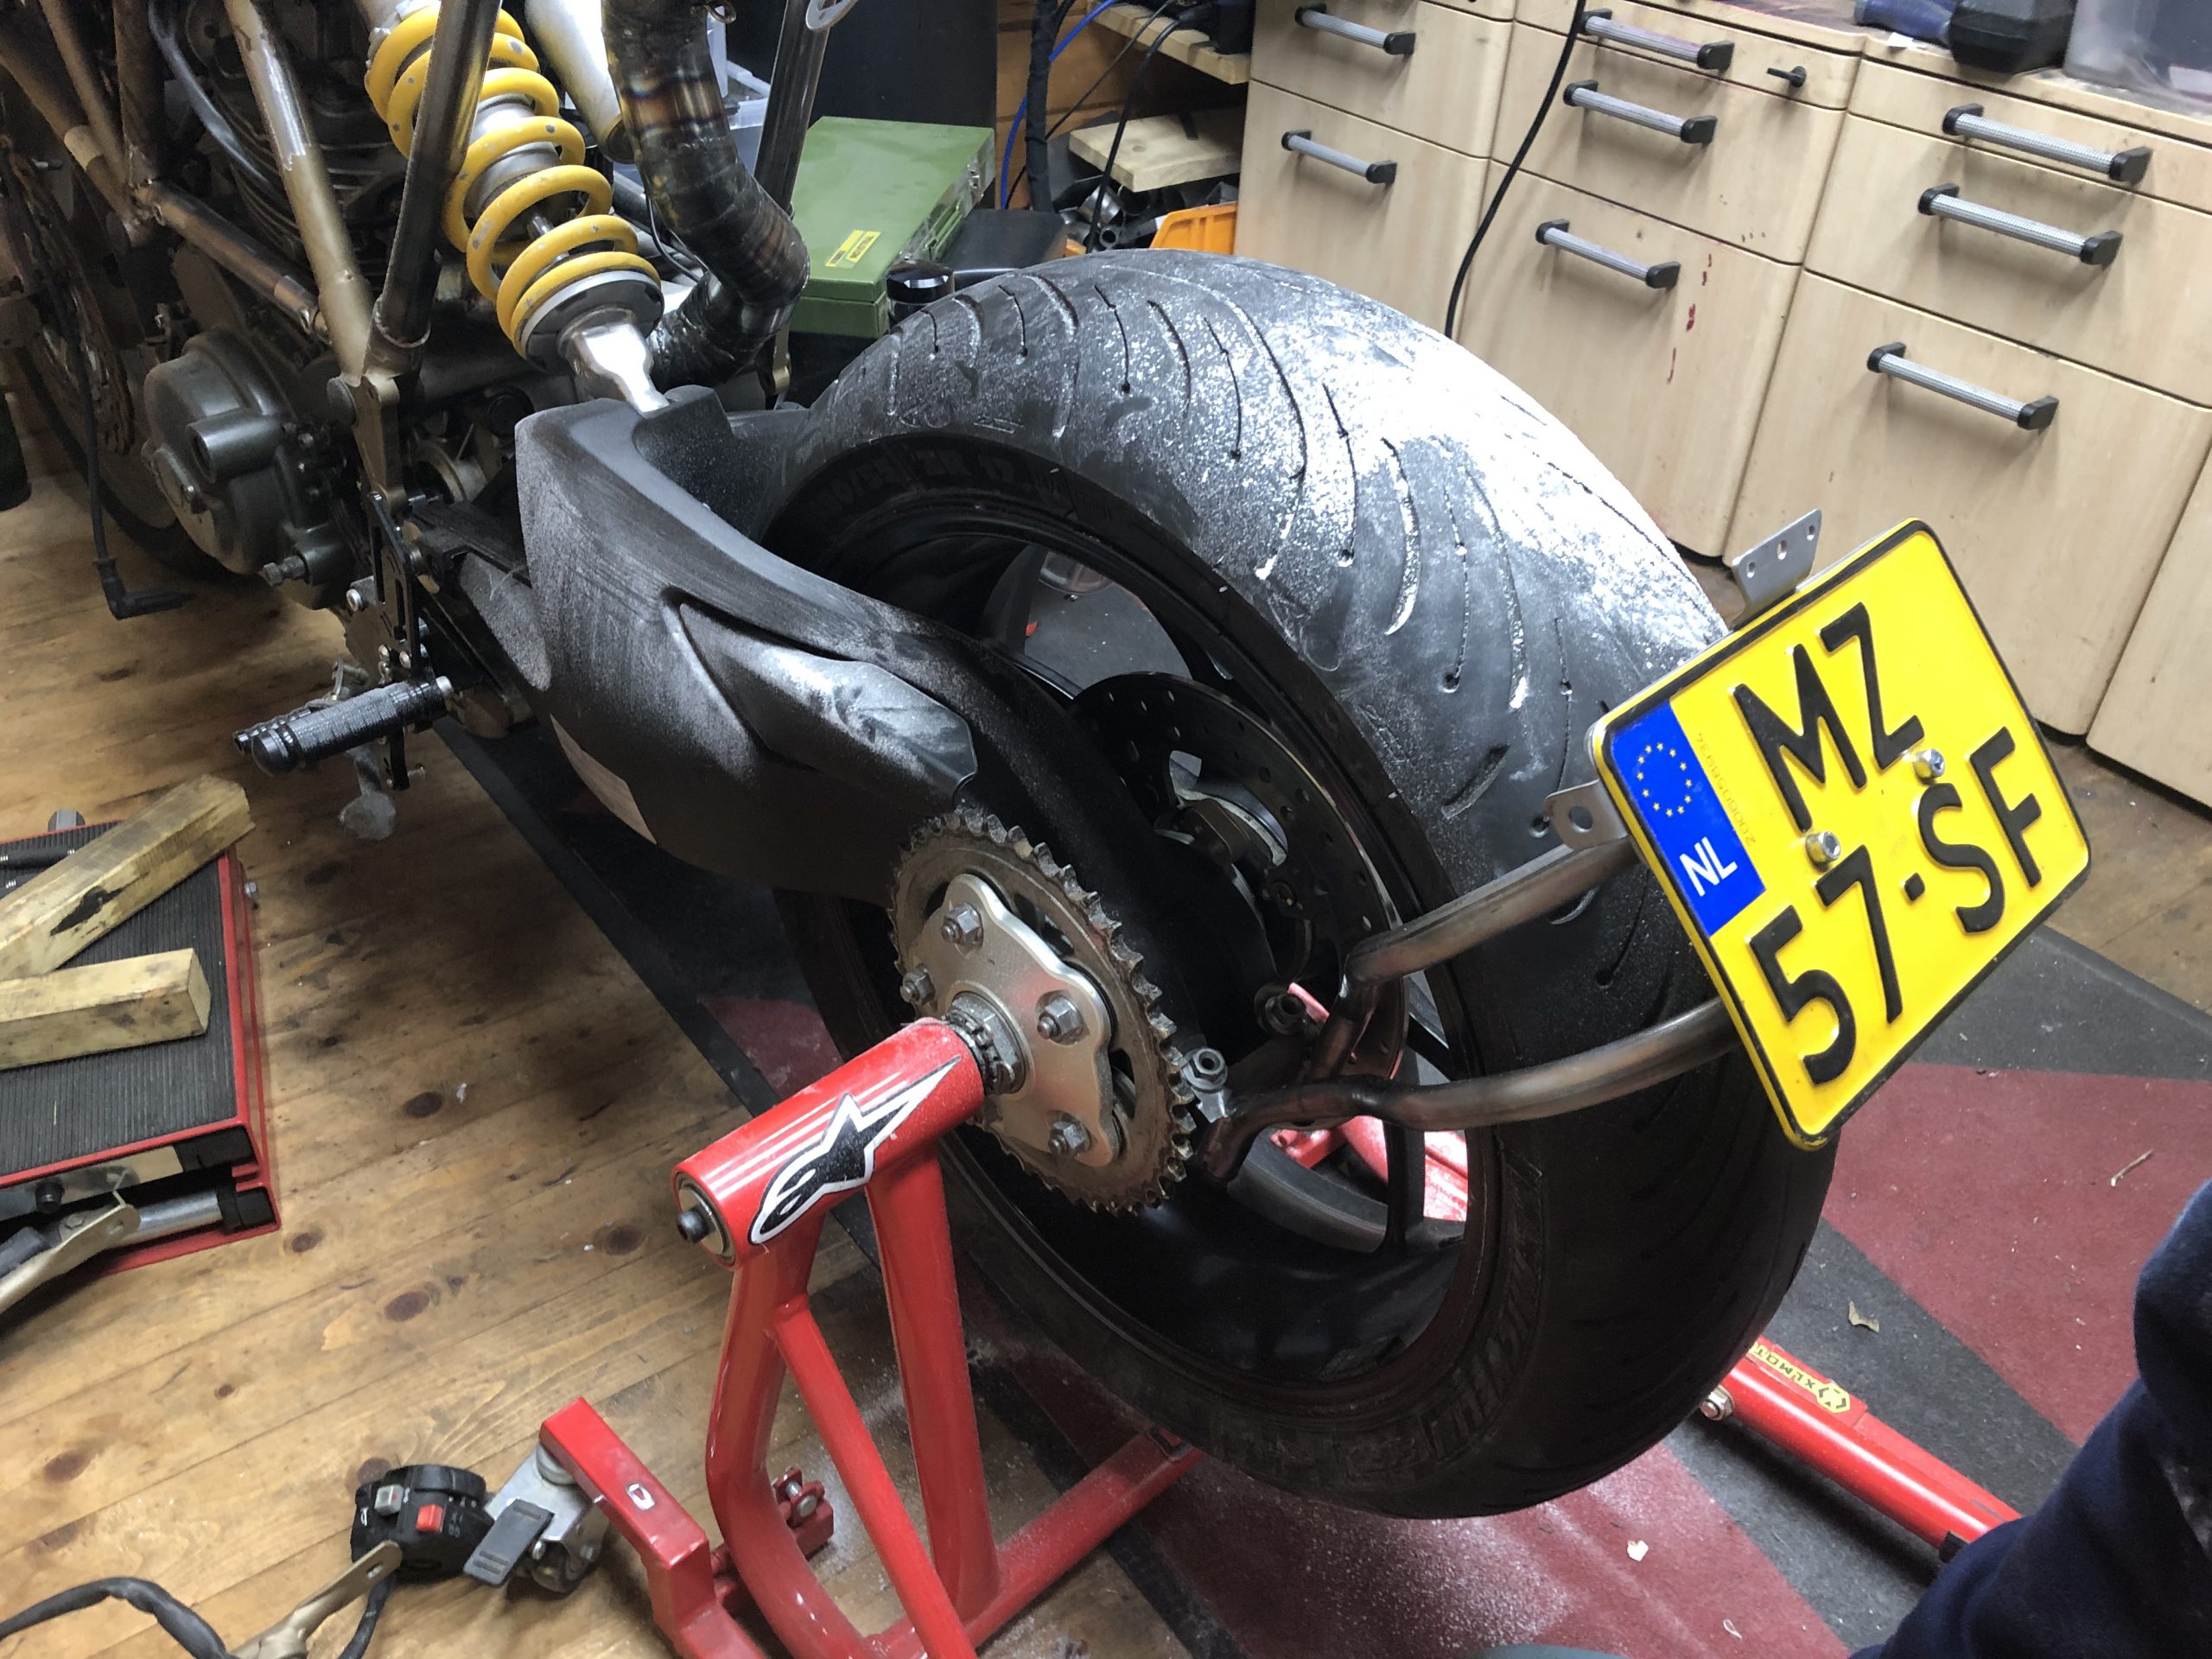
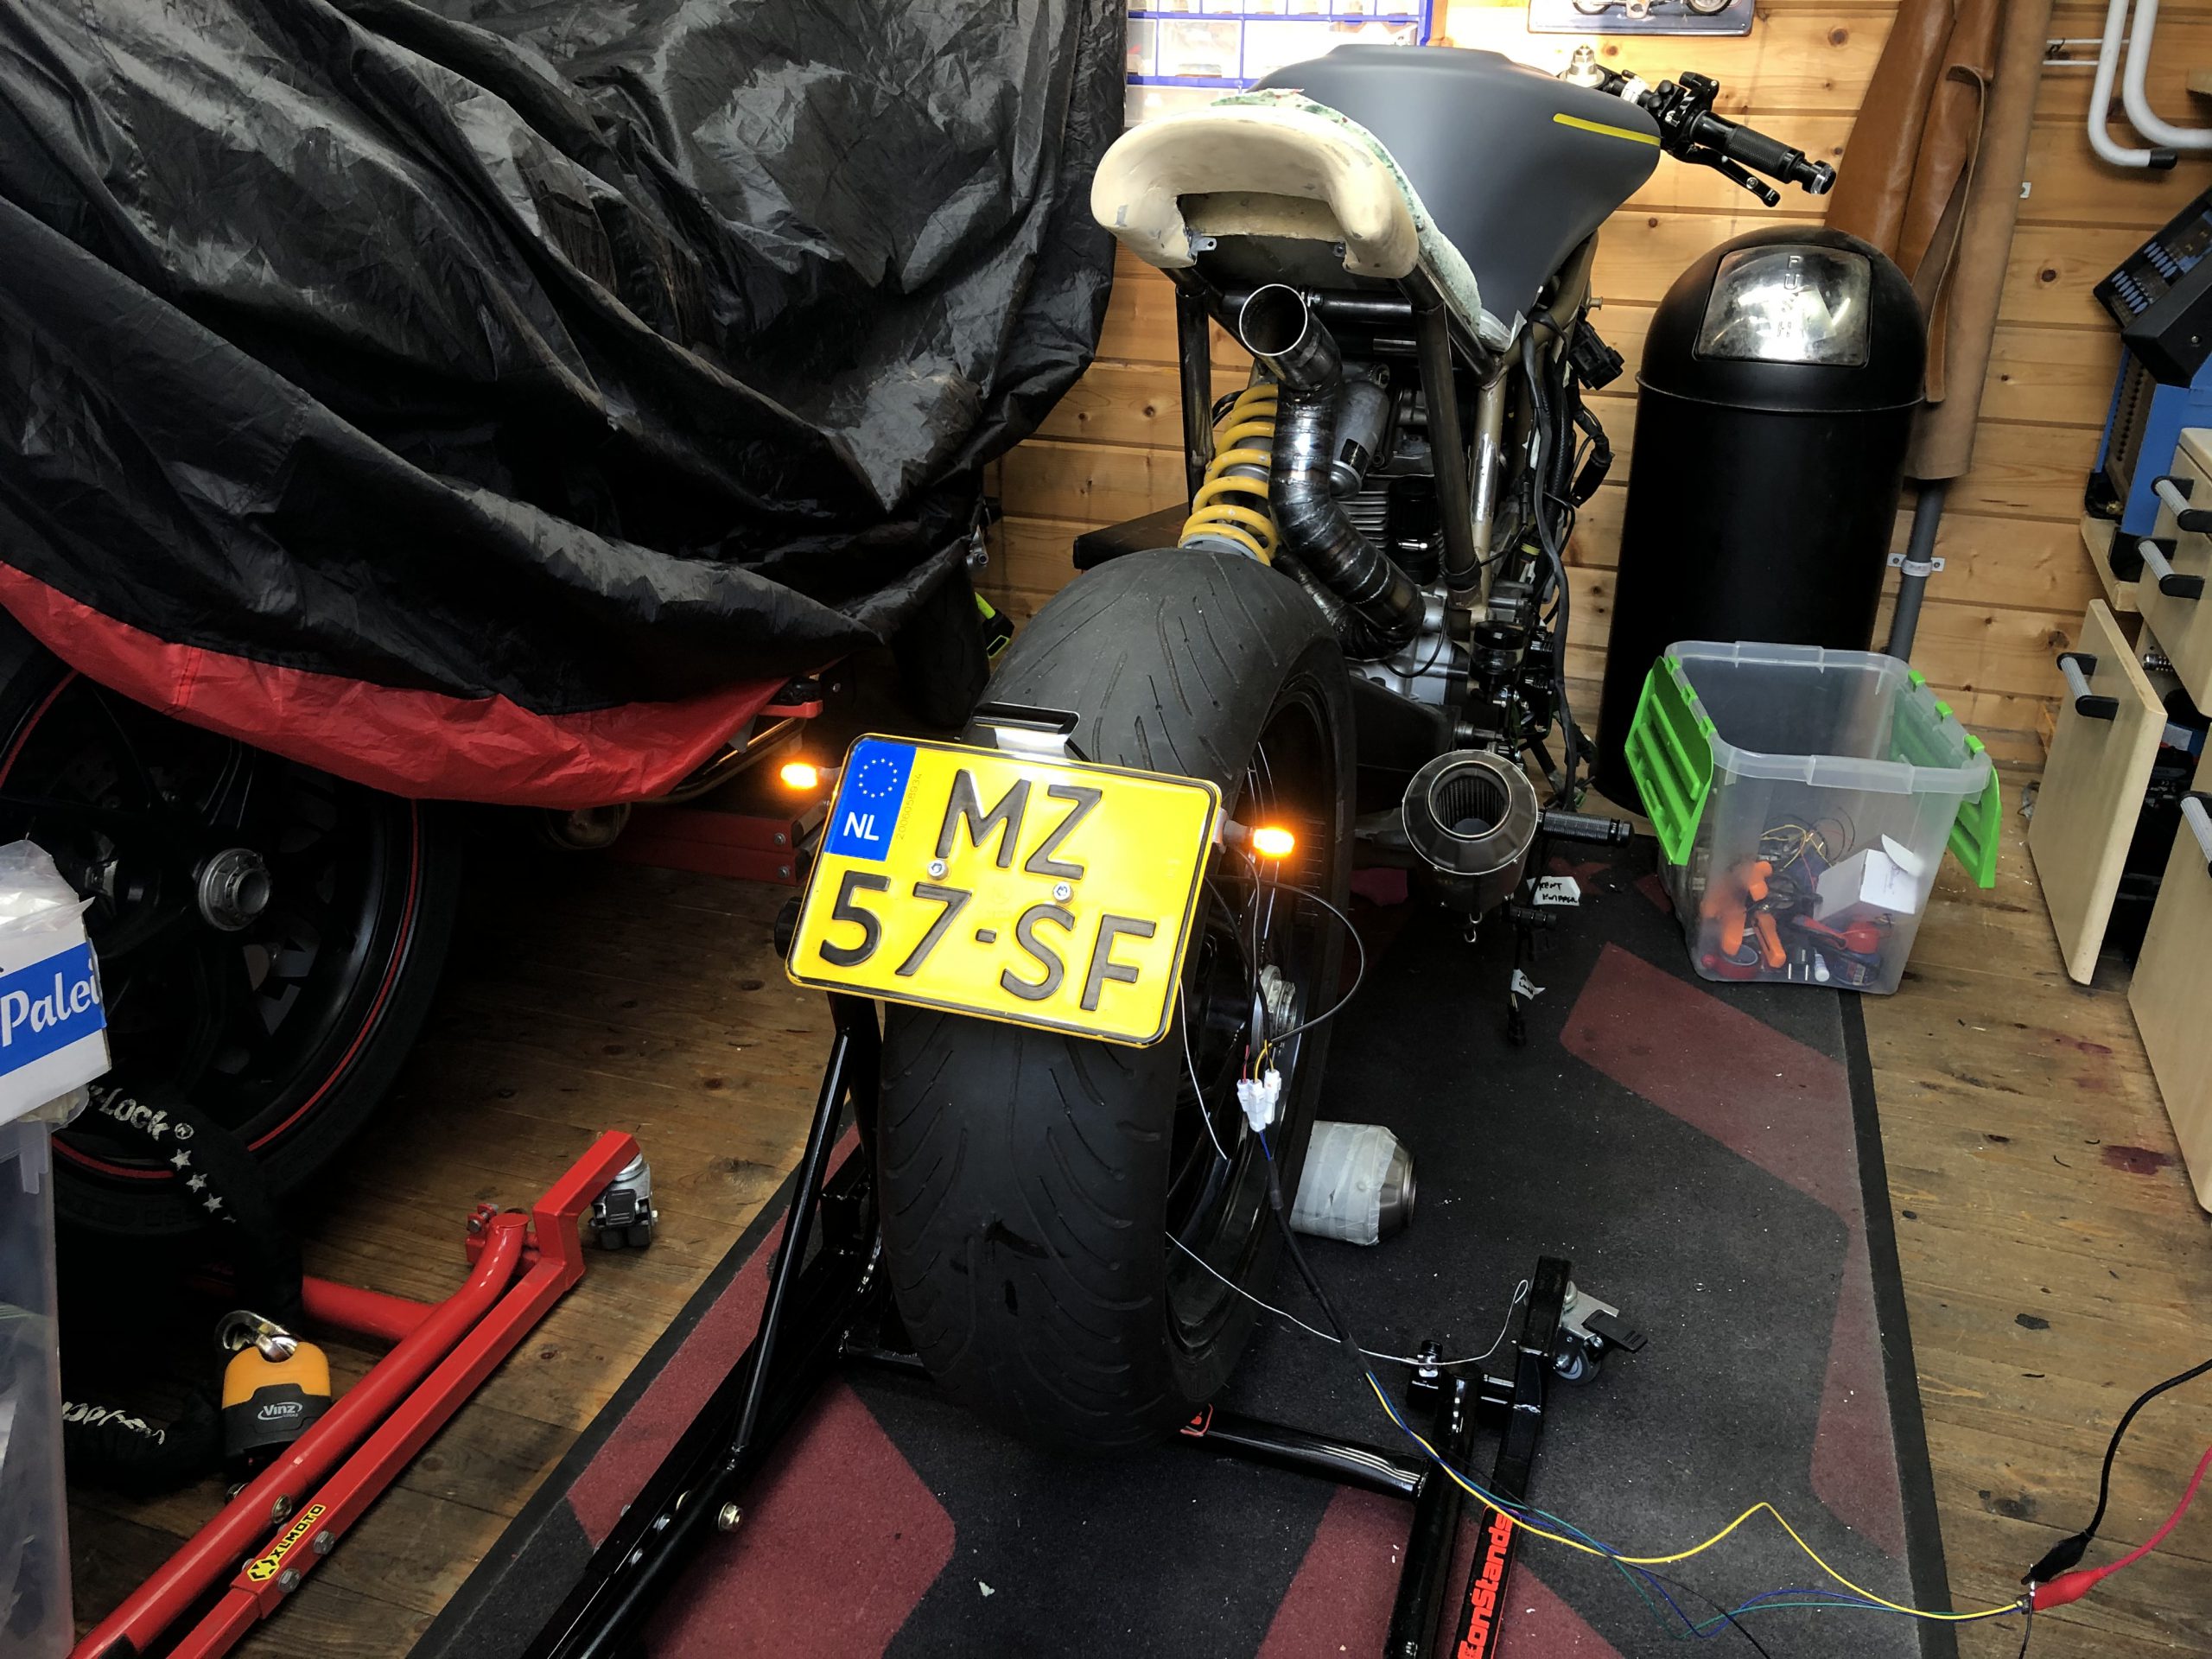
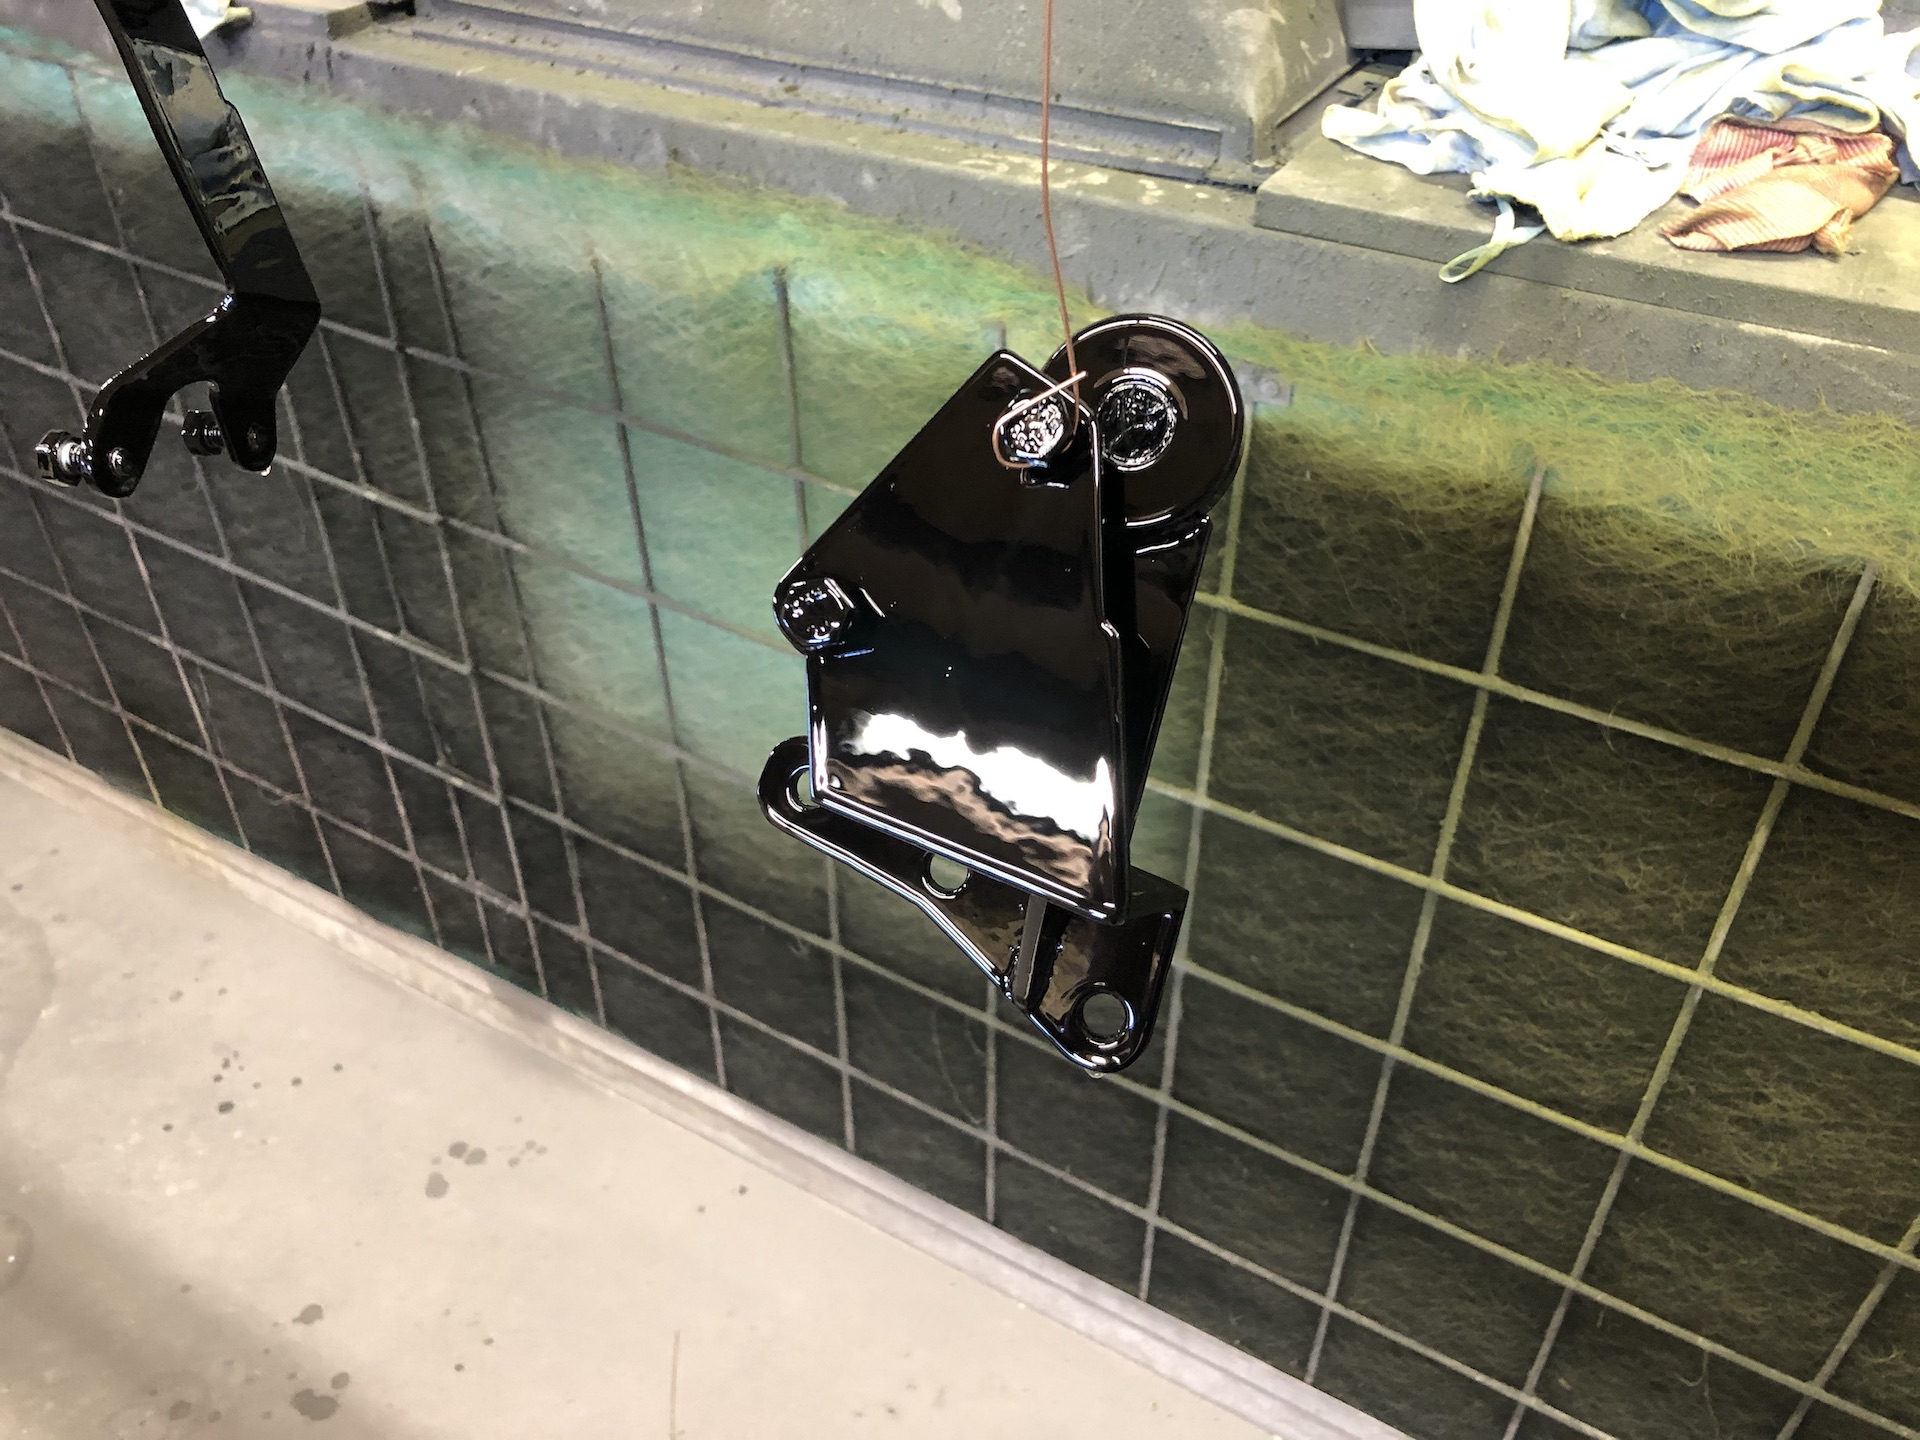
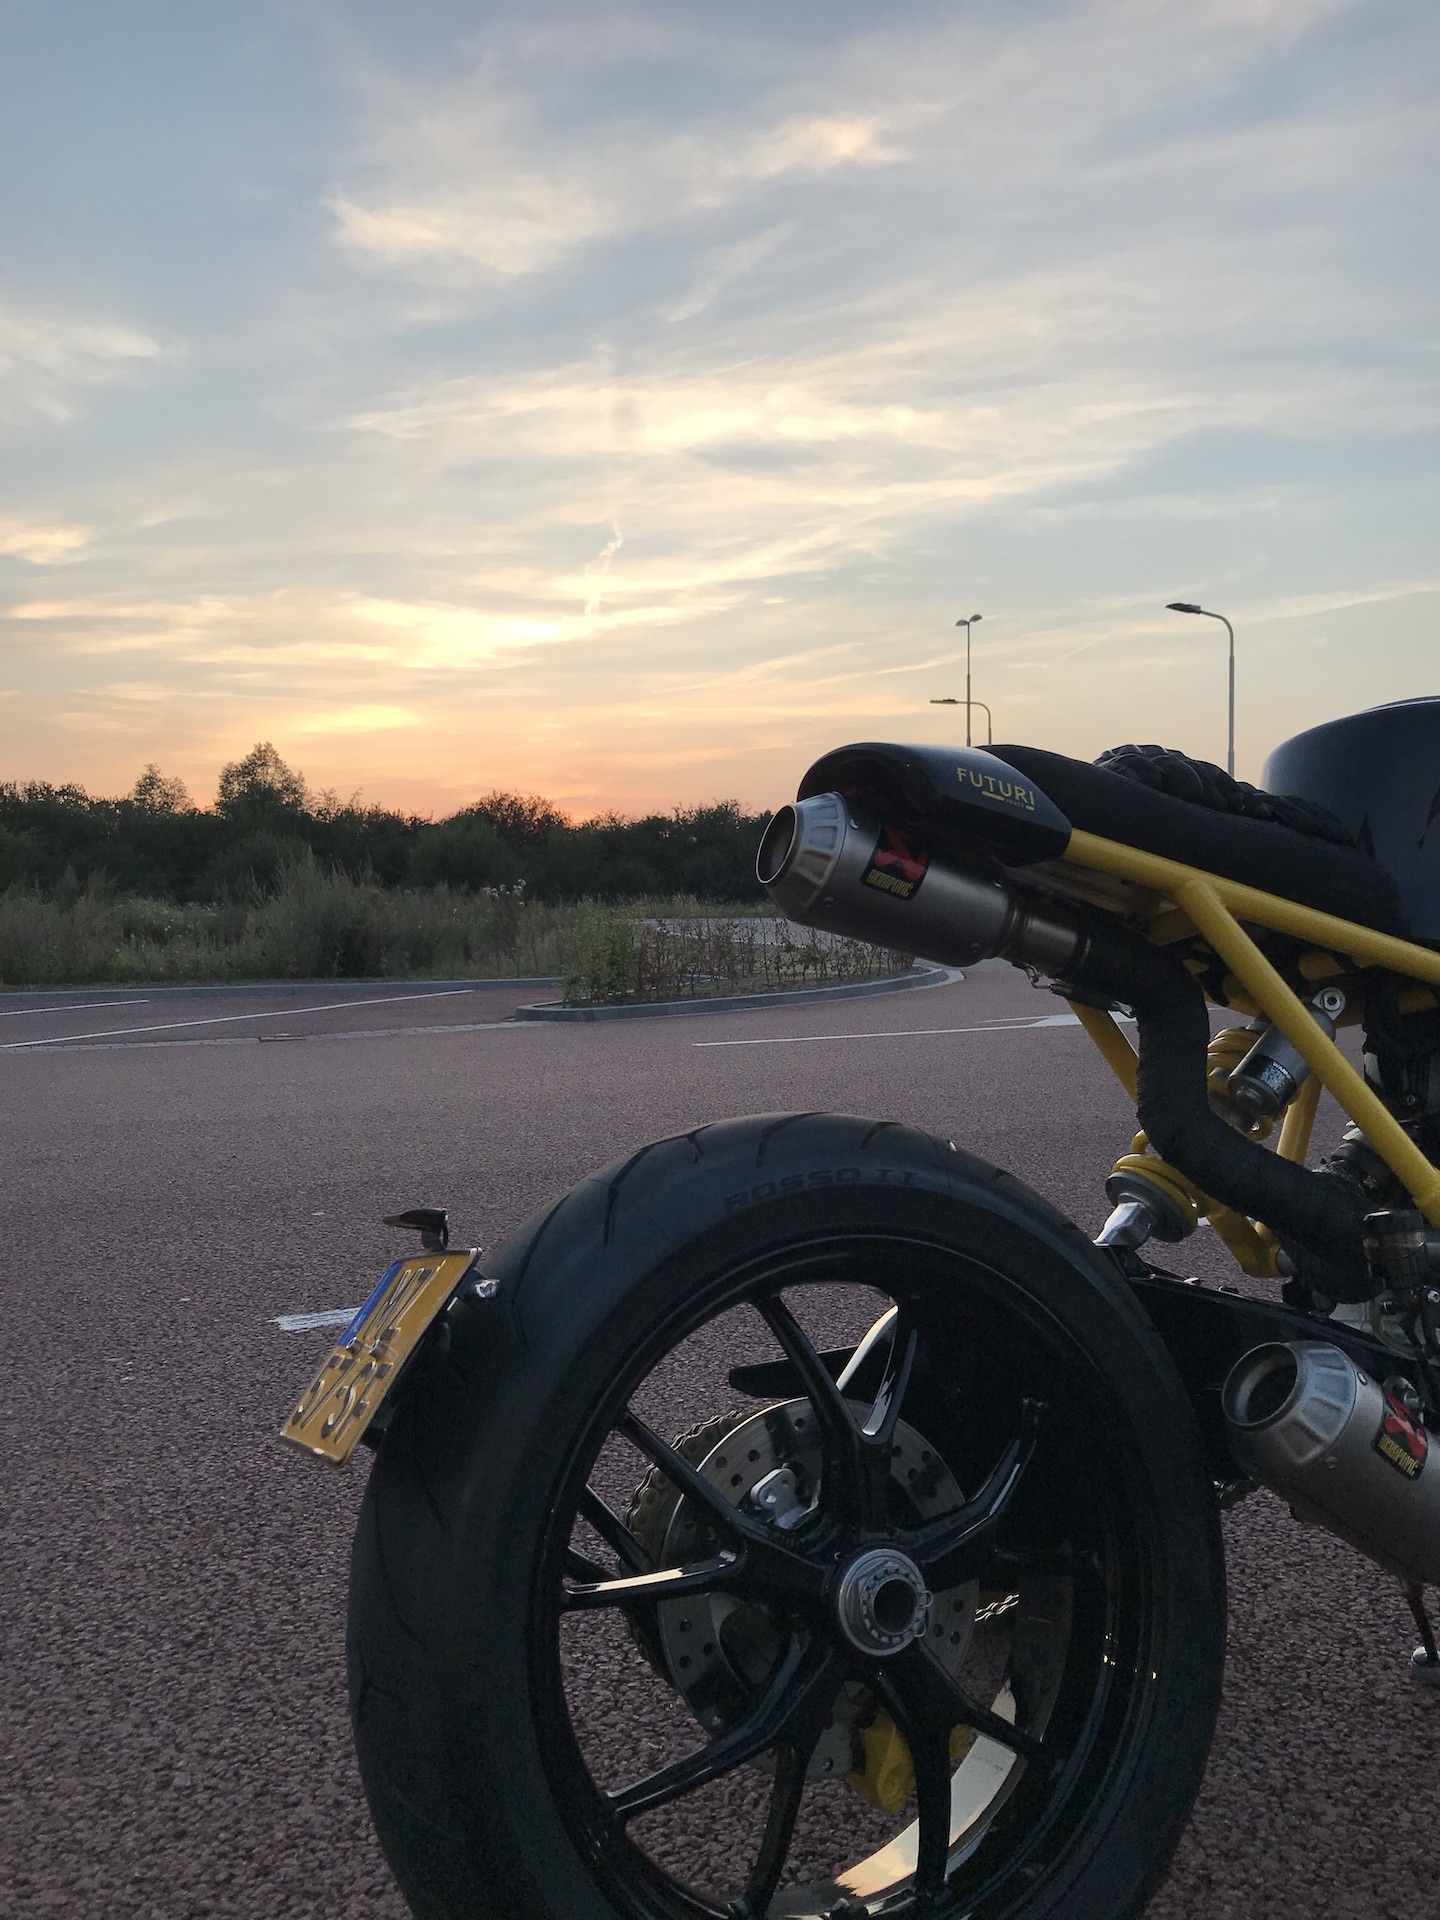
LICENSE PLATE HOLDER
I didnt want the clean look of the tail section and underseat exhaust compromised. So i decided to build a custom license plate holder that mounts the license plate directly on the rear wheel. And maybe also act as a mudguard for a bit.
Wow it was a challenge to get all the piping bend. After some trial and error this is the result. Really satisfied. Custom mounting solution to the SSSA bolts. Removeable license plate by 3 bolts. Also the turn signals will be mounted next to the license plate.


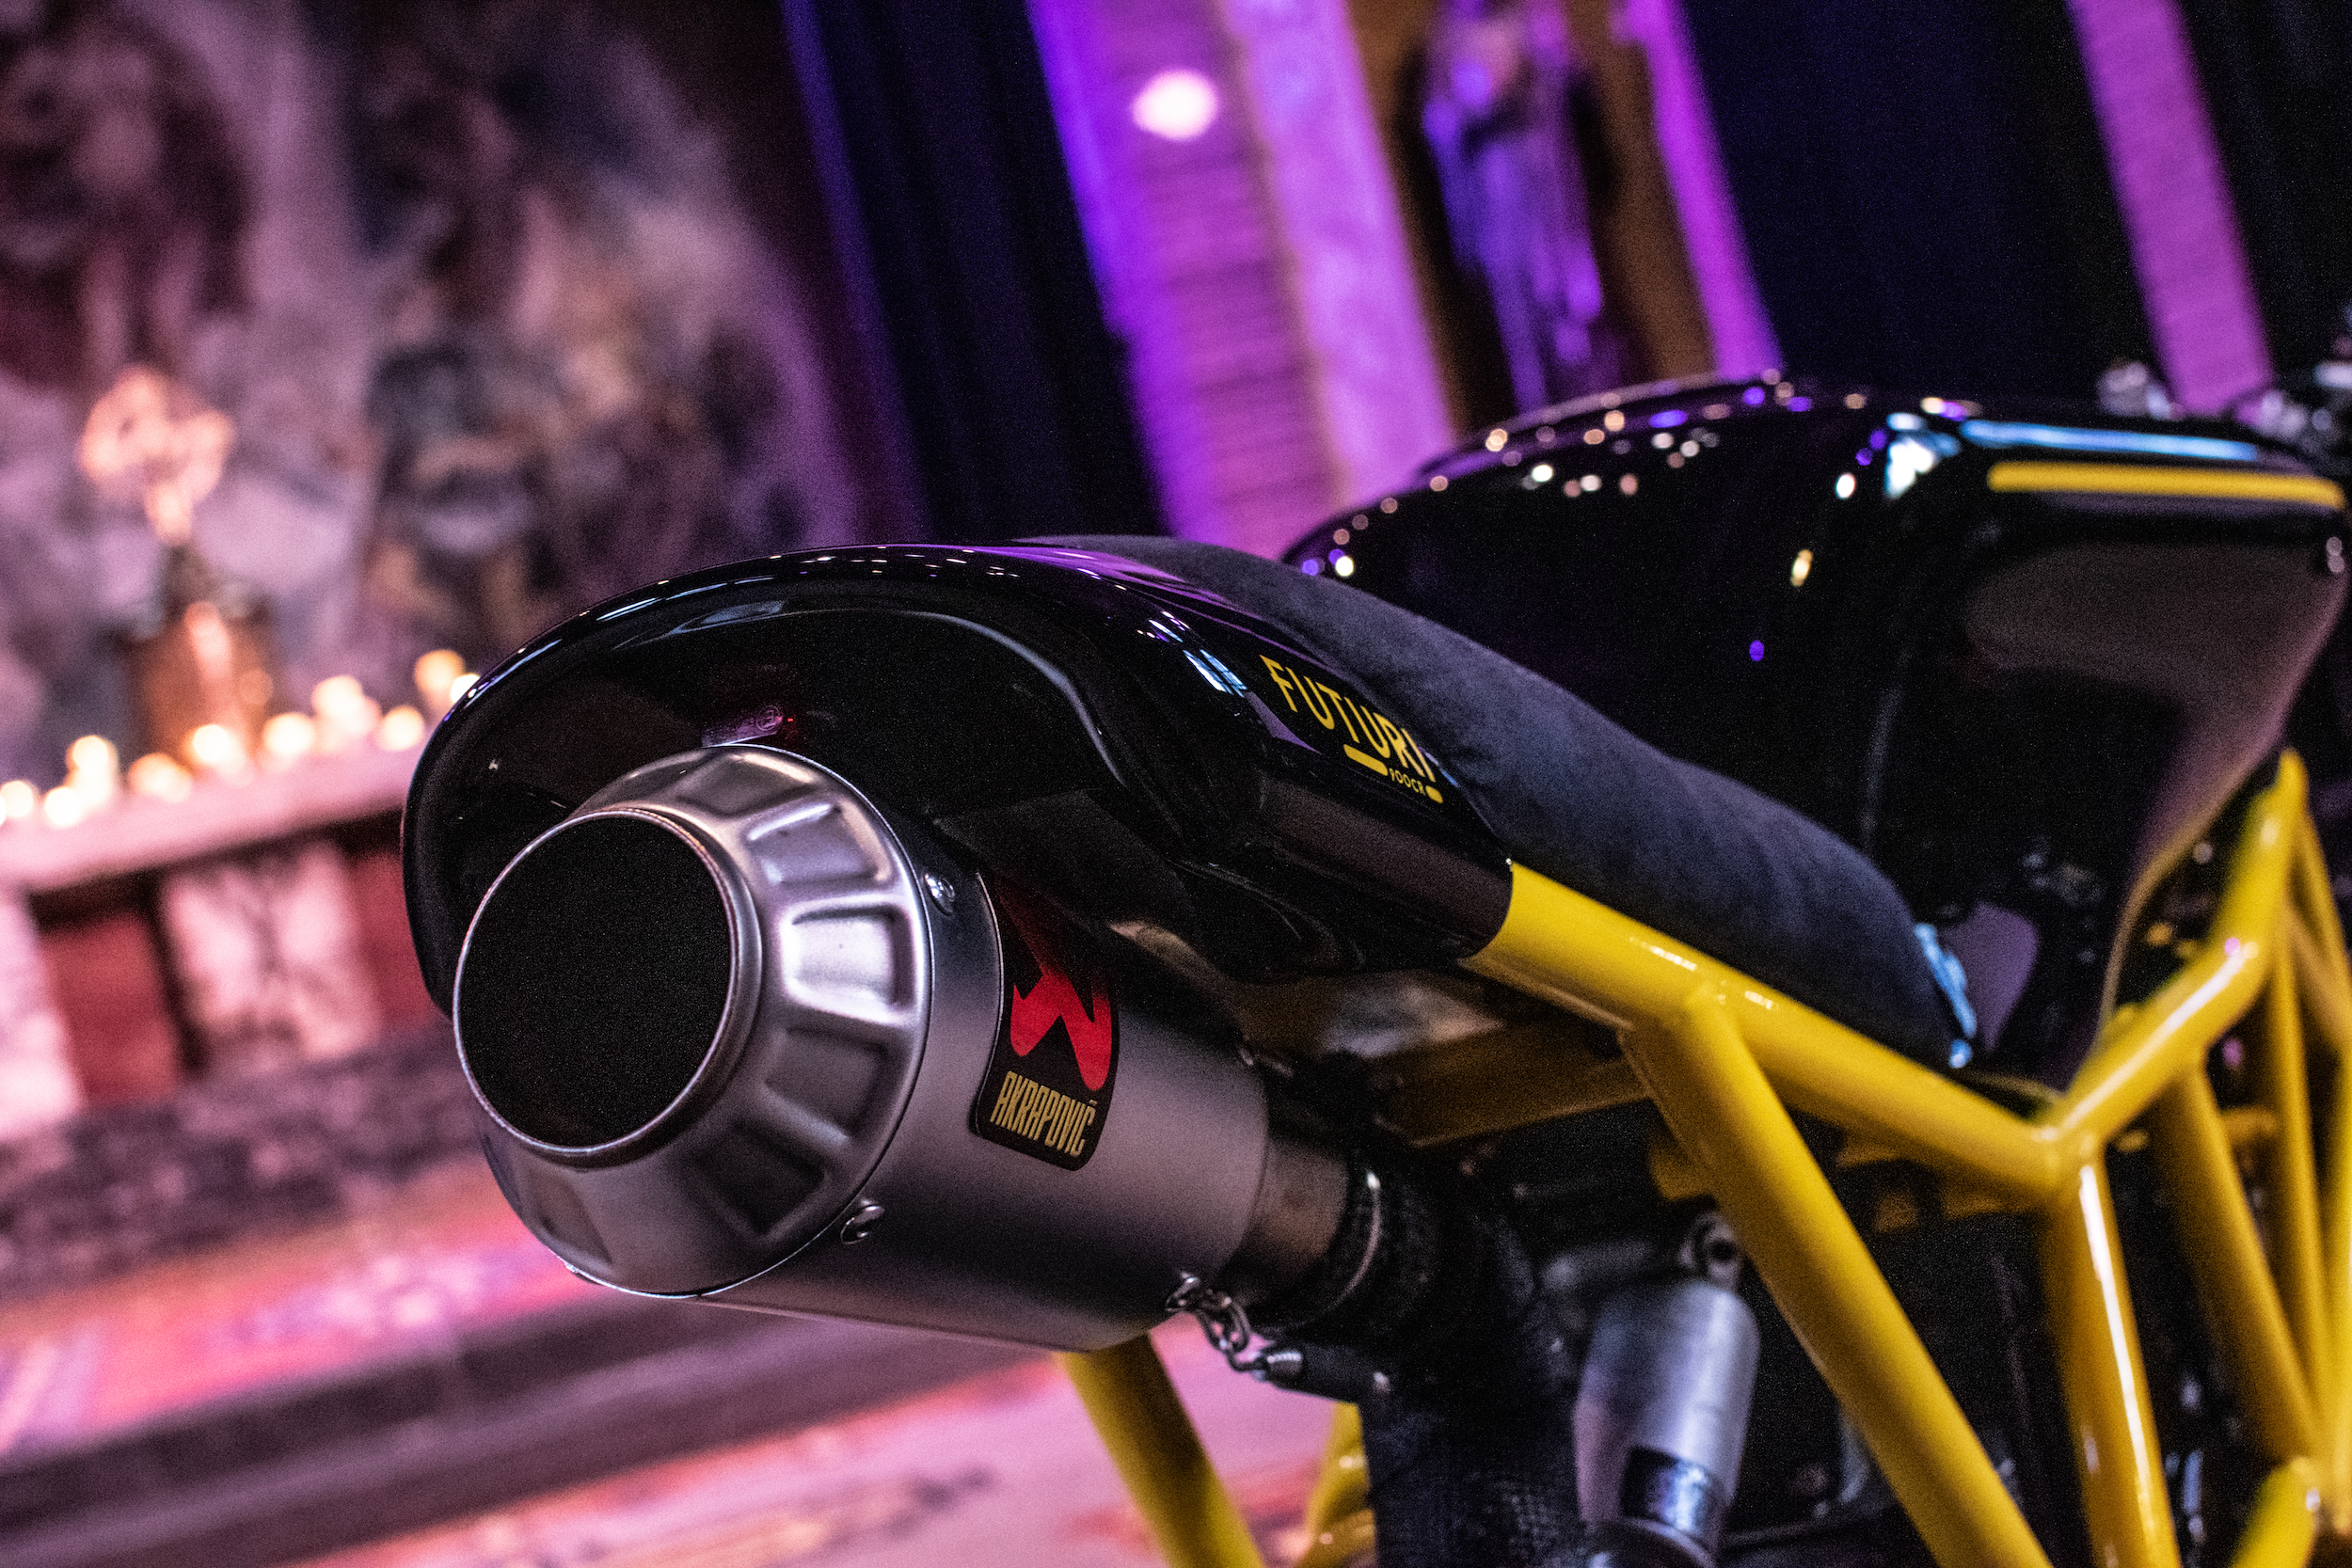
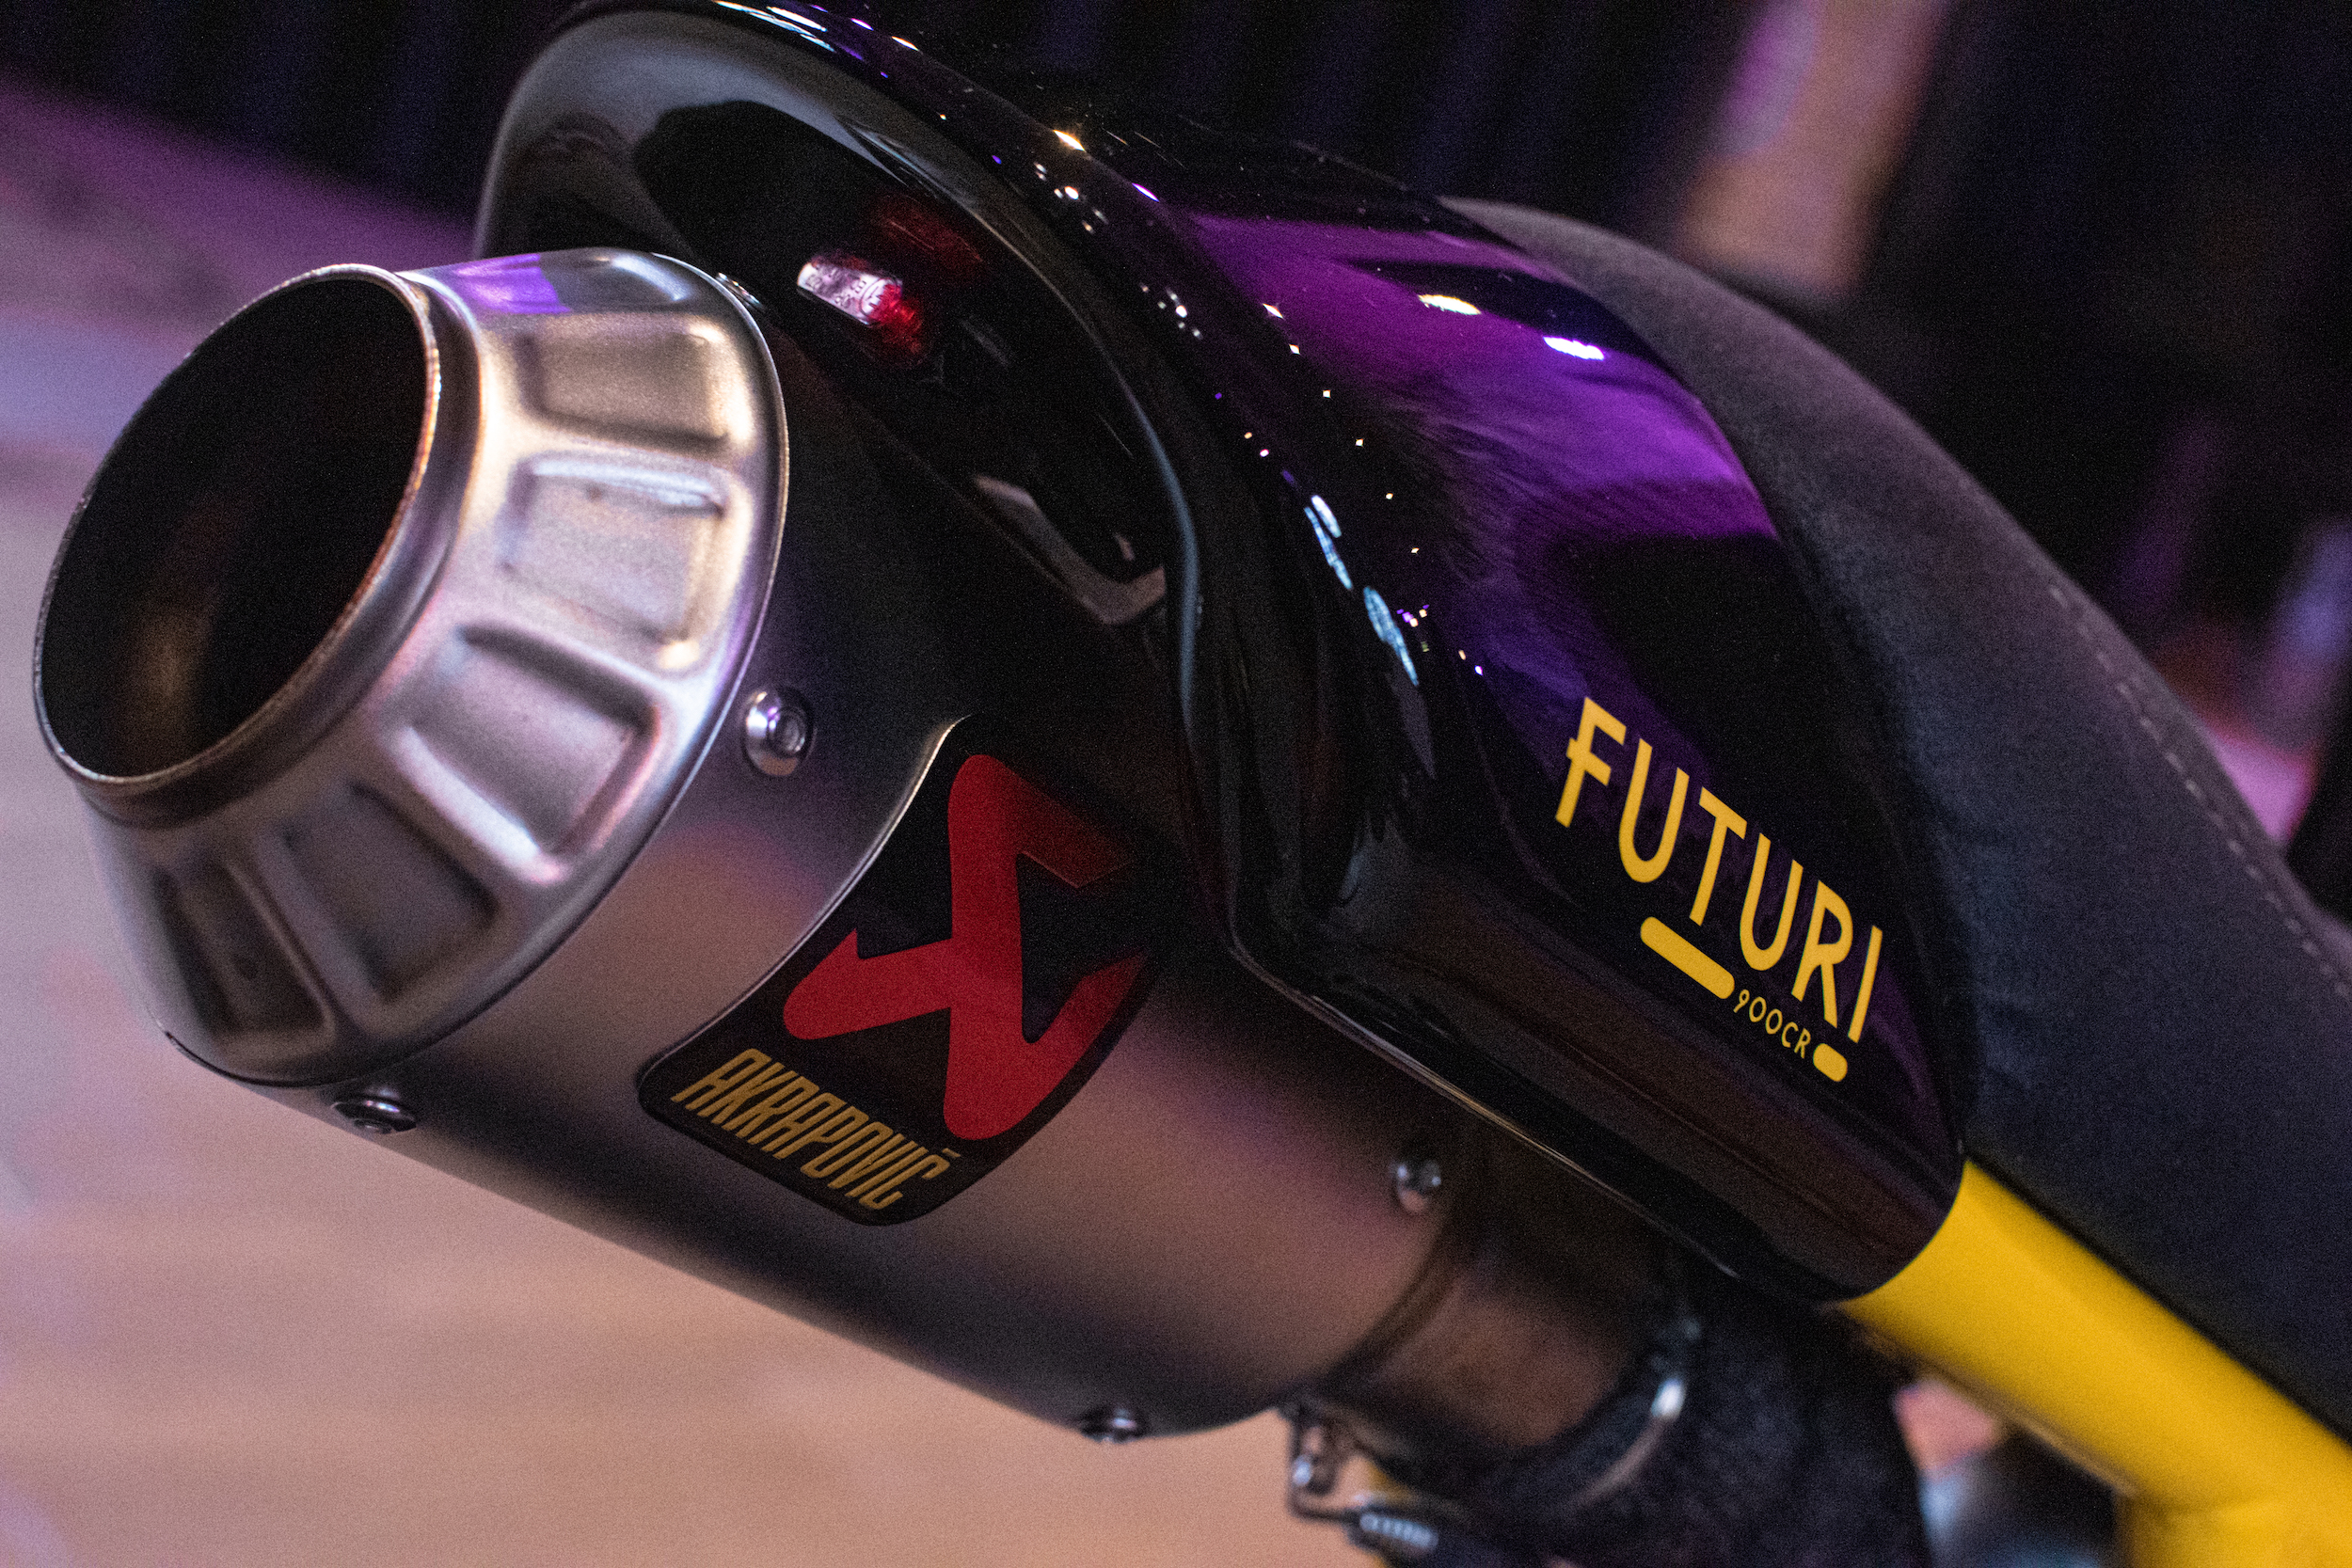
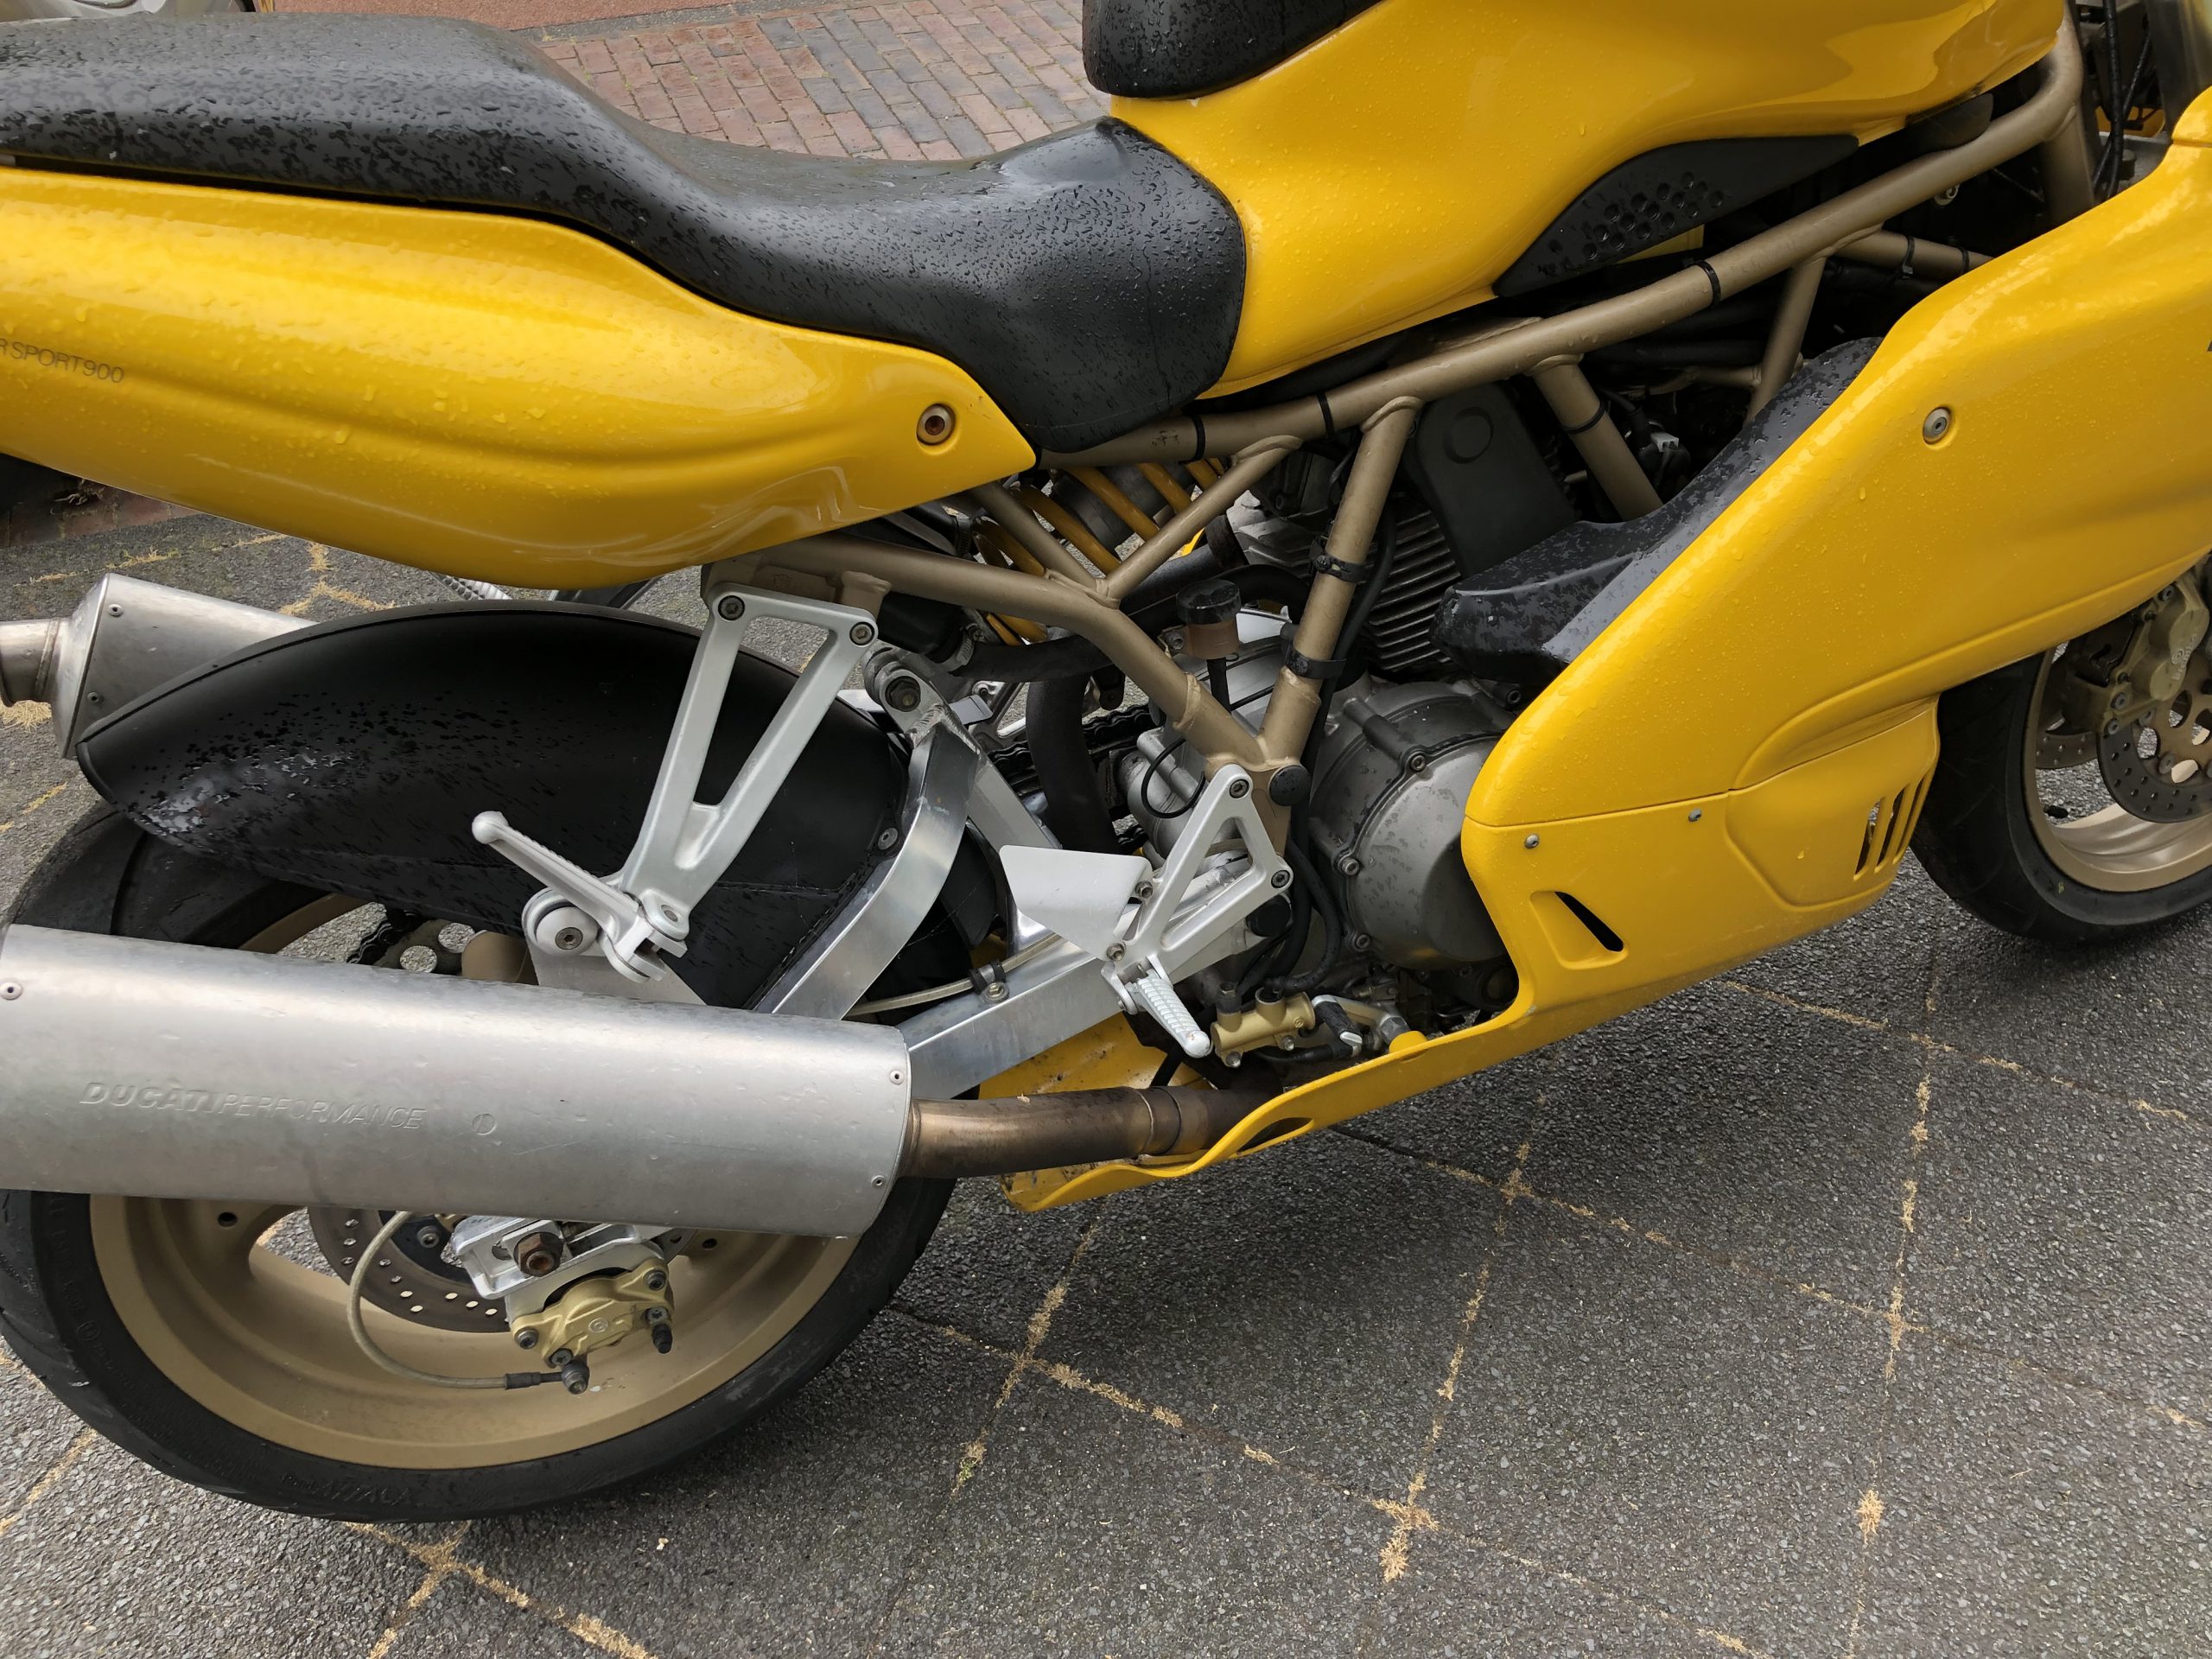
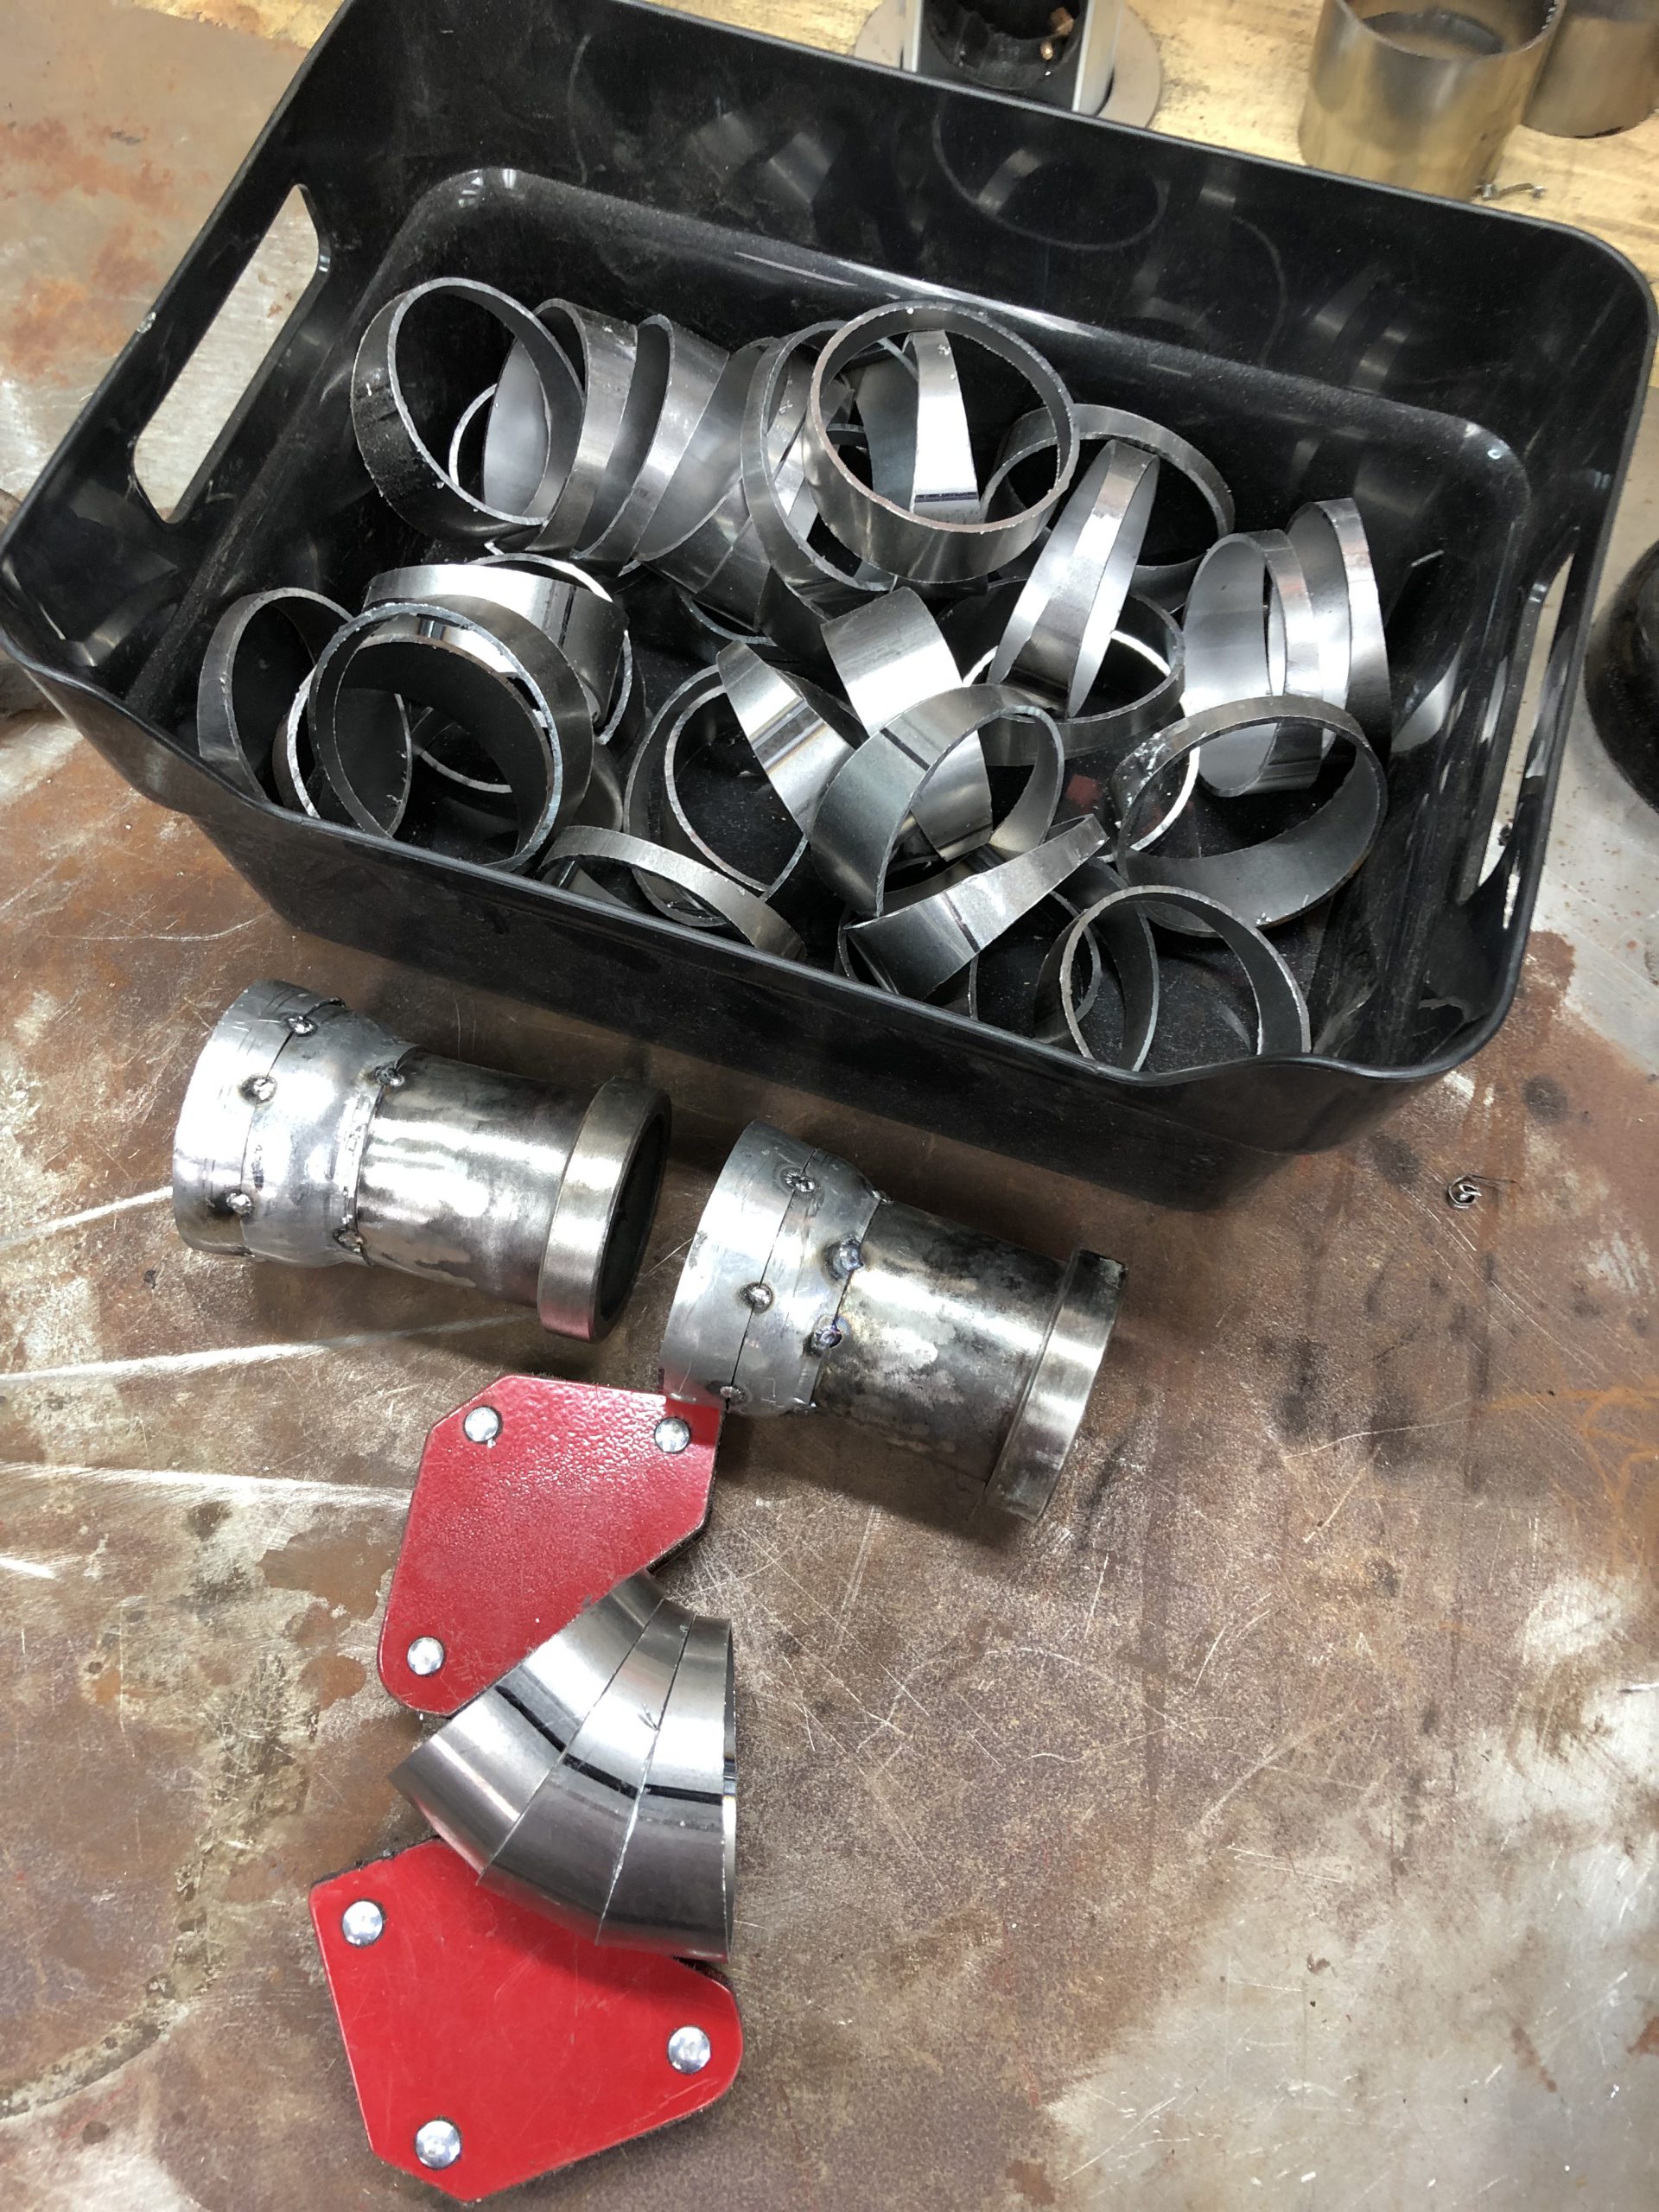
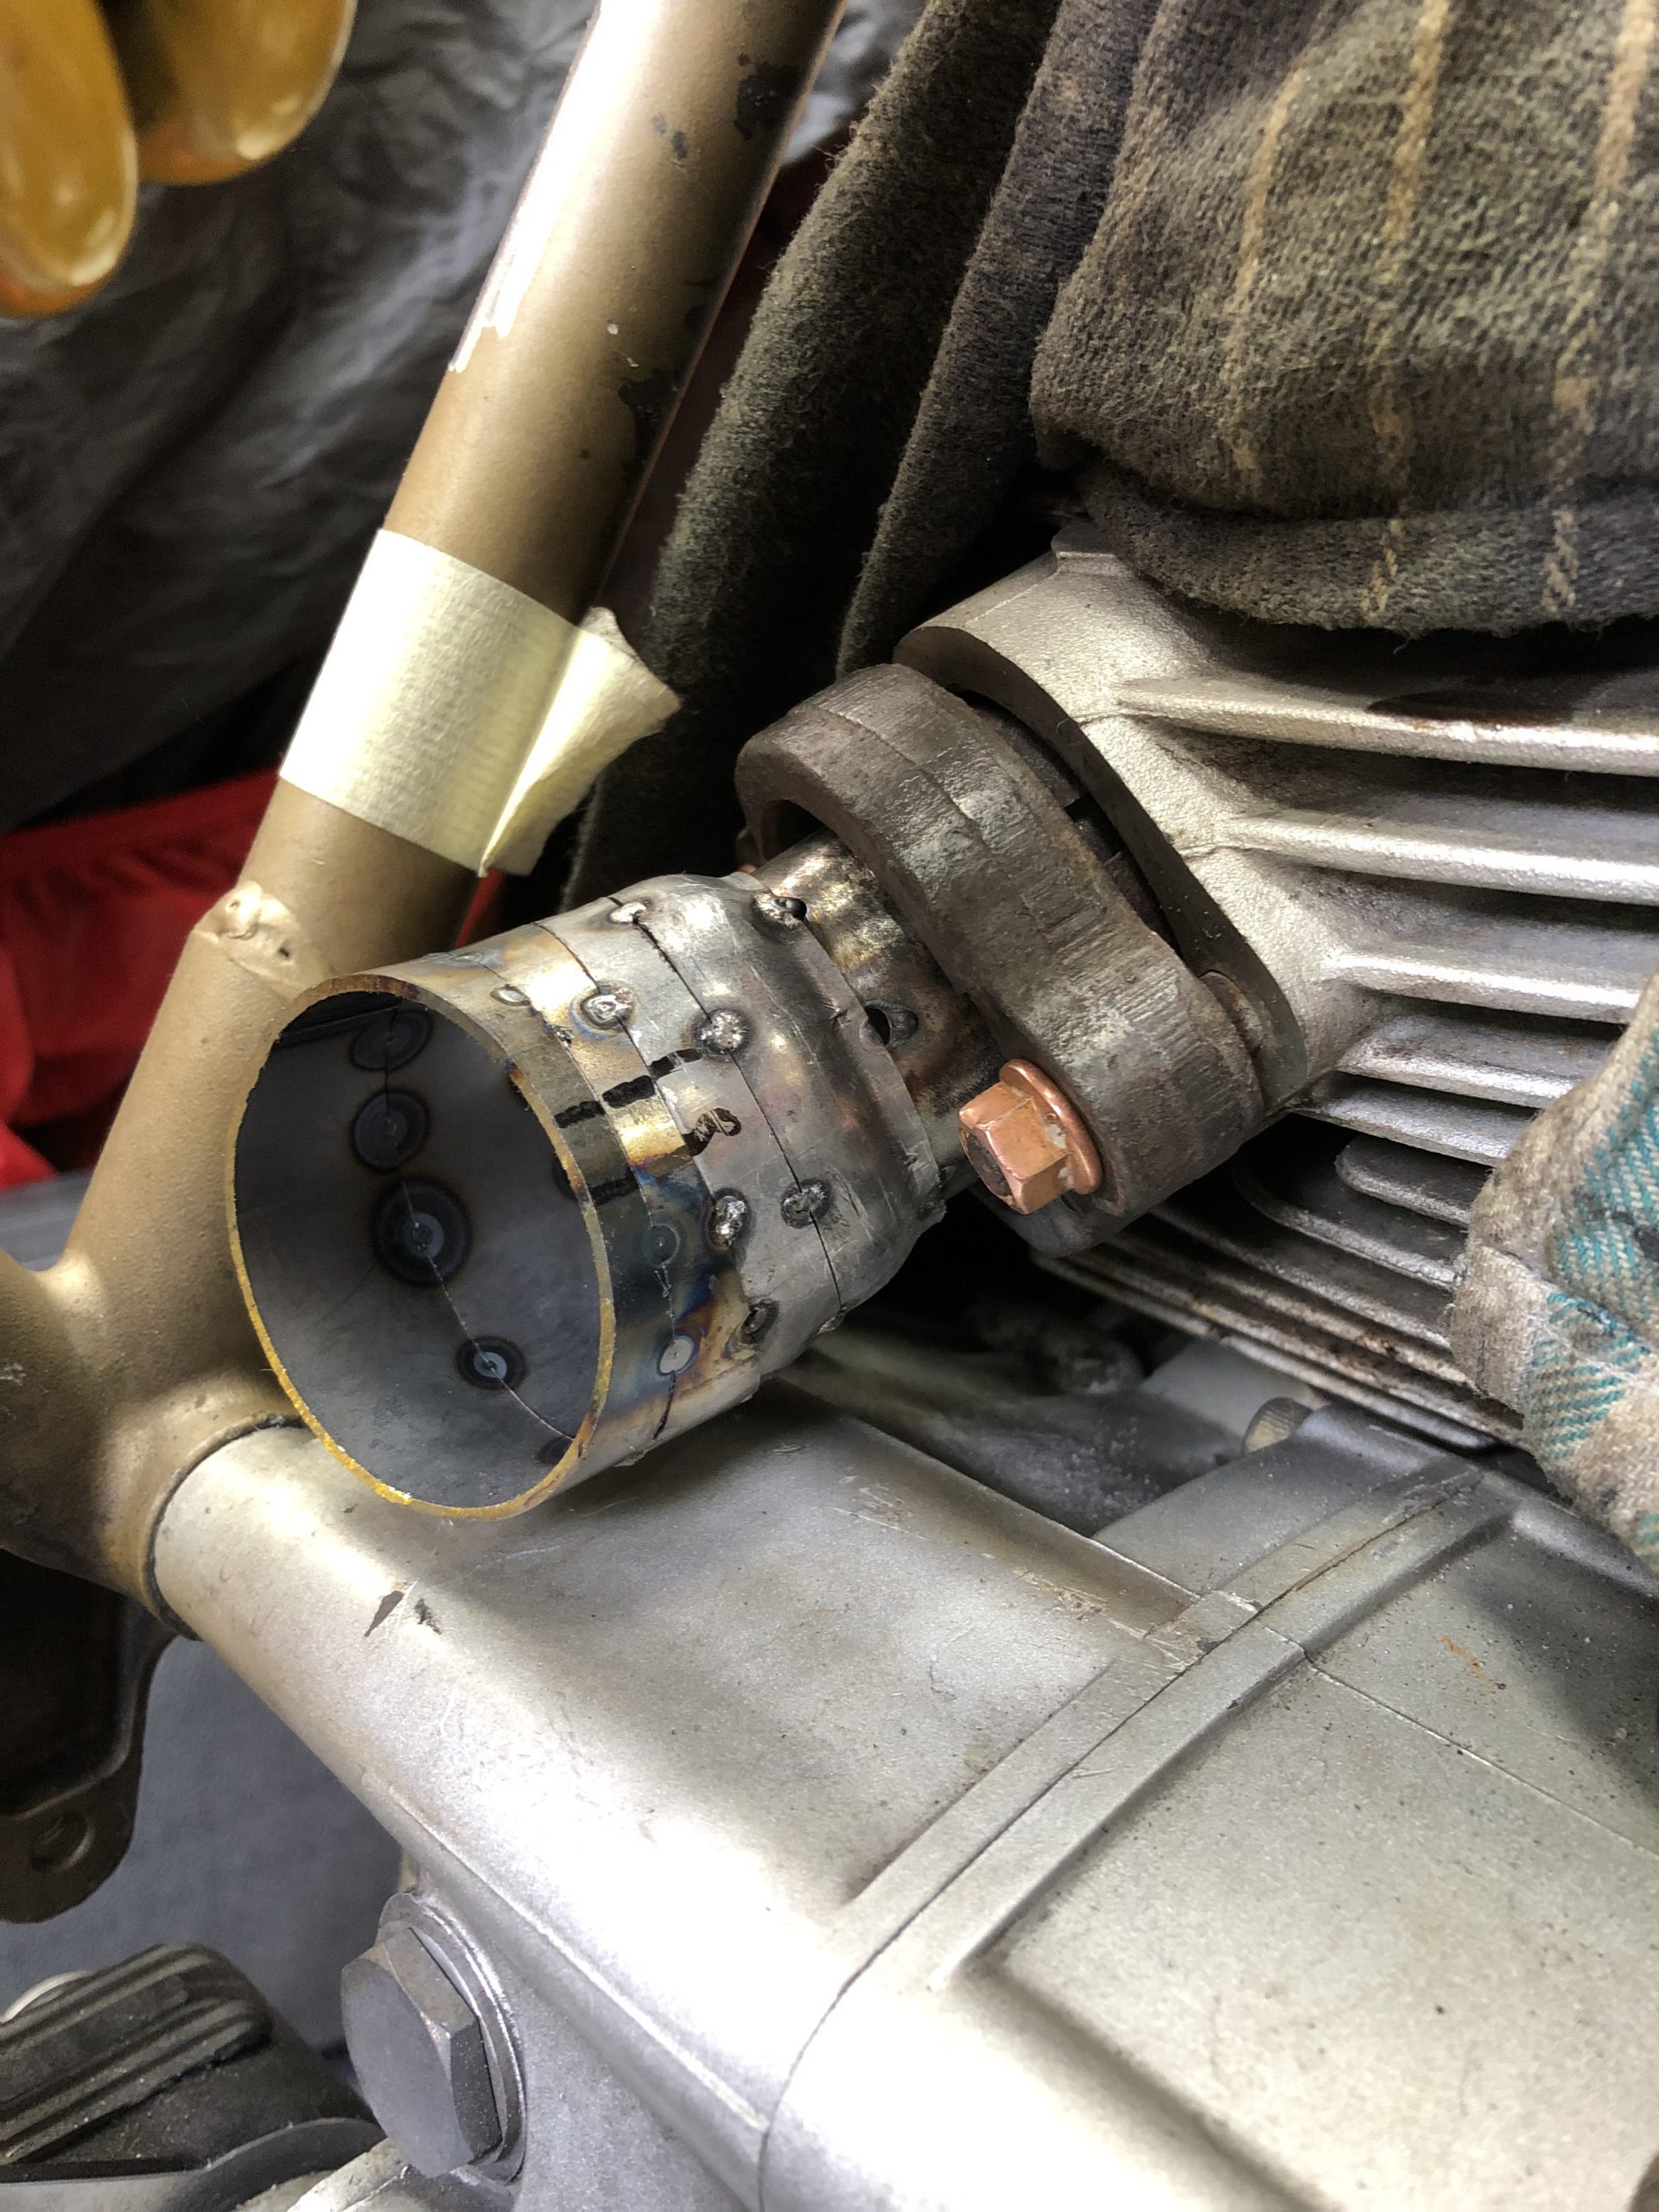
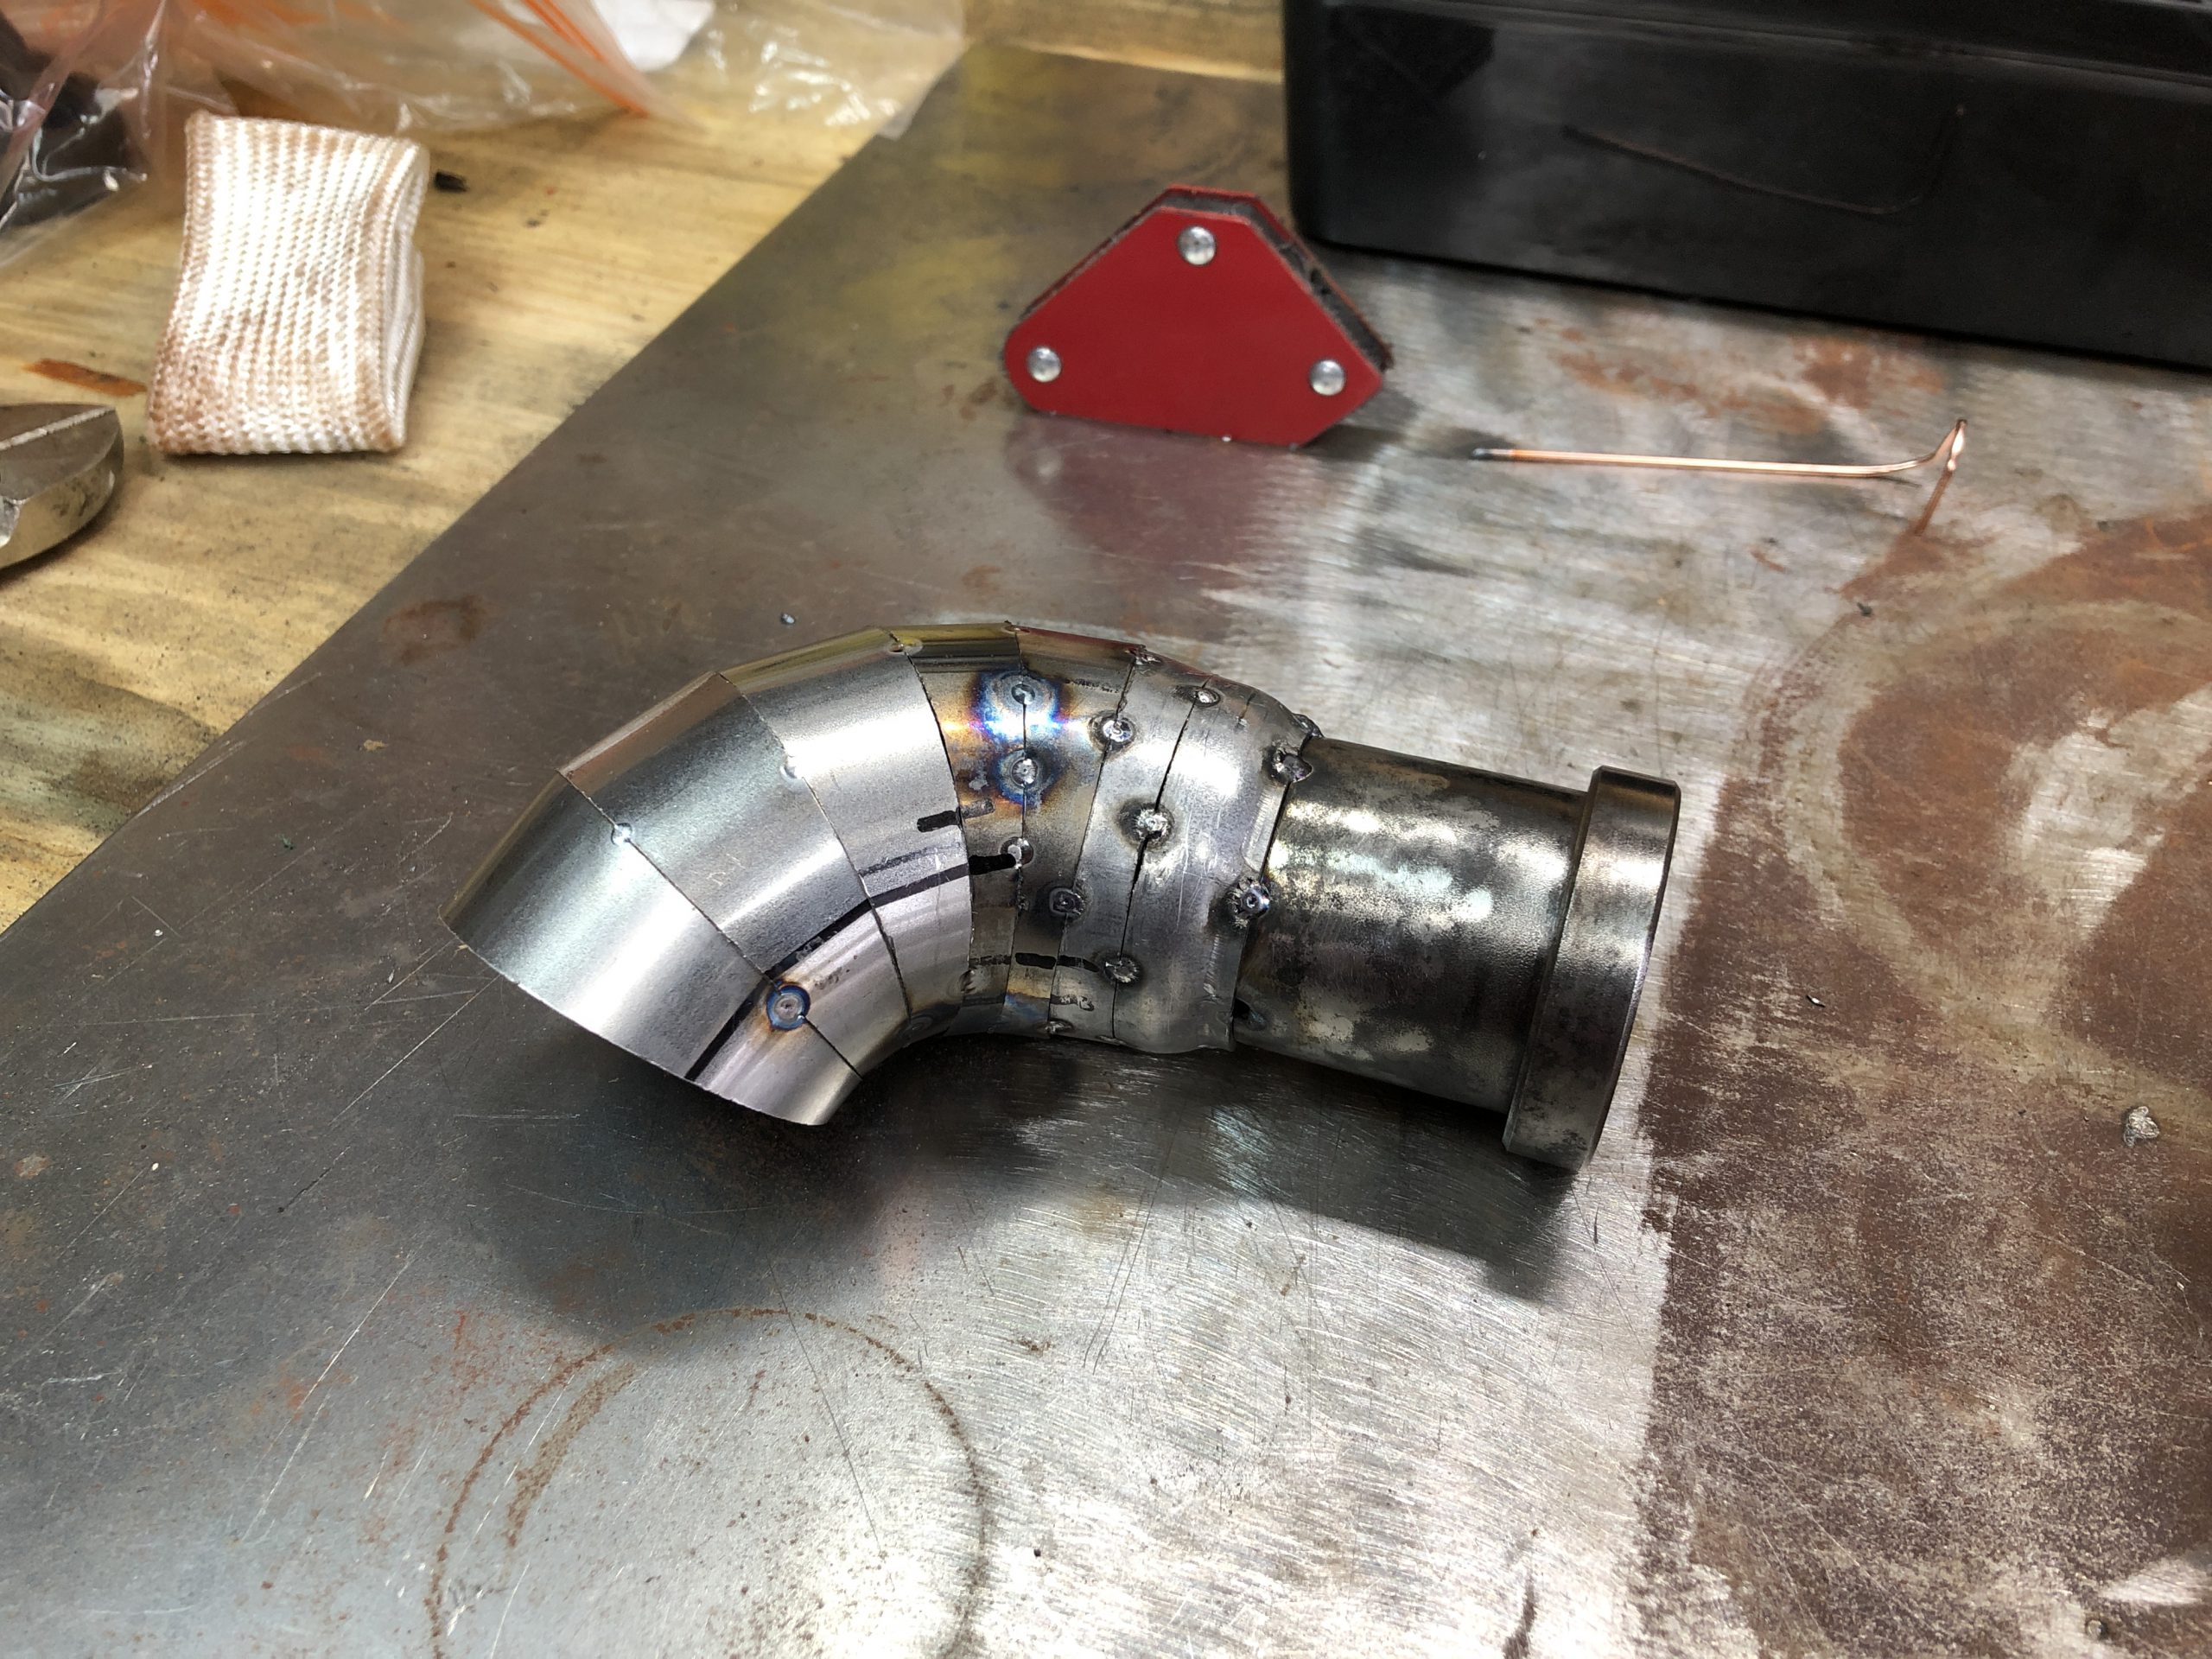
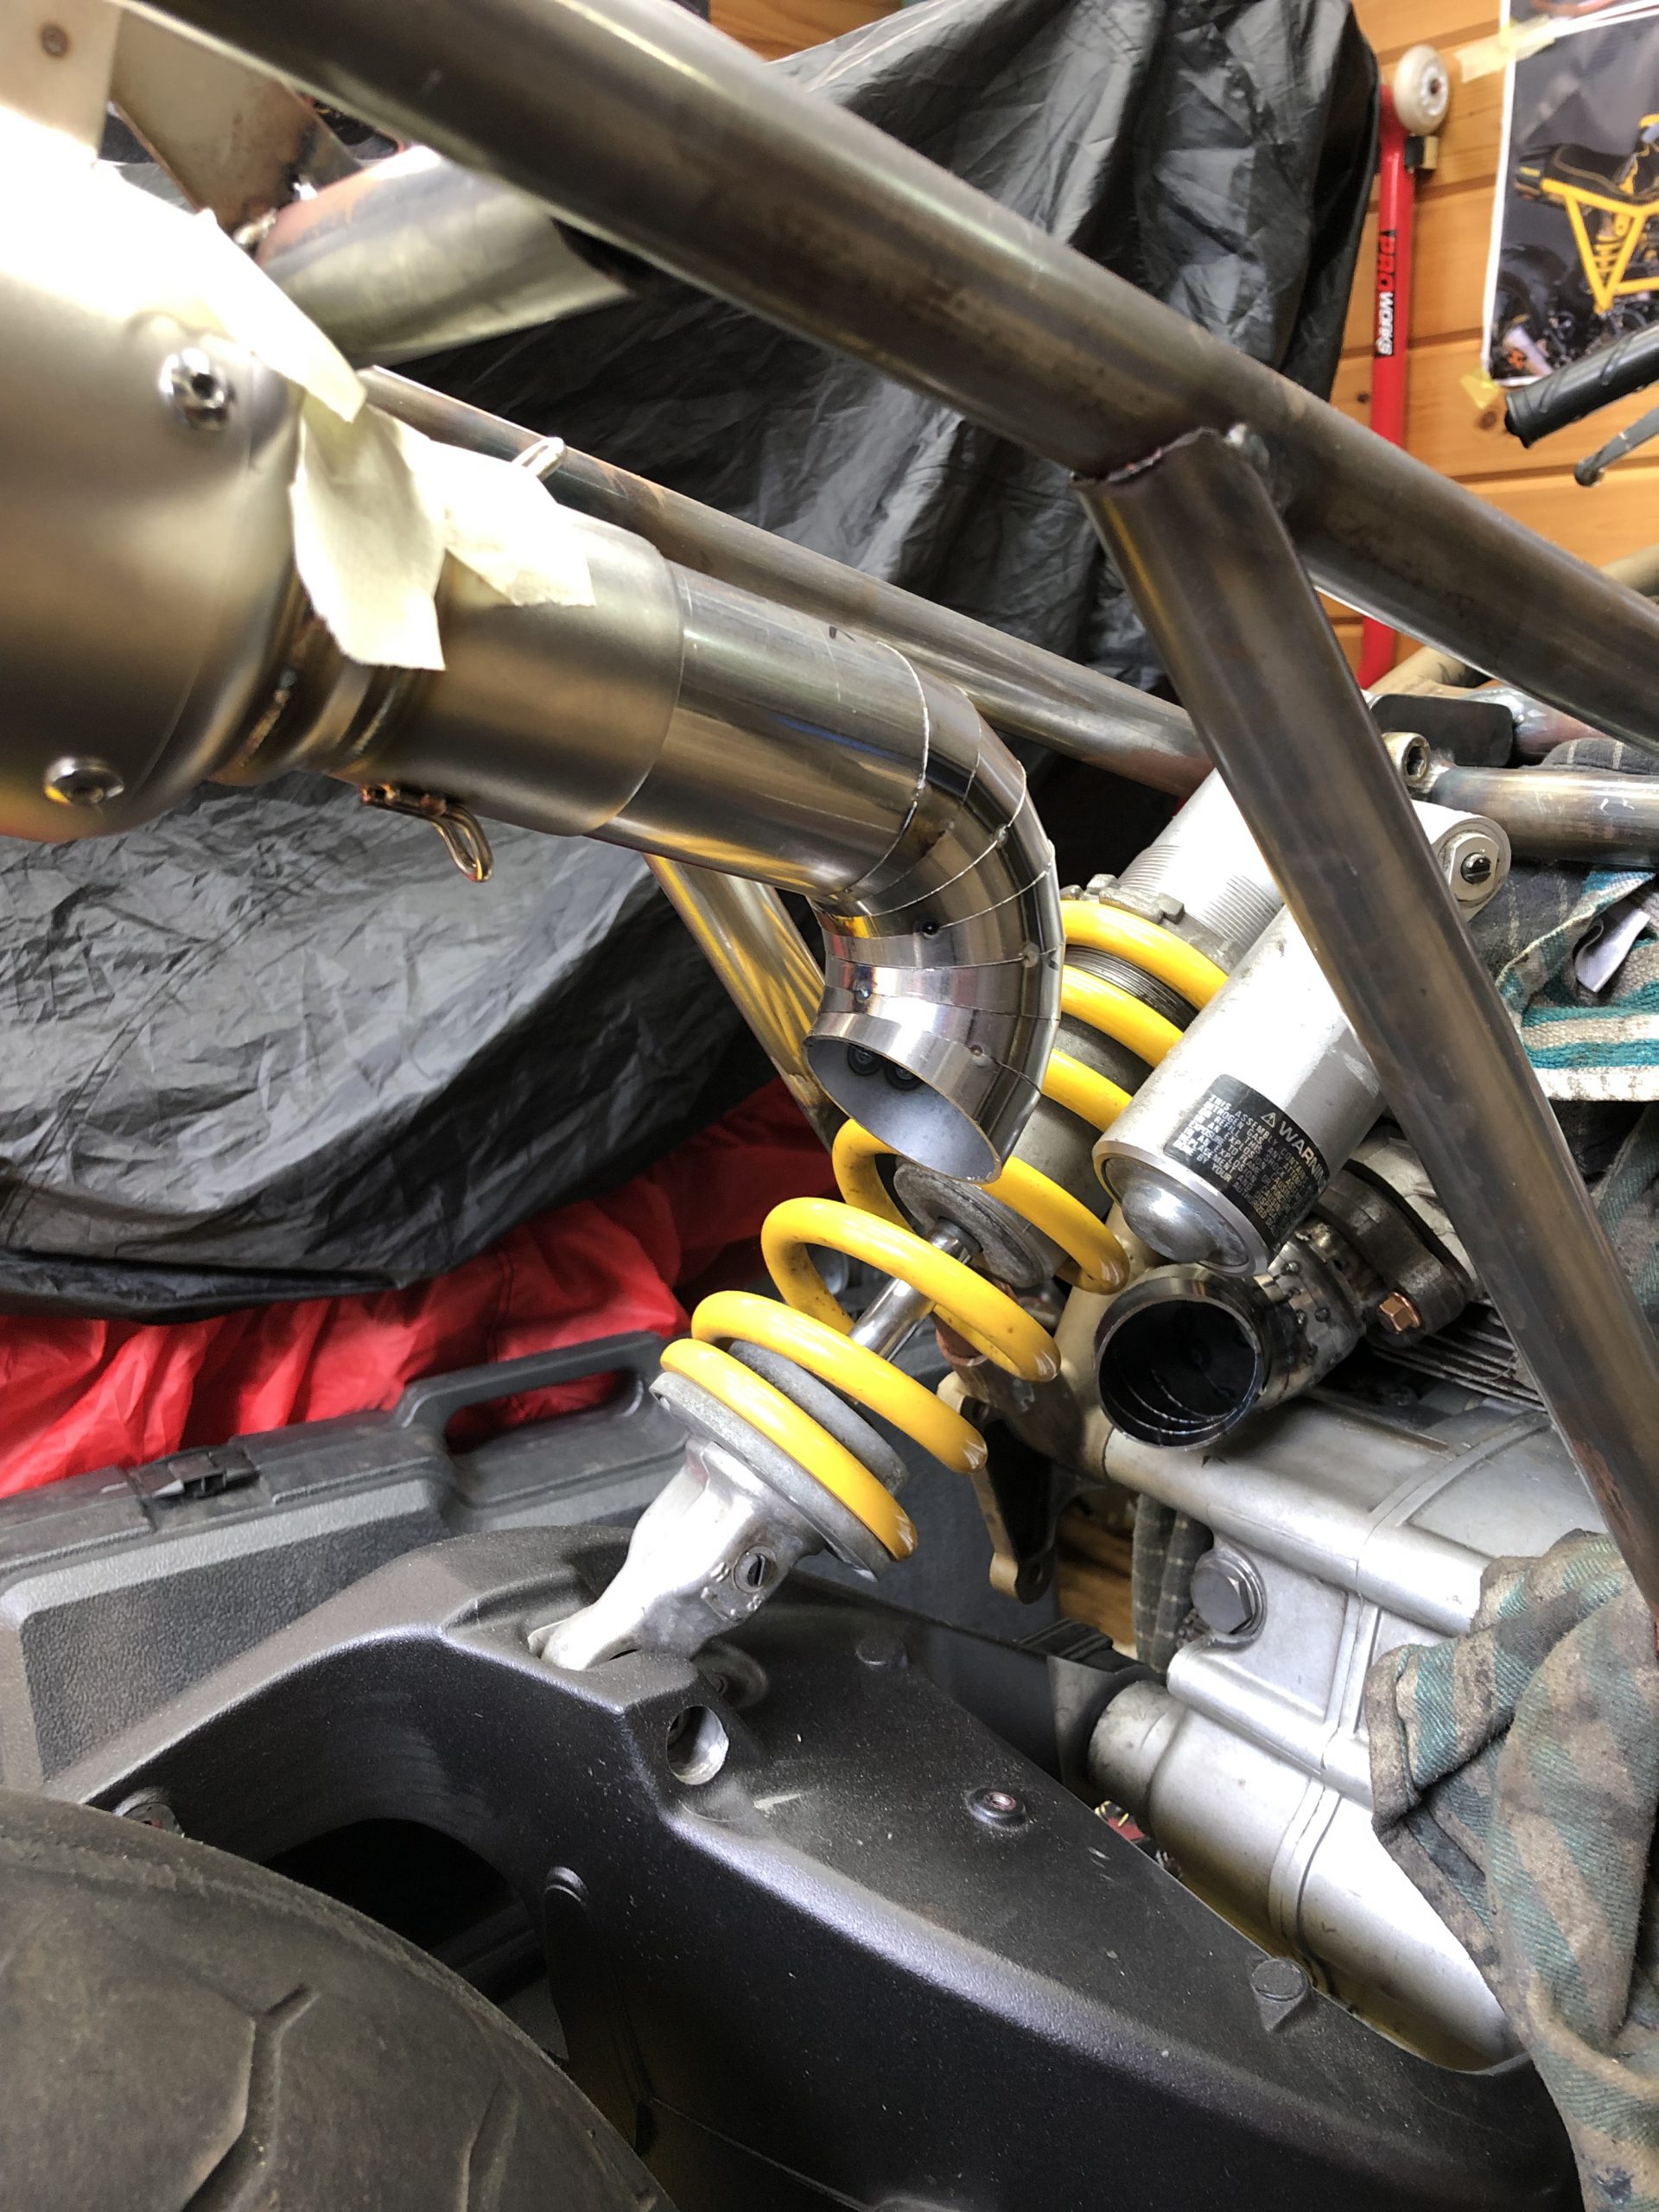
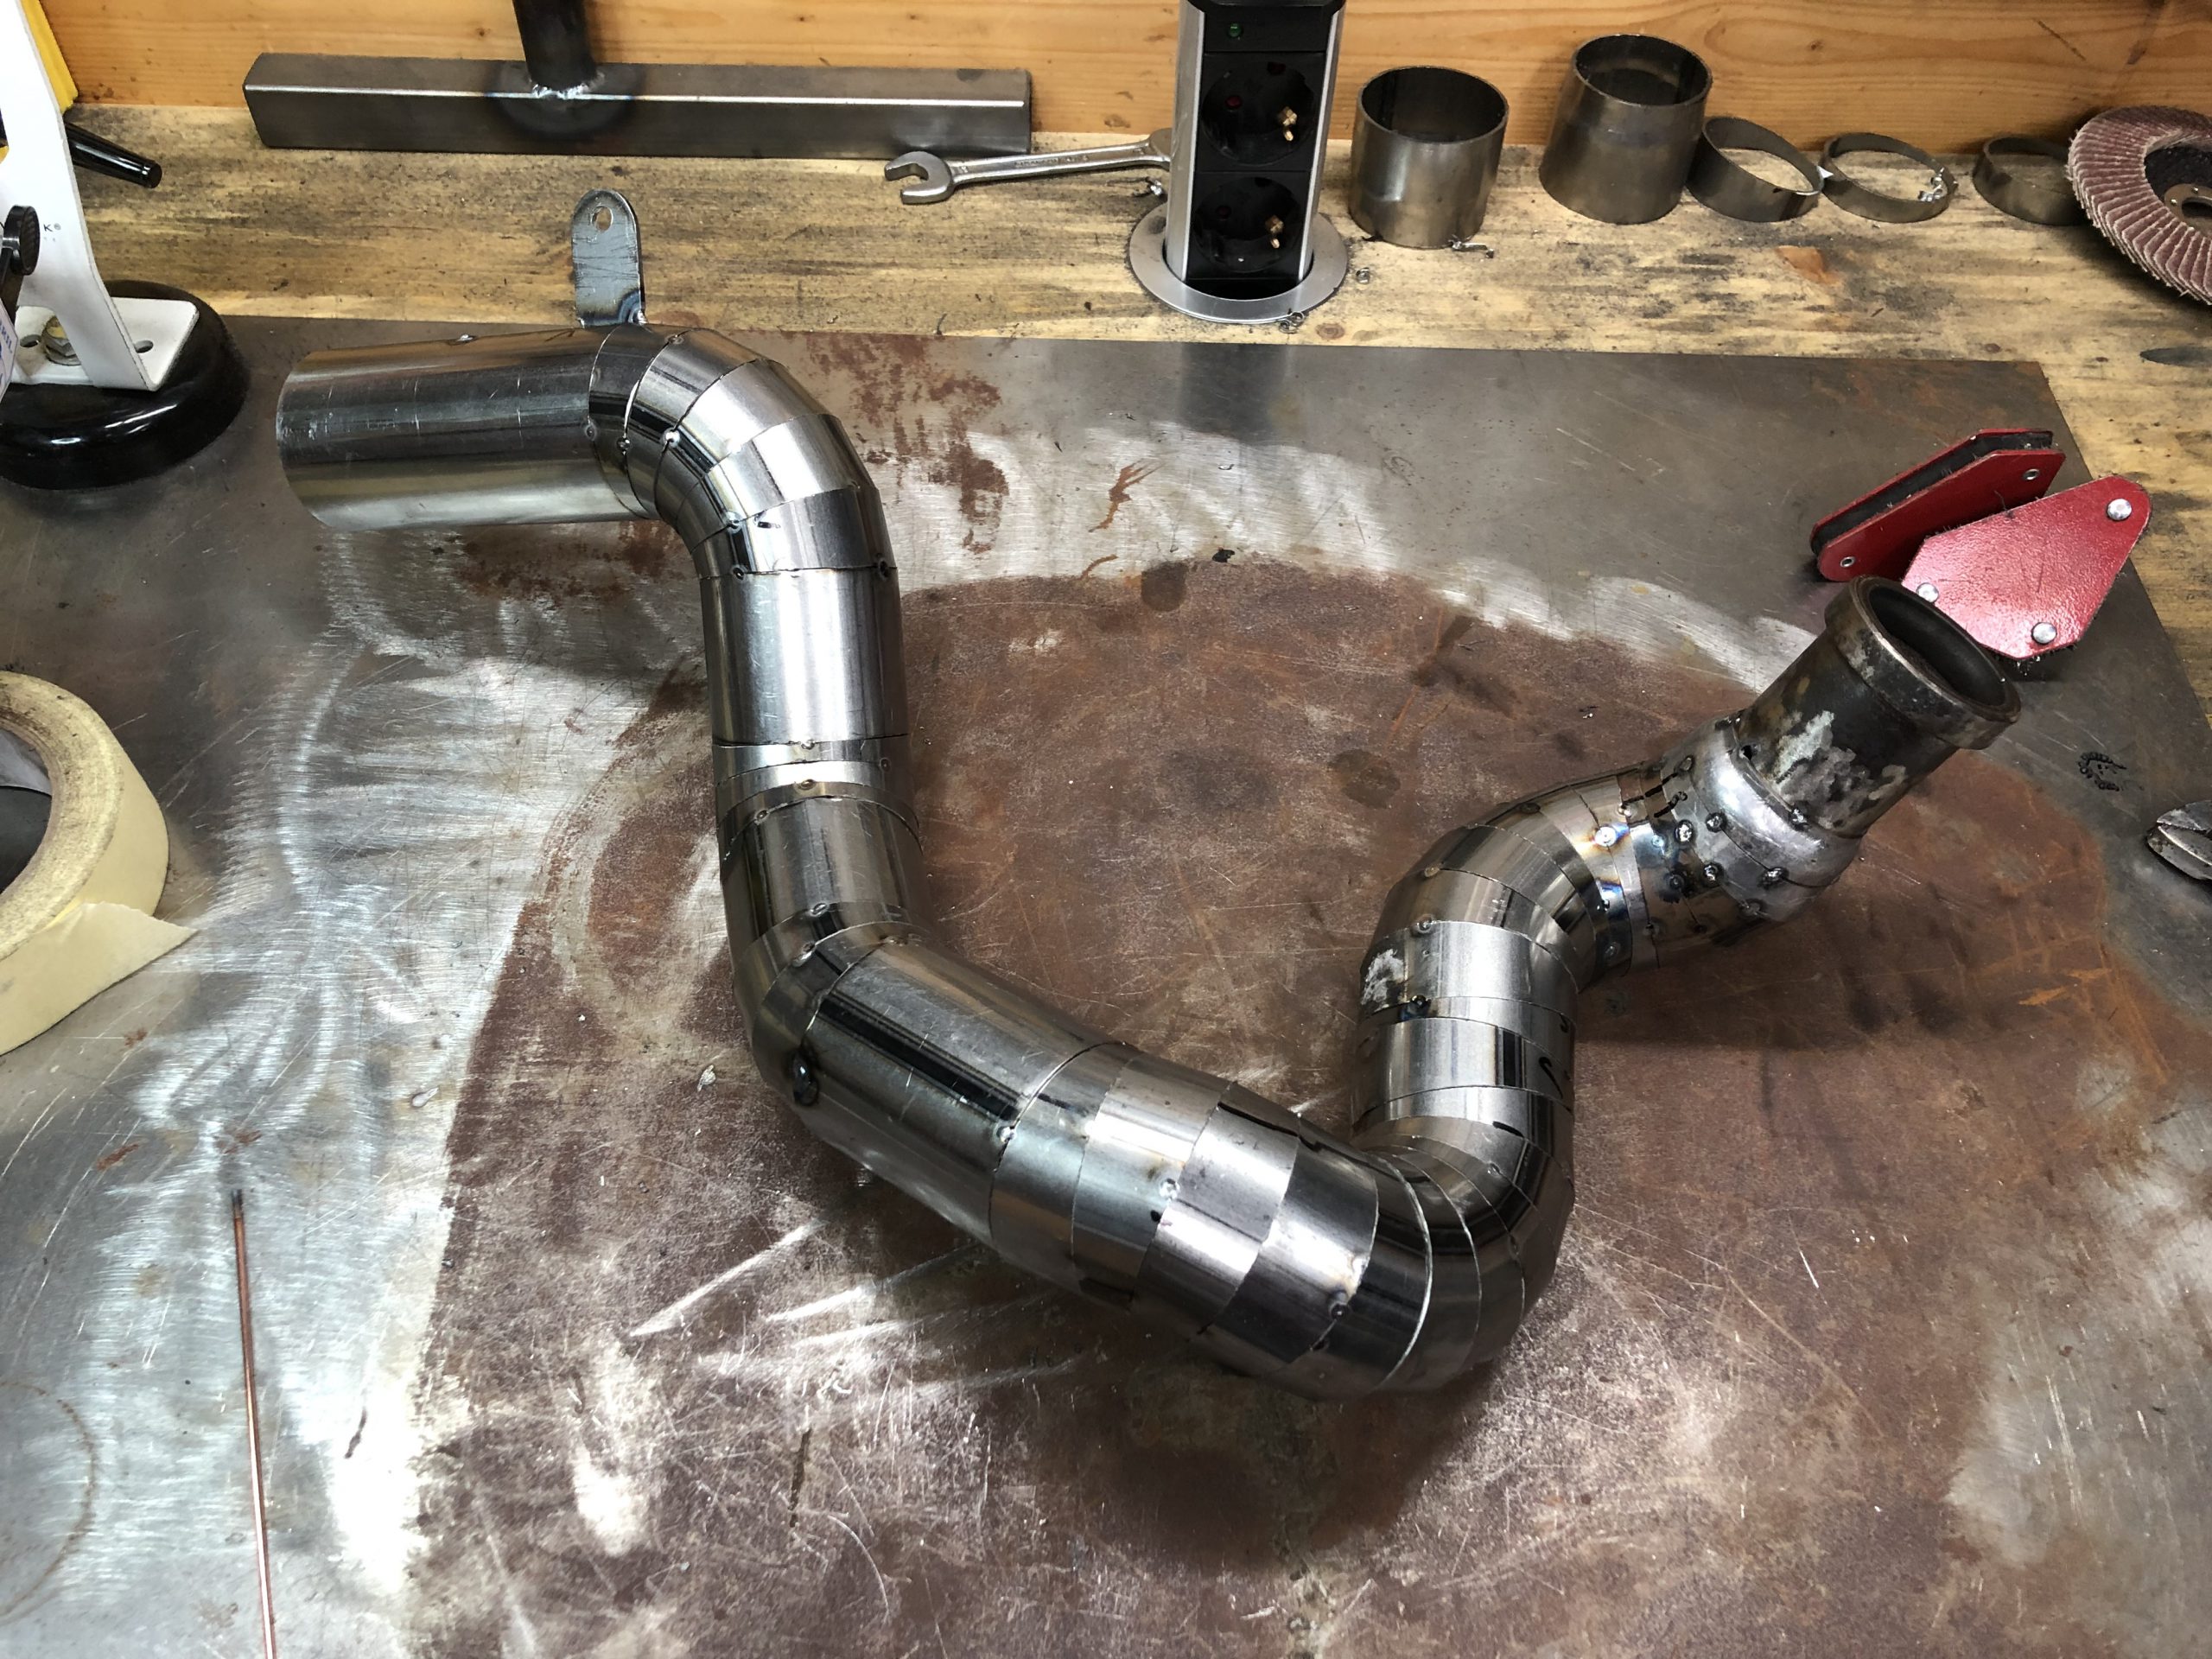
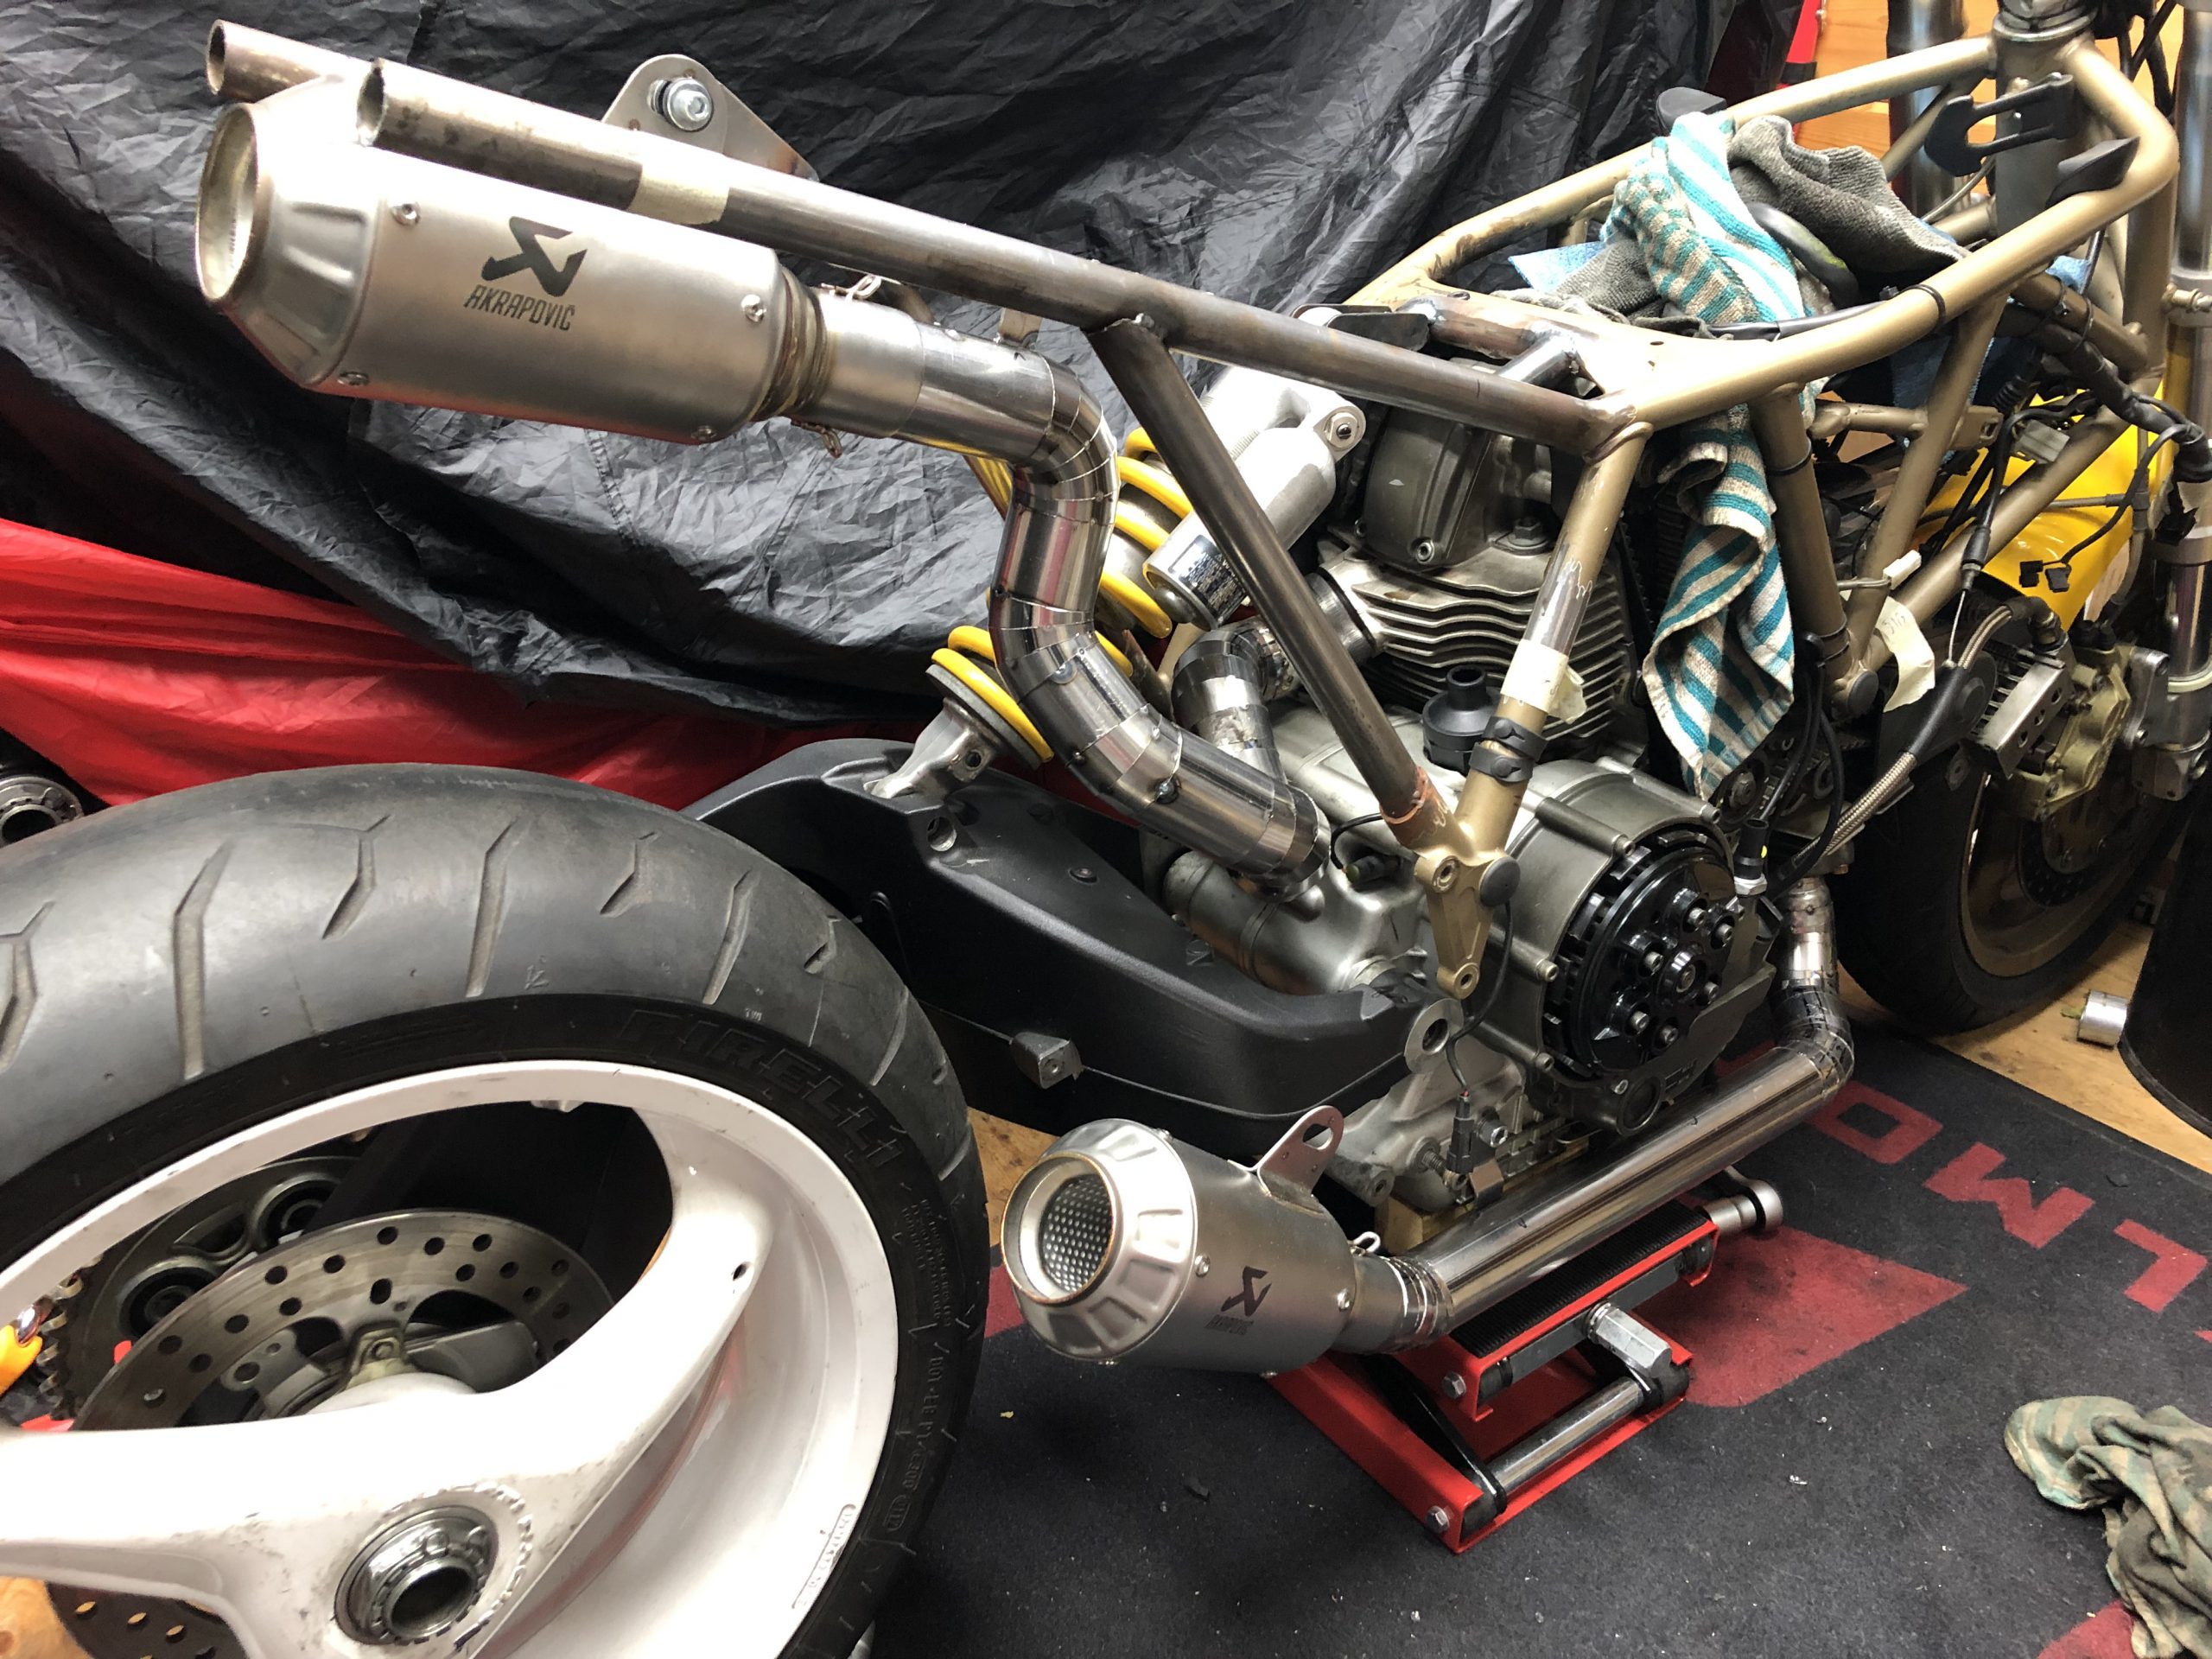
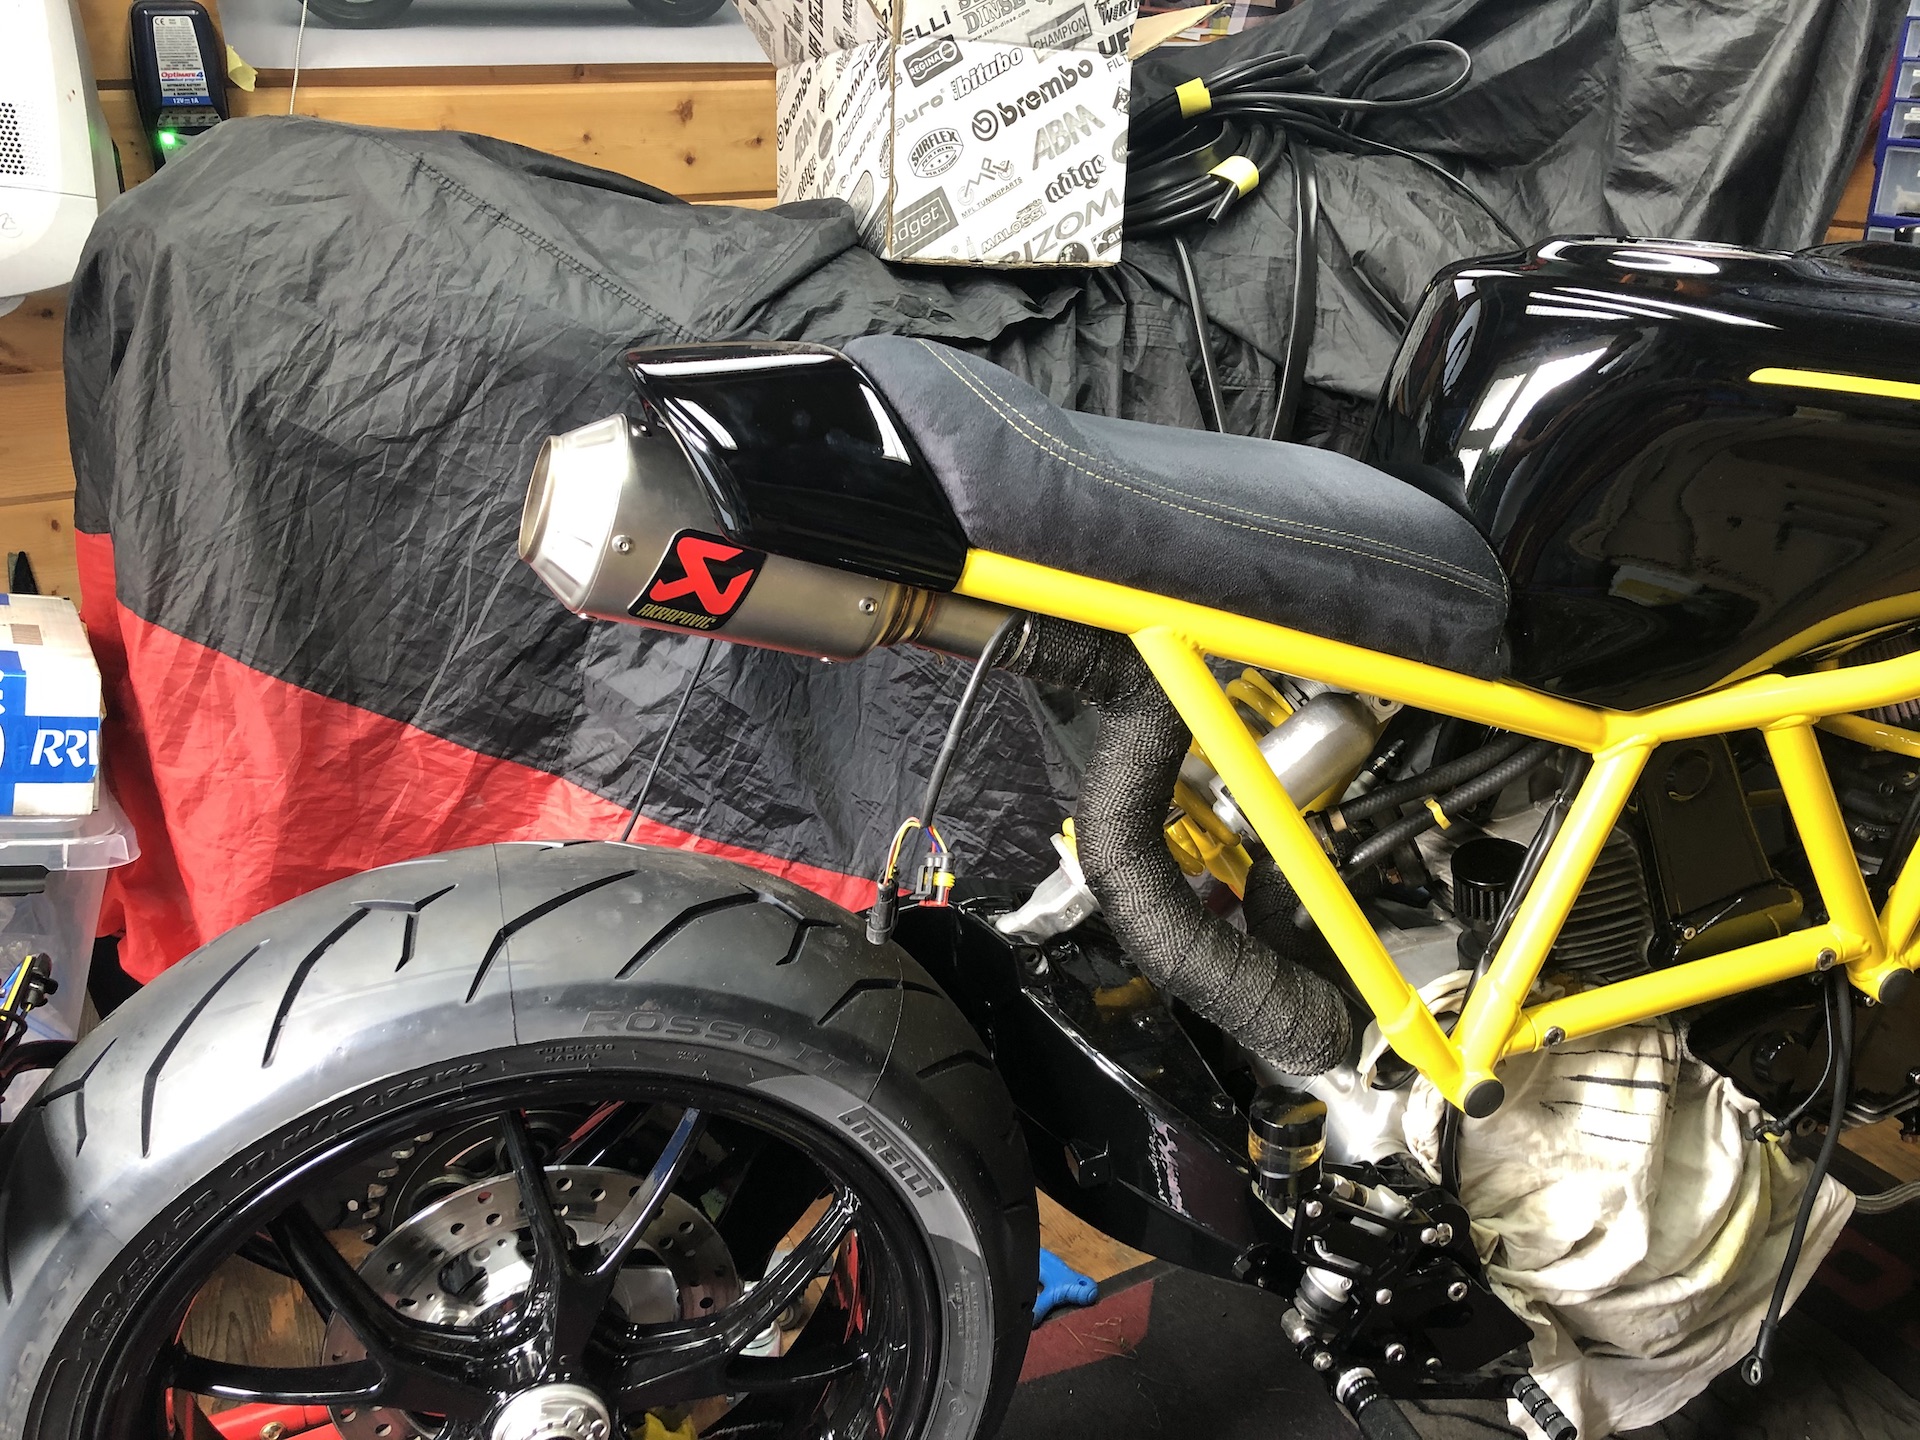
CUSTOM EXHAUST CHALLENGE
First time building a custom exhaust, and first time building a exhaust using pie cuts :). Was stunned how fast you can build this. Build both exhausts within half a day! However after that welding both exhaust shut…. Holy shit that was allot work!
Exhaust is 51mm steel. Instantly expanding from +/- 40mm to 51 from the headers. Exhaust mufflers have a db killer inside in the video.

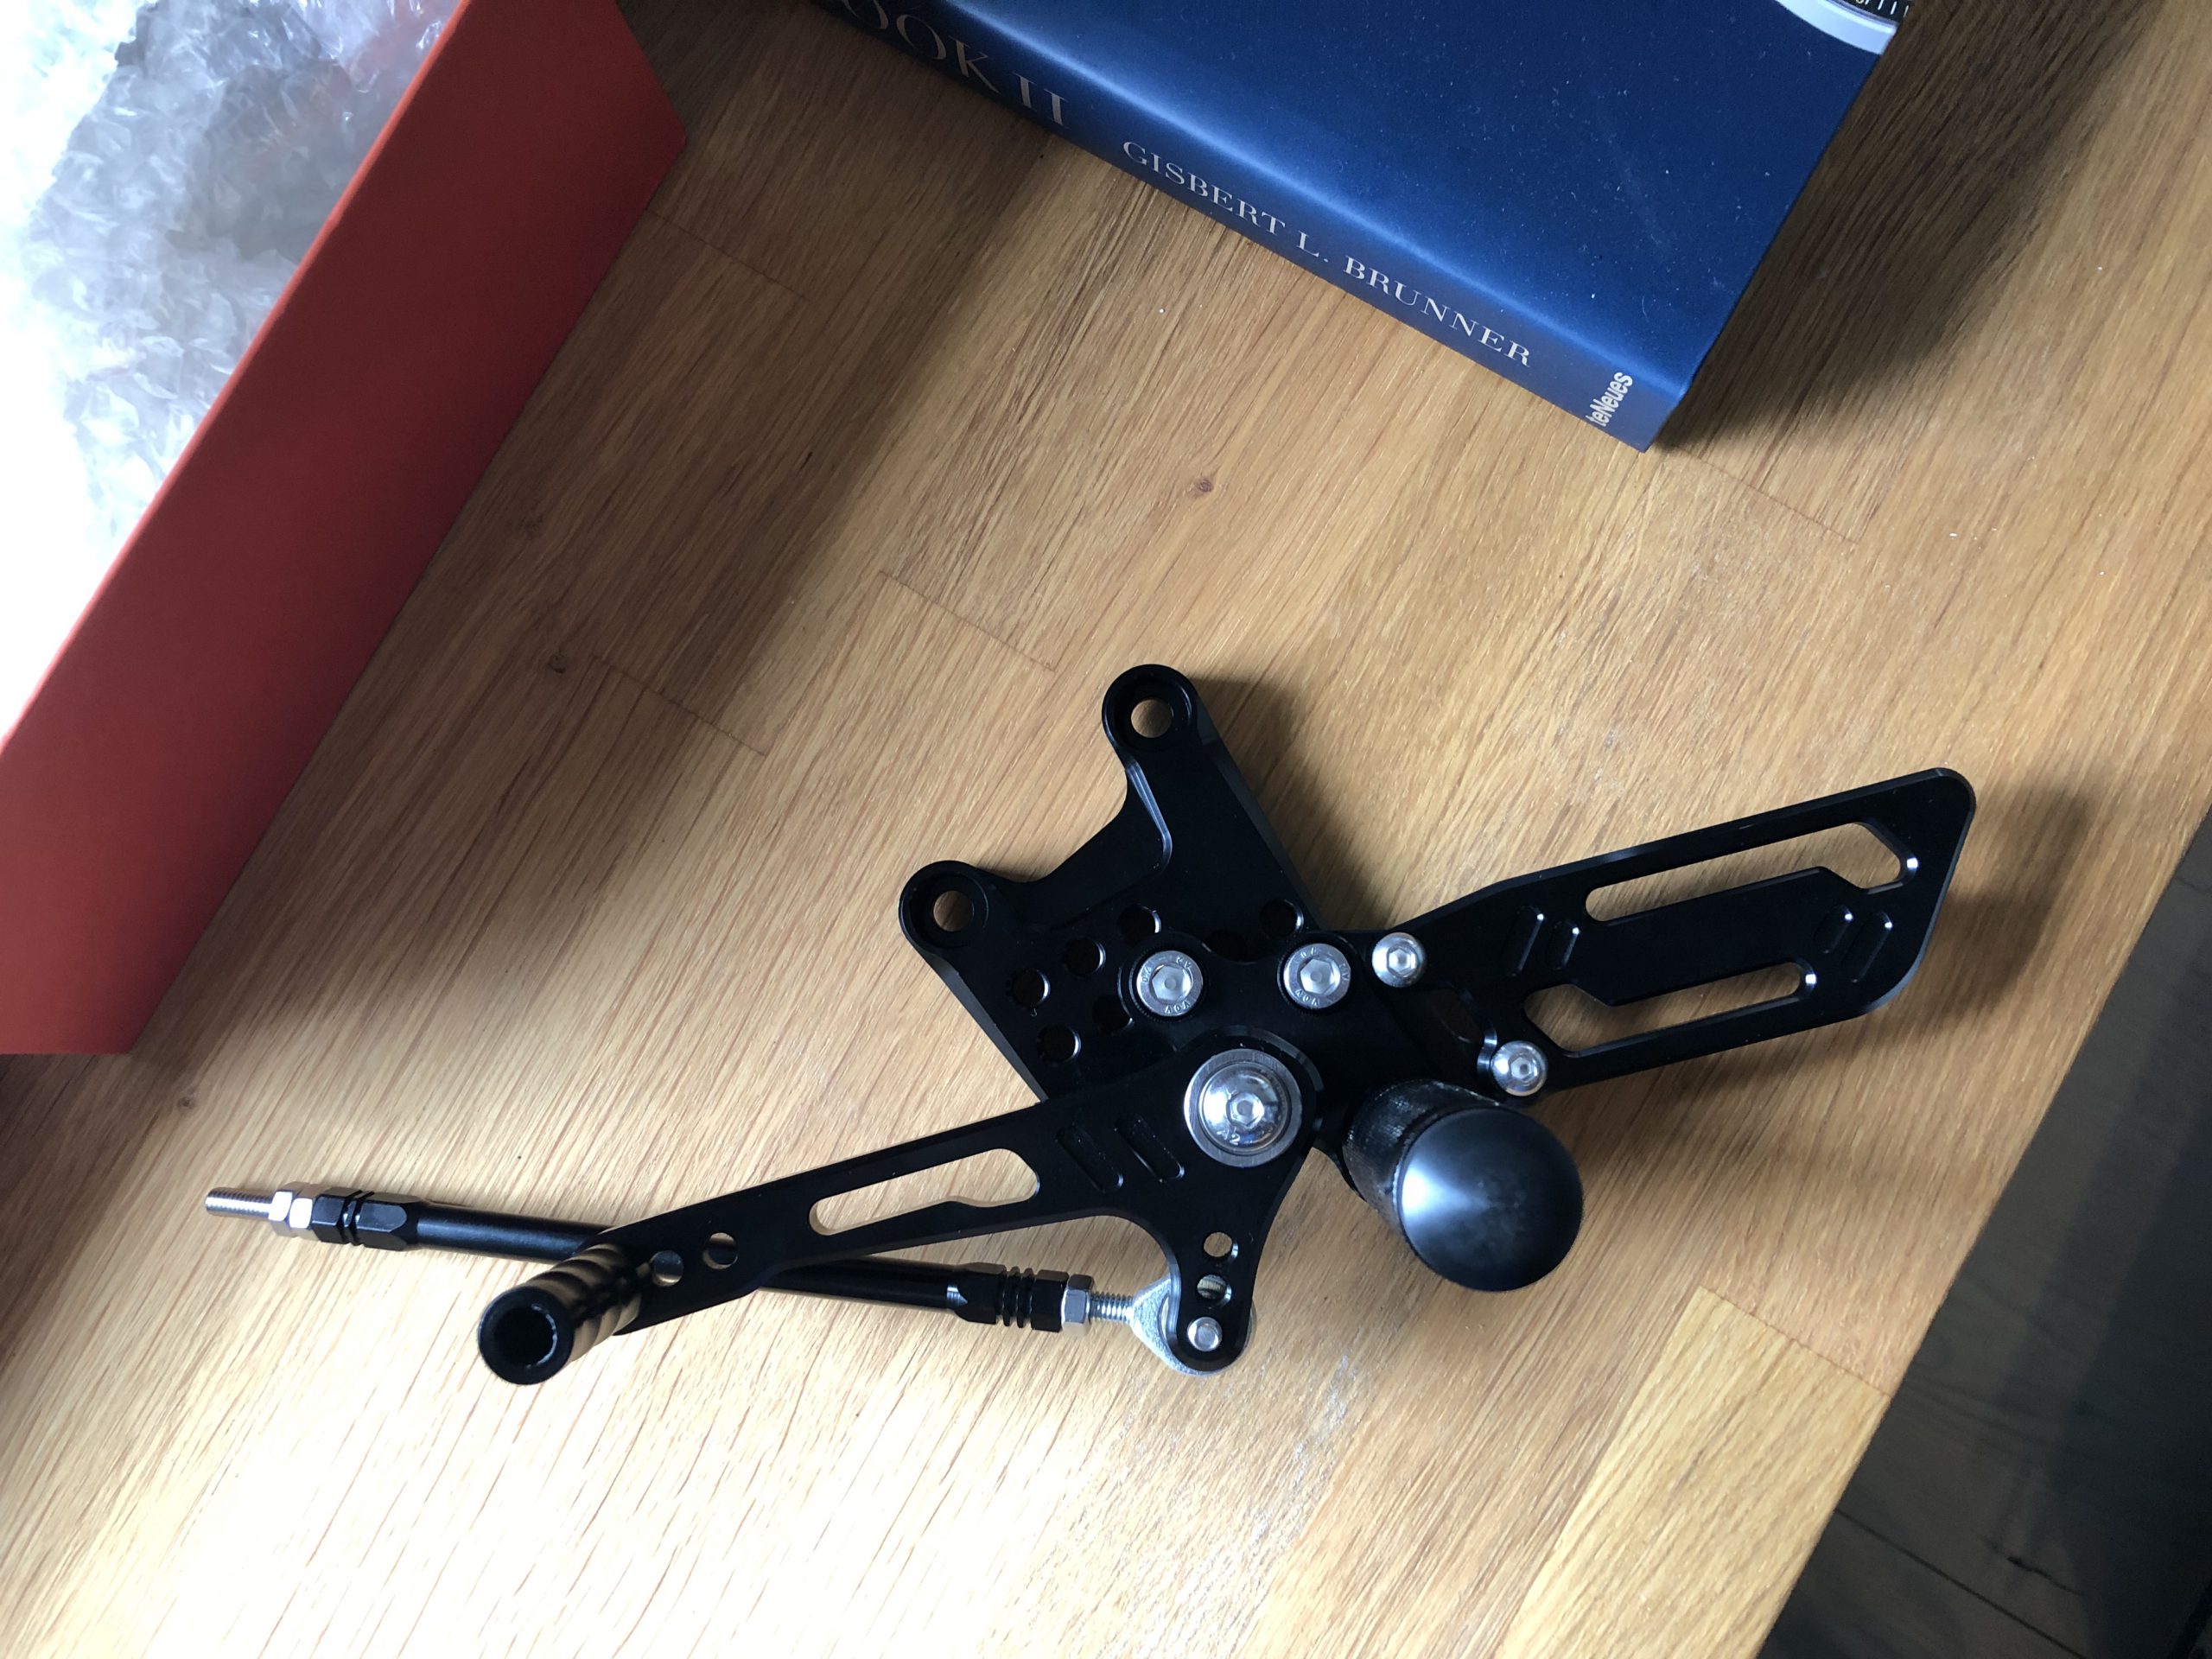
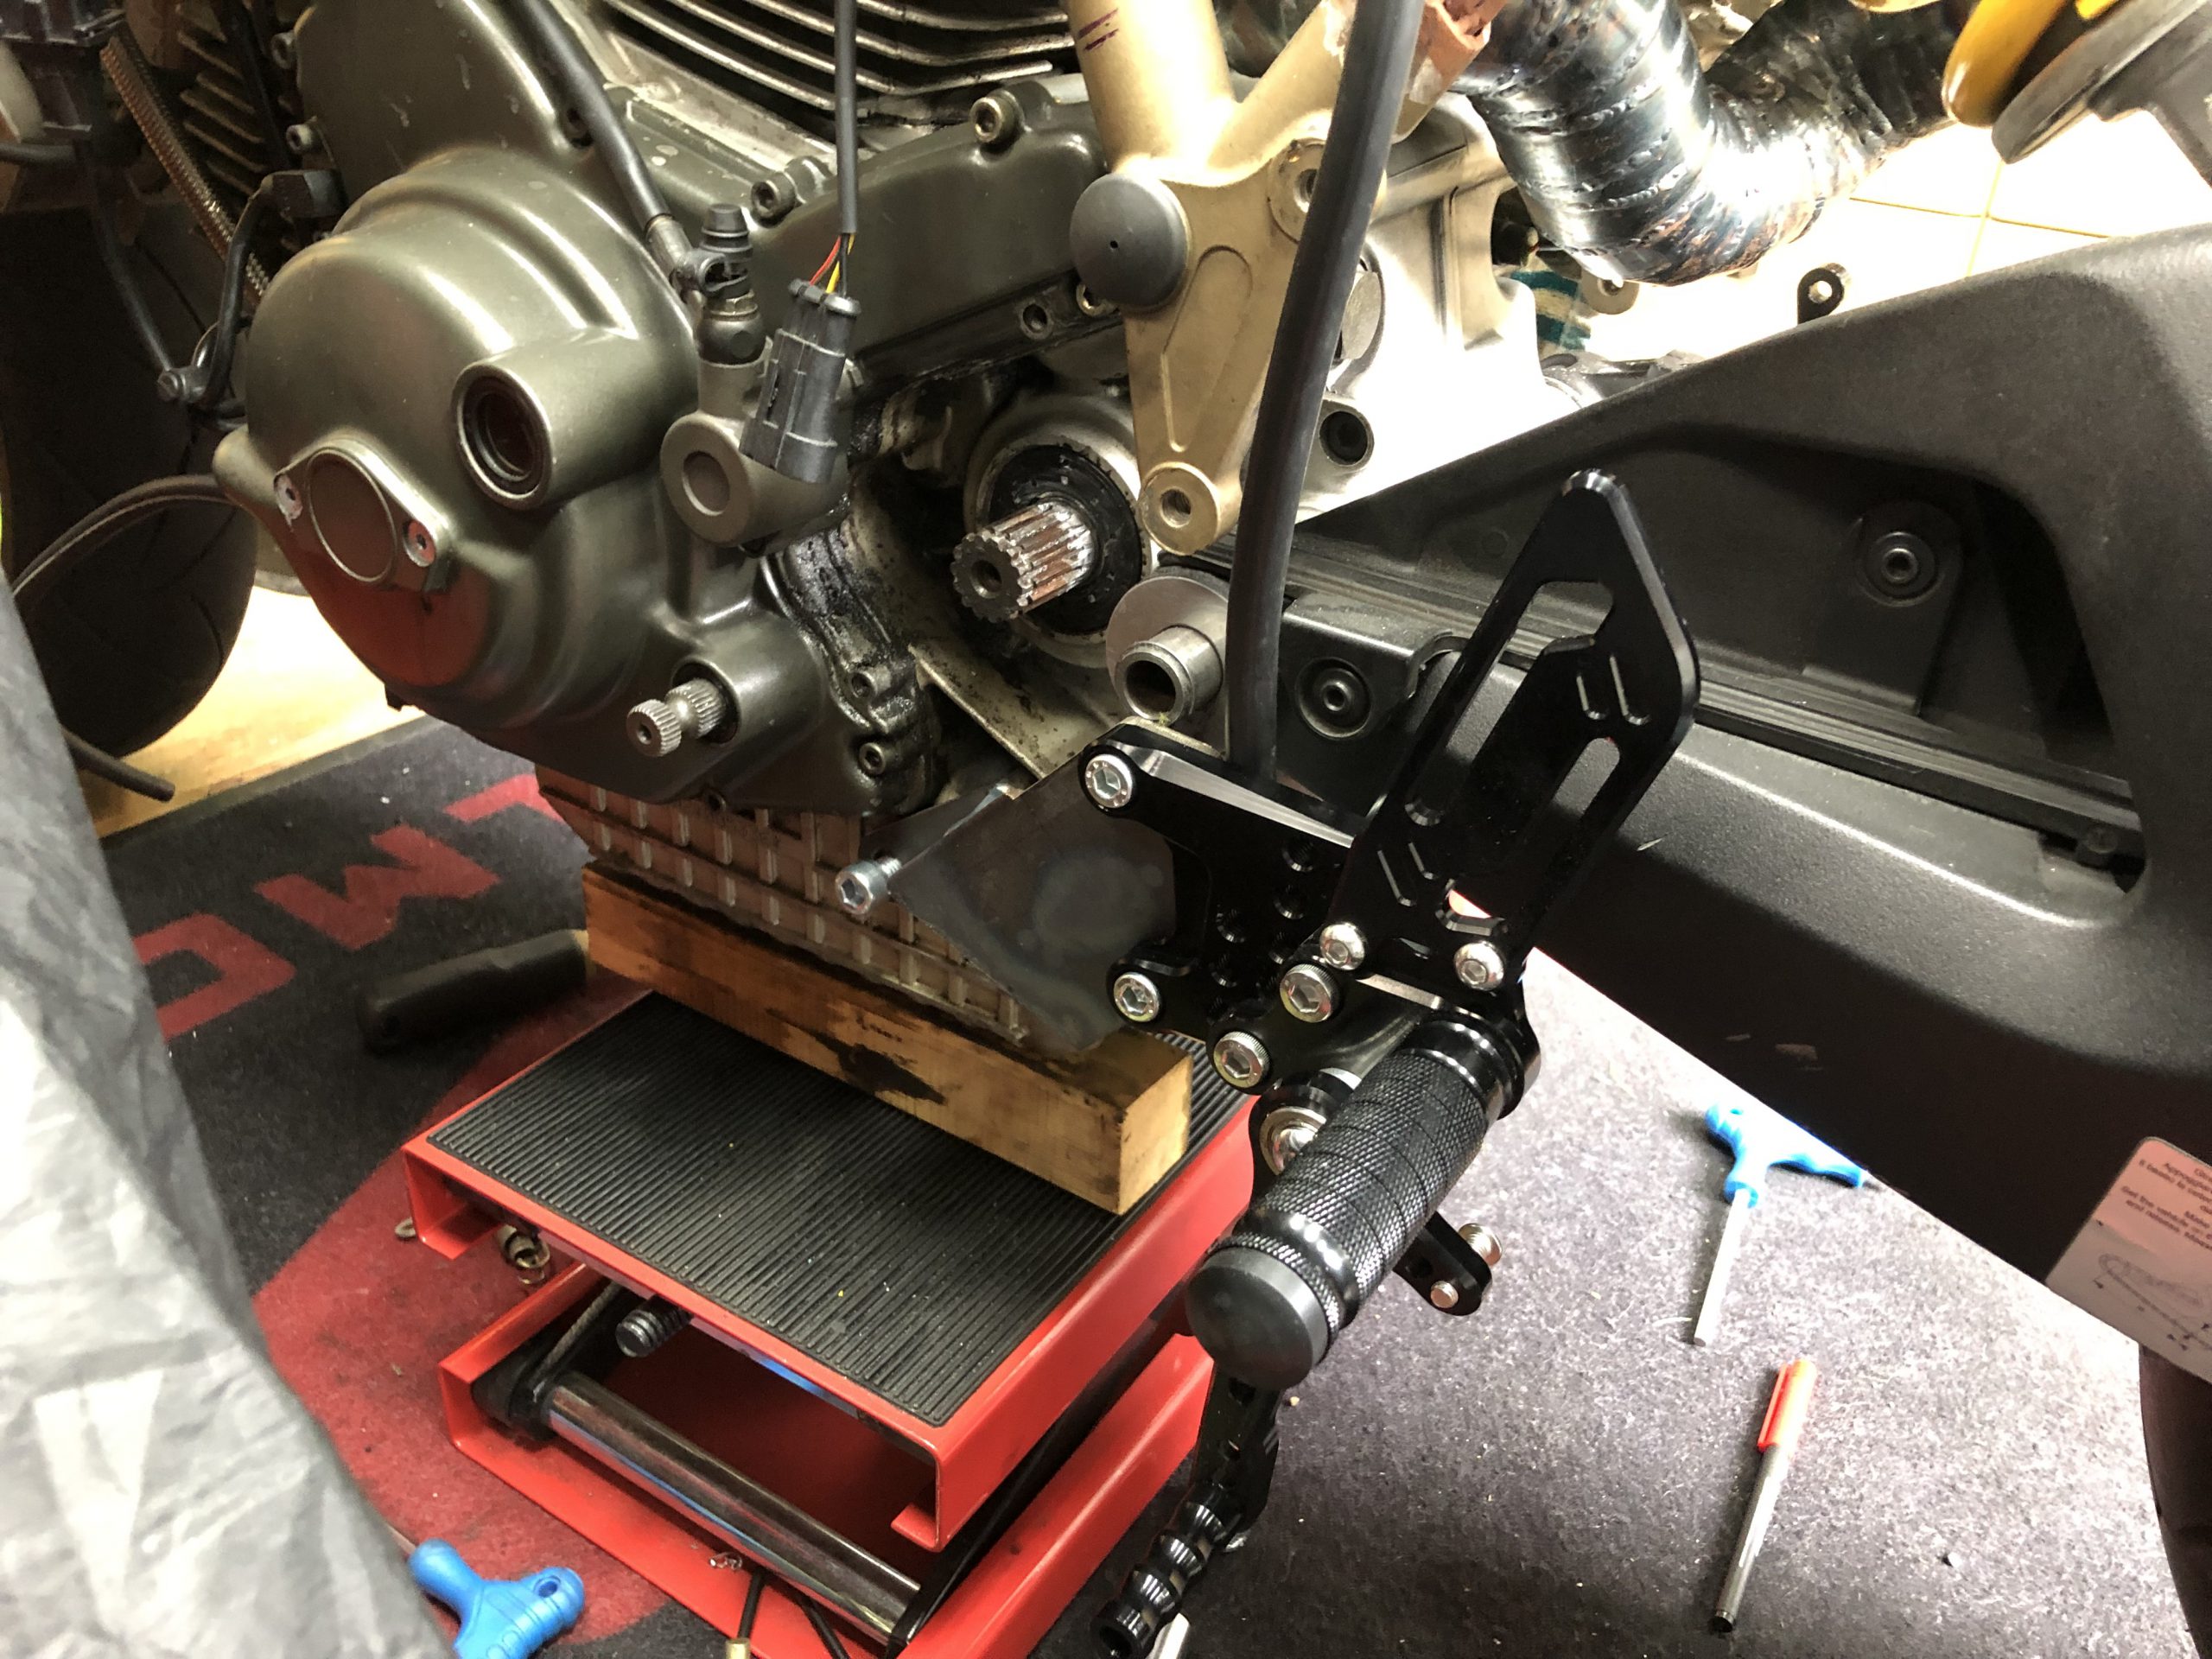
REARSETS
I didnt like the superbike/supersport seating position with your knees tucked in. So i moved the footpegs more down and abit back. Created some custom mounts for the rearsets that mount directly to the bottom of the engine.
Rearsets are normally for a Suzuki GSXR. Later going to remove the original mounts from the frame.


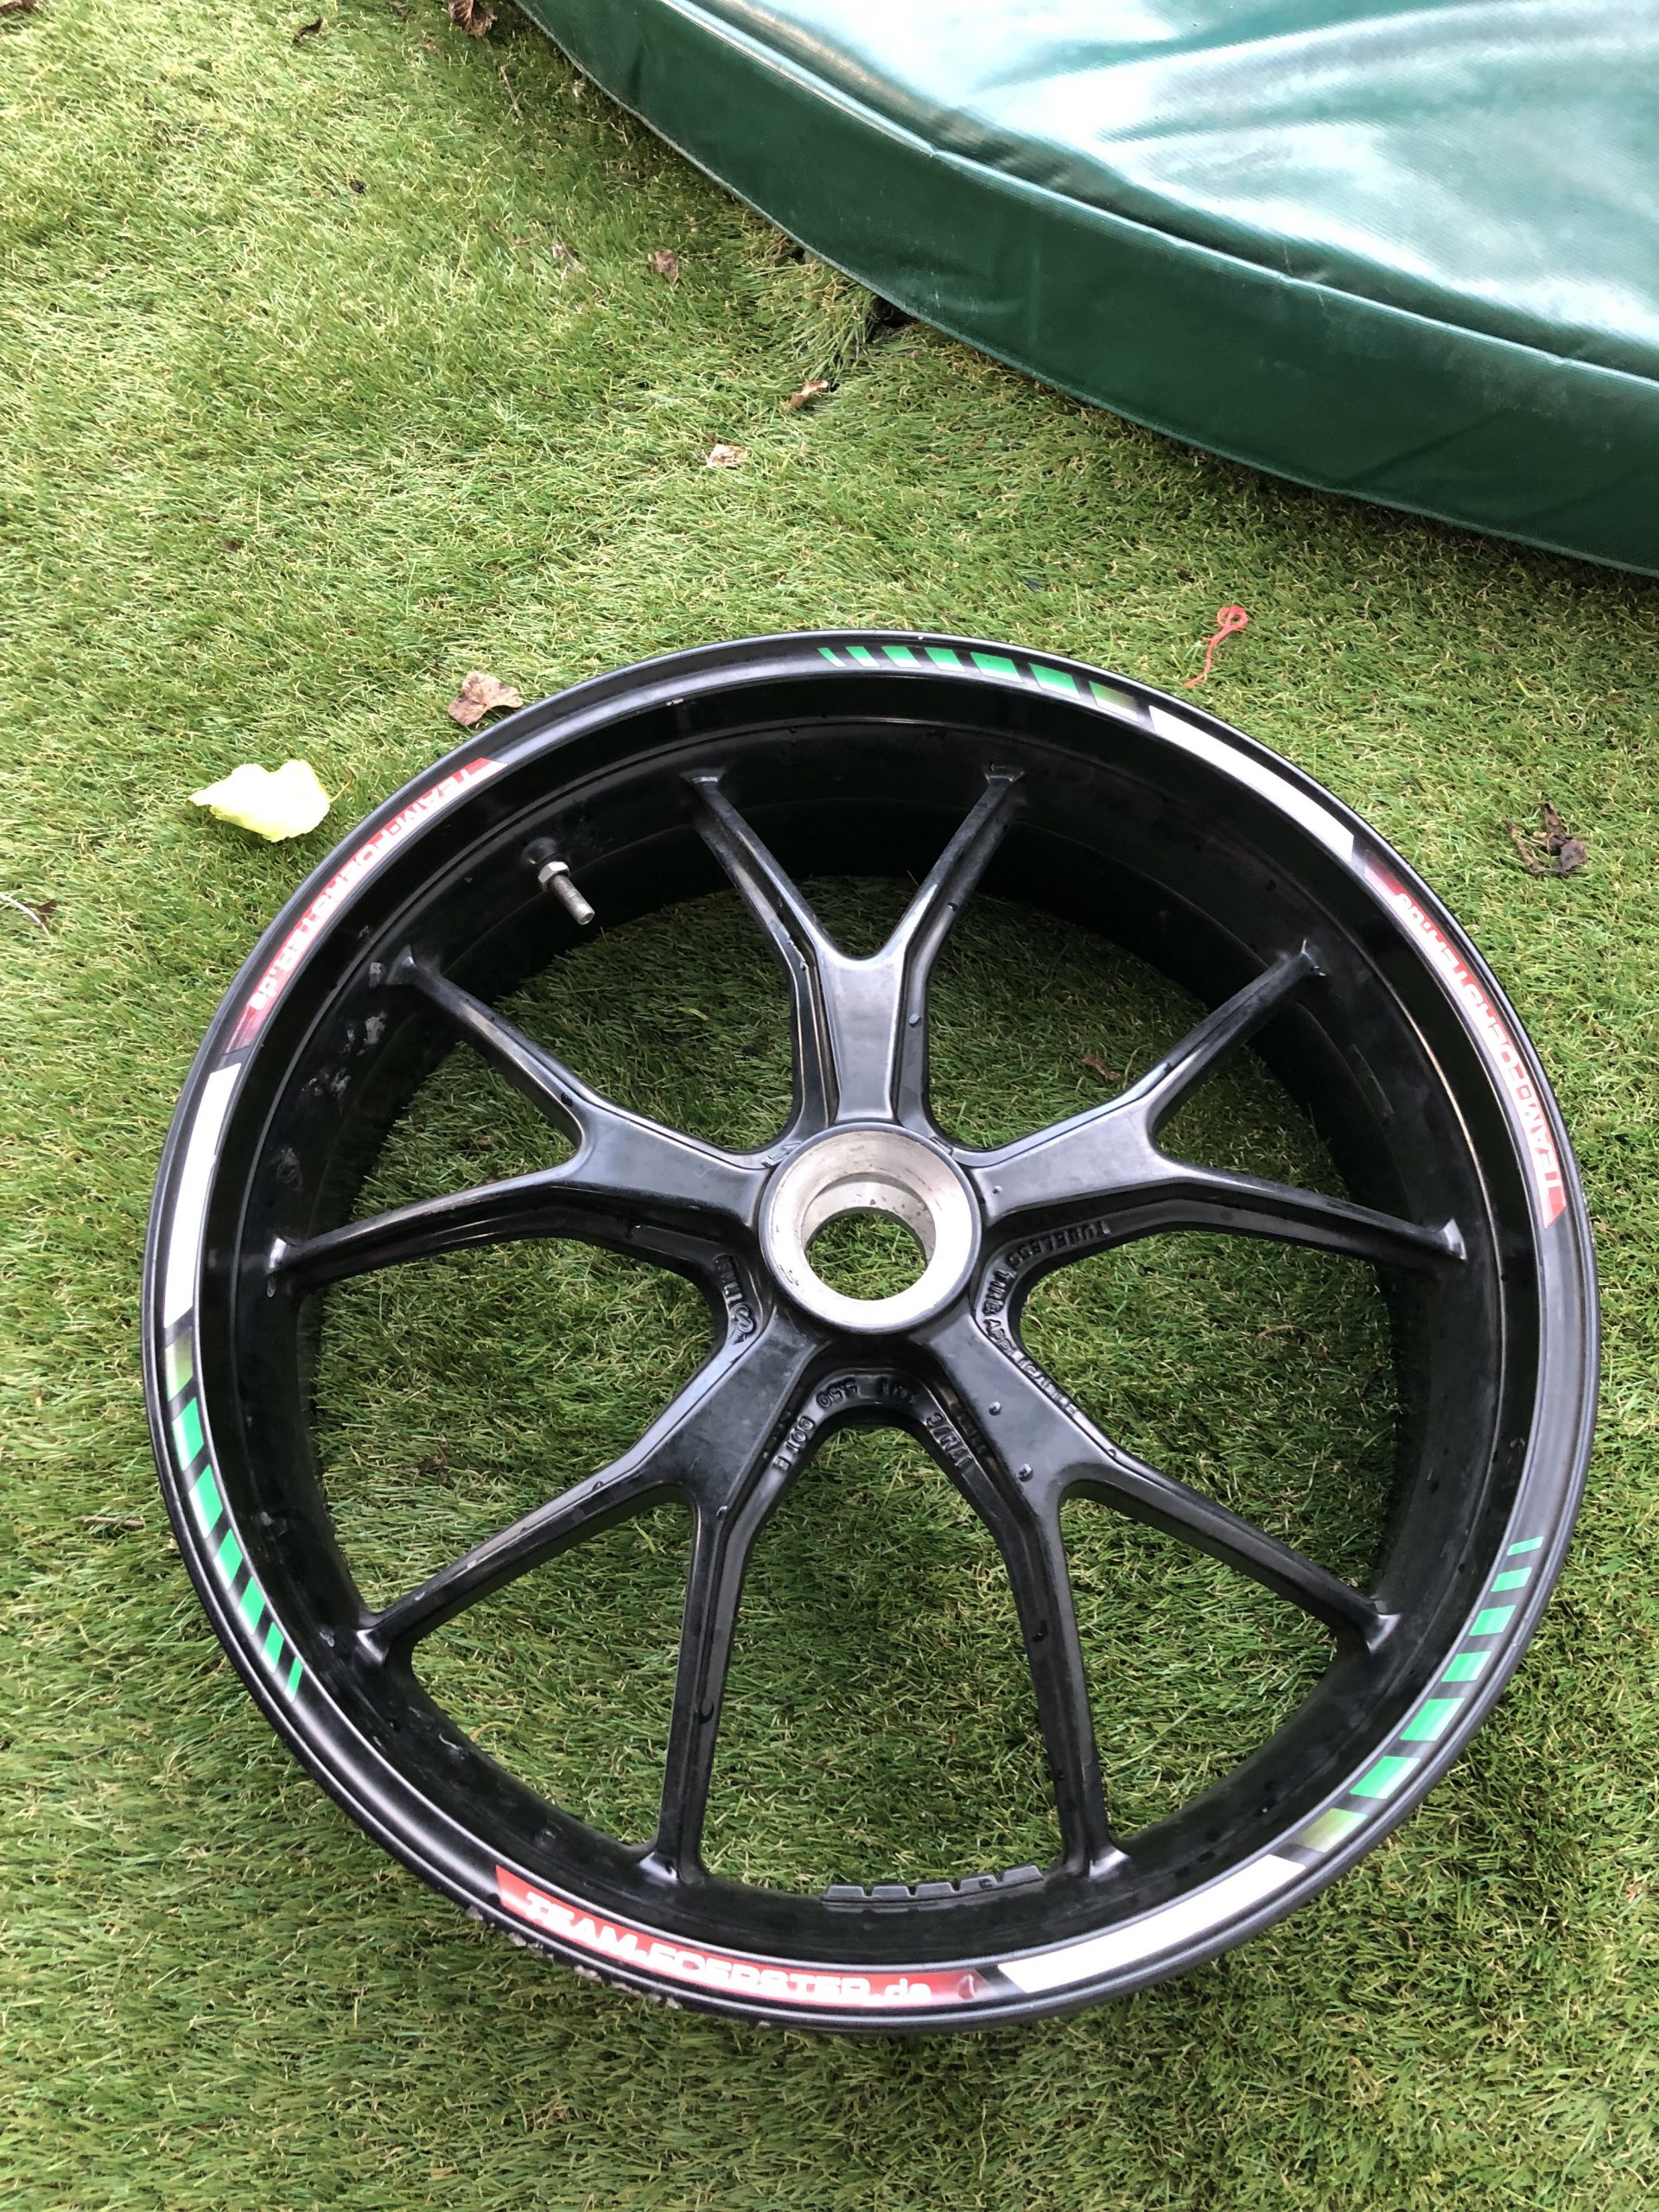
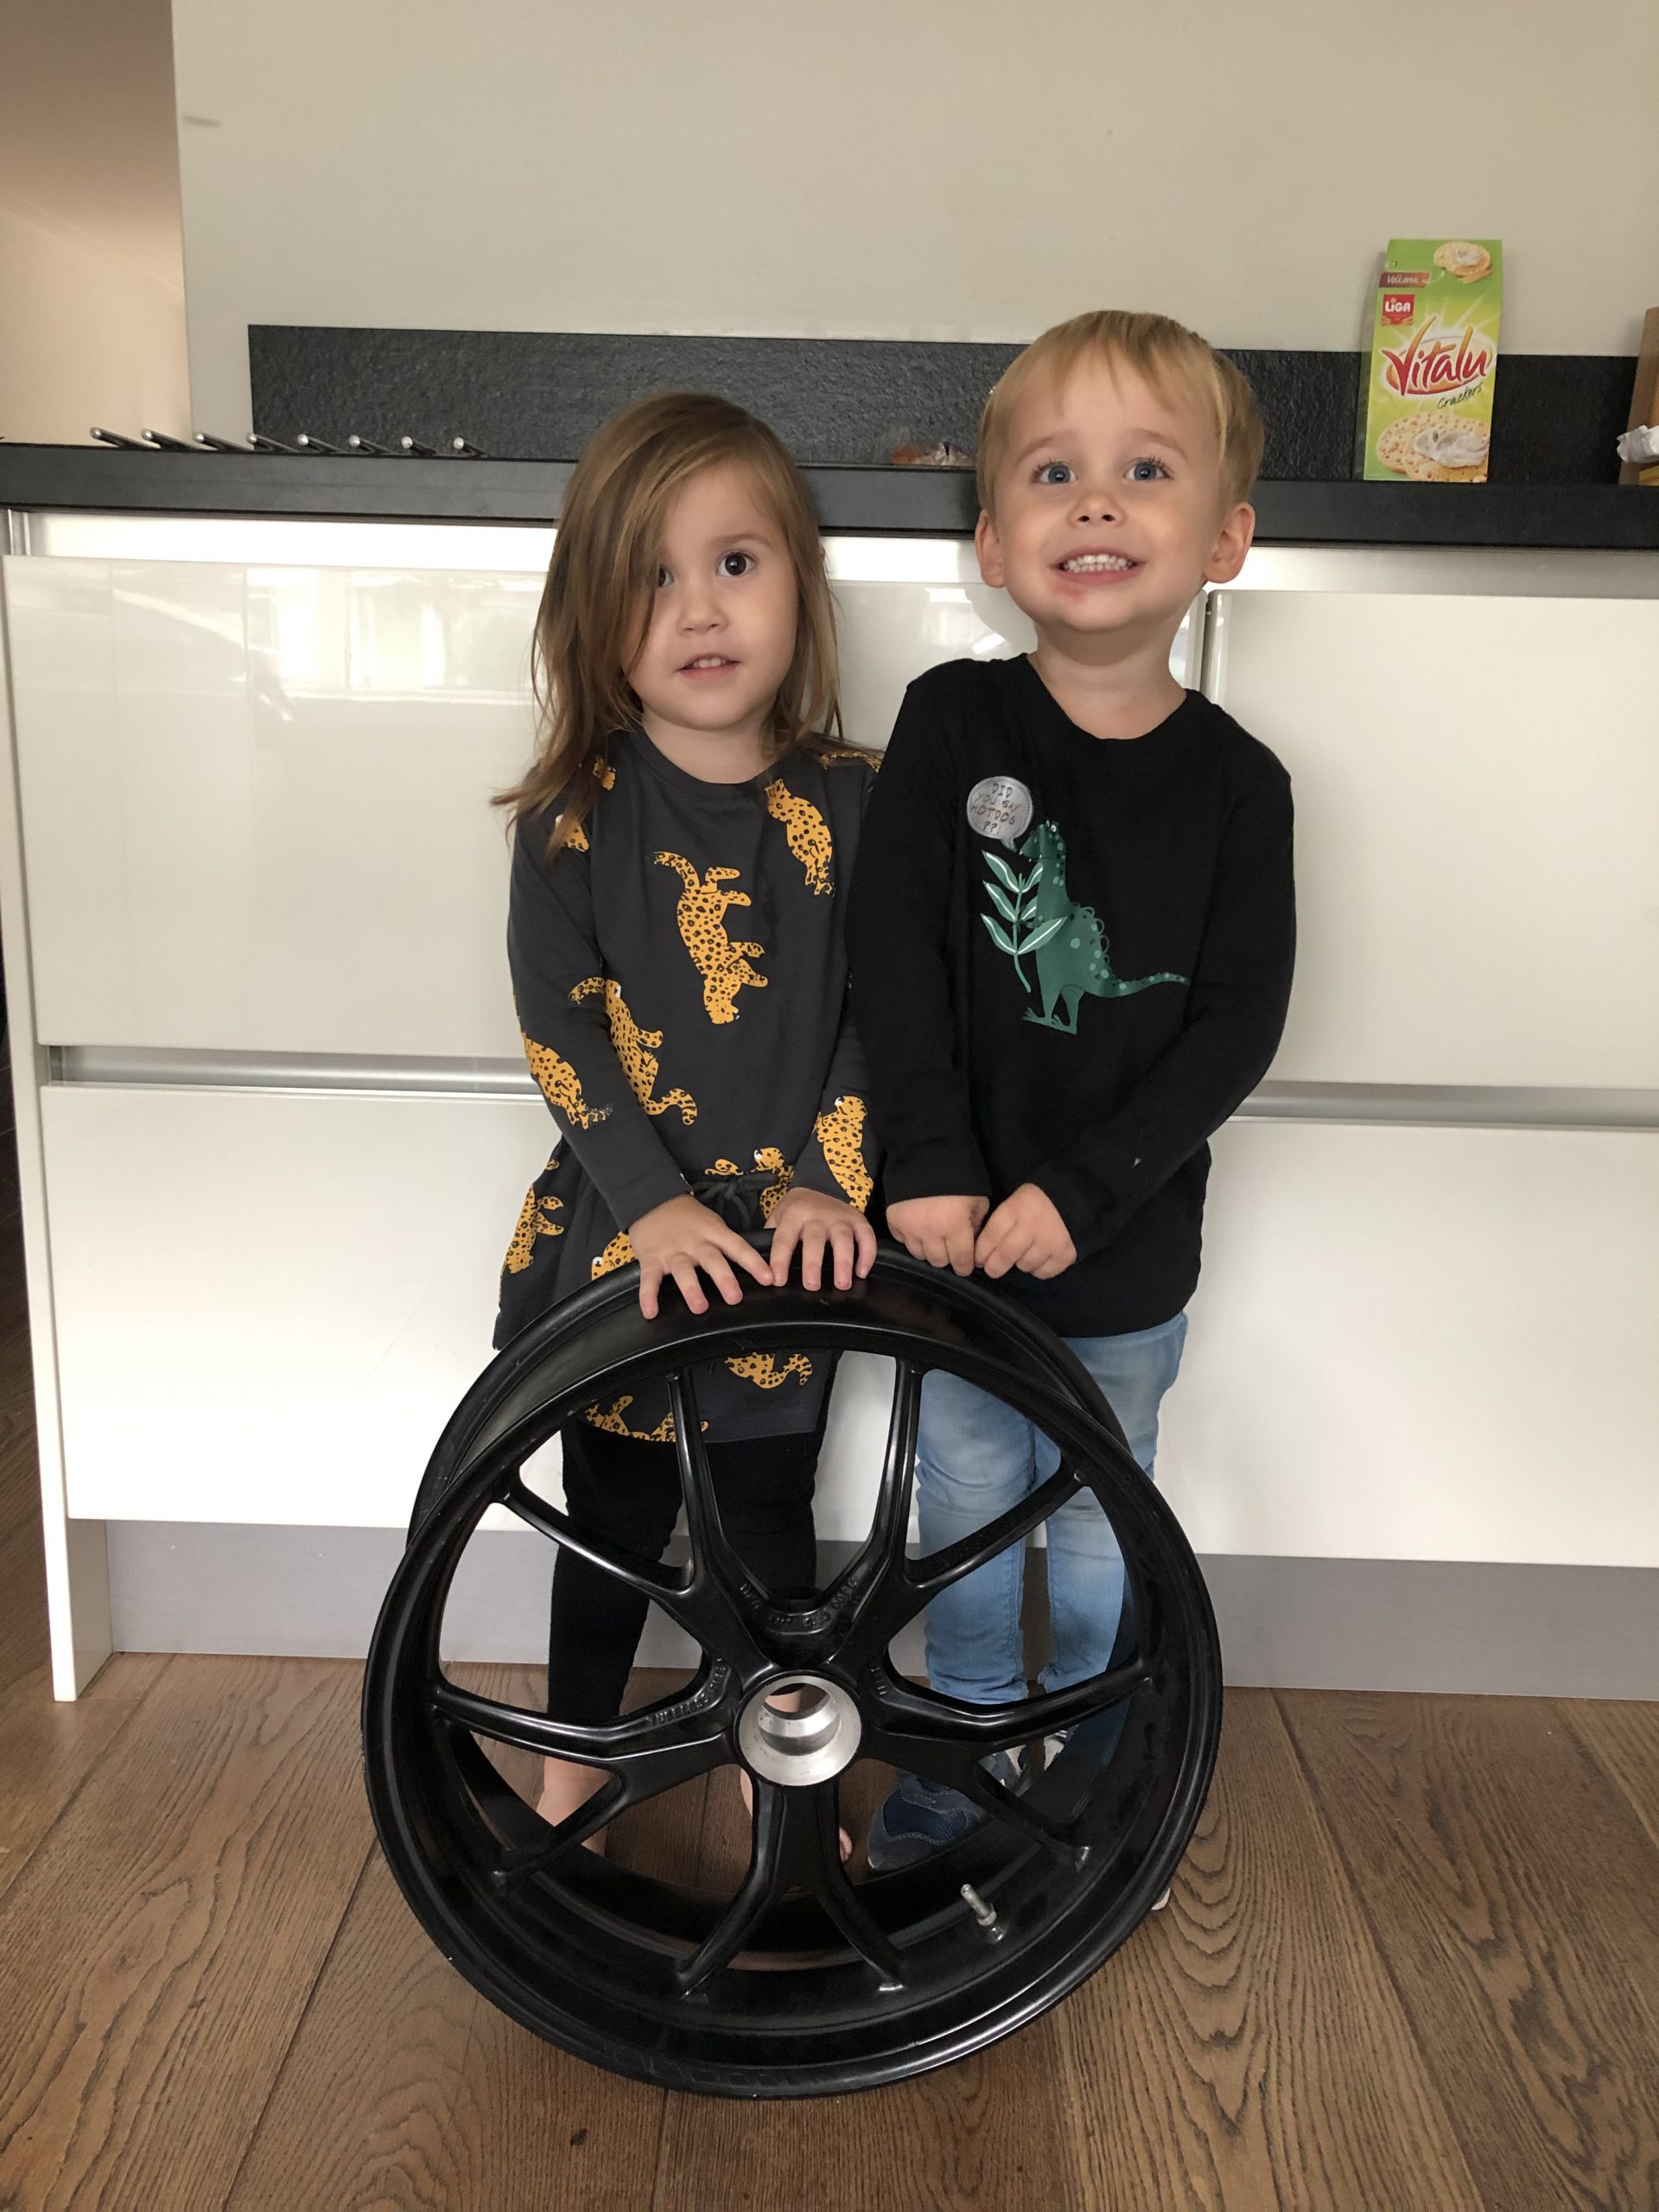
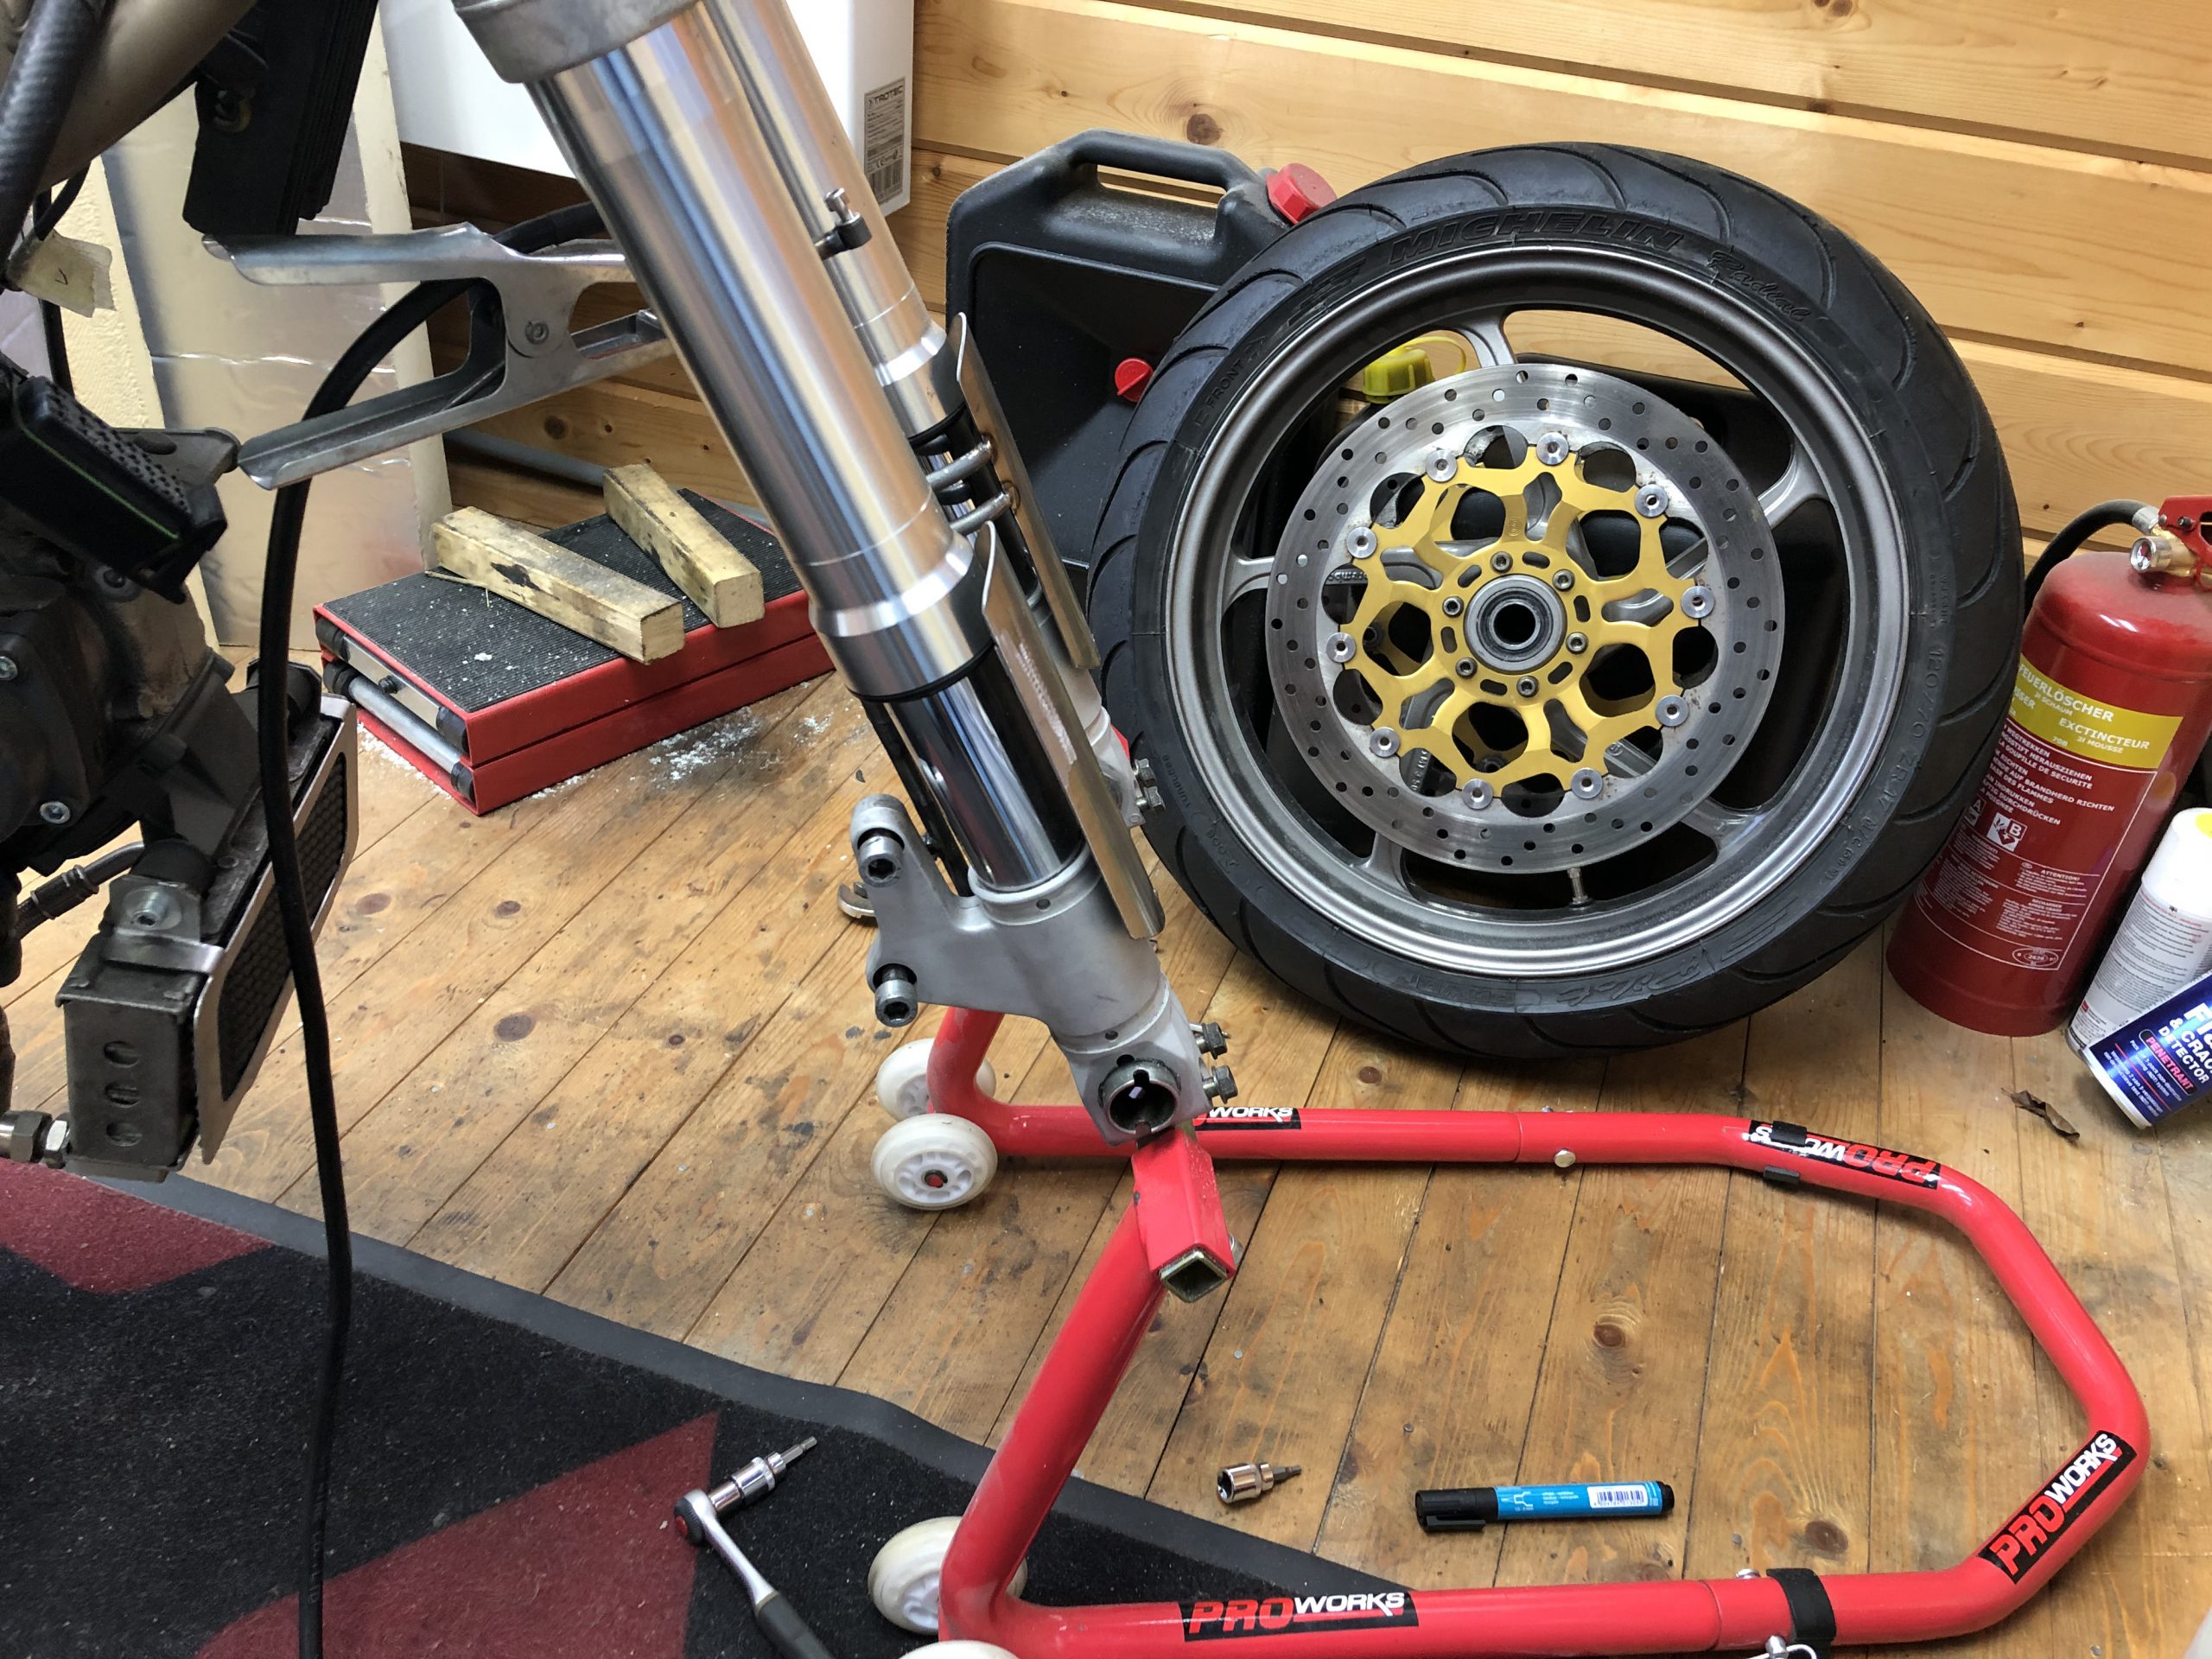
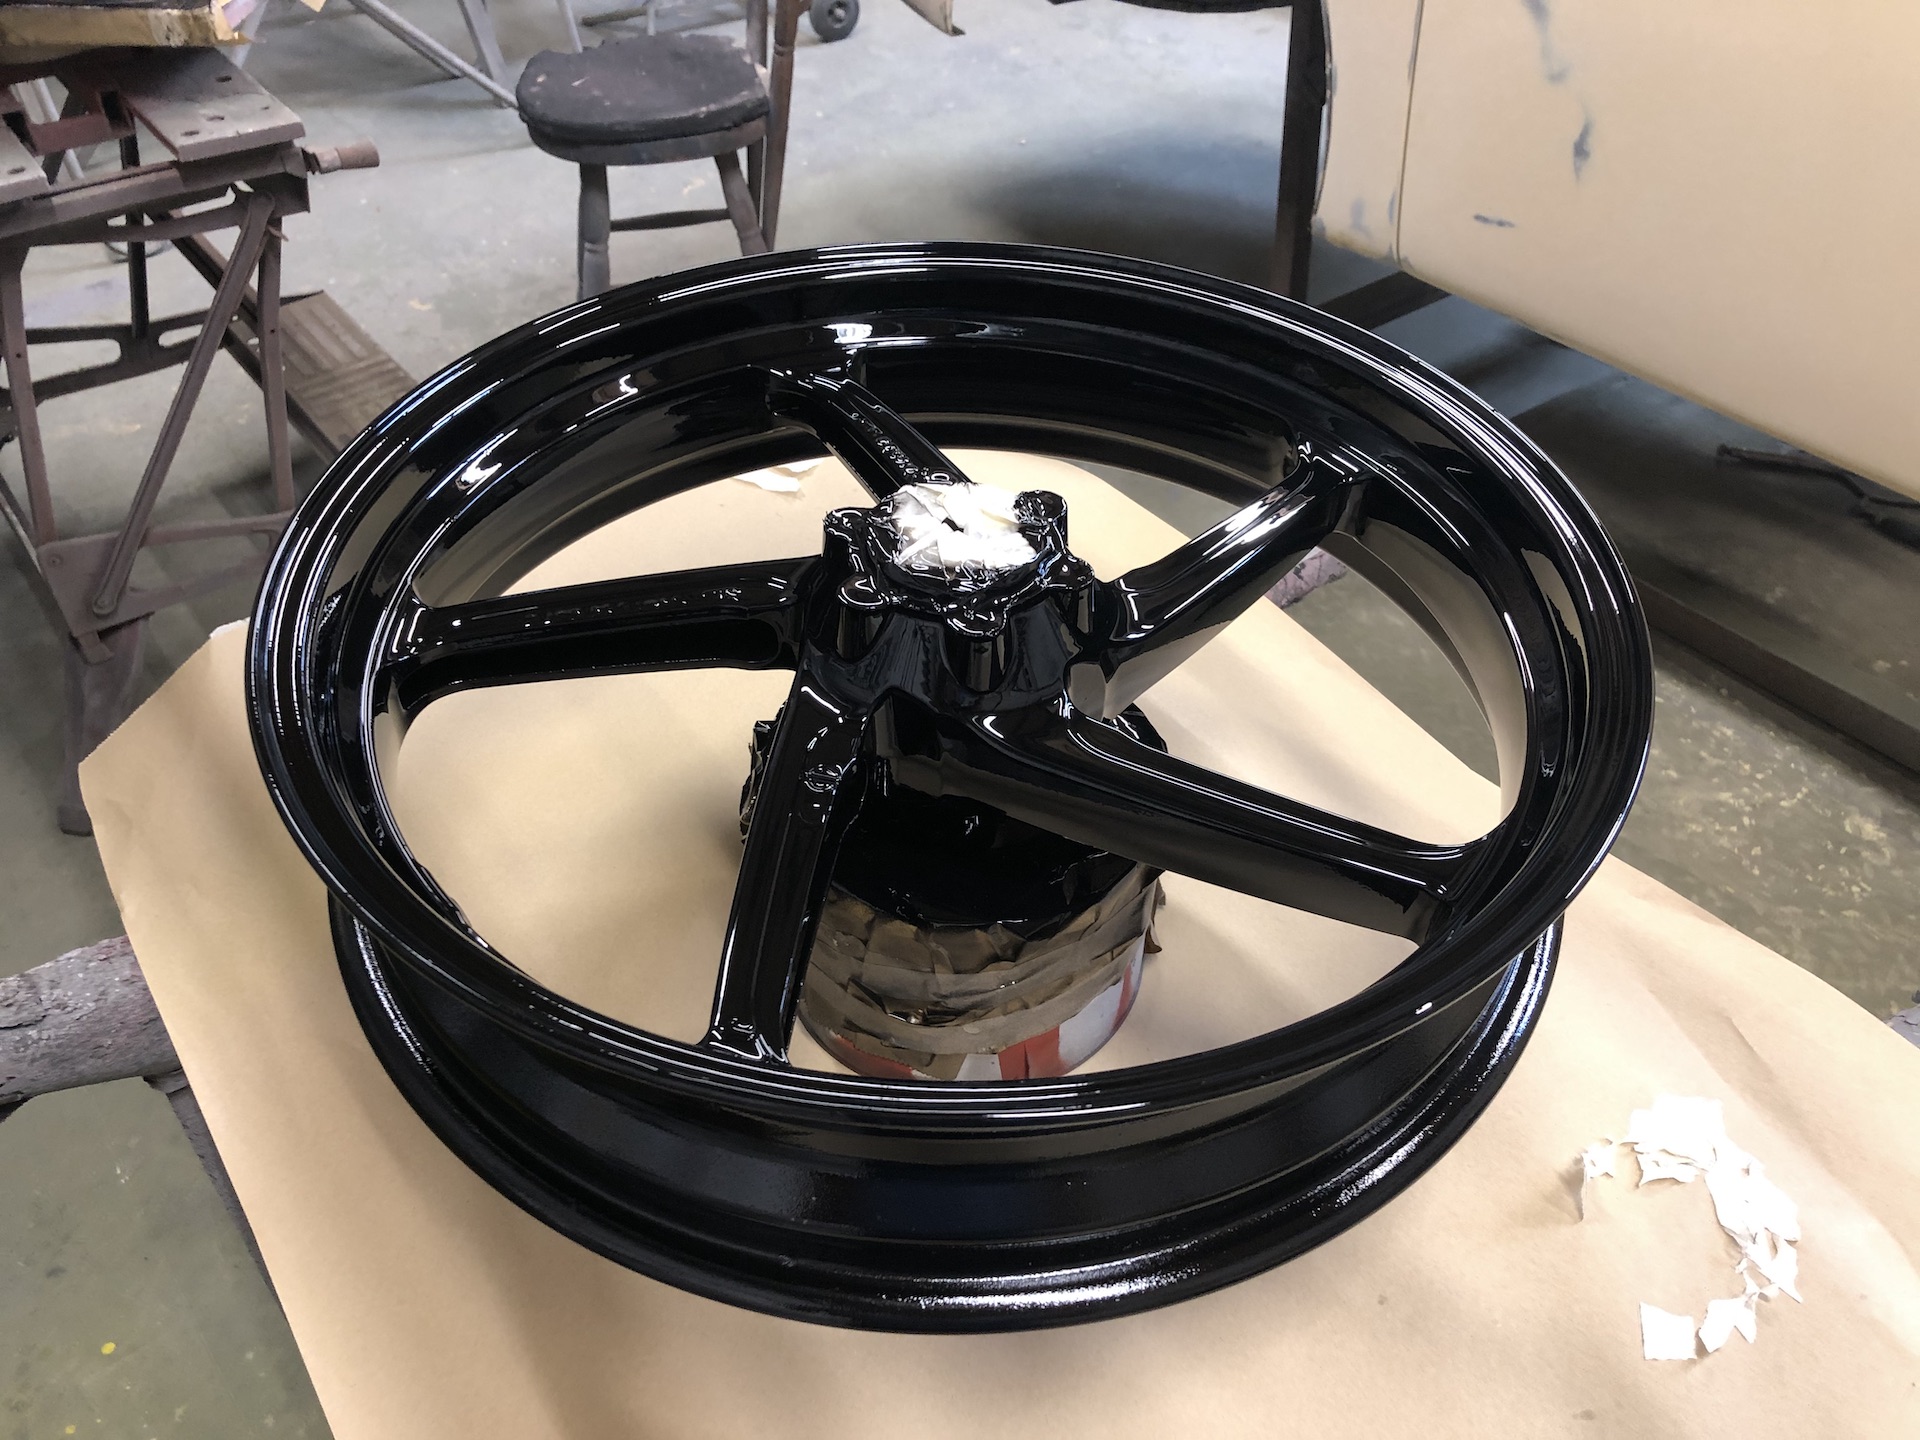
NEW WHEELS
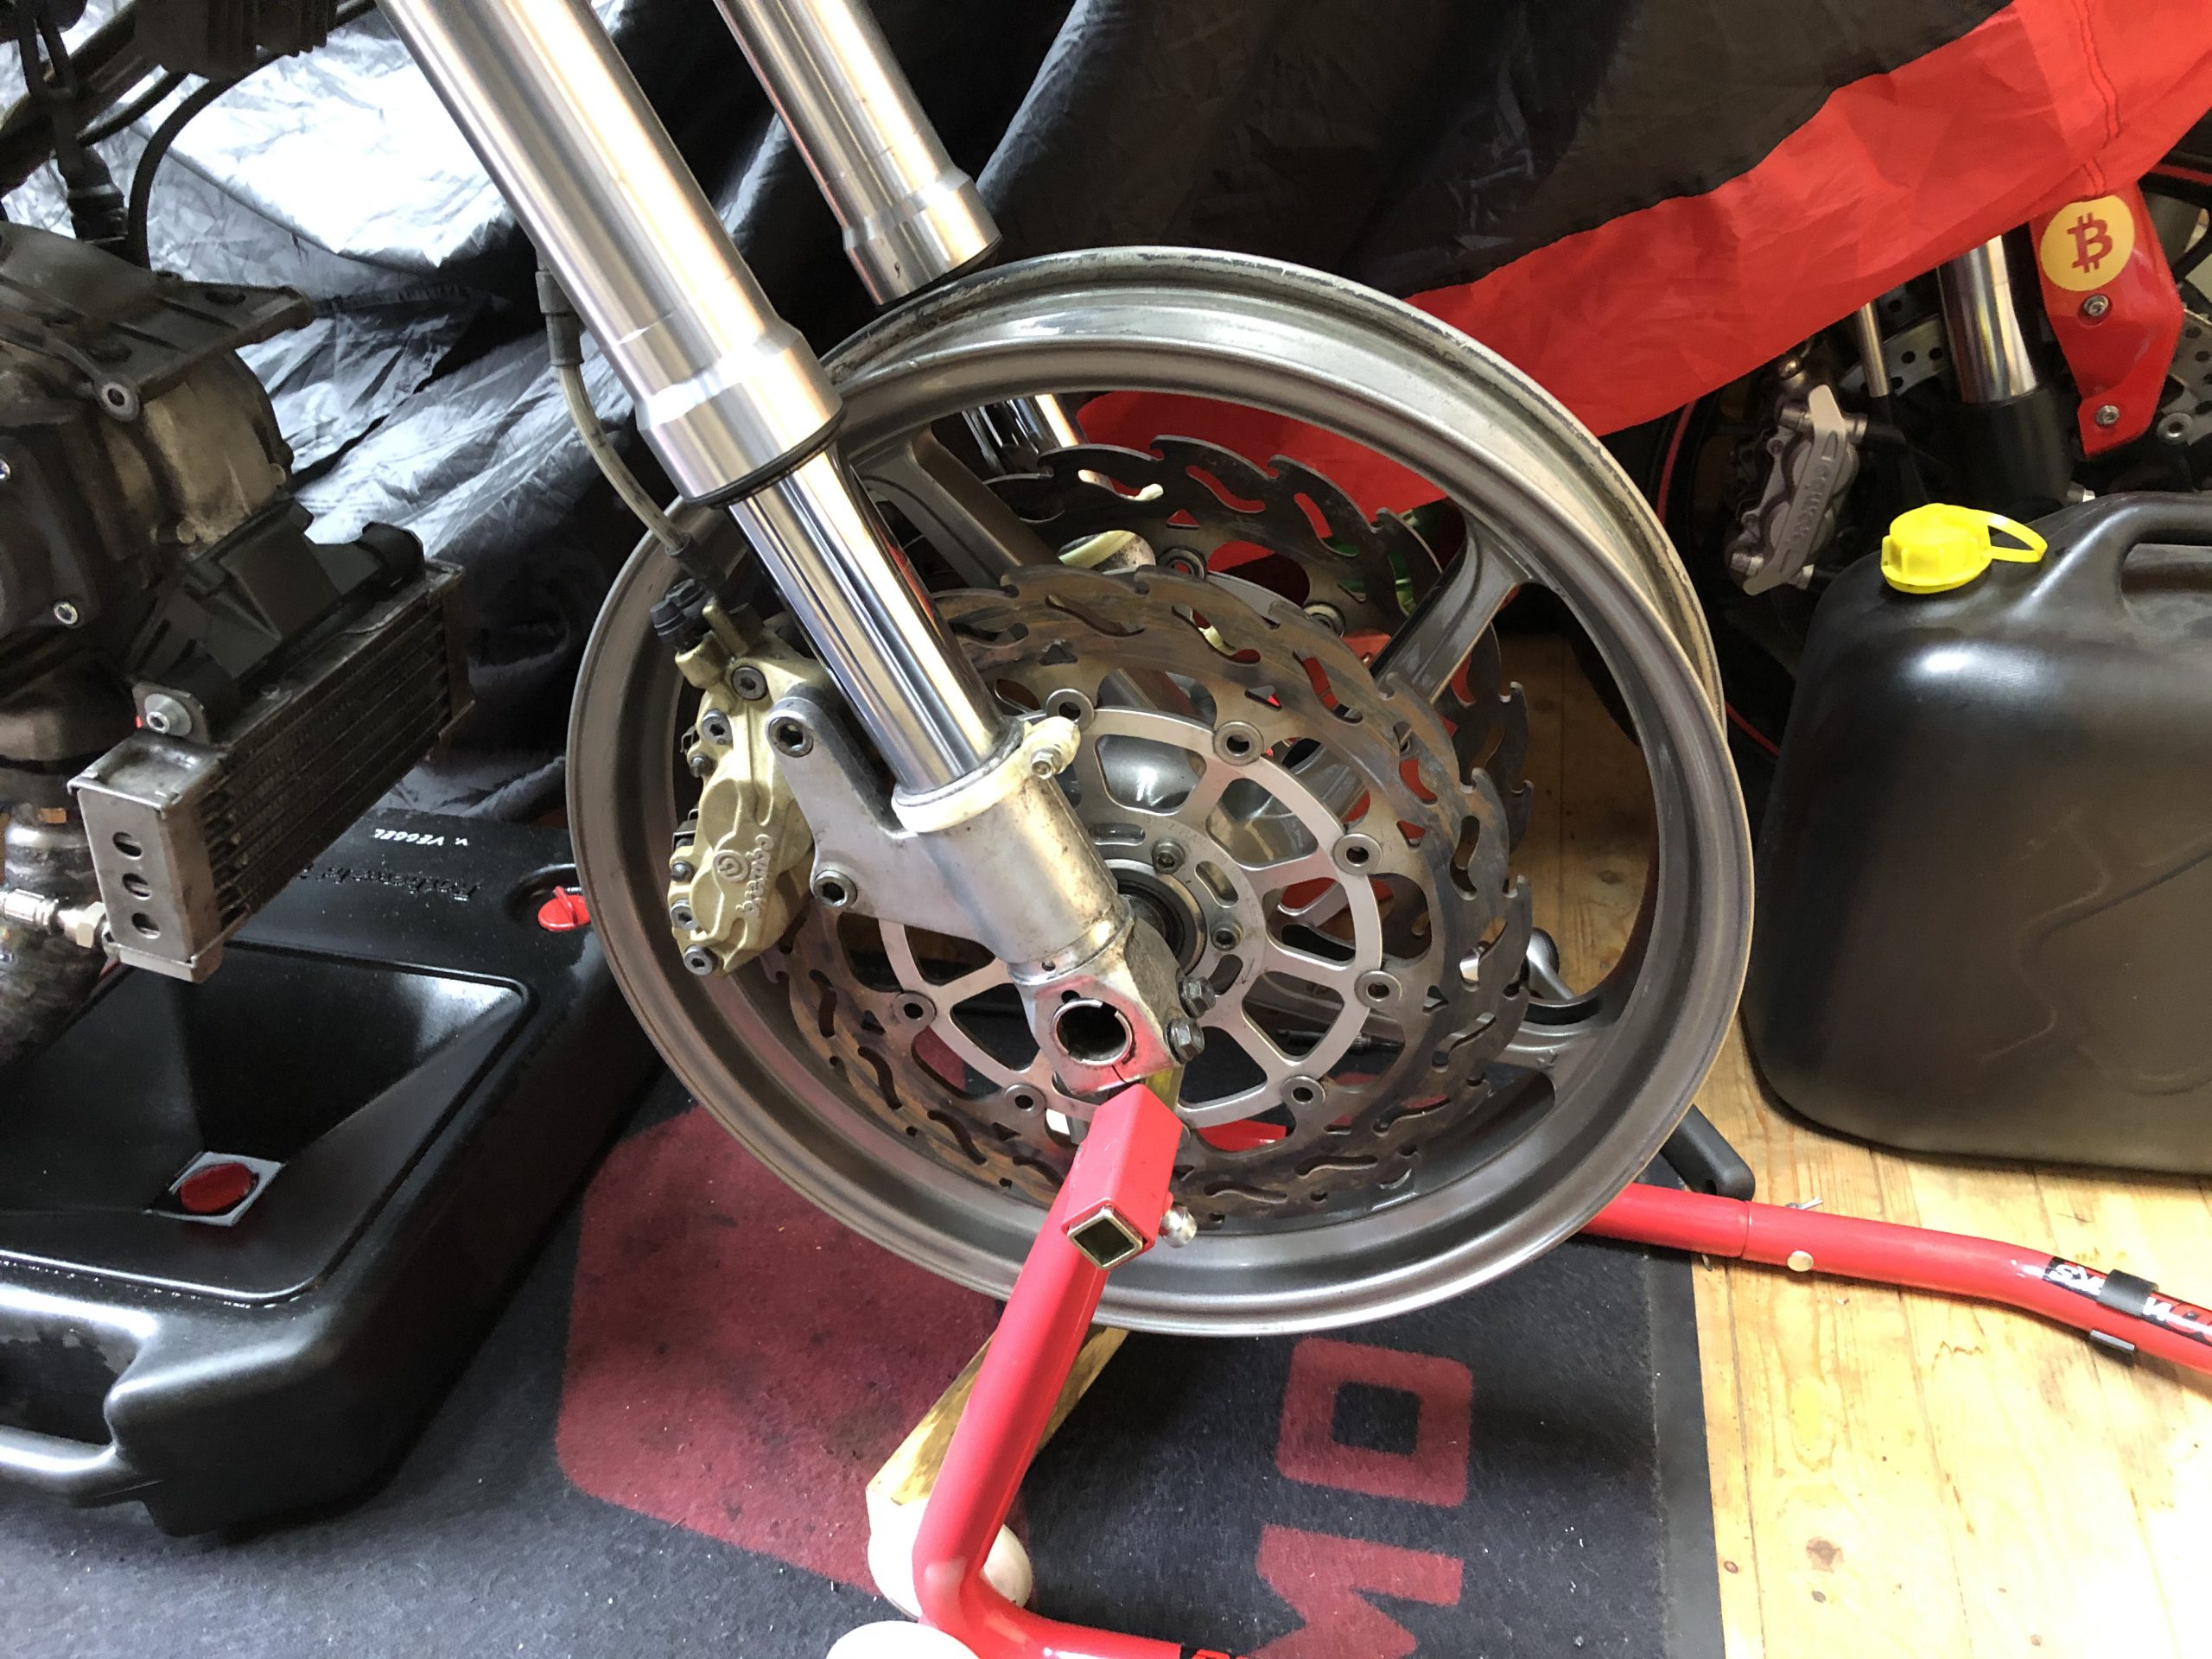
Managed to score some new wheels for the front and back. 2 Marchesini’s. Rear from a Hypermotard 796 and front from a 1000SS from 2002. Both rims were bend, and managed to get them professionally straightened.
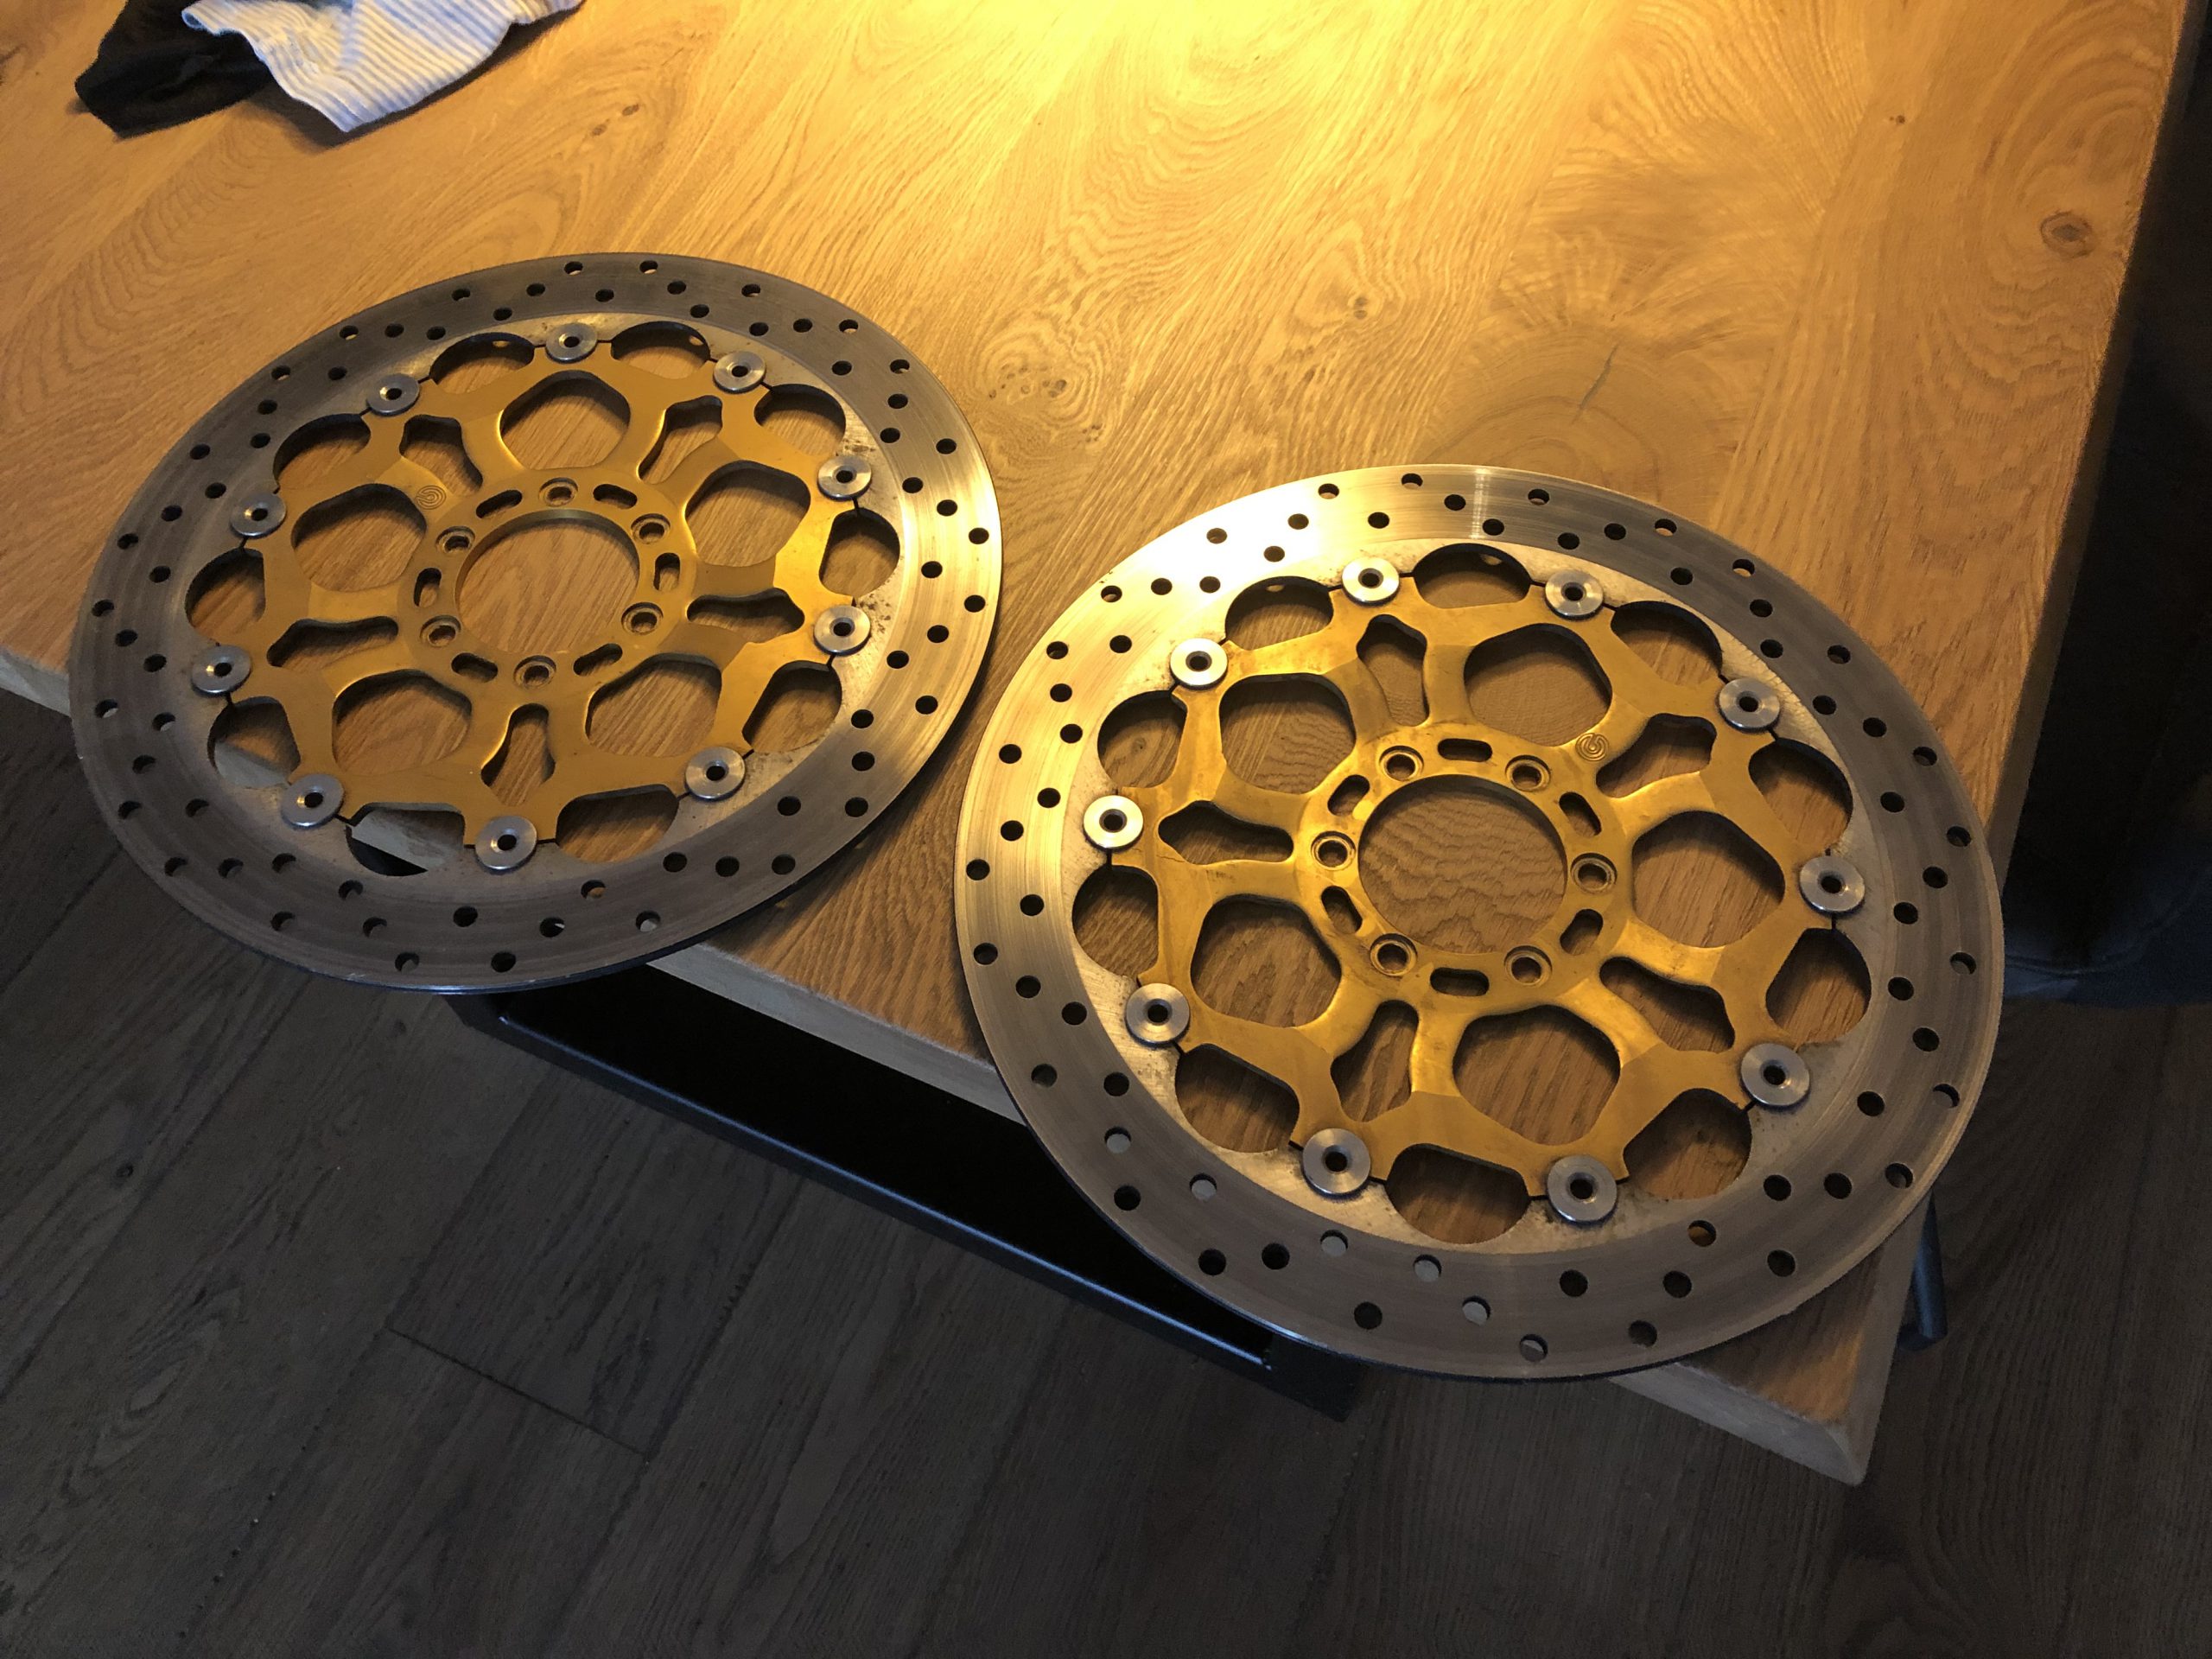
Also managed to get some new front brake discs from a ST4s (Thanks Gijs). Way better looking then the oldschool discs or the flame discs i mounted.
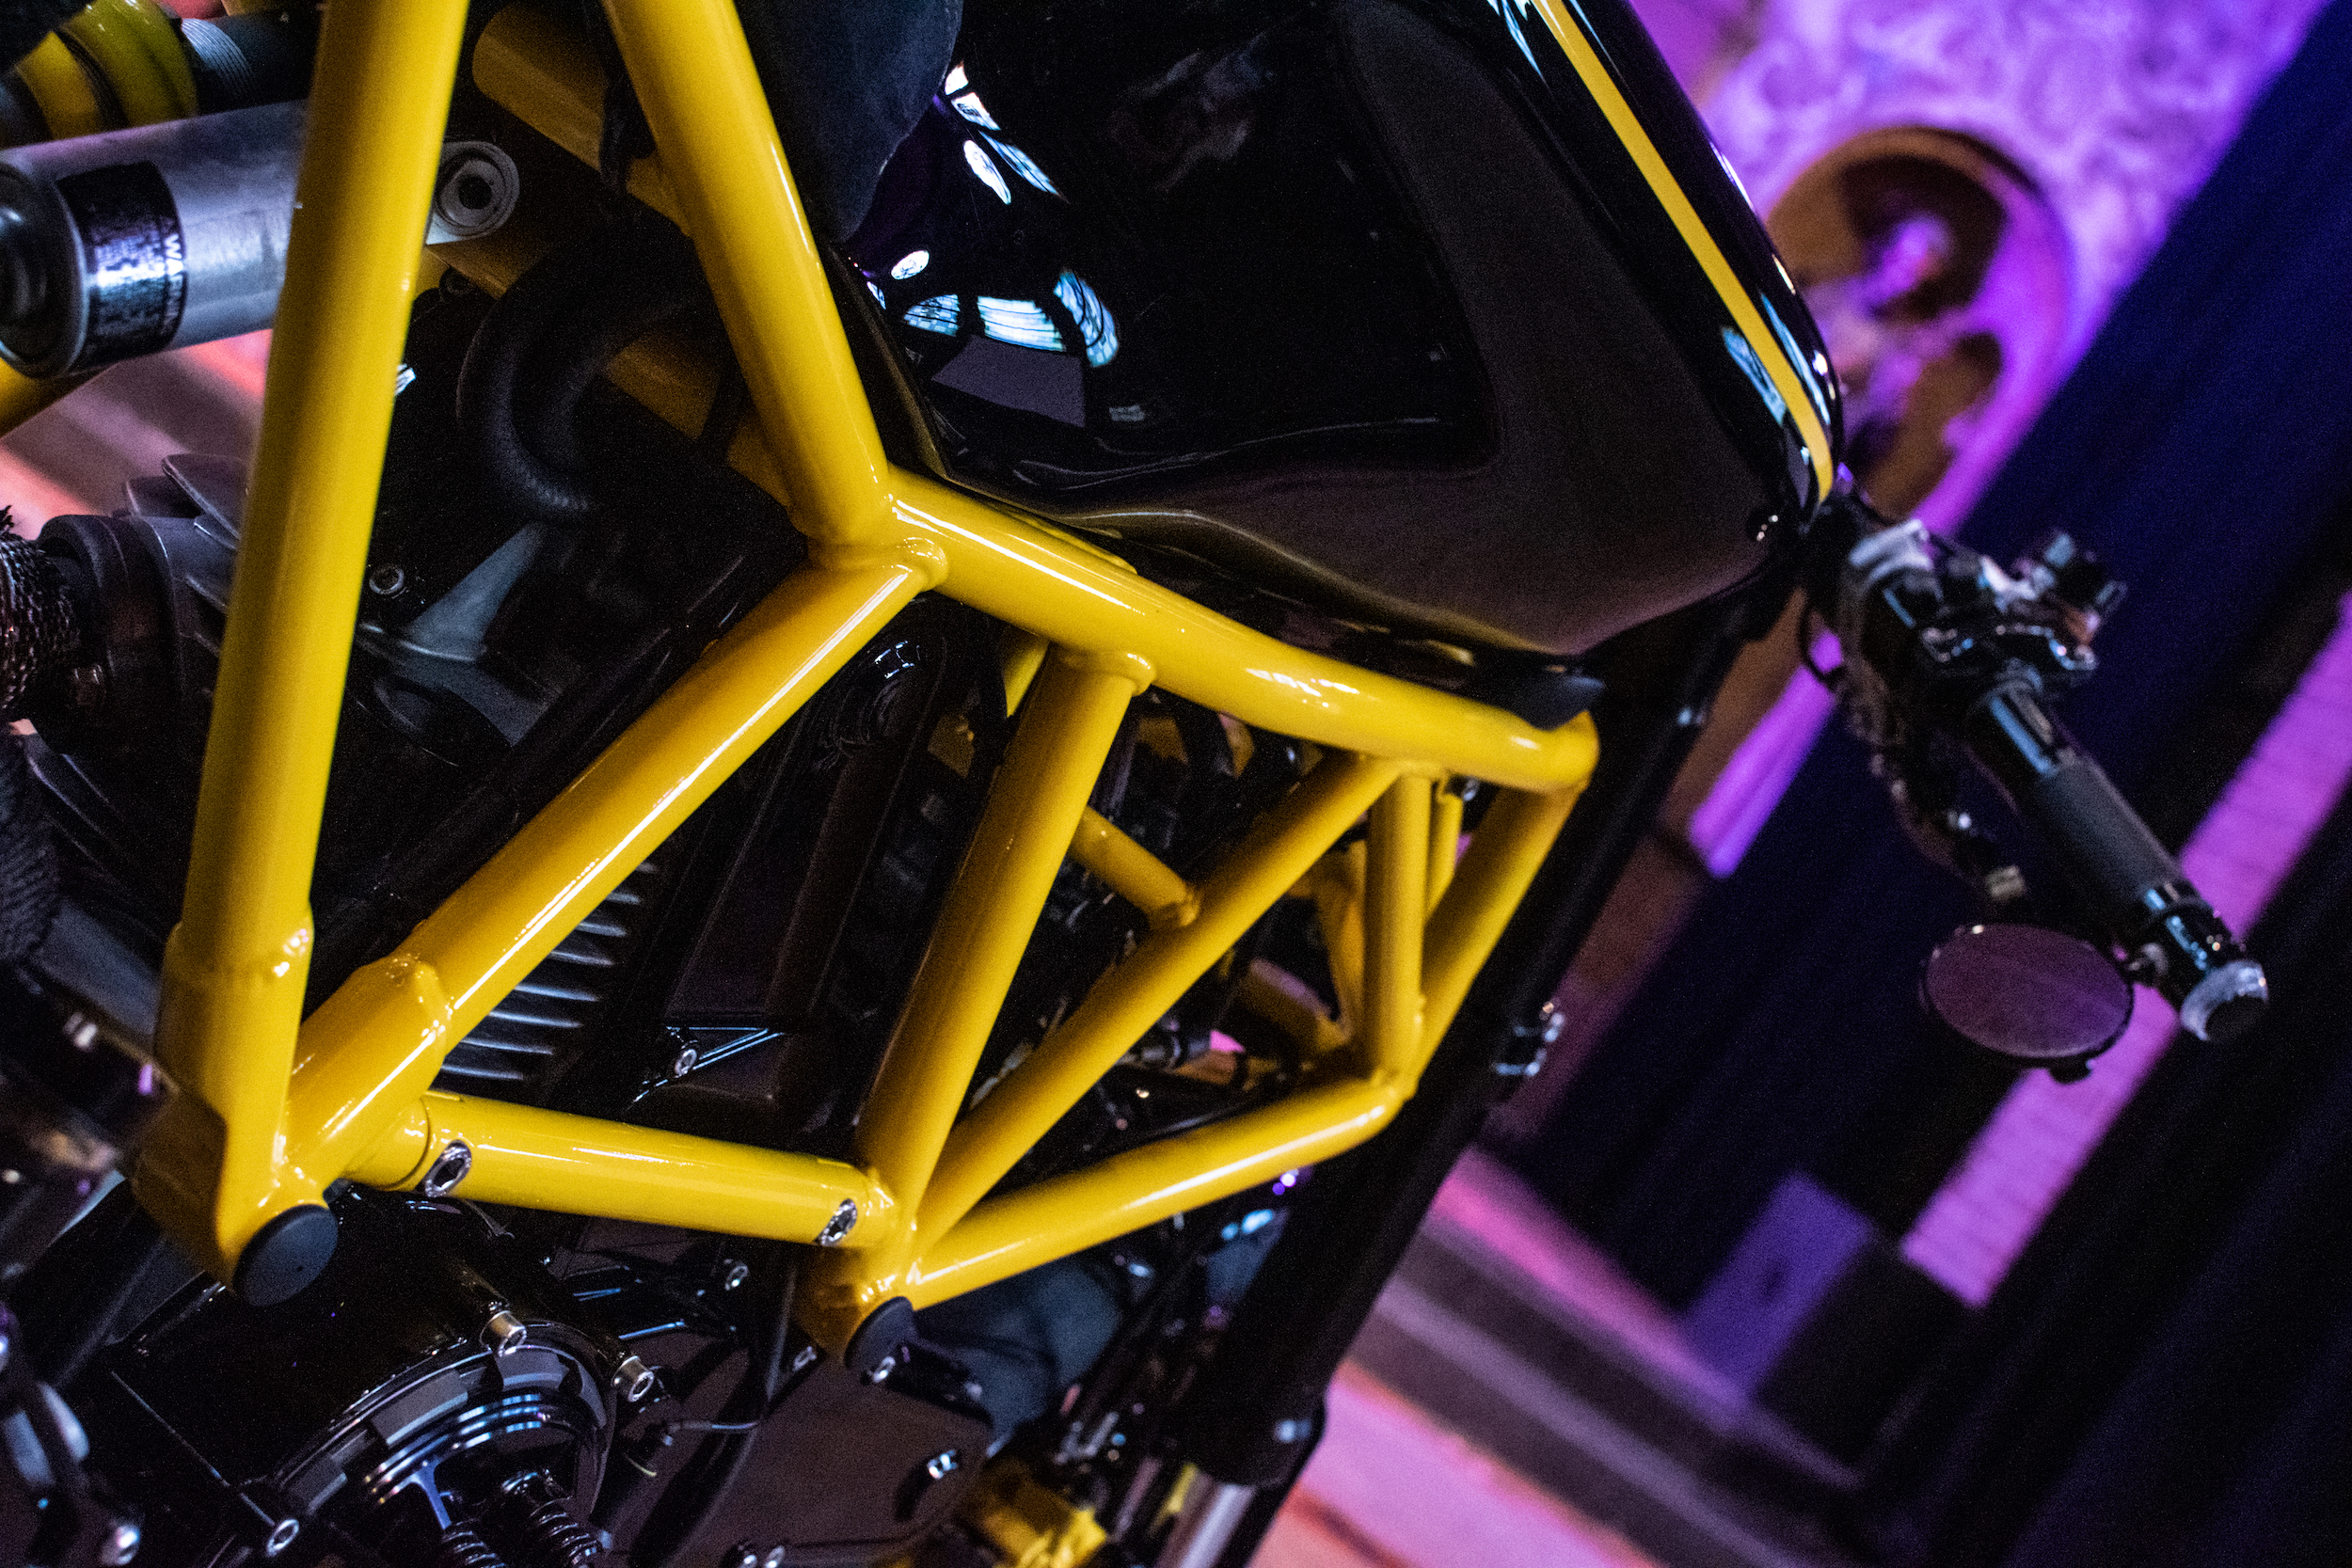
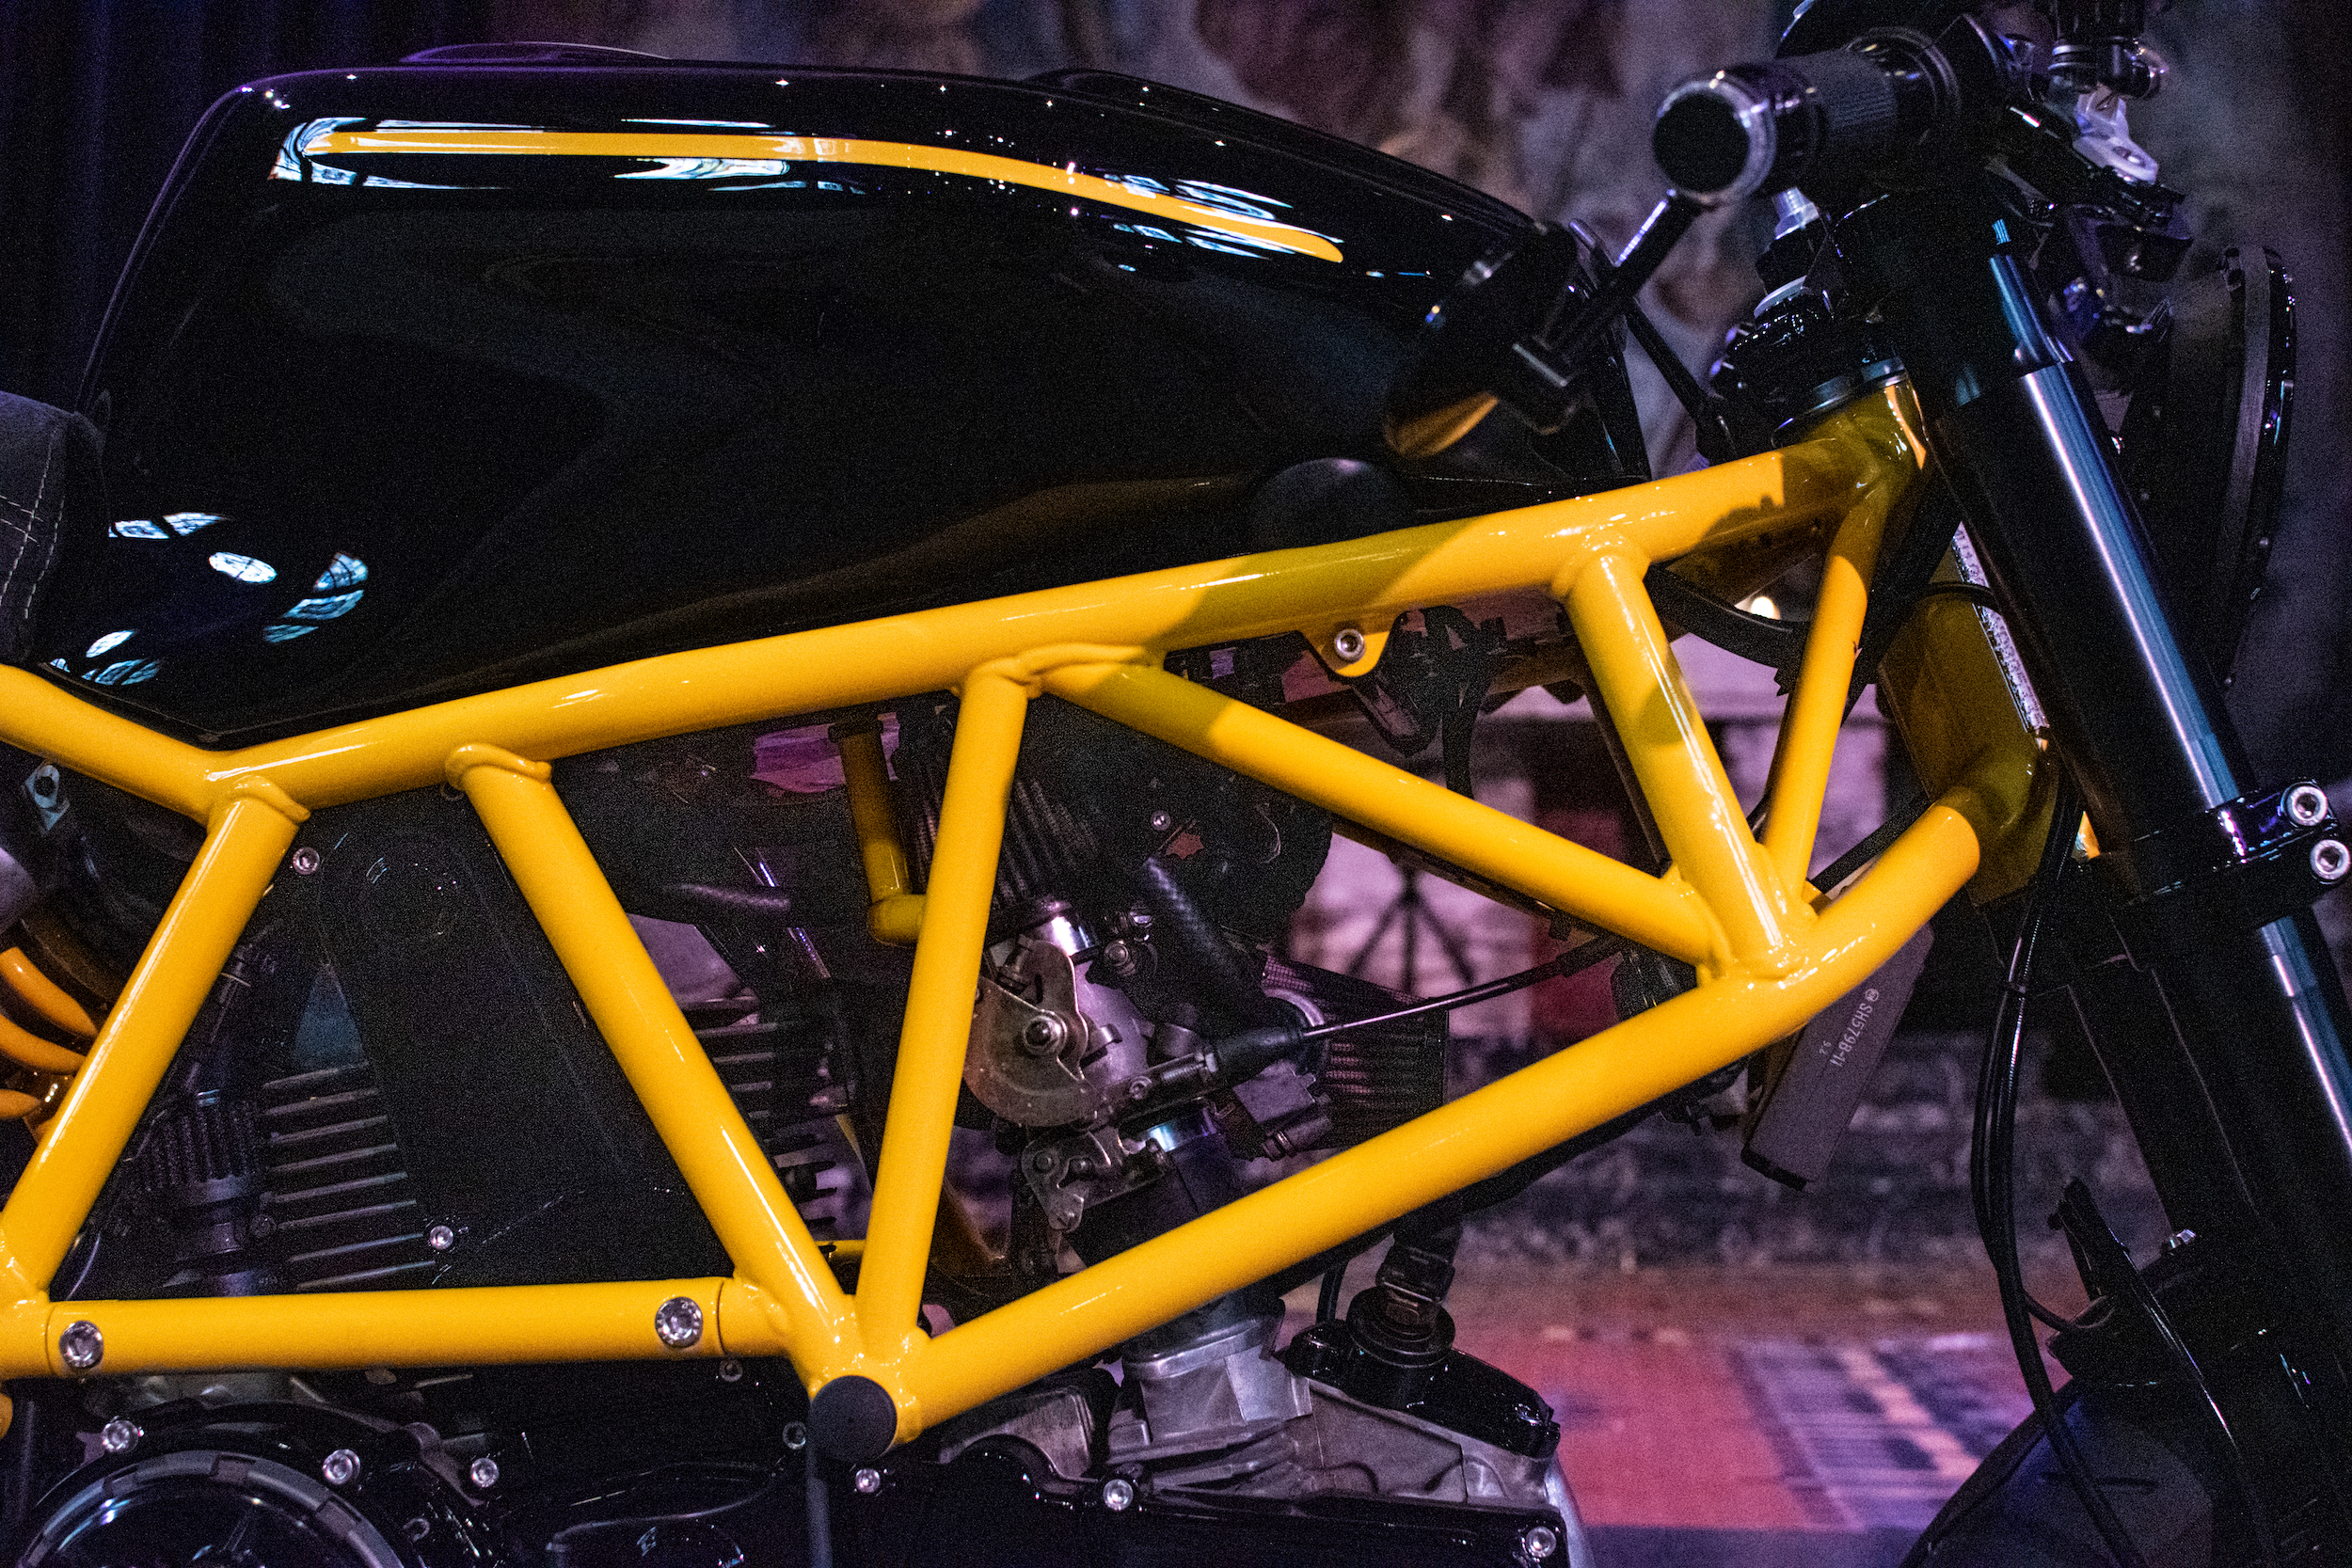
REMOVEABLE FRAME BRACING
I like the look of the inspiration bike with the extra bracing in the frame. Is it functional? Not really sure. I have read that these engines tend to crack at the frame mount bolt, so i think some extra bracing cant hurt.
First time working on a mill btw. Loved it!
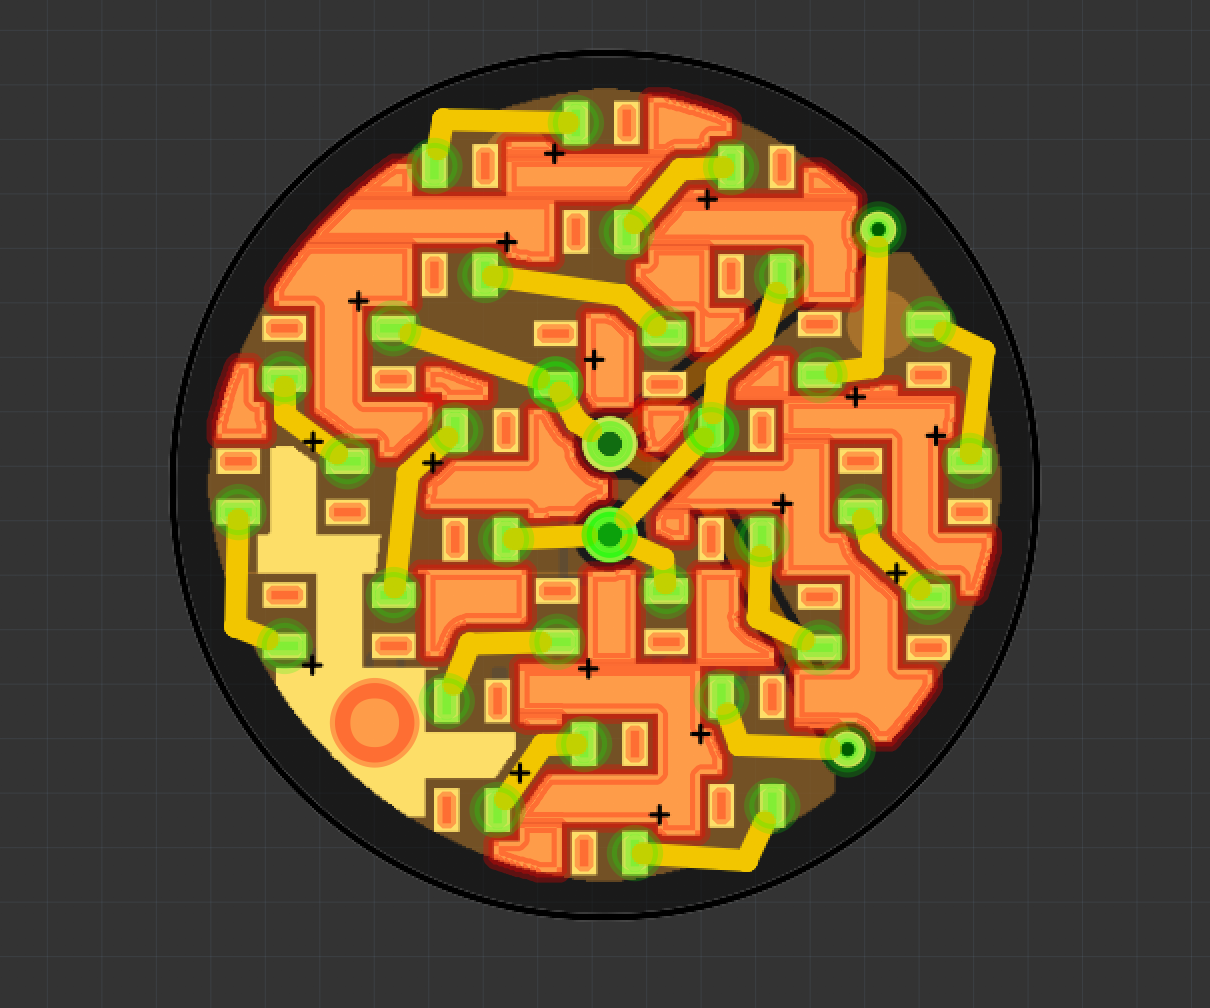
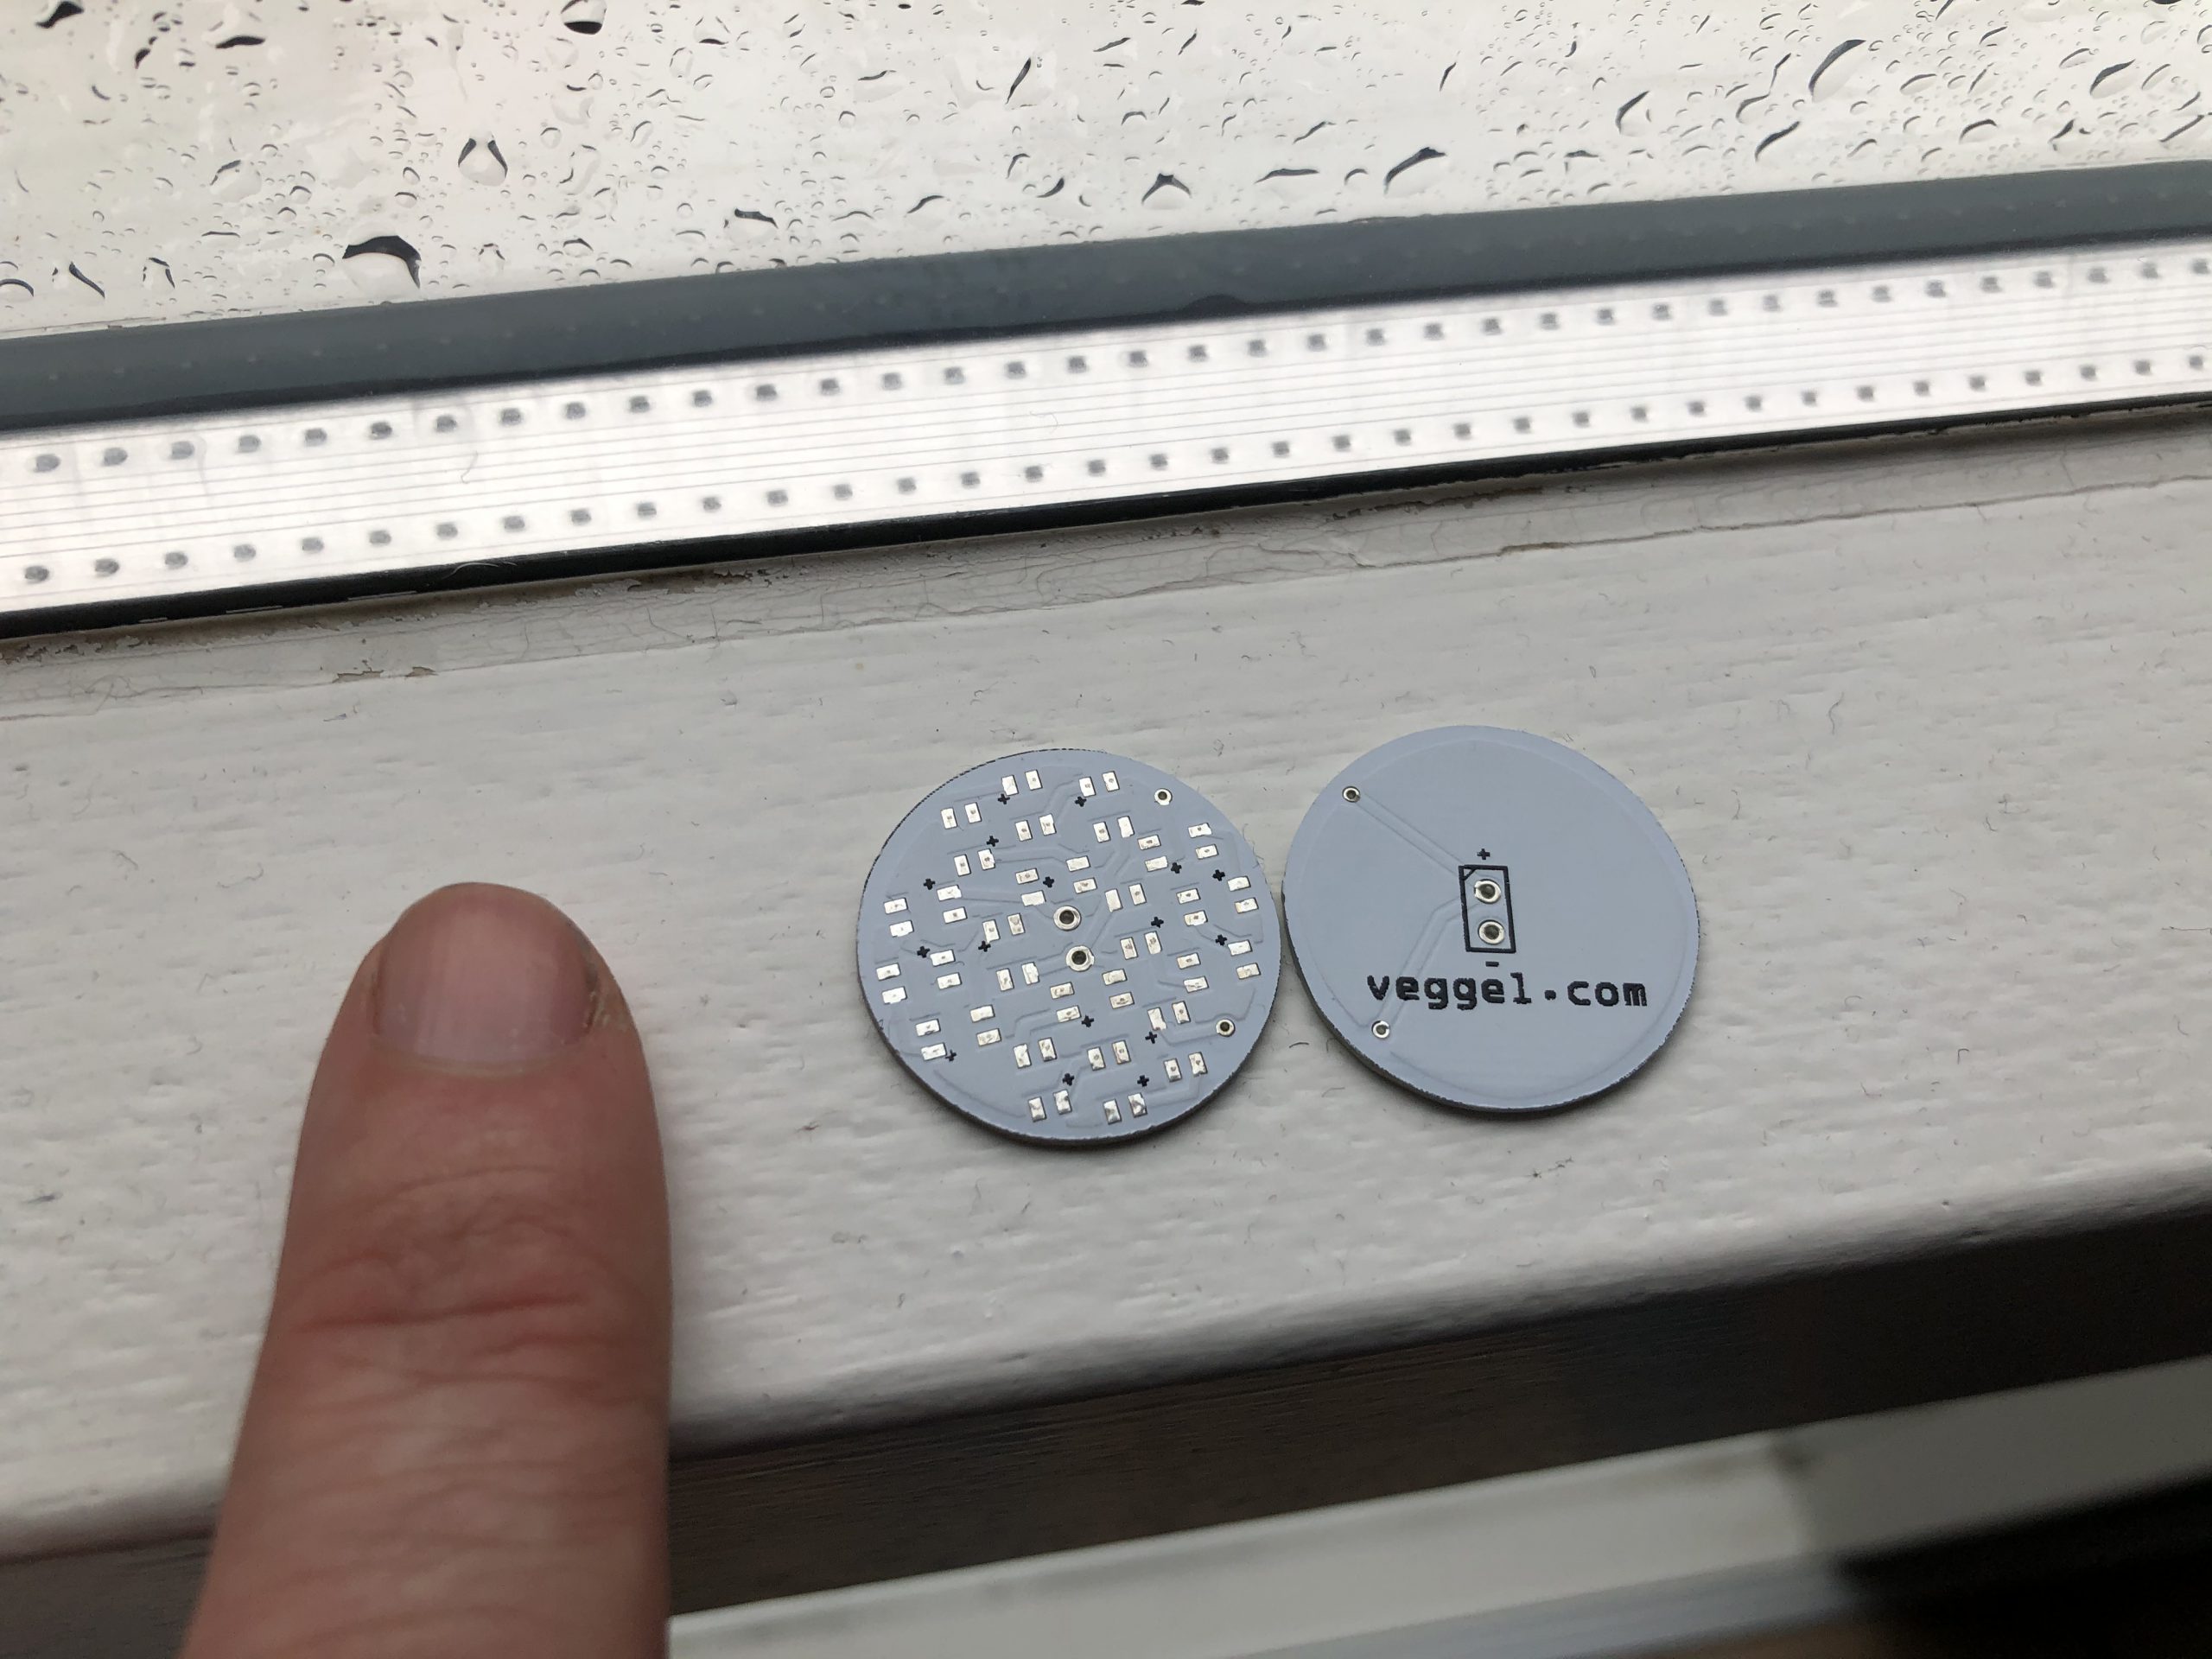
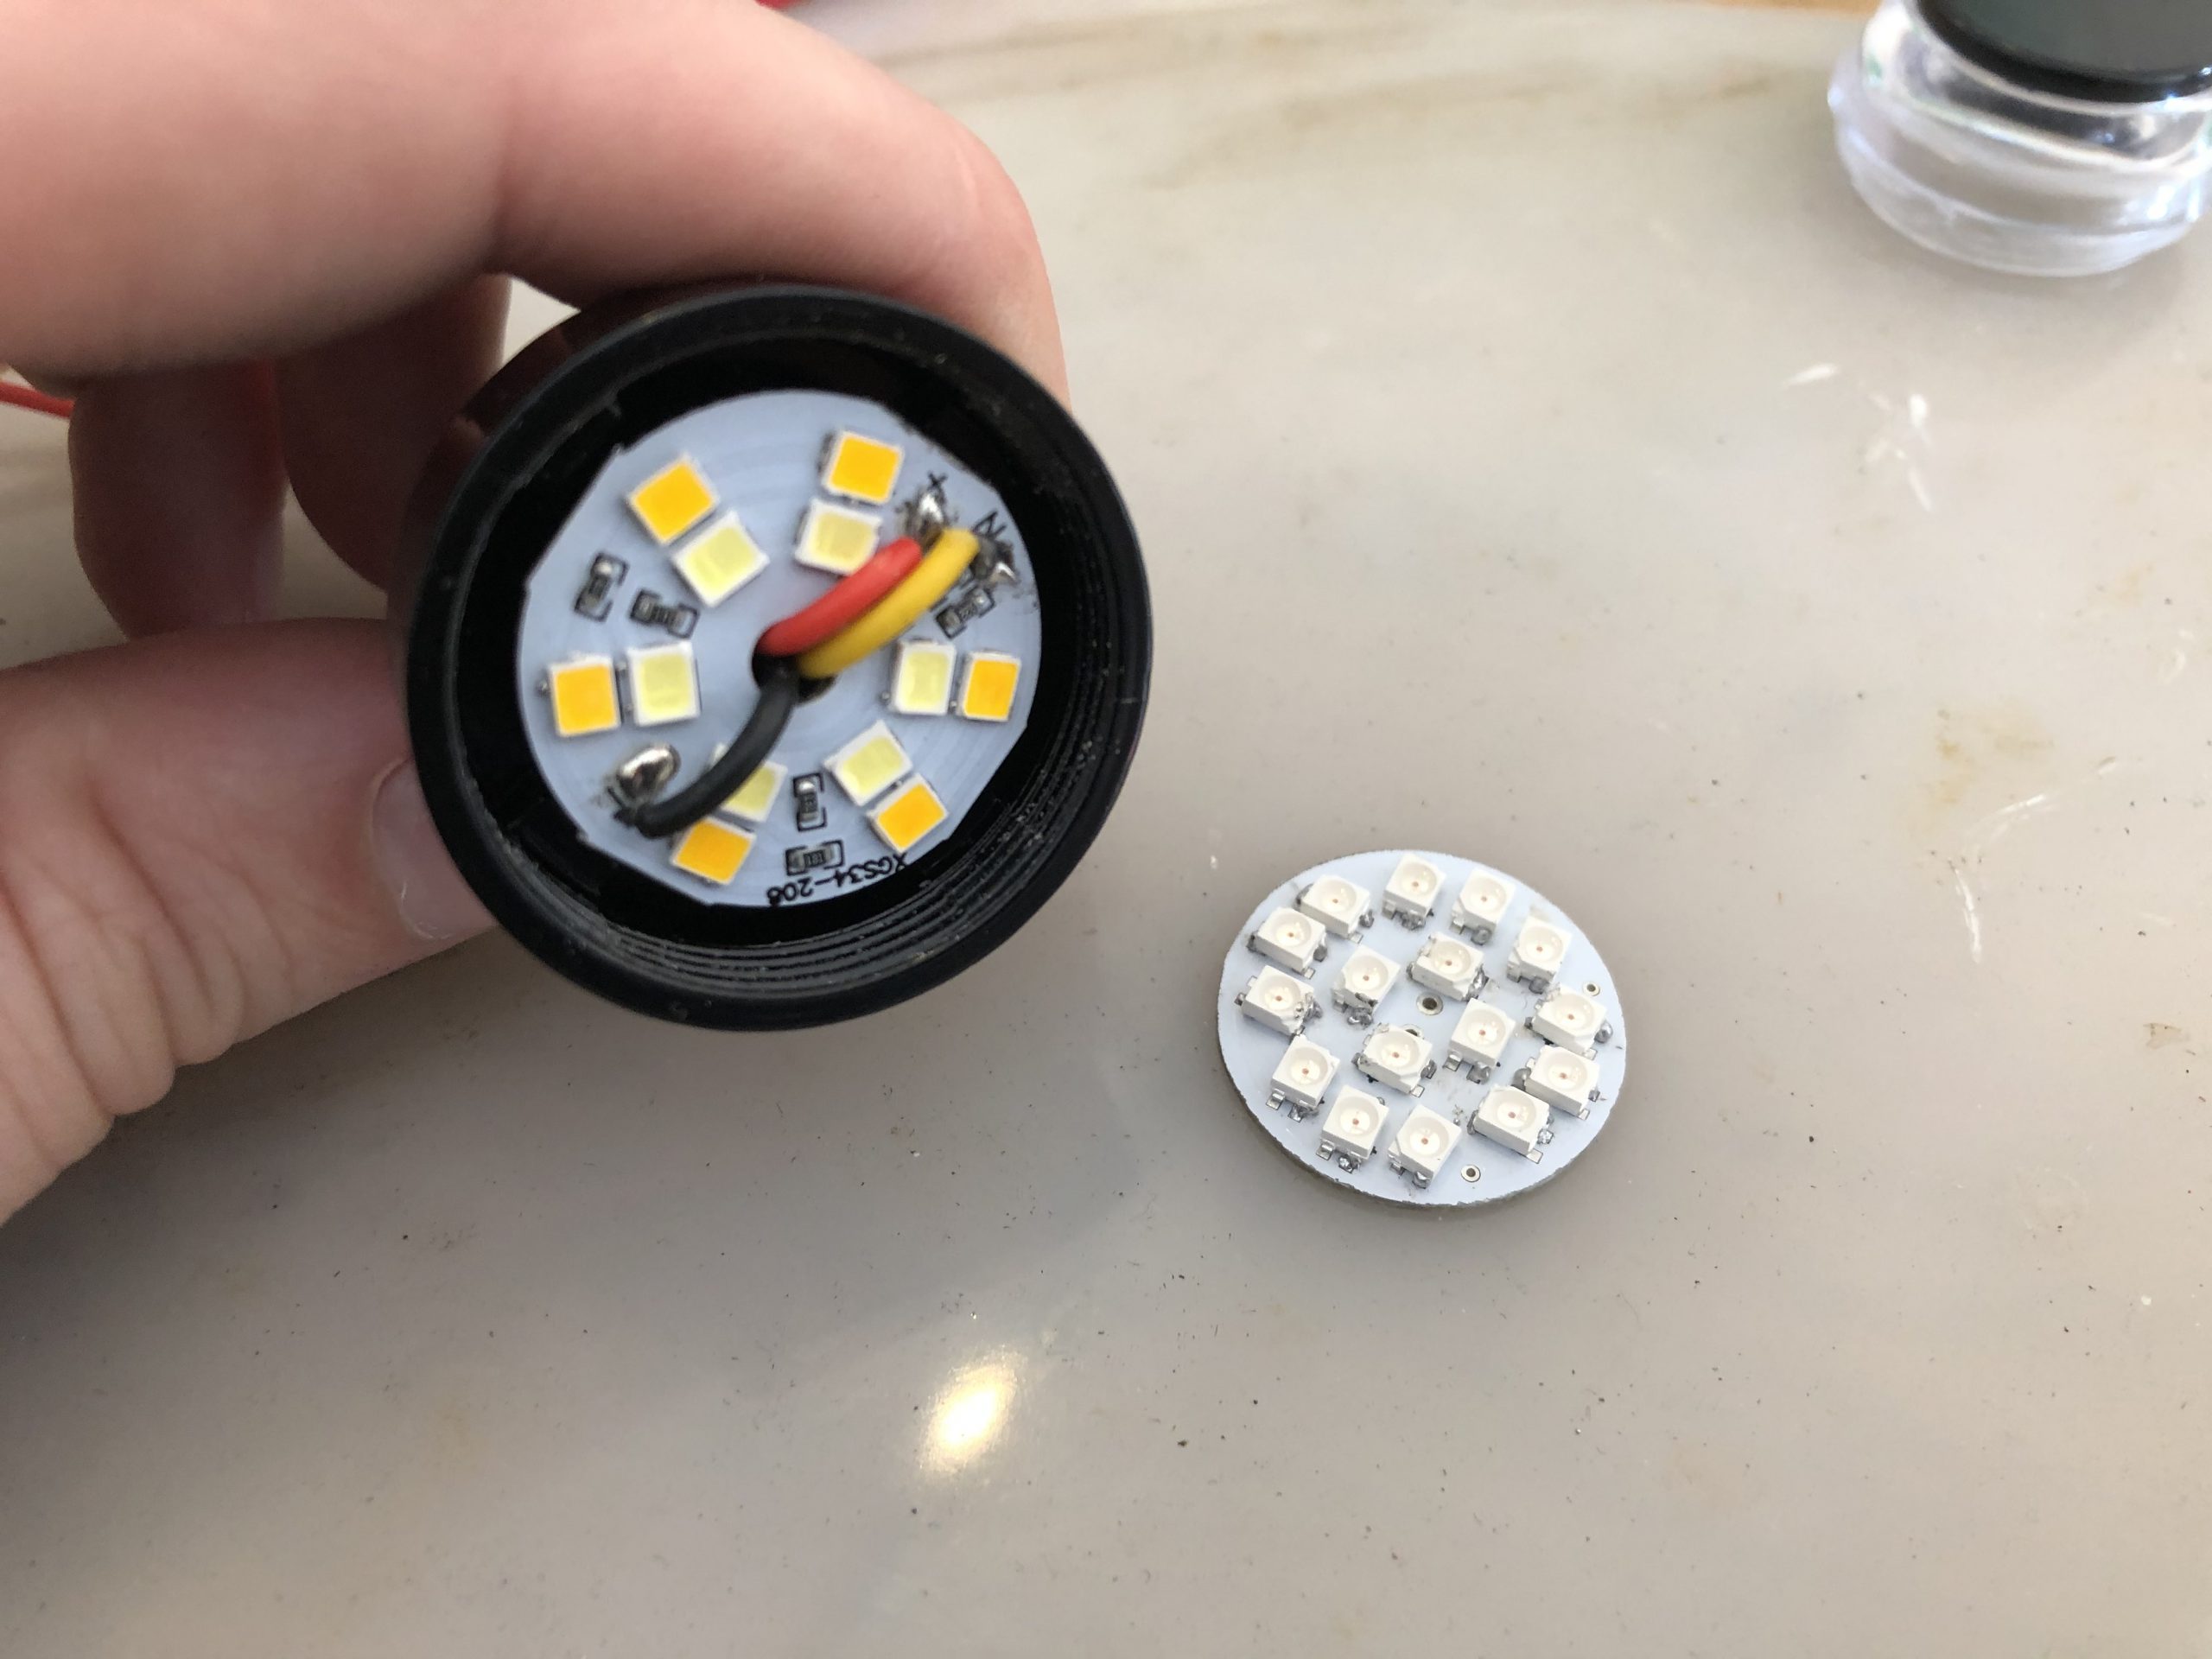
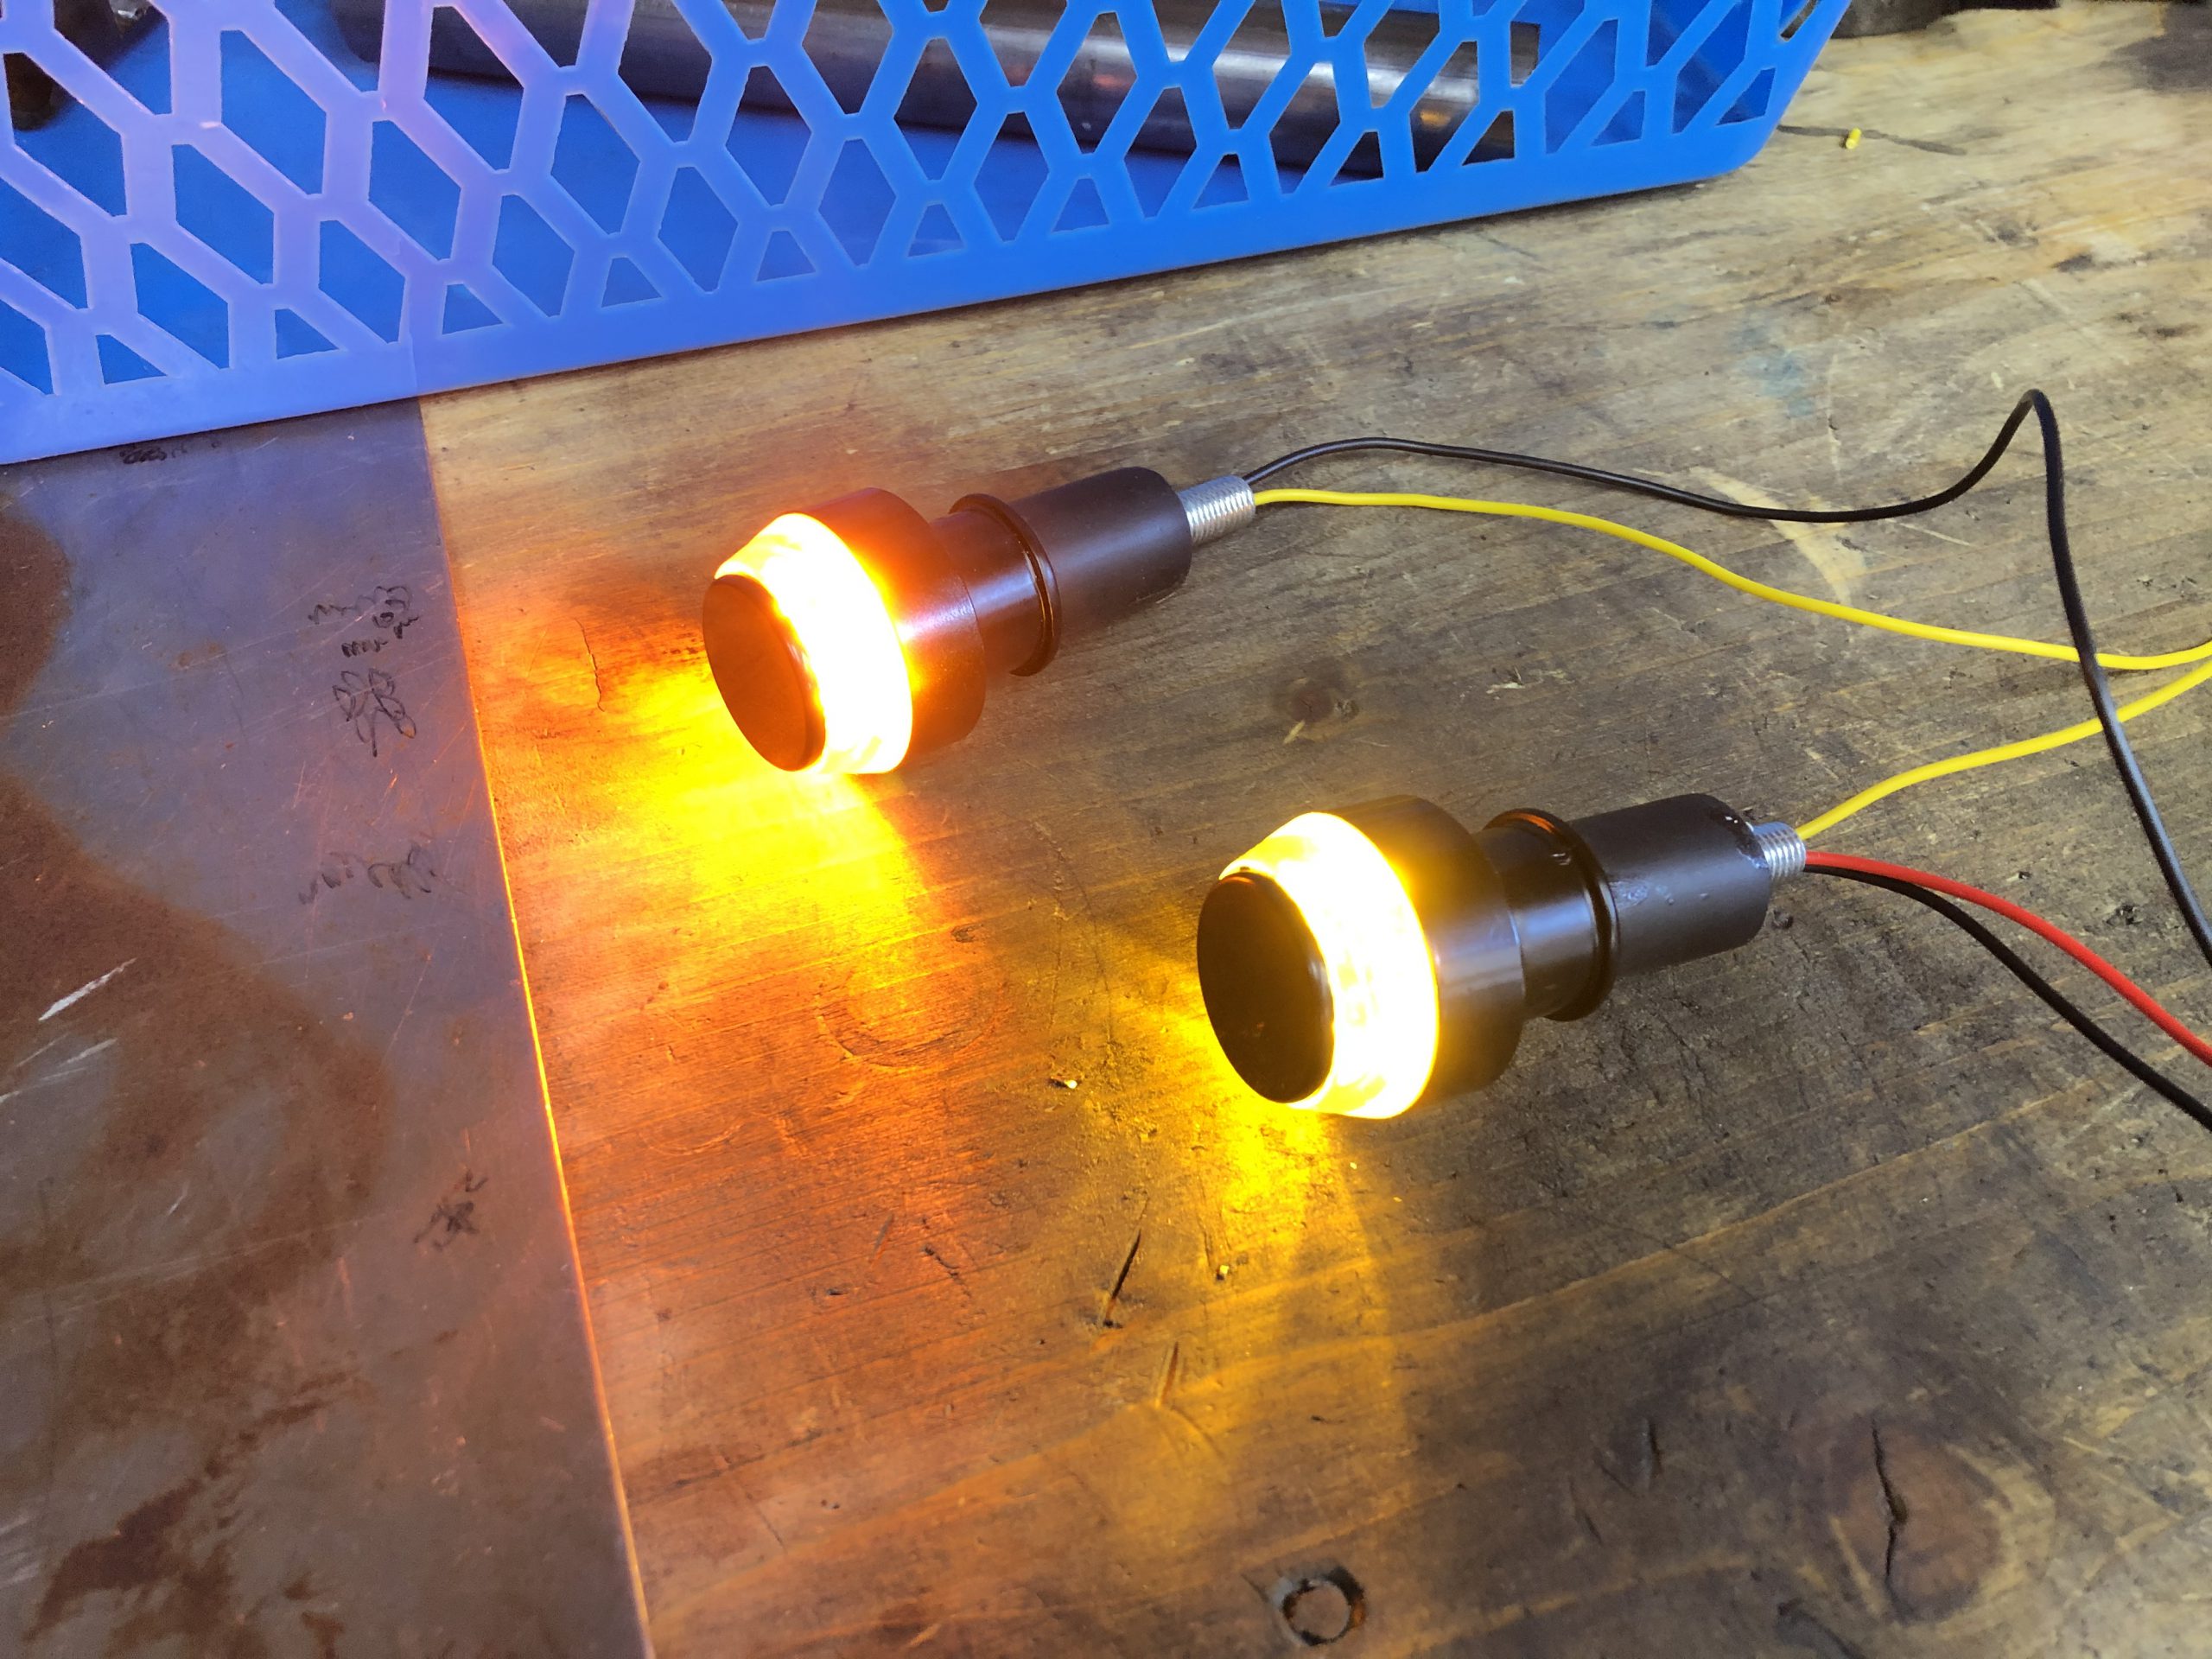
TURN SIGNAL IMPROVEMENT
I want to mount bar end turn signals. However didnt want to break my bank so i got some from our Chinese friends. However the brightness sucks! So i designed some new pcb’s and massively increased the brightness.
Video doesnt do it justice. Left, old – Right, new.
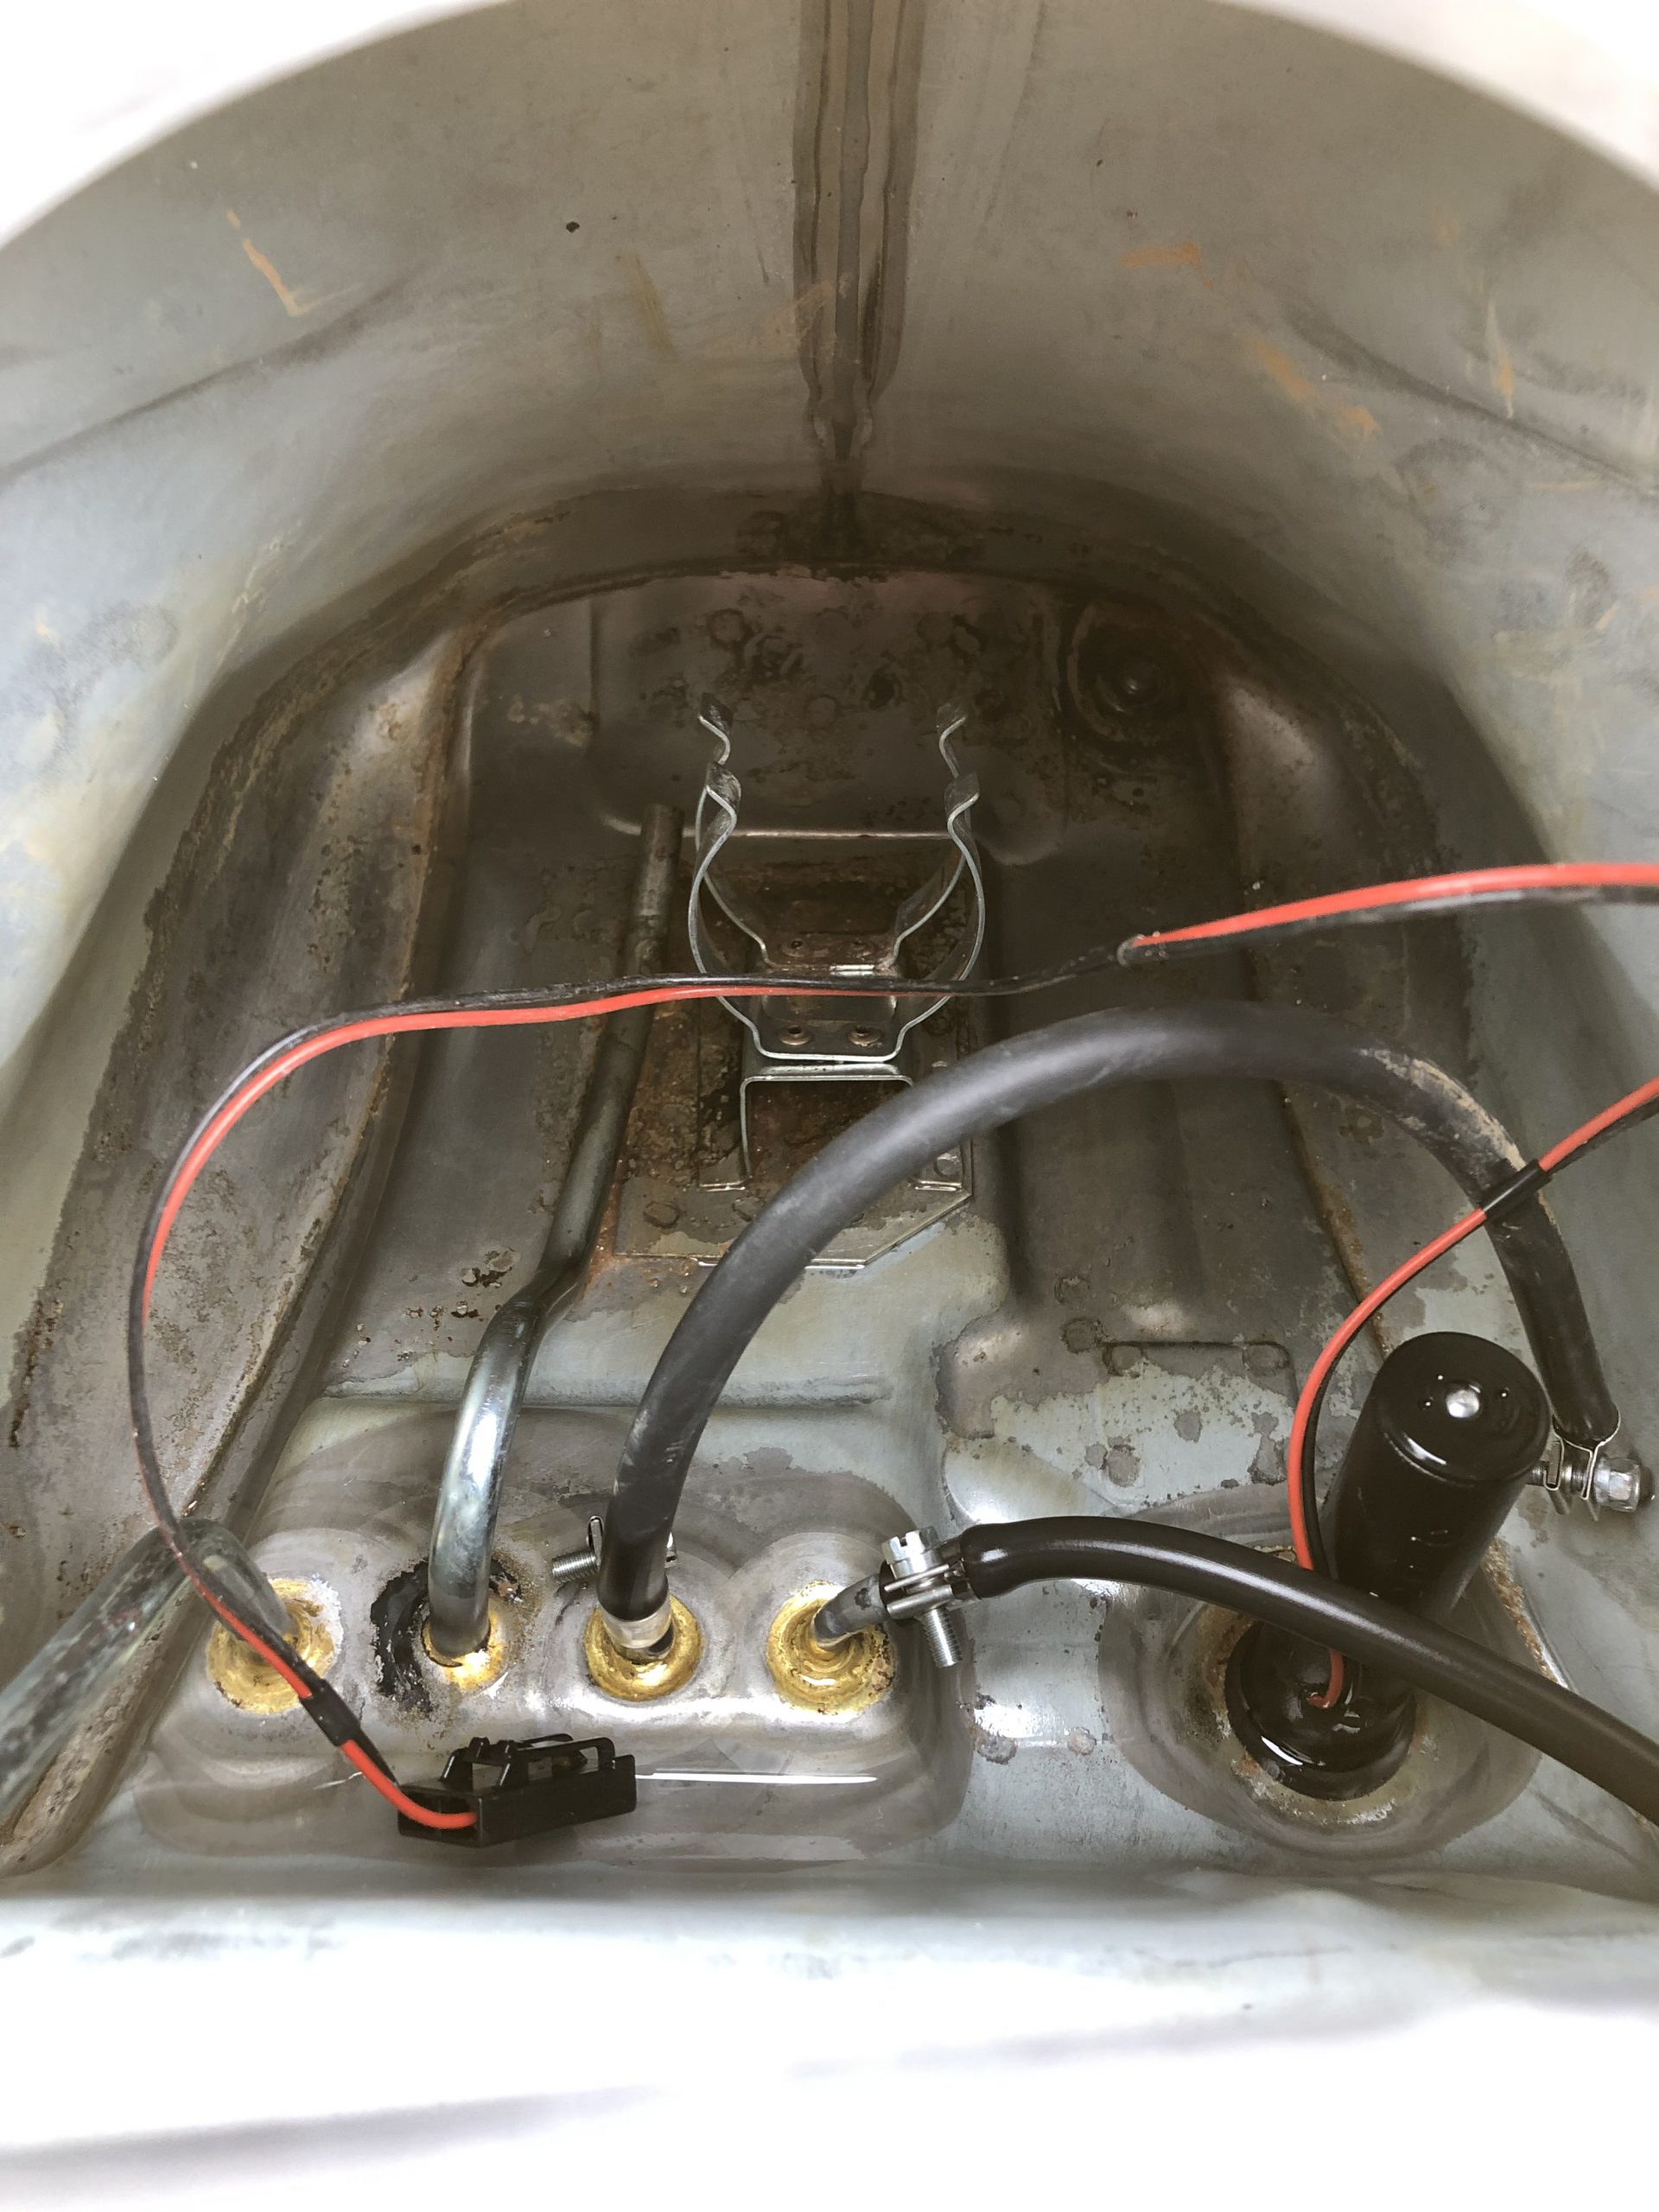
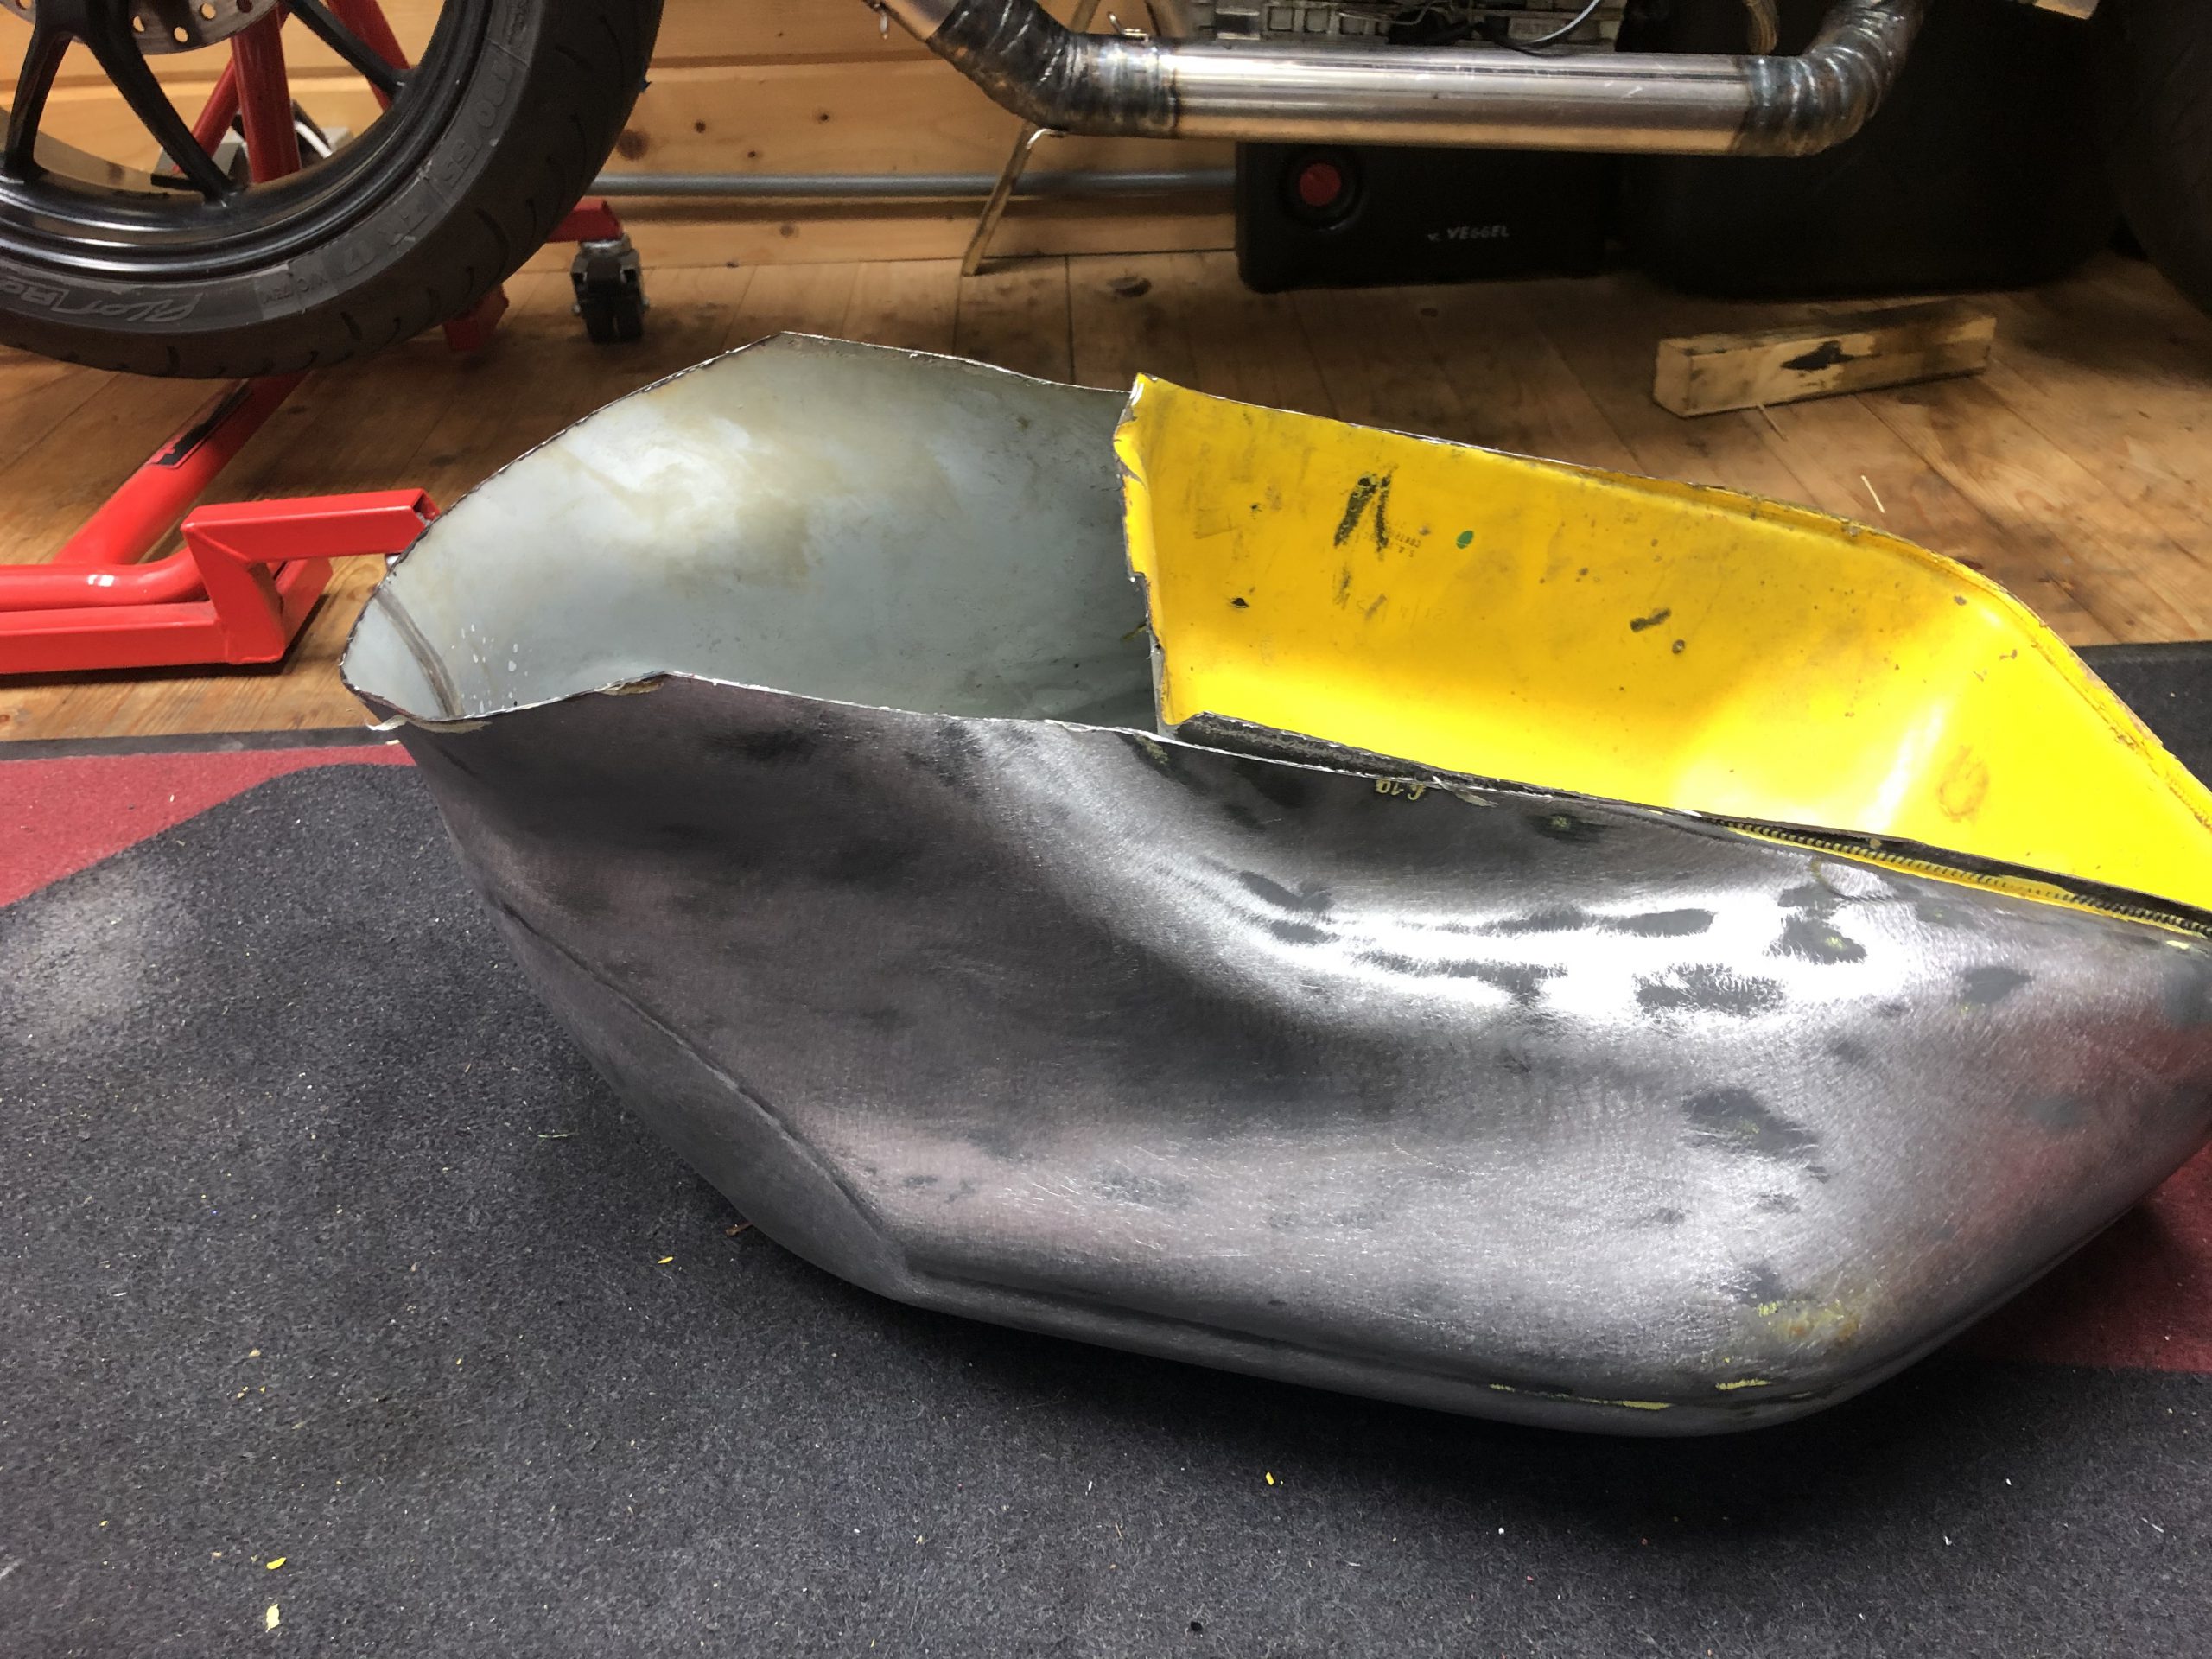
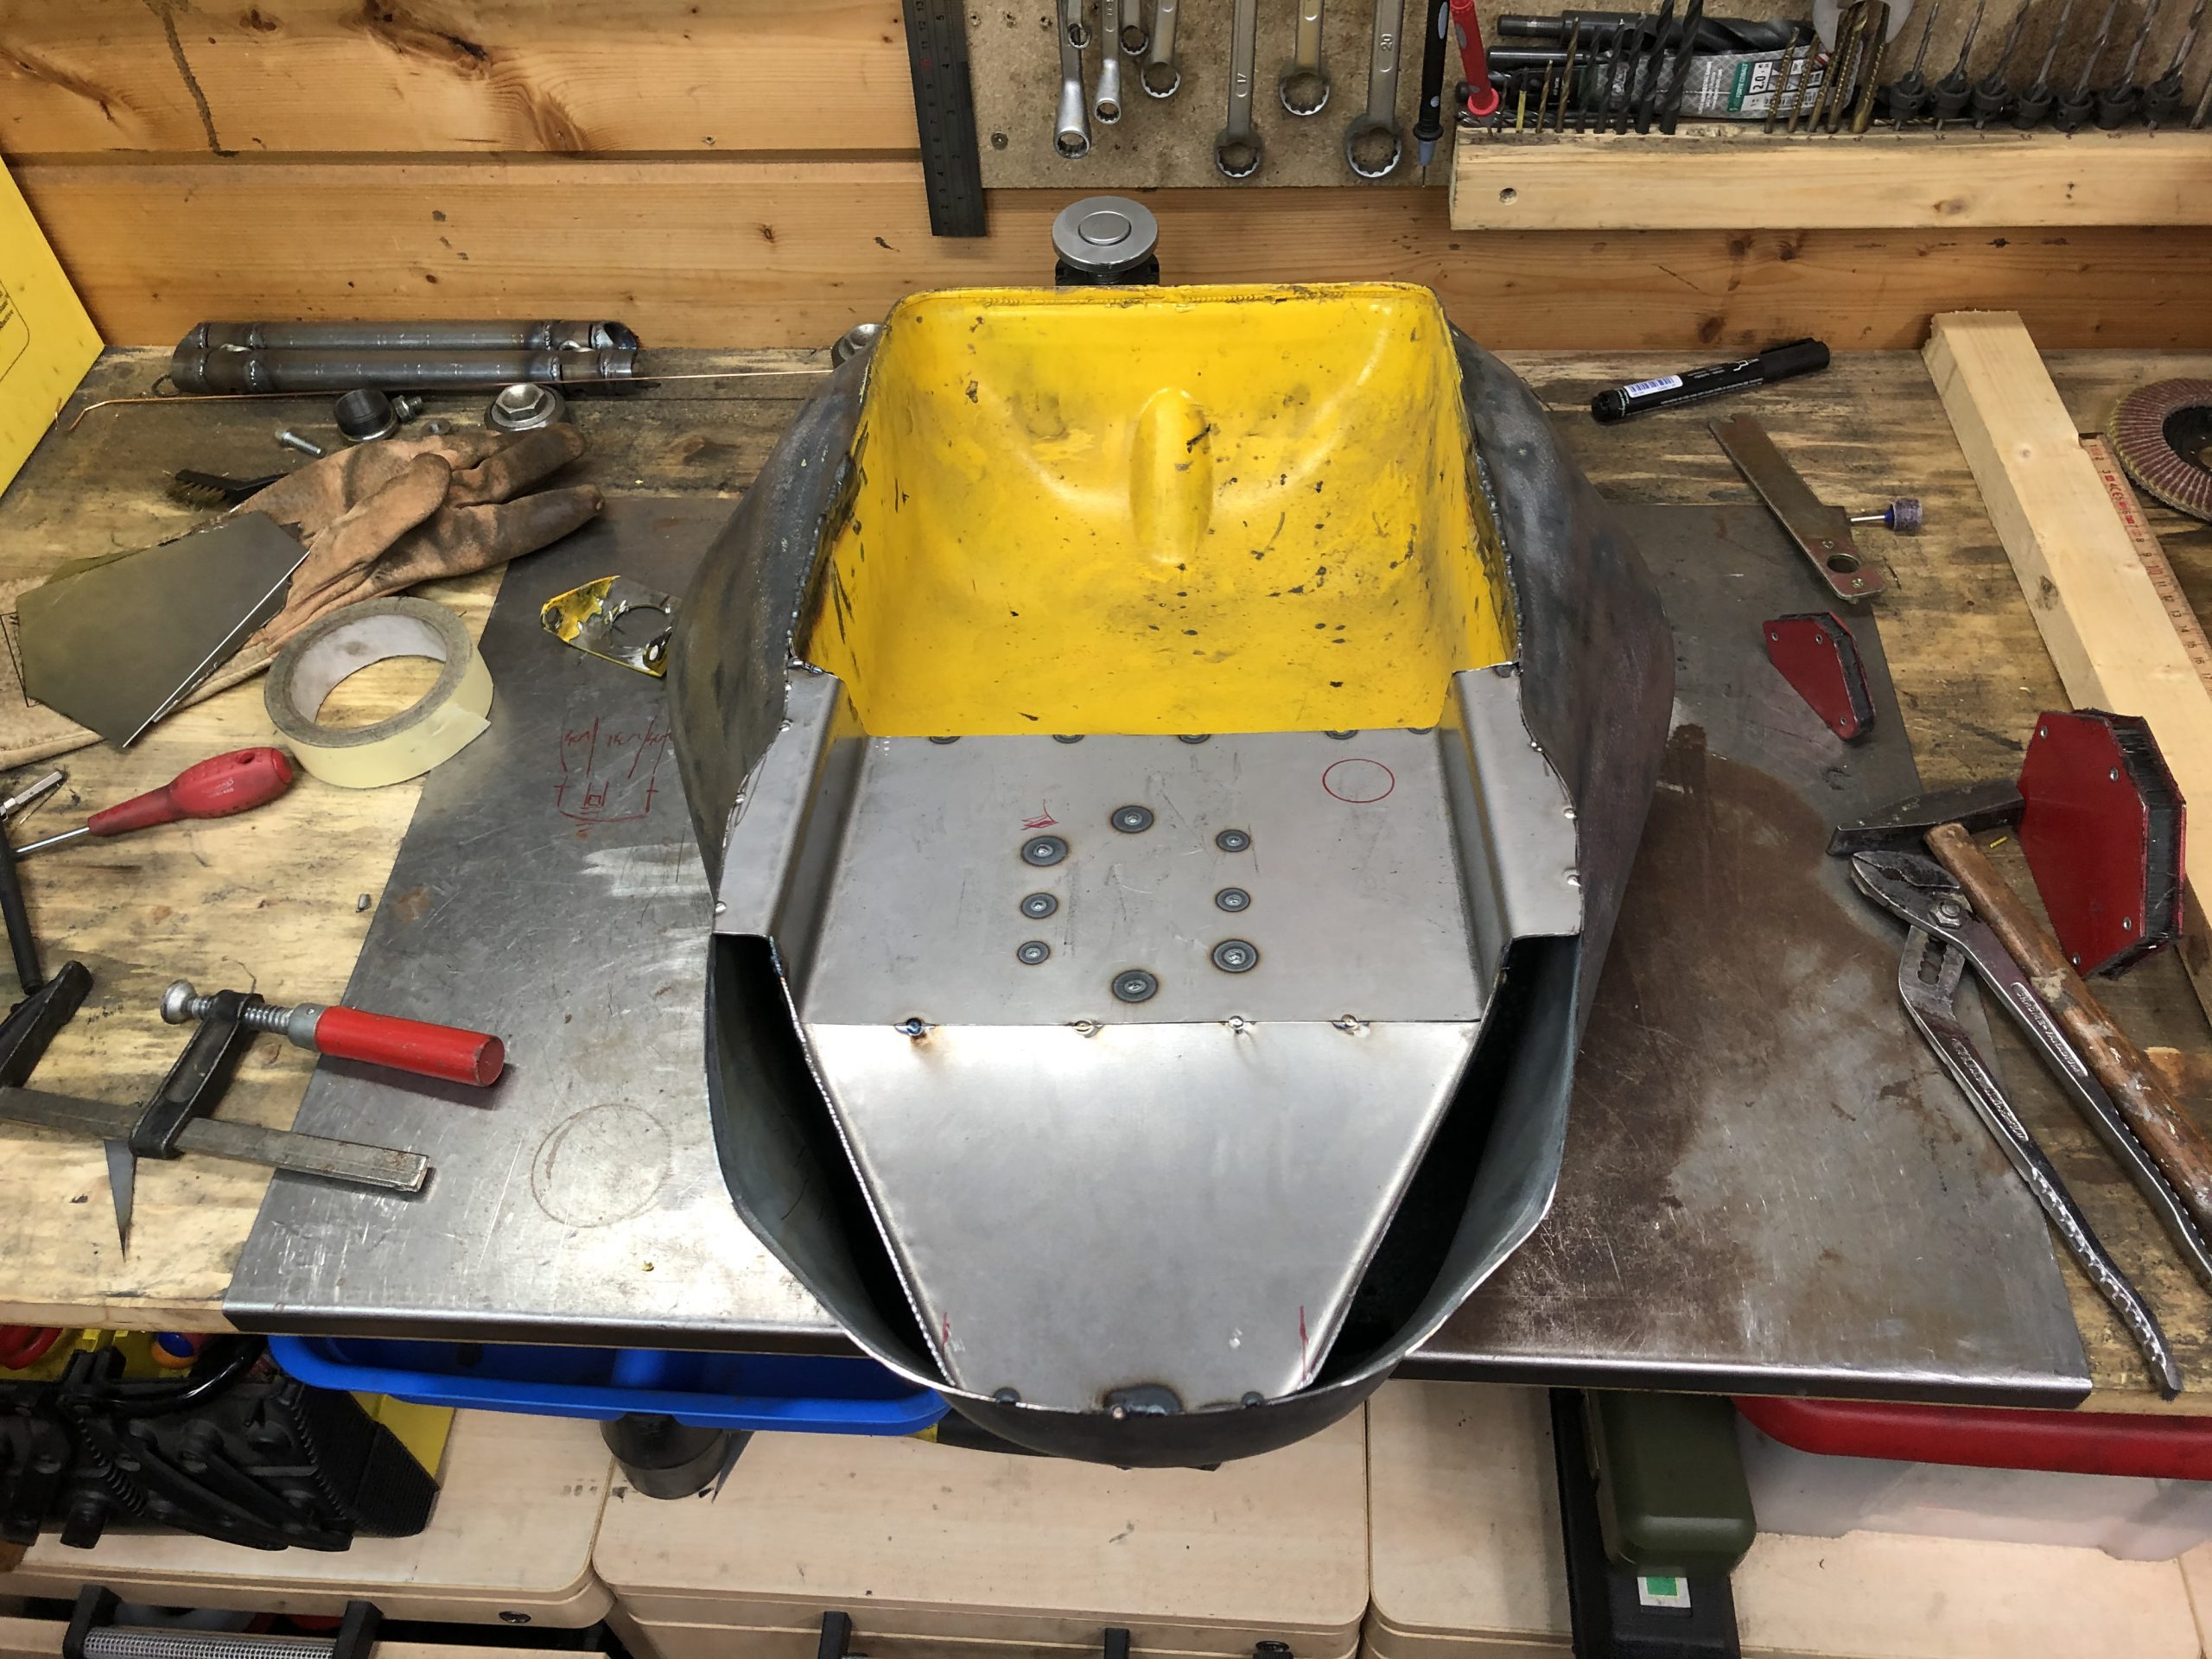
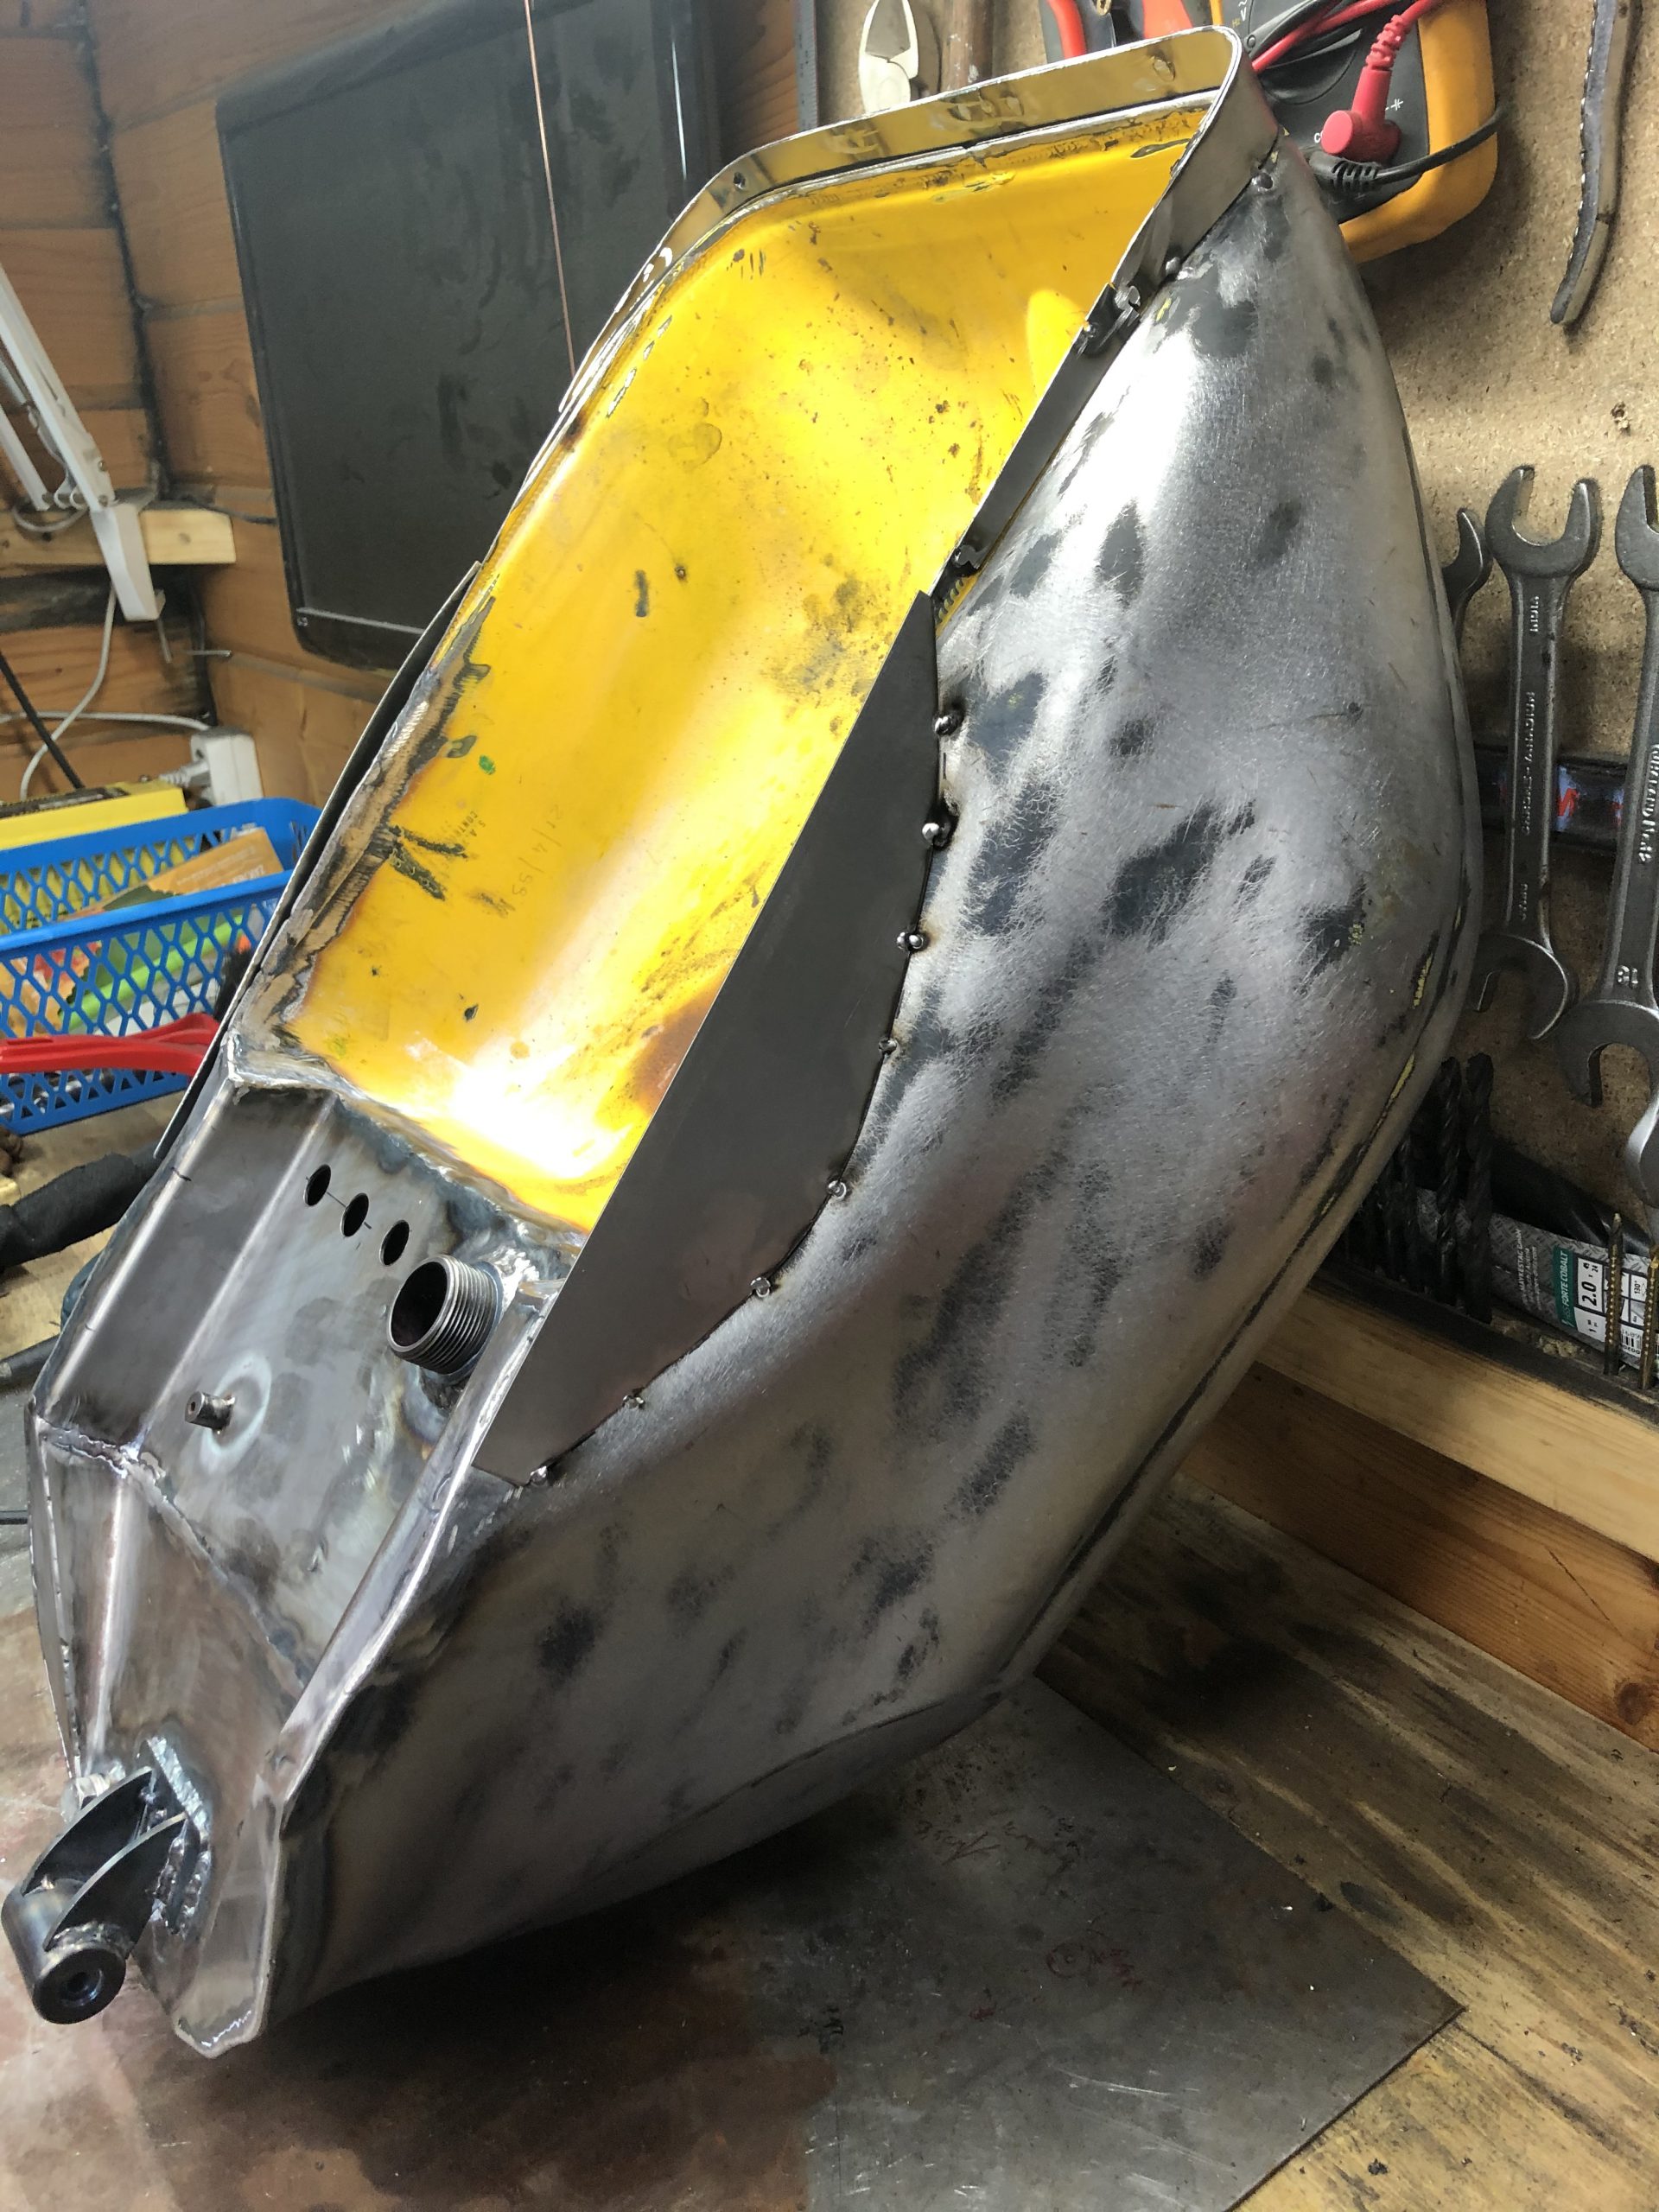
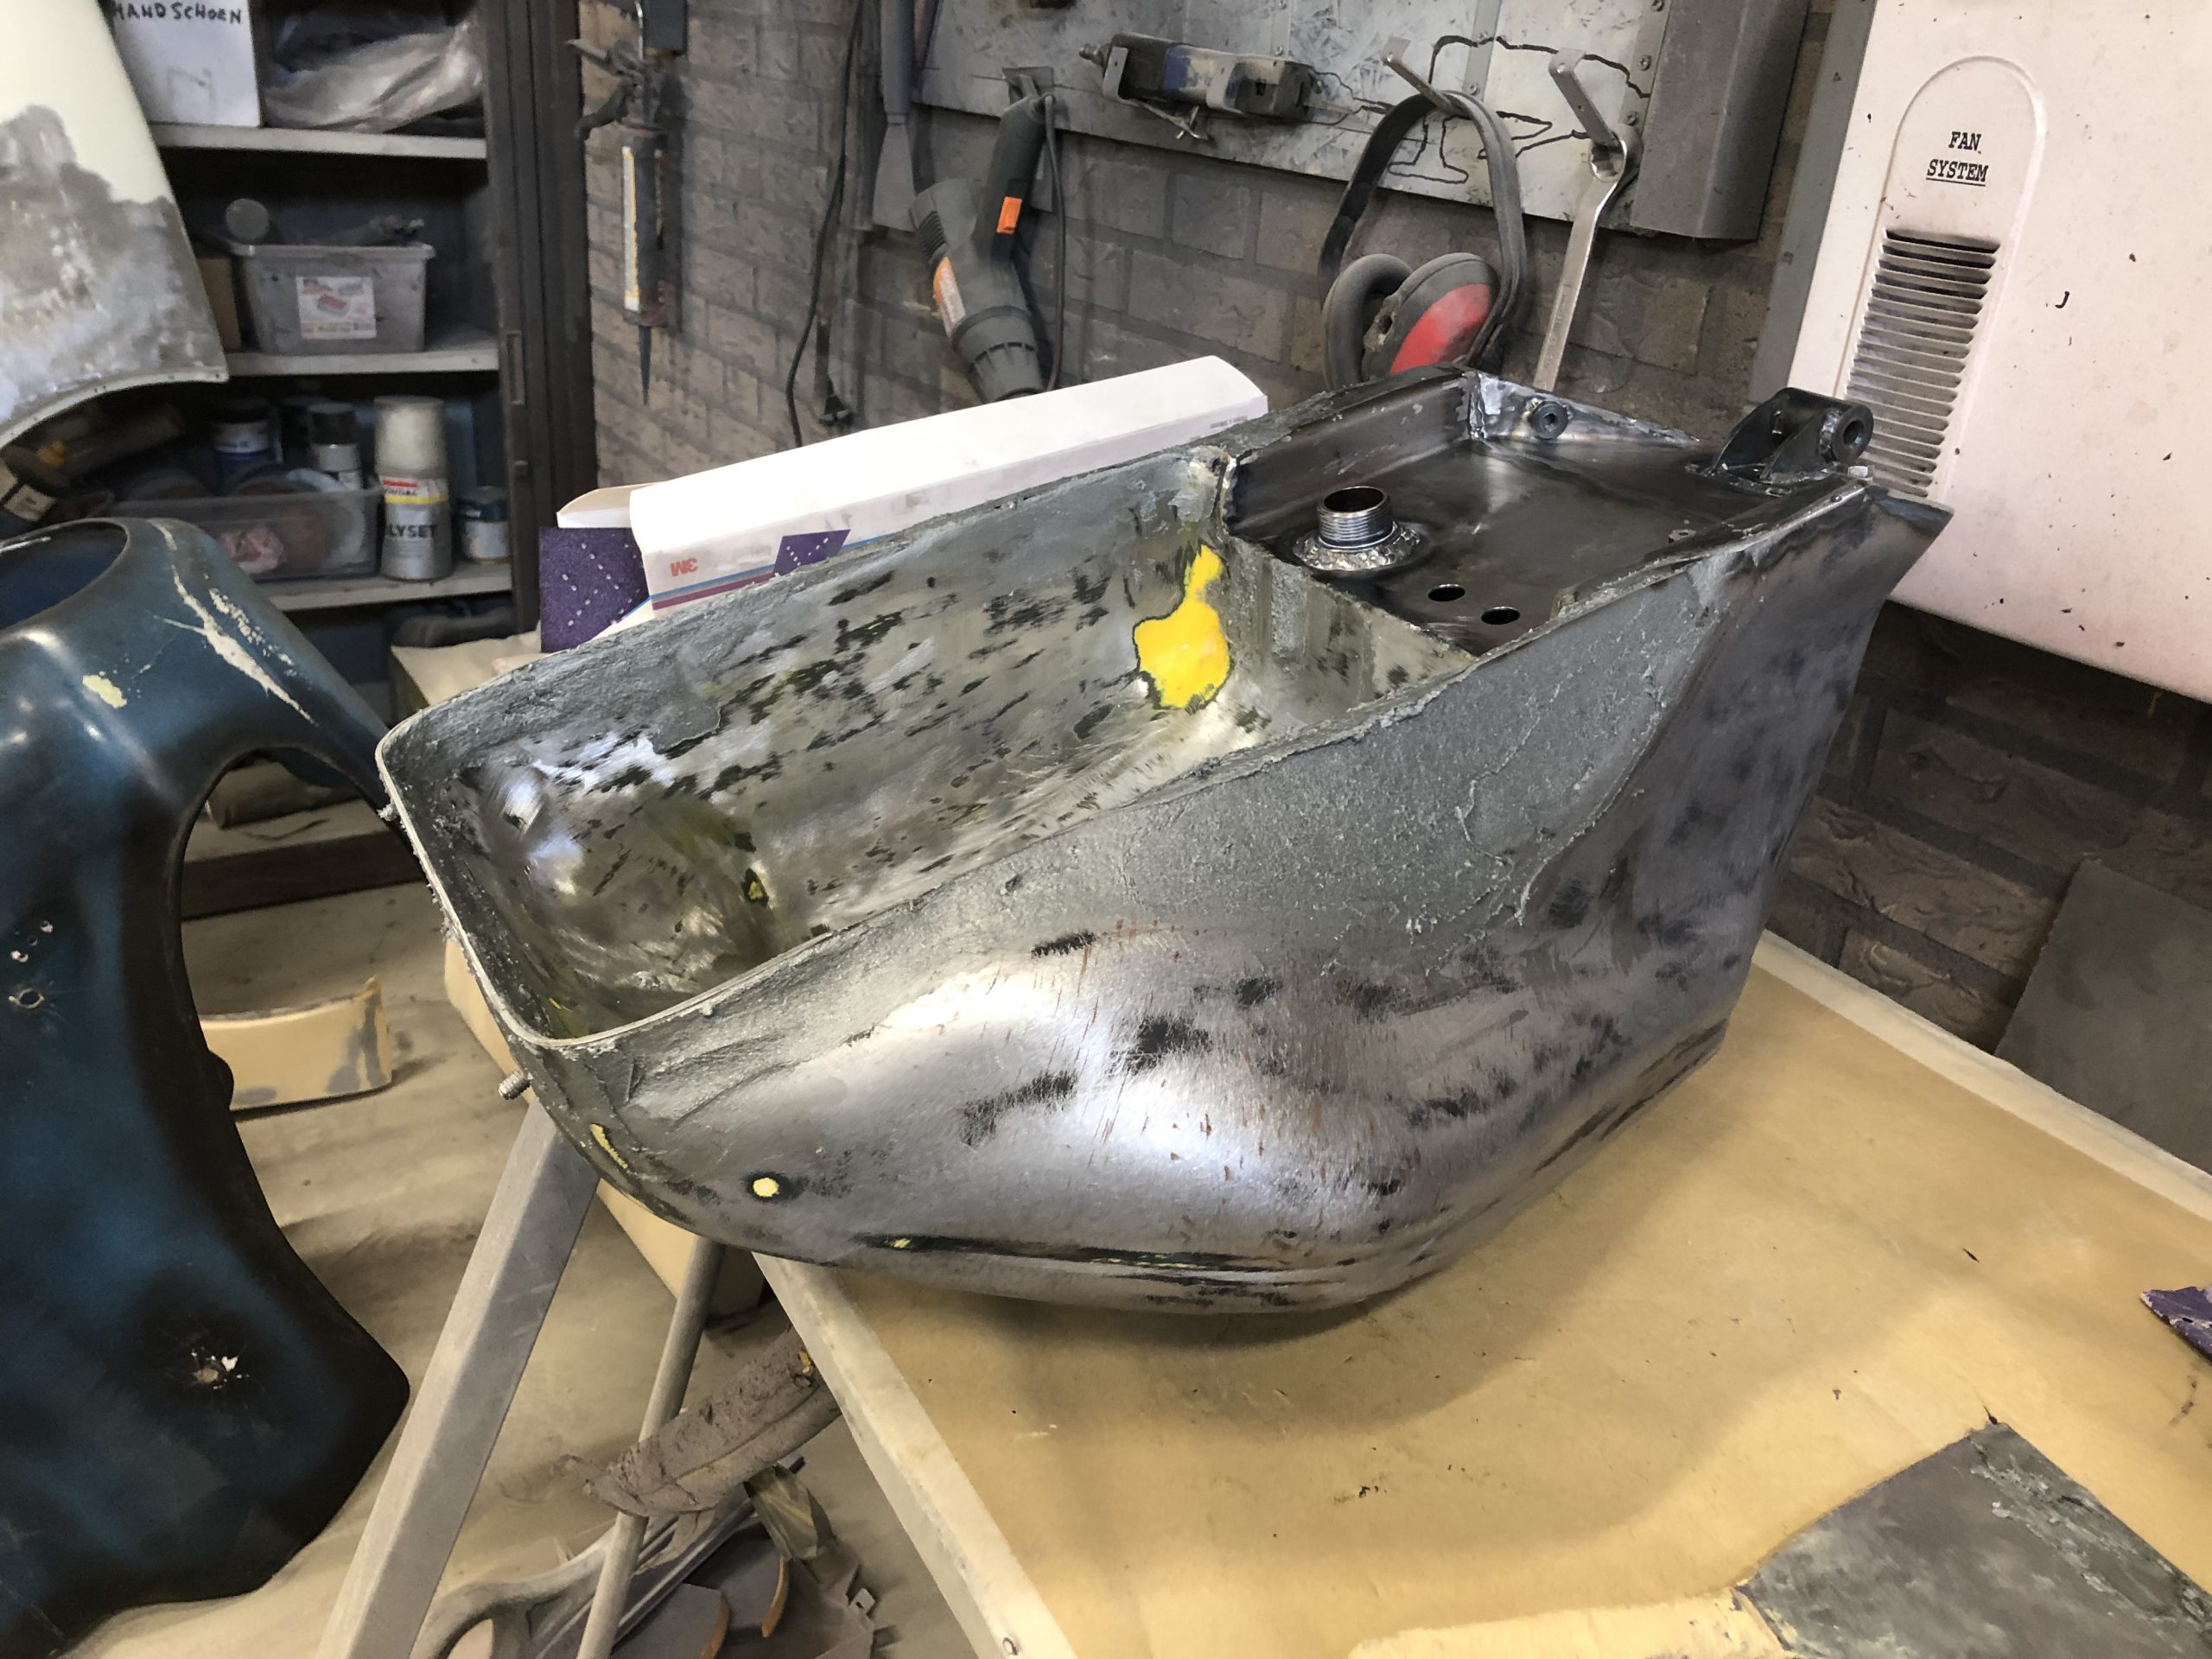
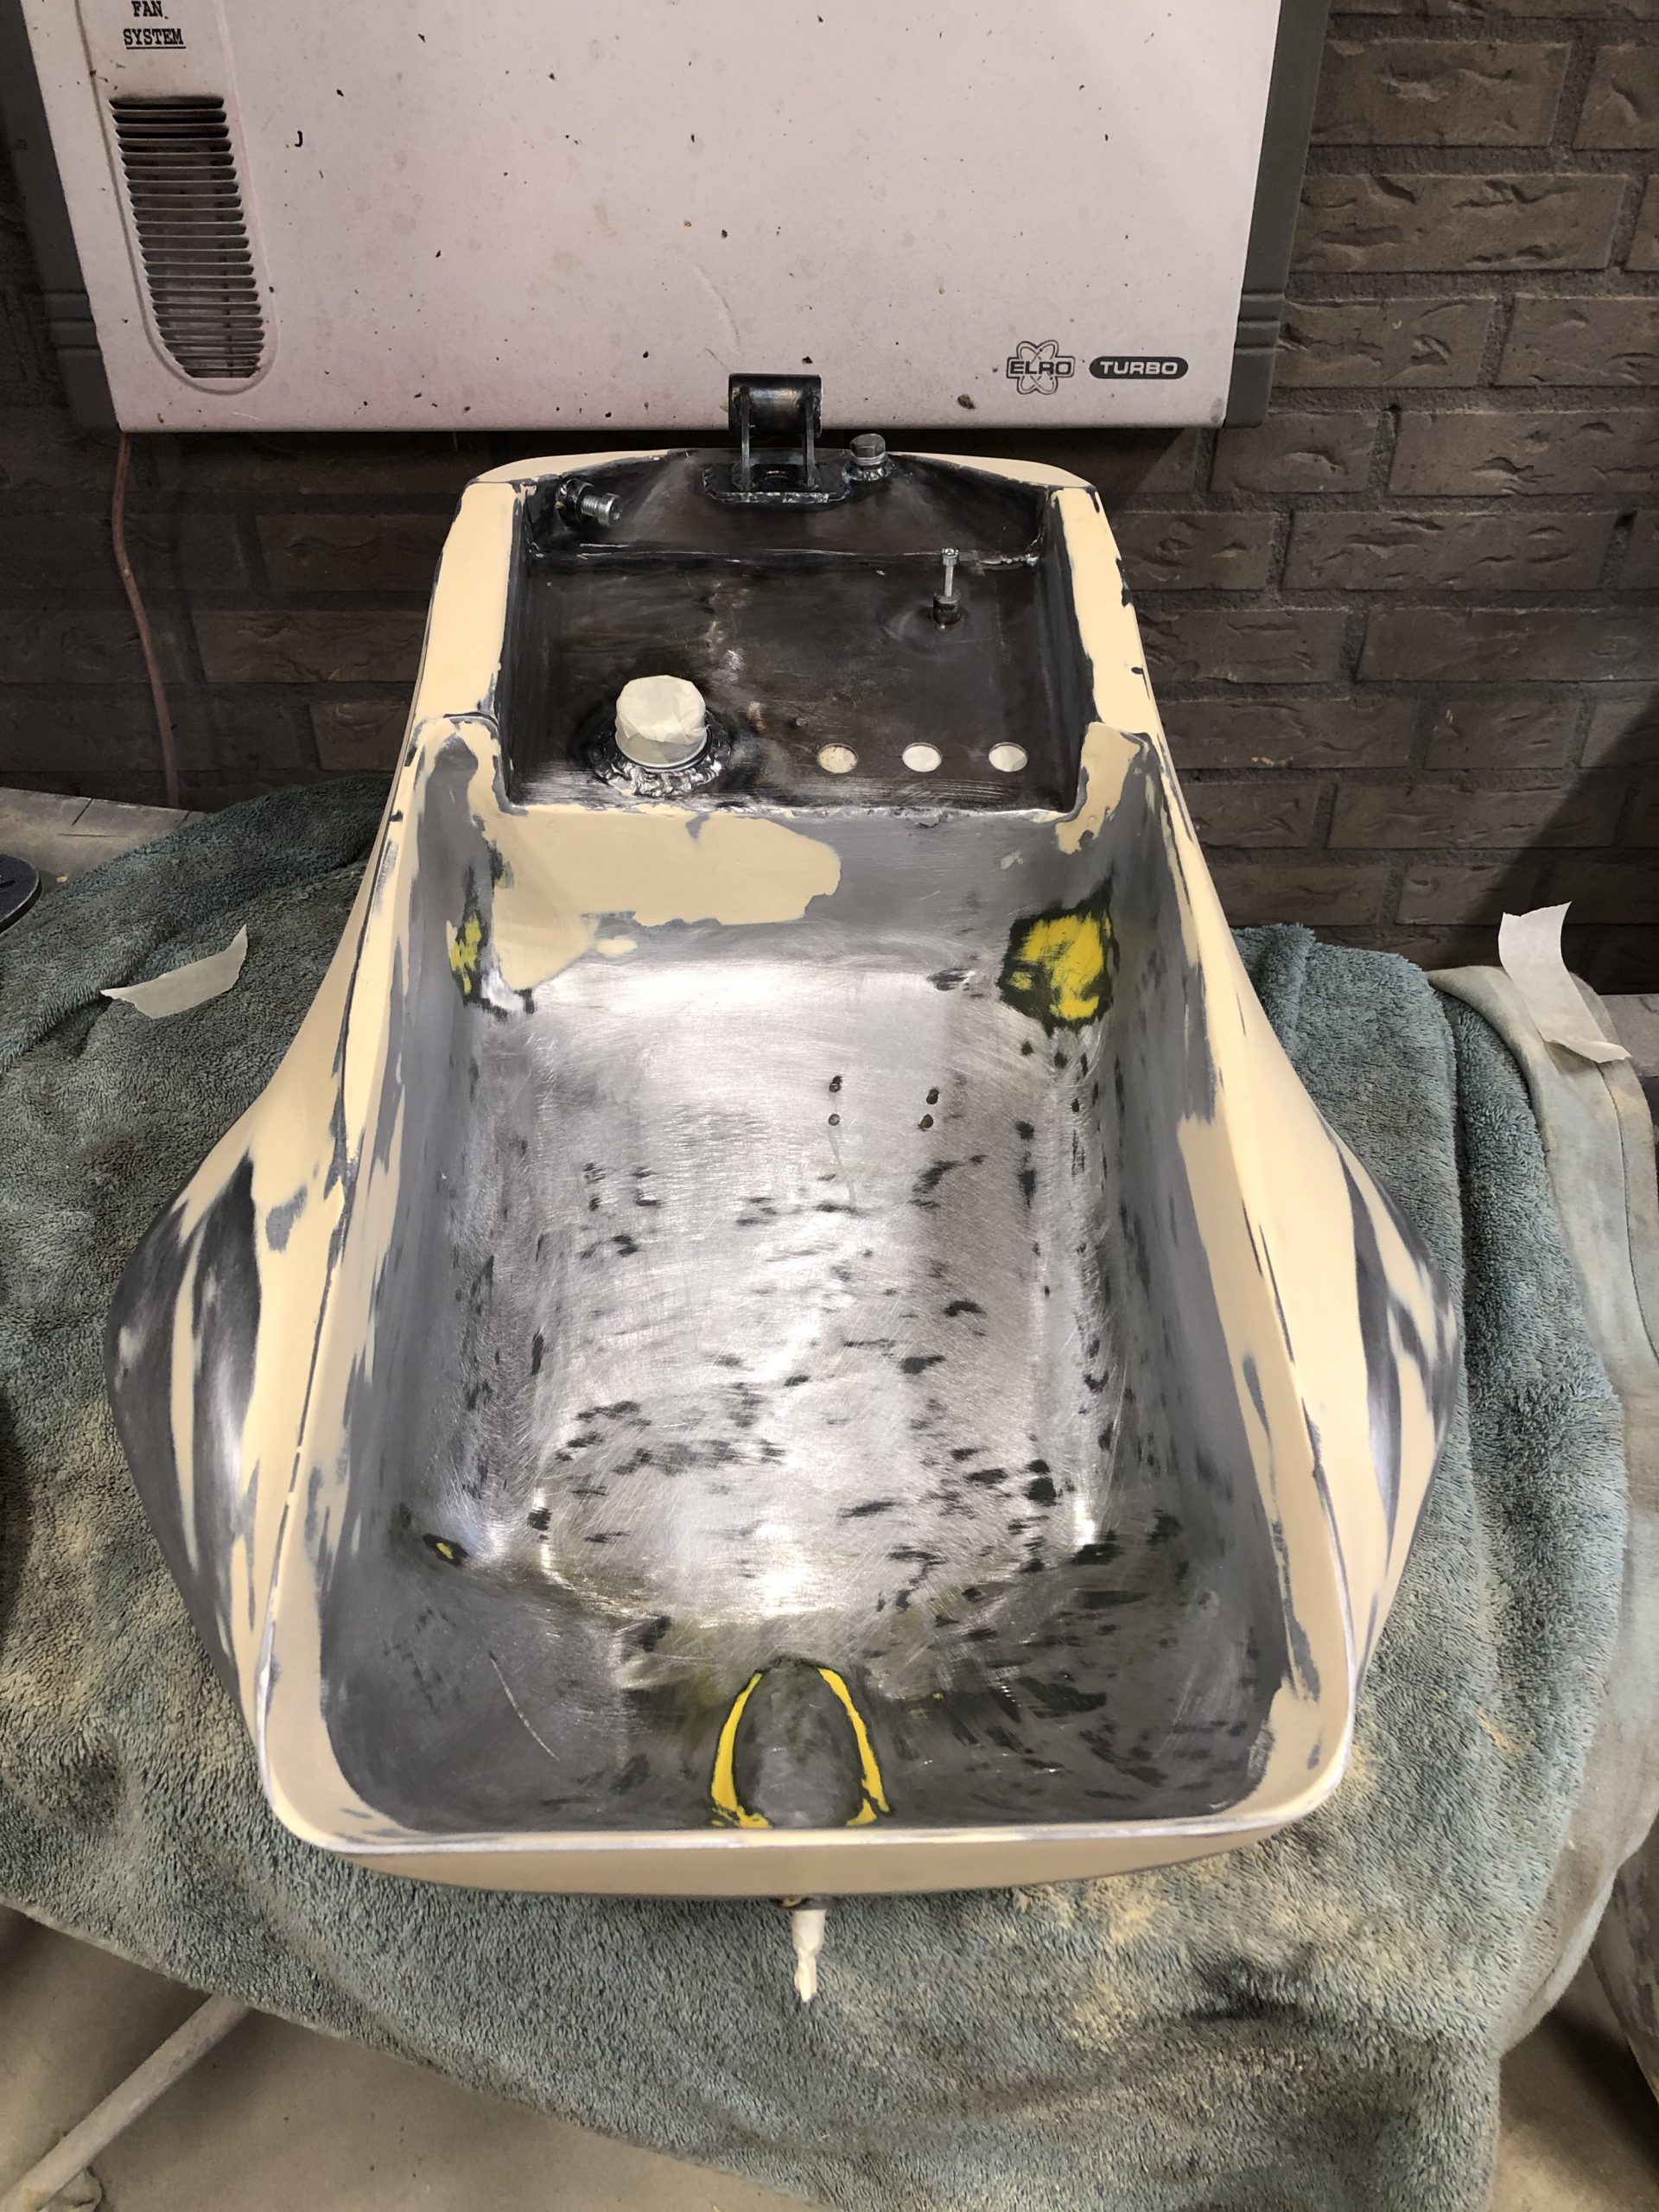
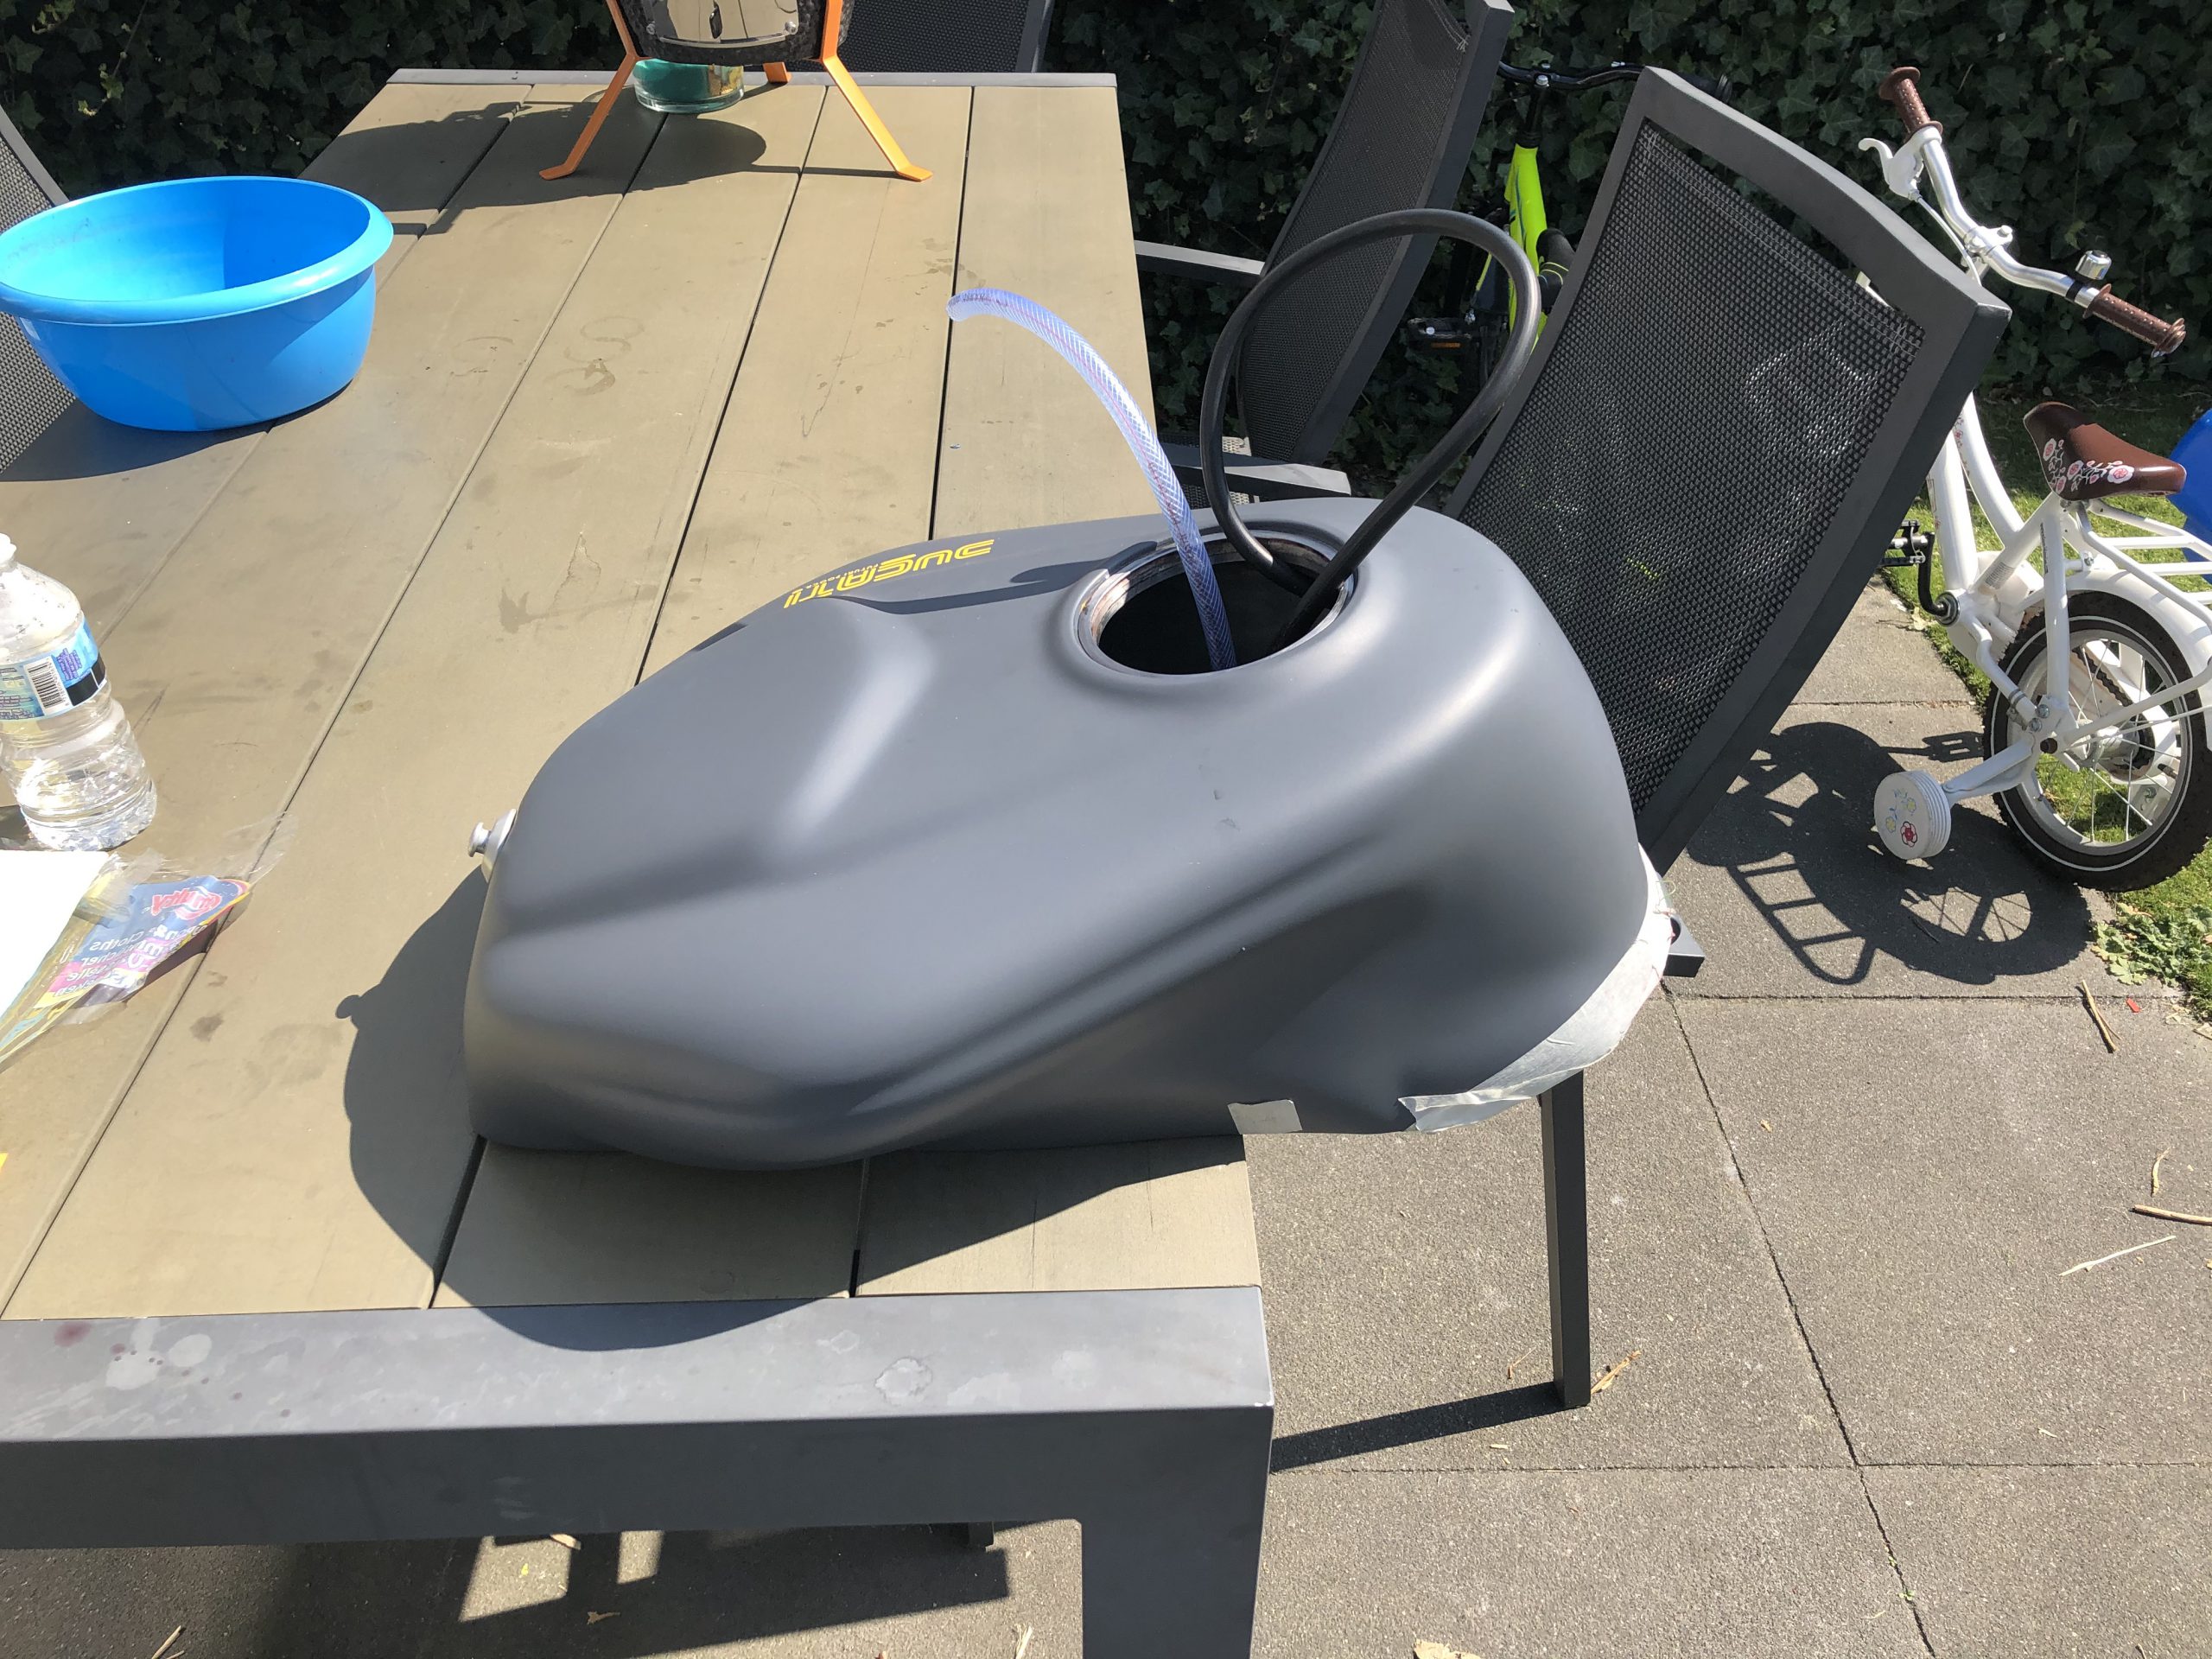
TANK BOTTOM CHOP
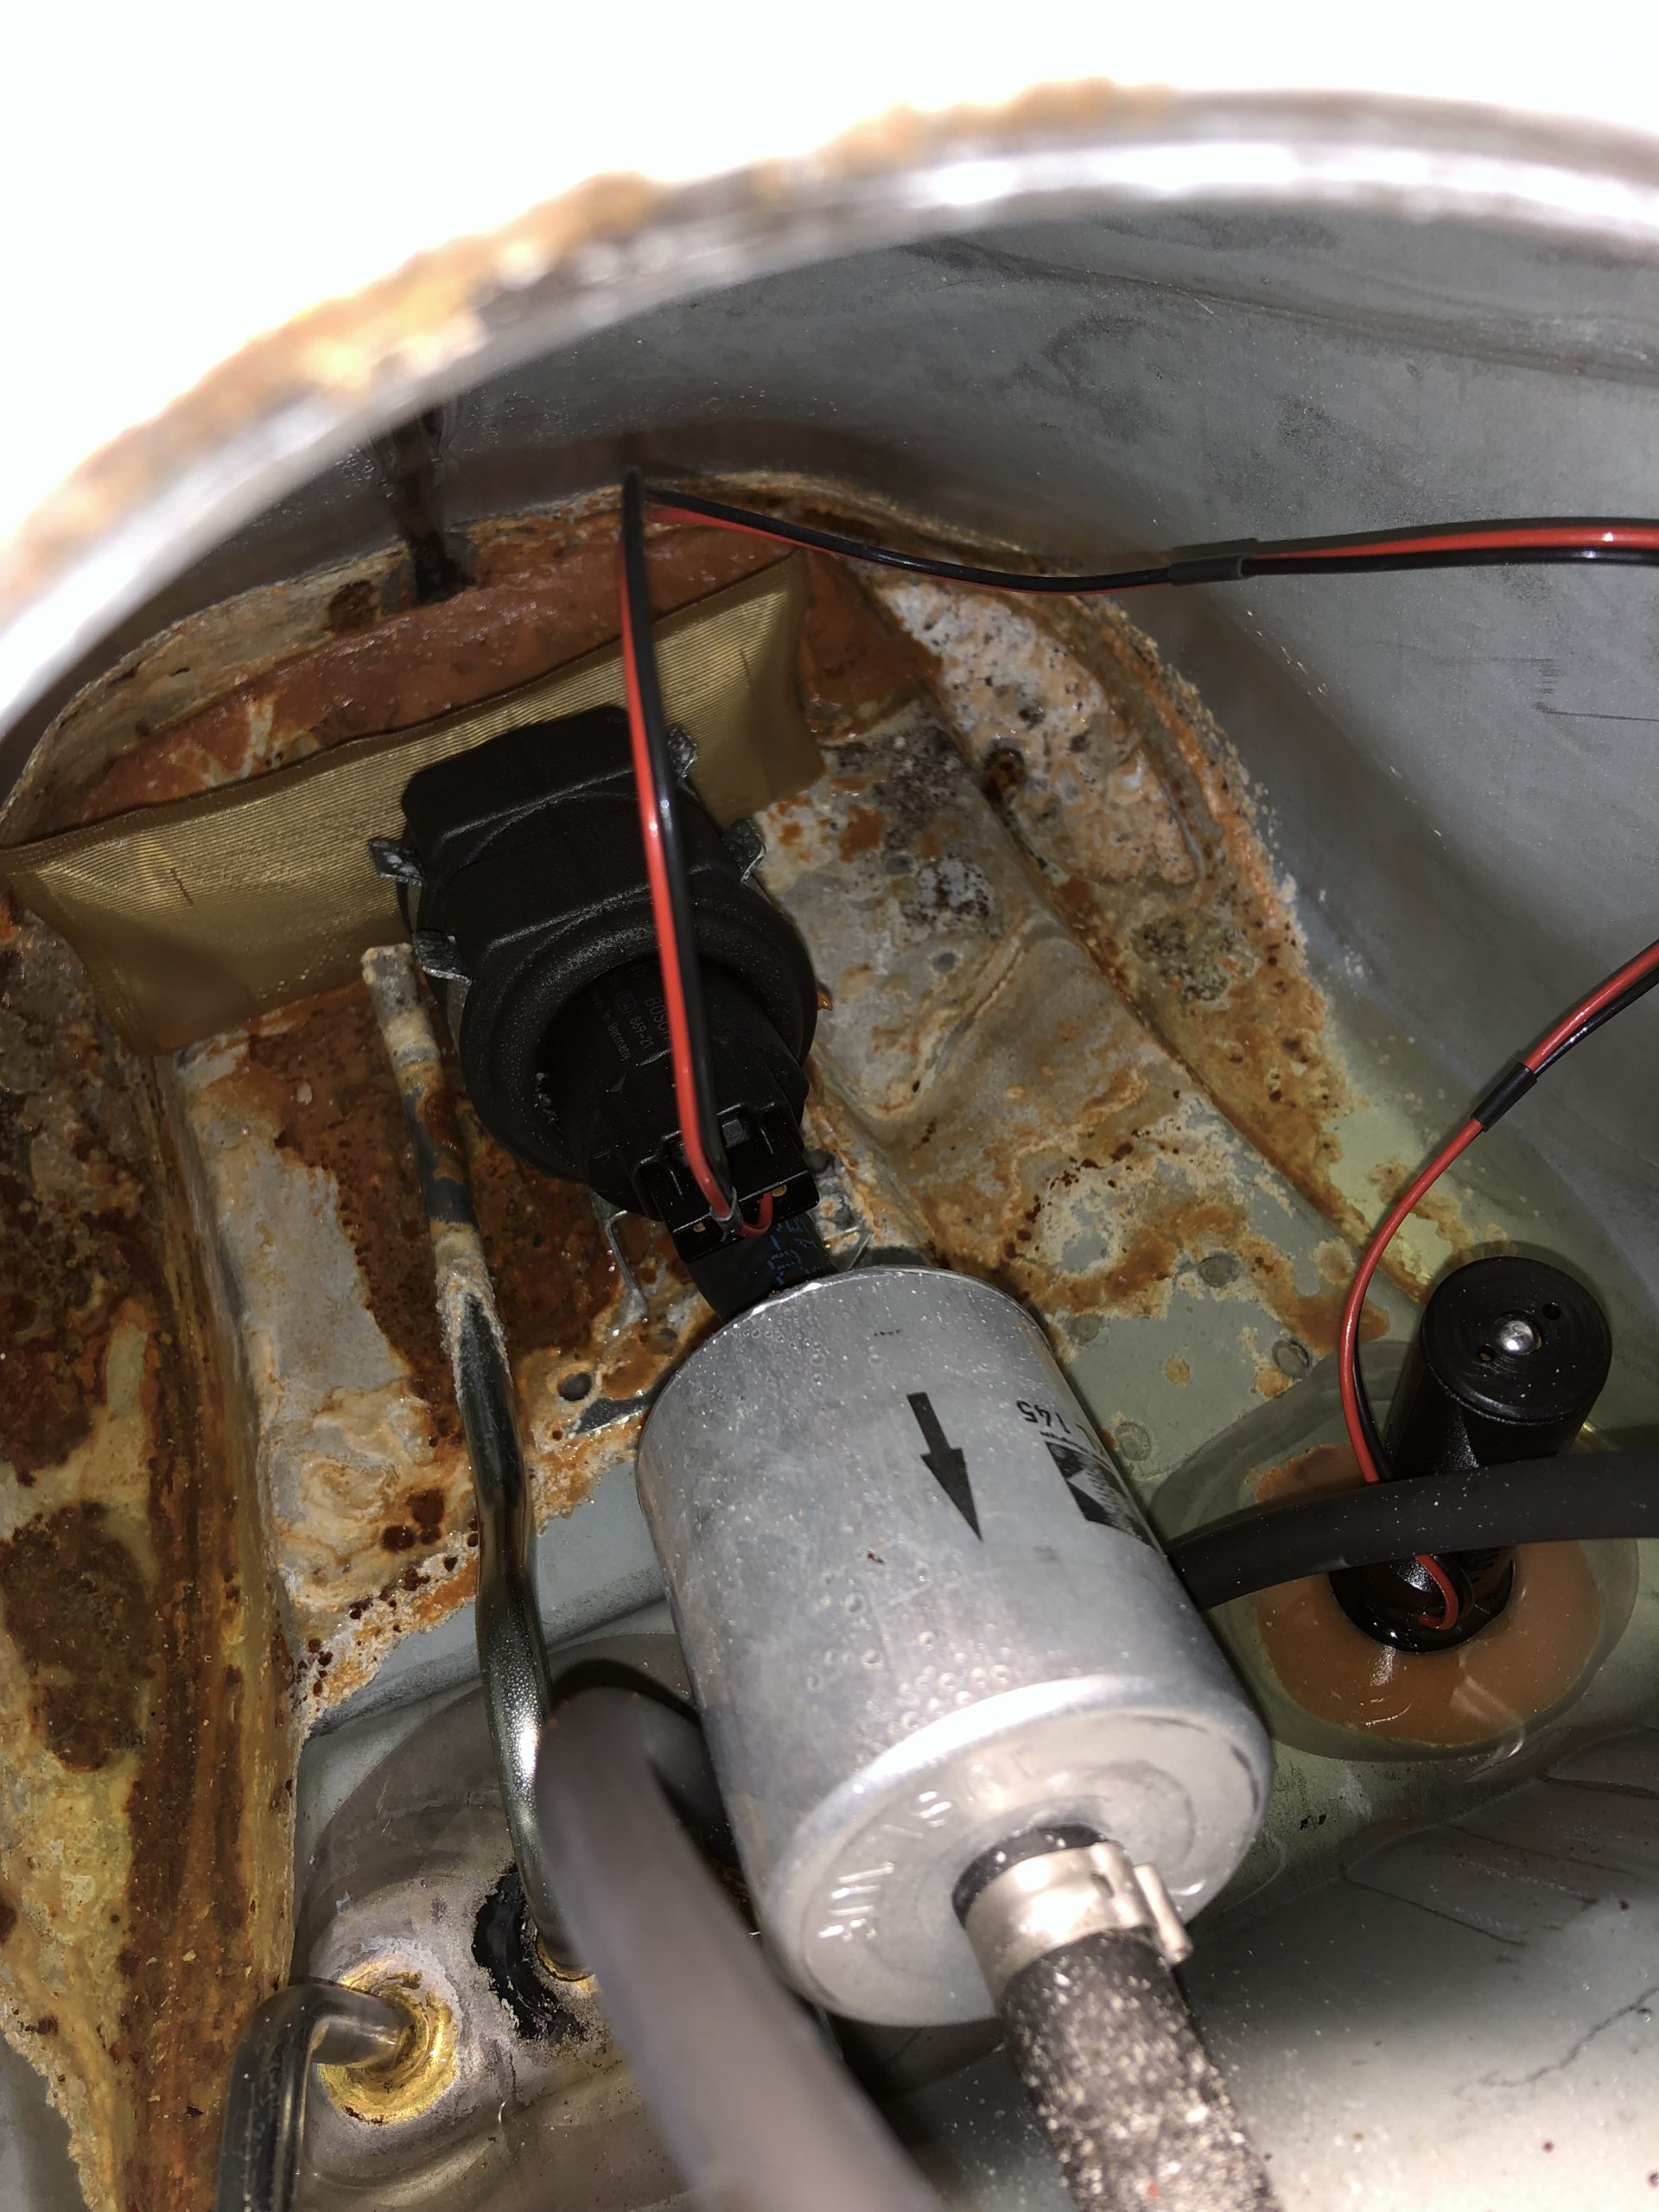
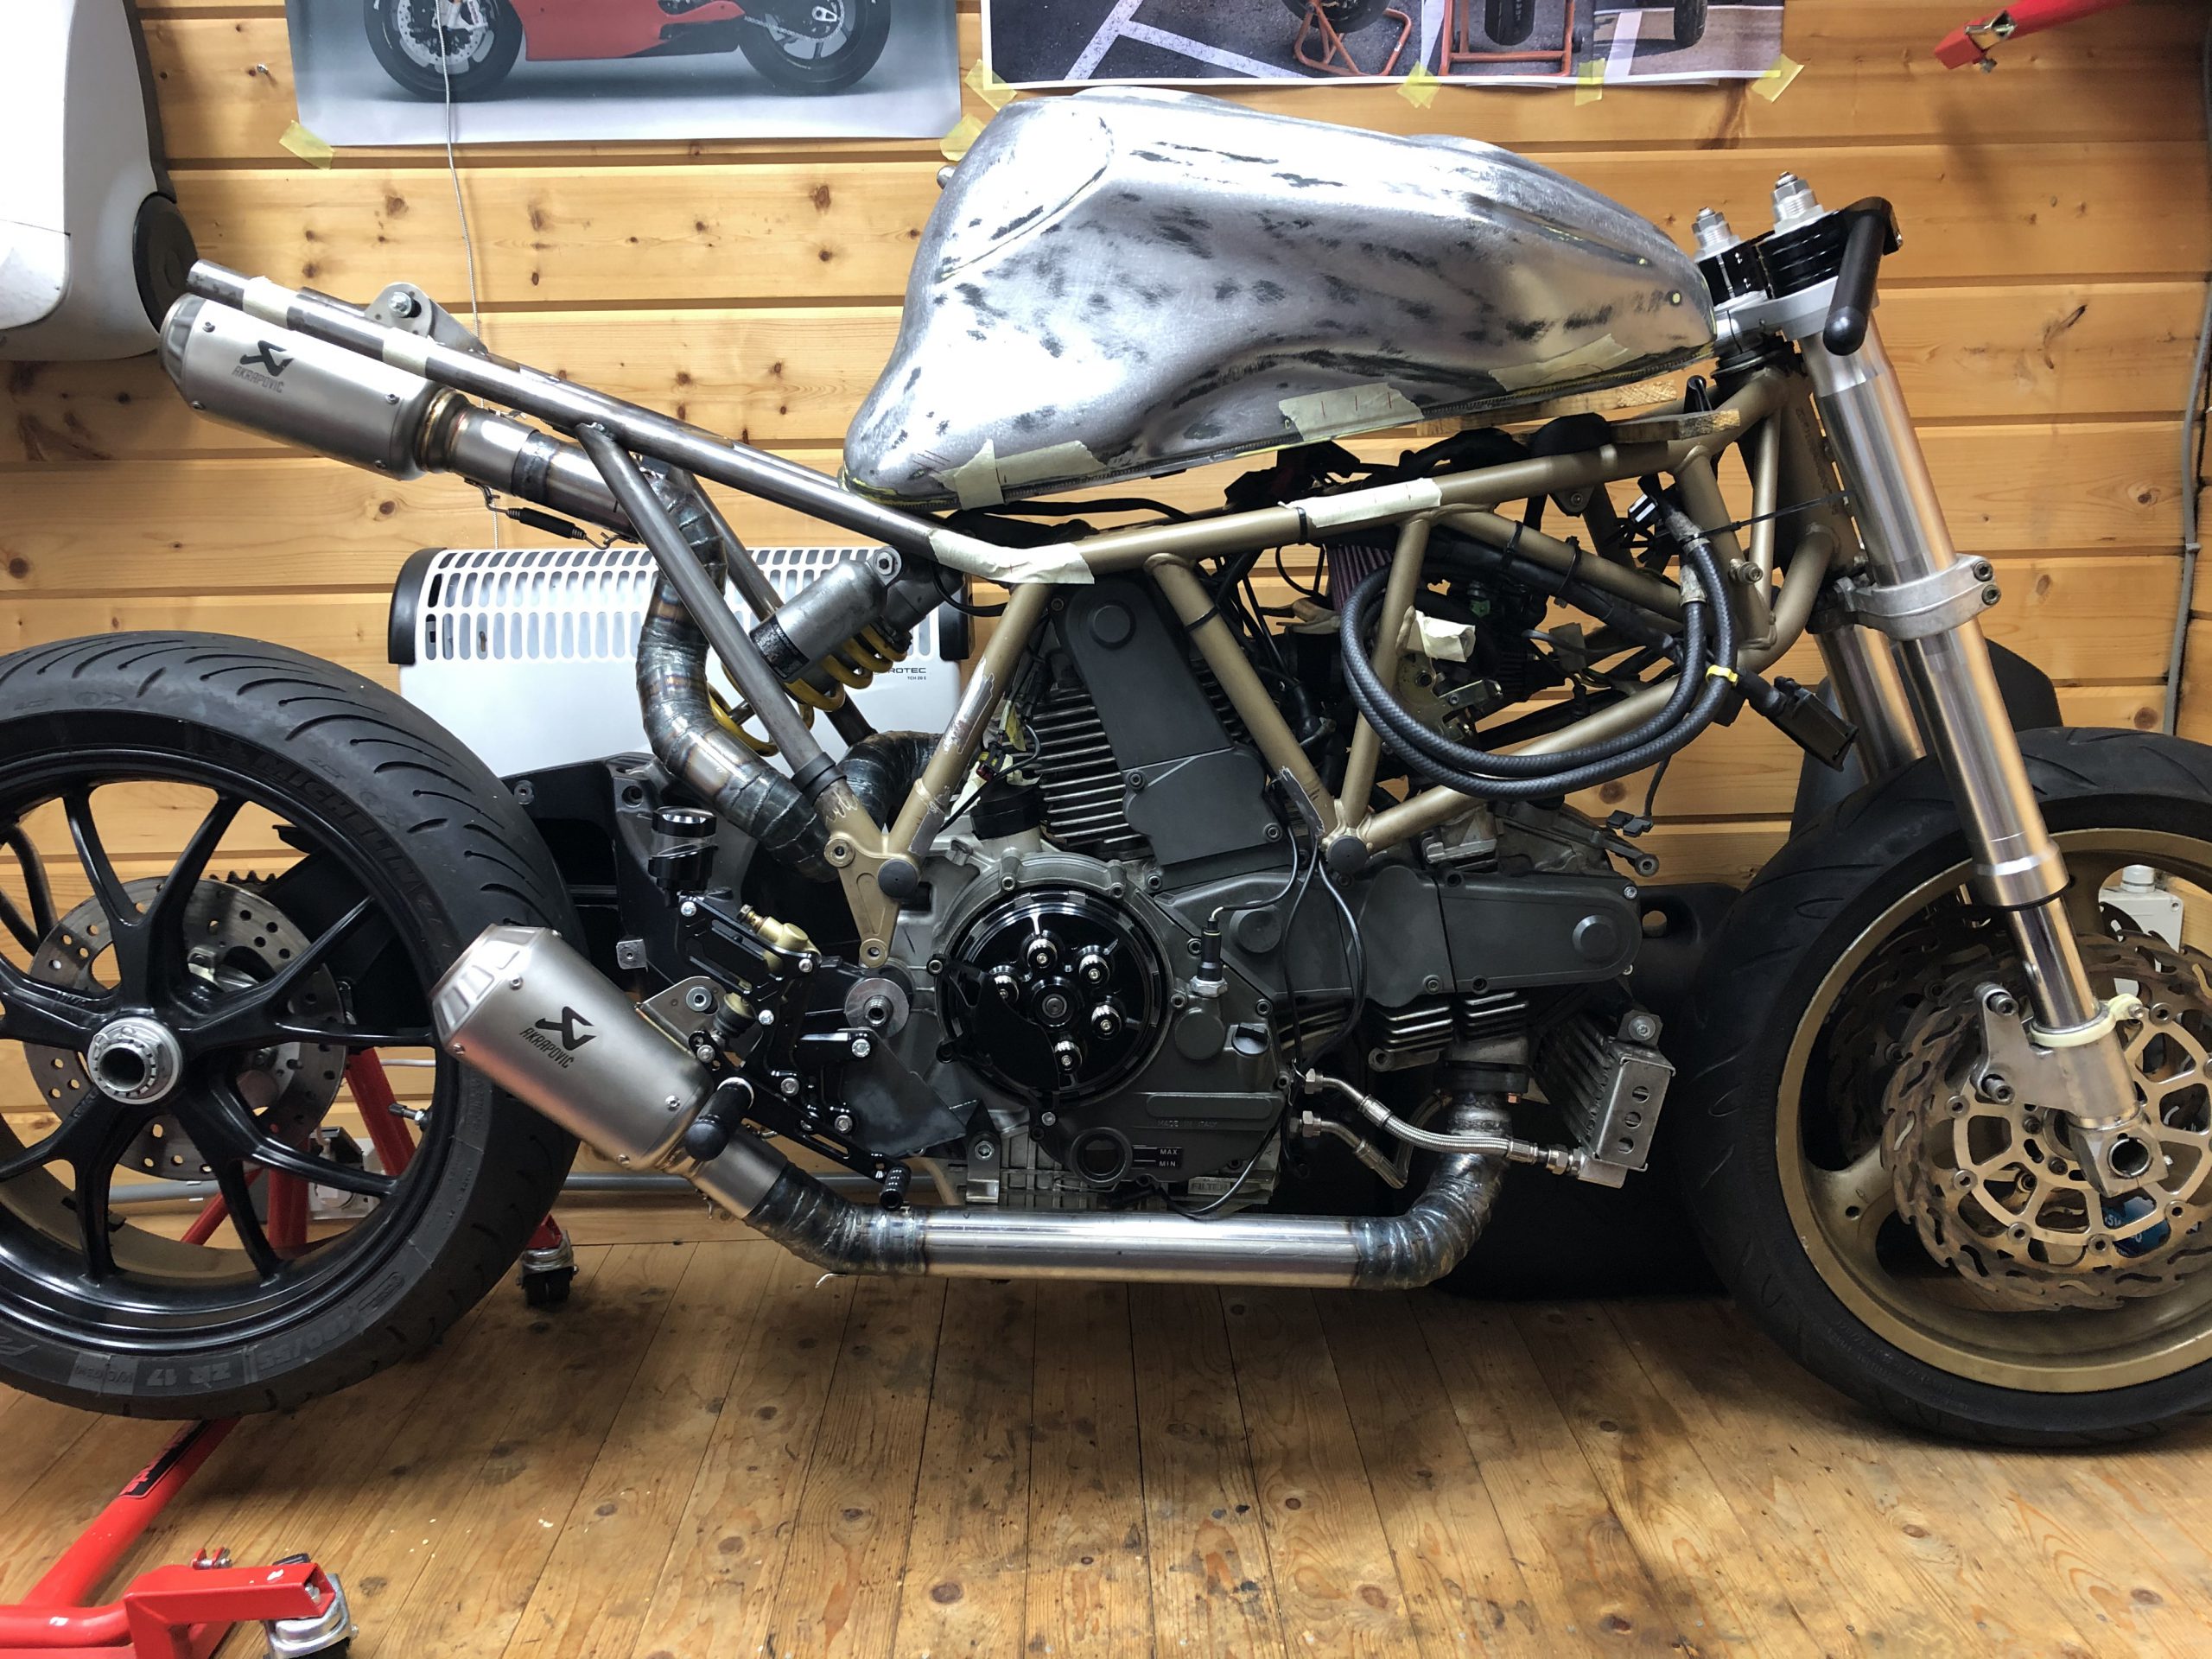
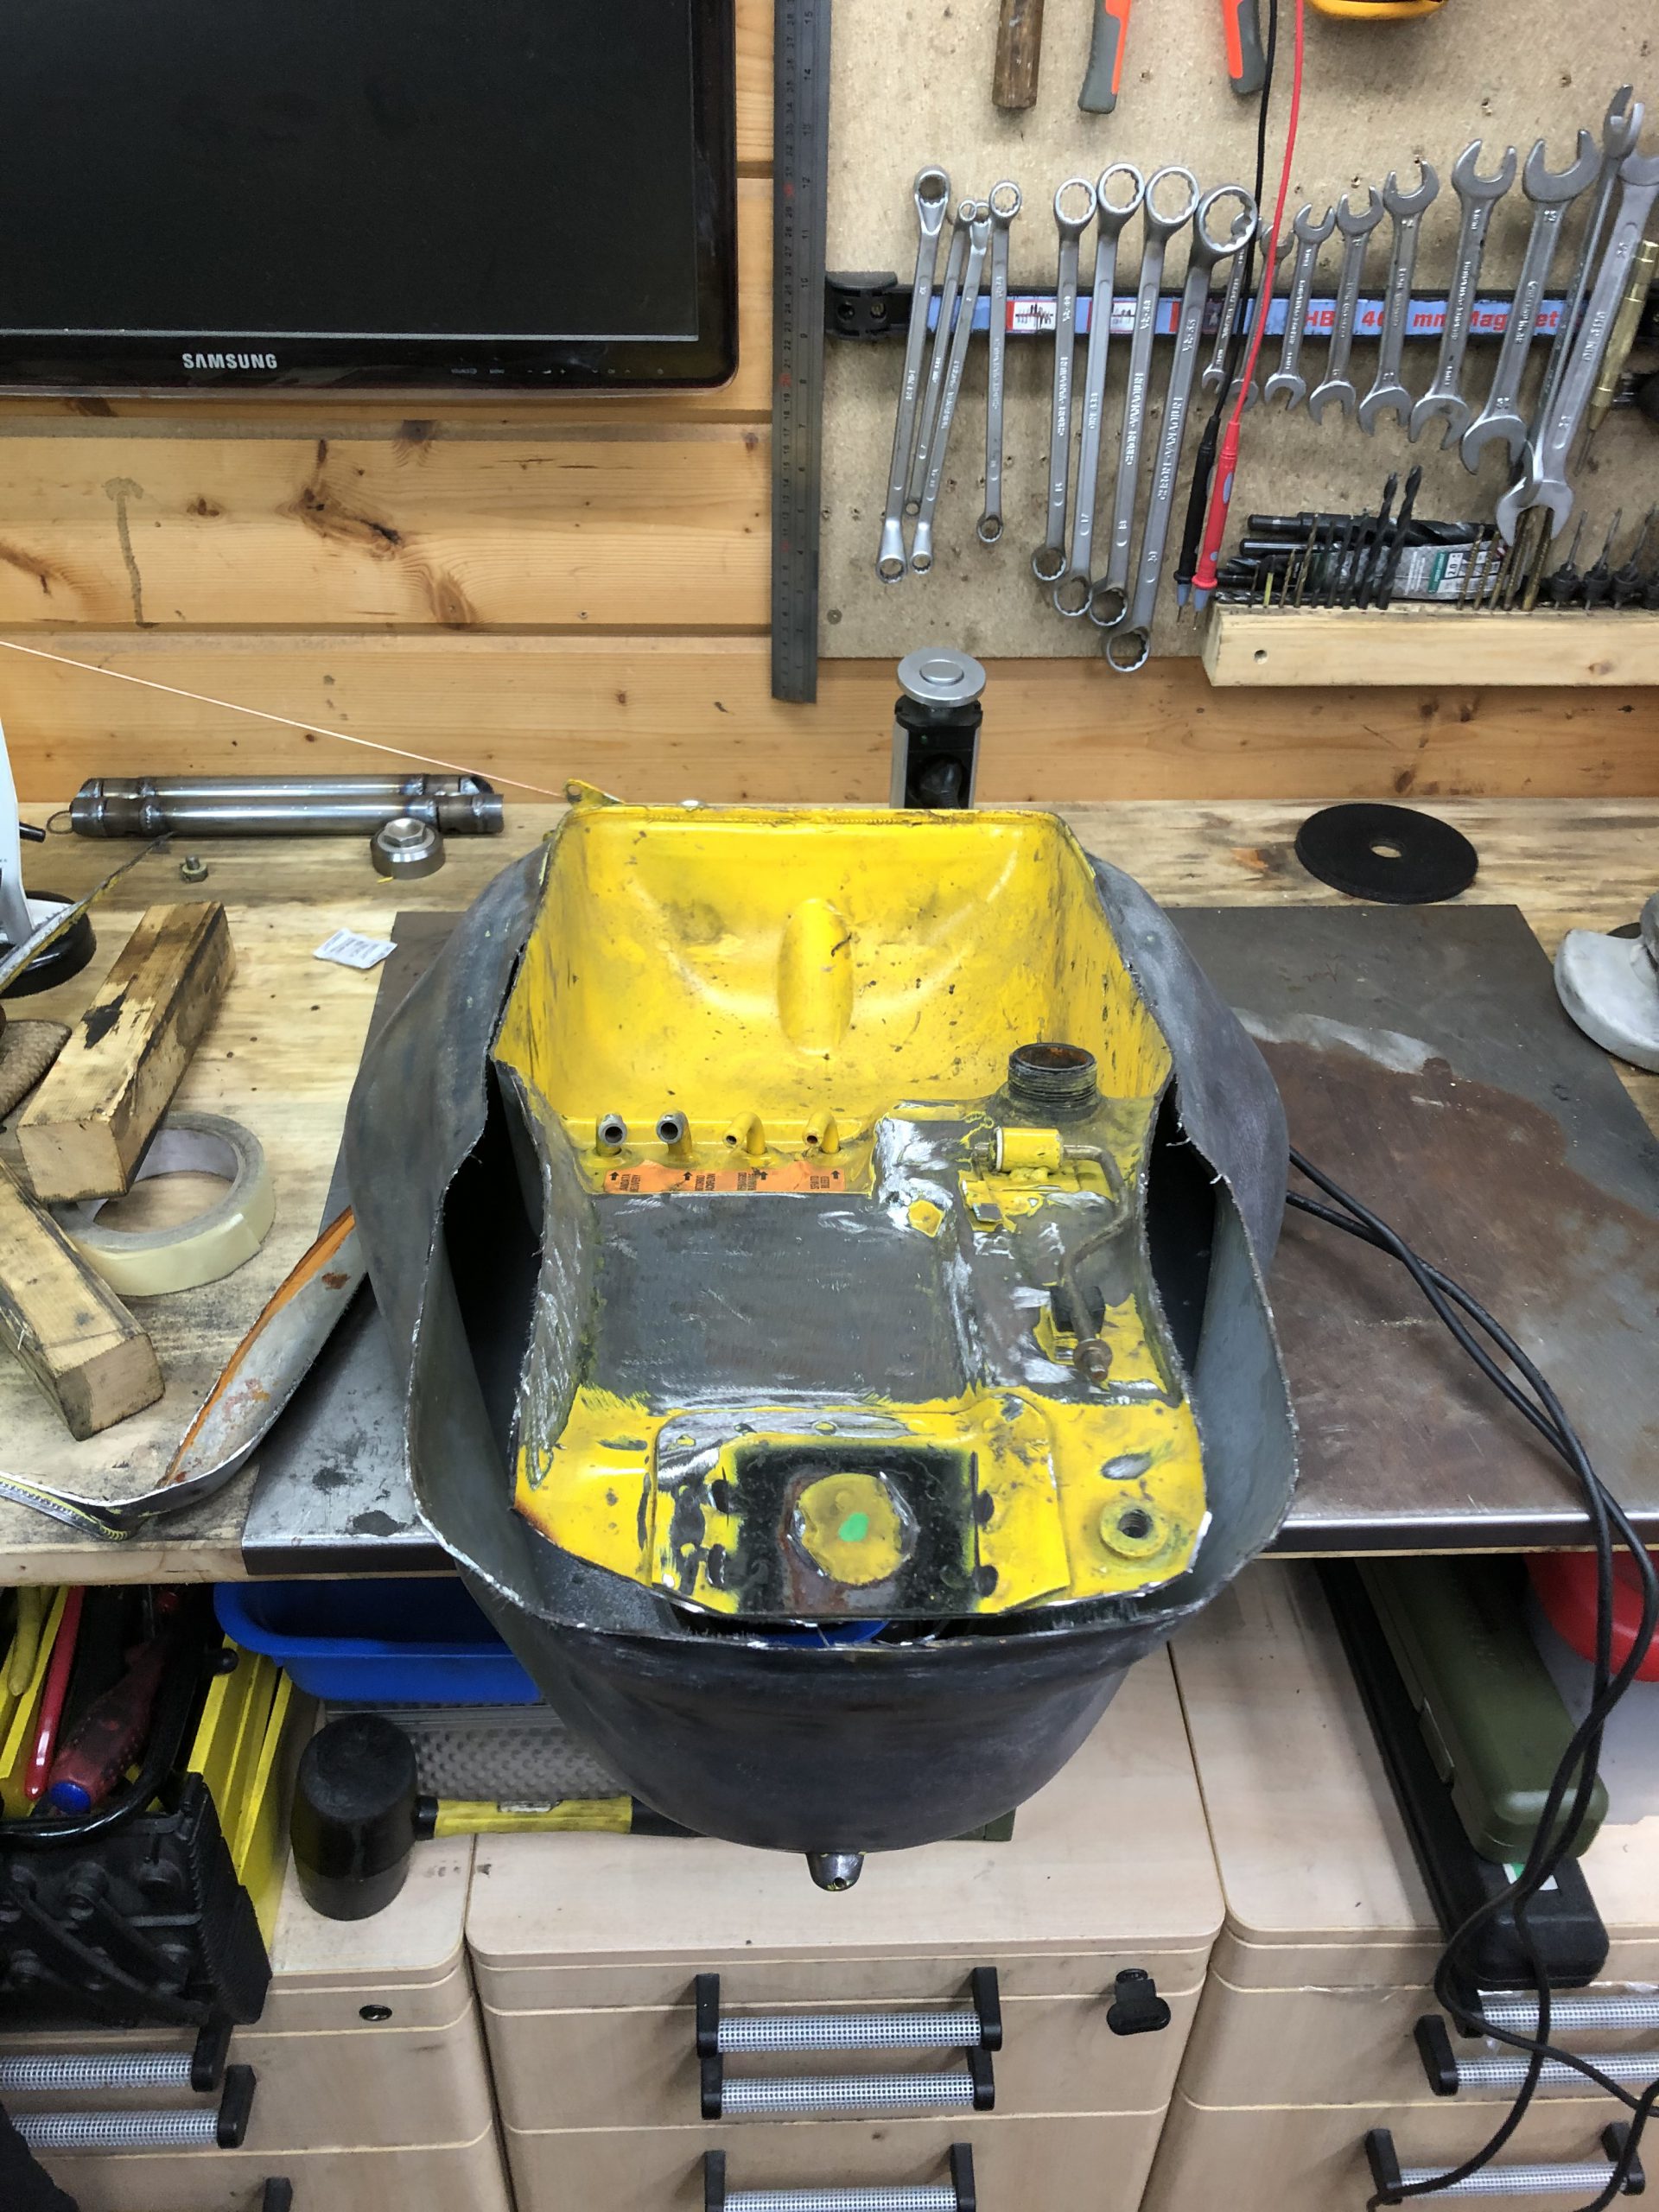
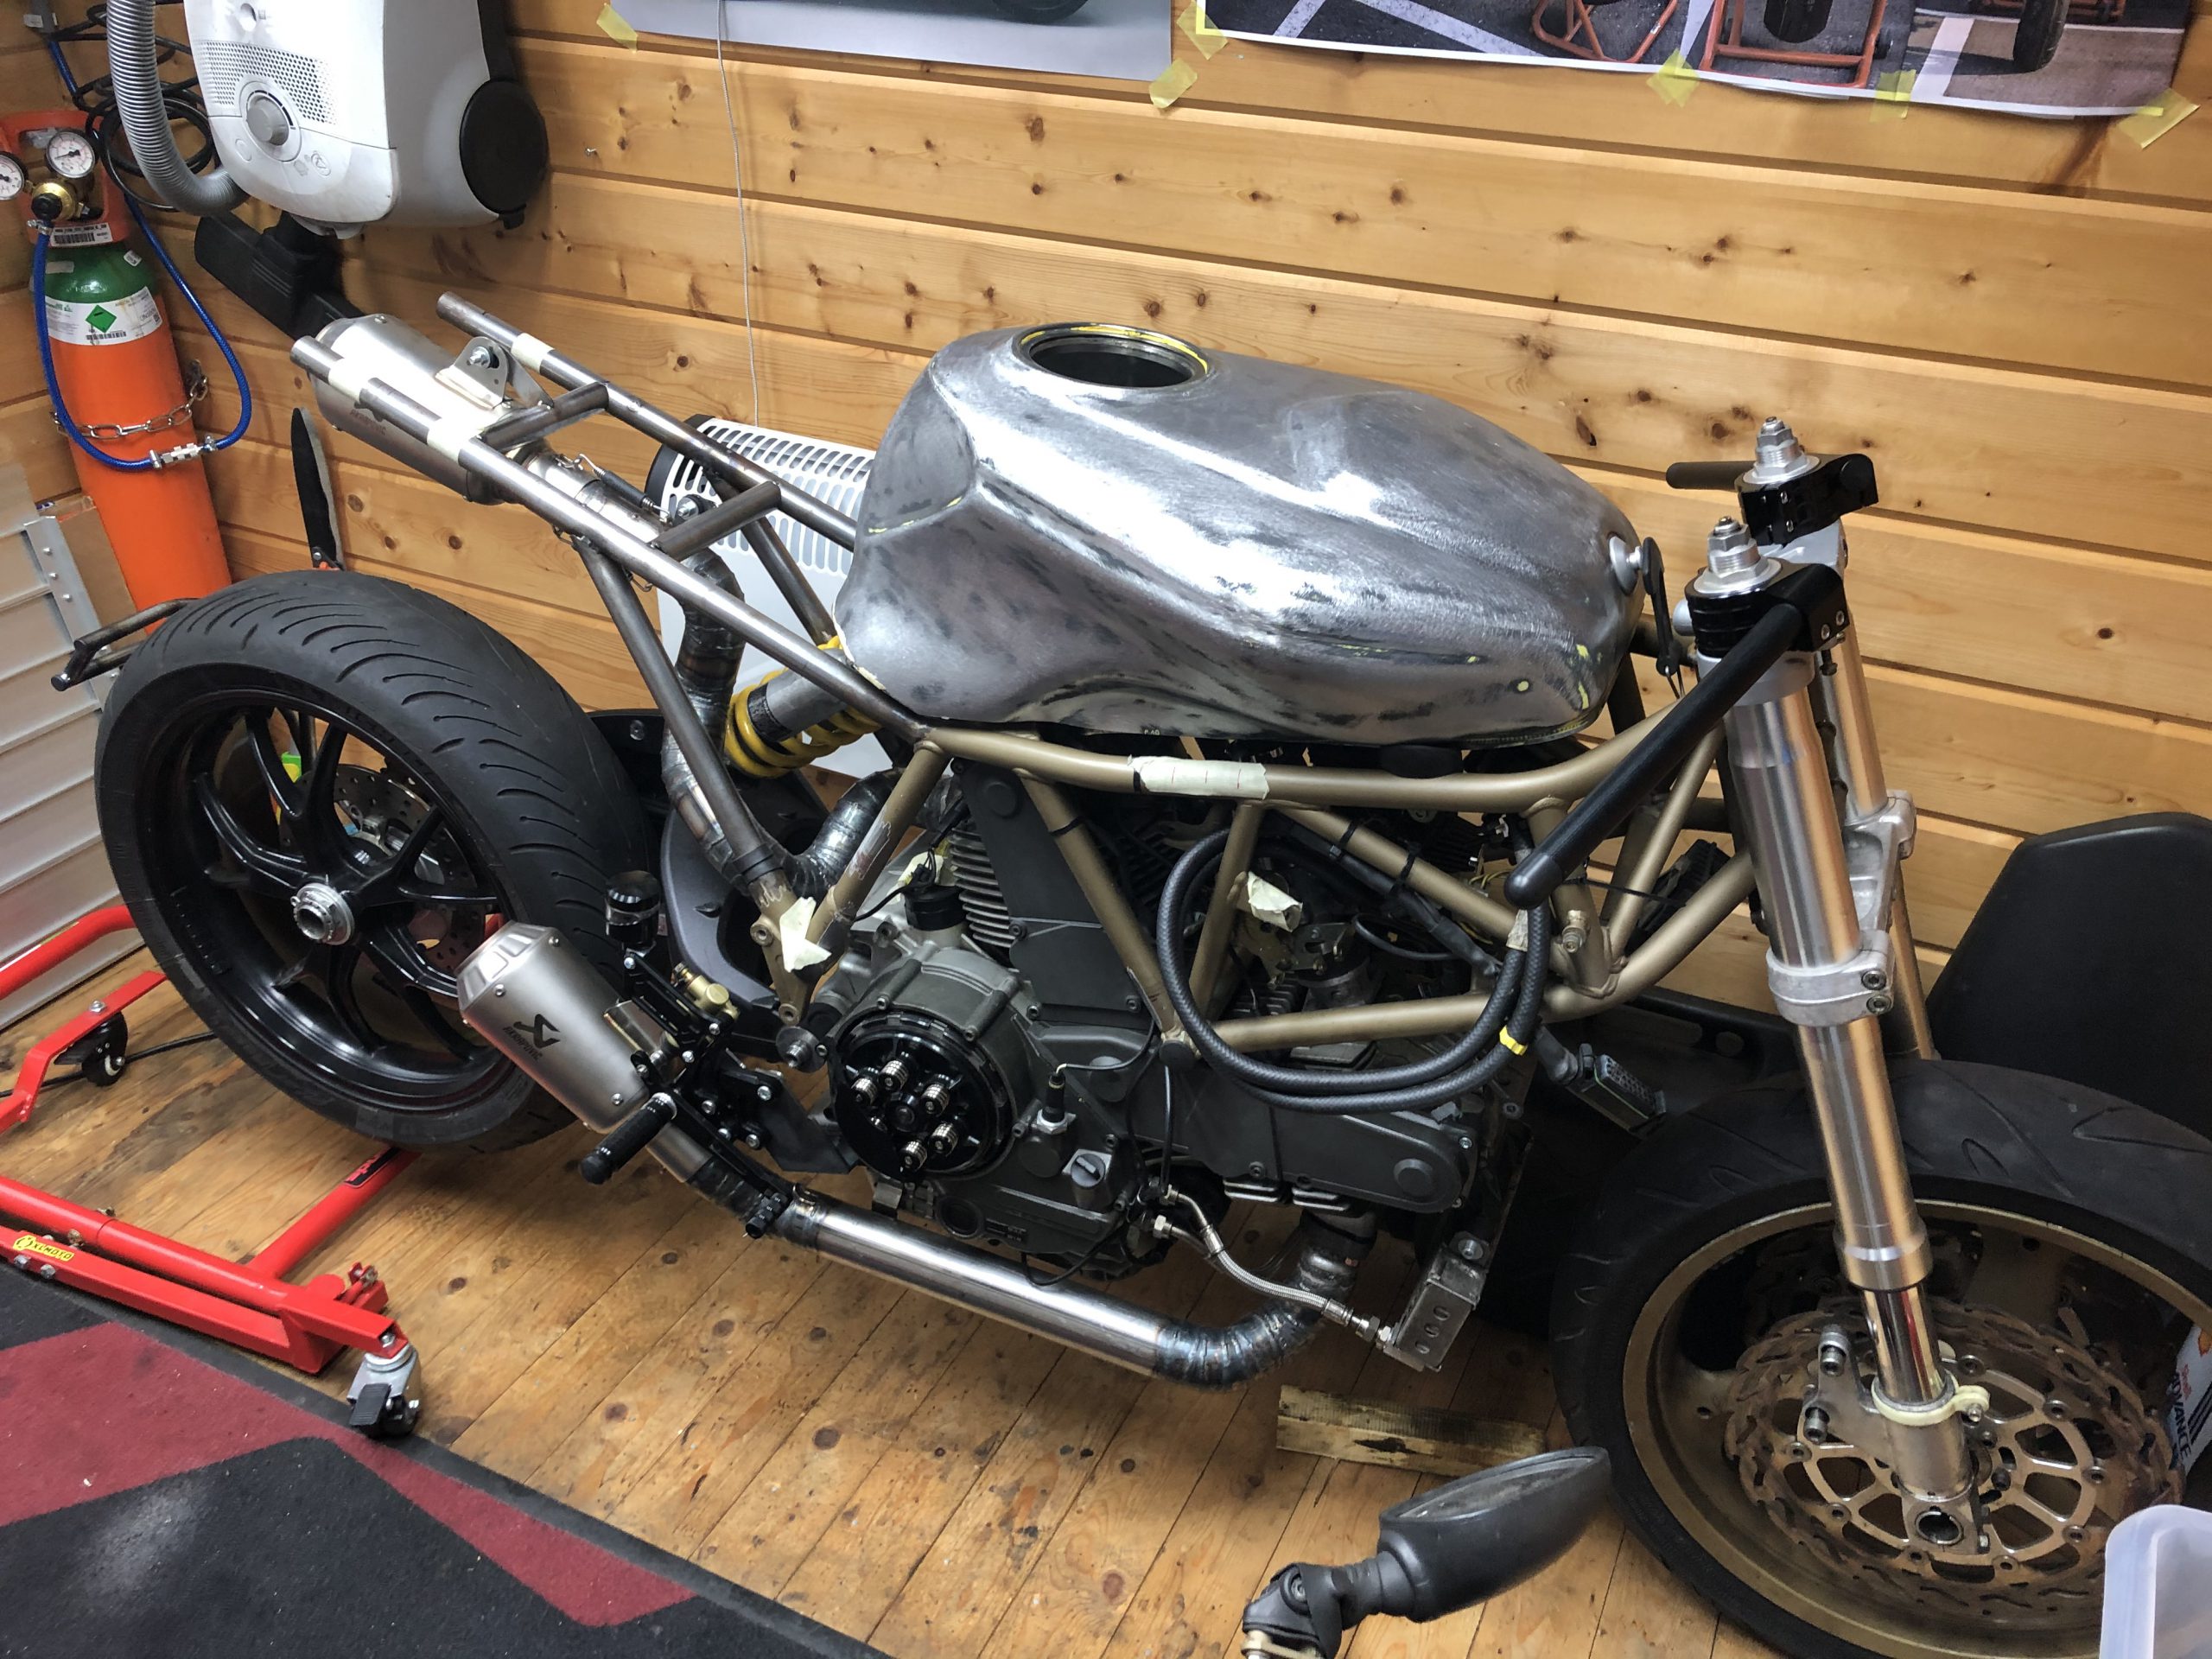
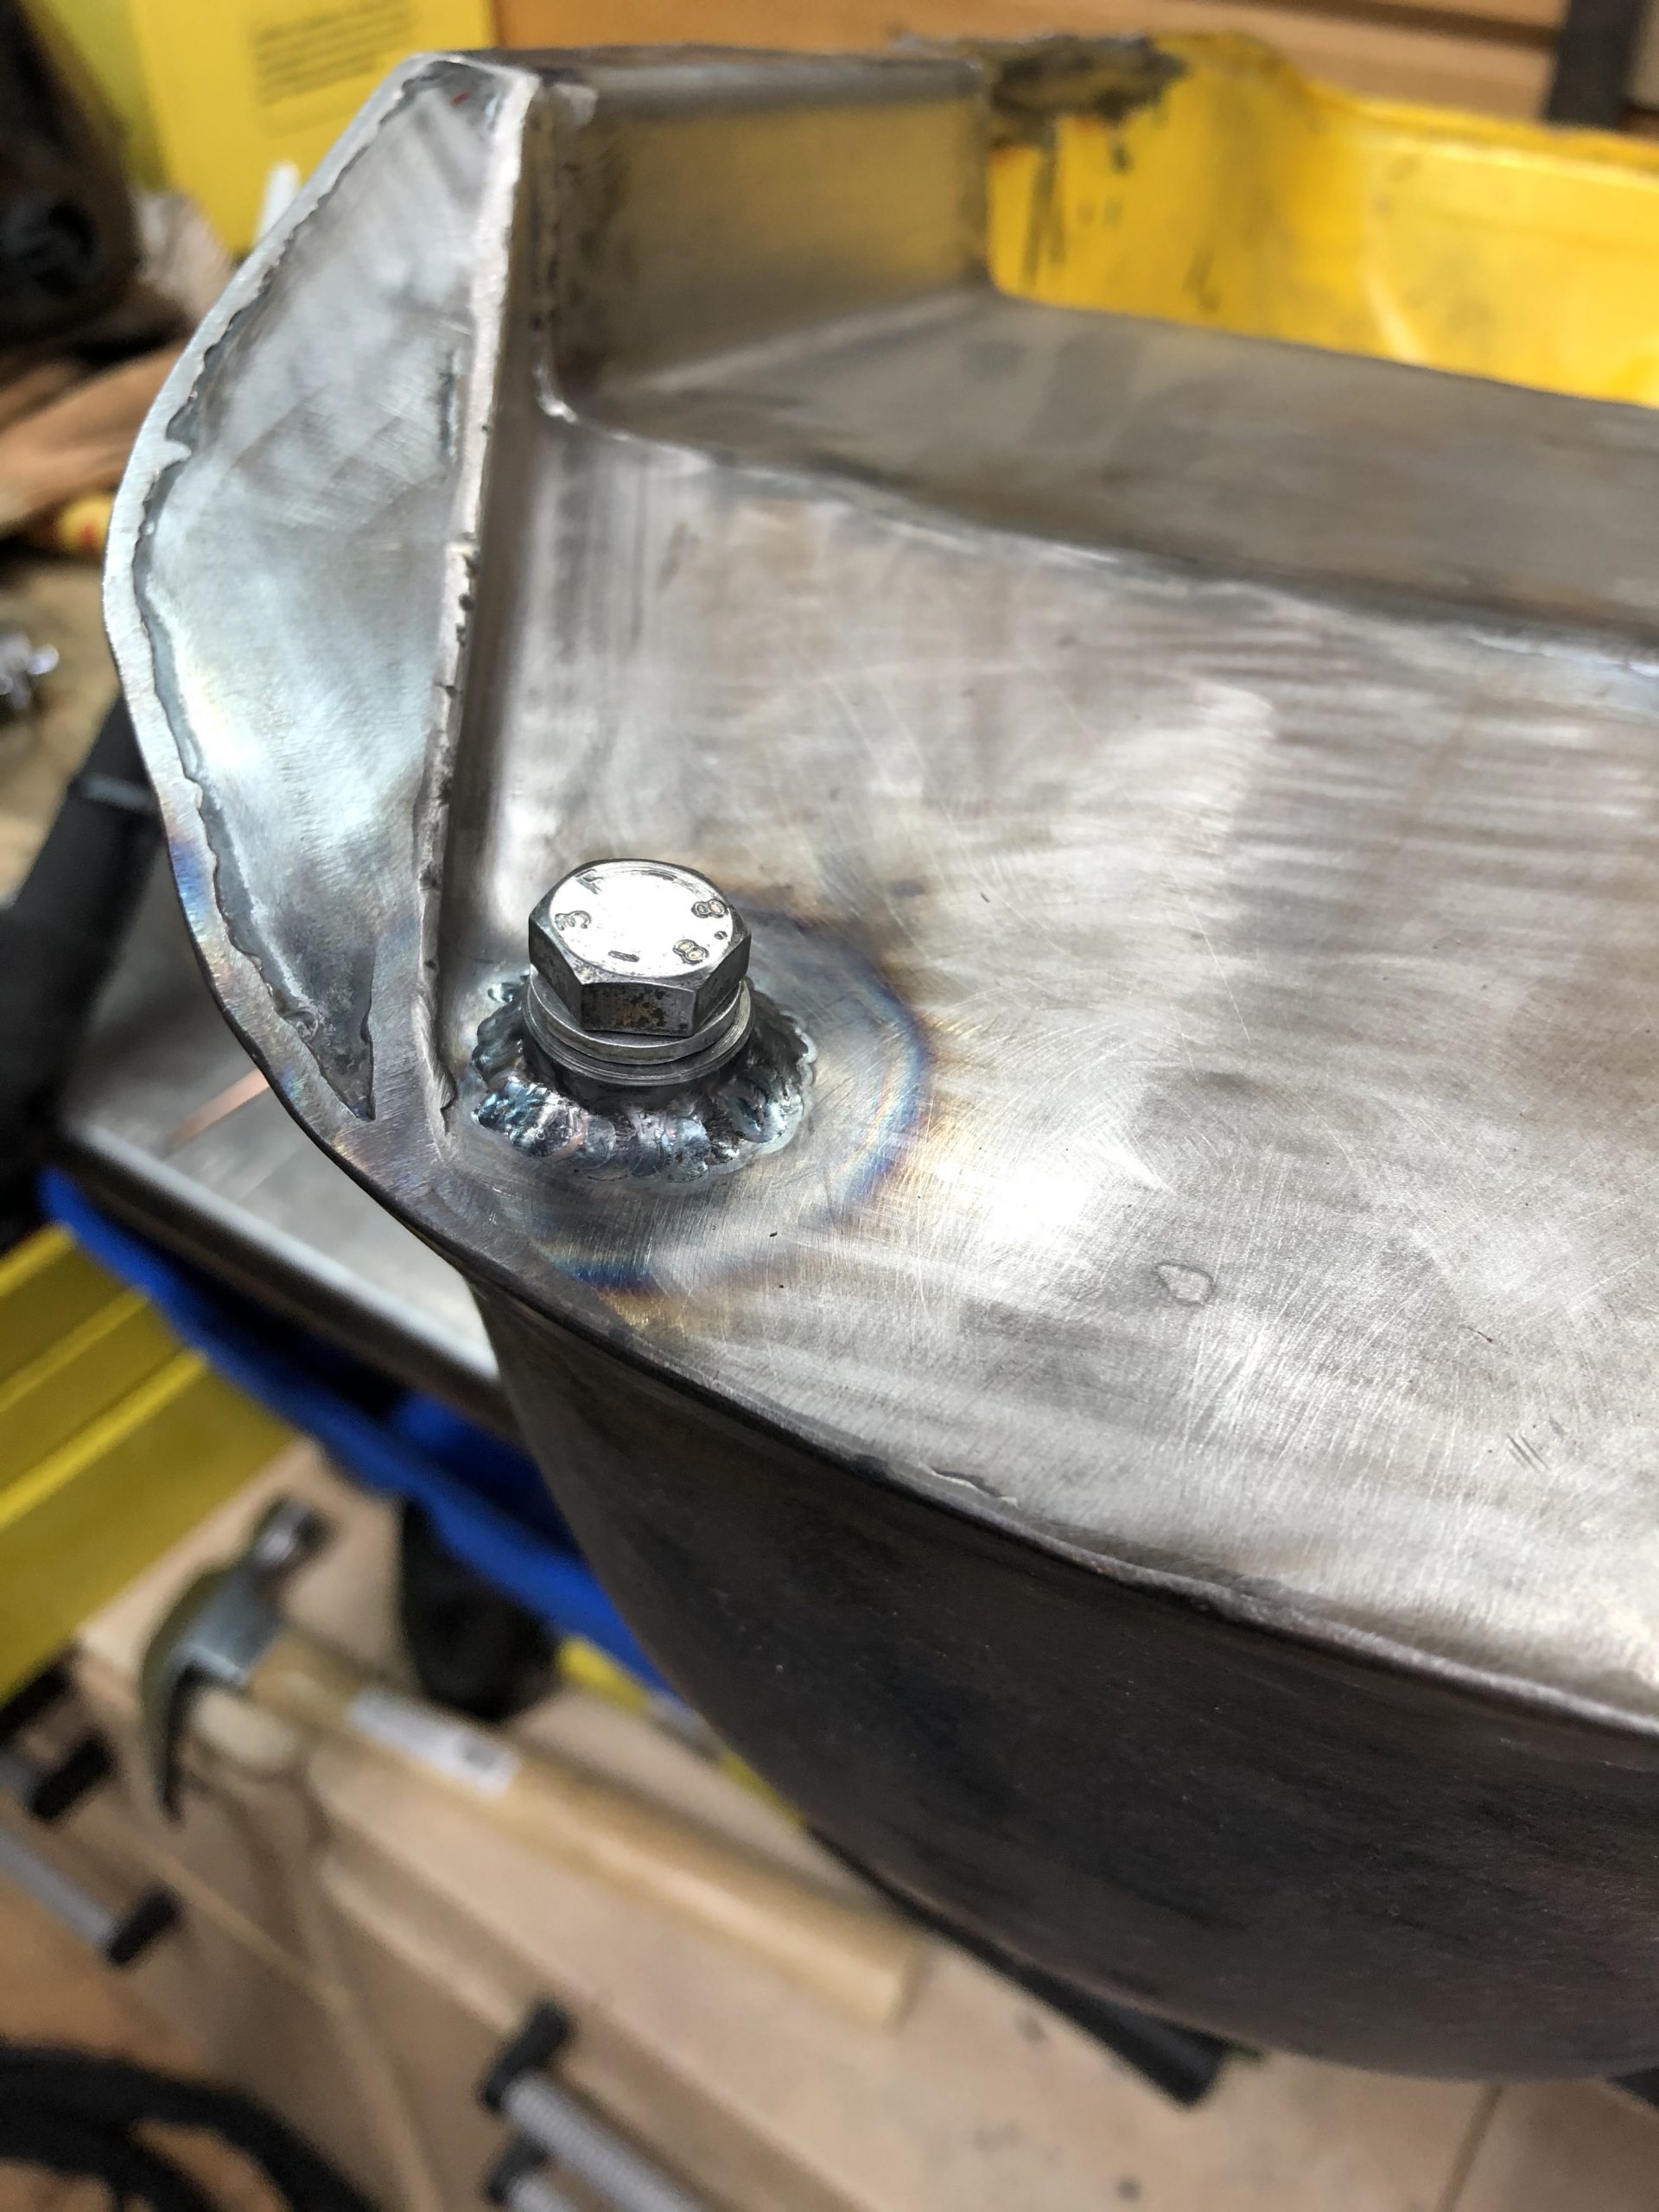
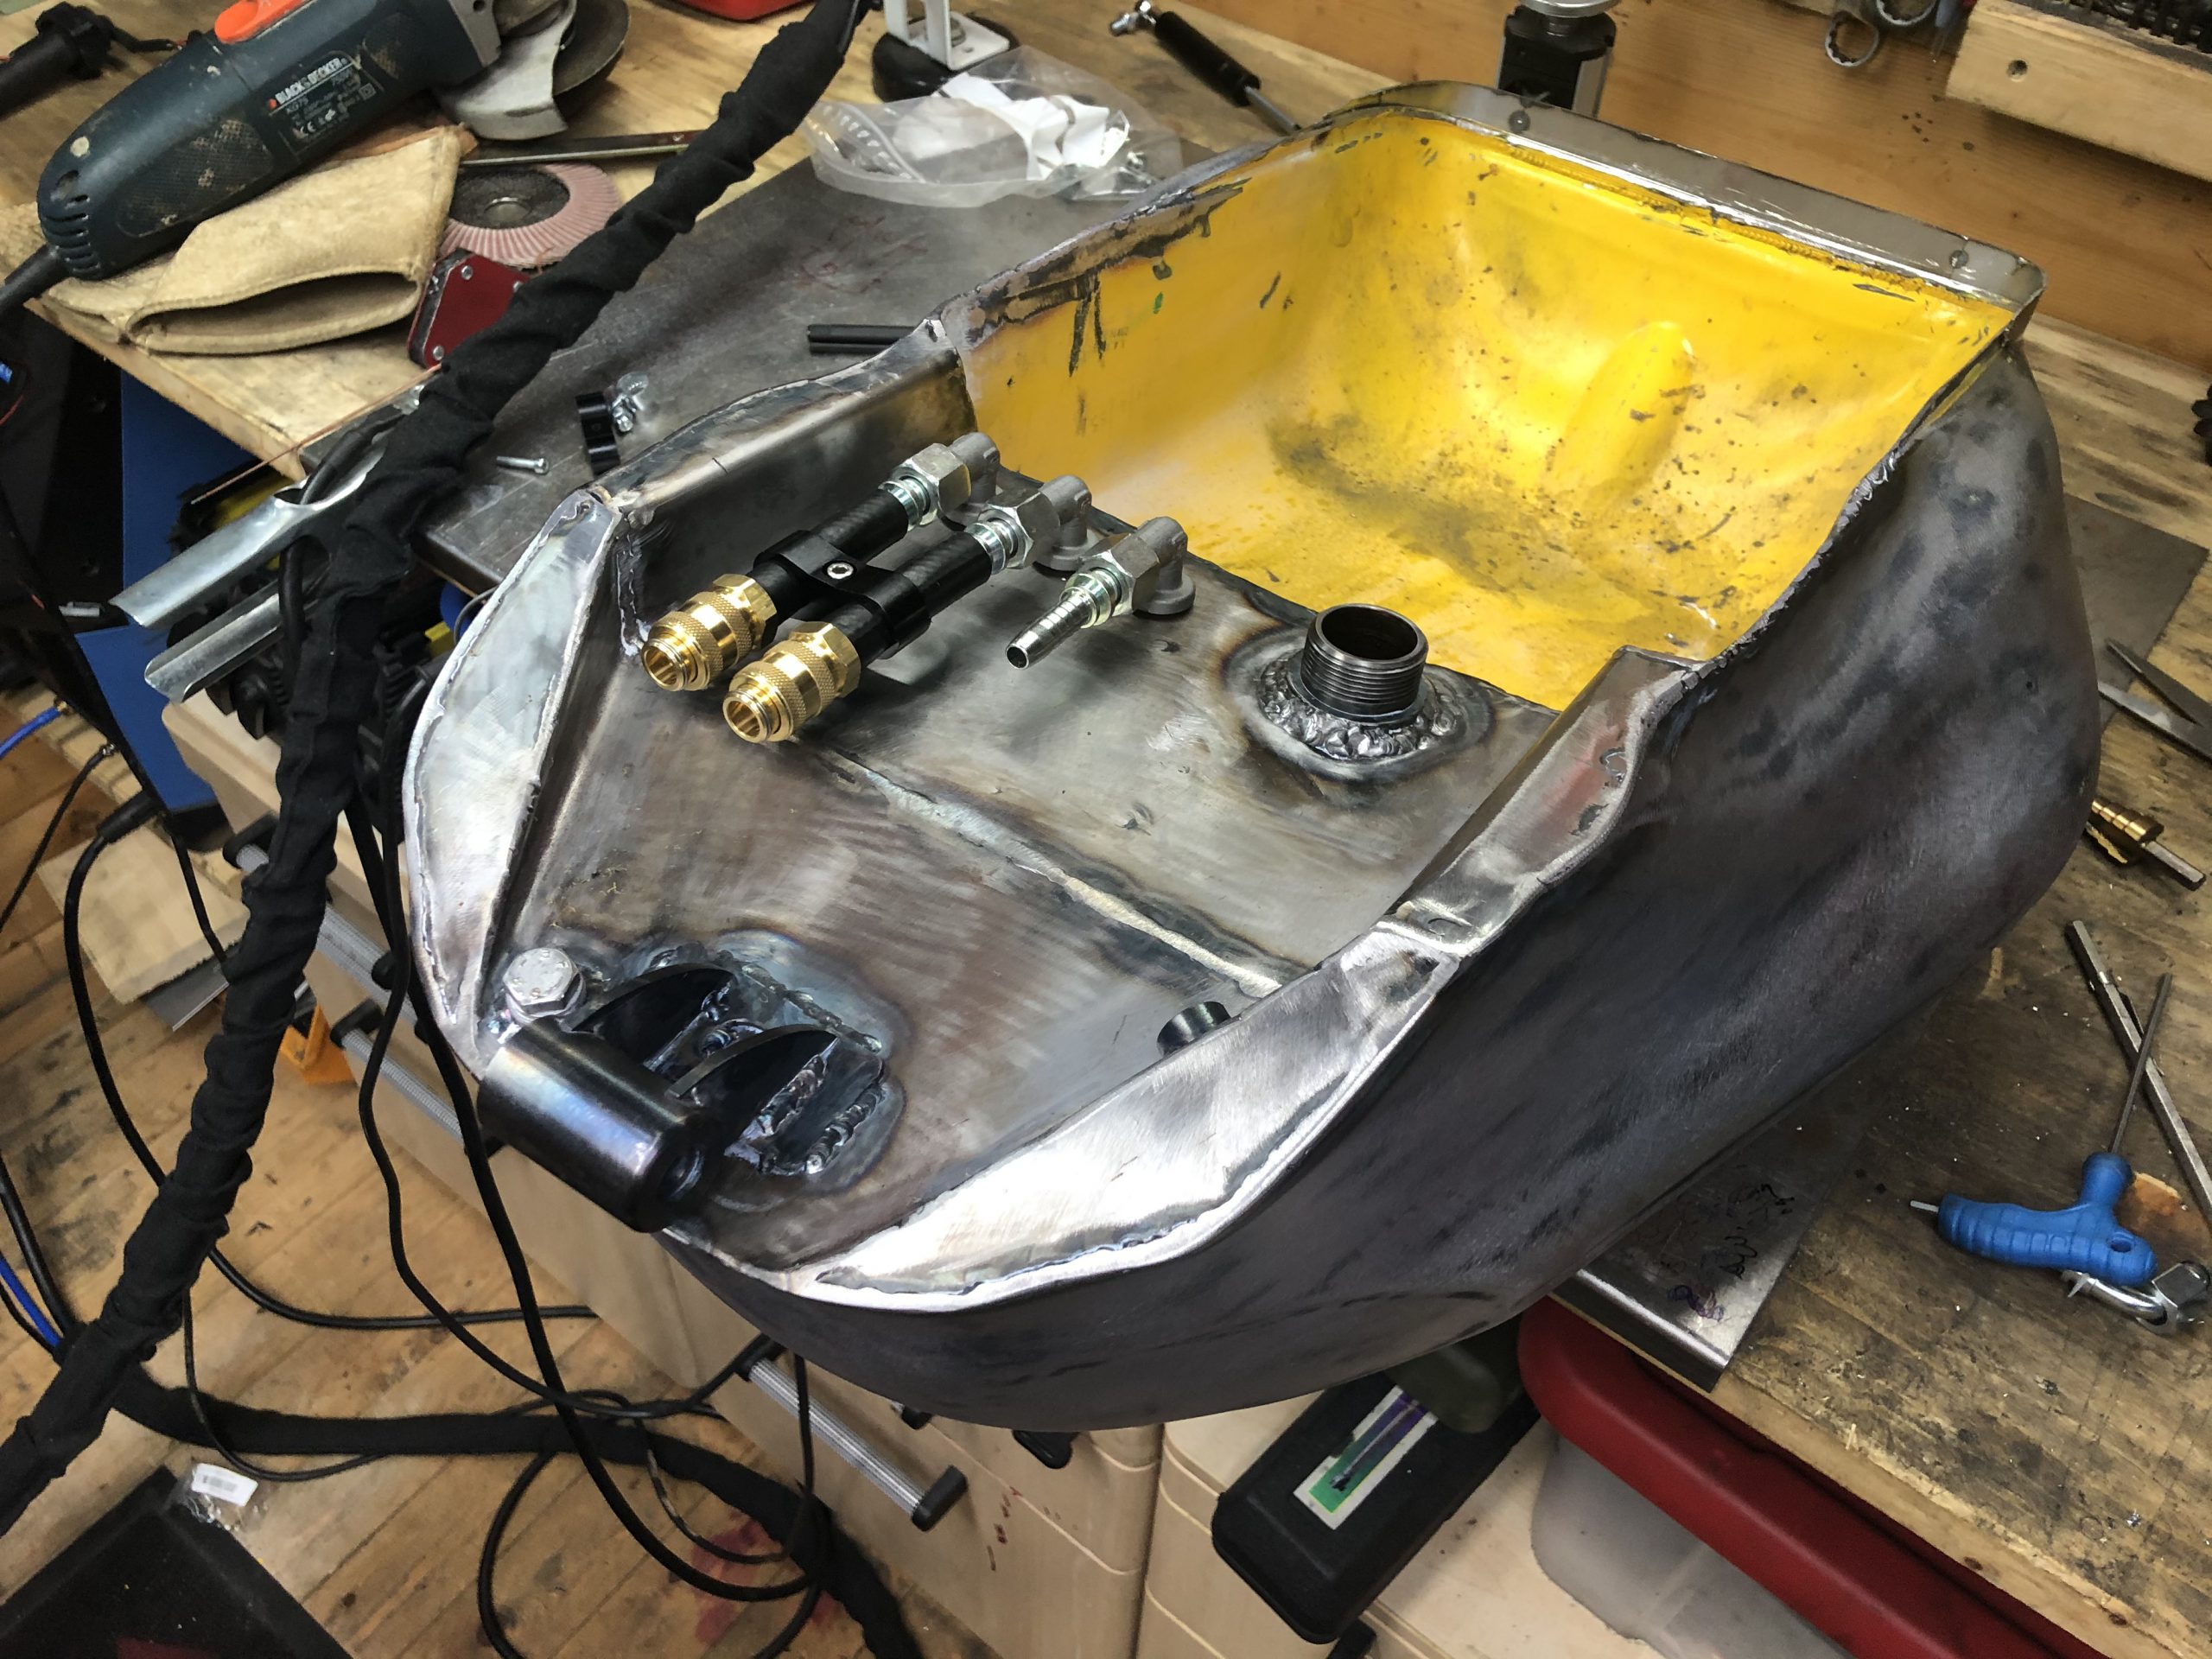
Ok here we go. This was the thing i was worried about the most. Chopping up the gas tank and welding in a new bottom. The tank simply would not fit the bike anymore with the new subframe as you can see in picture nr1.
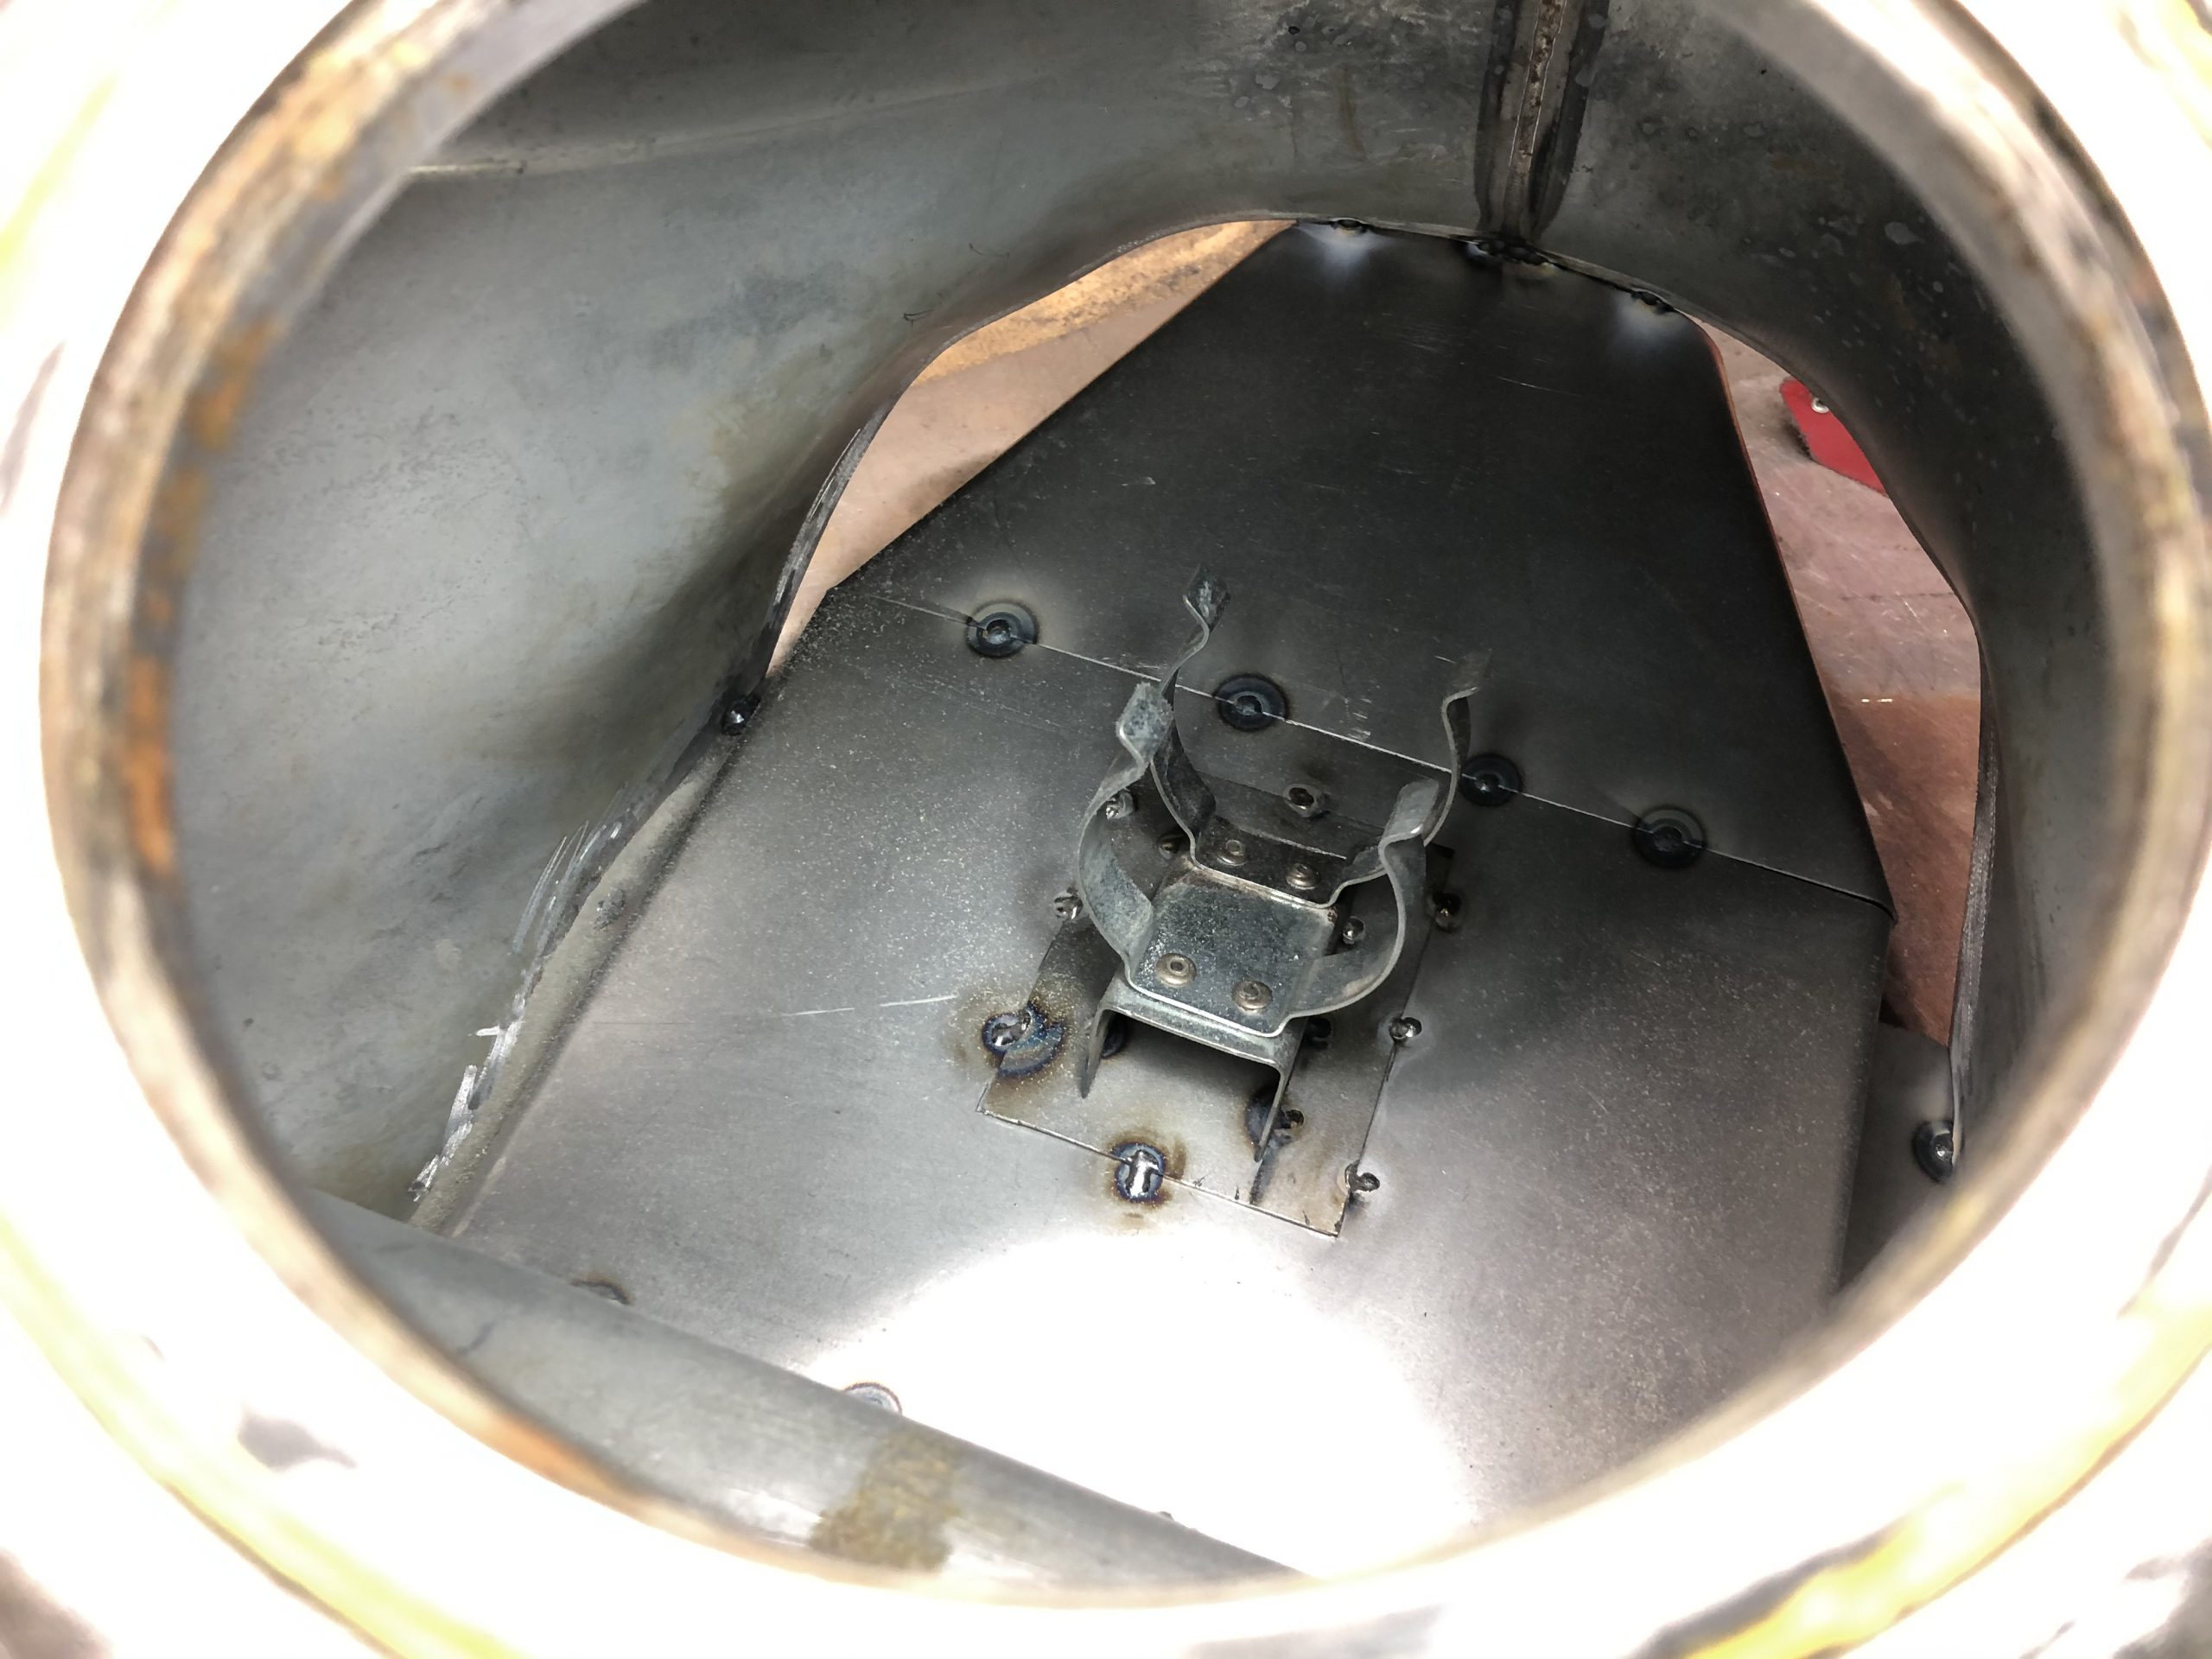
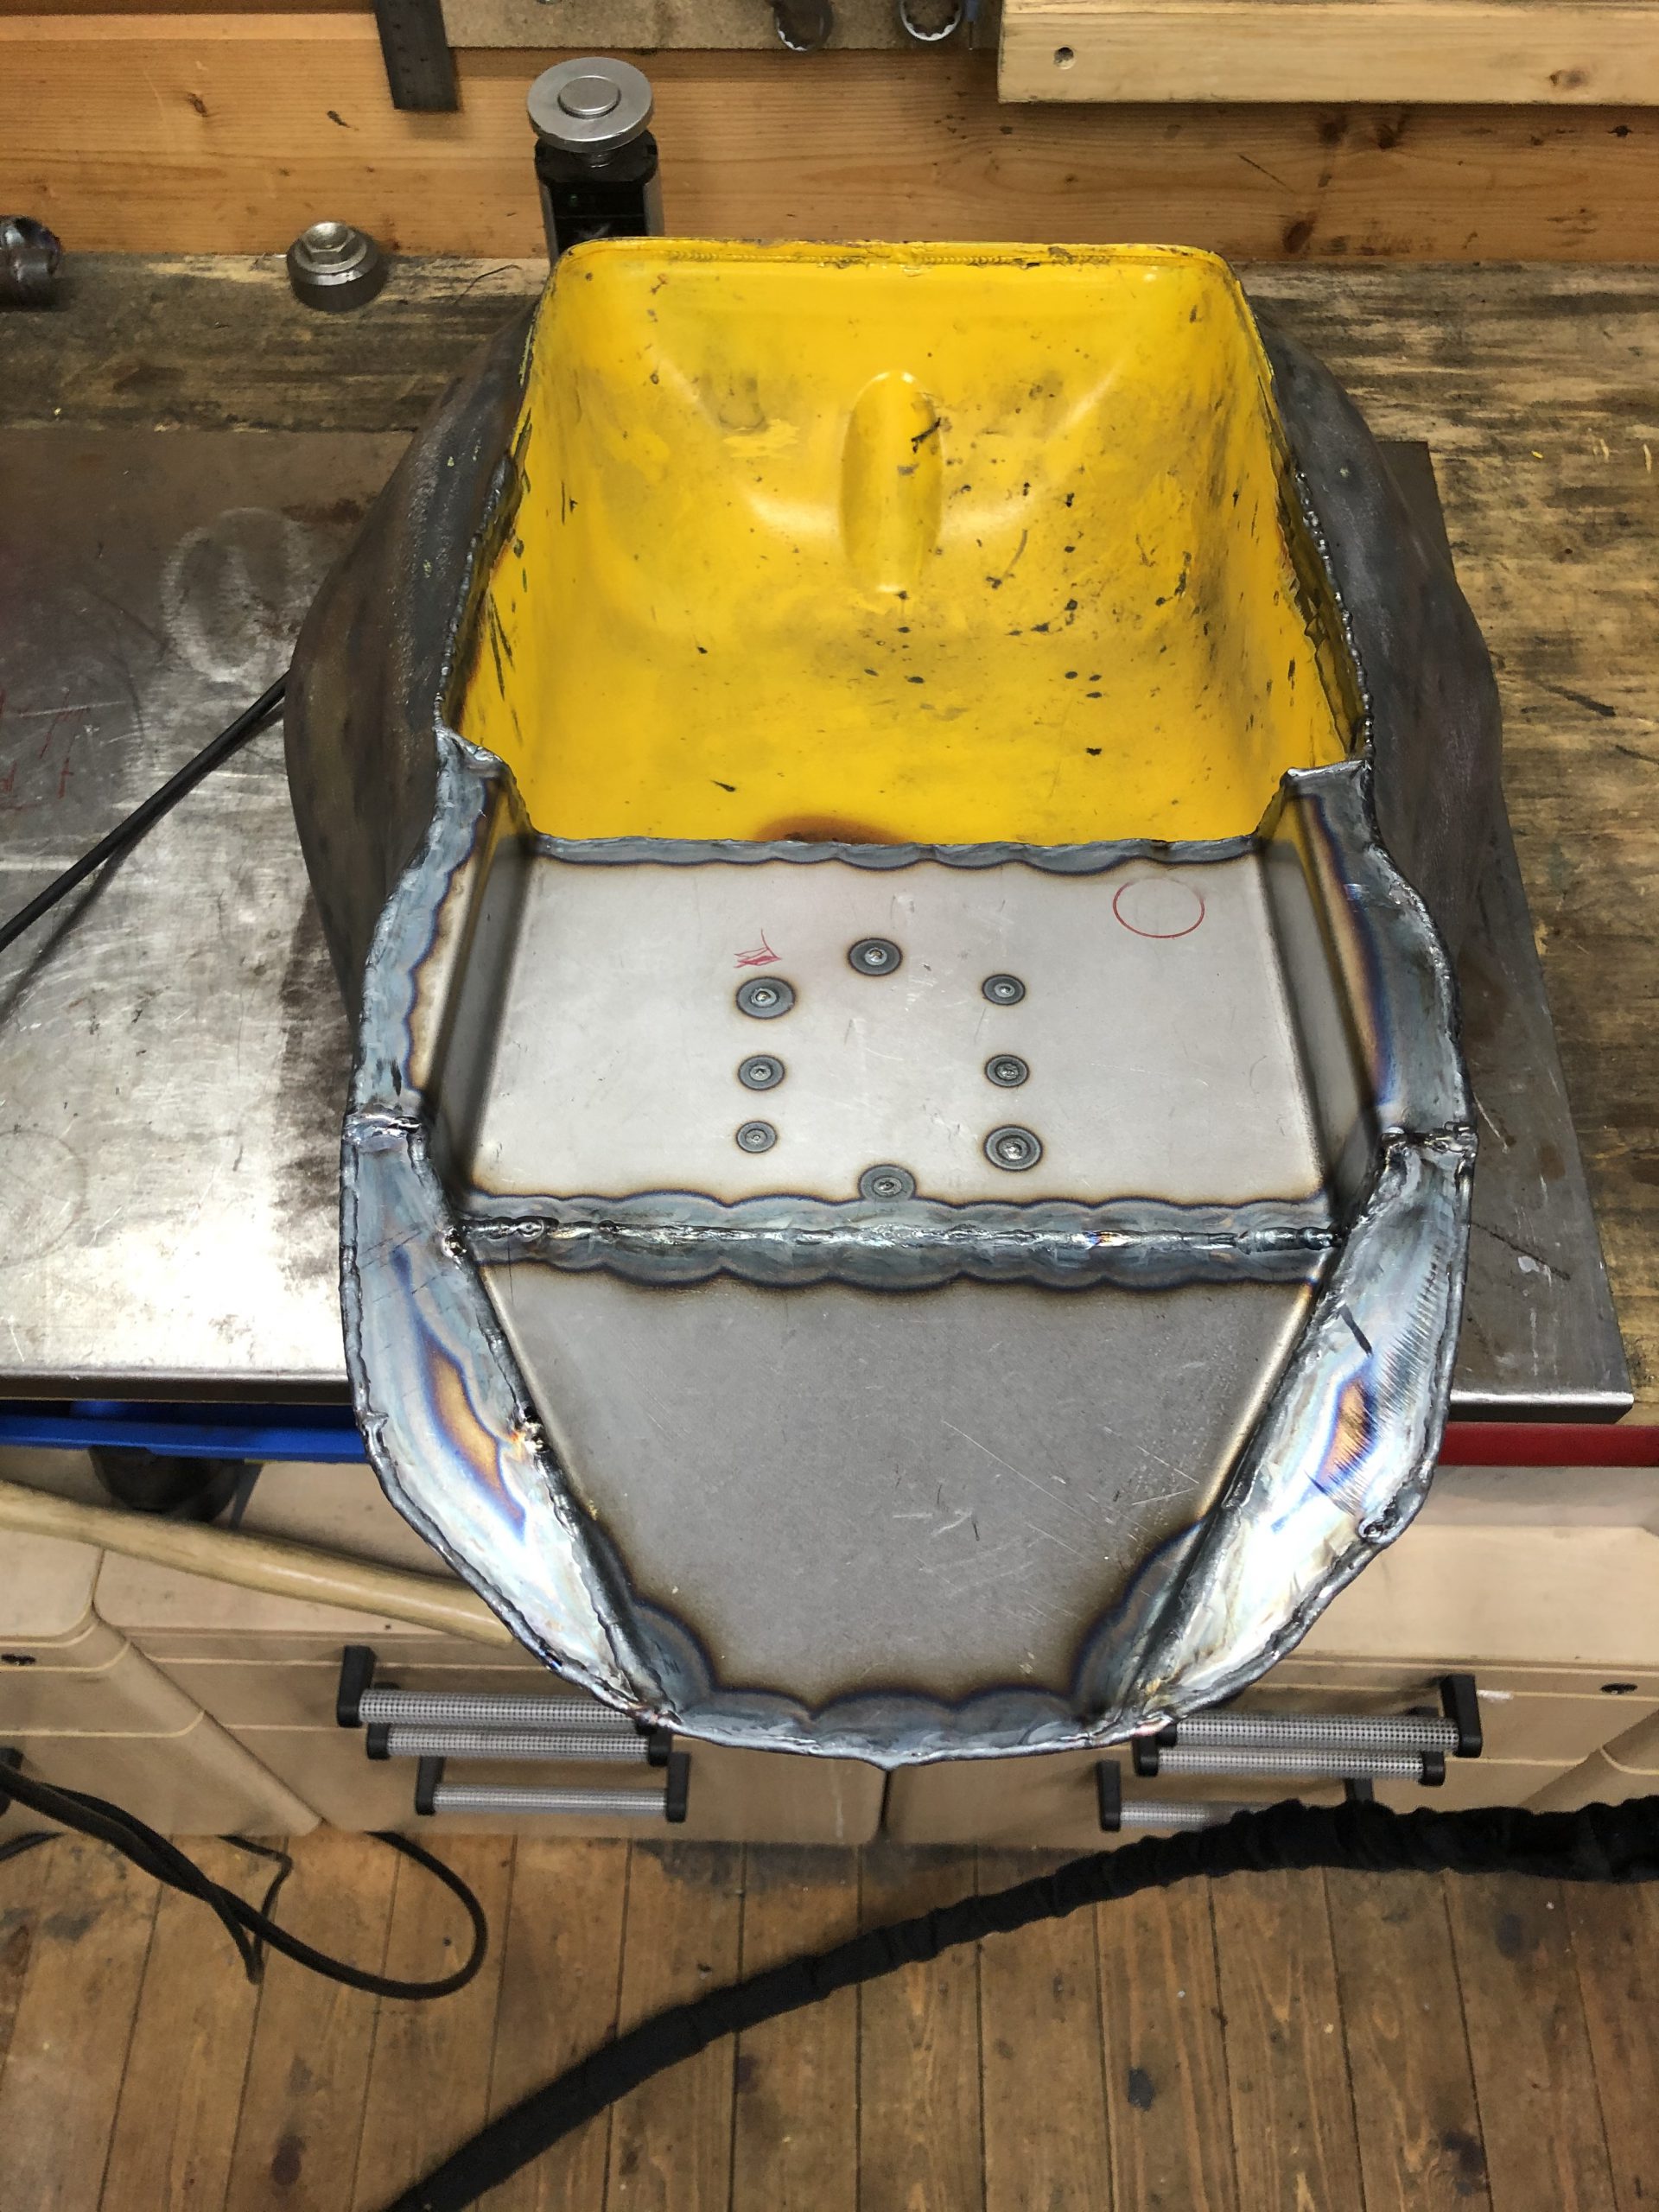
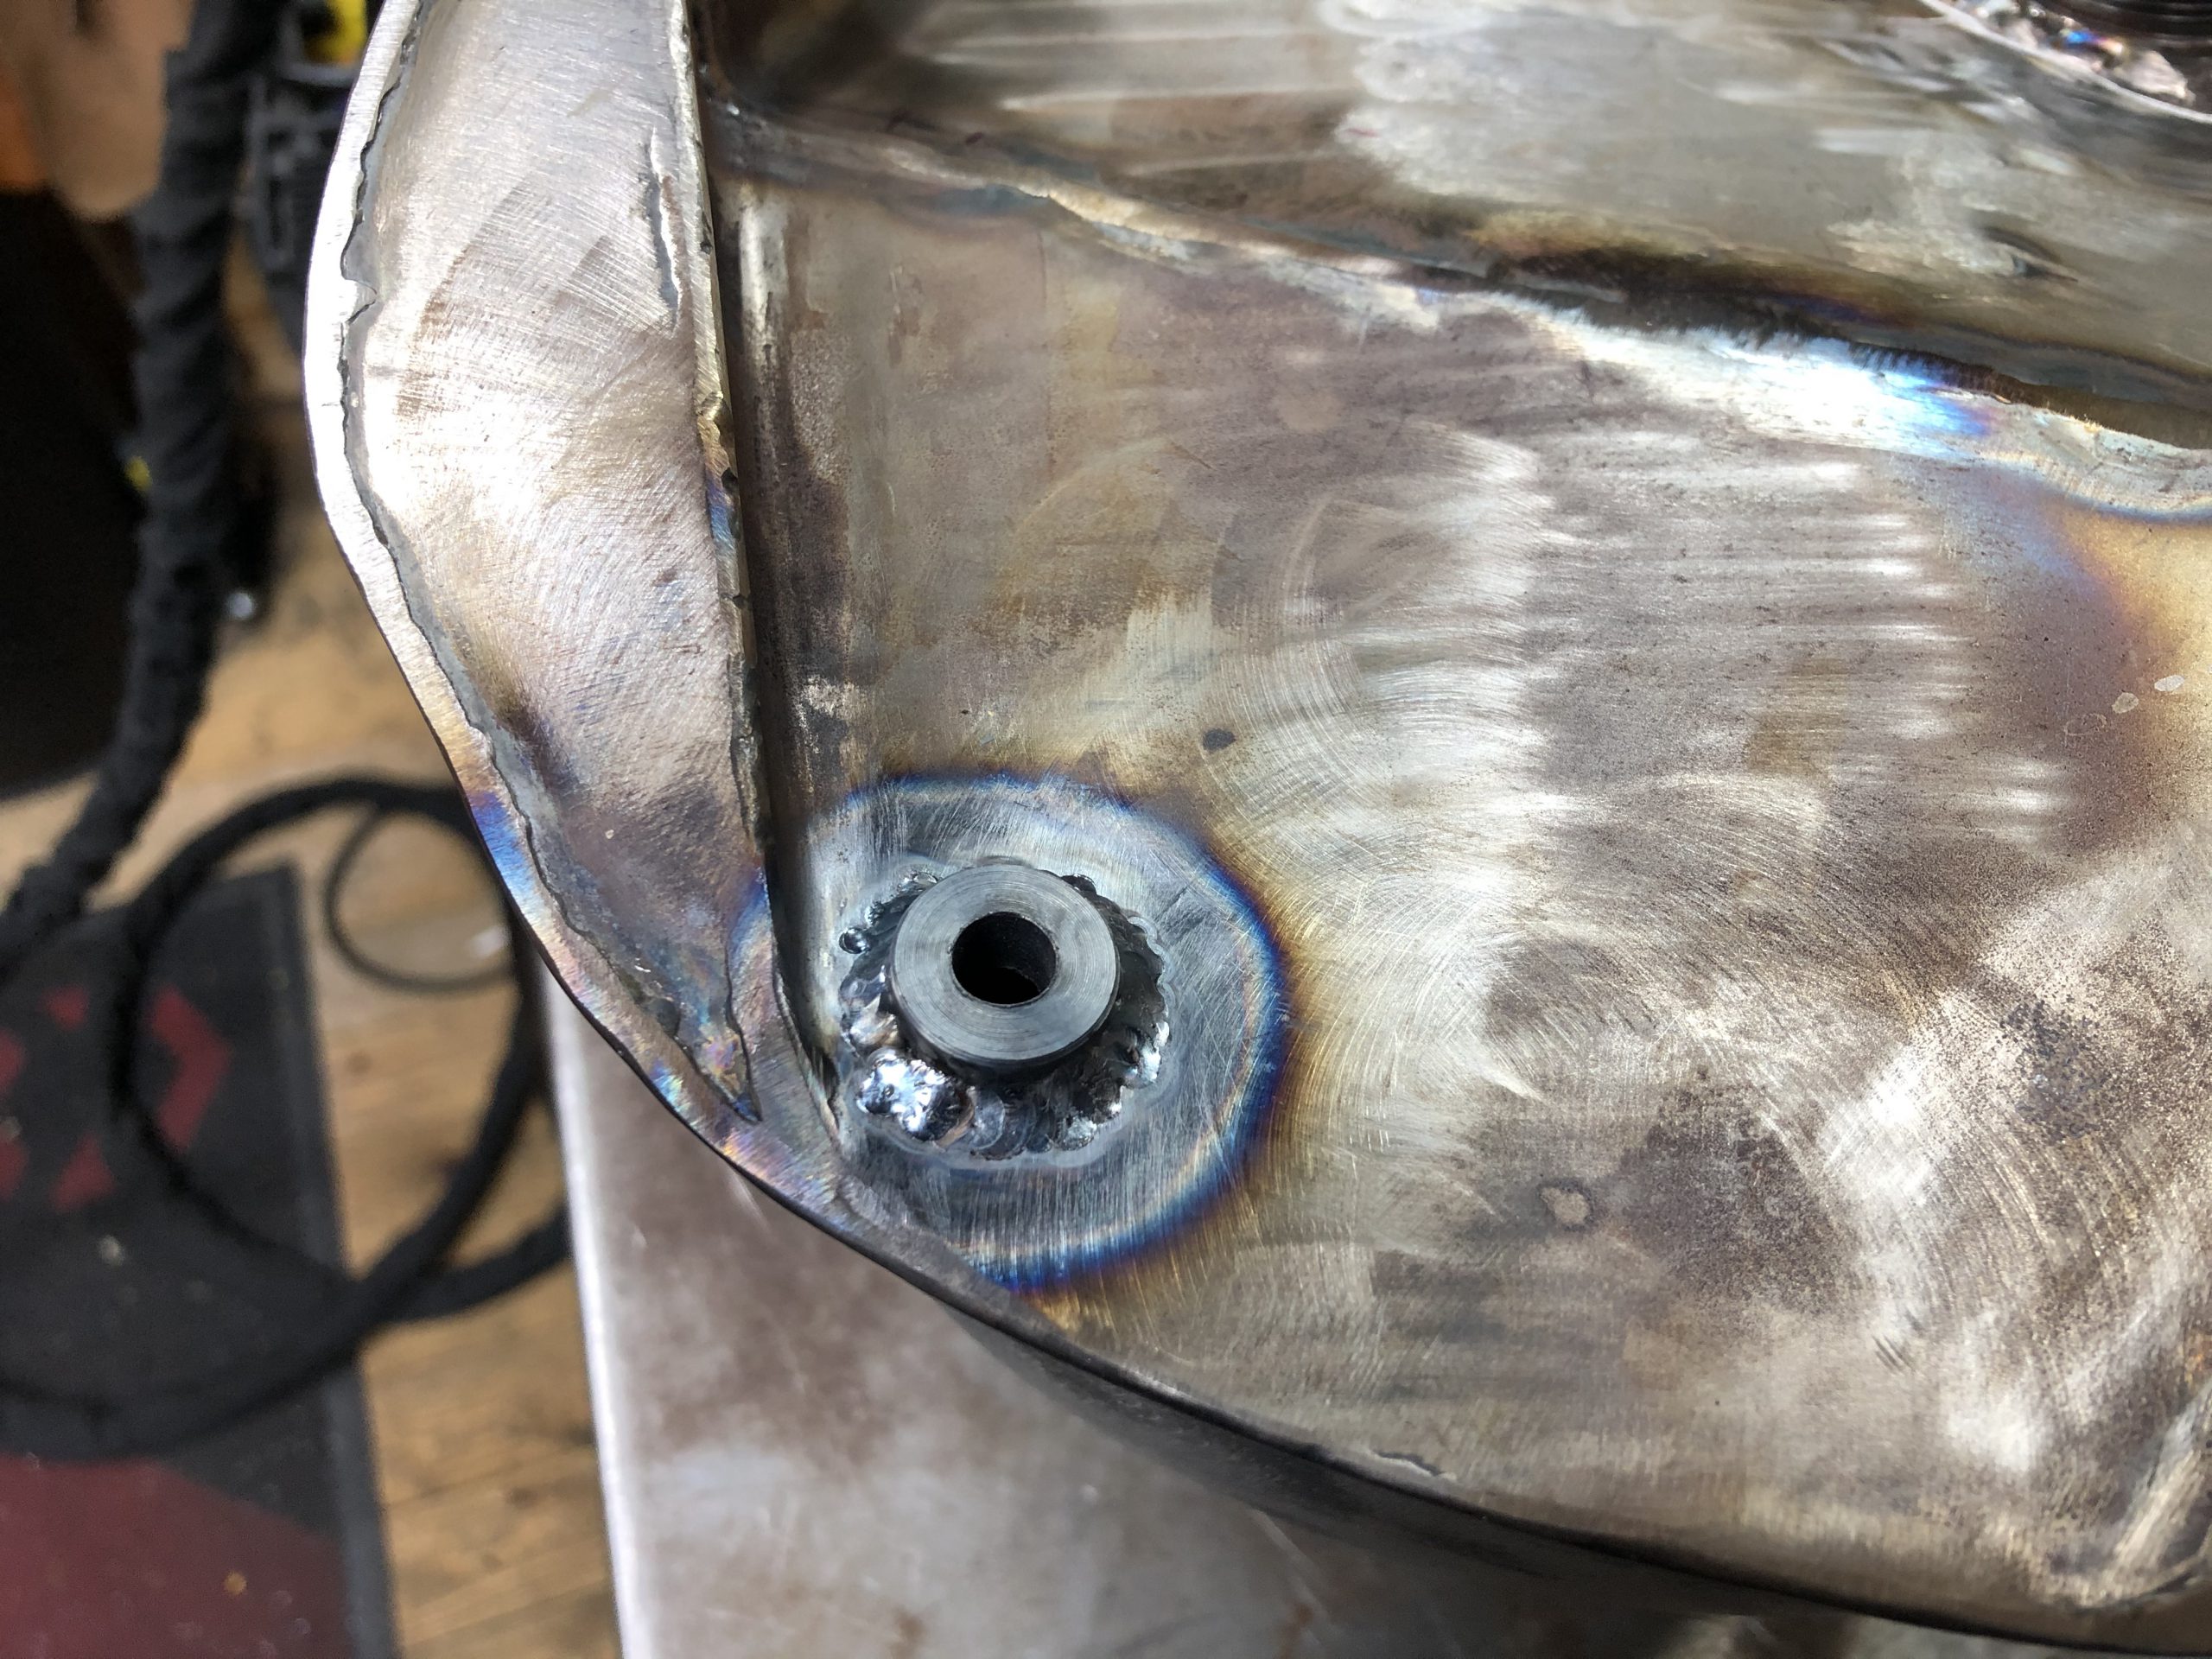
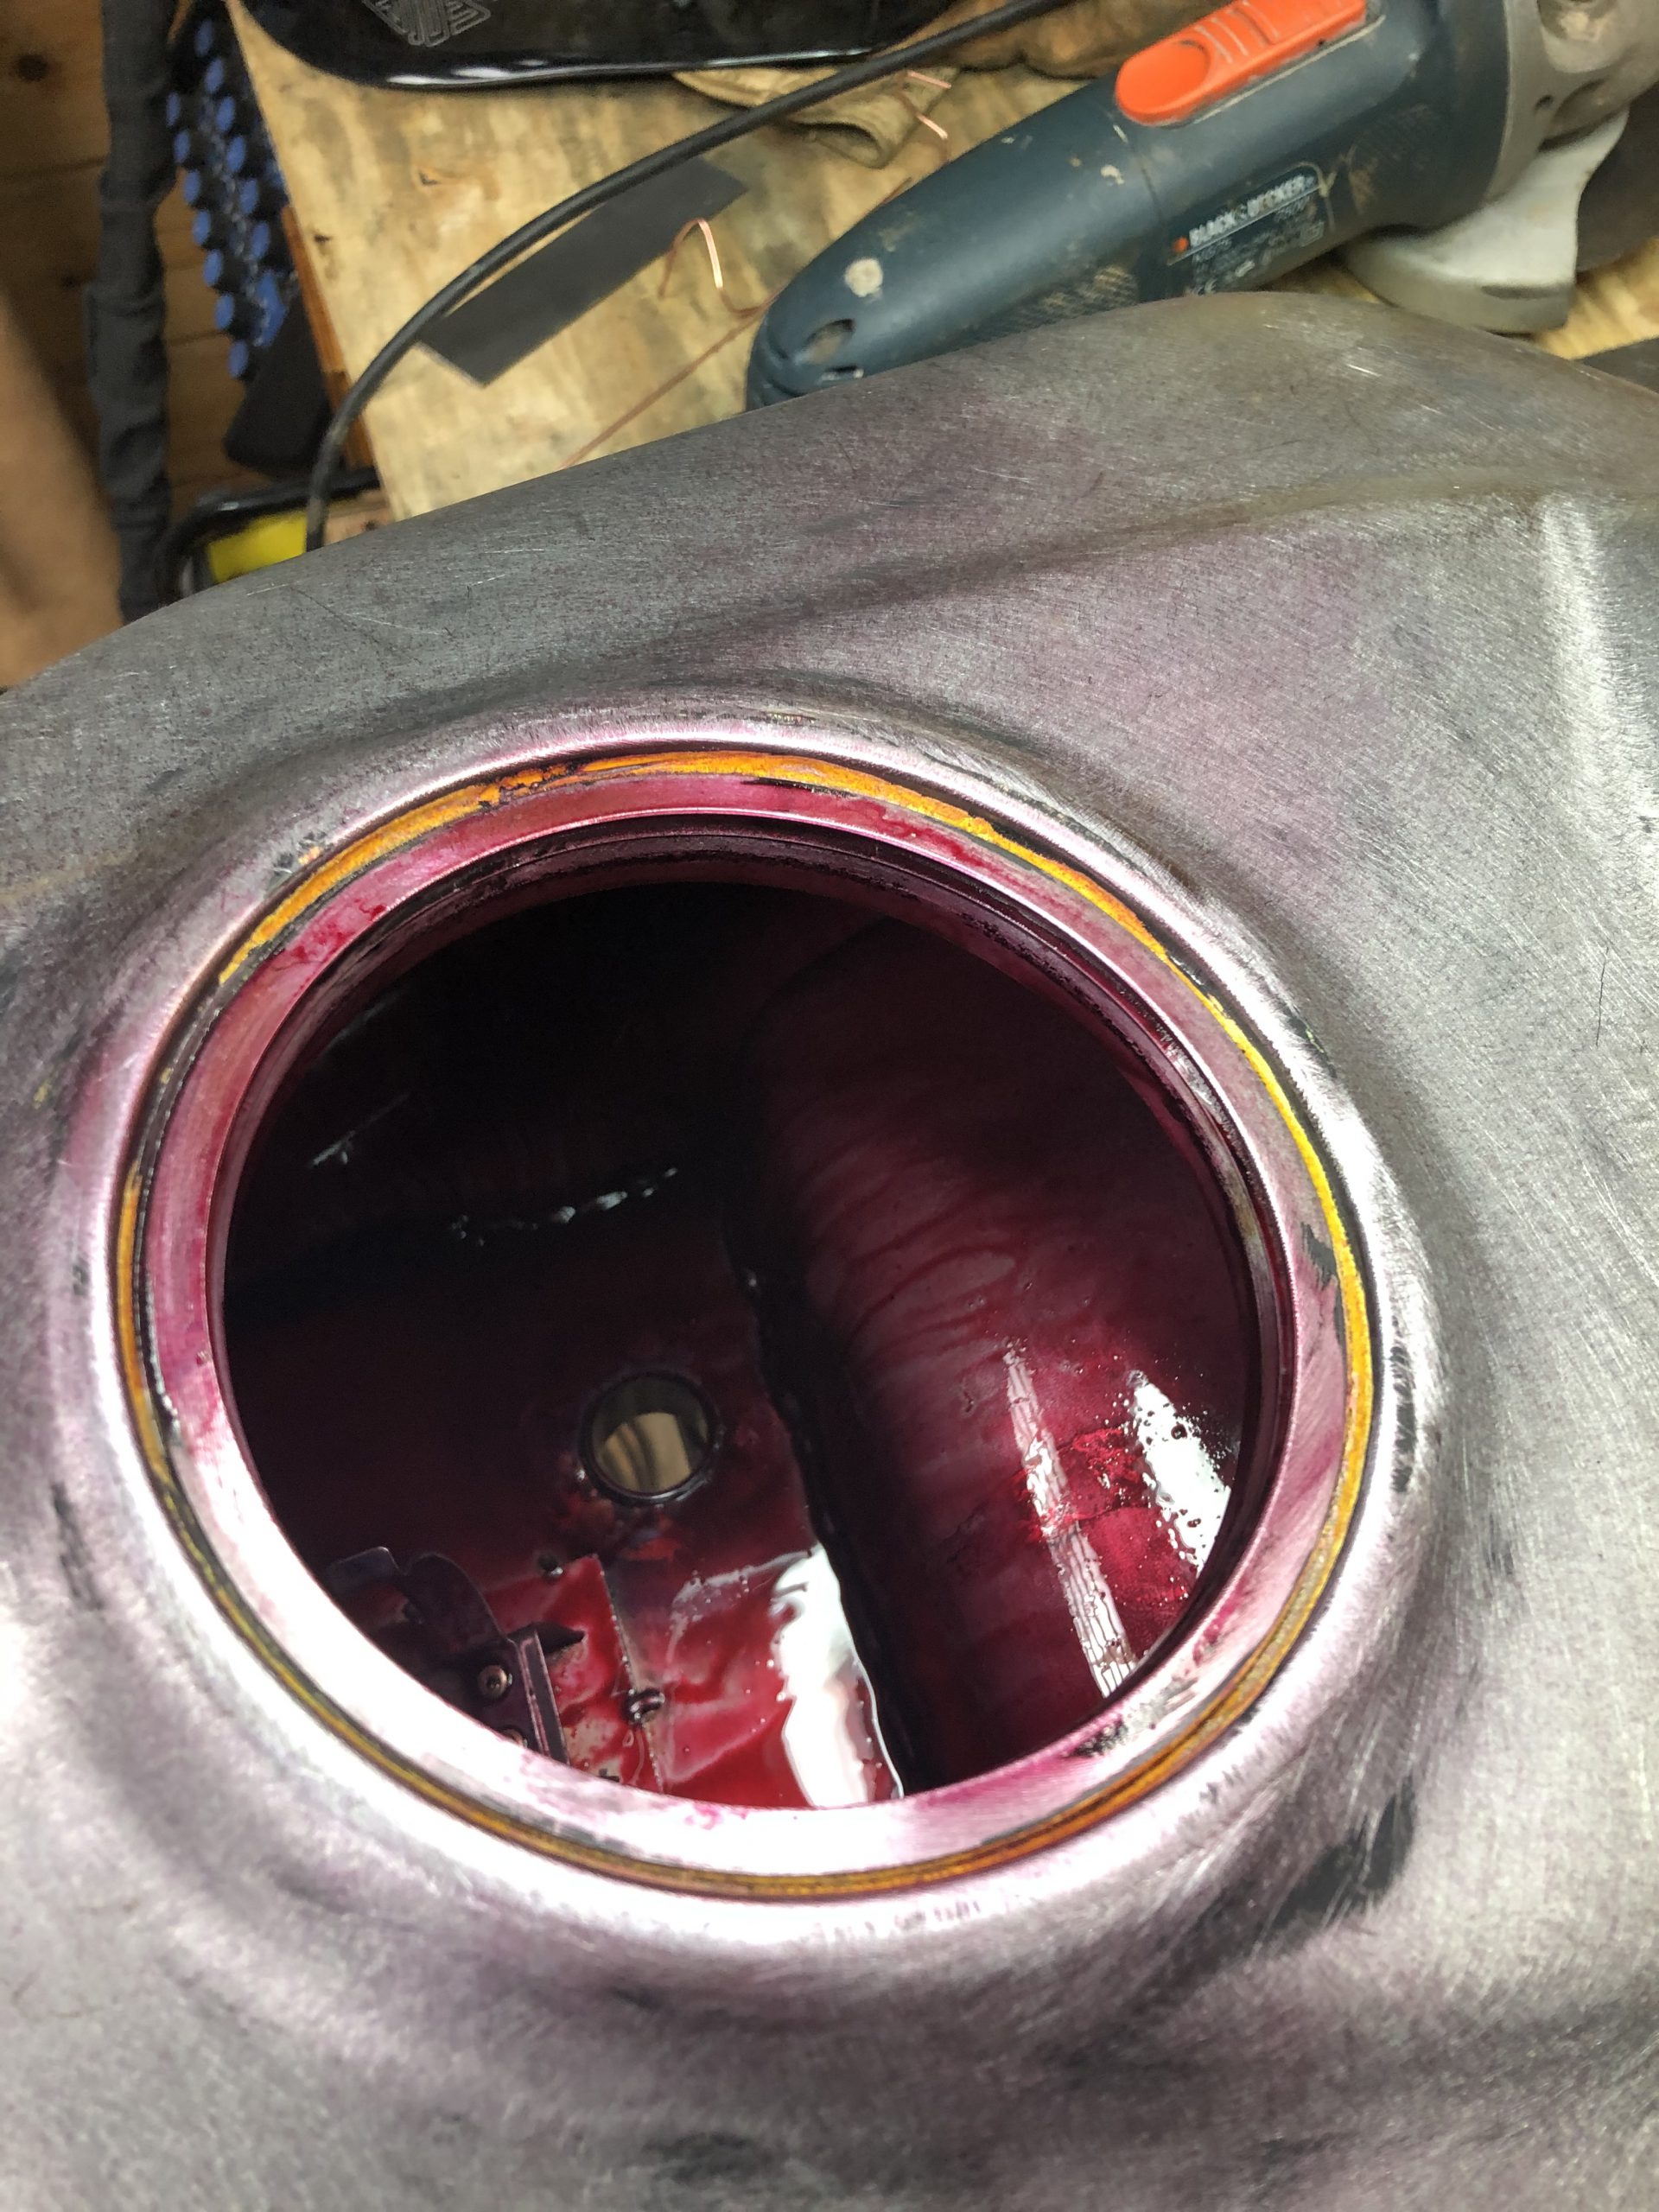
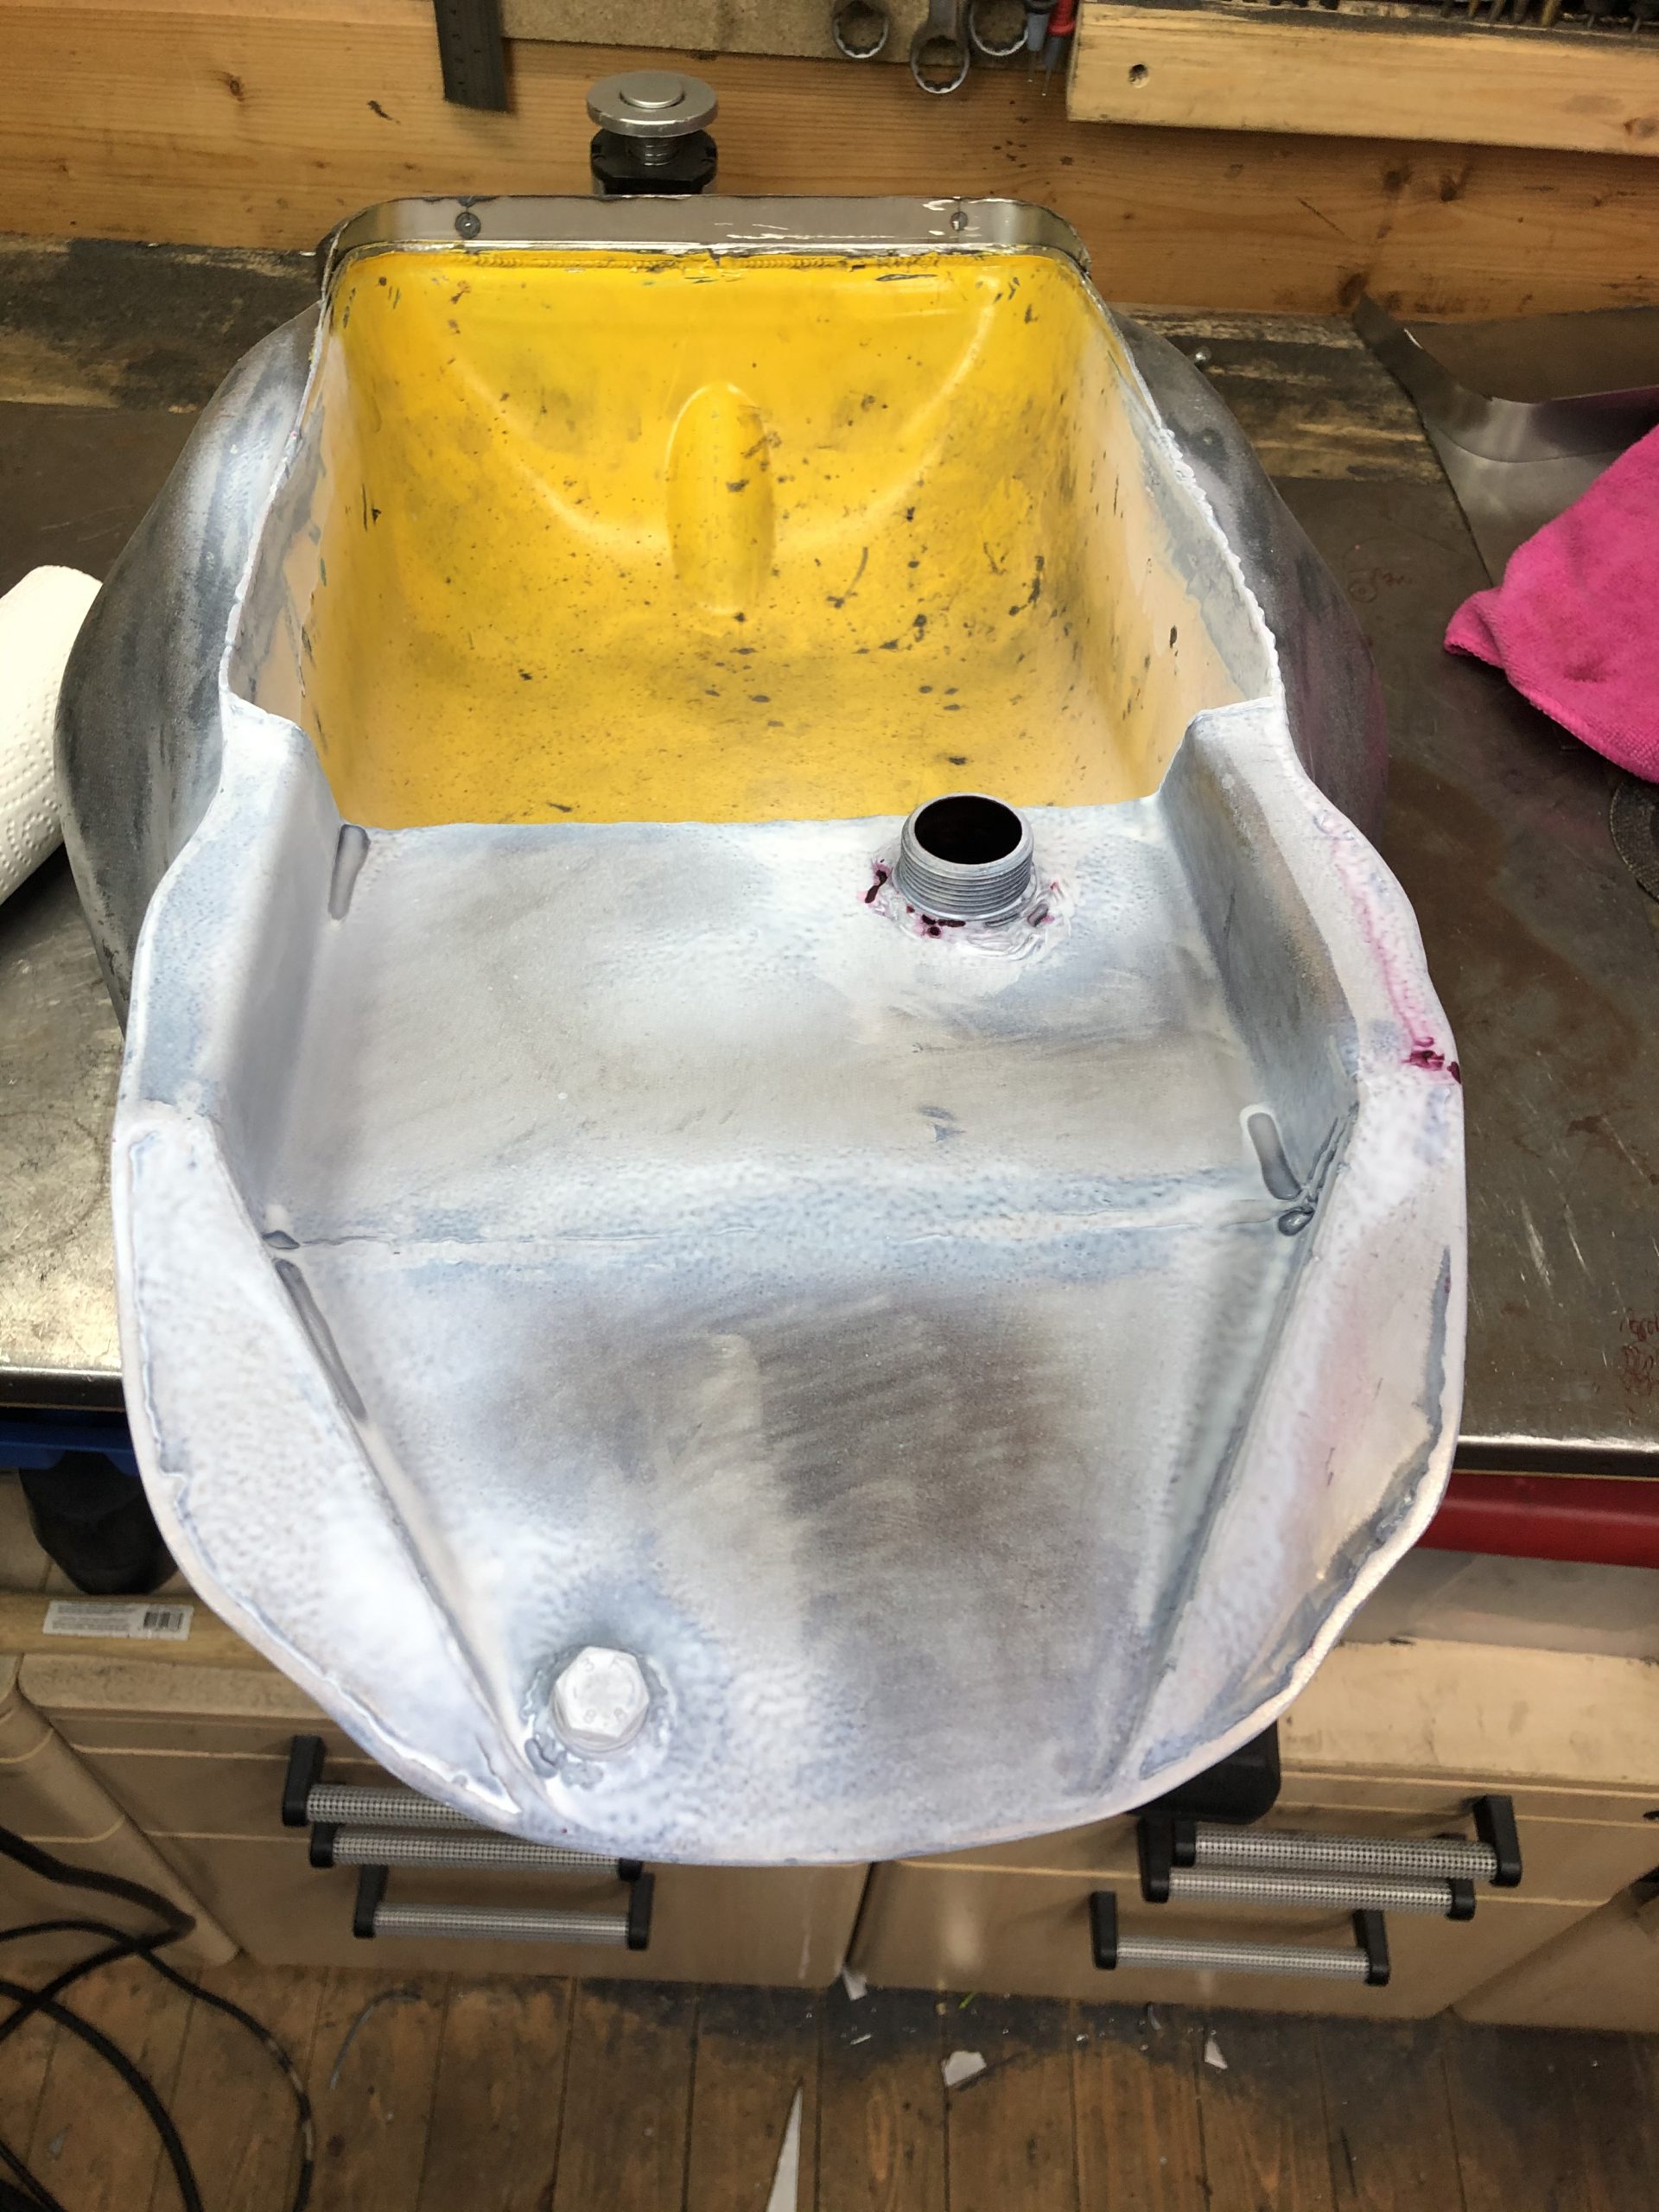
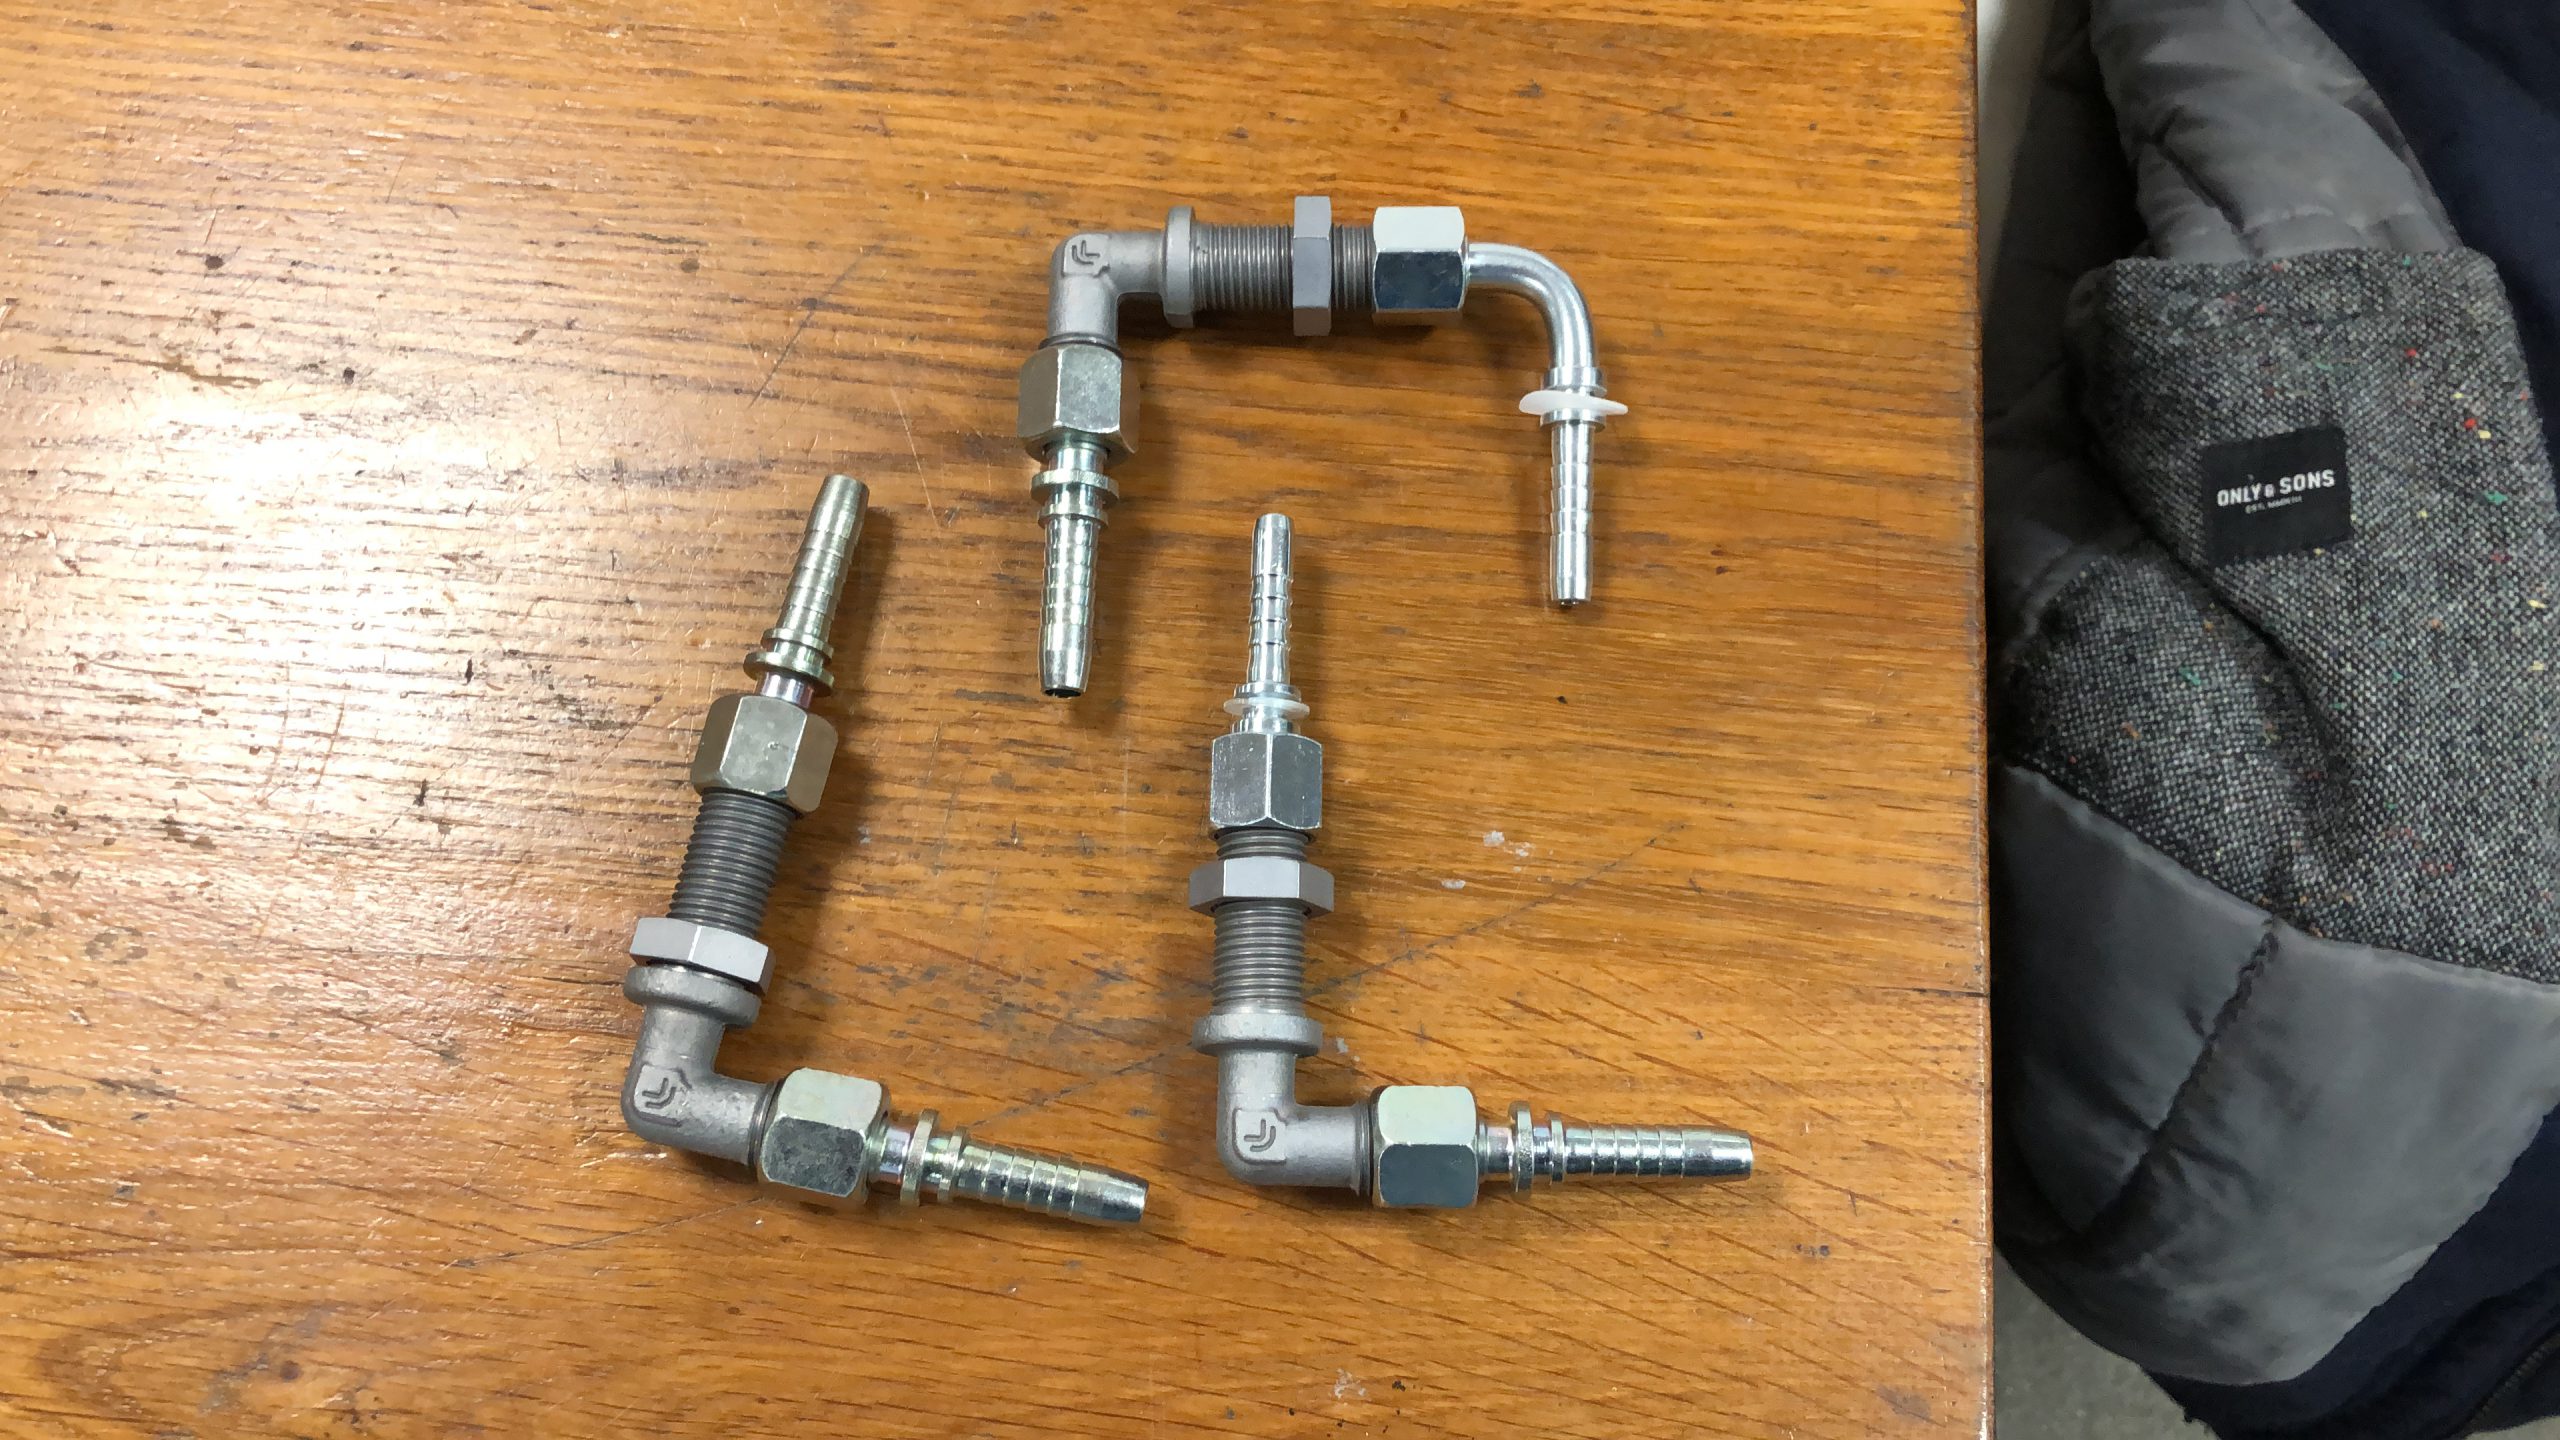
Marked everything up with a laser level and started grinding. After that created a new tank bottom with fuel pump mounts in place (inside). Drain plug and fuel level sensor mount installed and after that leak testing with the blood red fluids (thanks Tony for your guidance!). Found a few leaks but nothing bad that could not be fixed. Also installed quick release fittings for the hoses.
Dont know what i was so scared of. Allot of work, but totally doable. And now looks way better, however its still not great because of the indentations where normally the rubber padding sits. Back to work on the tank!


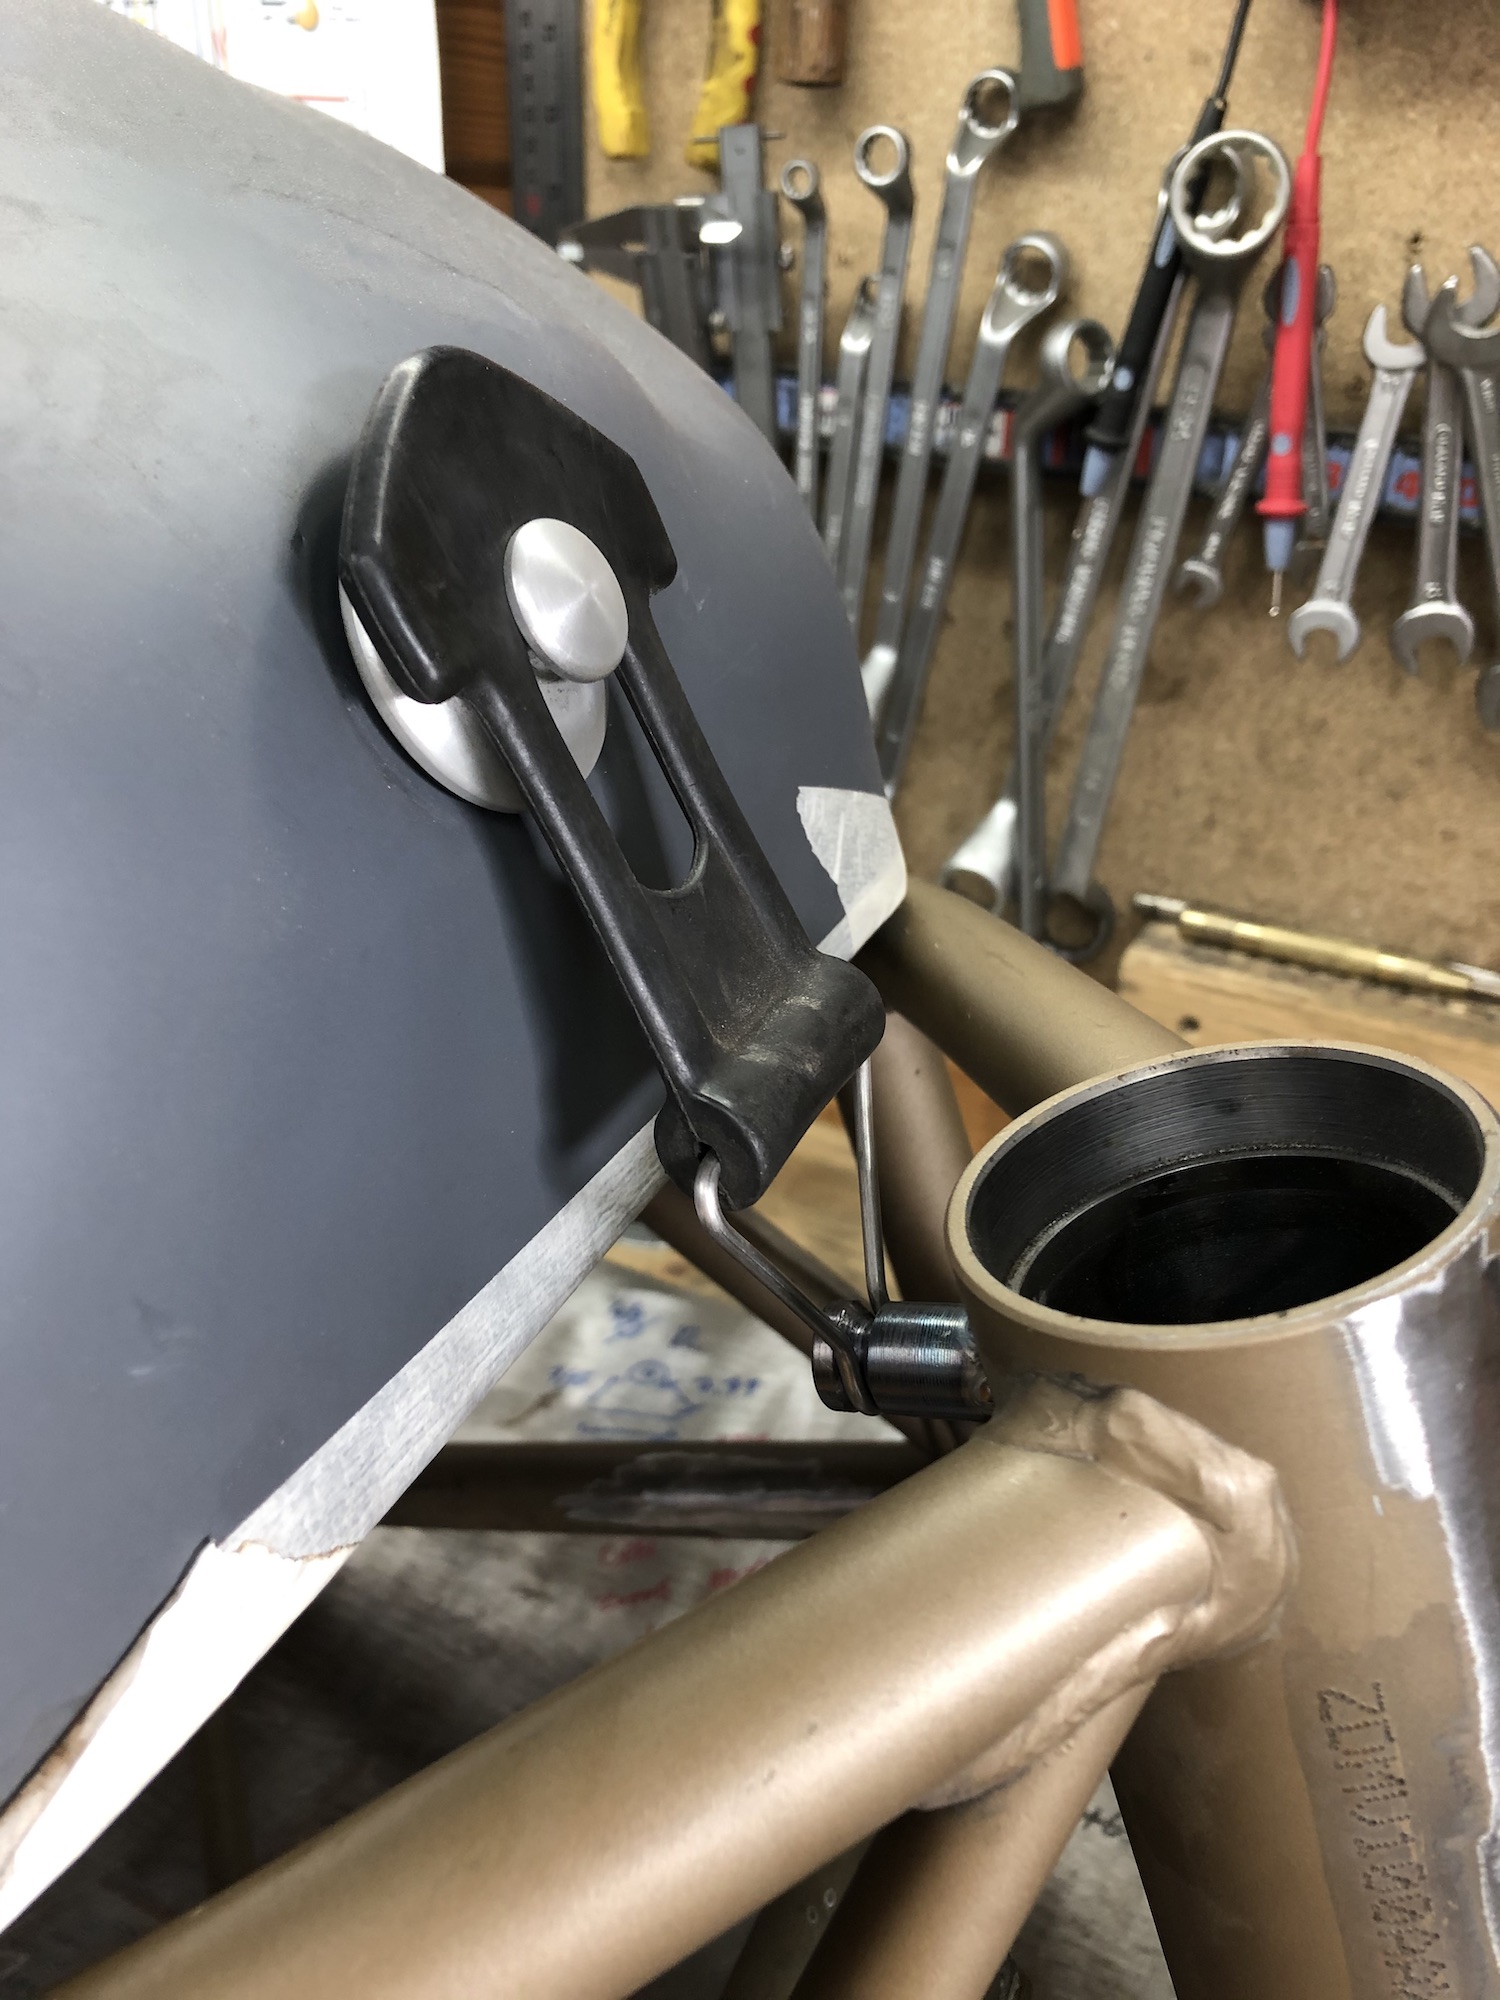
TANK HINGE SYSTEM
With the custom rear shock mounts i needed a clean solution for the hinge for the fuel tank. So it mounts to the subframe from one side. Also fitted a gas spring to keep the tank lifted in the up position. Way cooler right?!


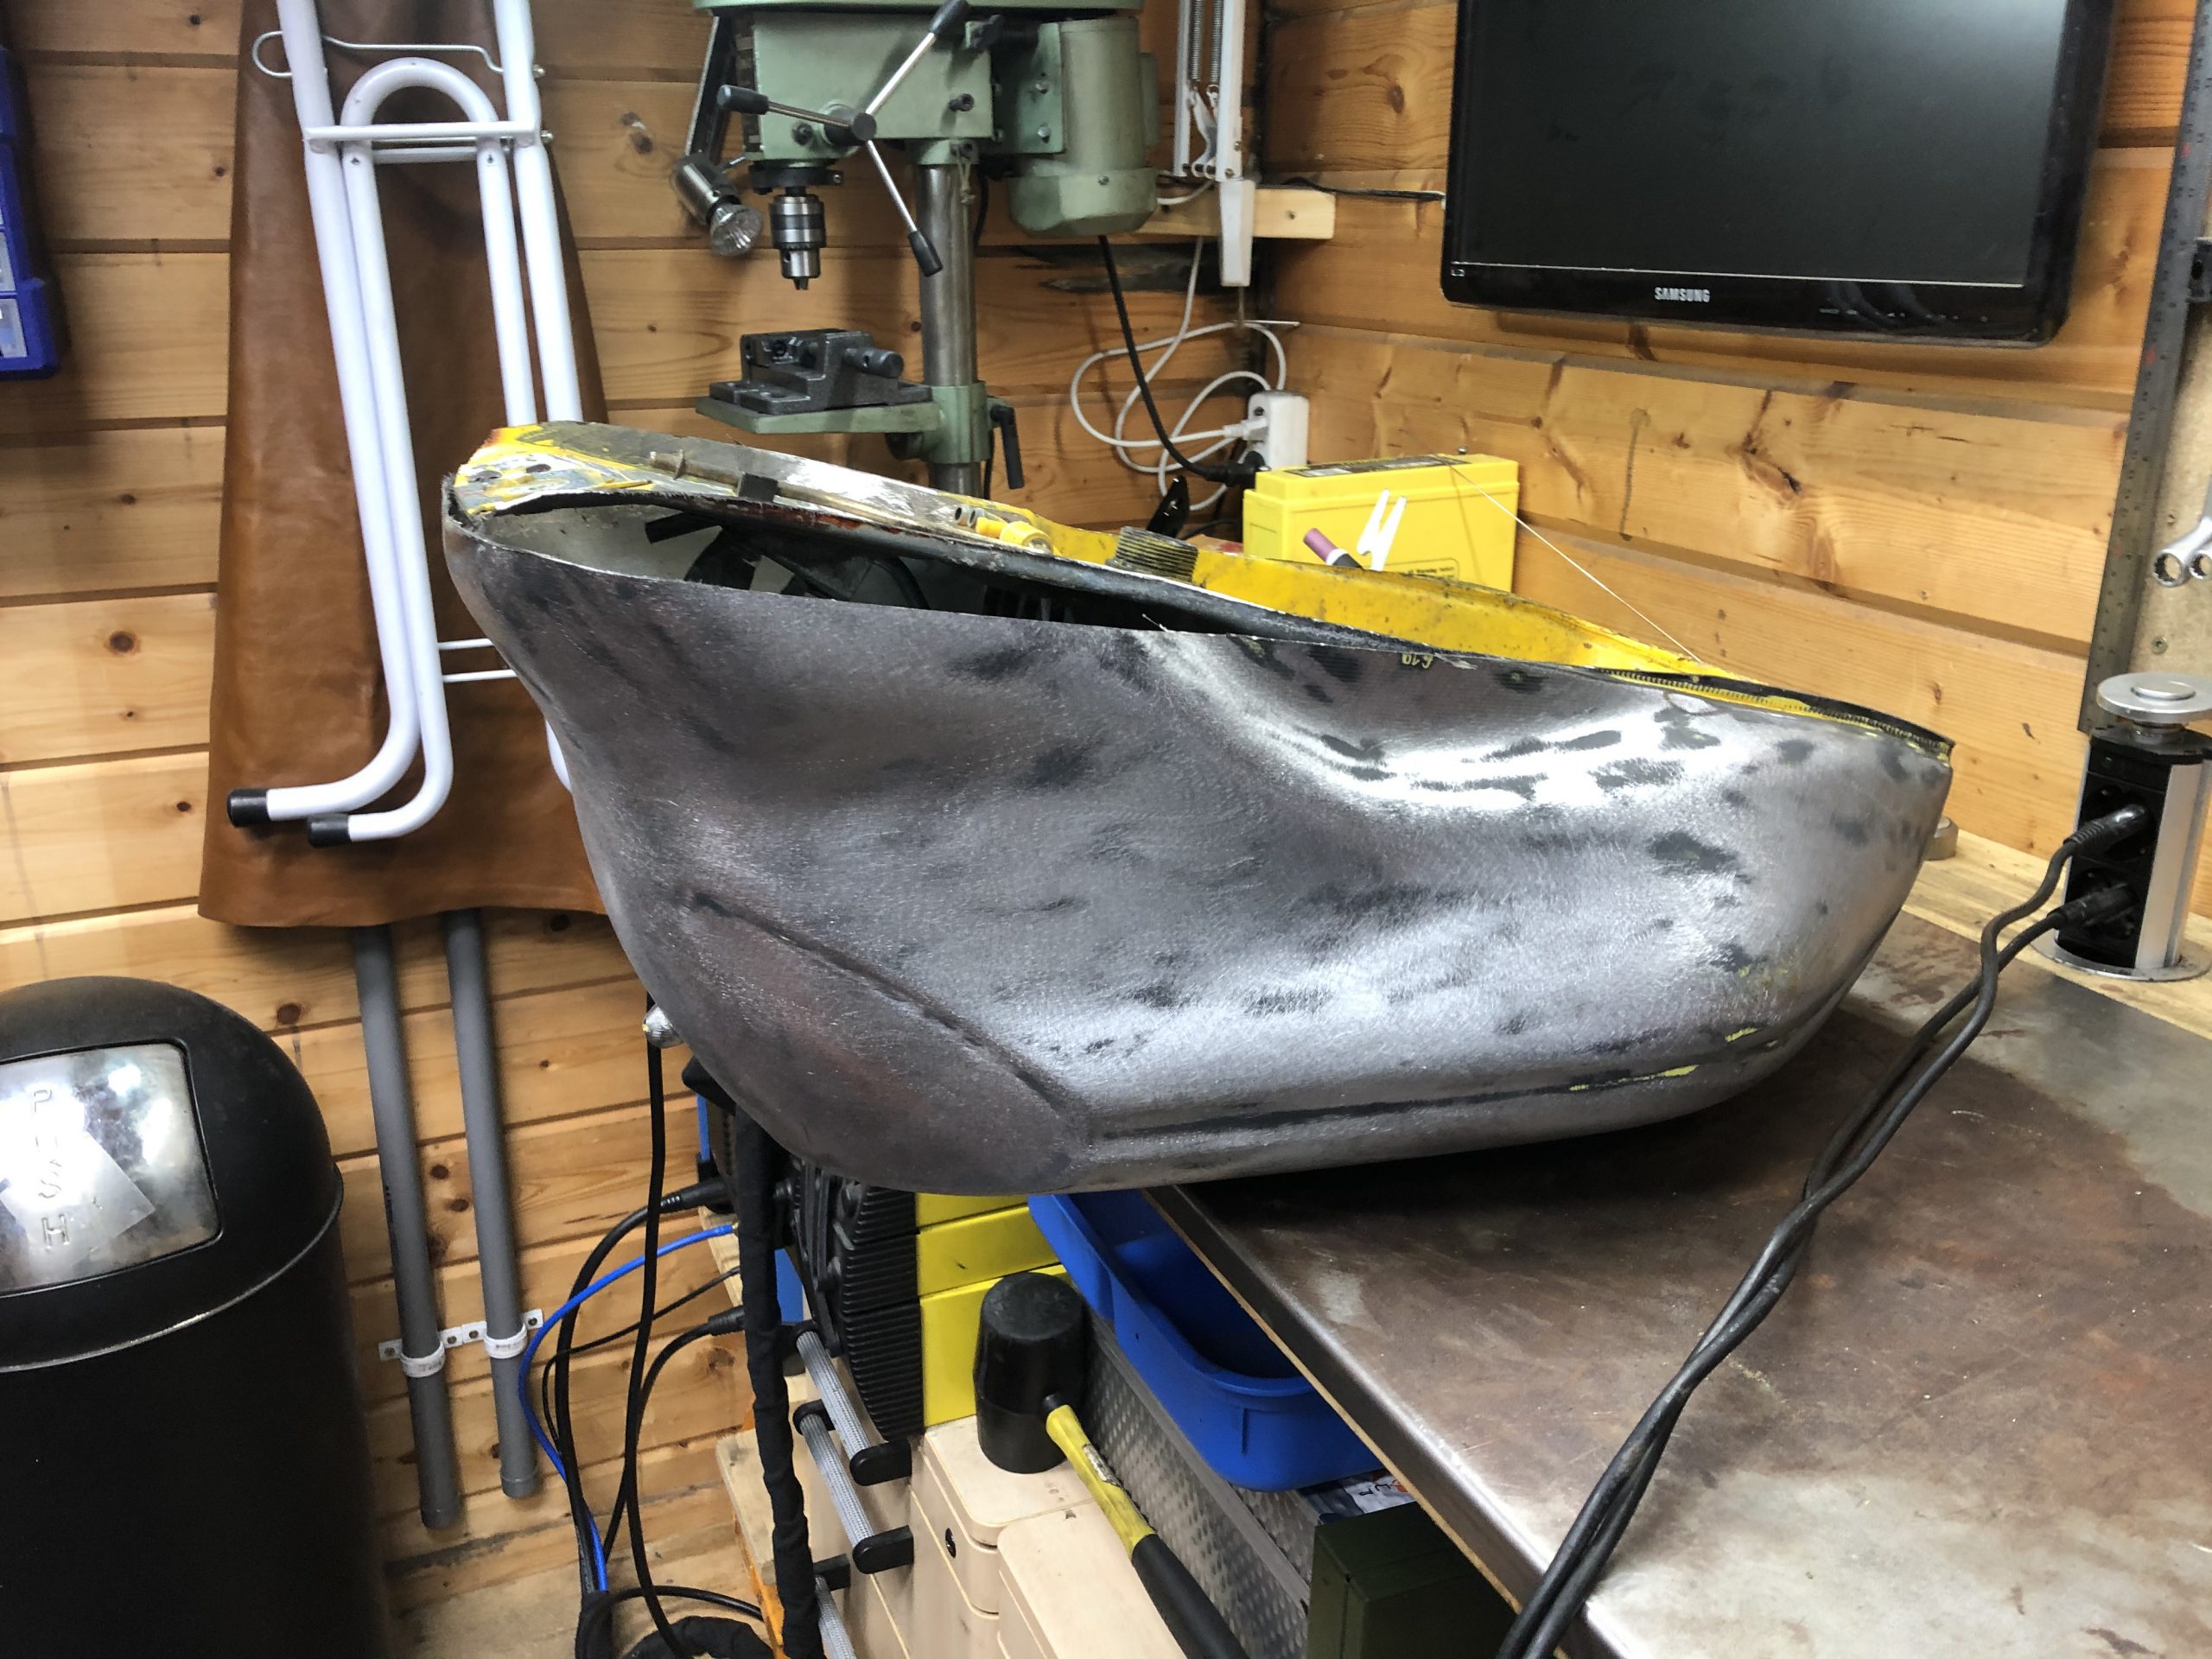
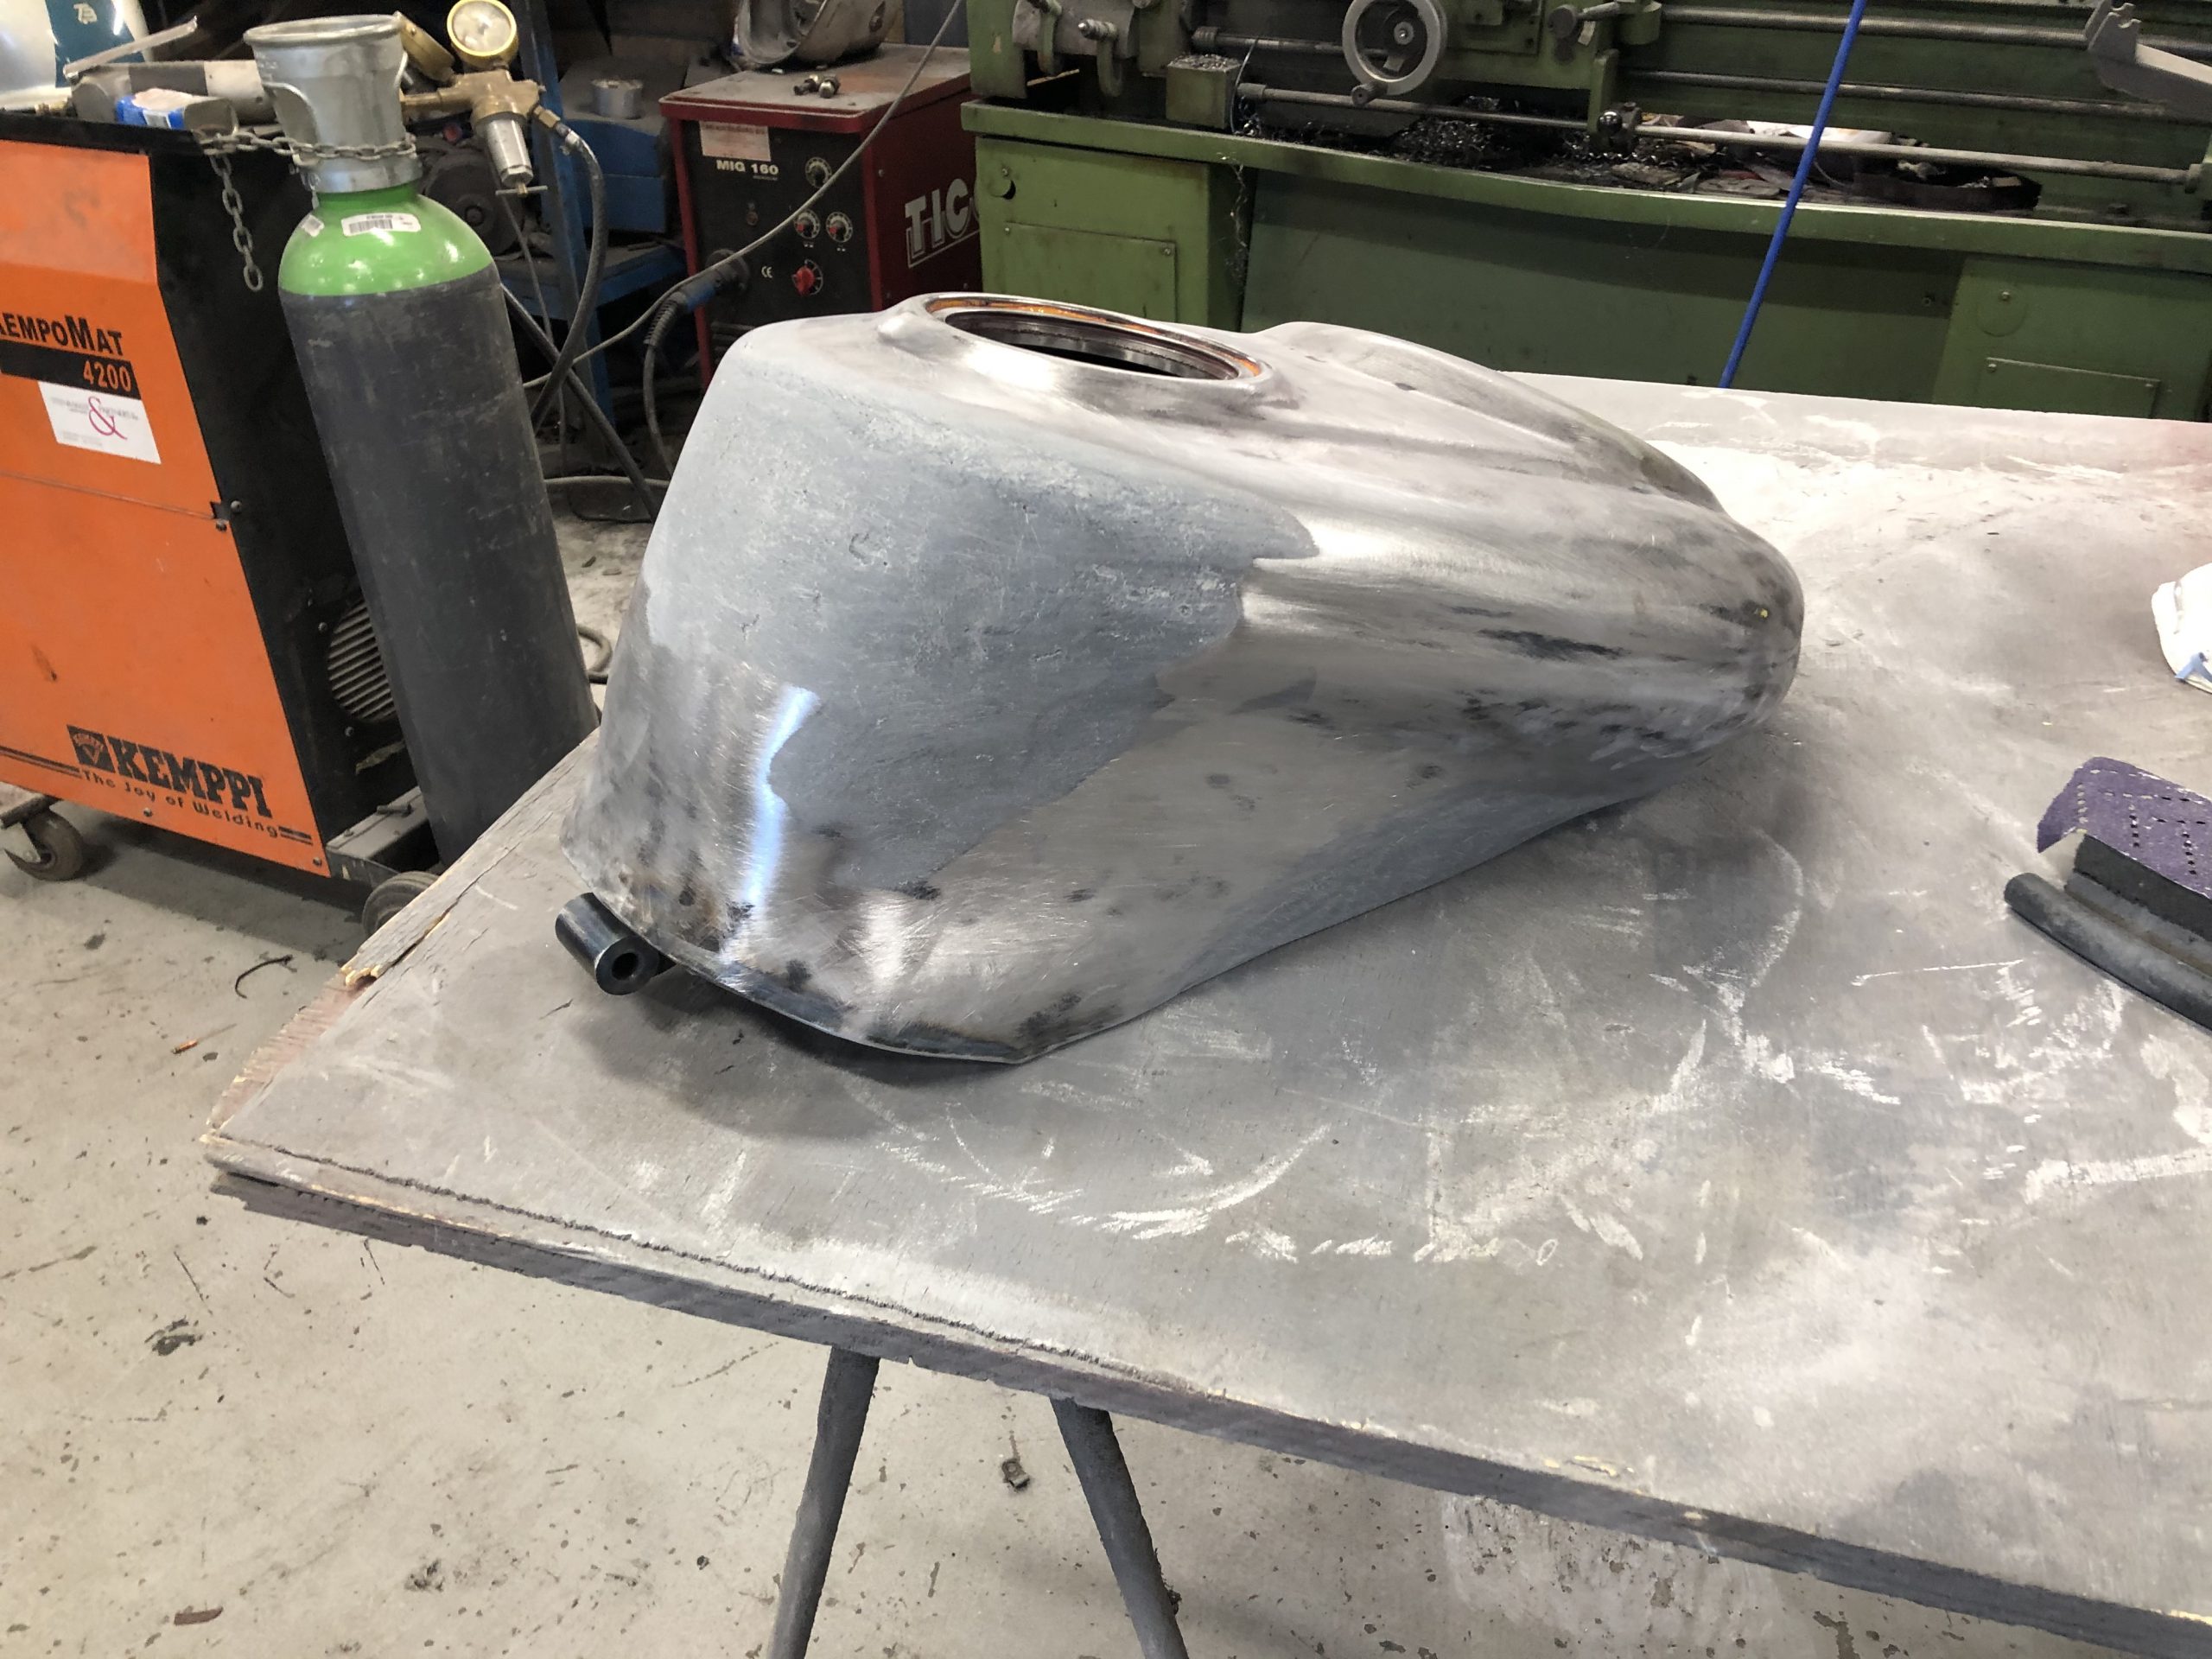
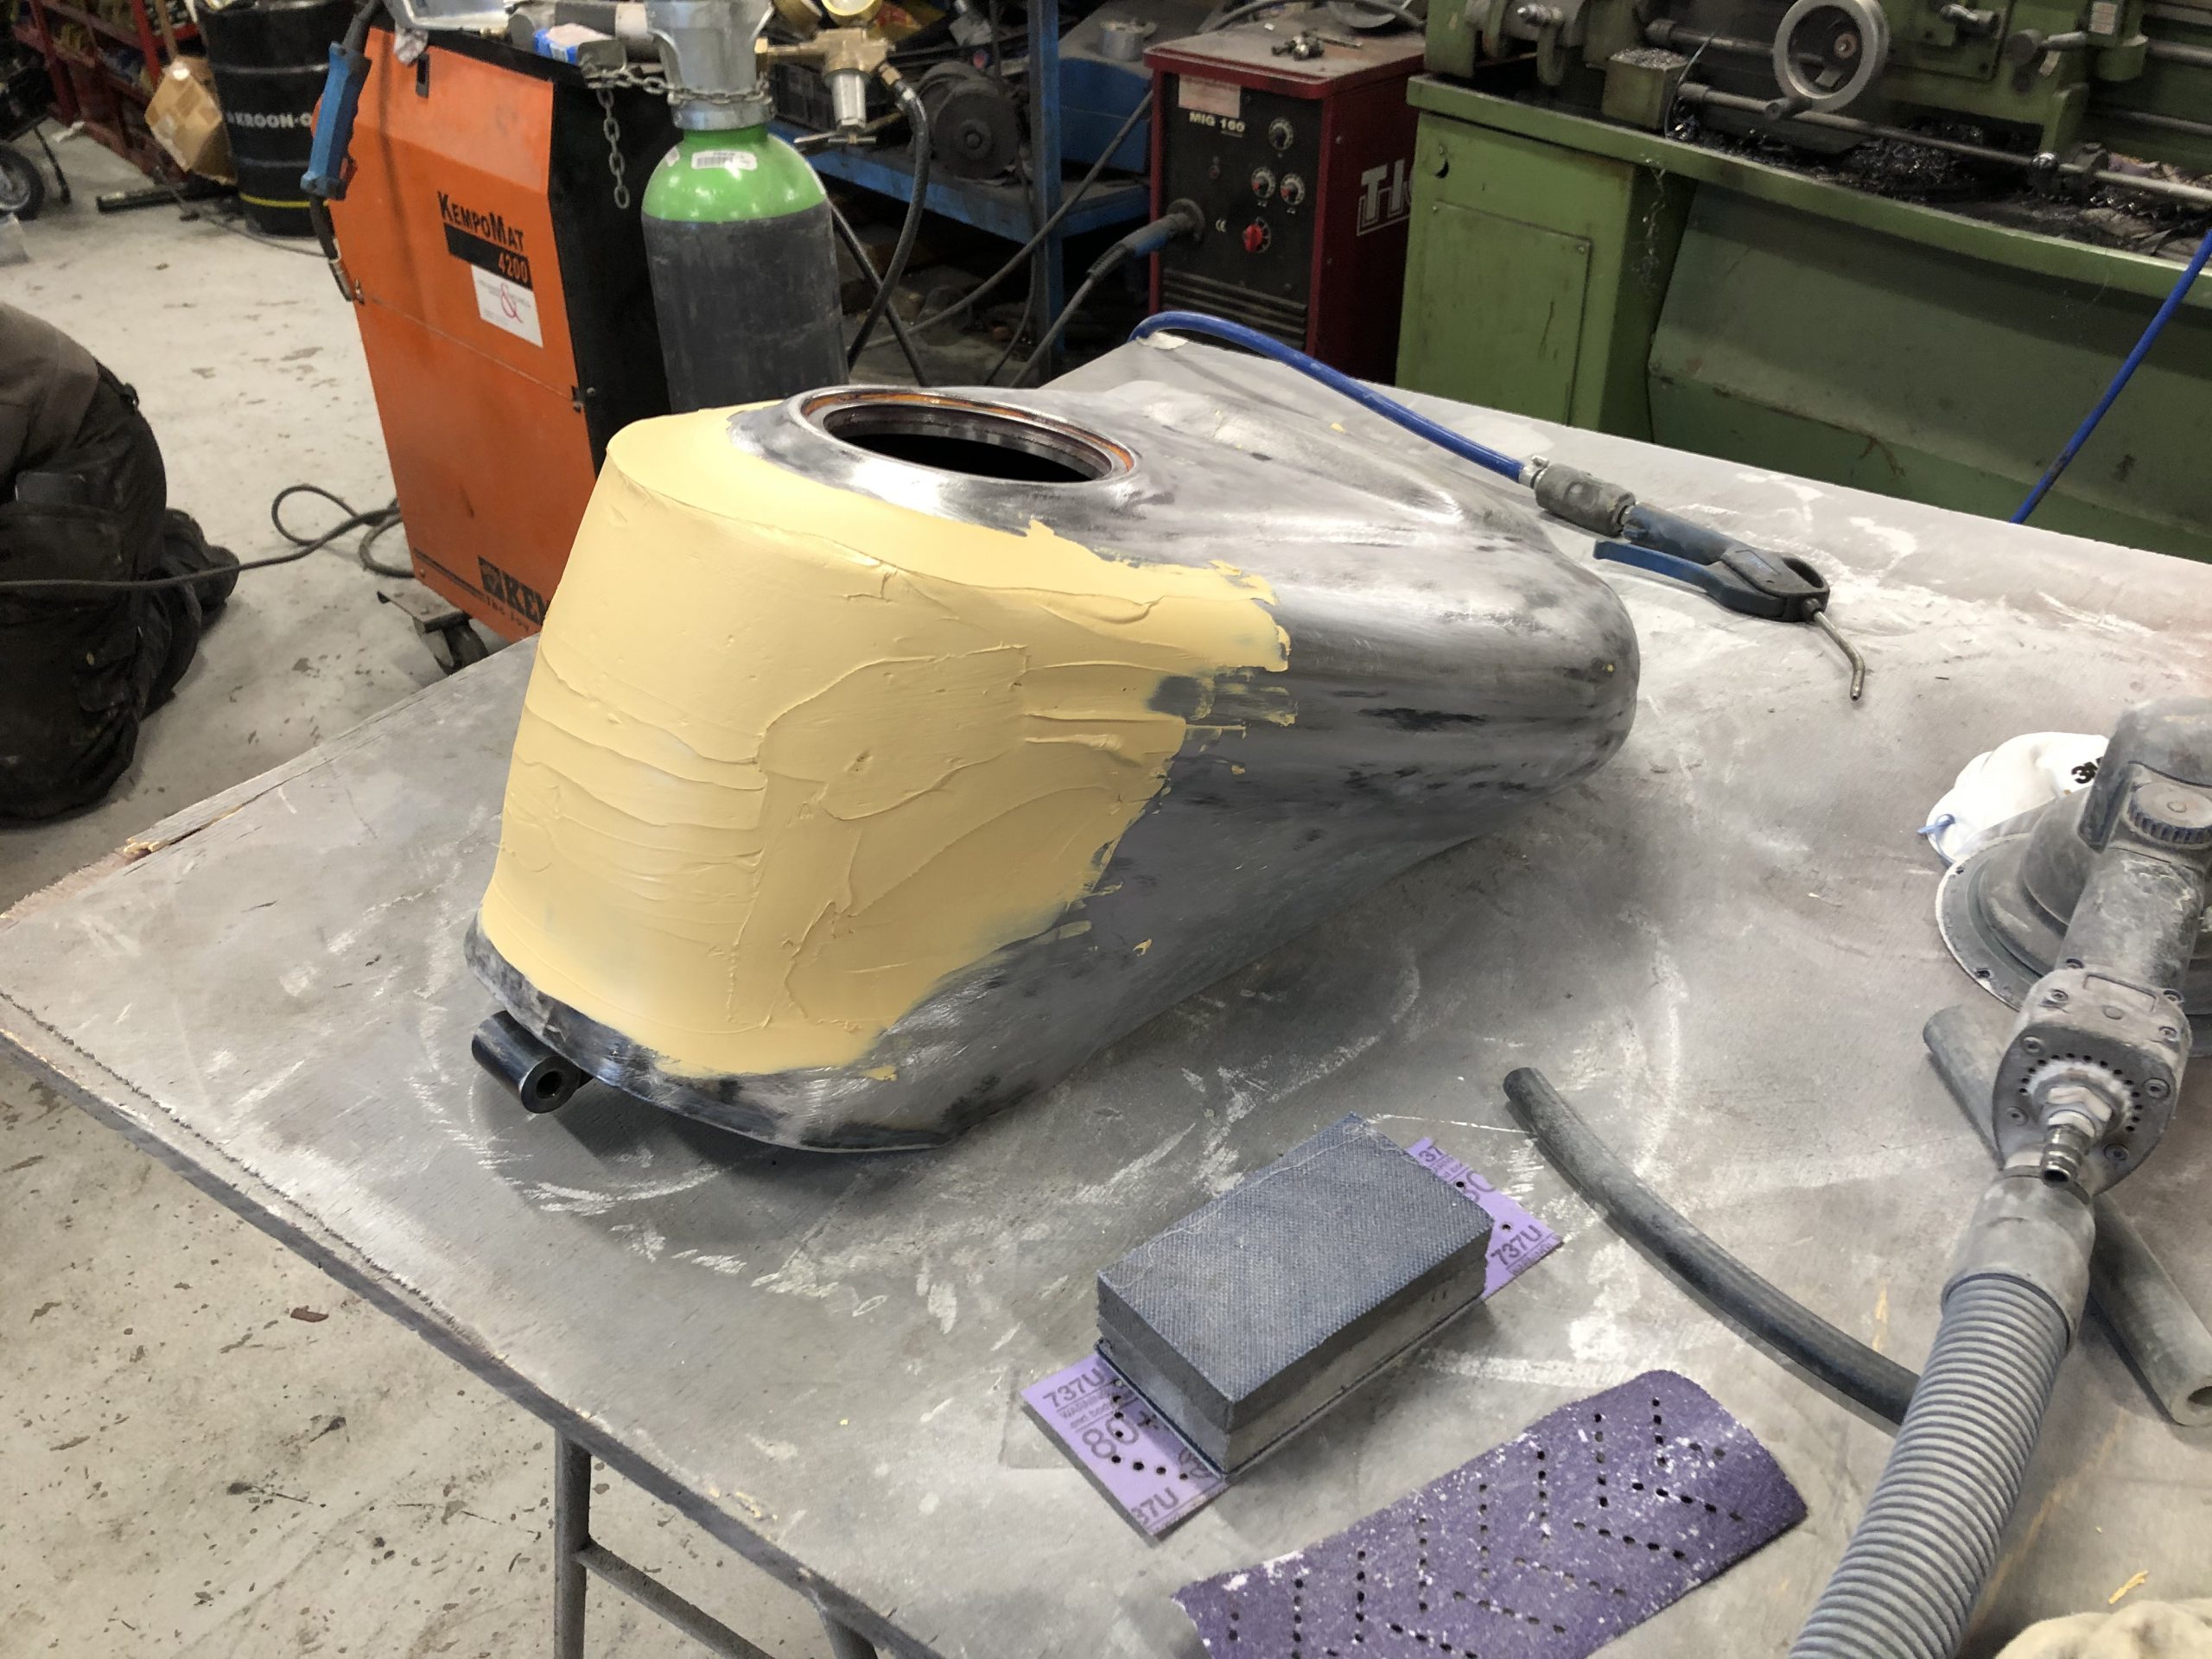
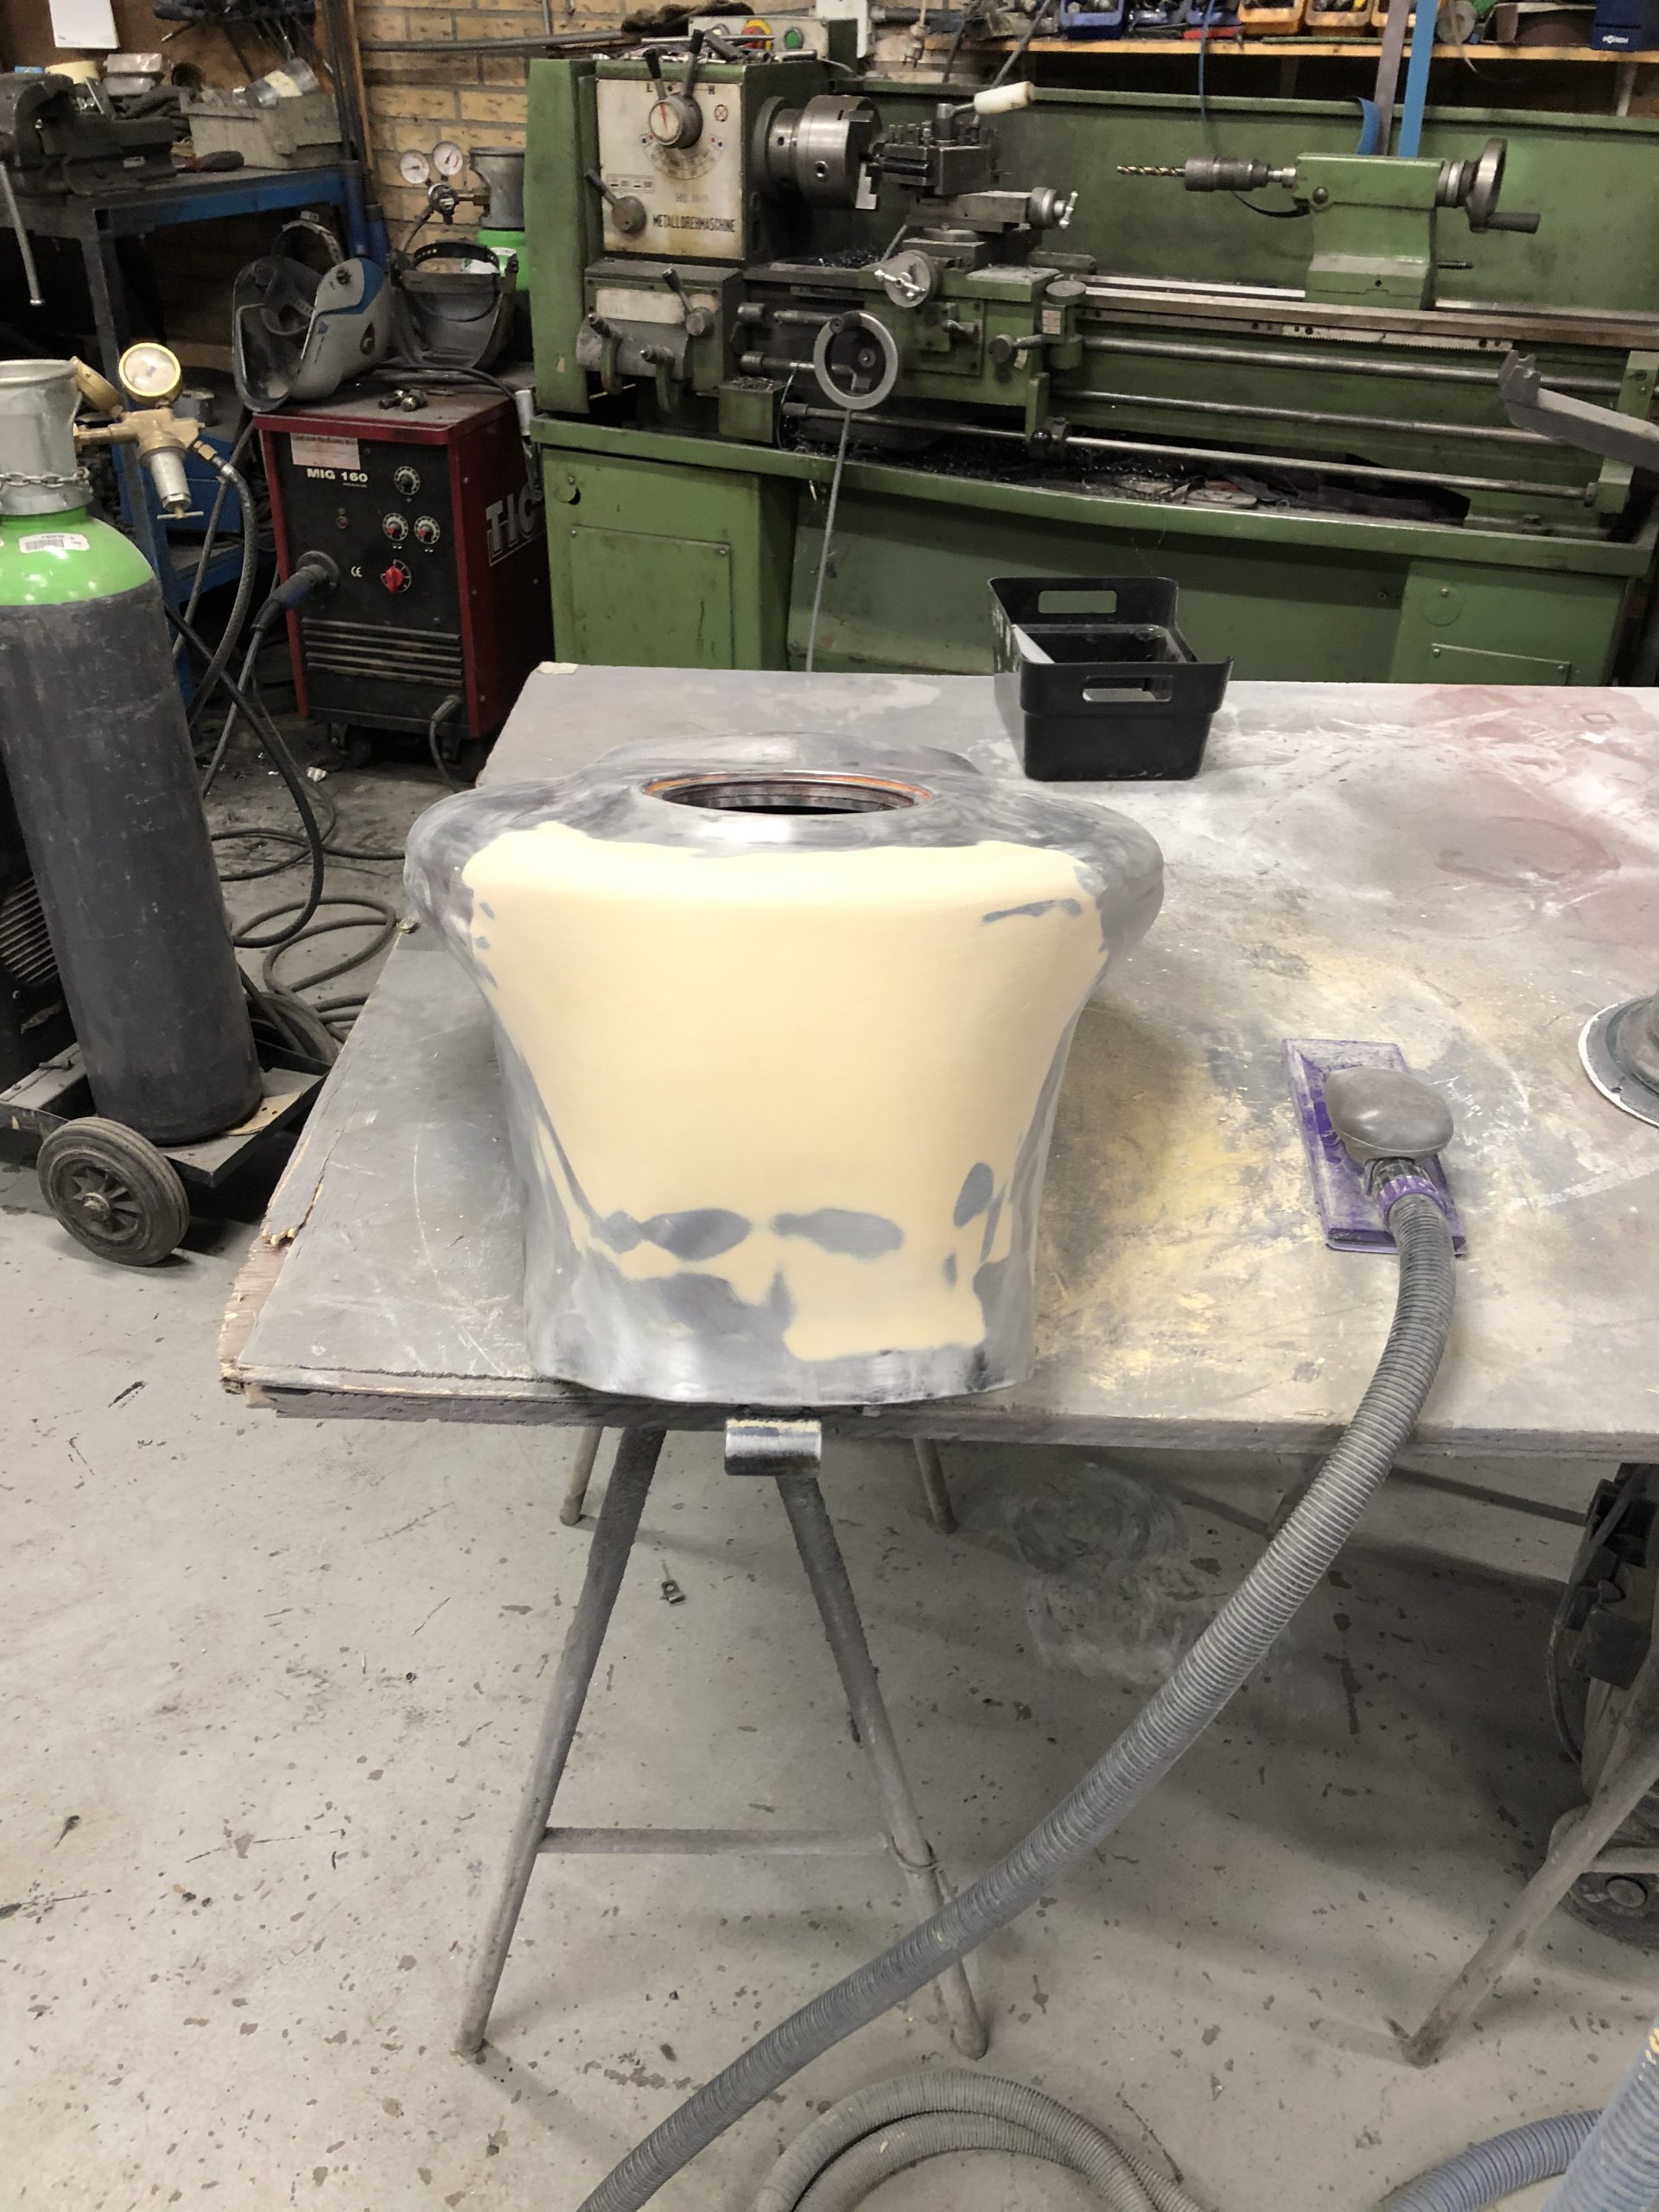
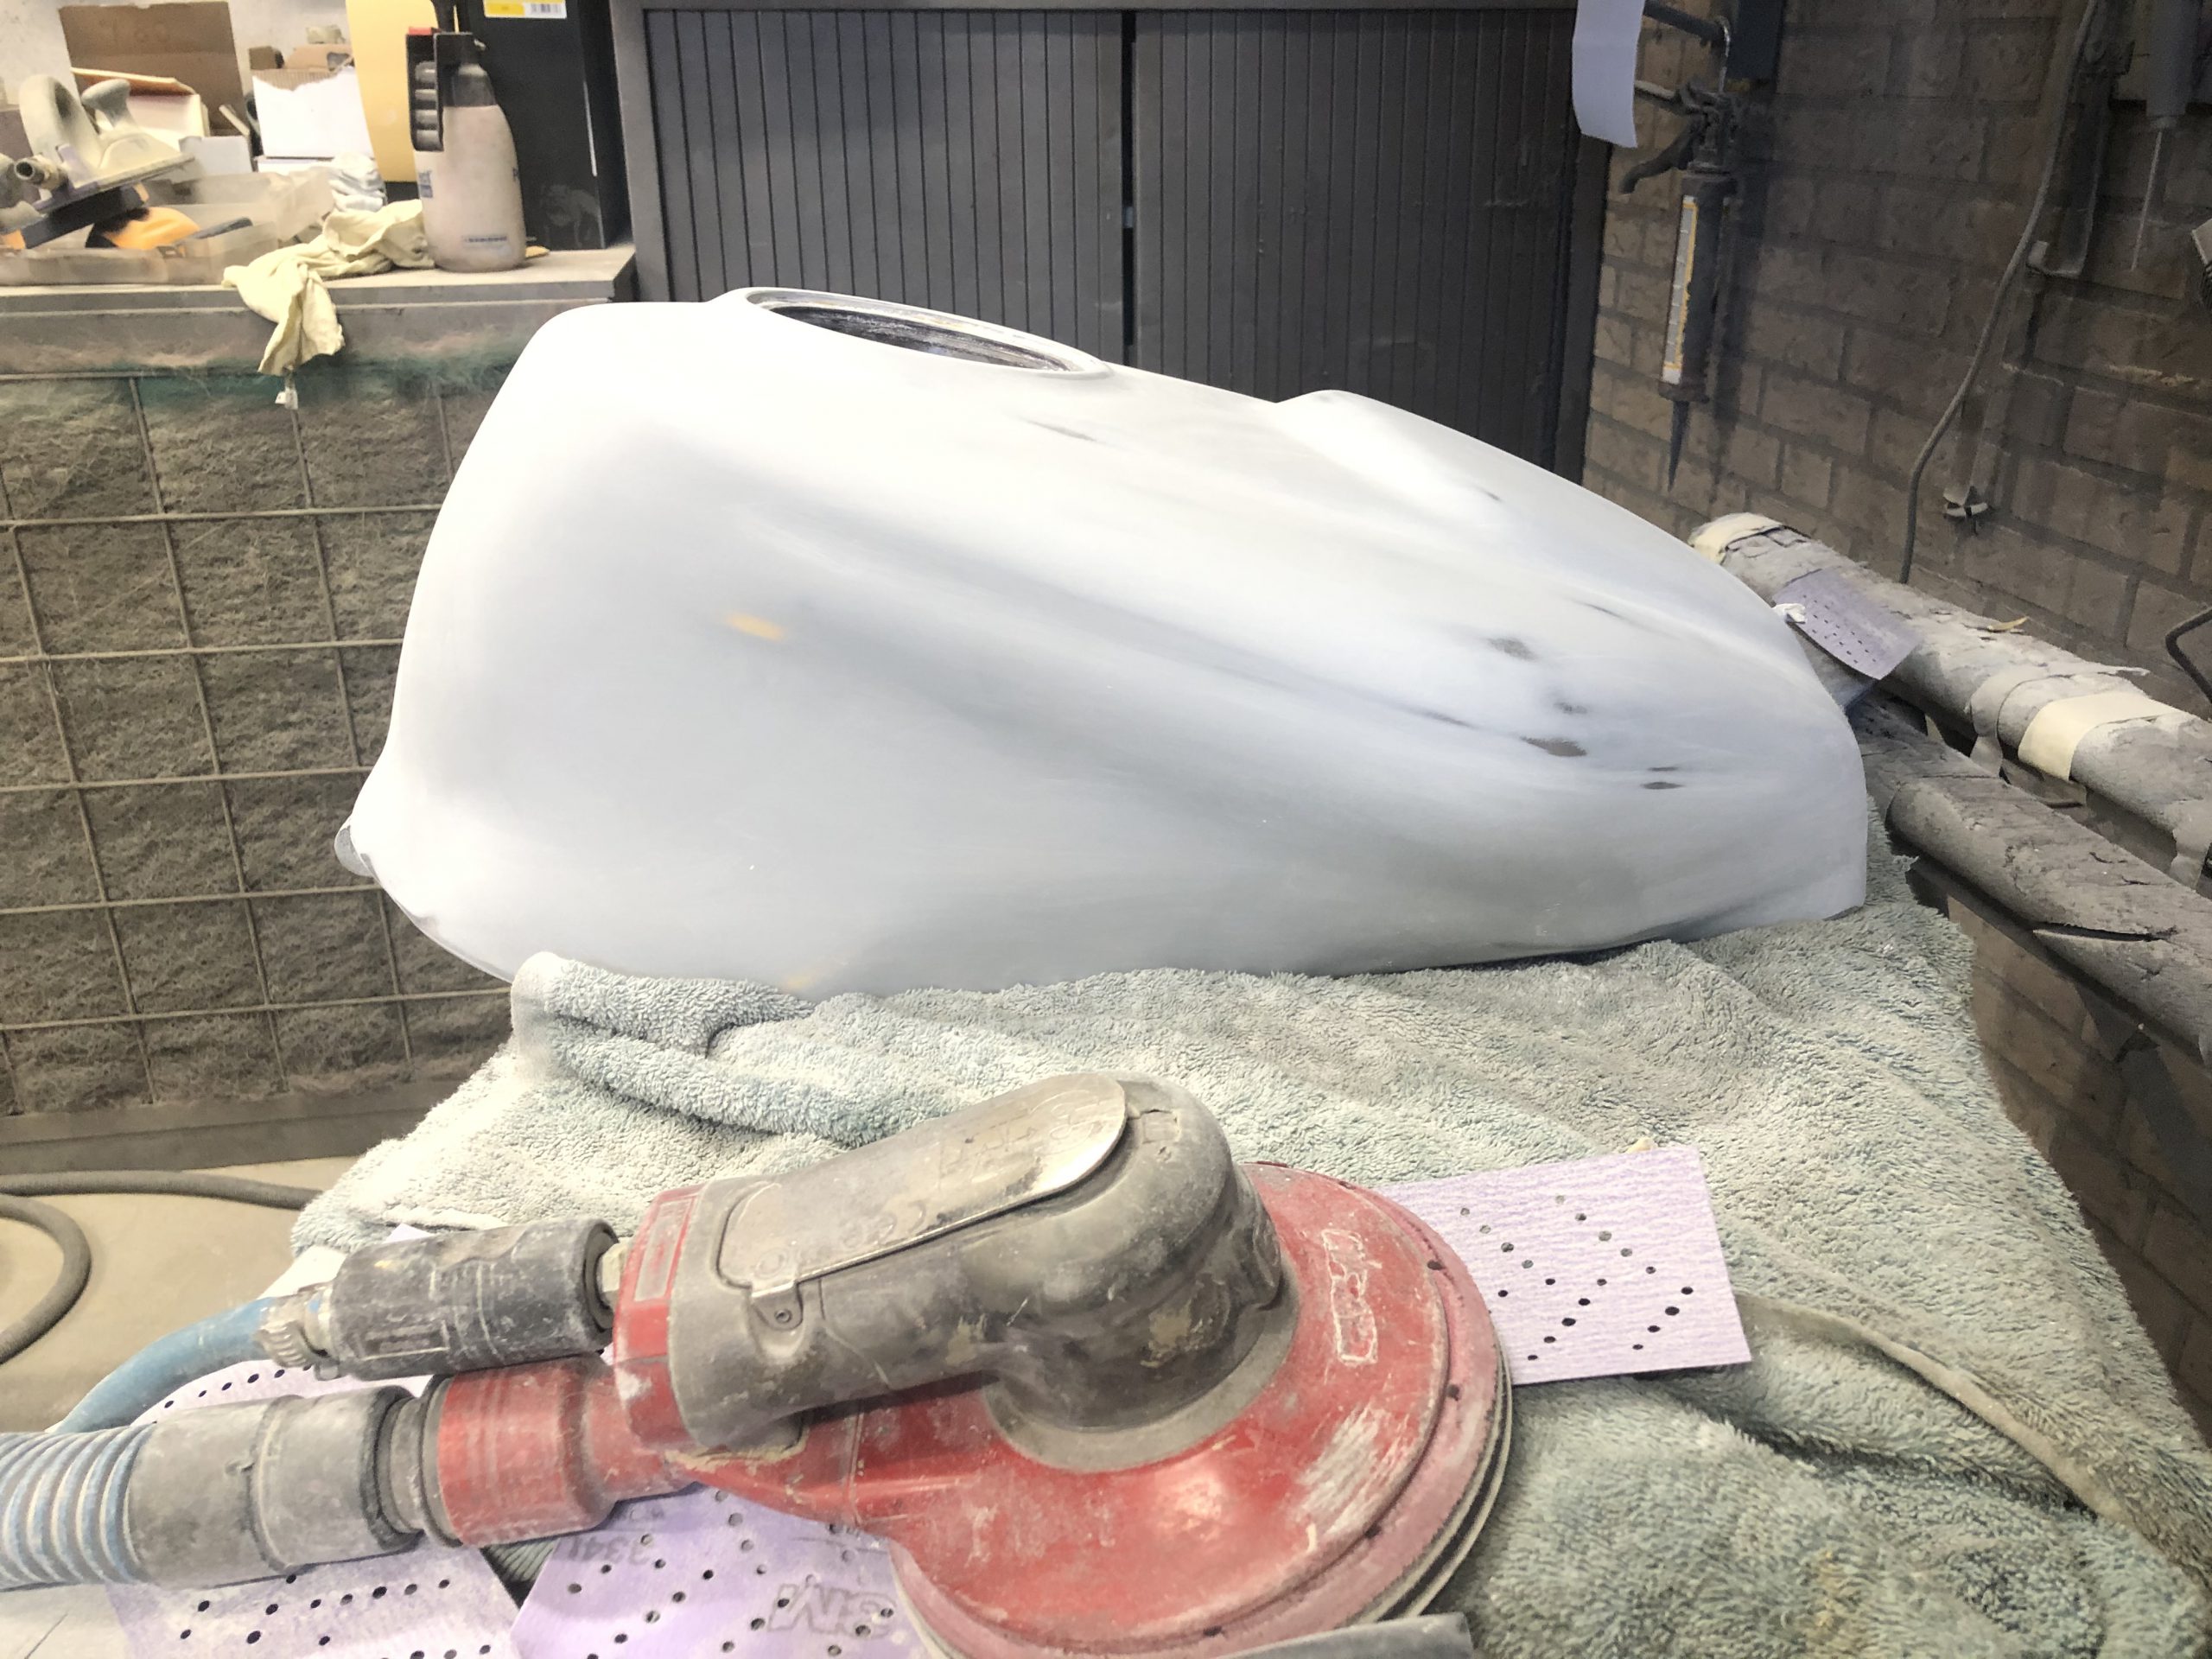
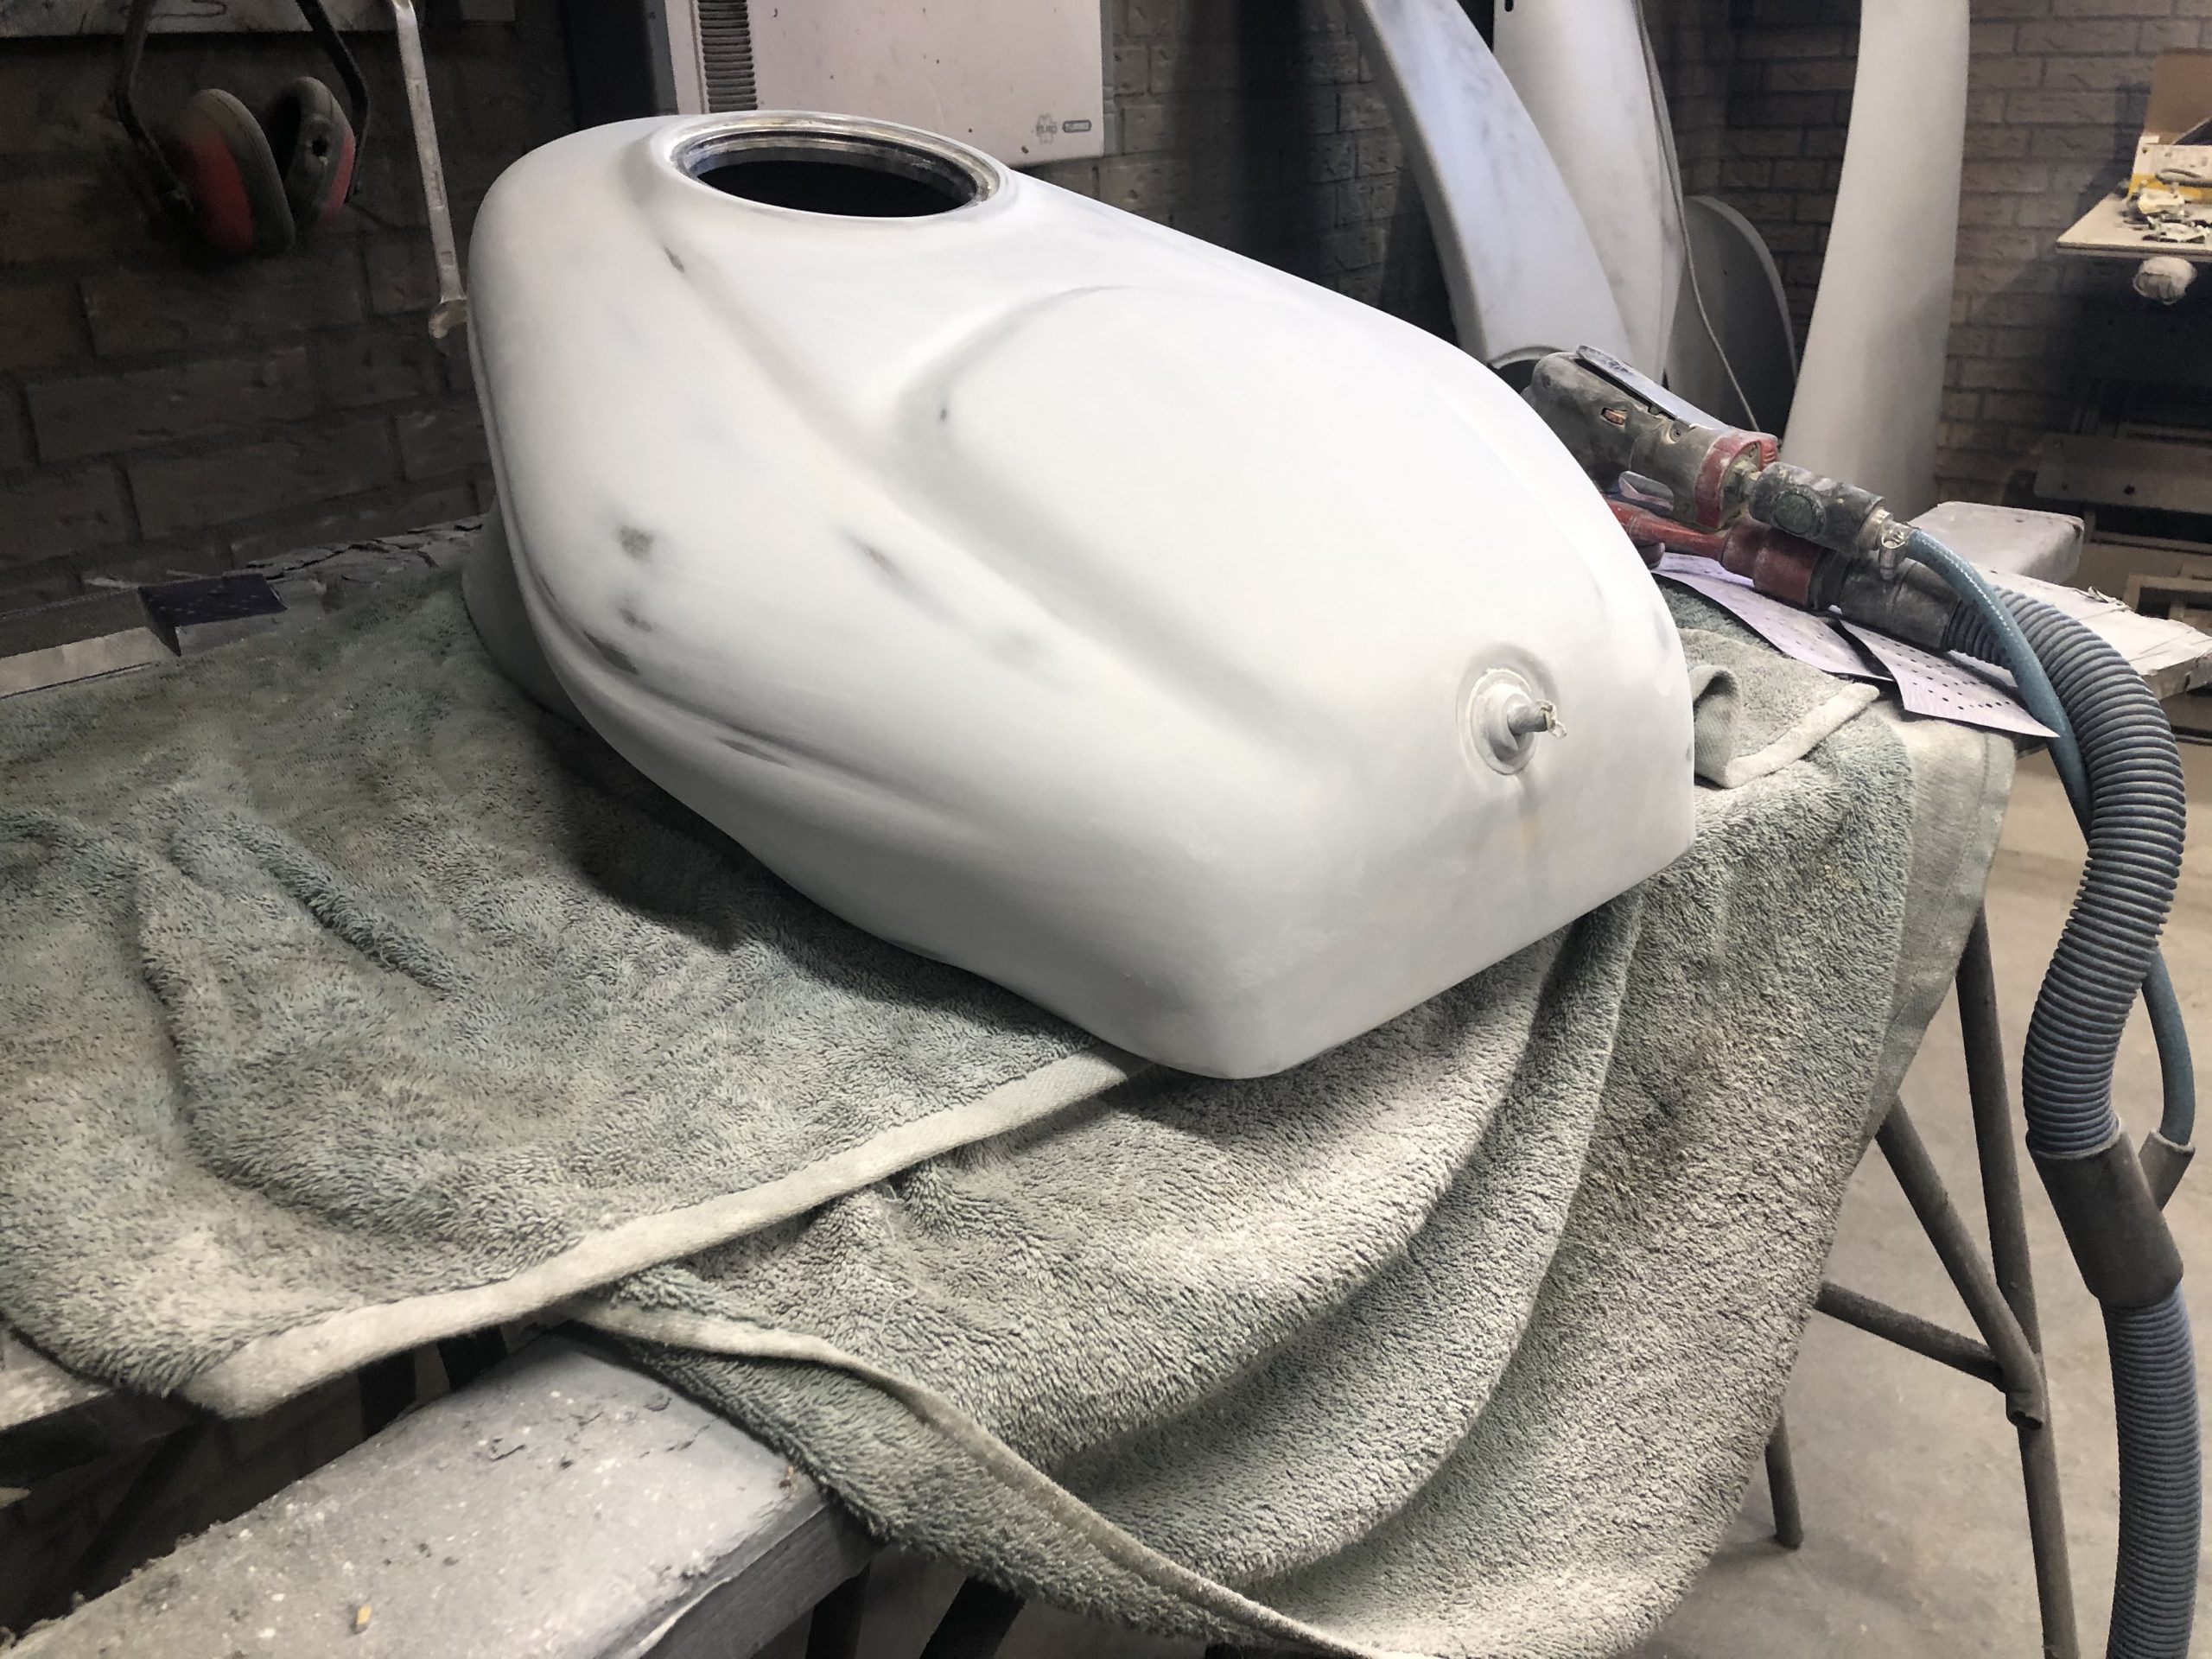
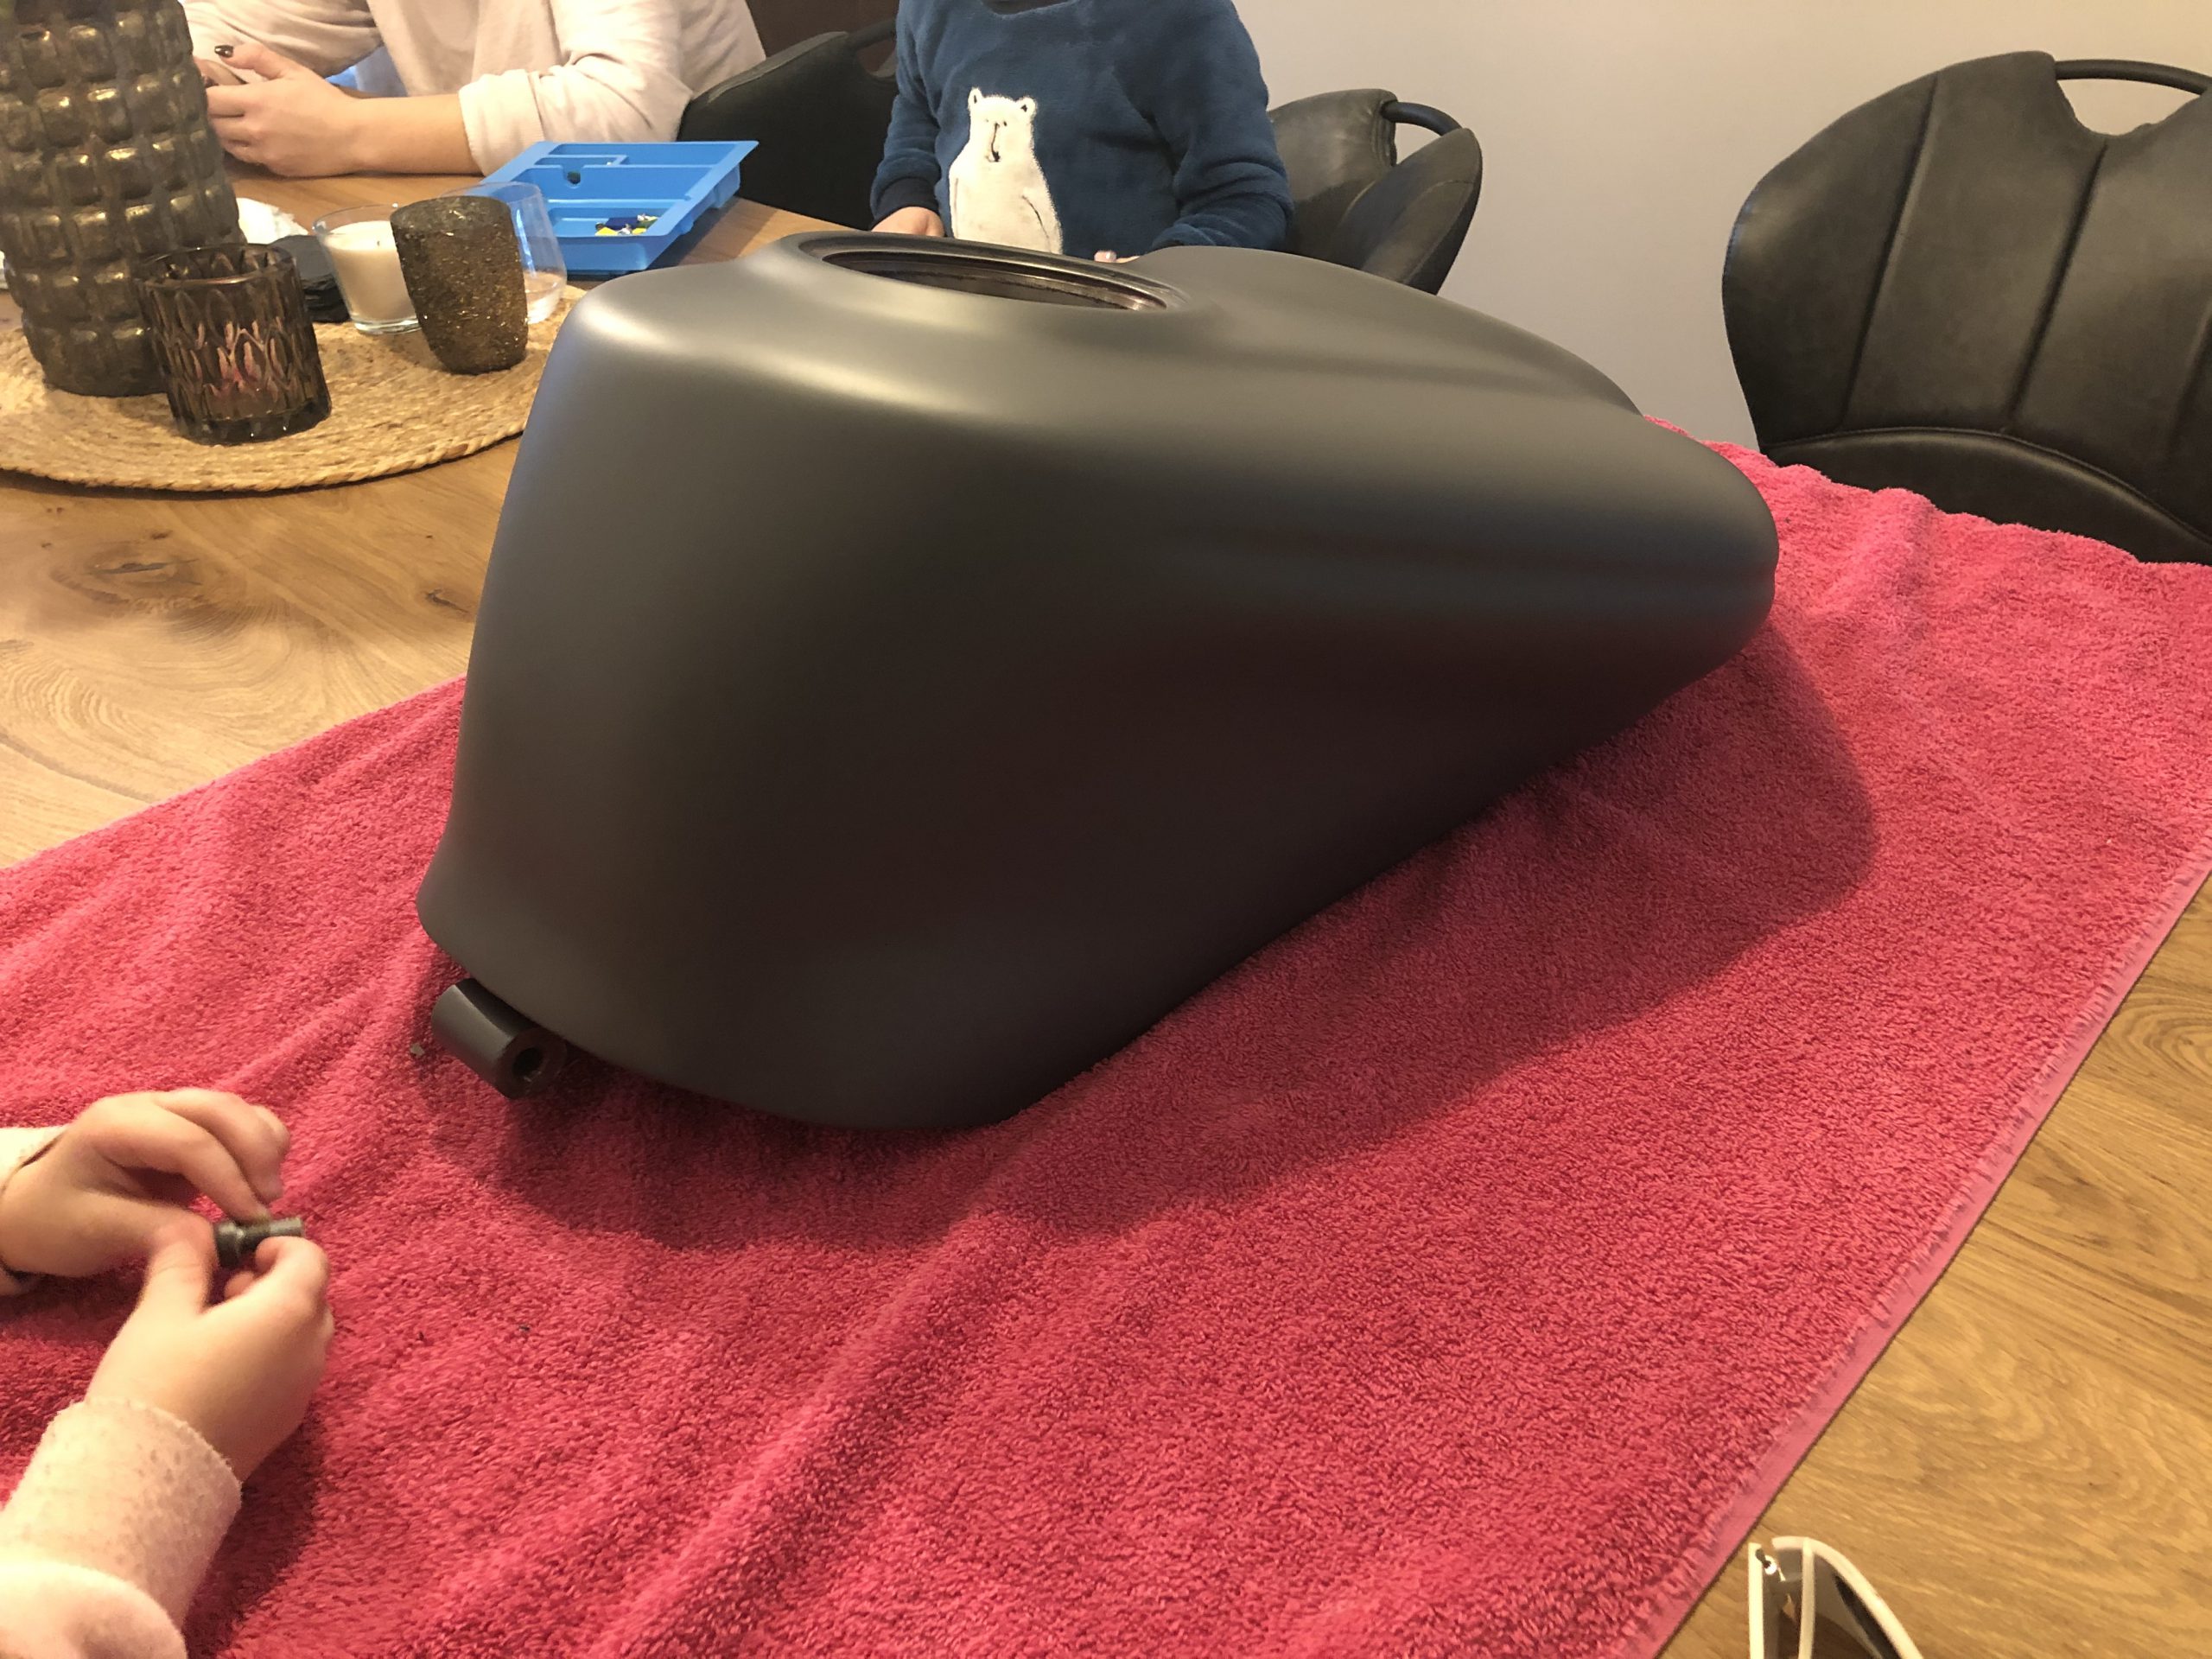
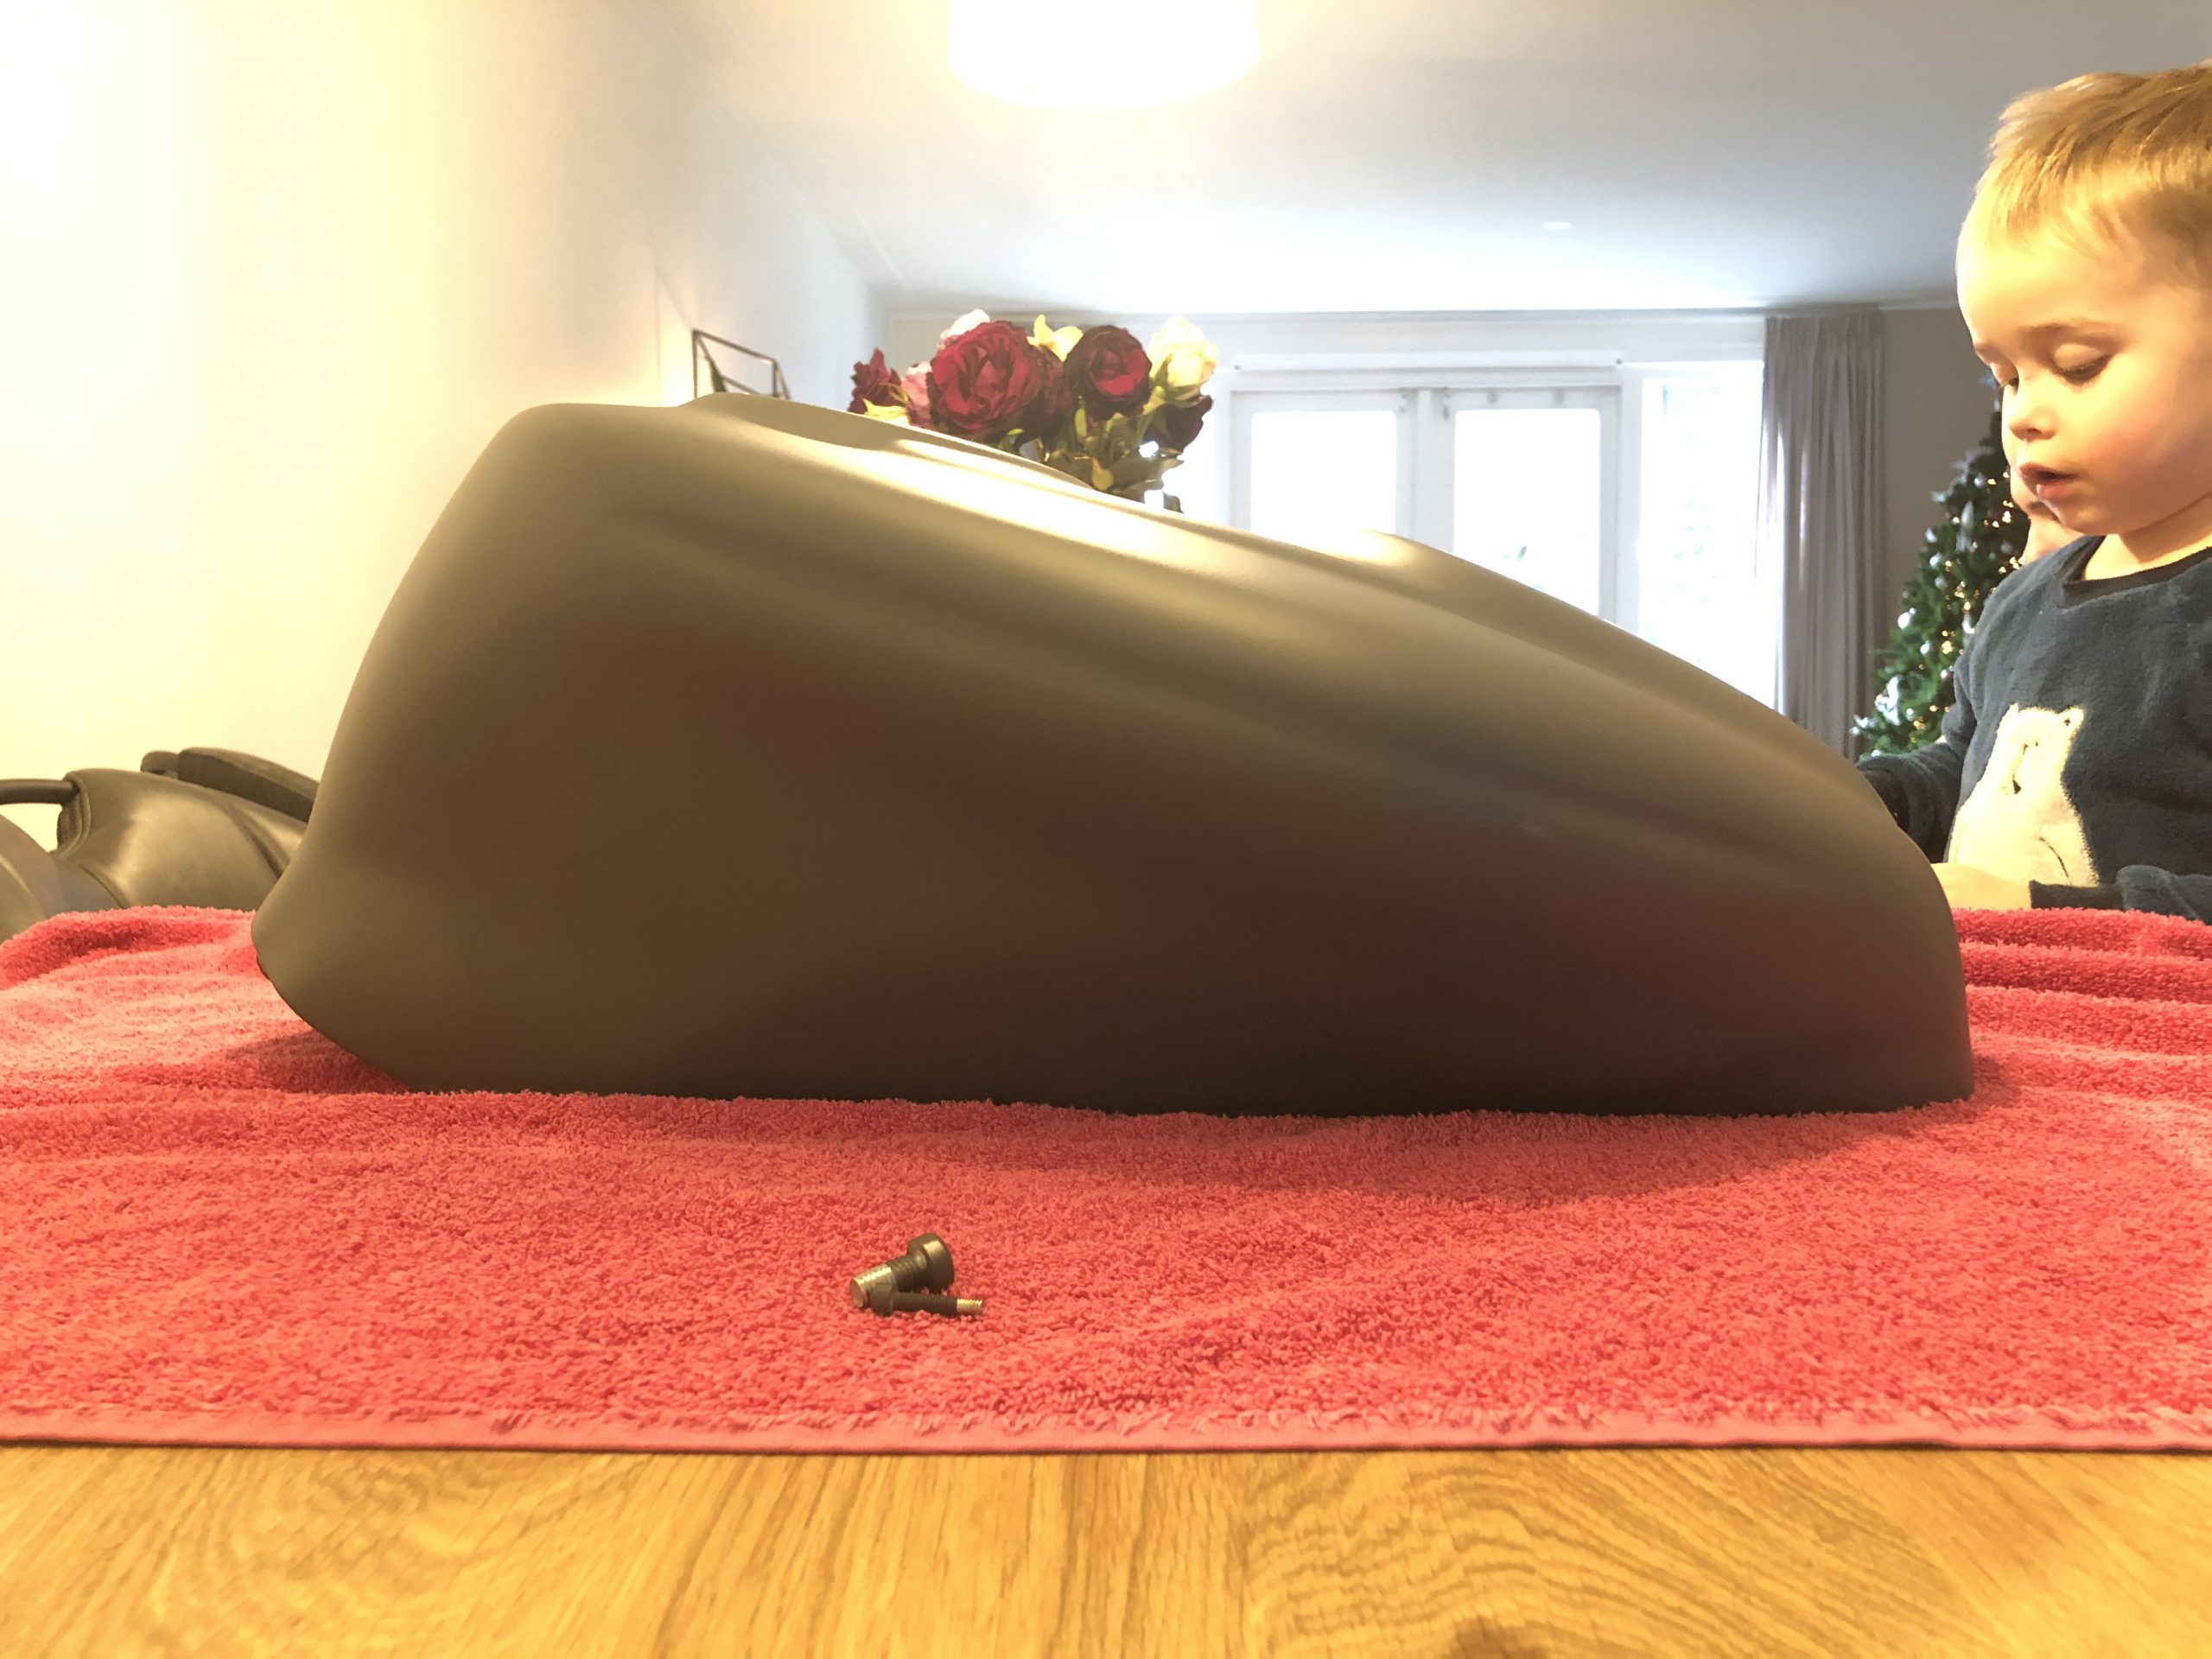
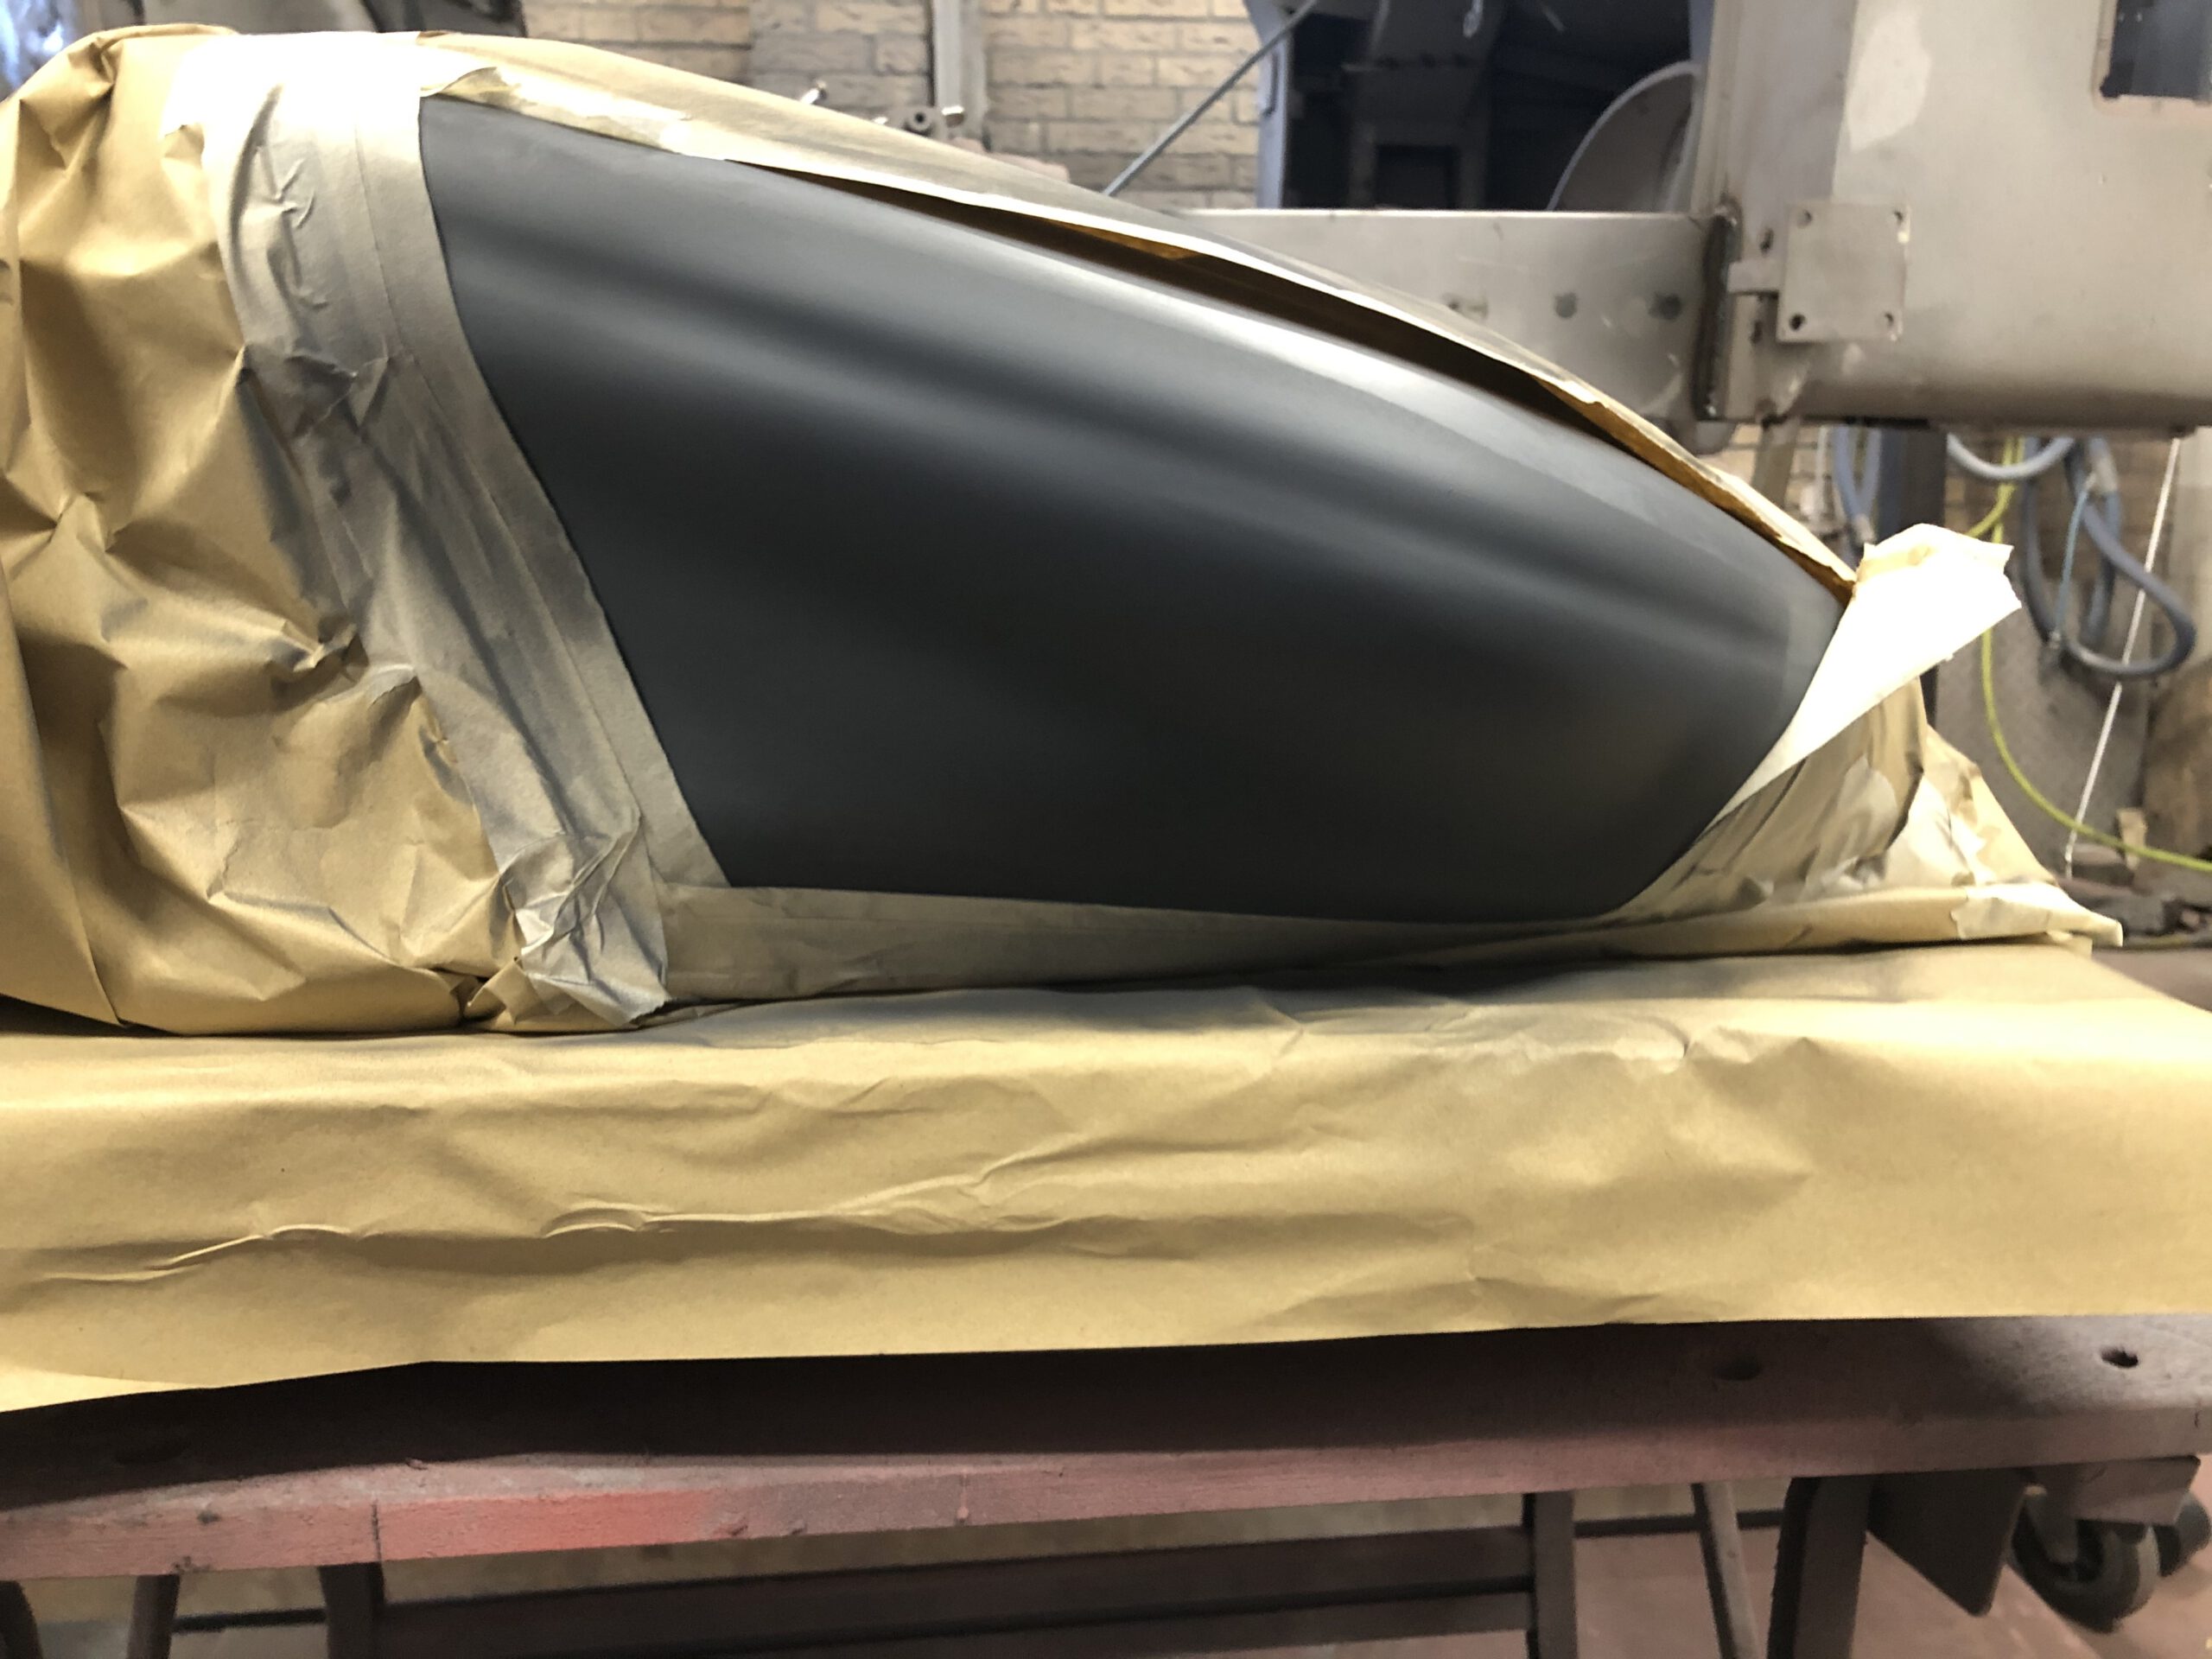
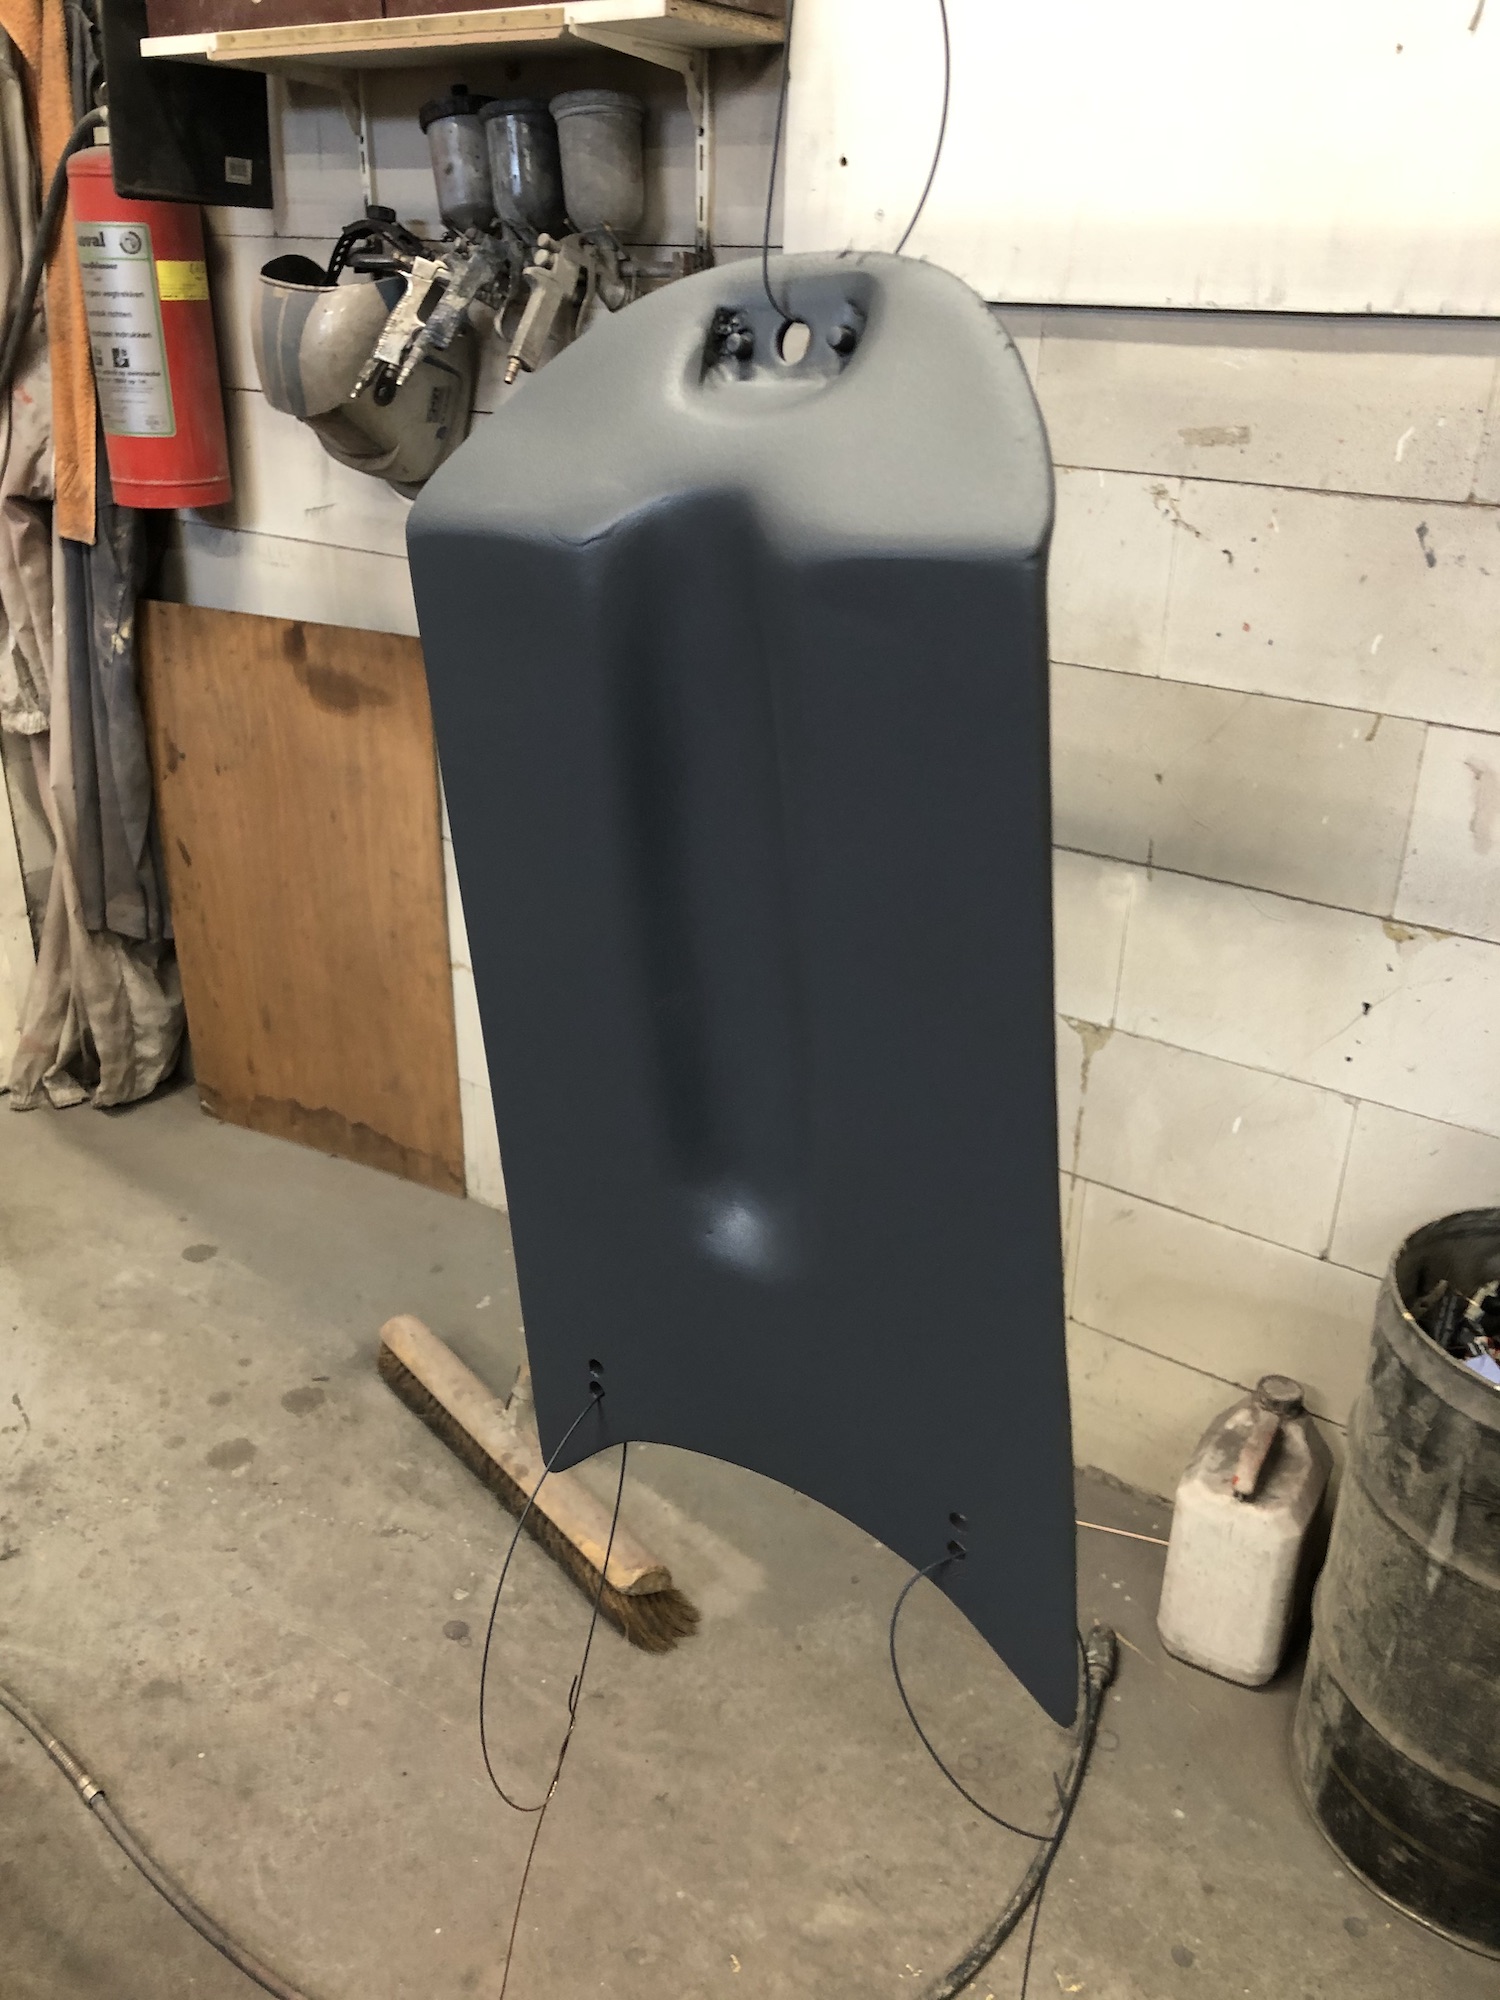
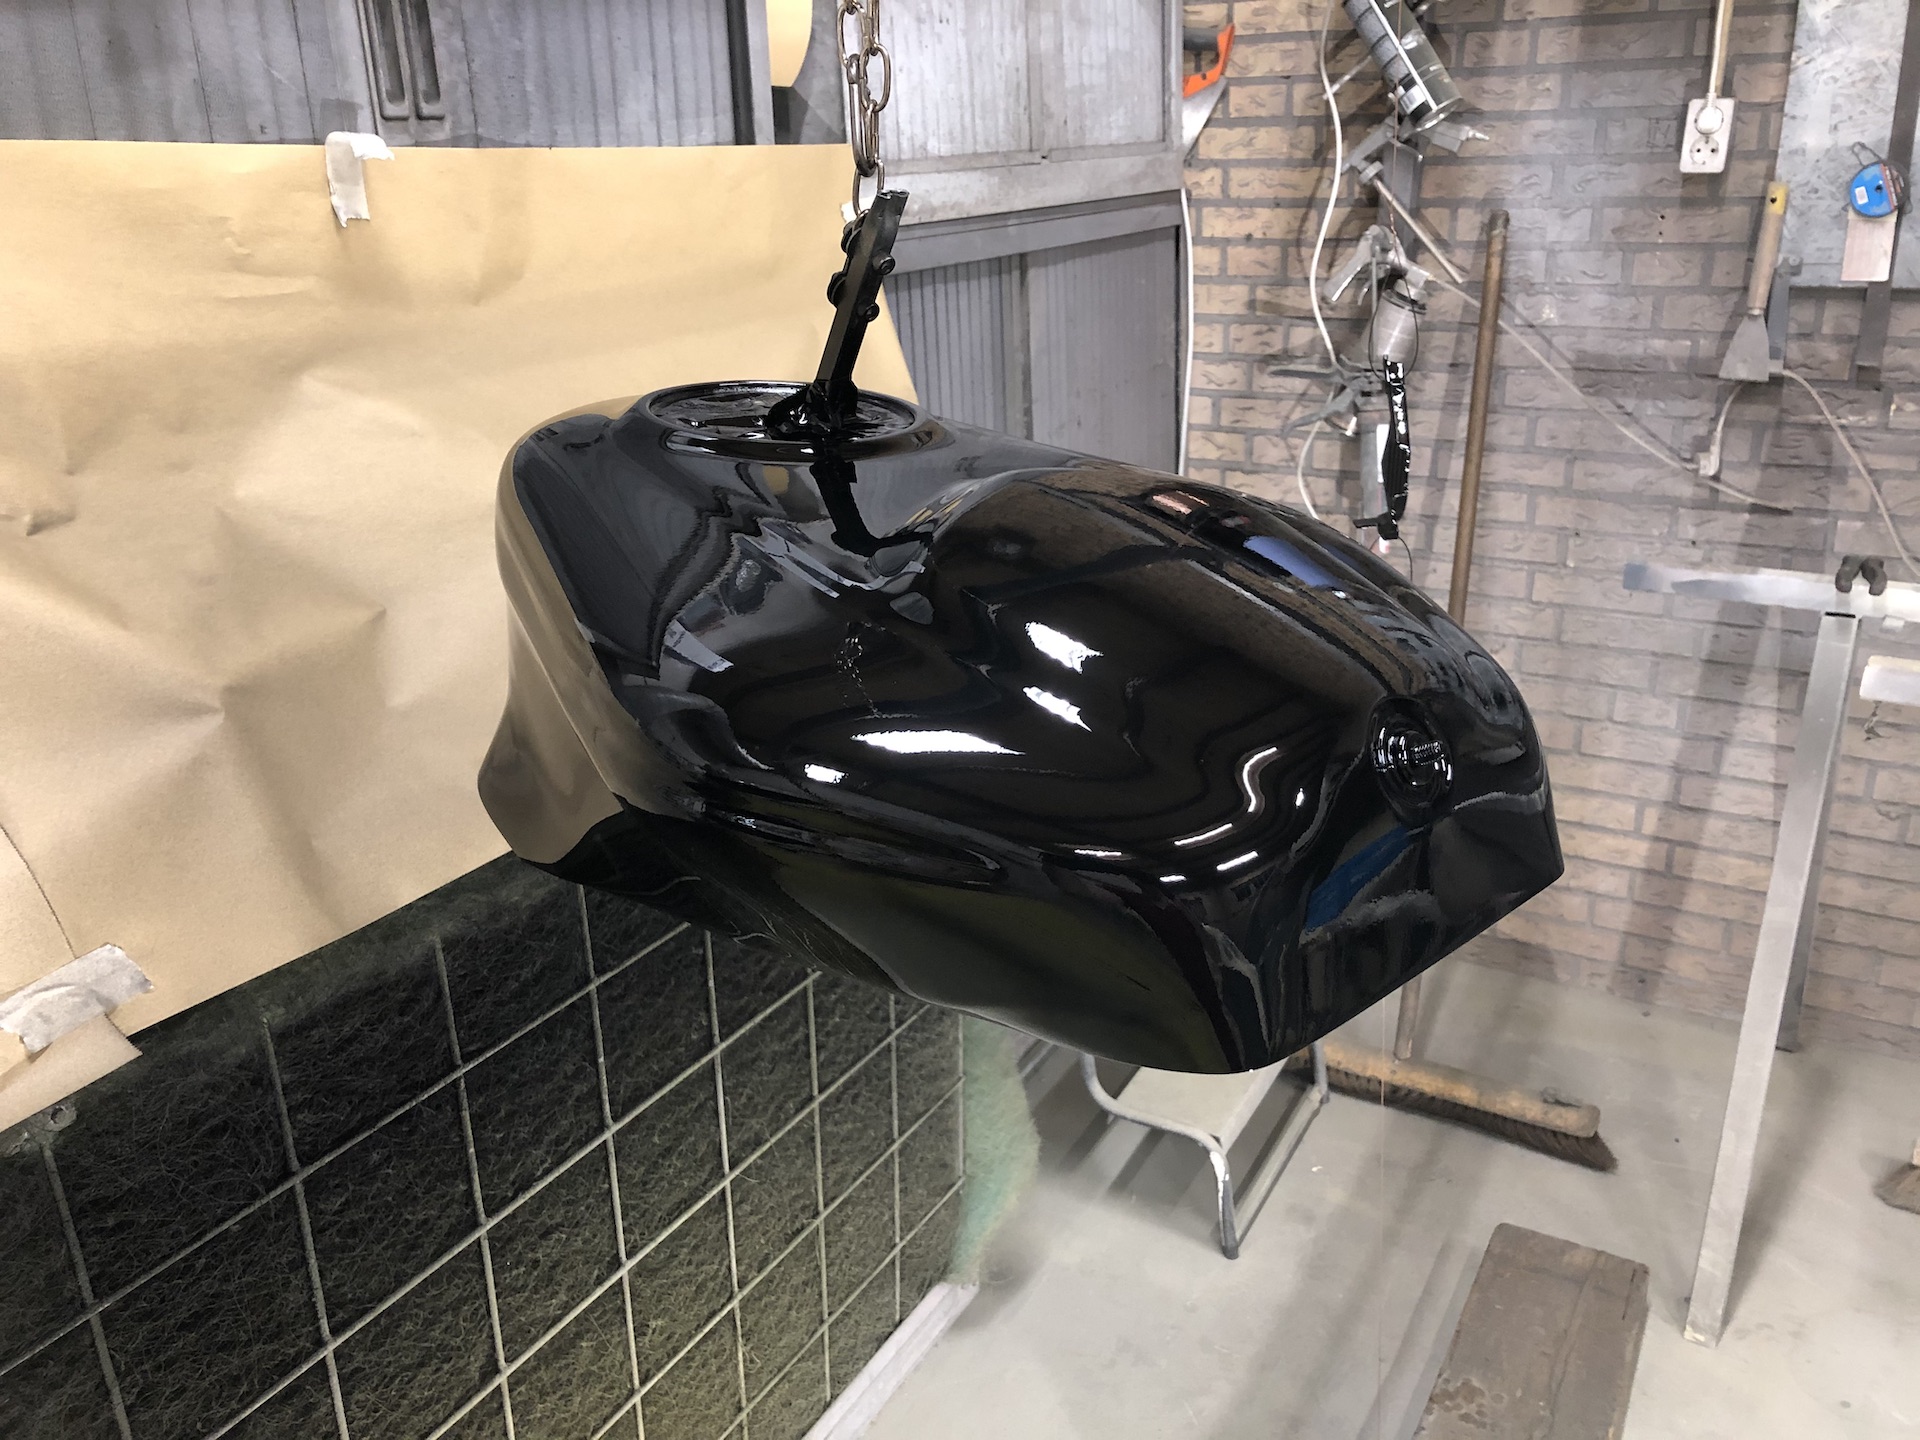
IMPROVING THE TANK SHAPE
As described above the indentations for the rubber padding just looks shit. So its time to reshape the tank. Pictures down below speak for themself. Filler, sanding, liquid filler, base coat.


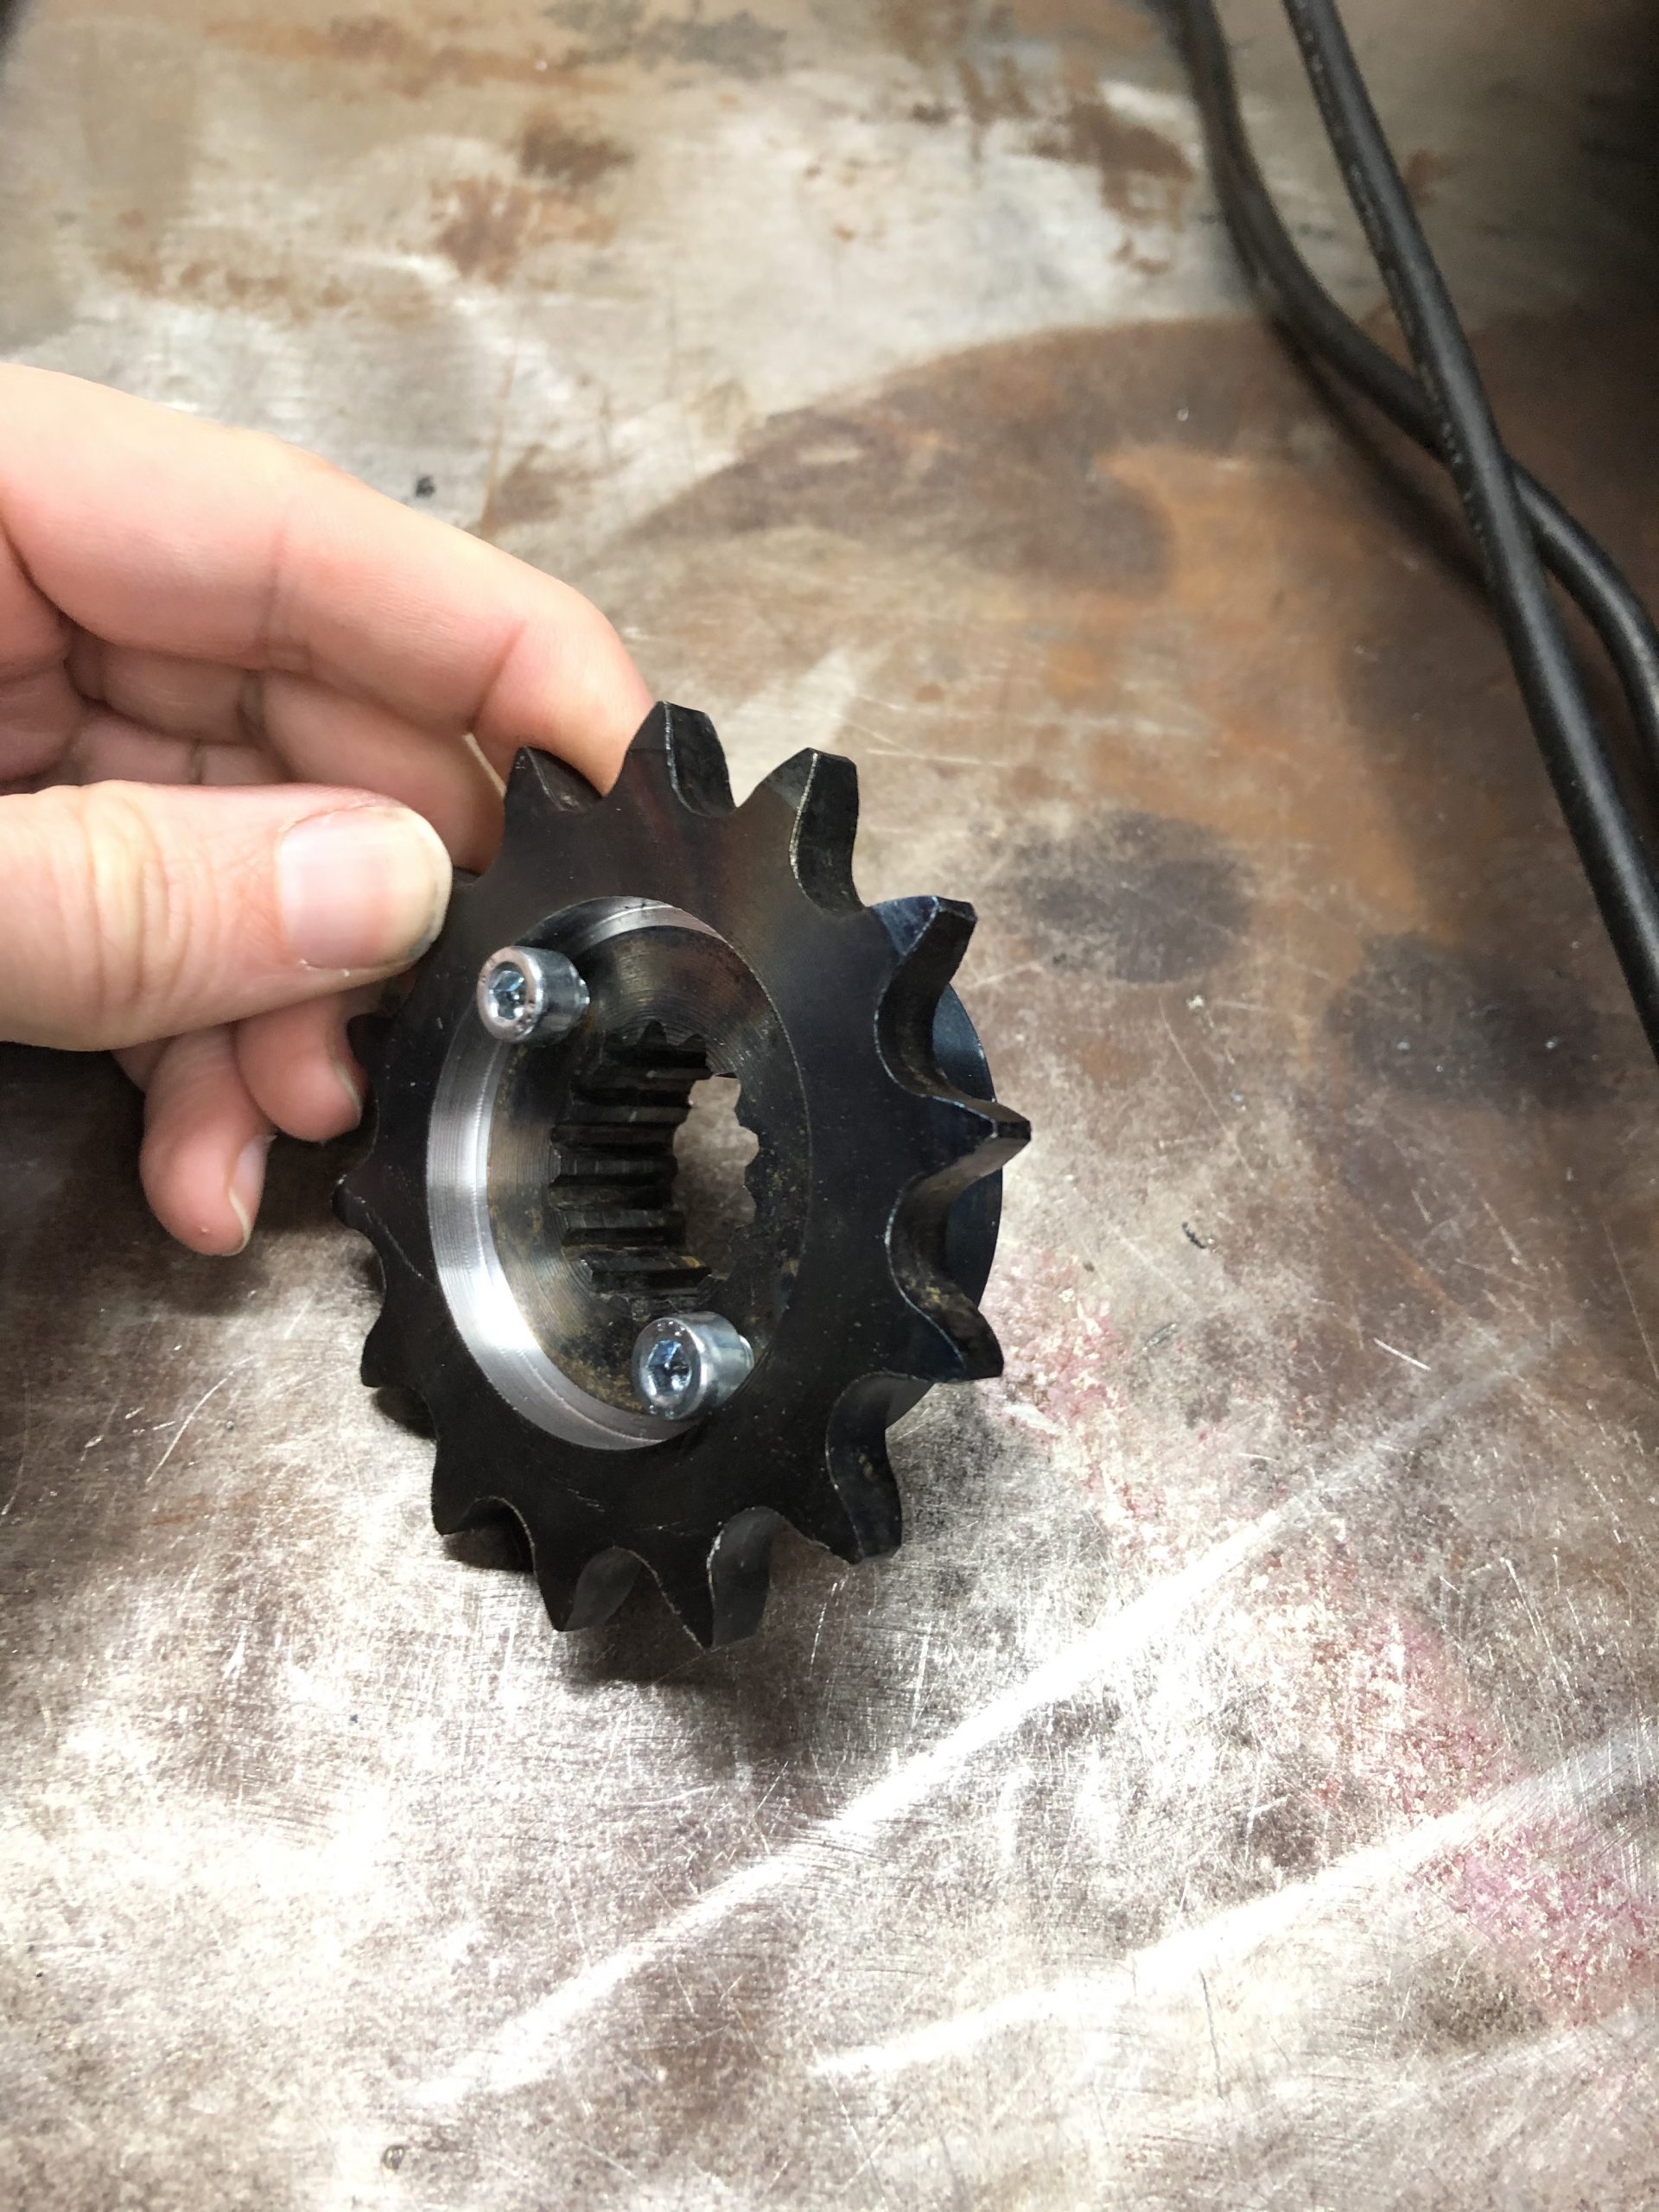
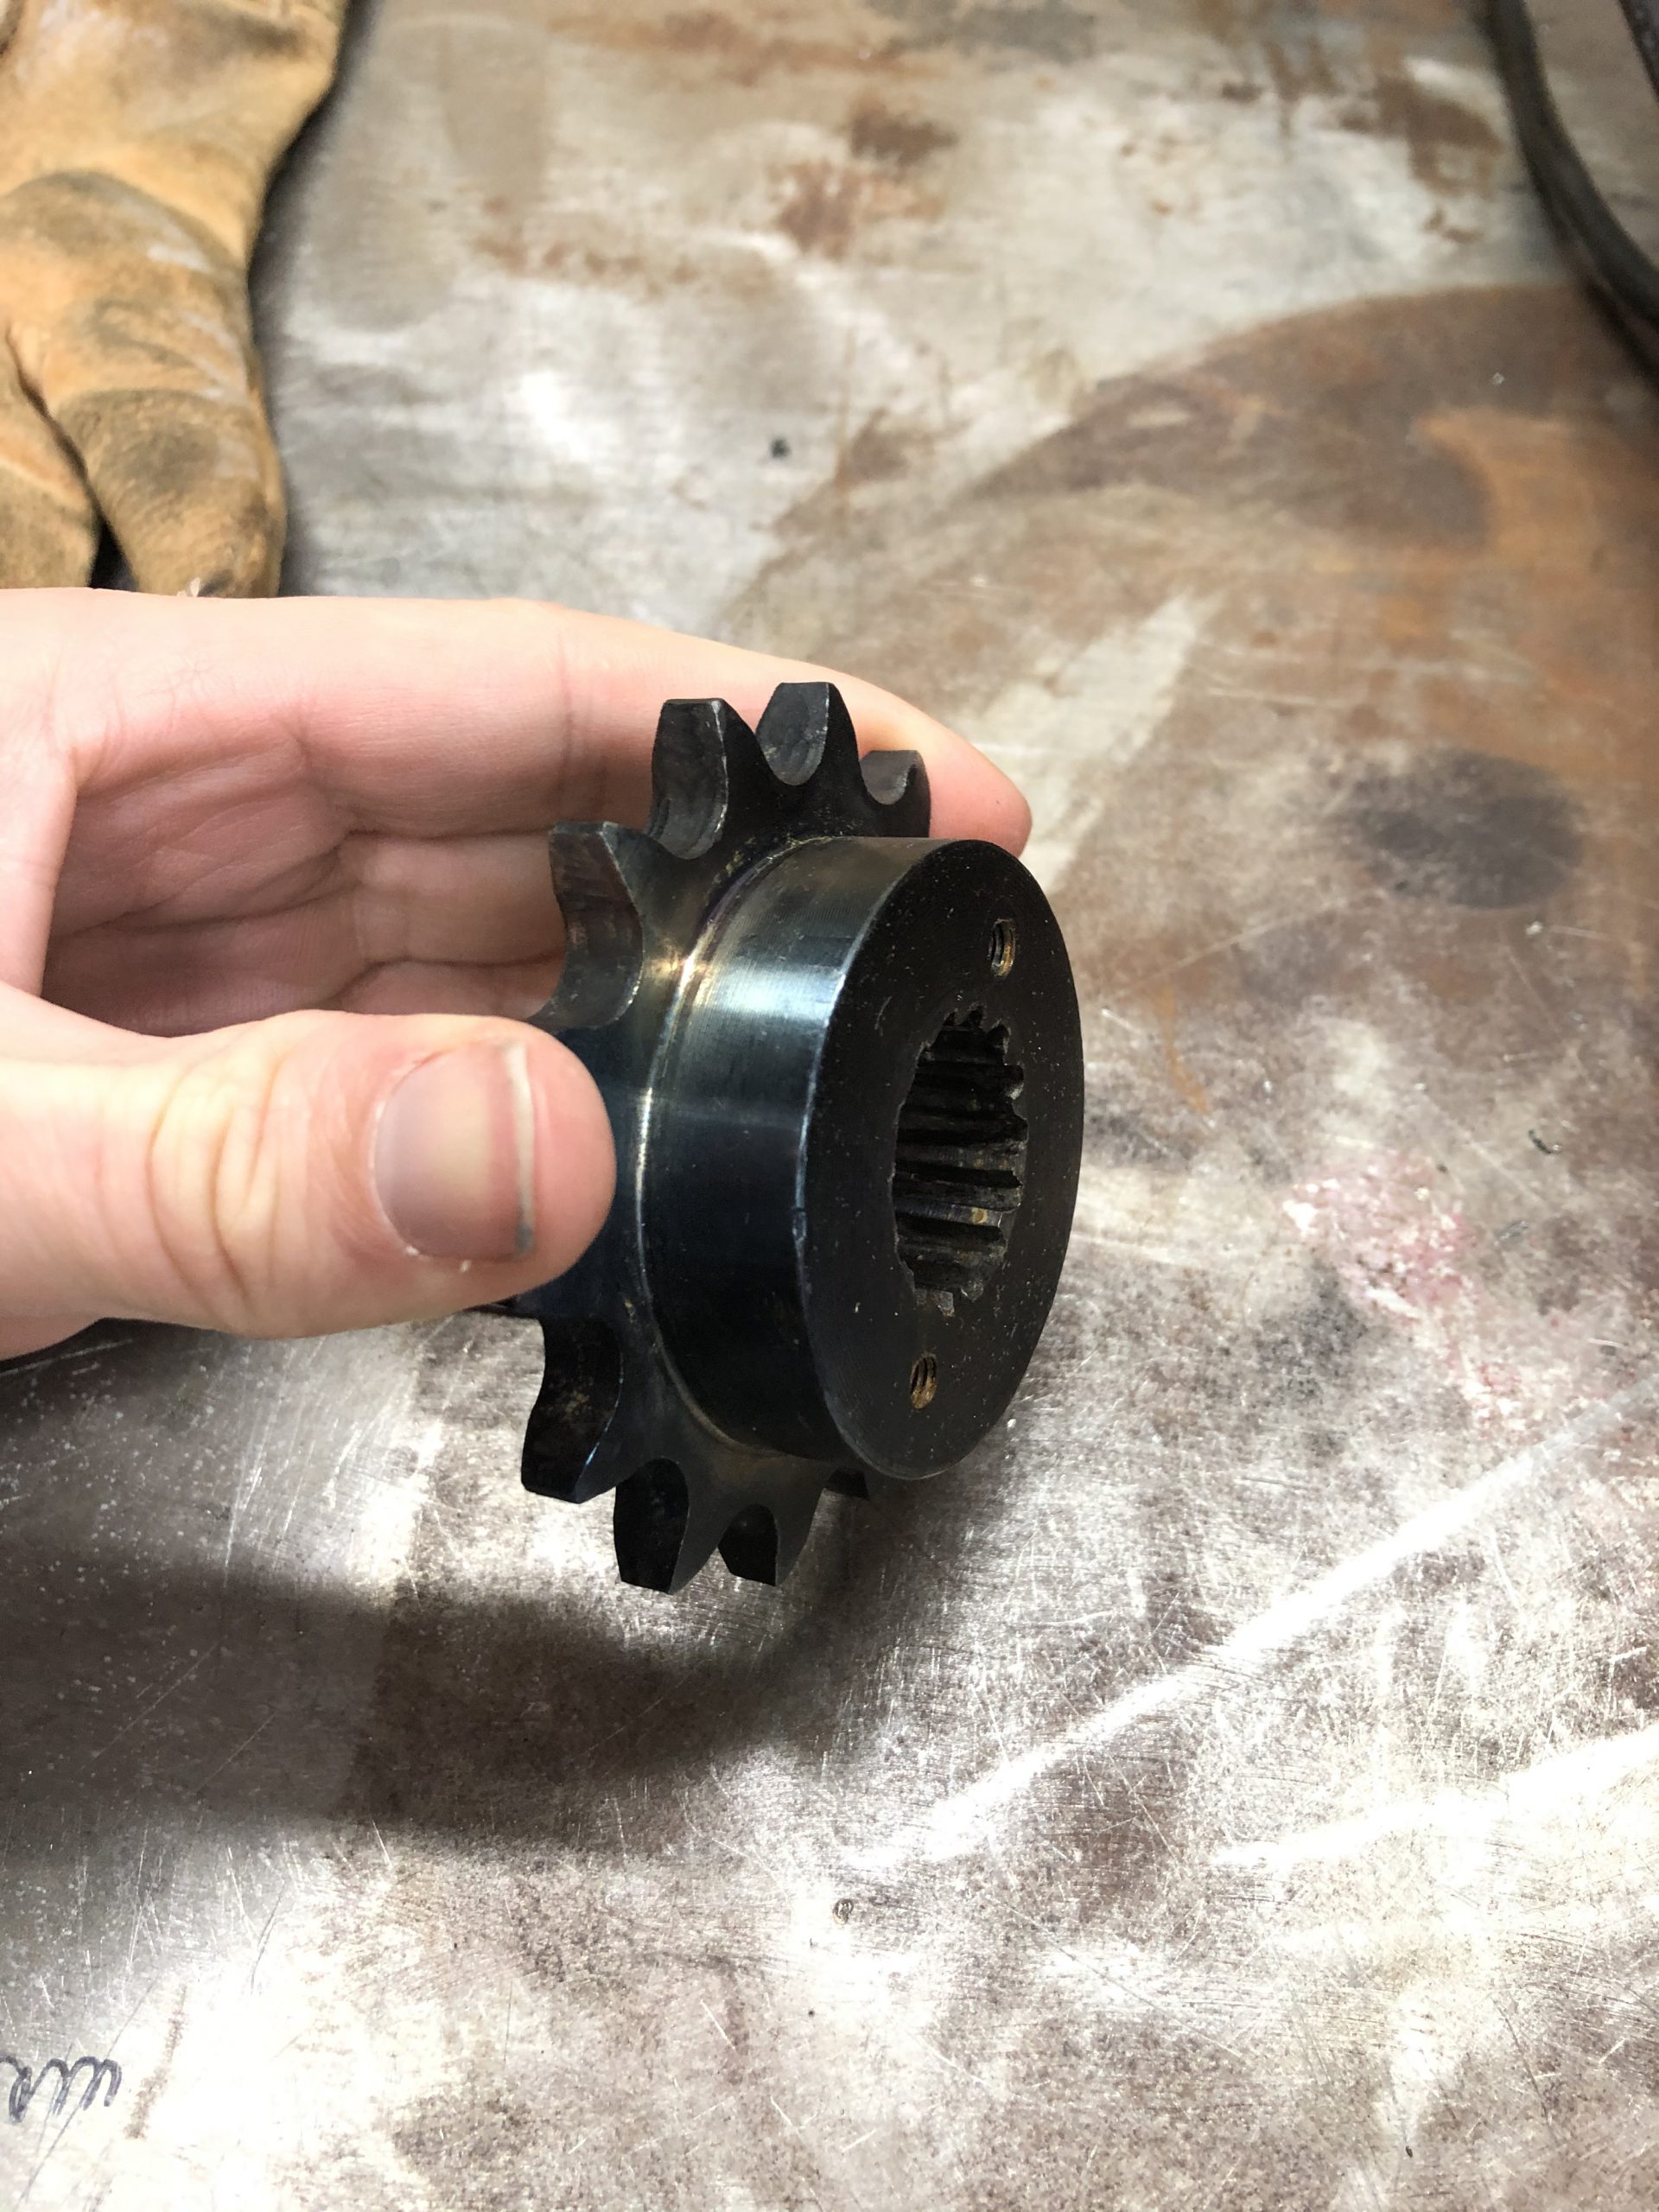
OFFSET FRONT SPROCKET
With the new single sided swingarm installed the sprocket alignment was offcourse not right. I found a company that was able to build me a custom offset sprocket. A total offset of 5mm. Normally a 900ss has a 520 chain, but now it takes a 525 chain and alignes perfectly!
Also moved down from 15 teeth to 14. Loses abit of top speed but gains torque.

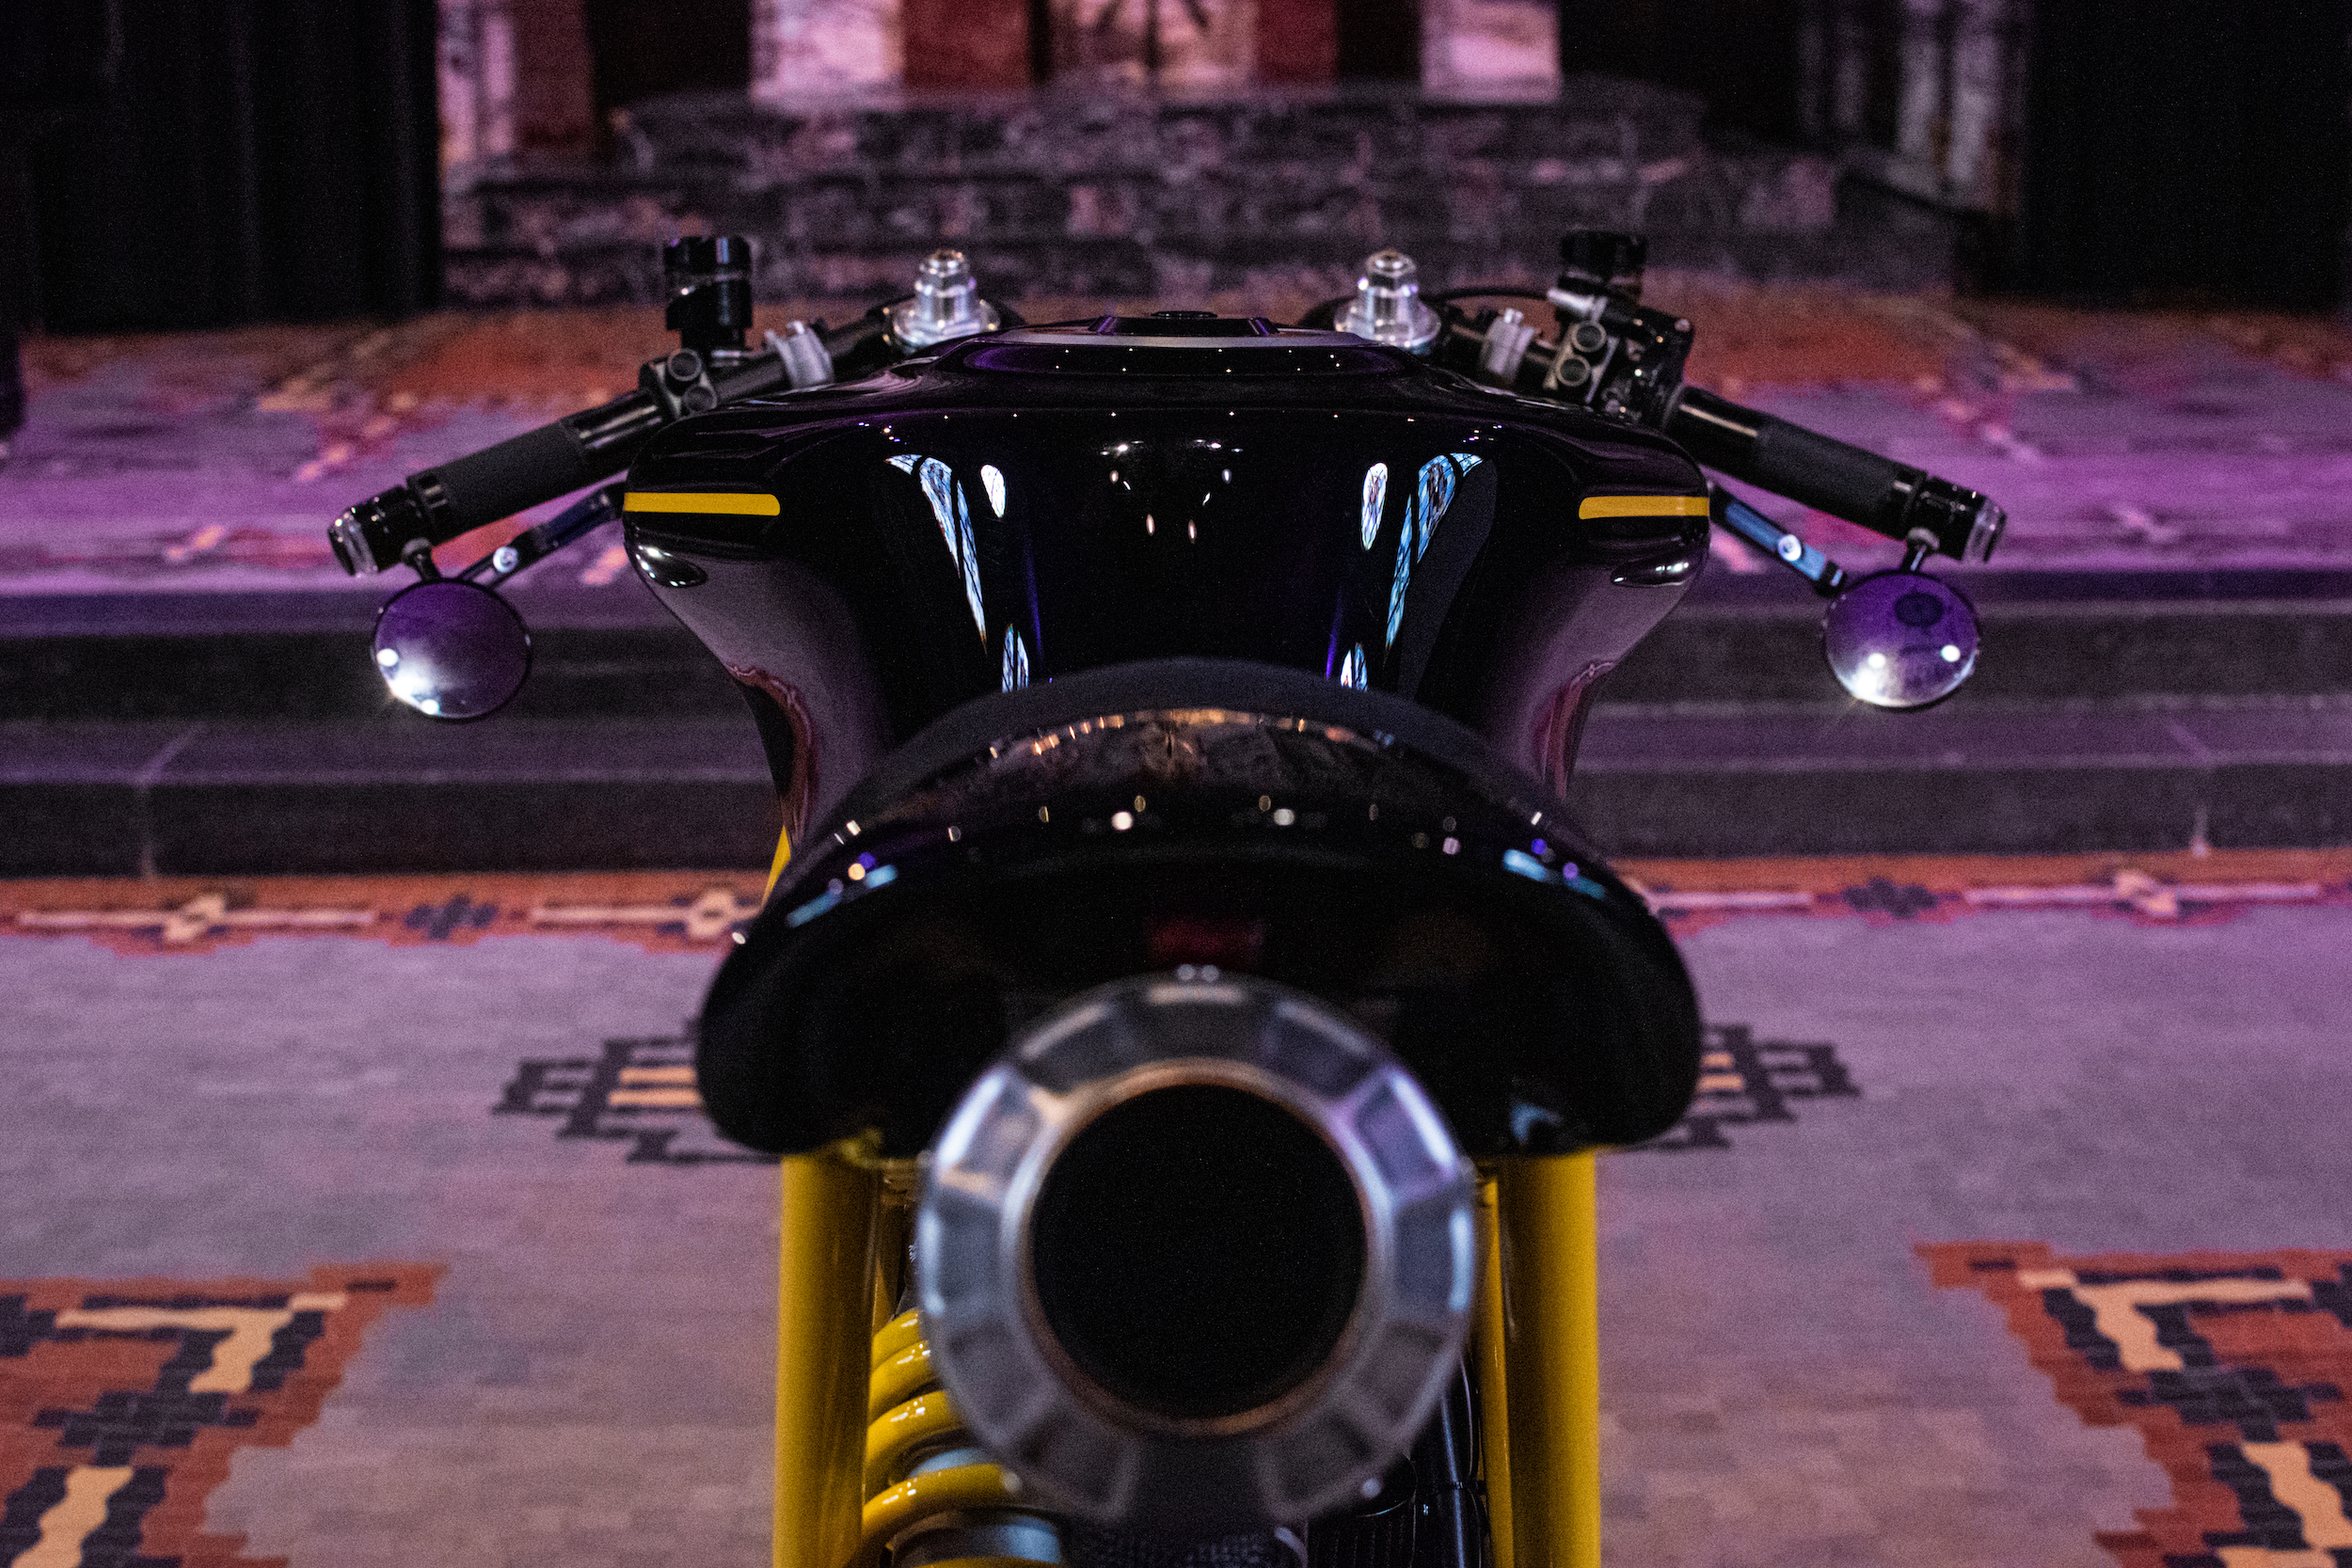
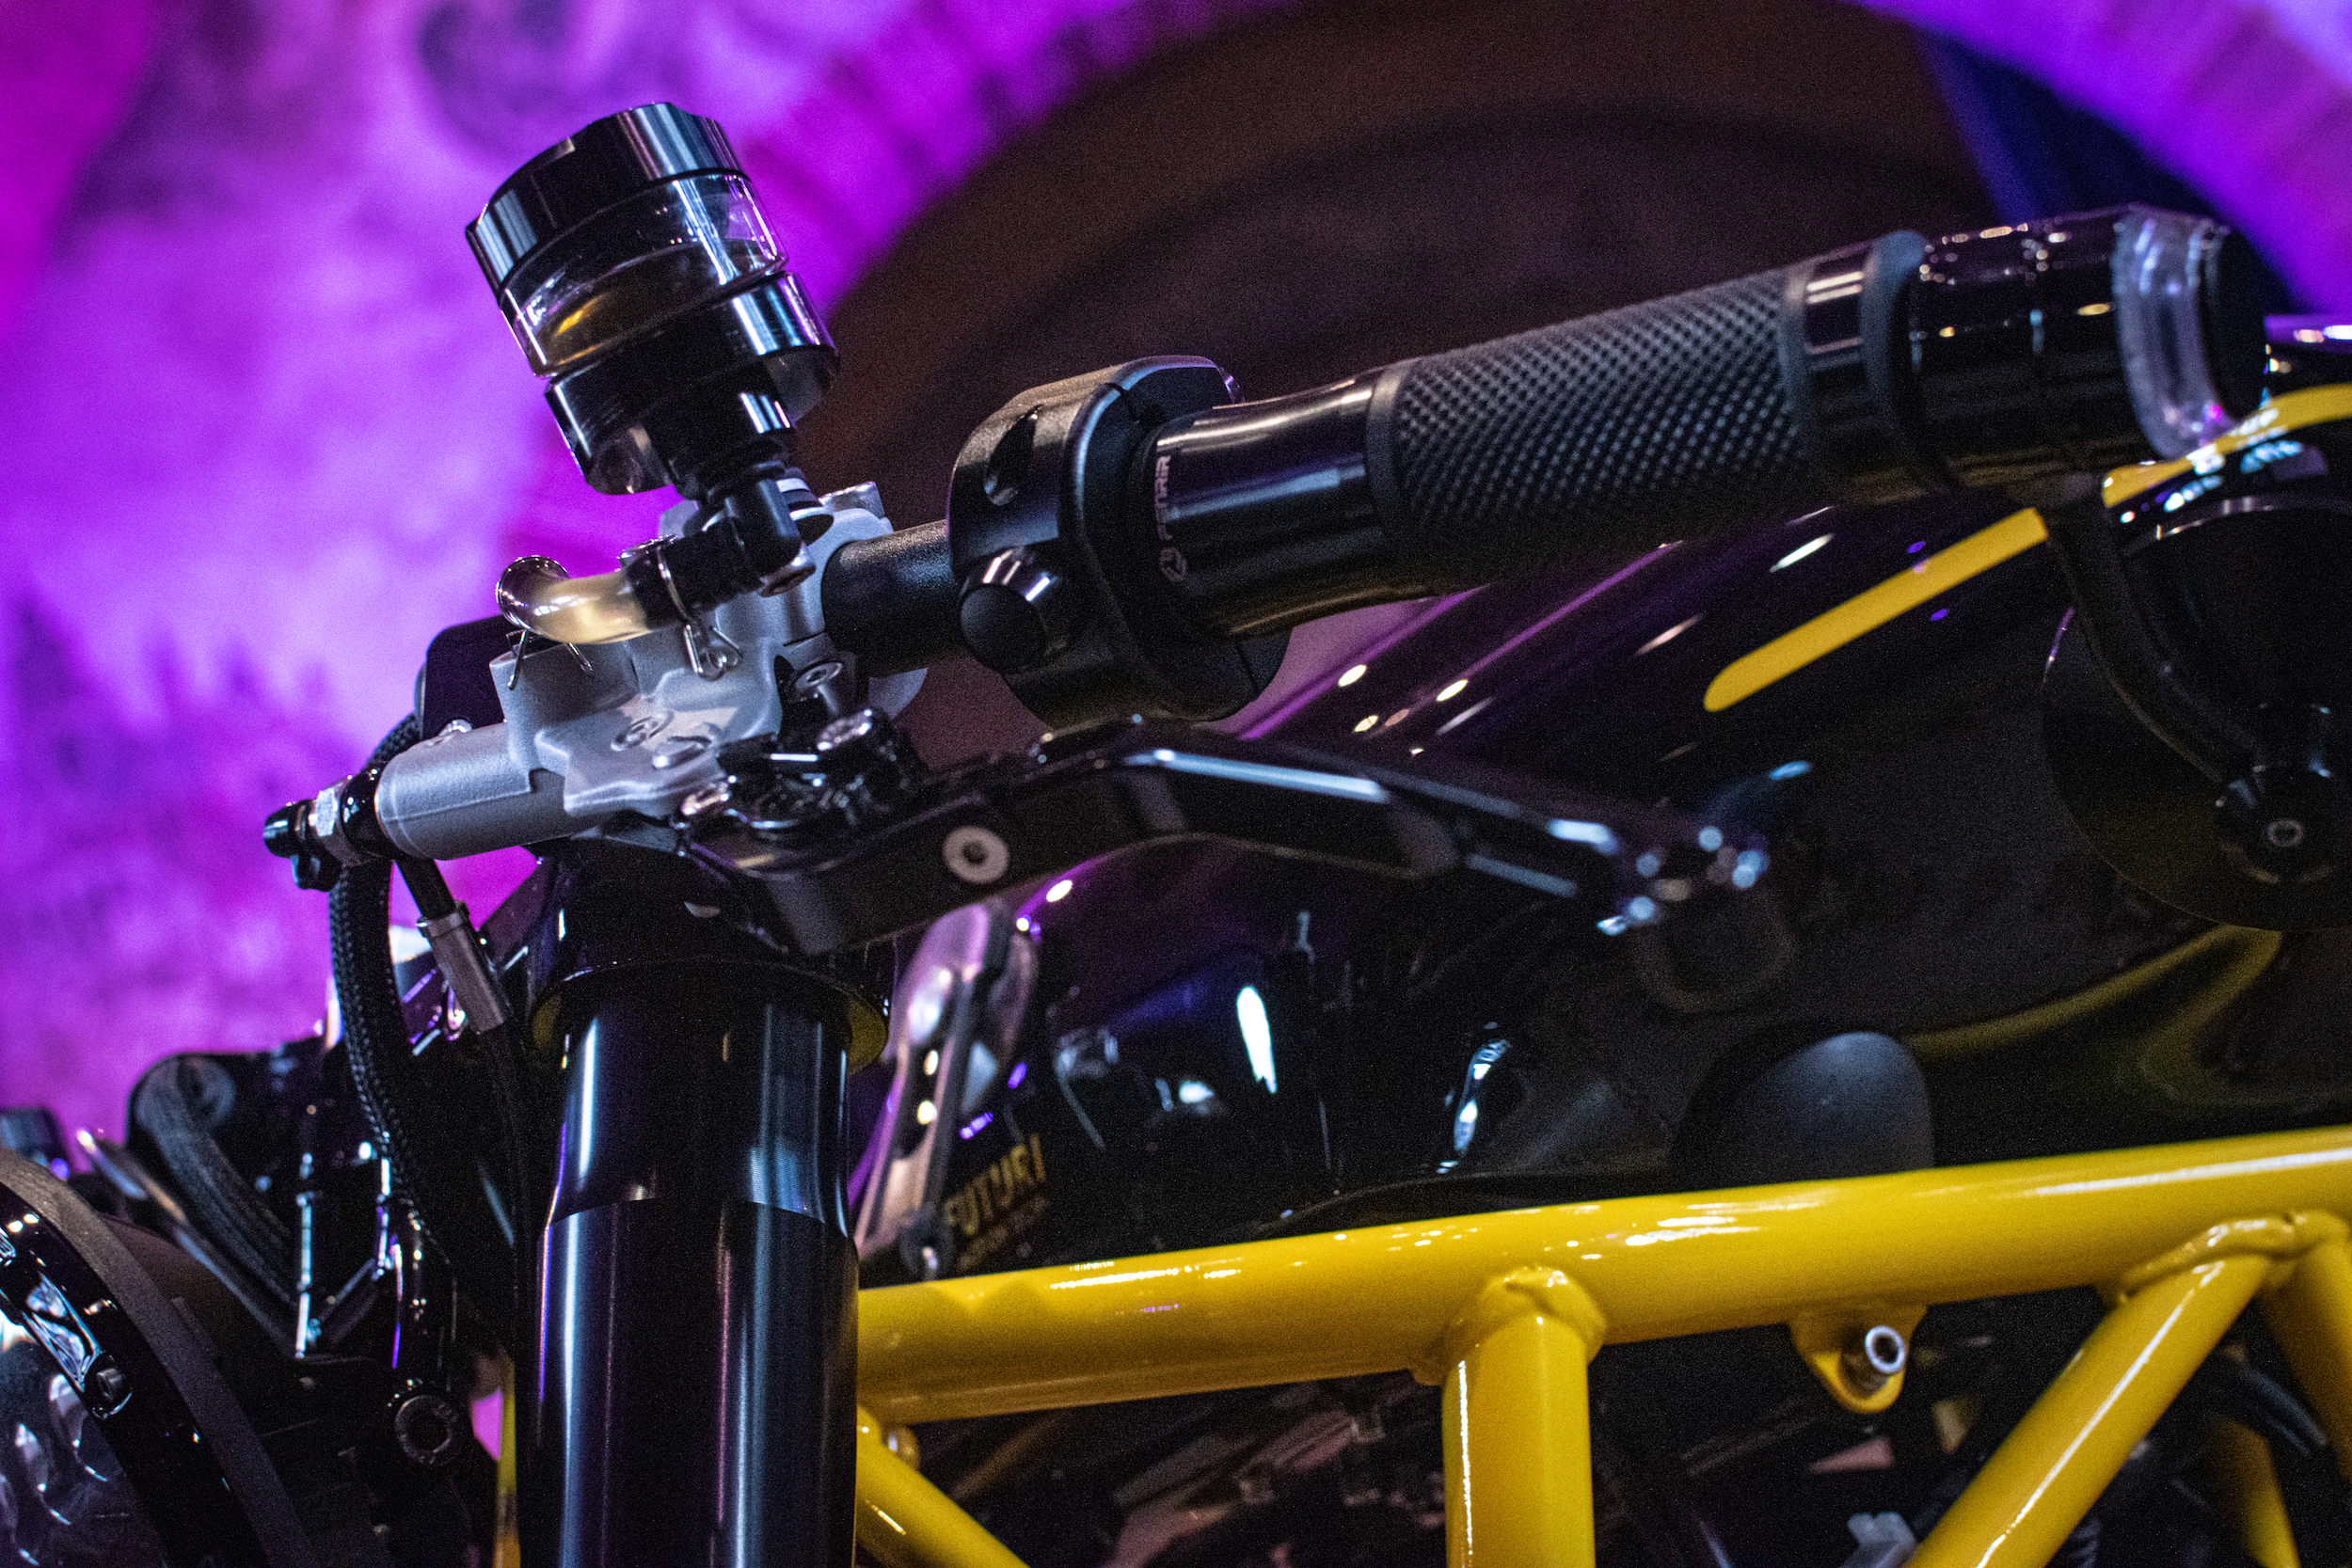
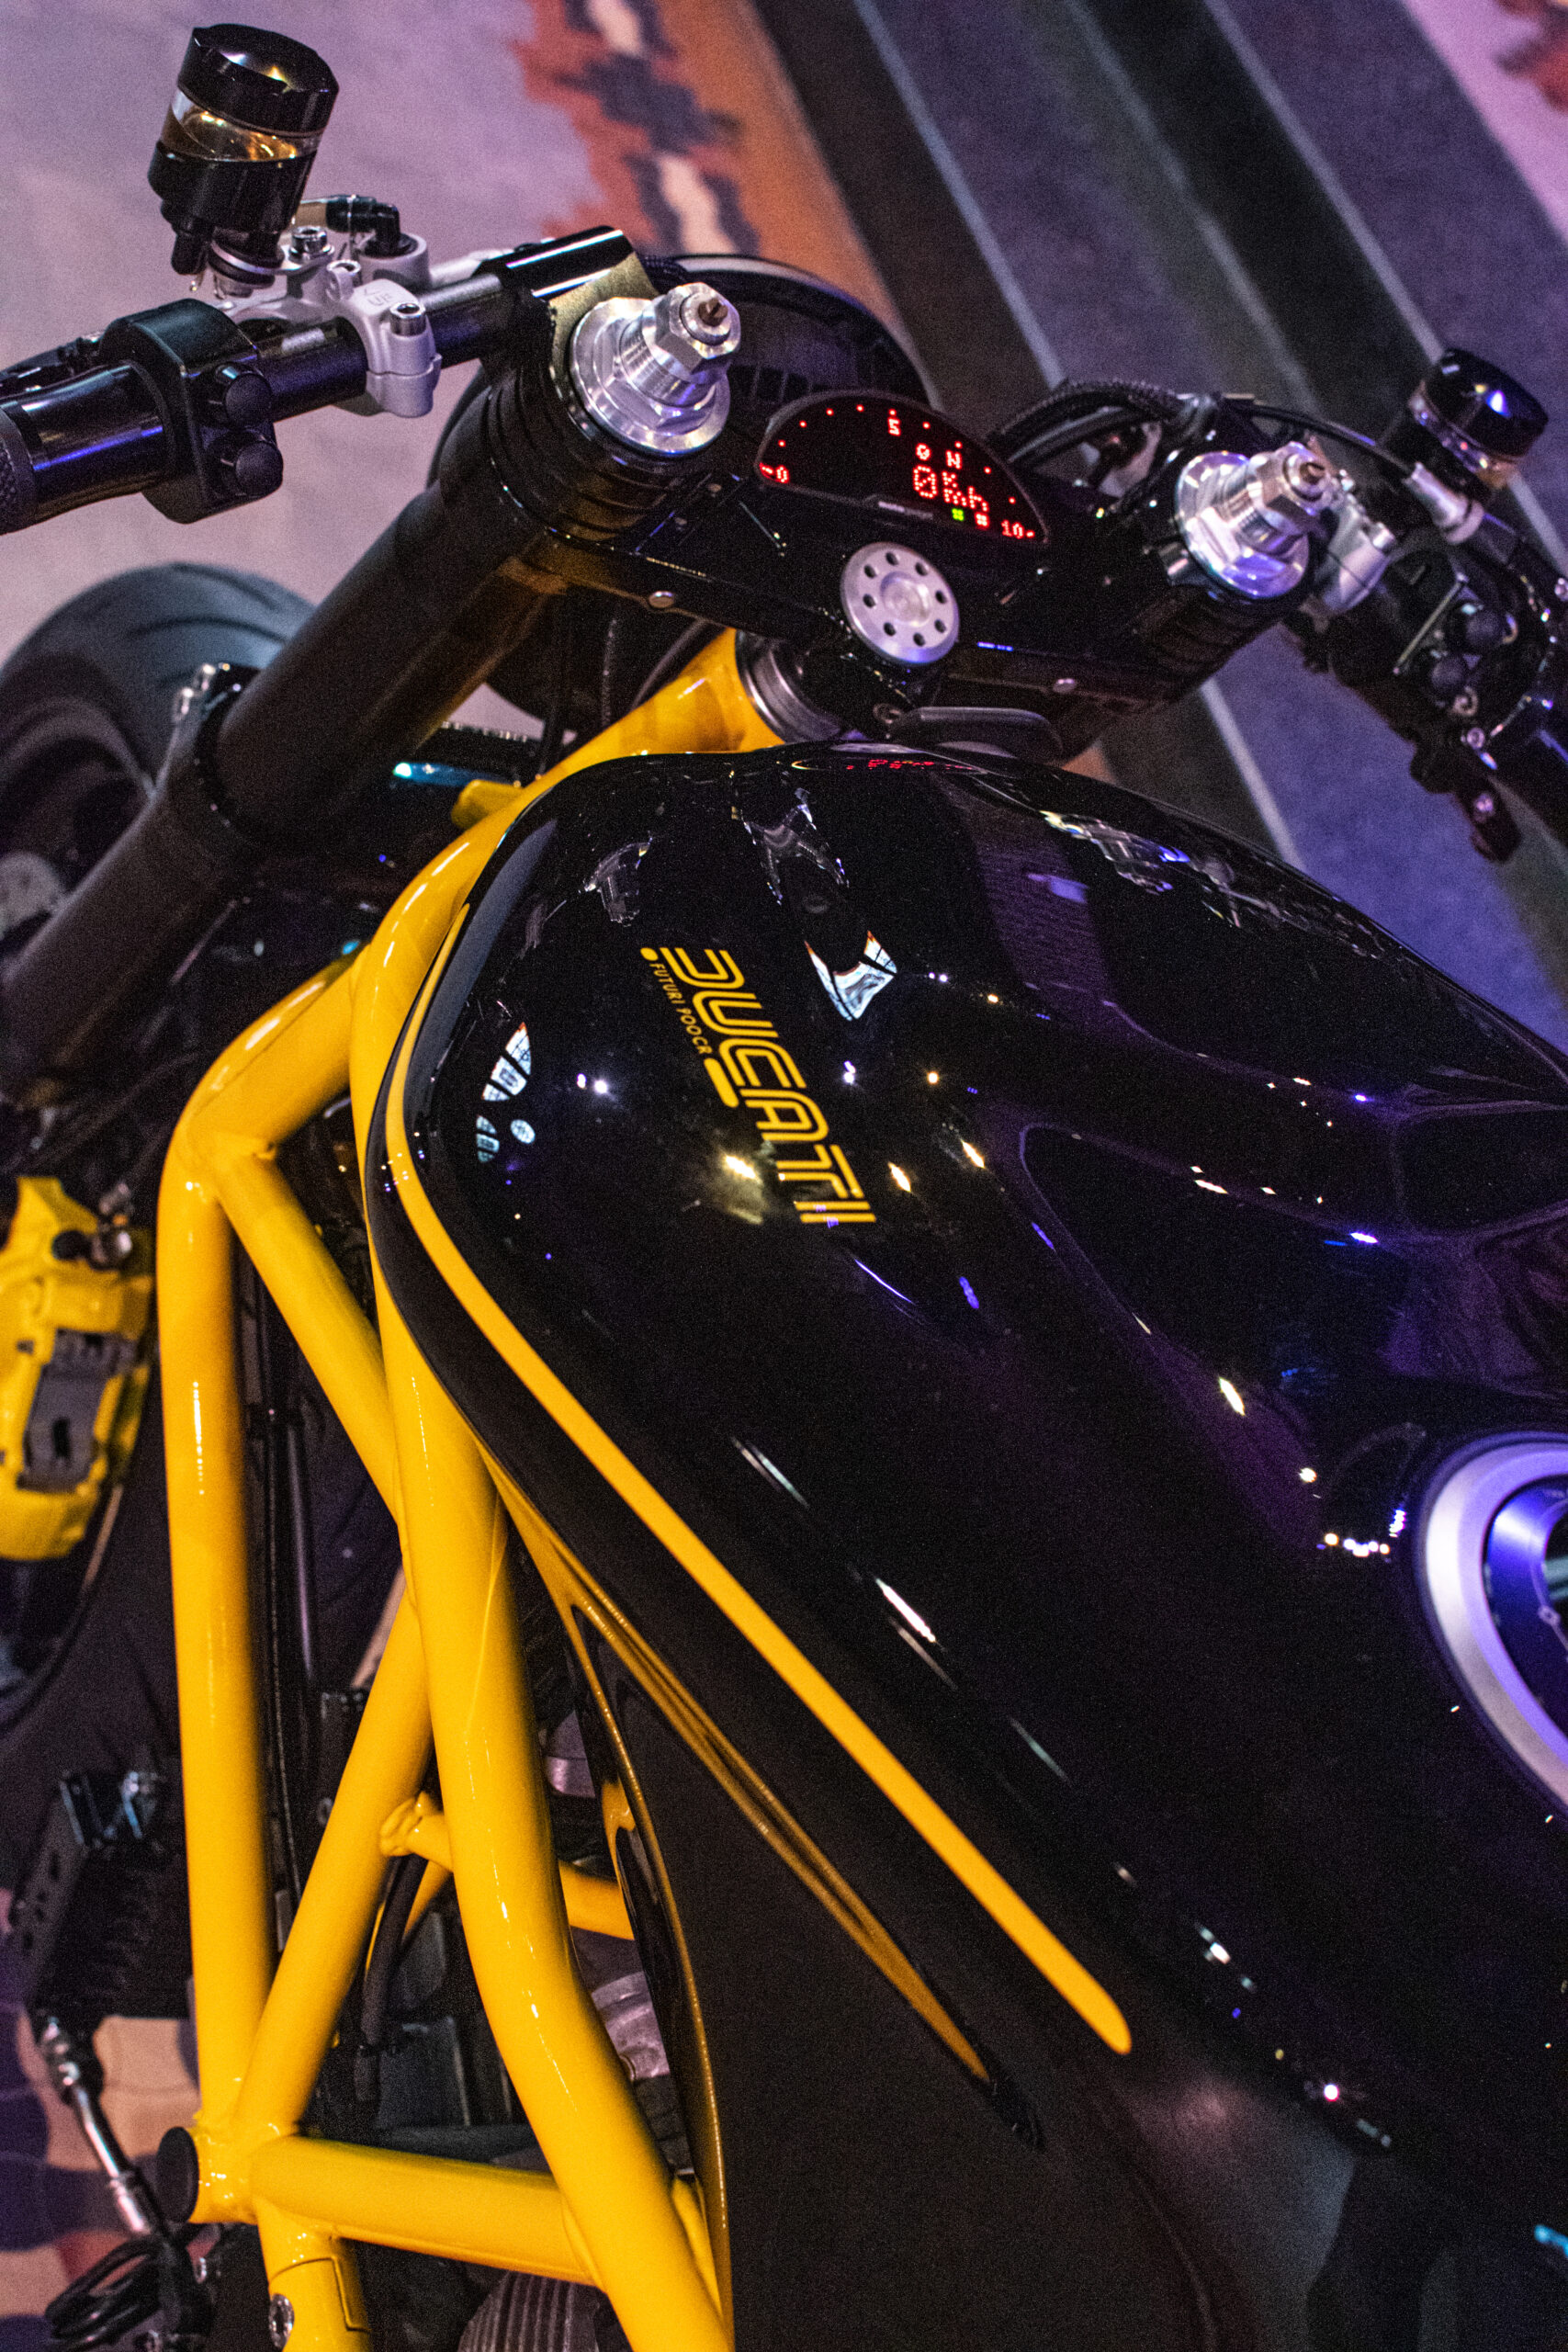
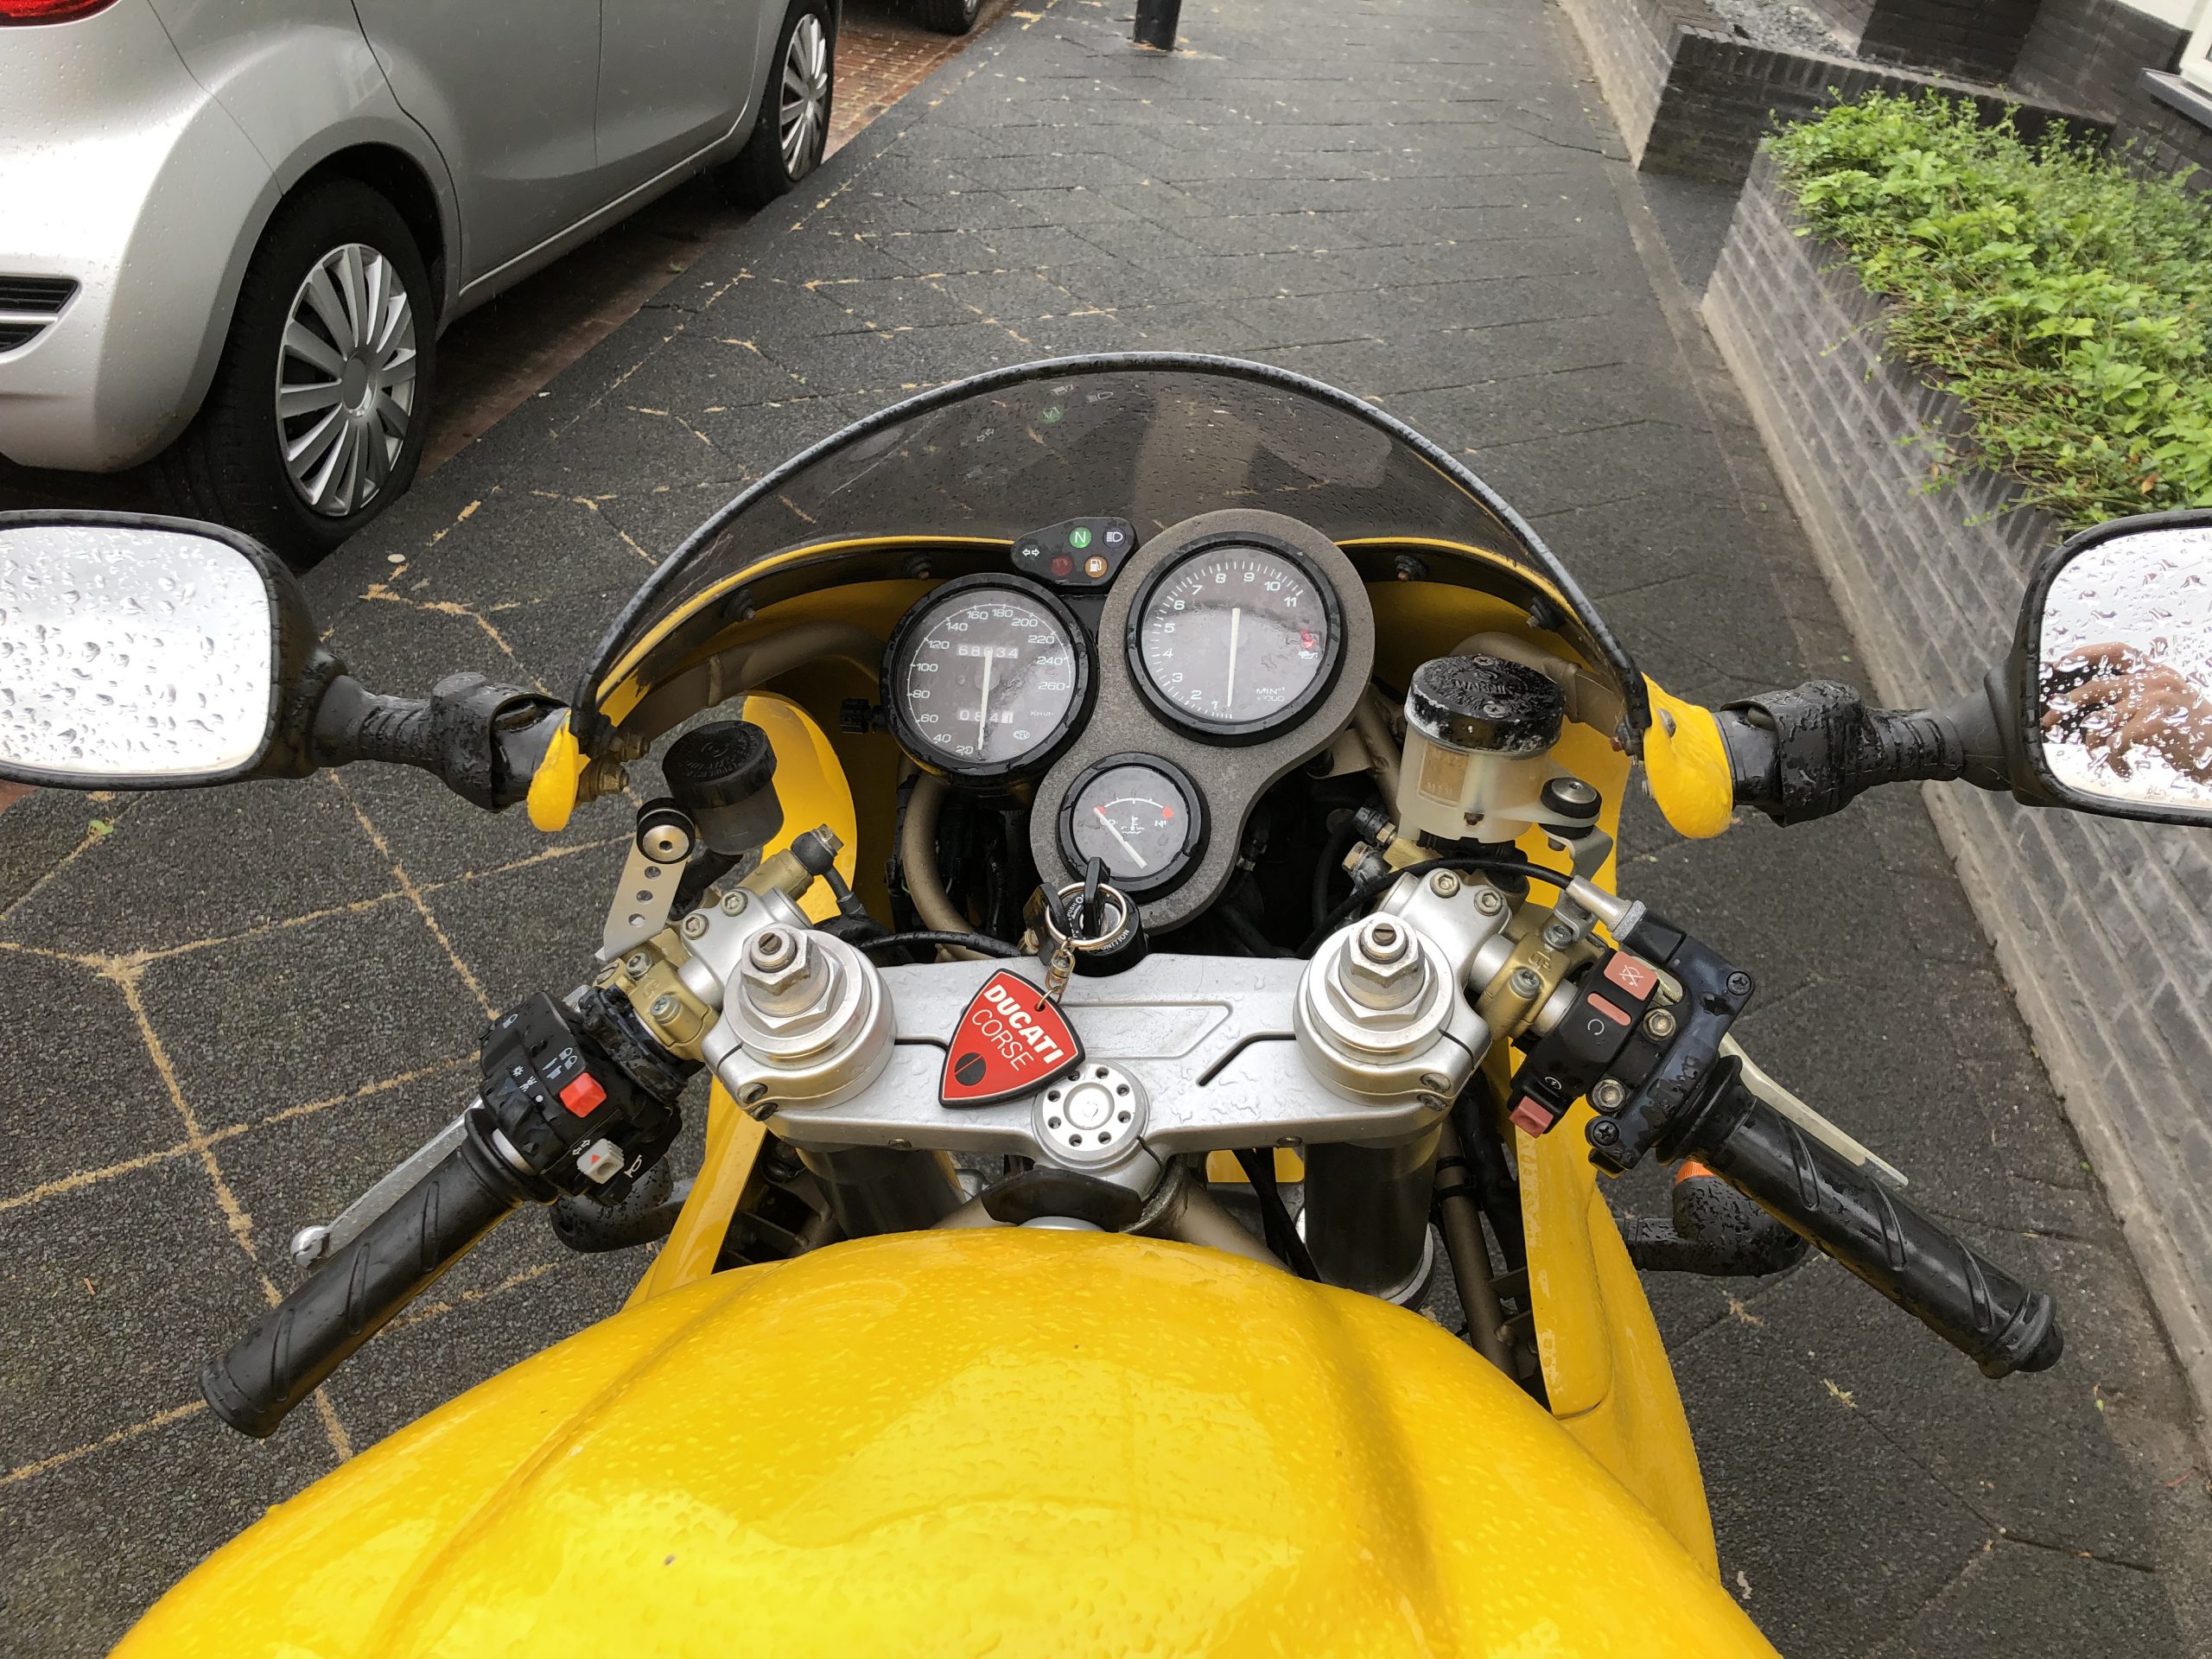
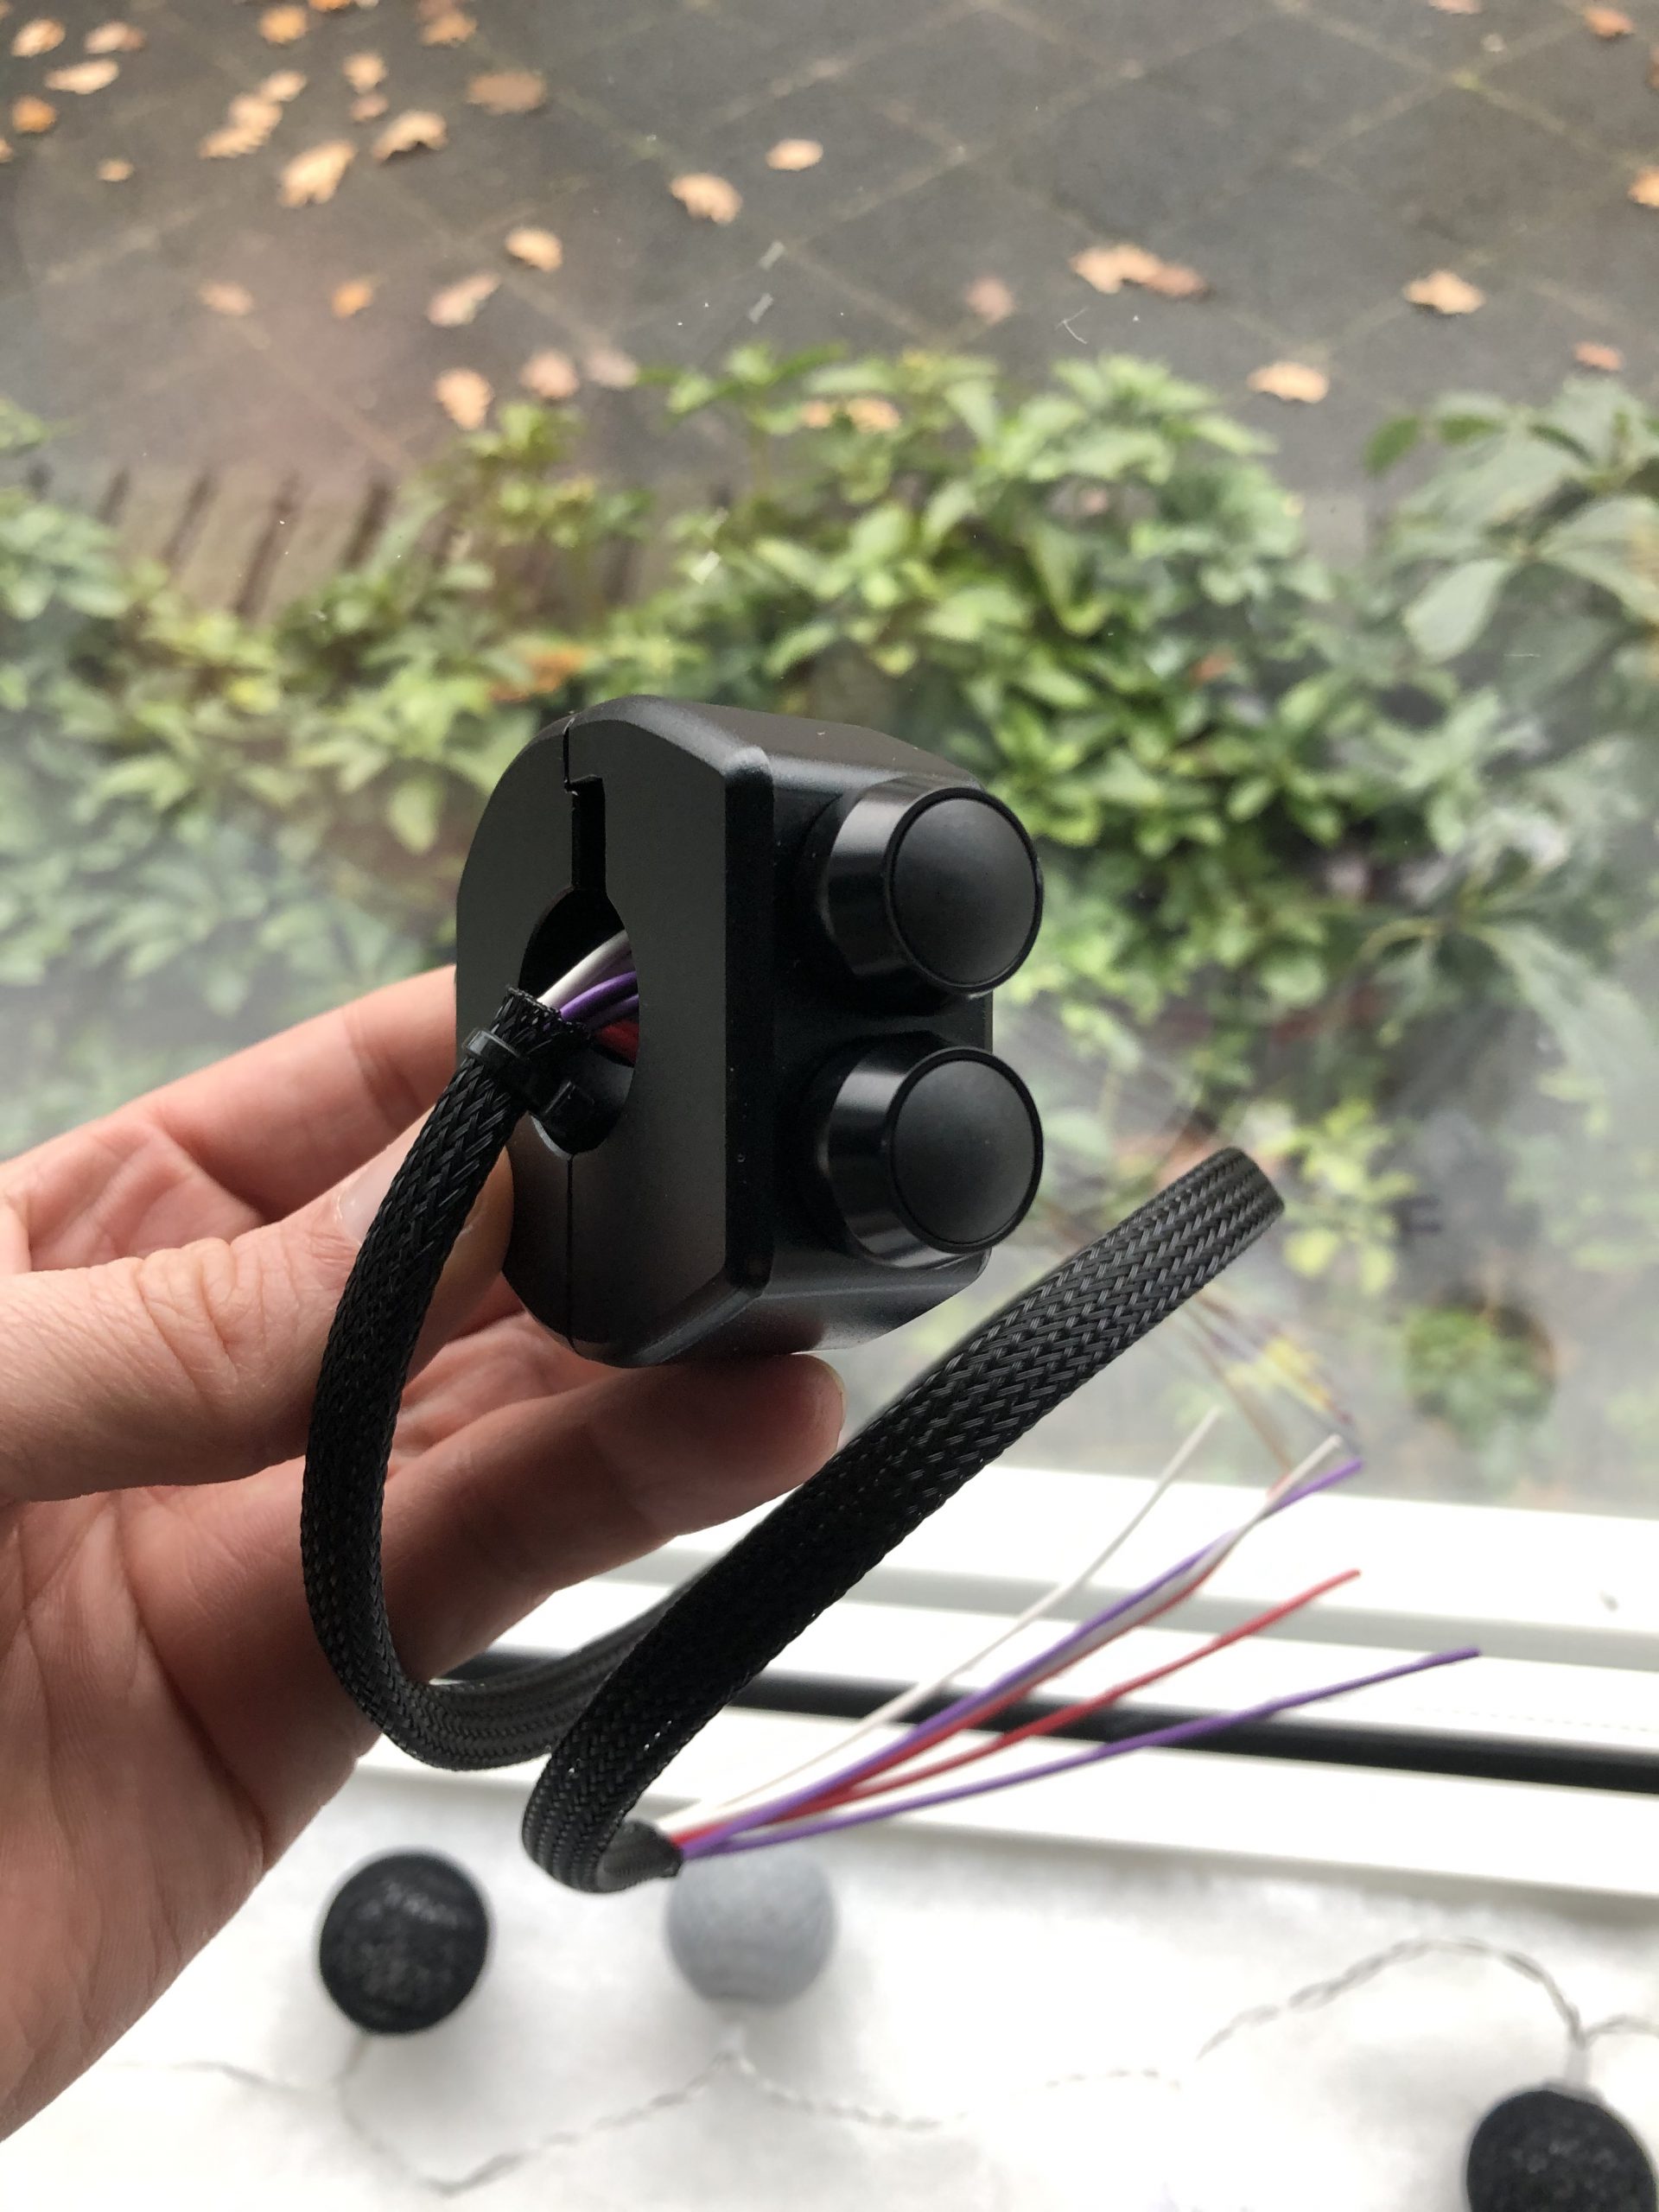
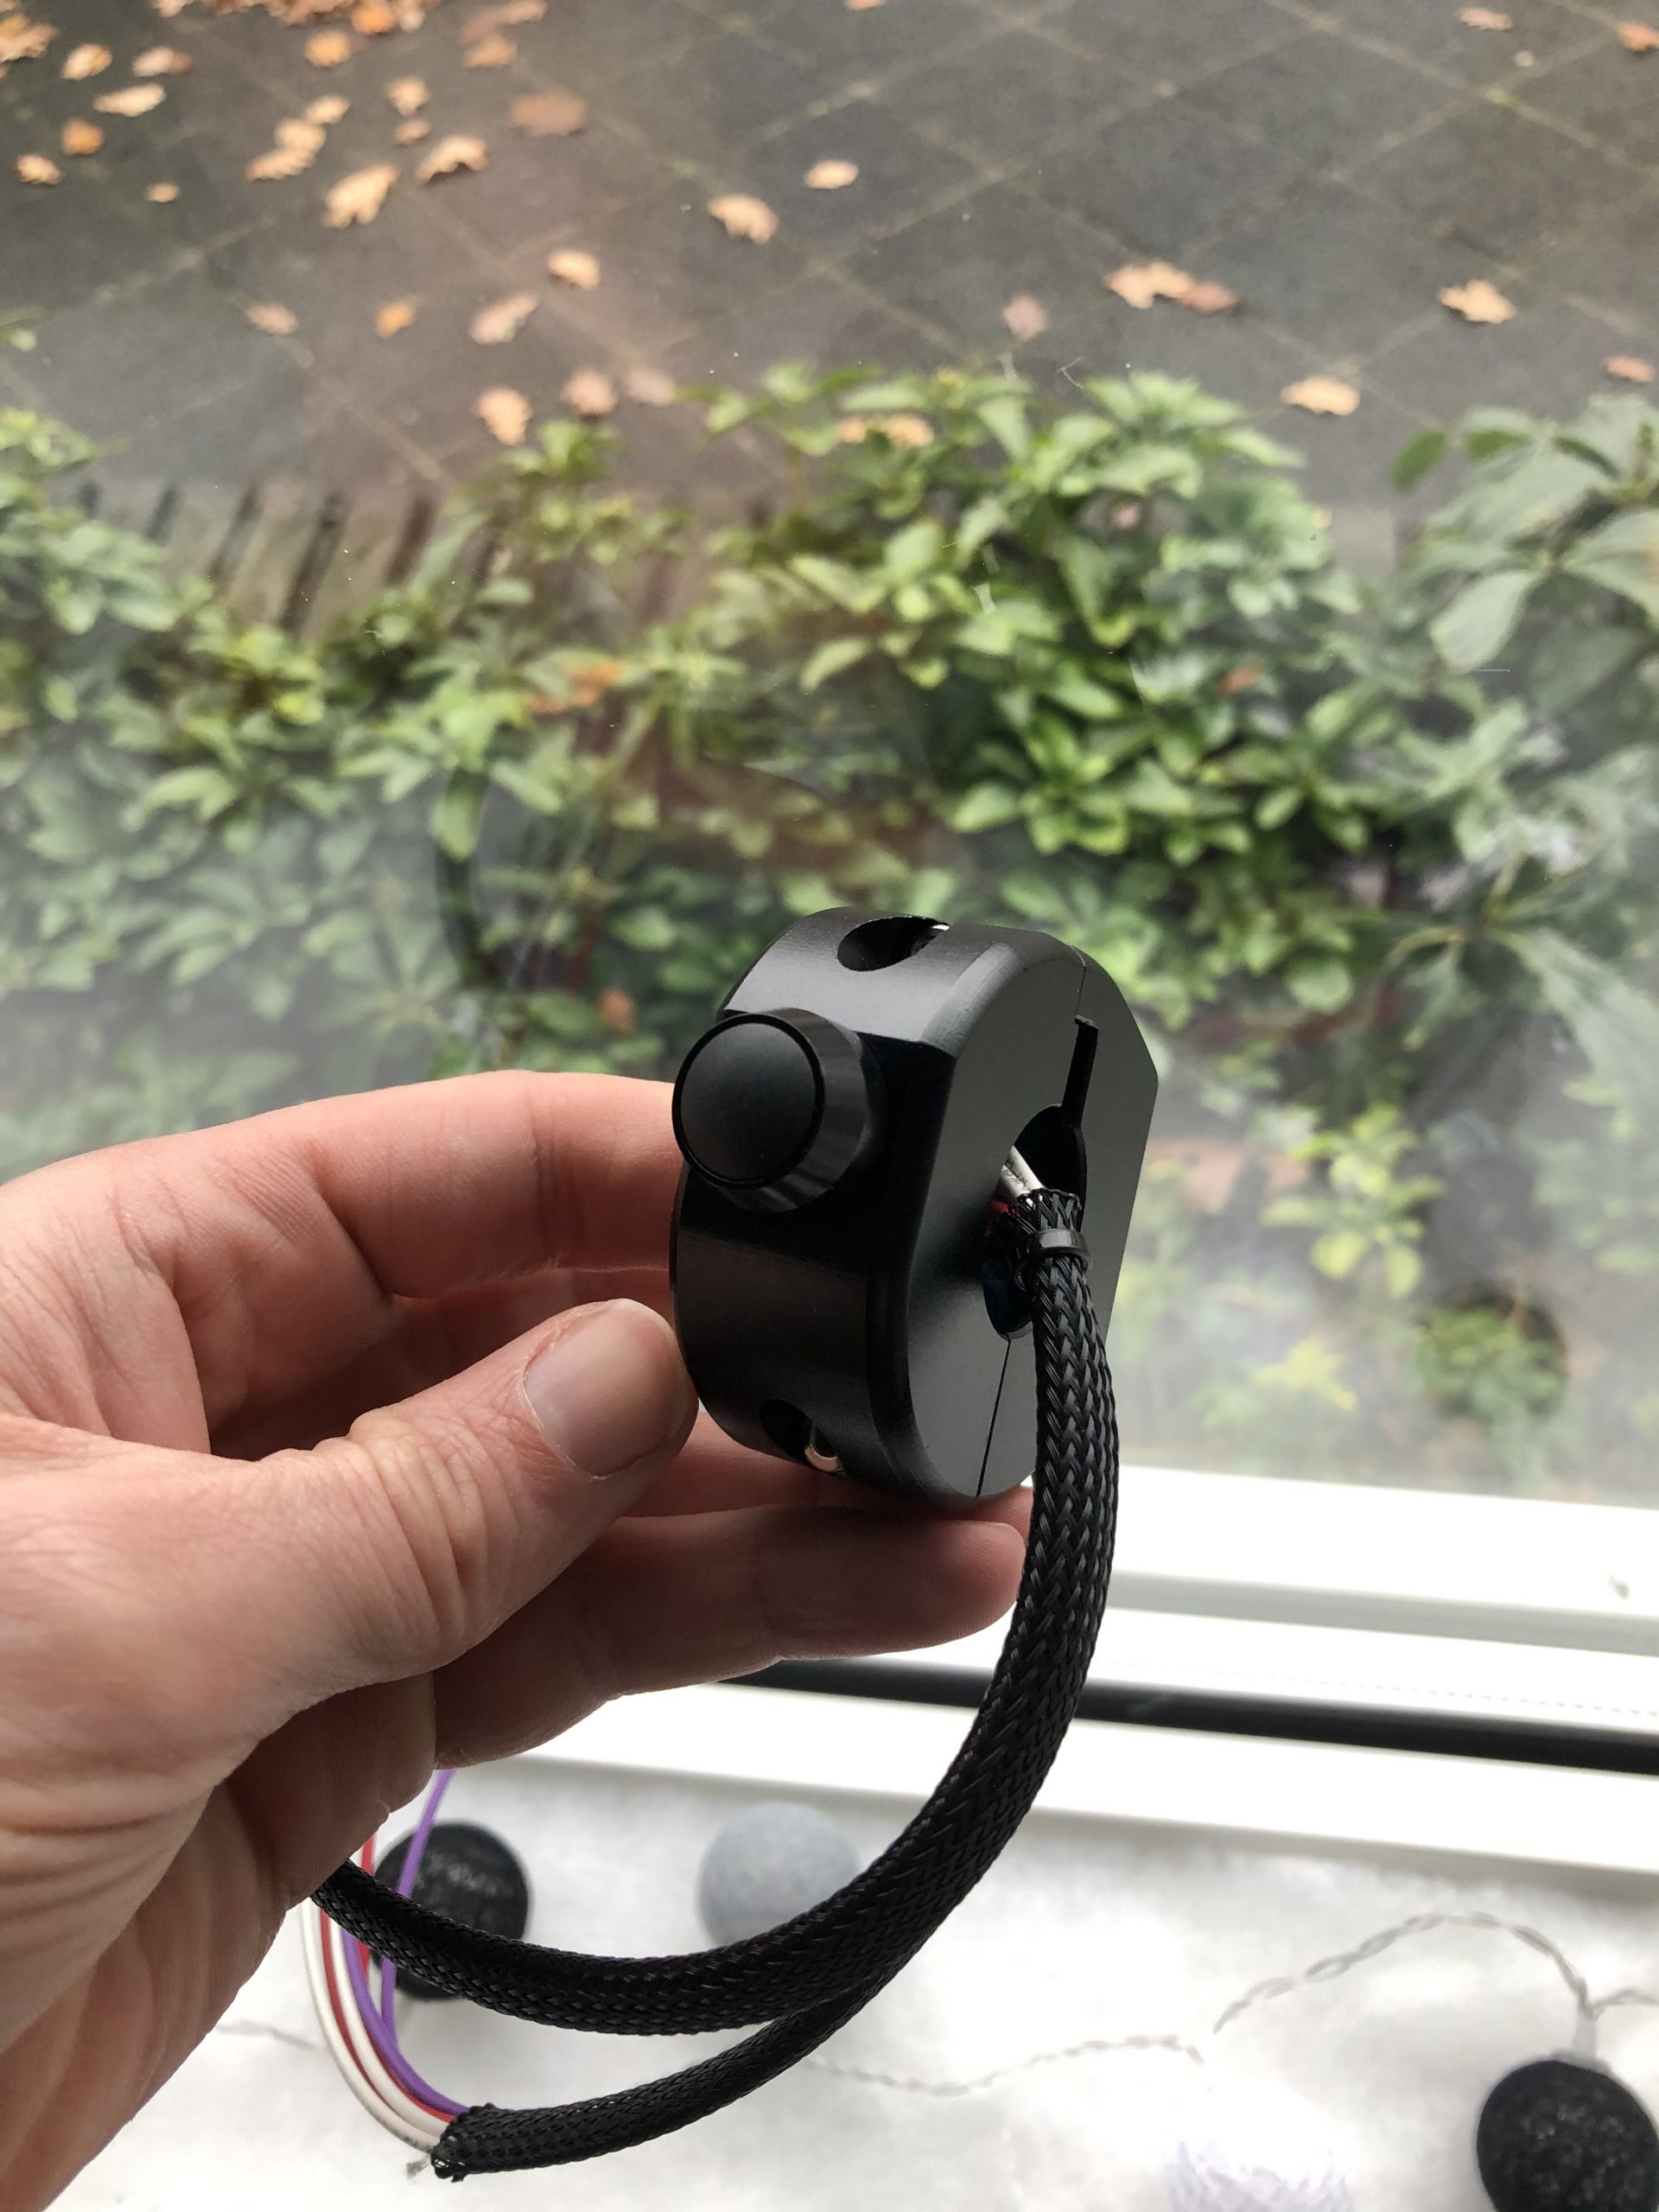
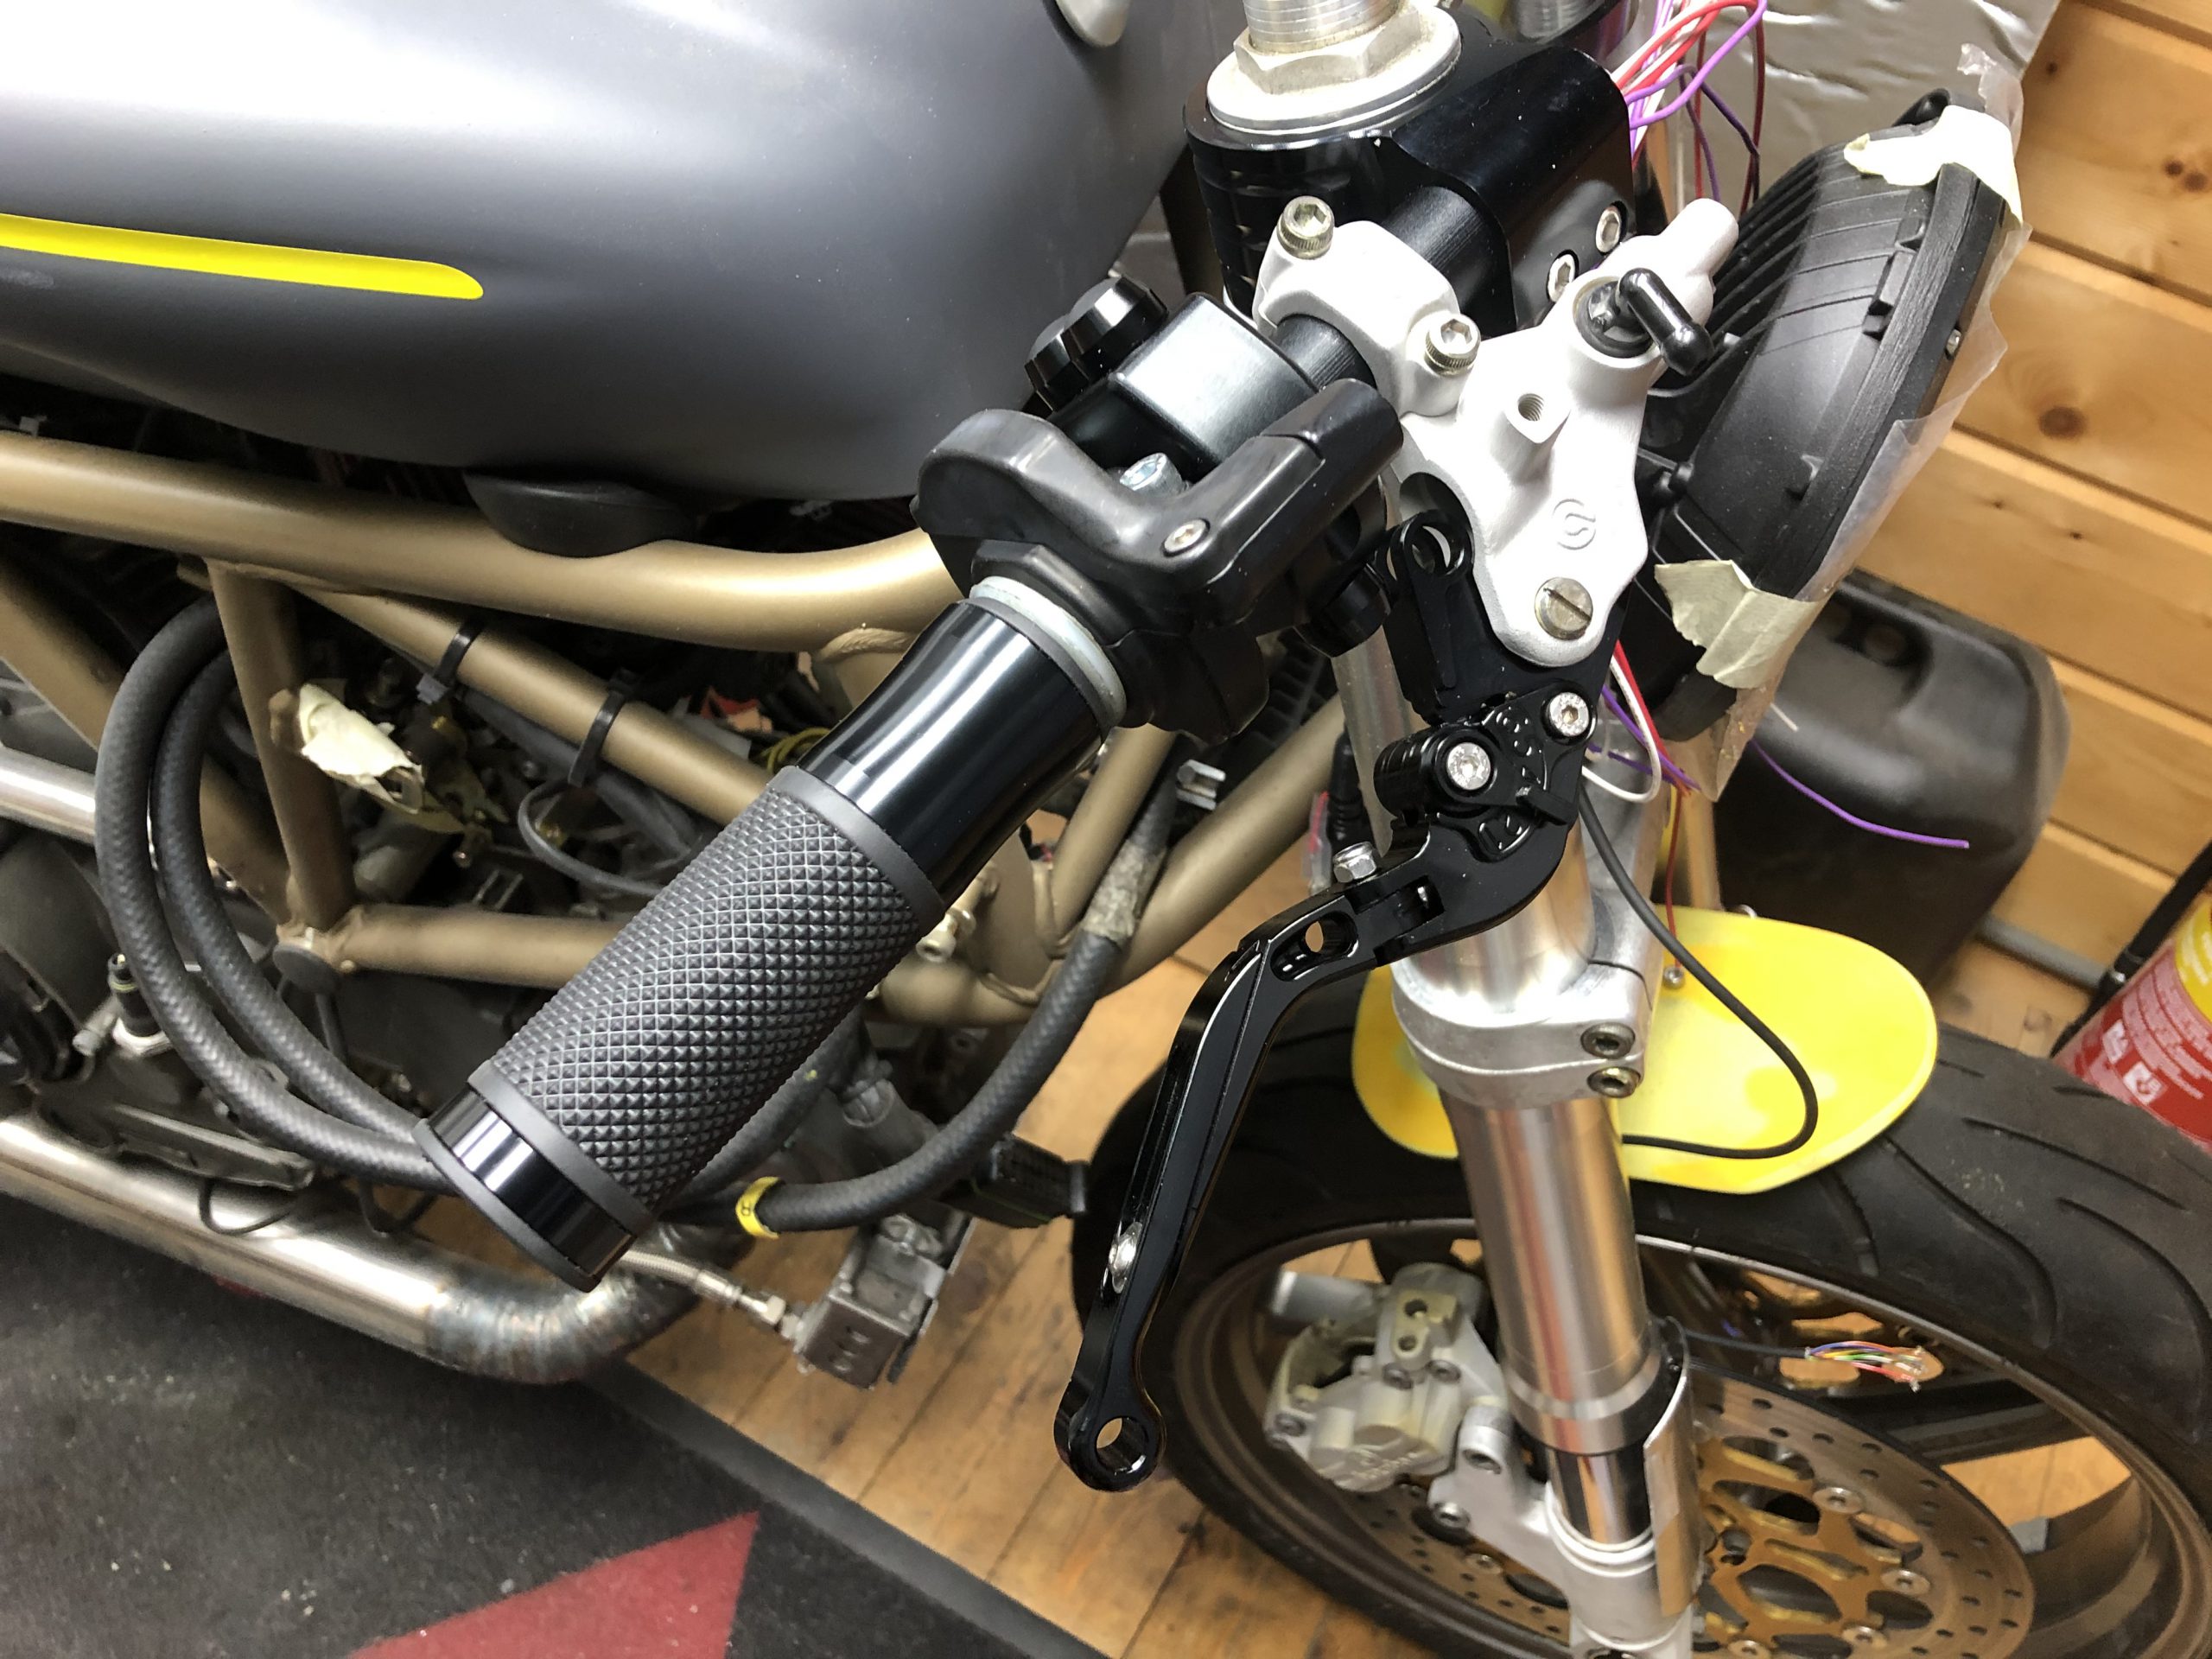
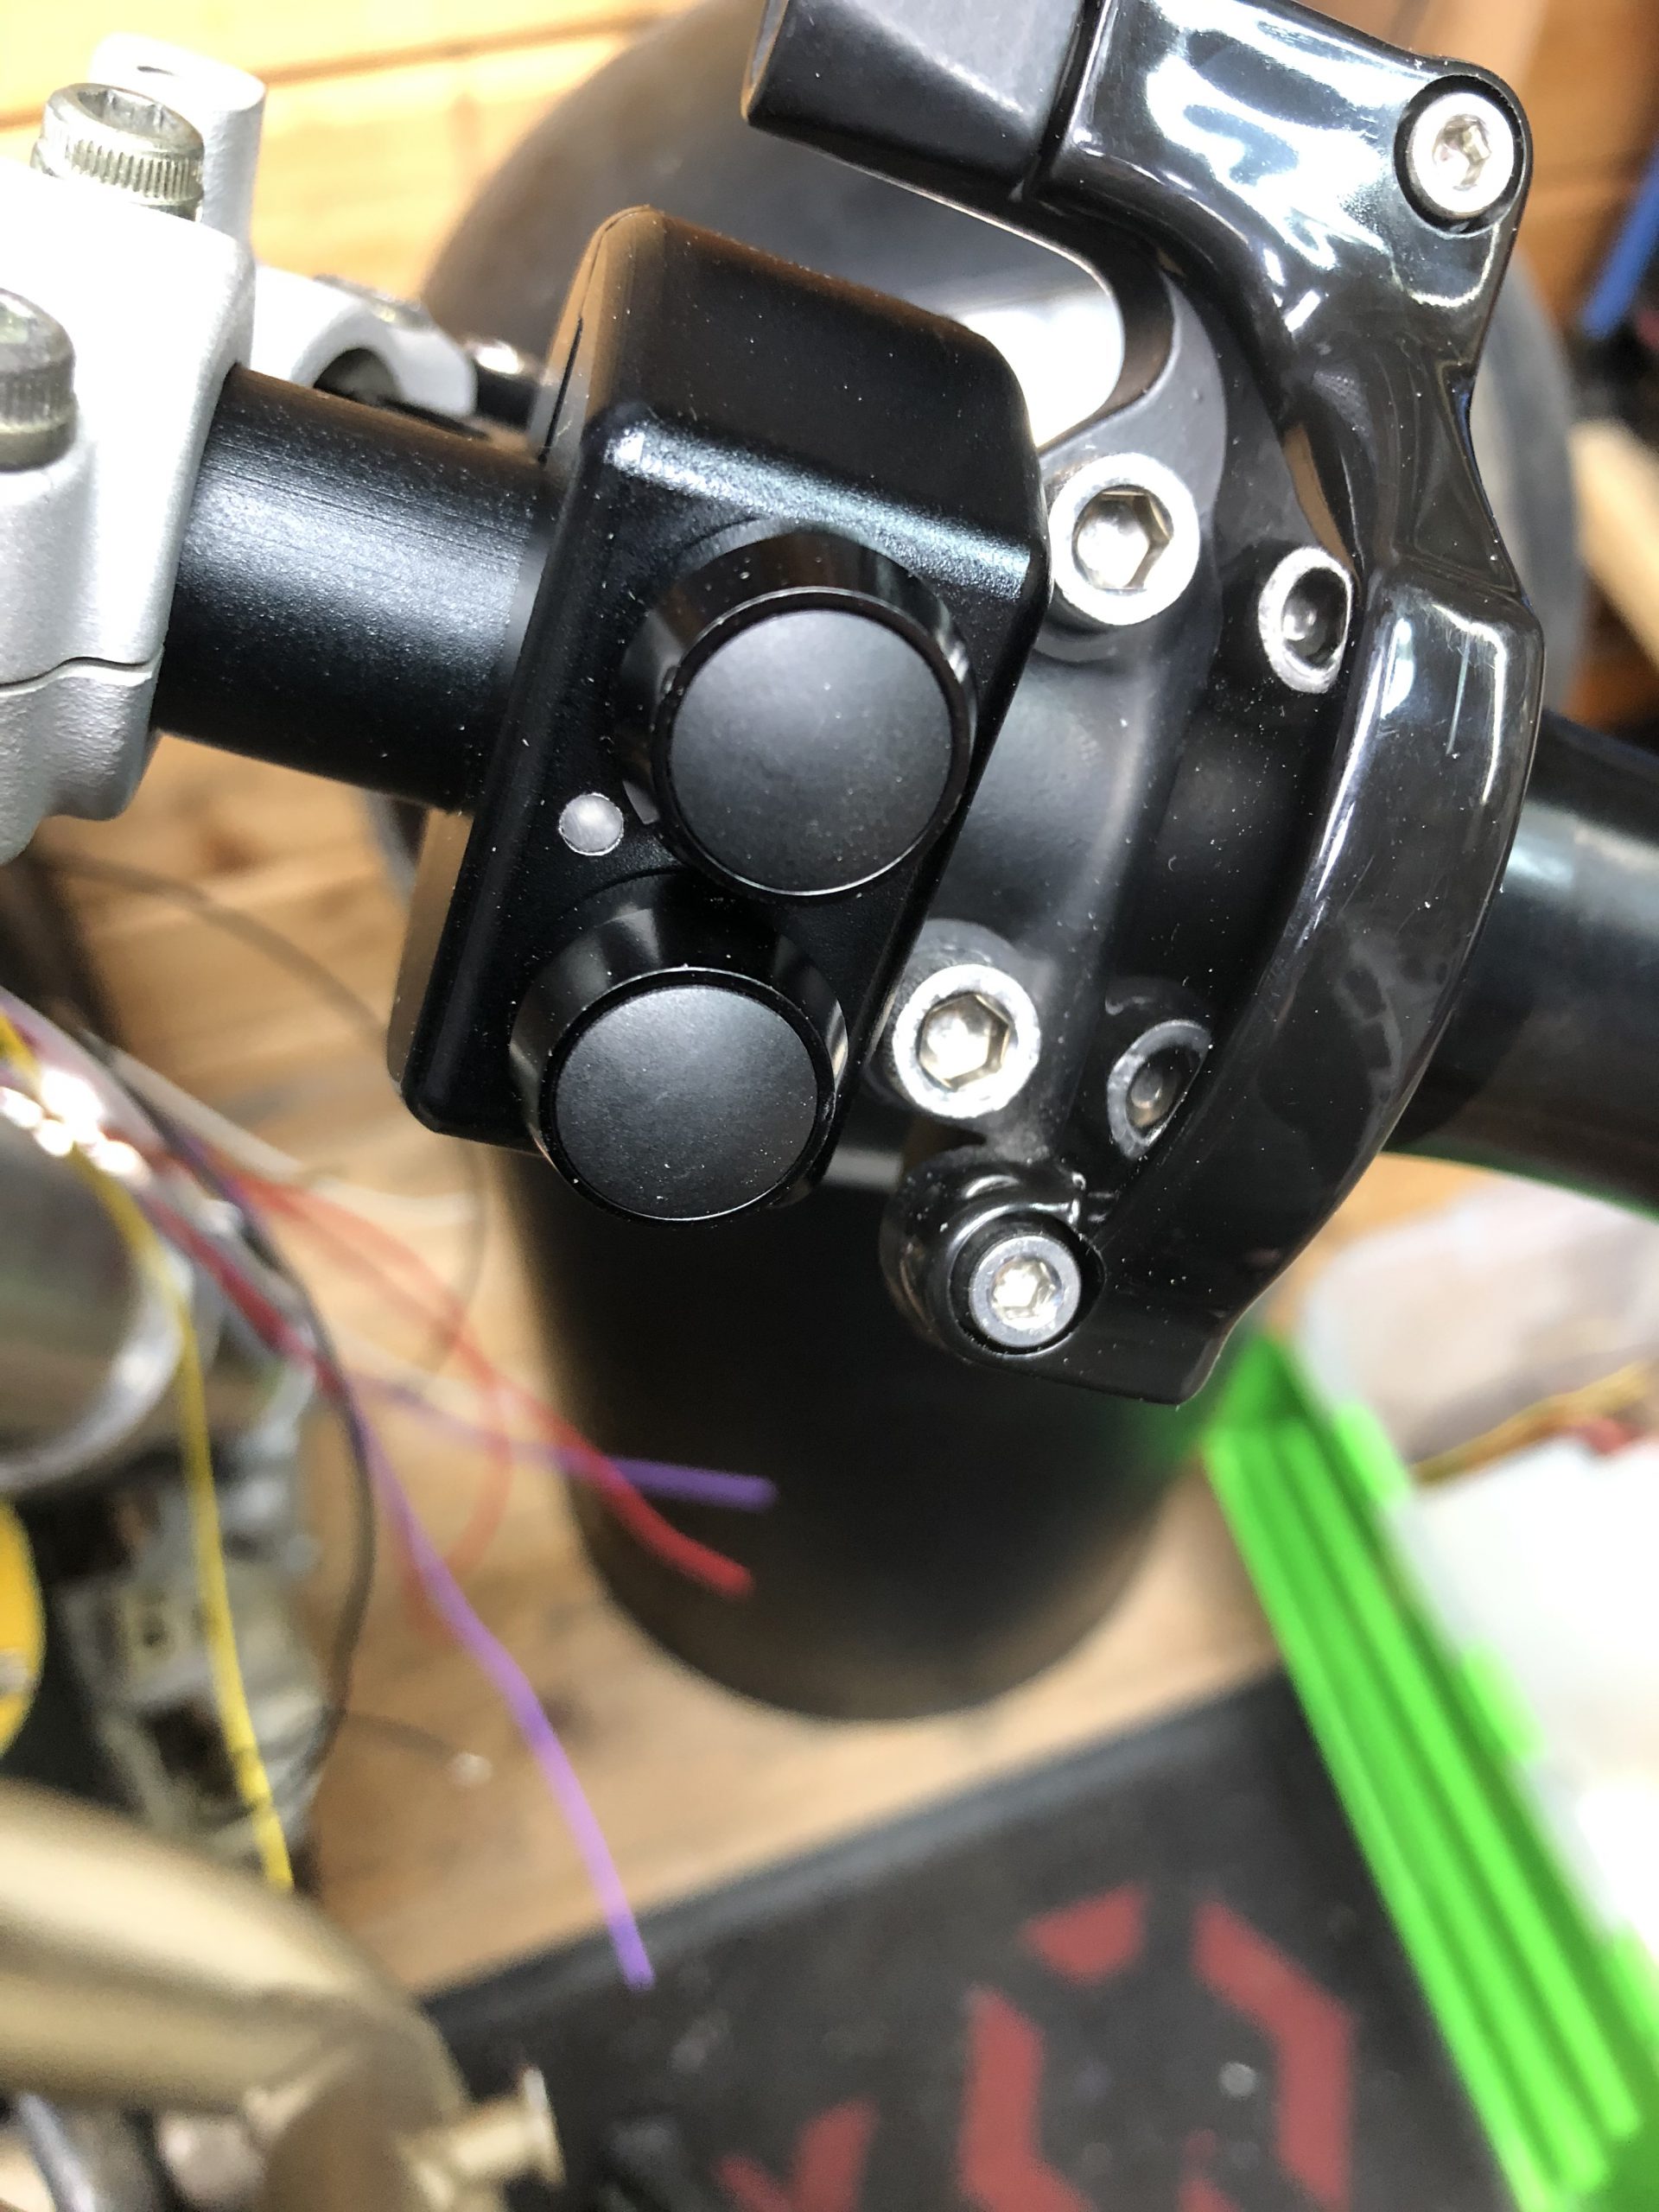
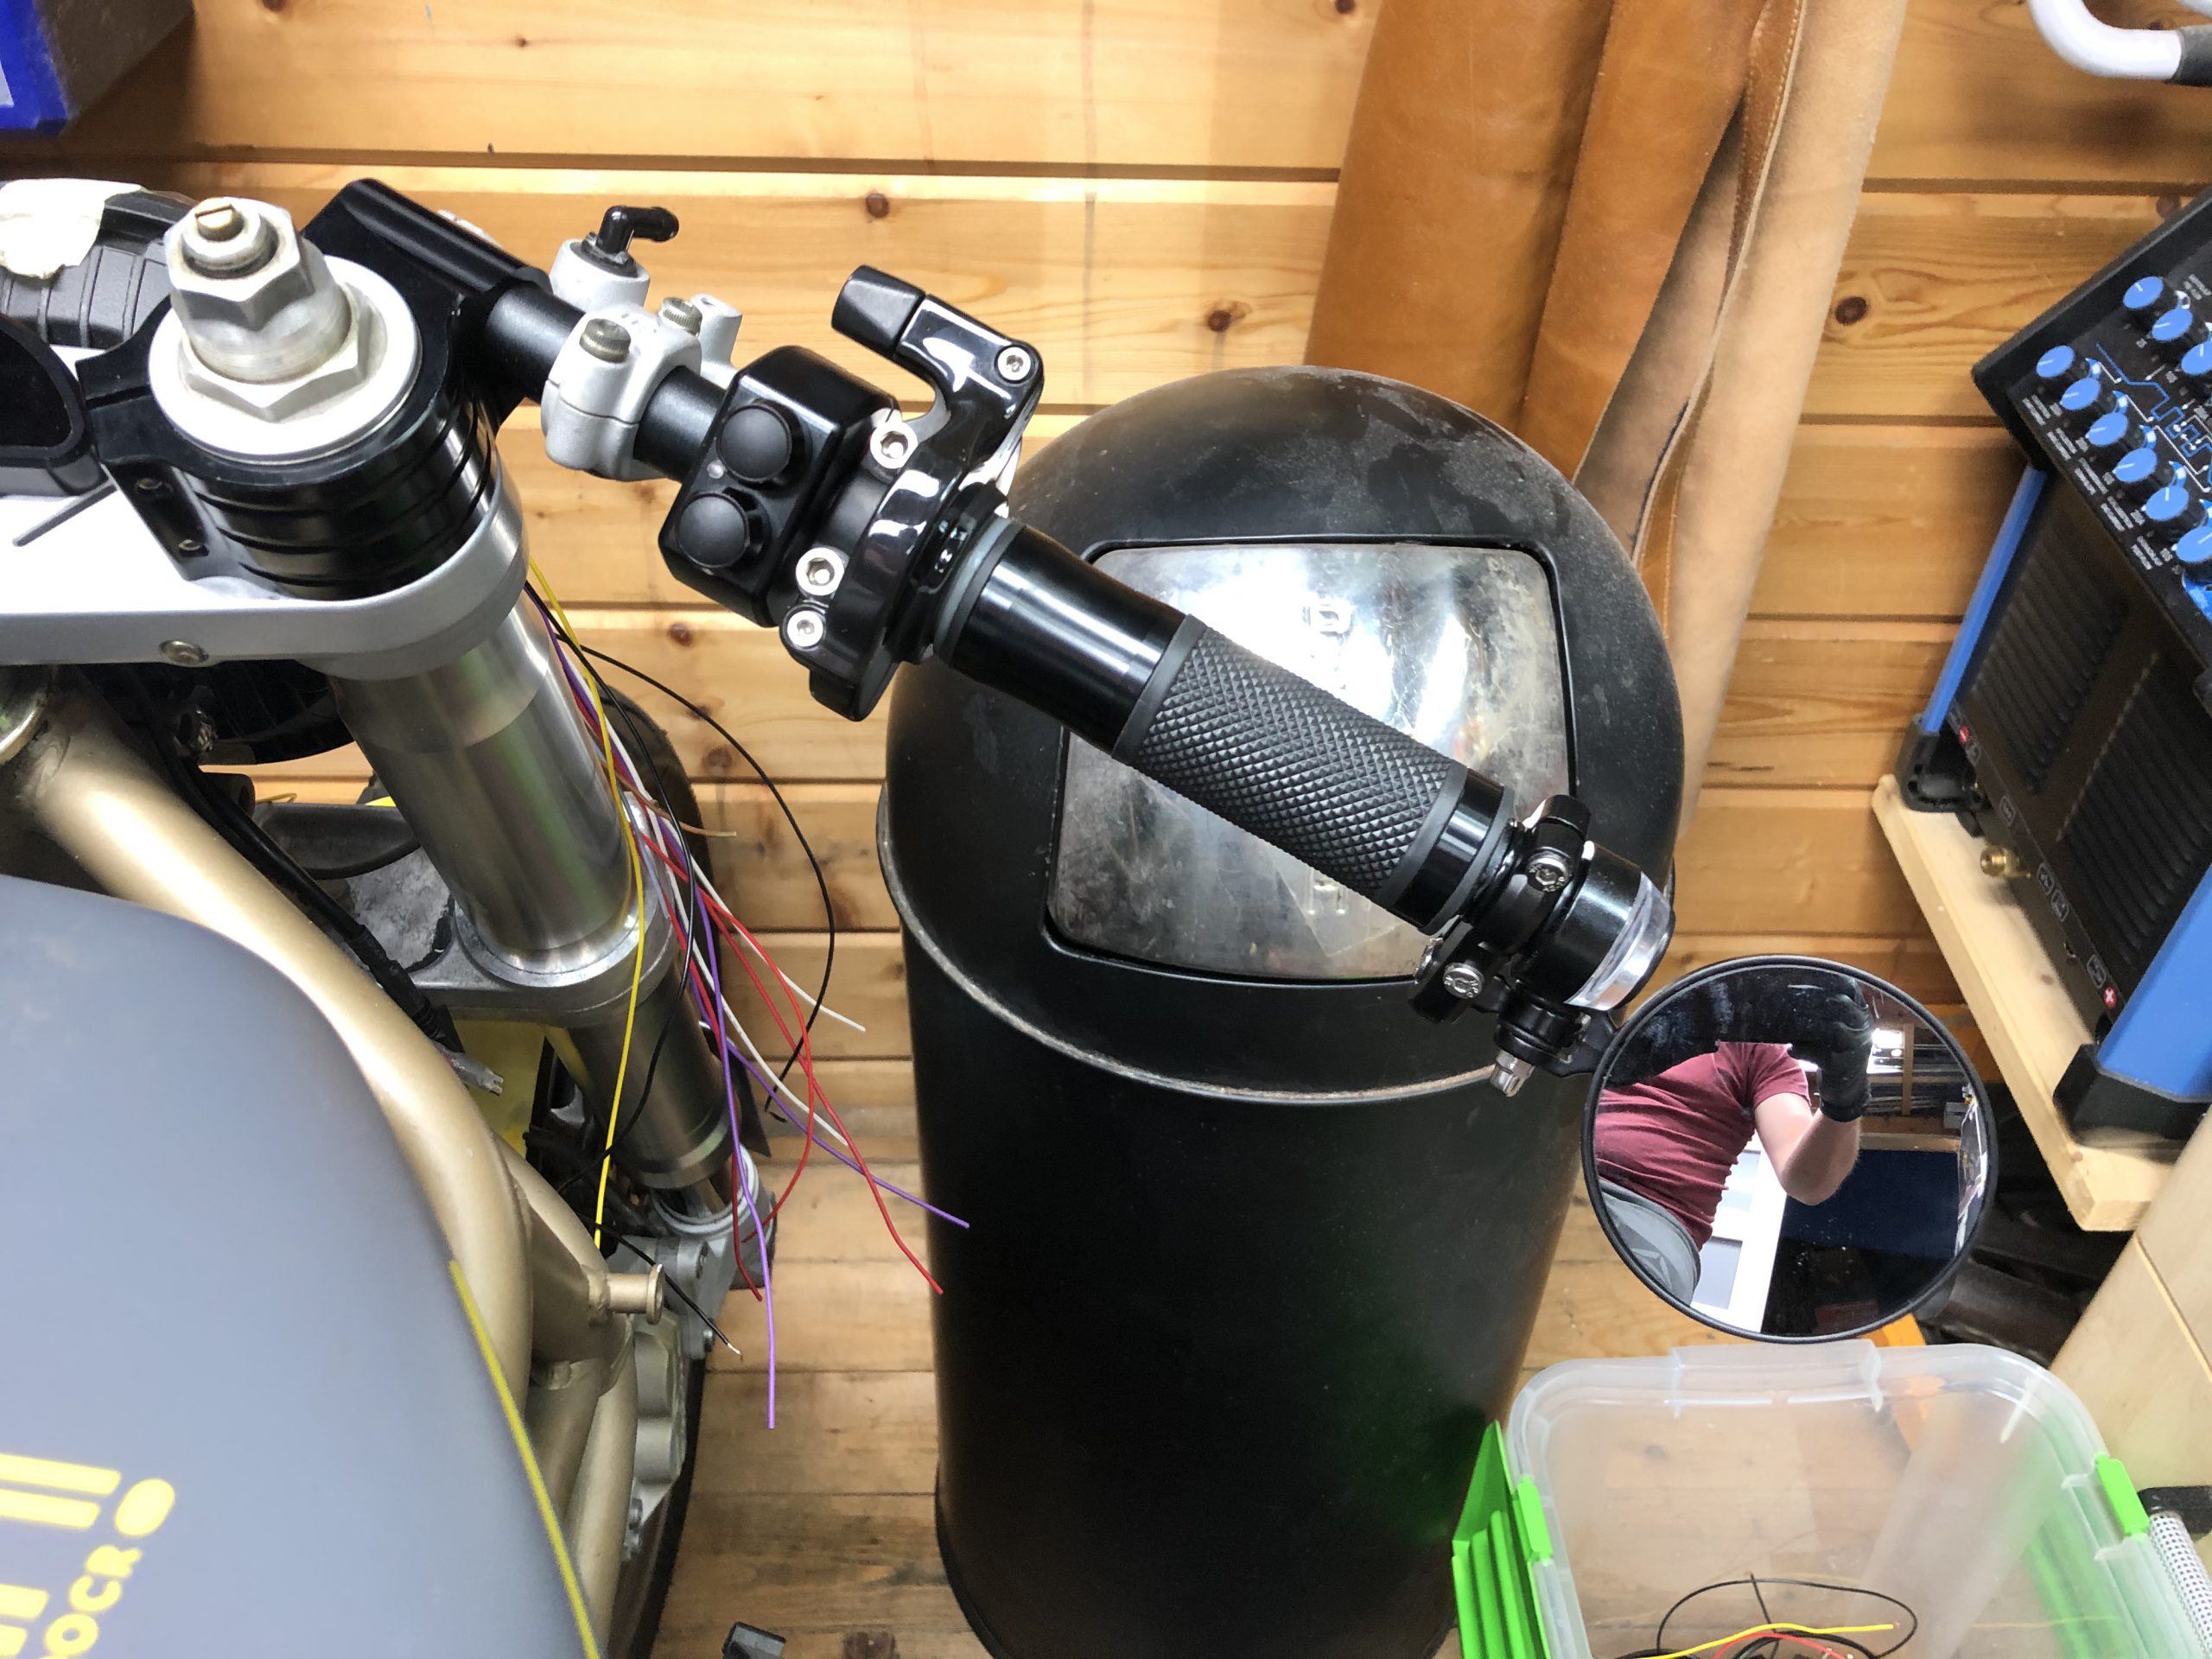
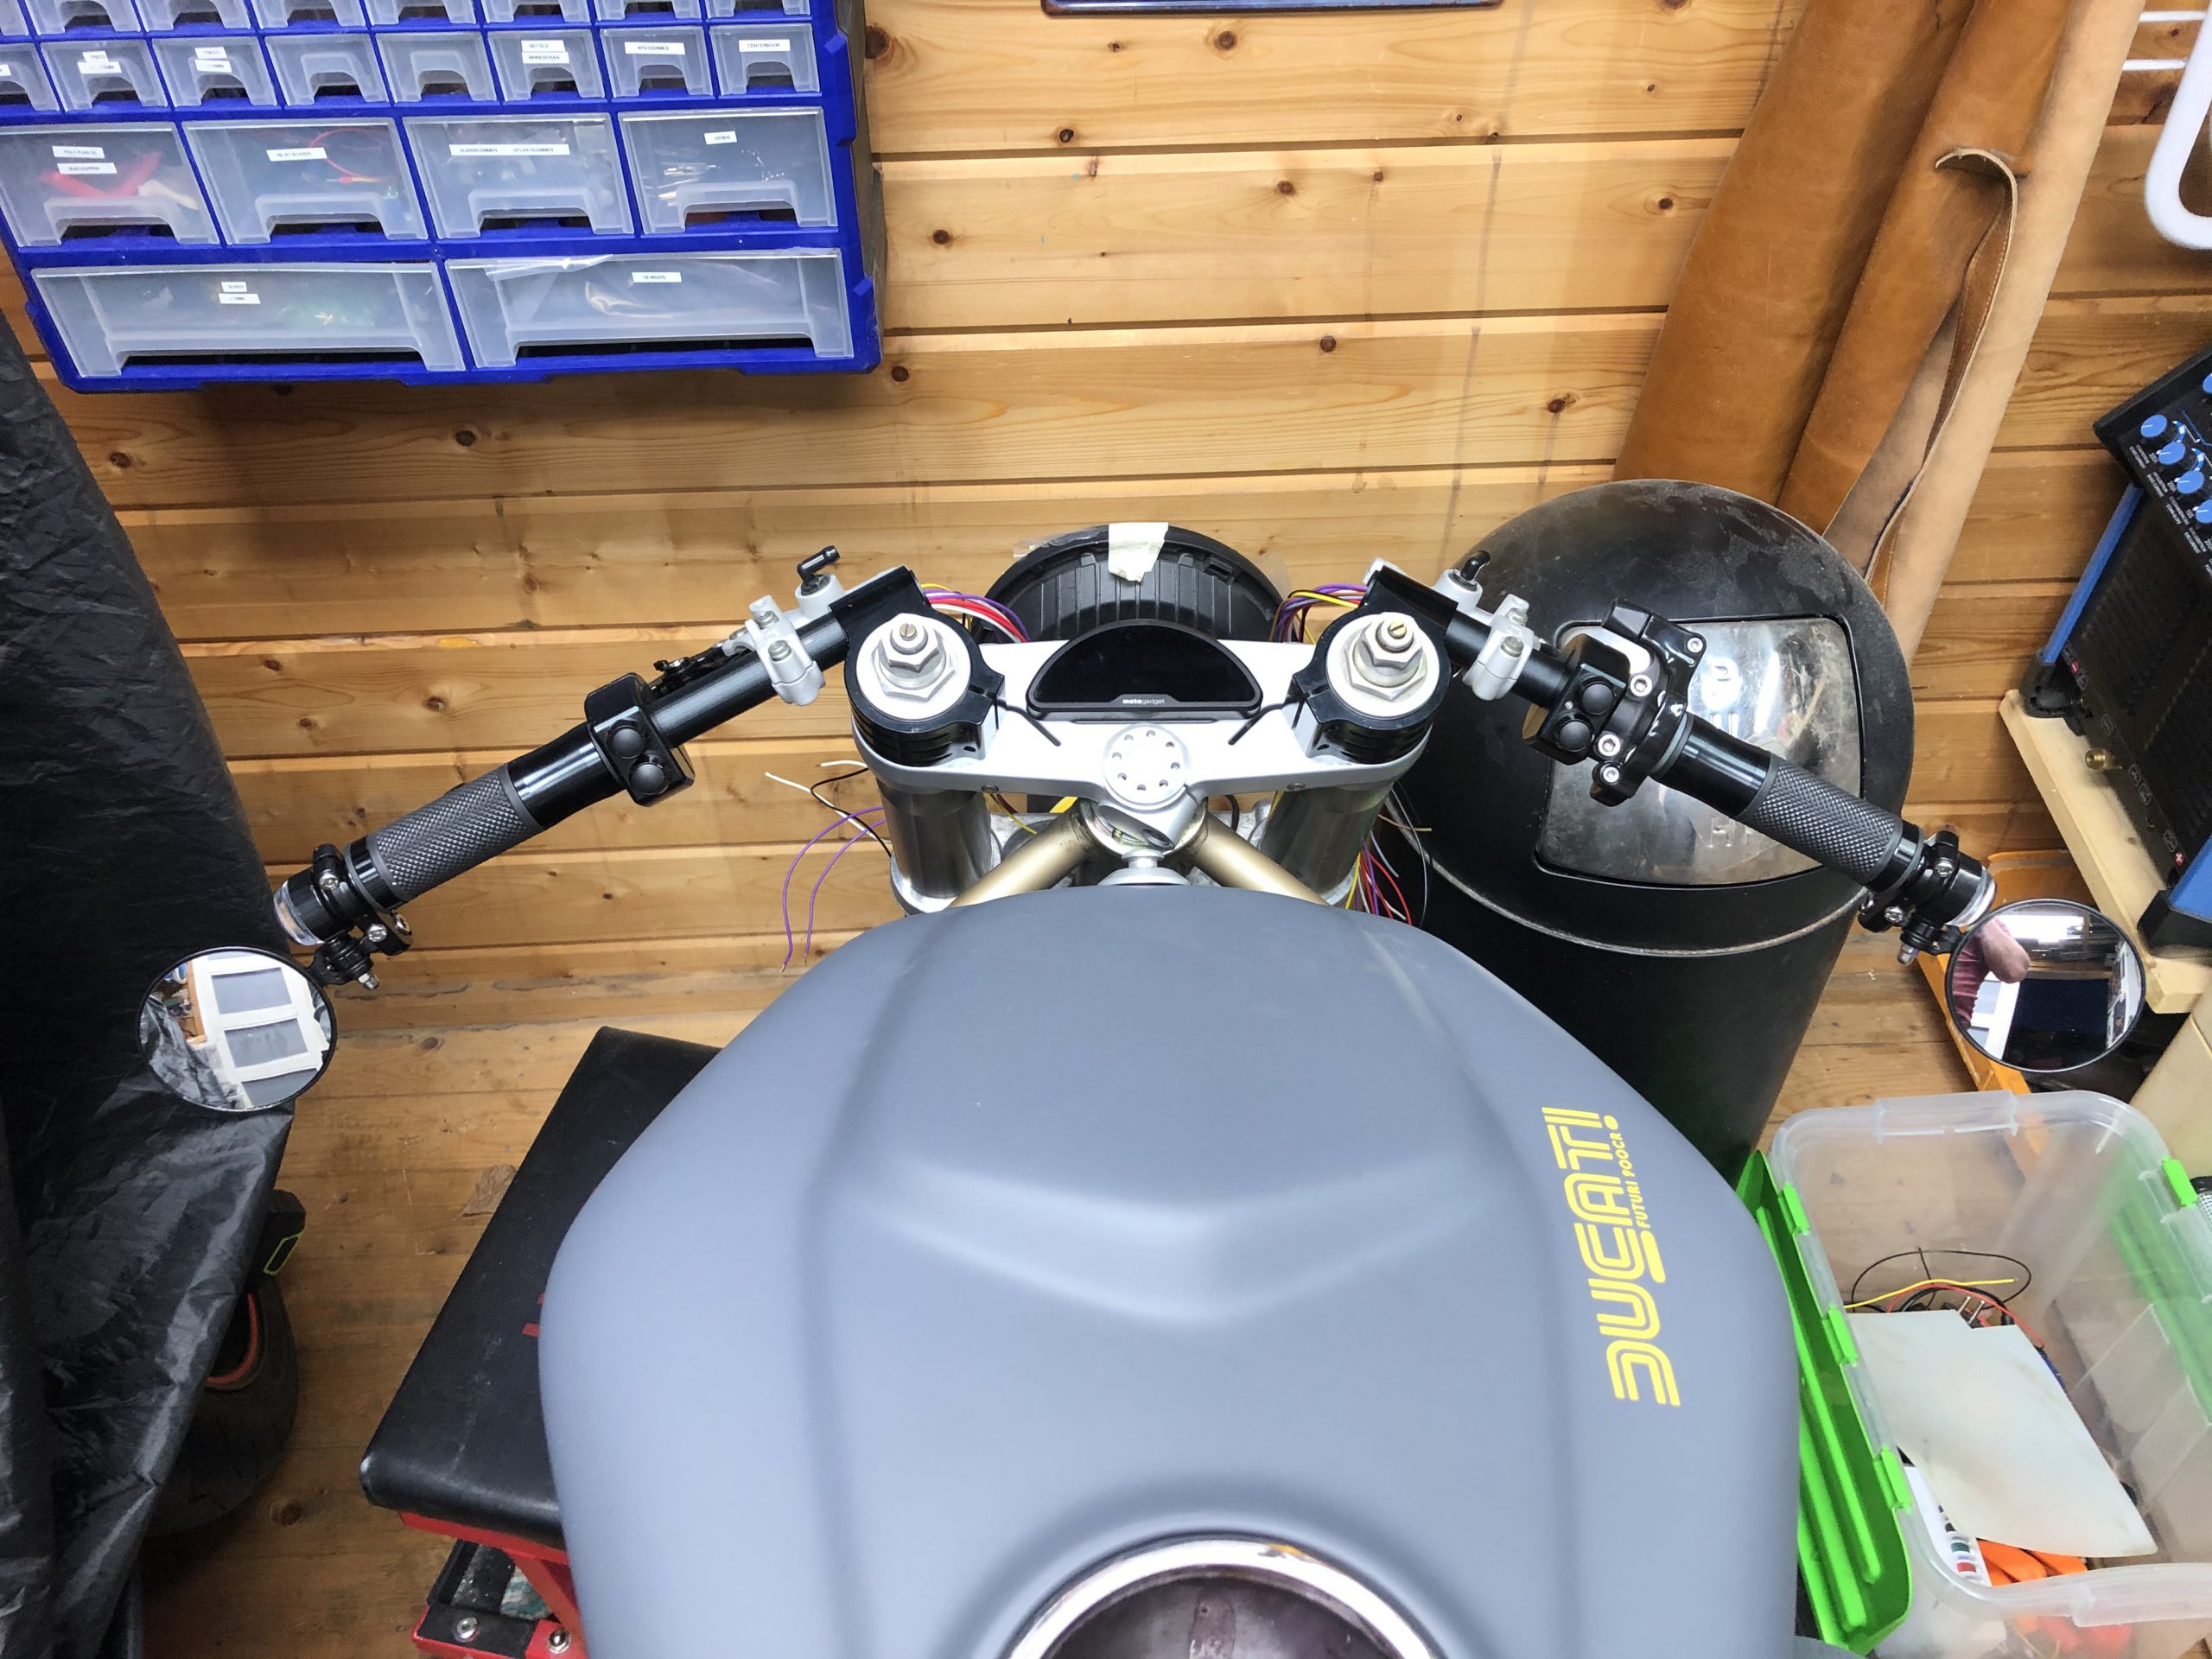
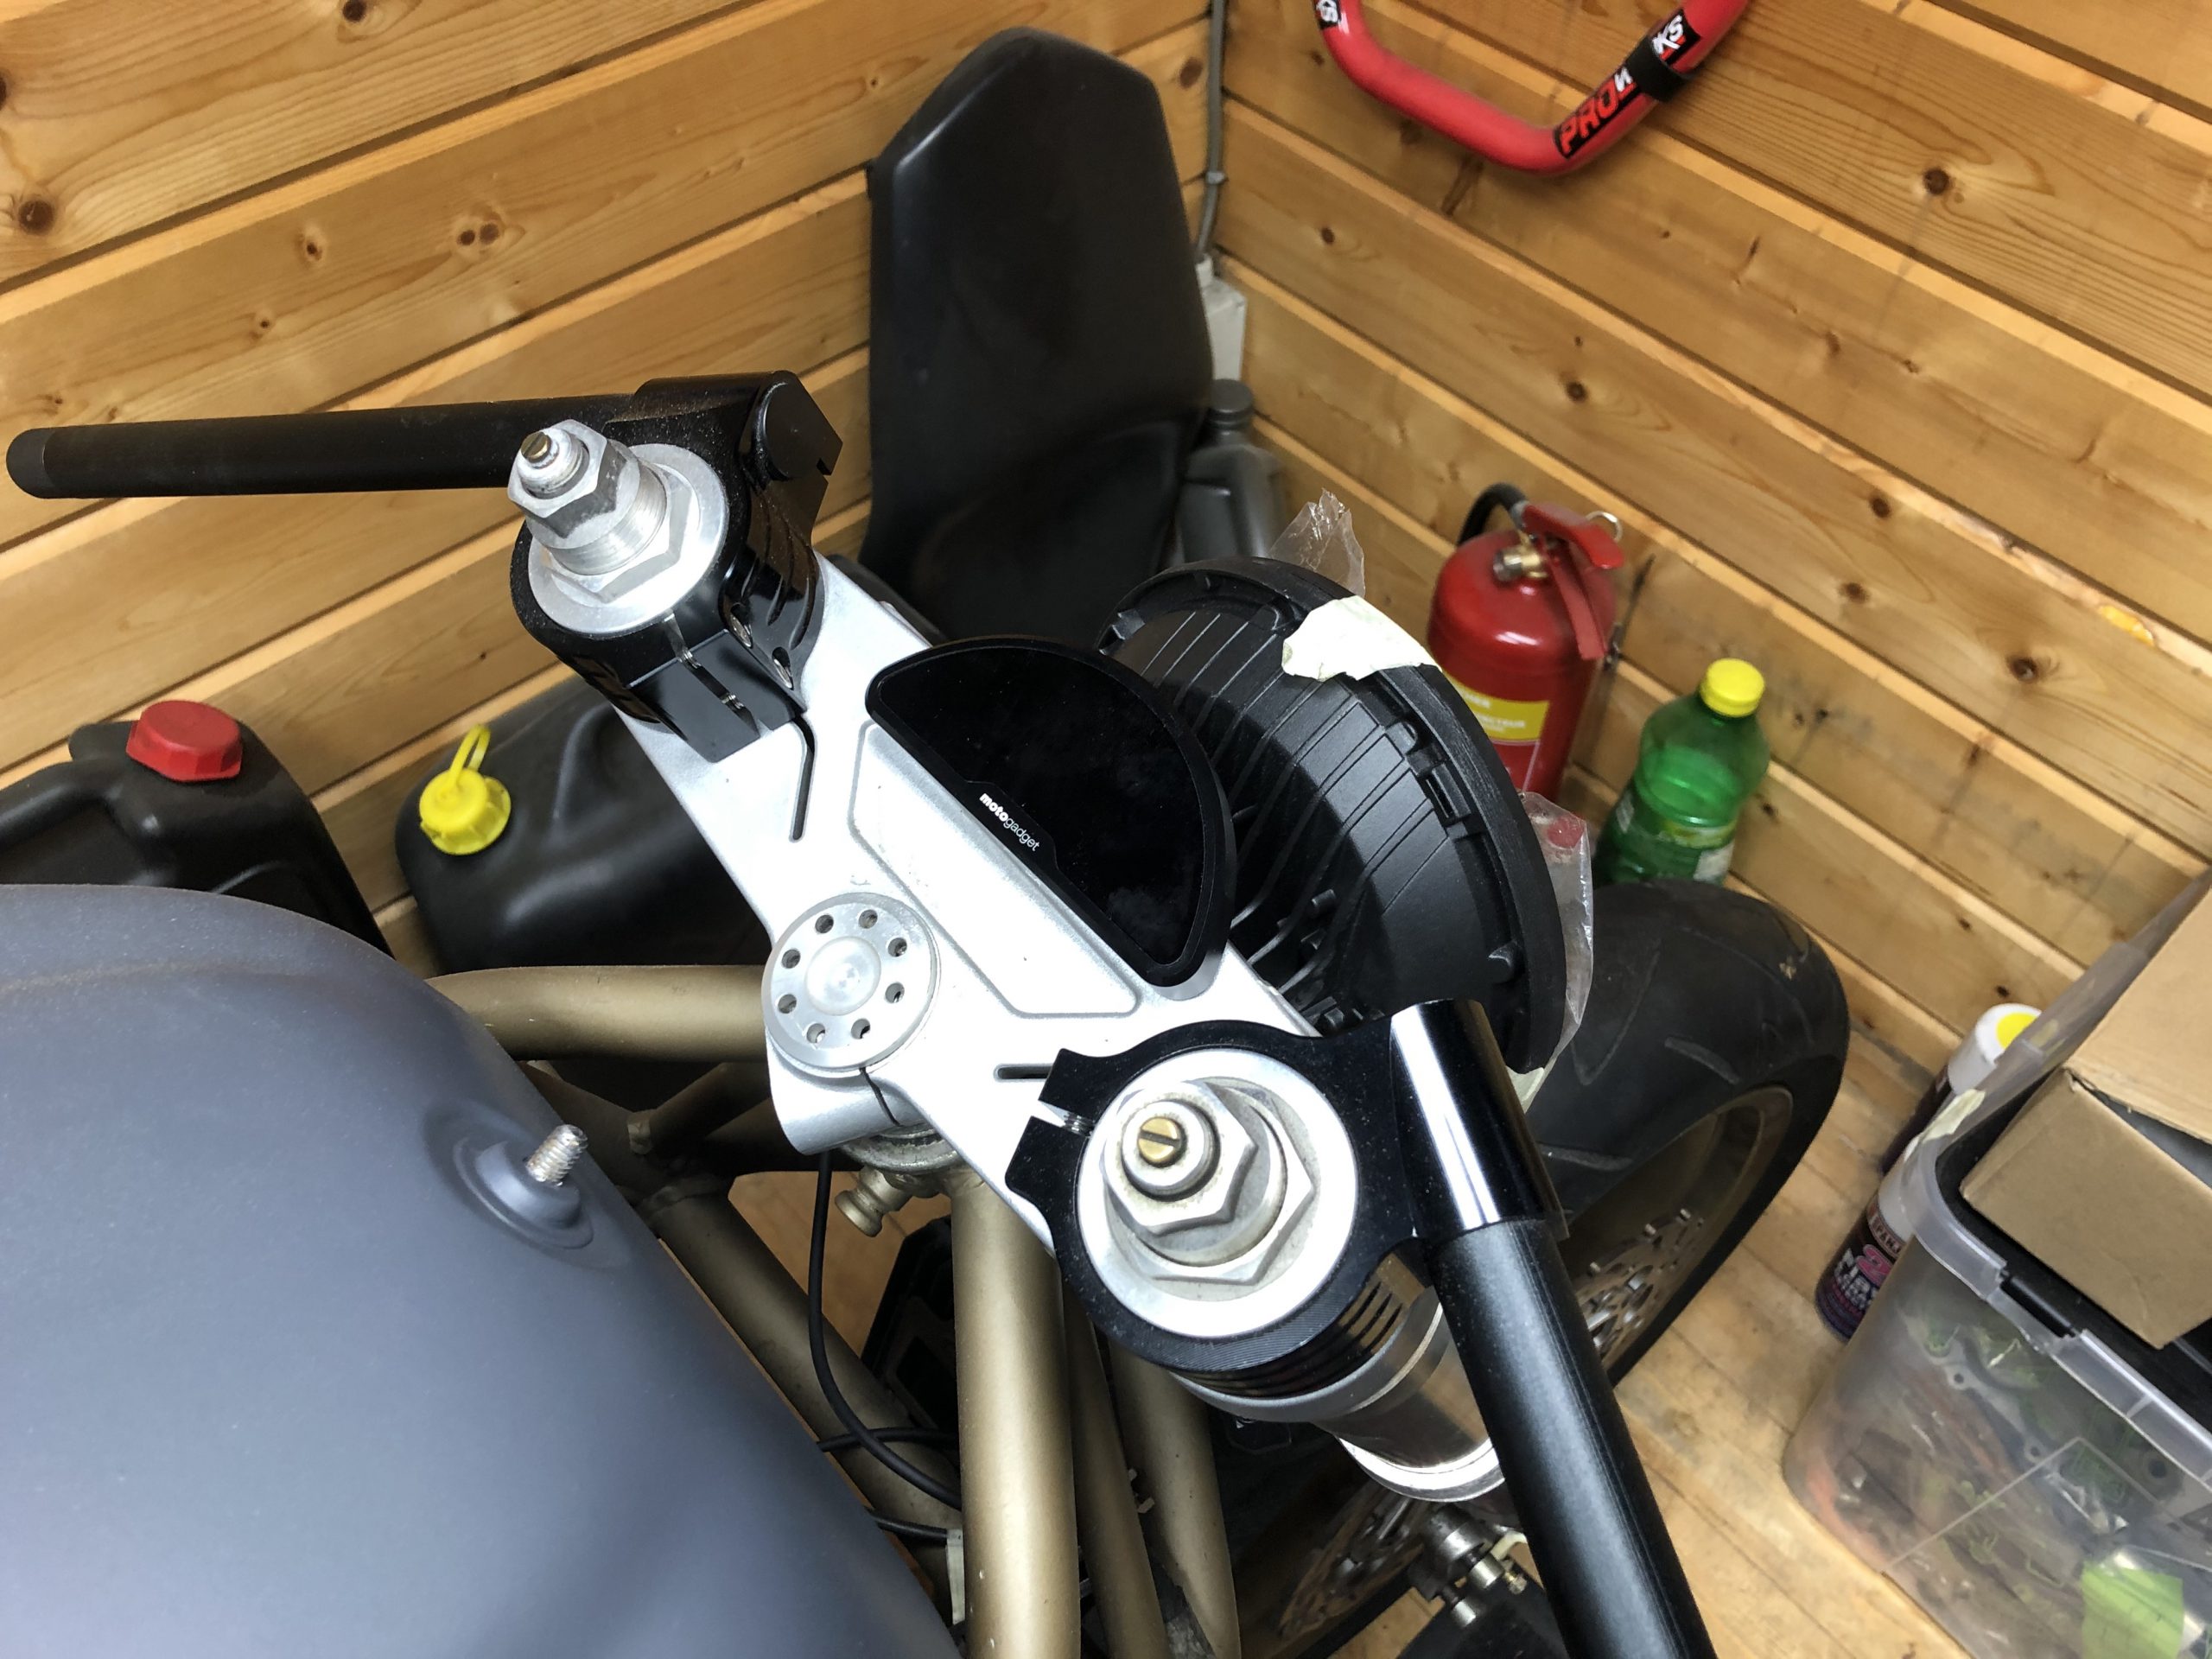
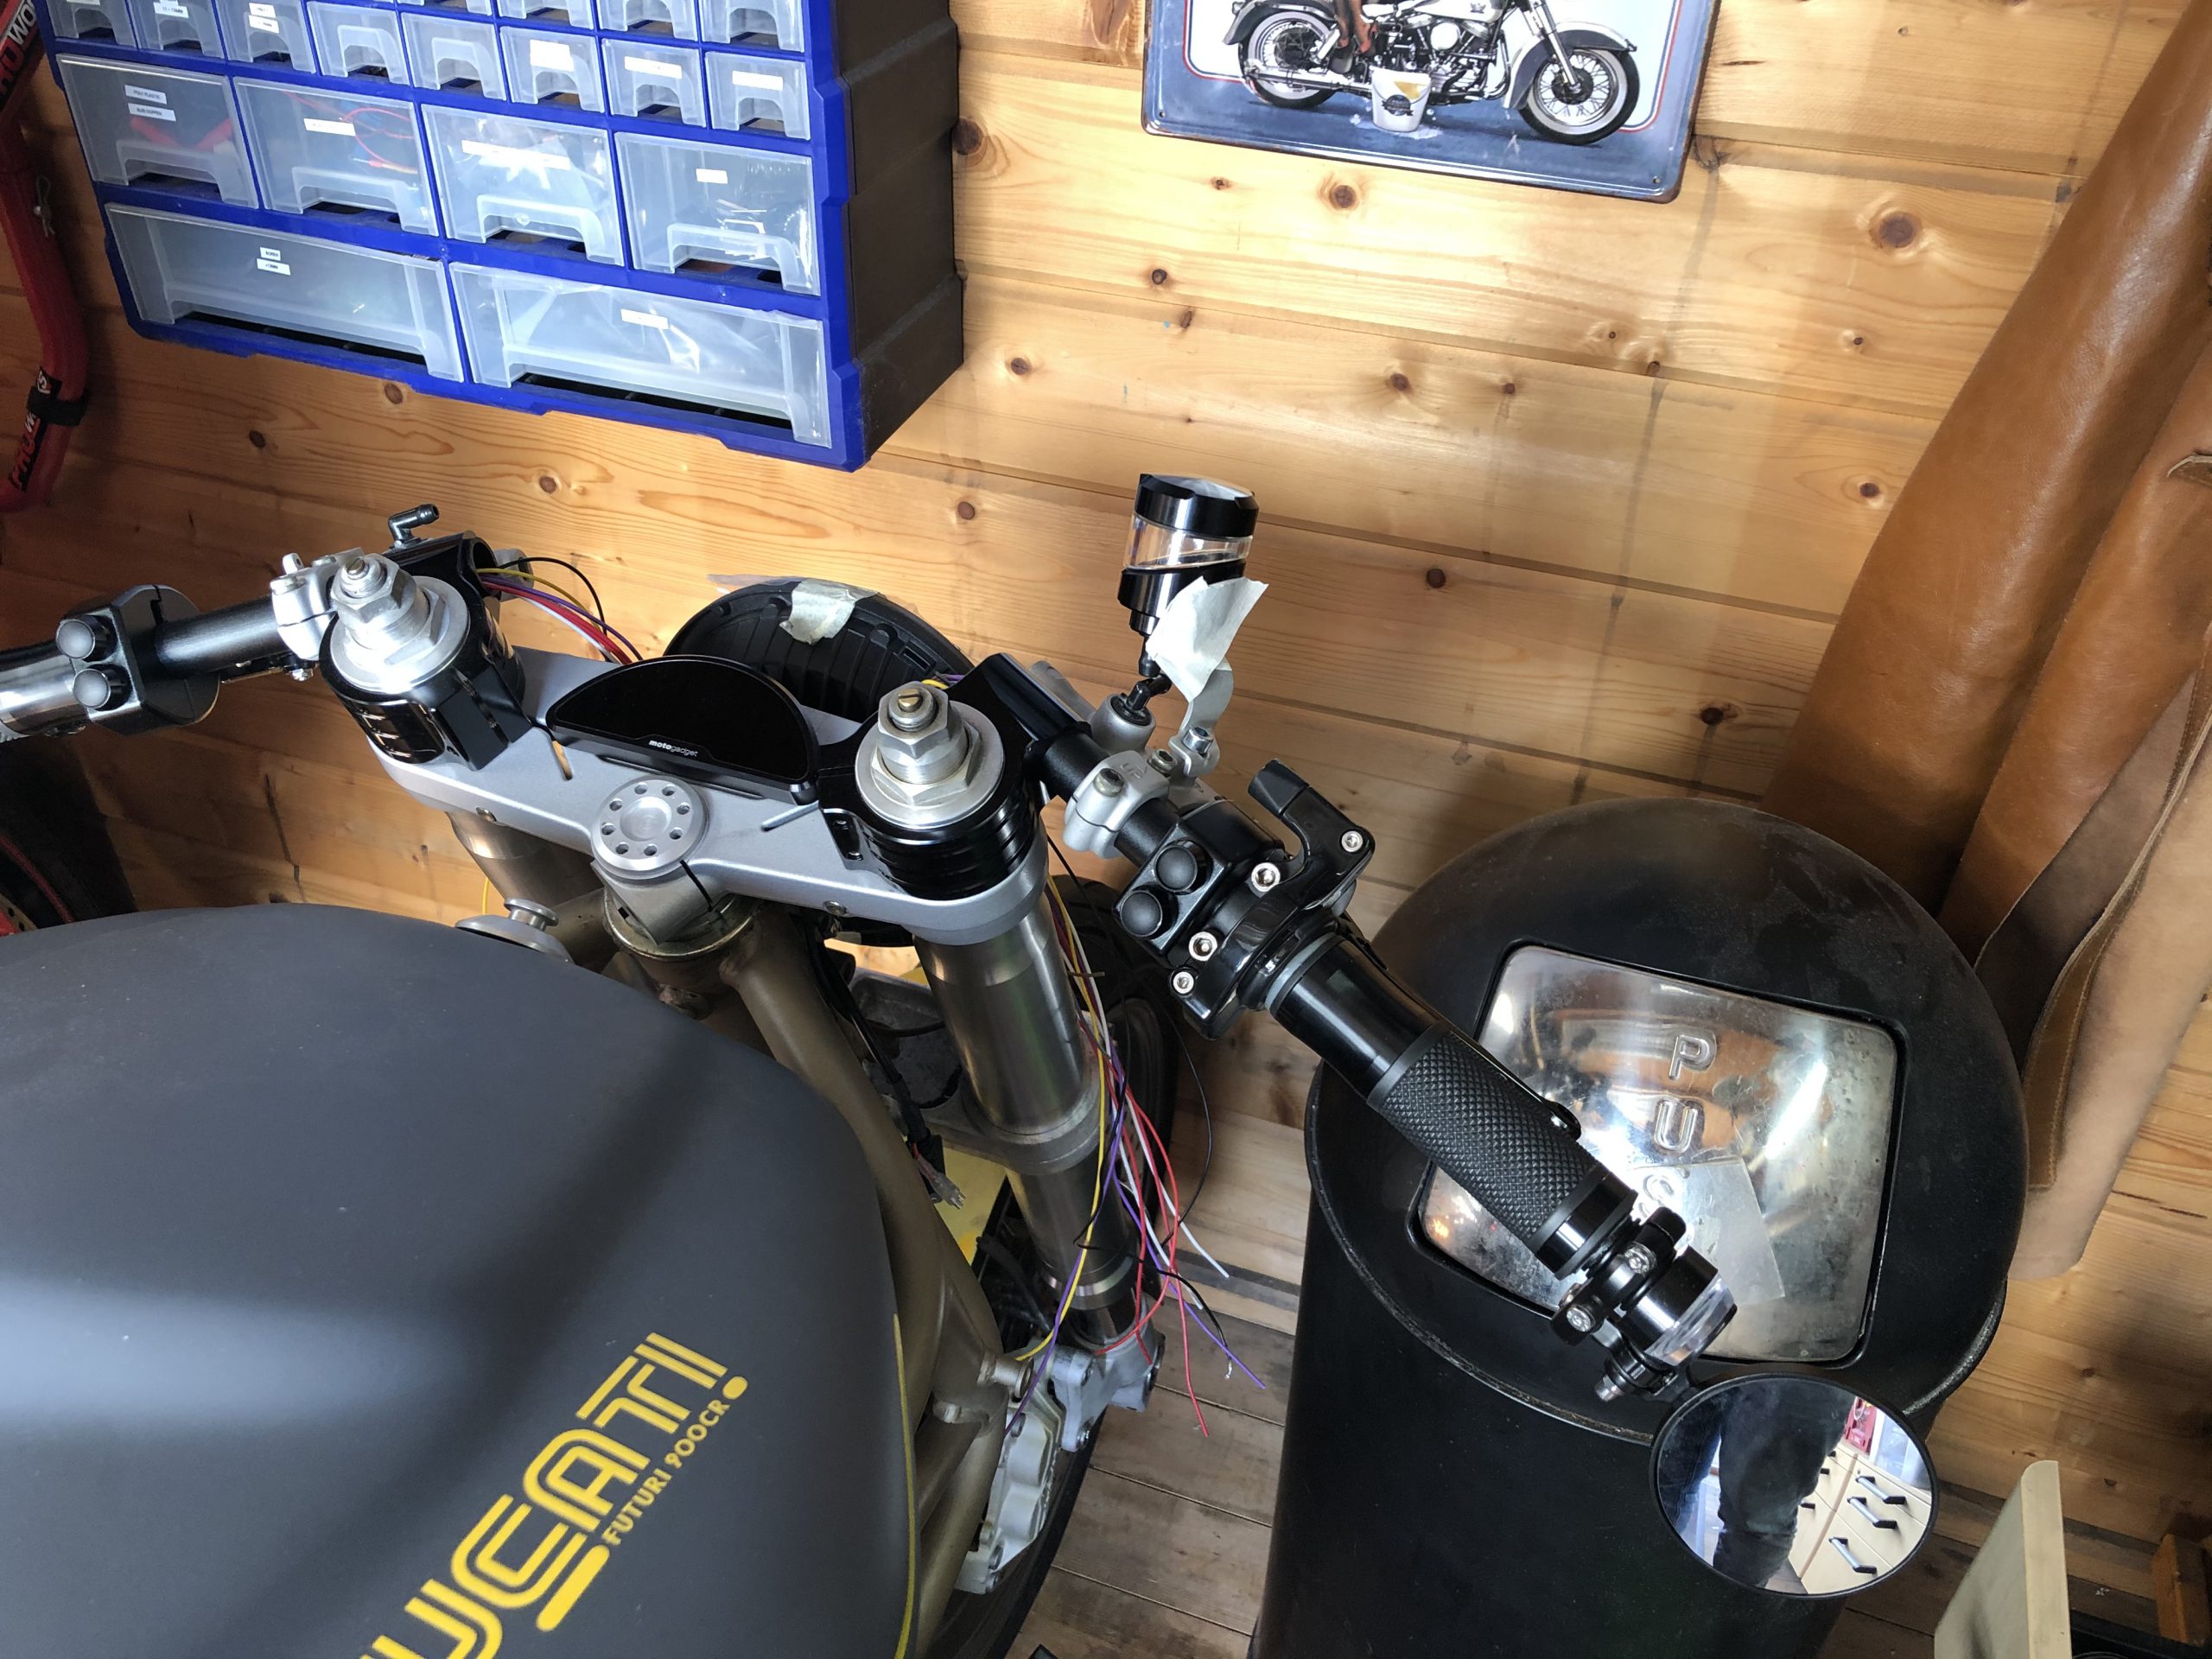
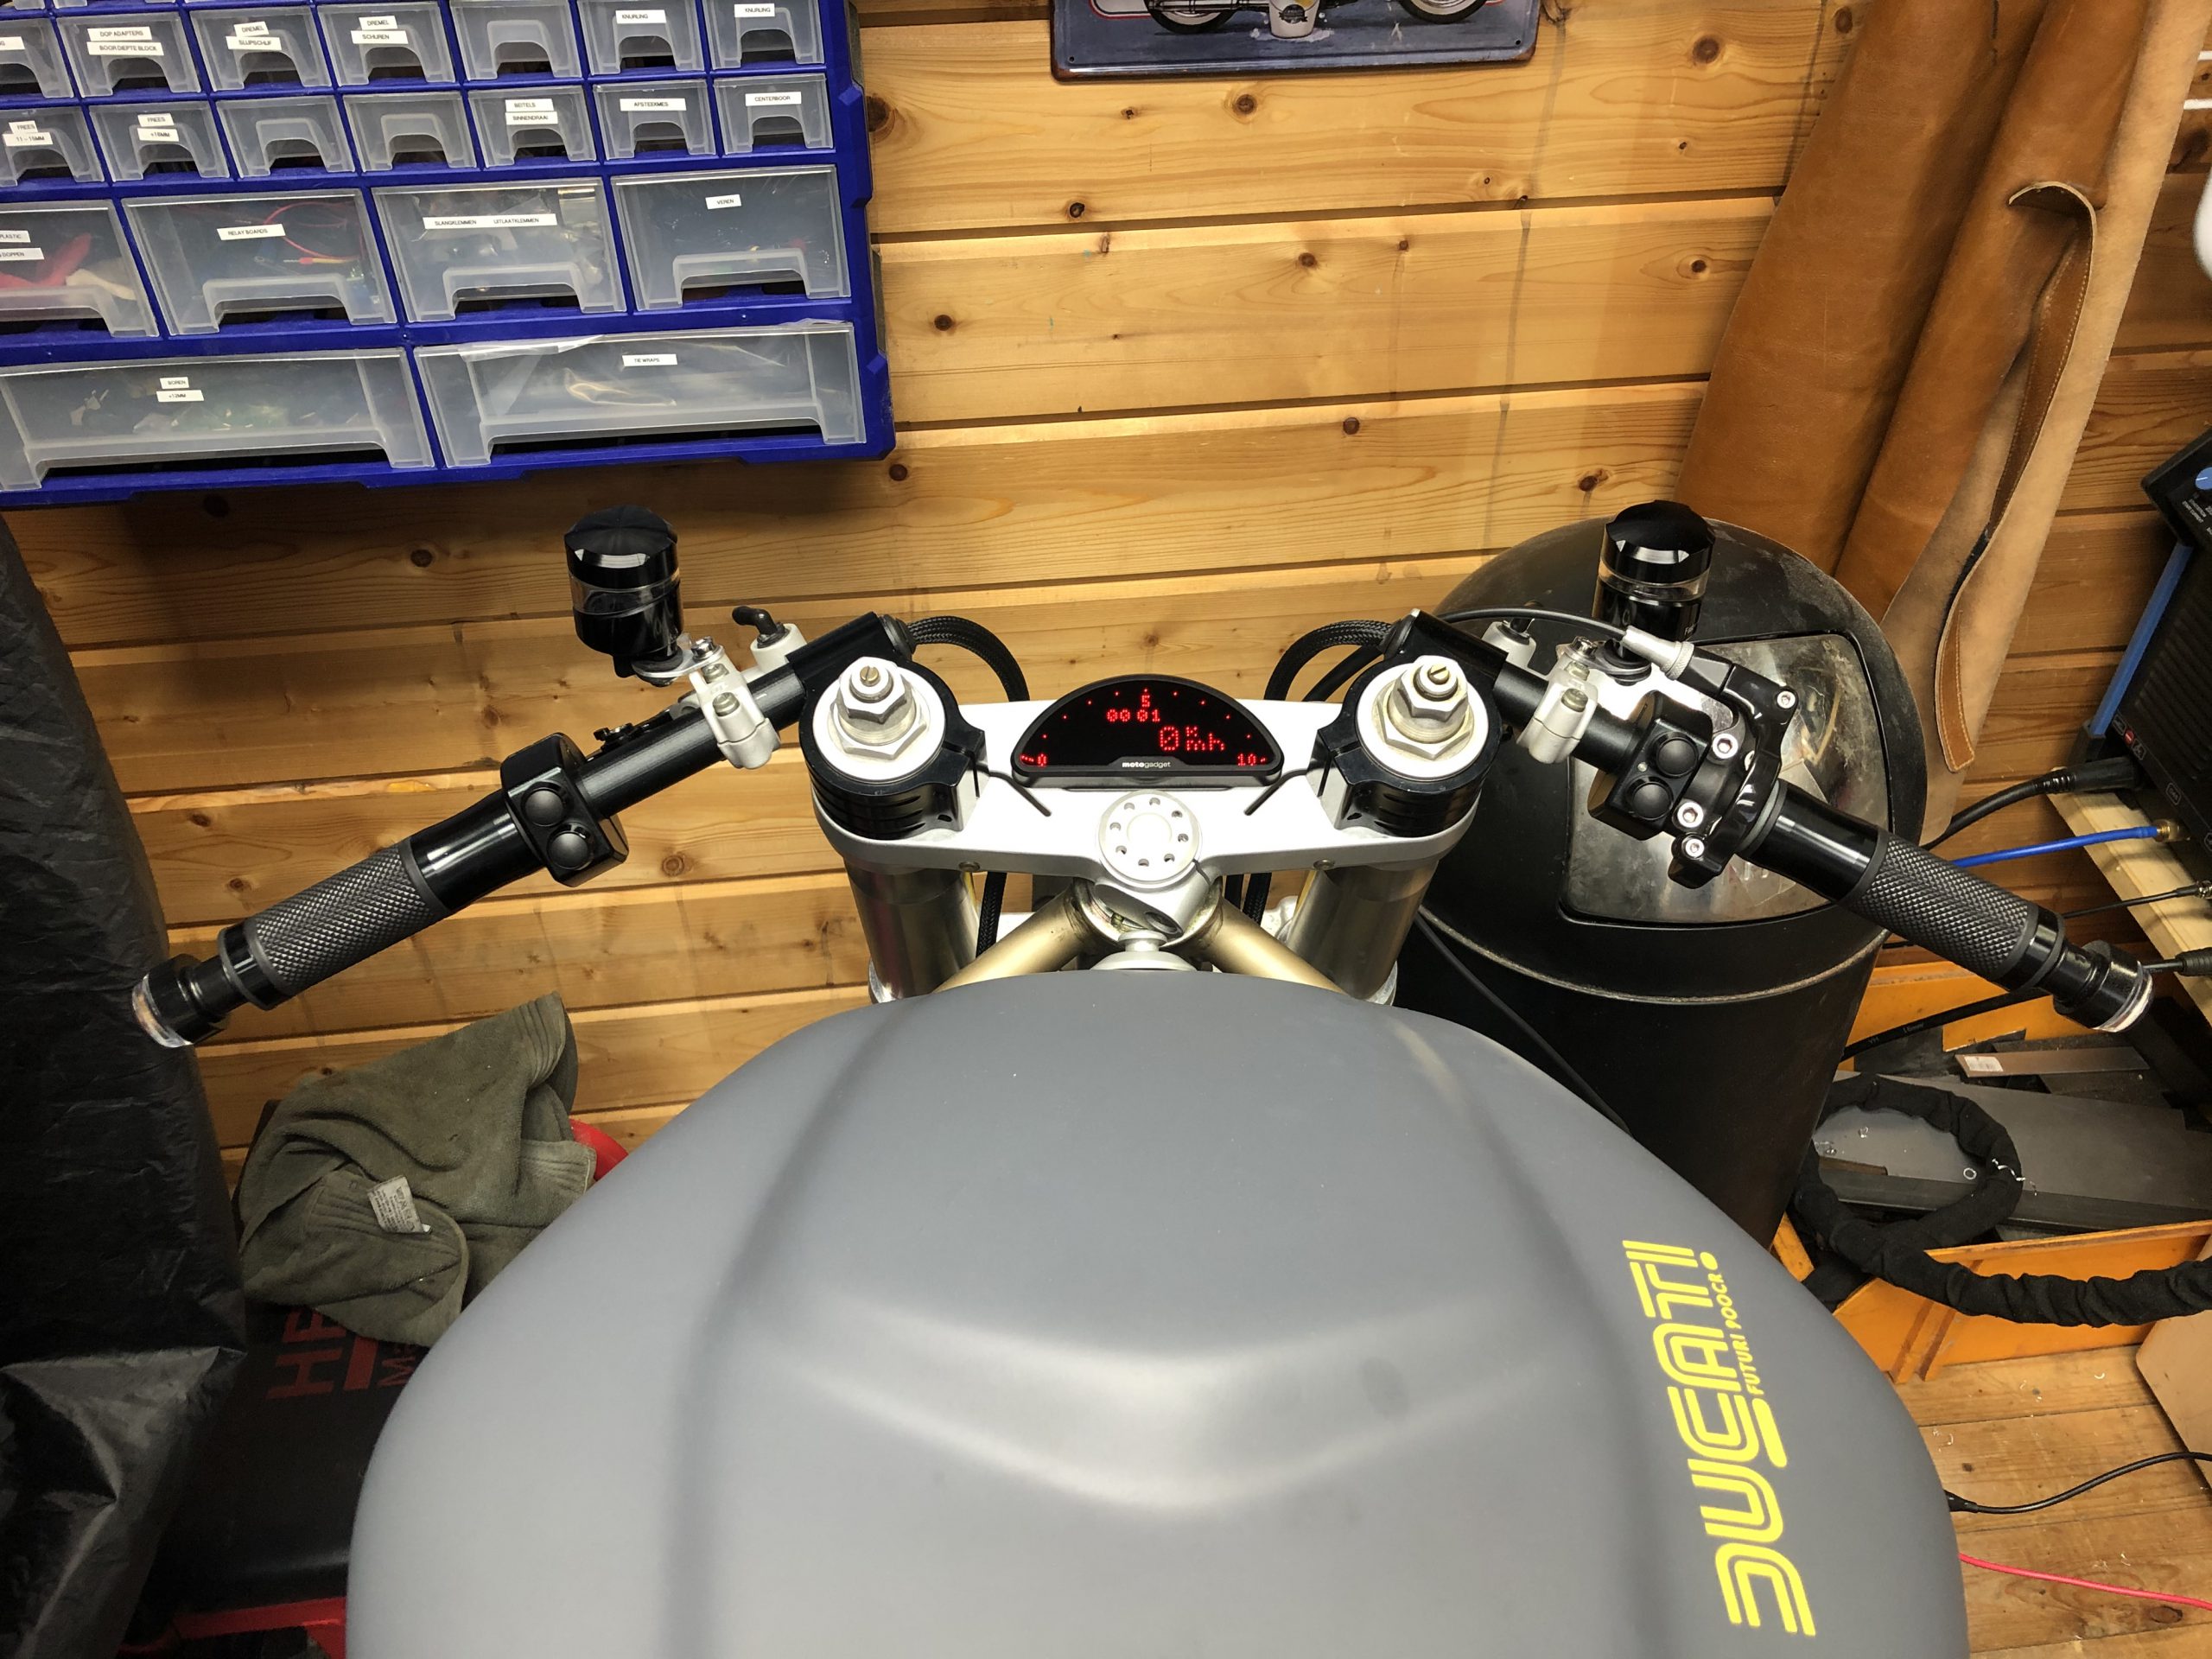
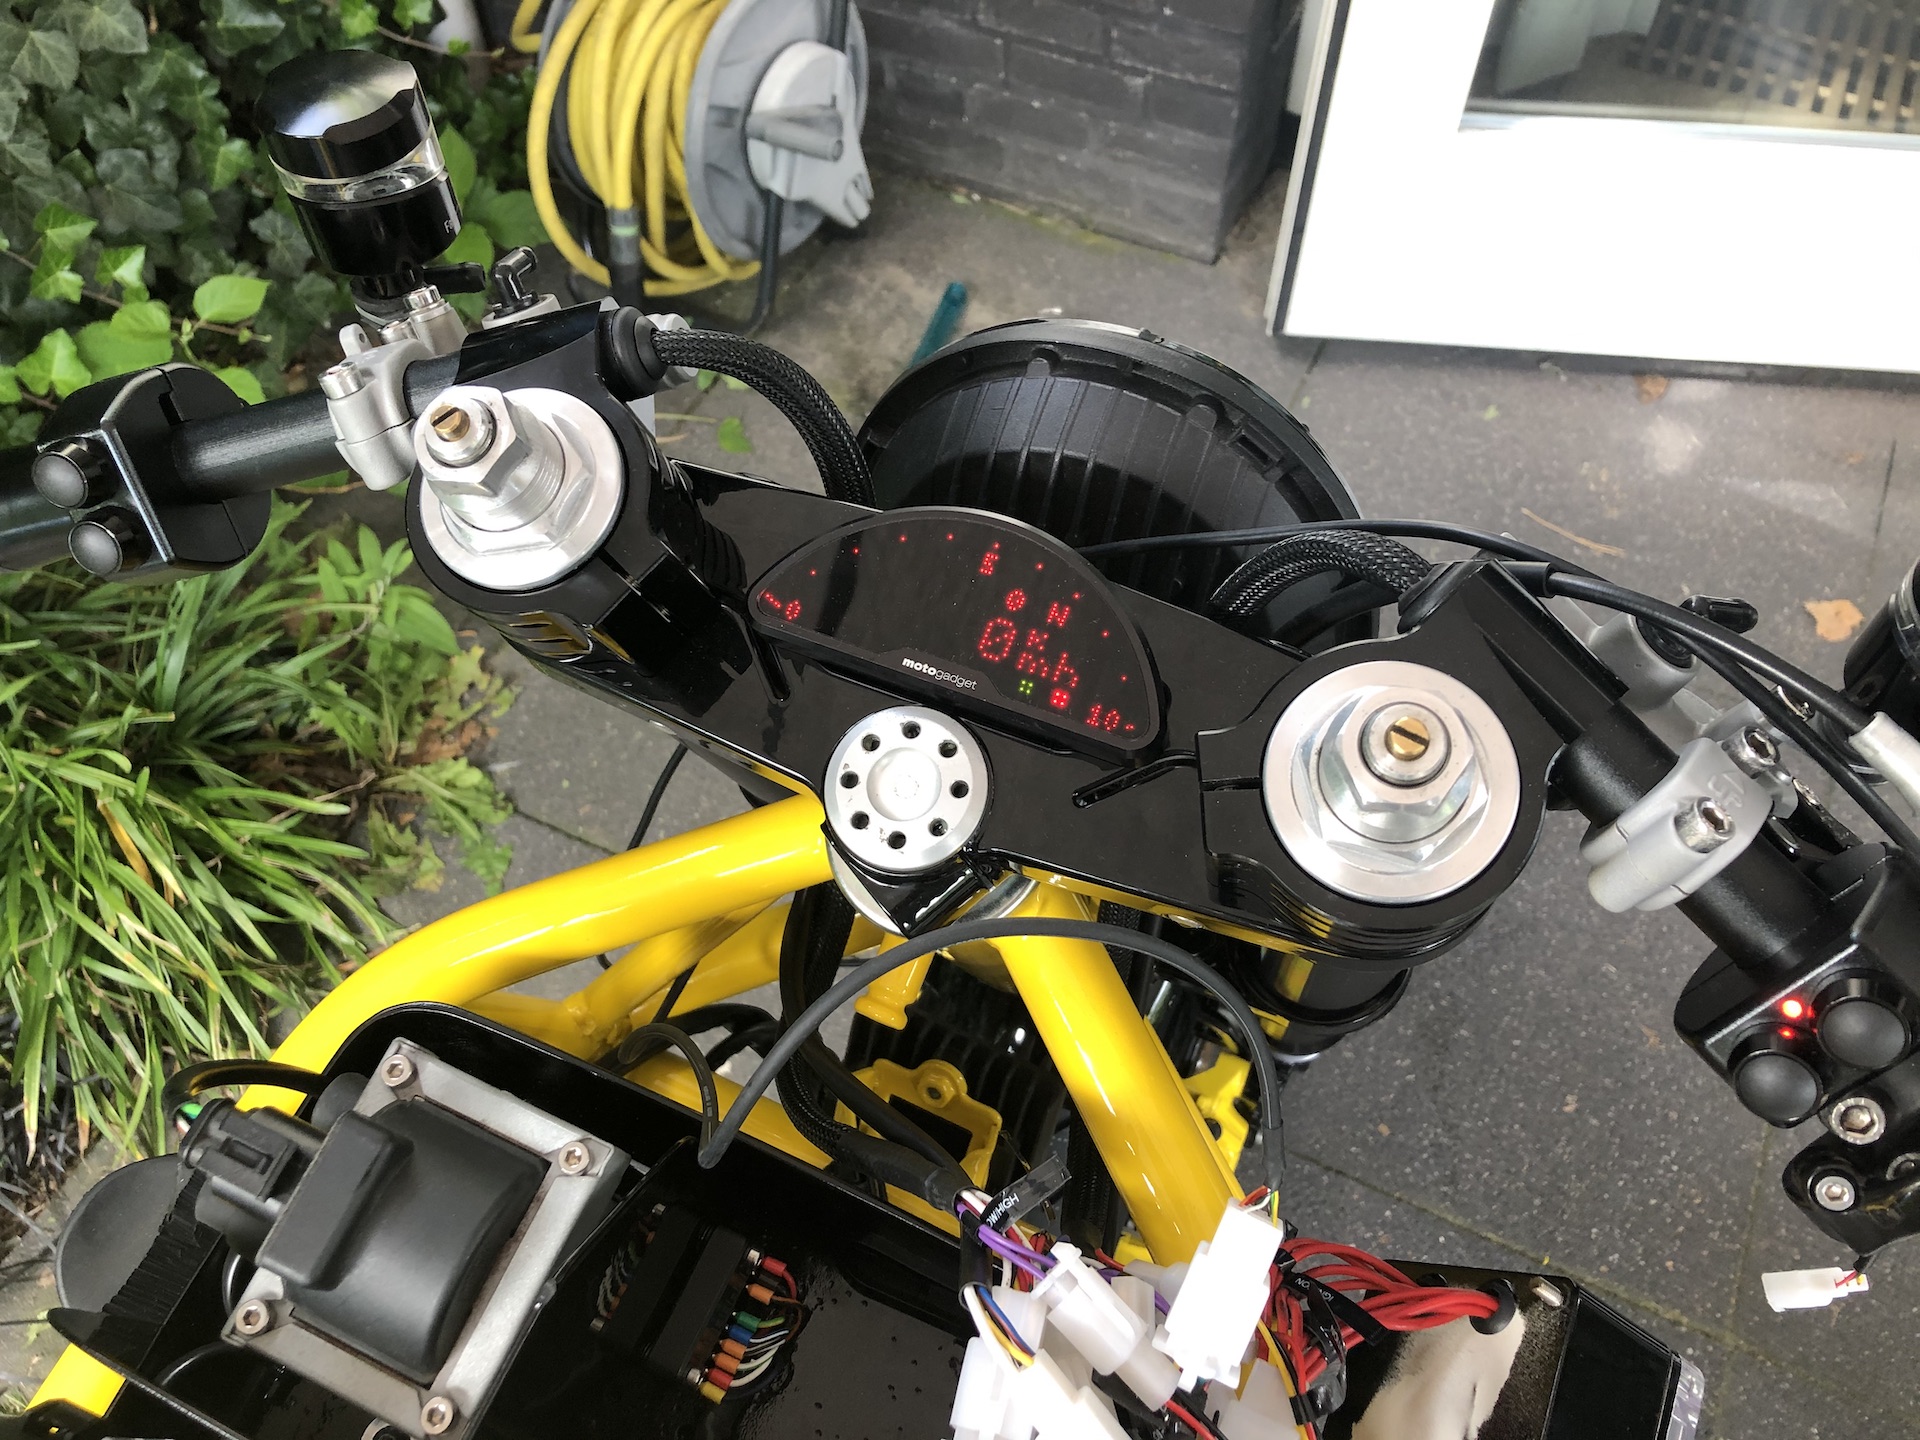
COCKPIT SIMPLICITY
I want the handlebars as clean as possible. Running wires through the clip-ons etc. Our chinese friends hooked me up with some cool handlebar switches and grips. The Motogadget Motoscope Pro finishes the job. Looks really clean for now.
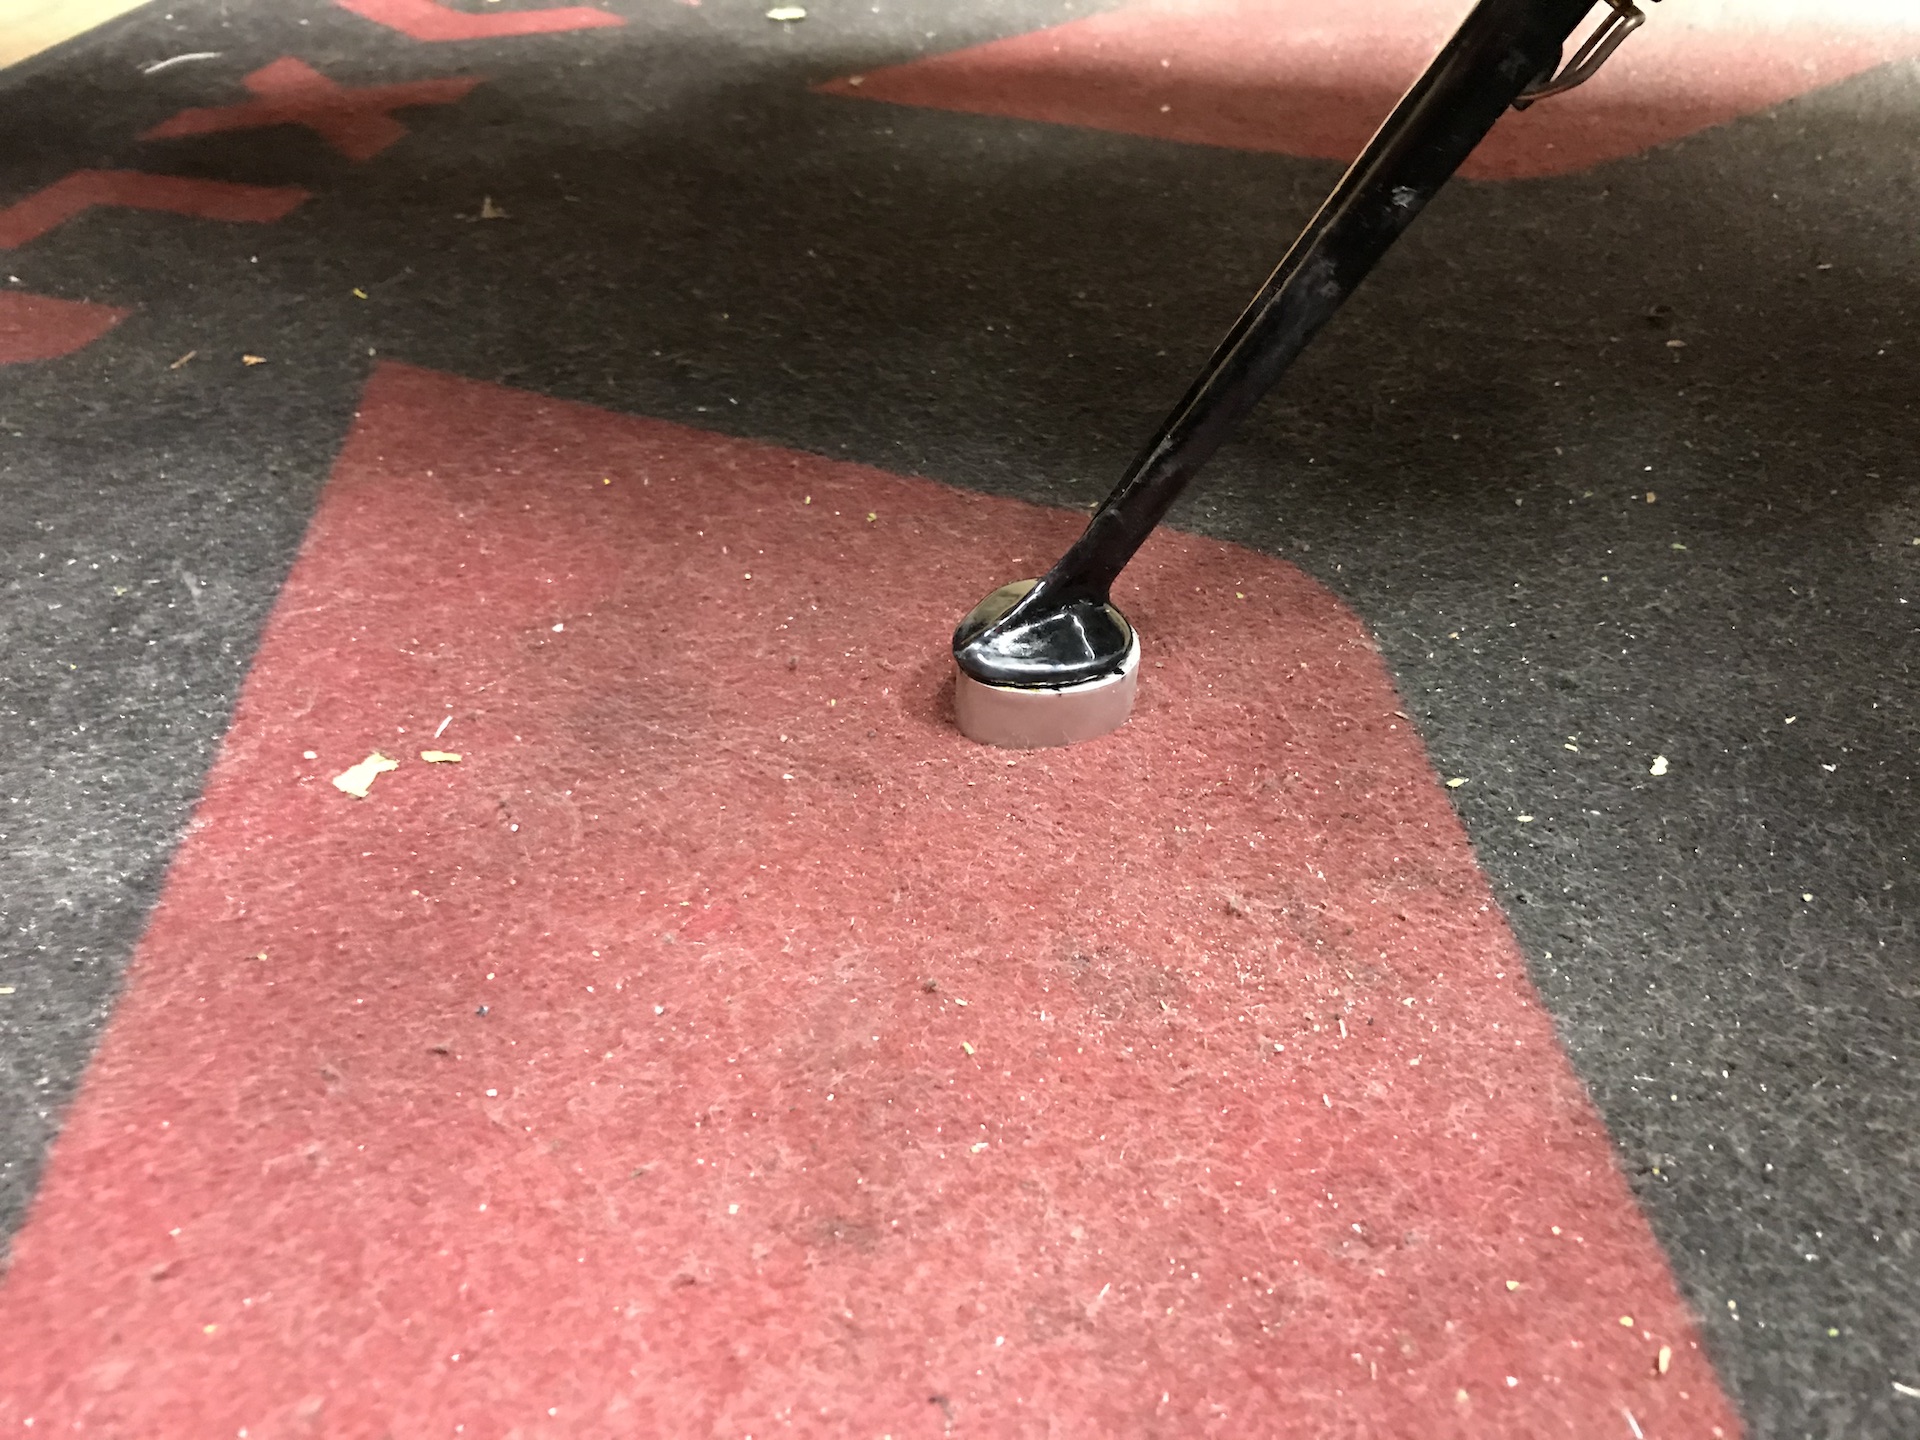
I also did not want a stupid magnet fitted to my rim to get a speedo readout. I managed to find a conversion sensor that converts the original speedo reading to a digital signal directly at the wheel. Way cleaner.
Still need to fit the bar end turn signals and mirrors.


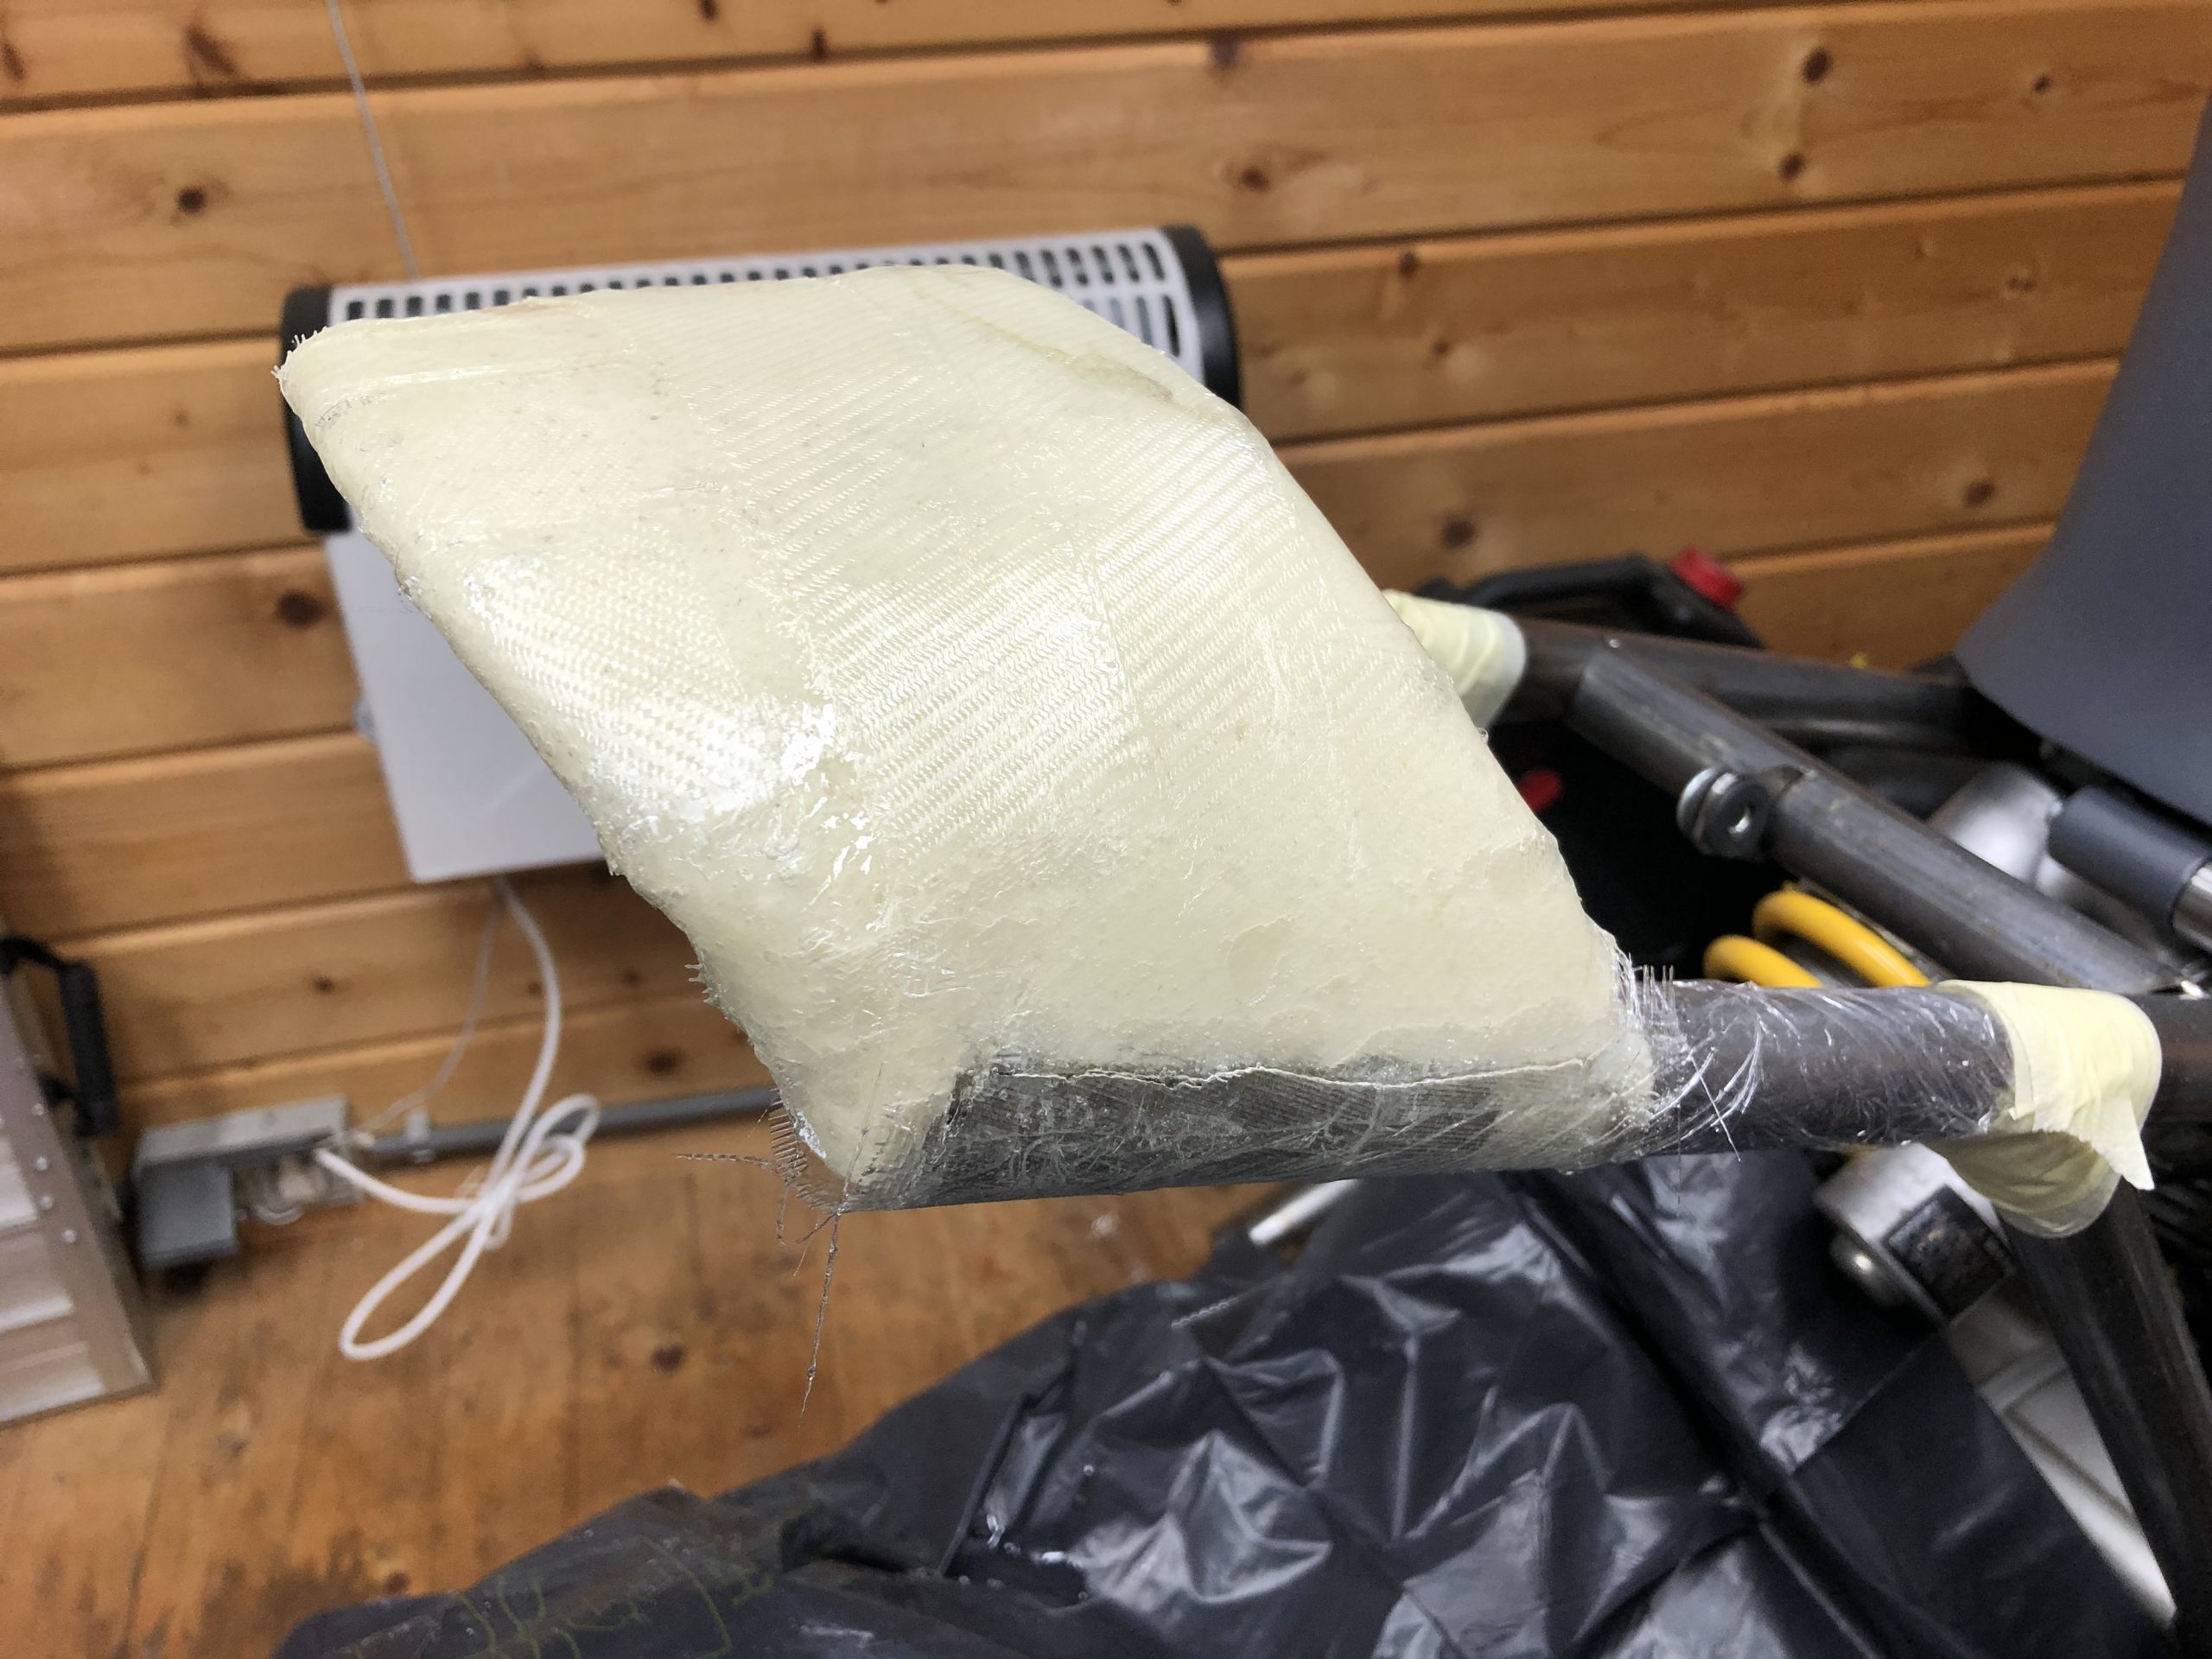
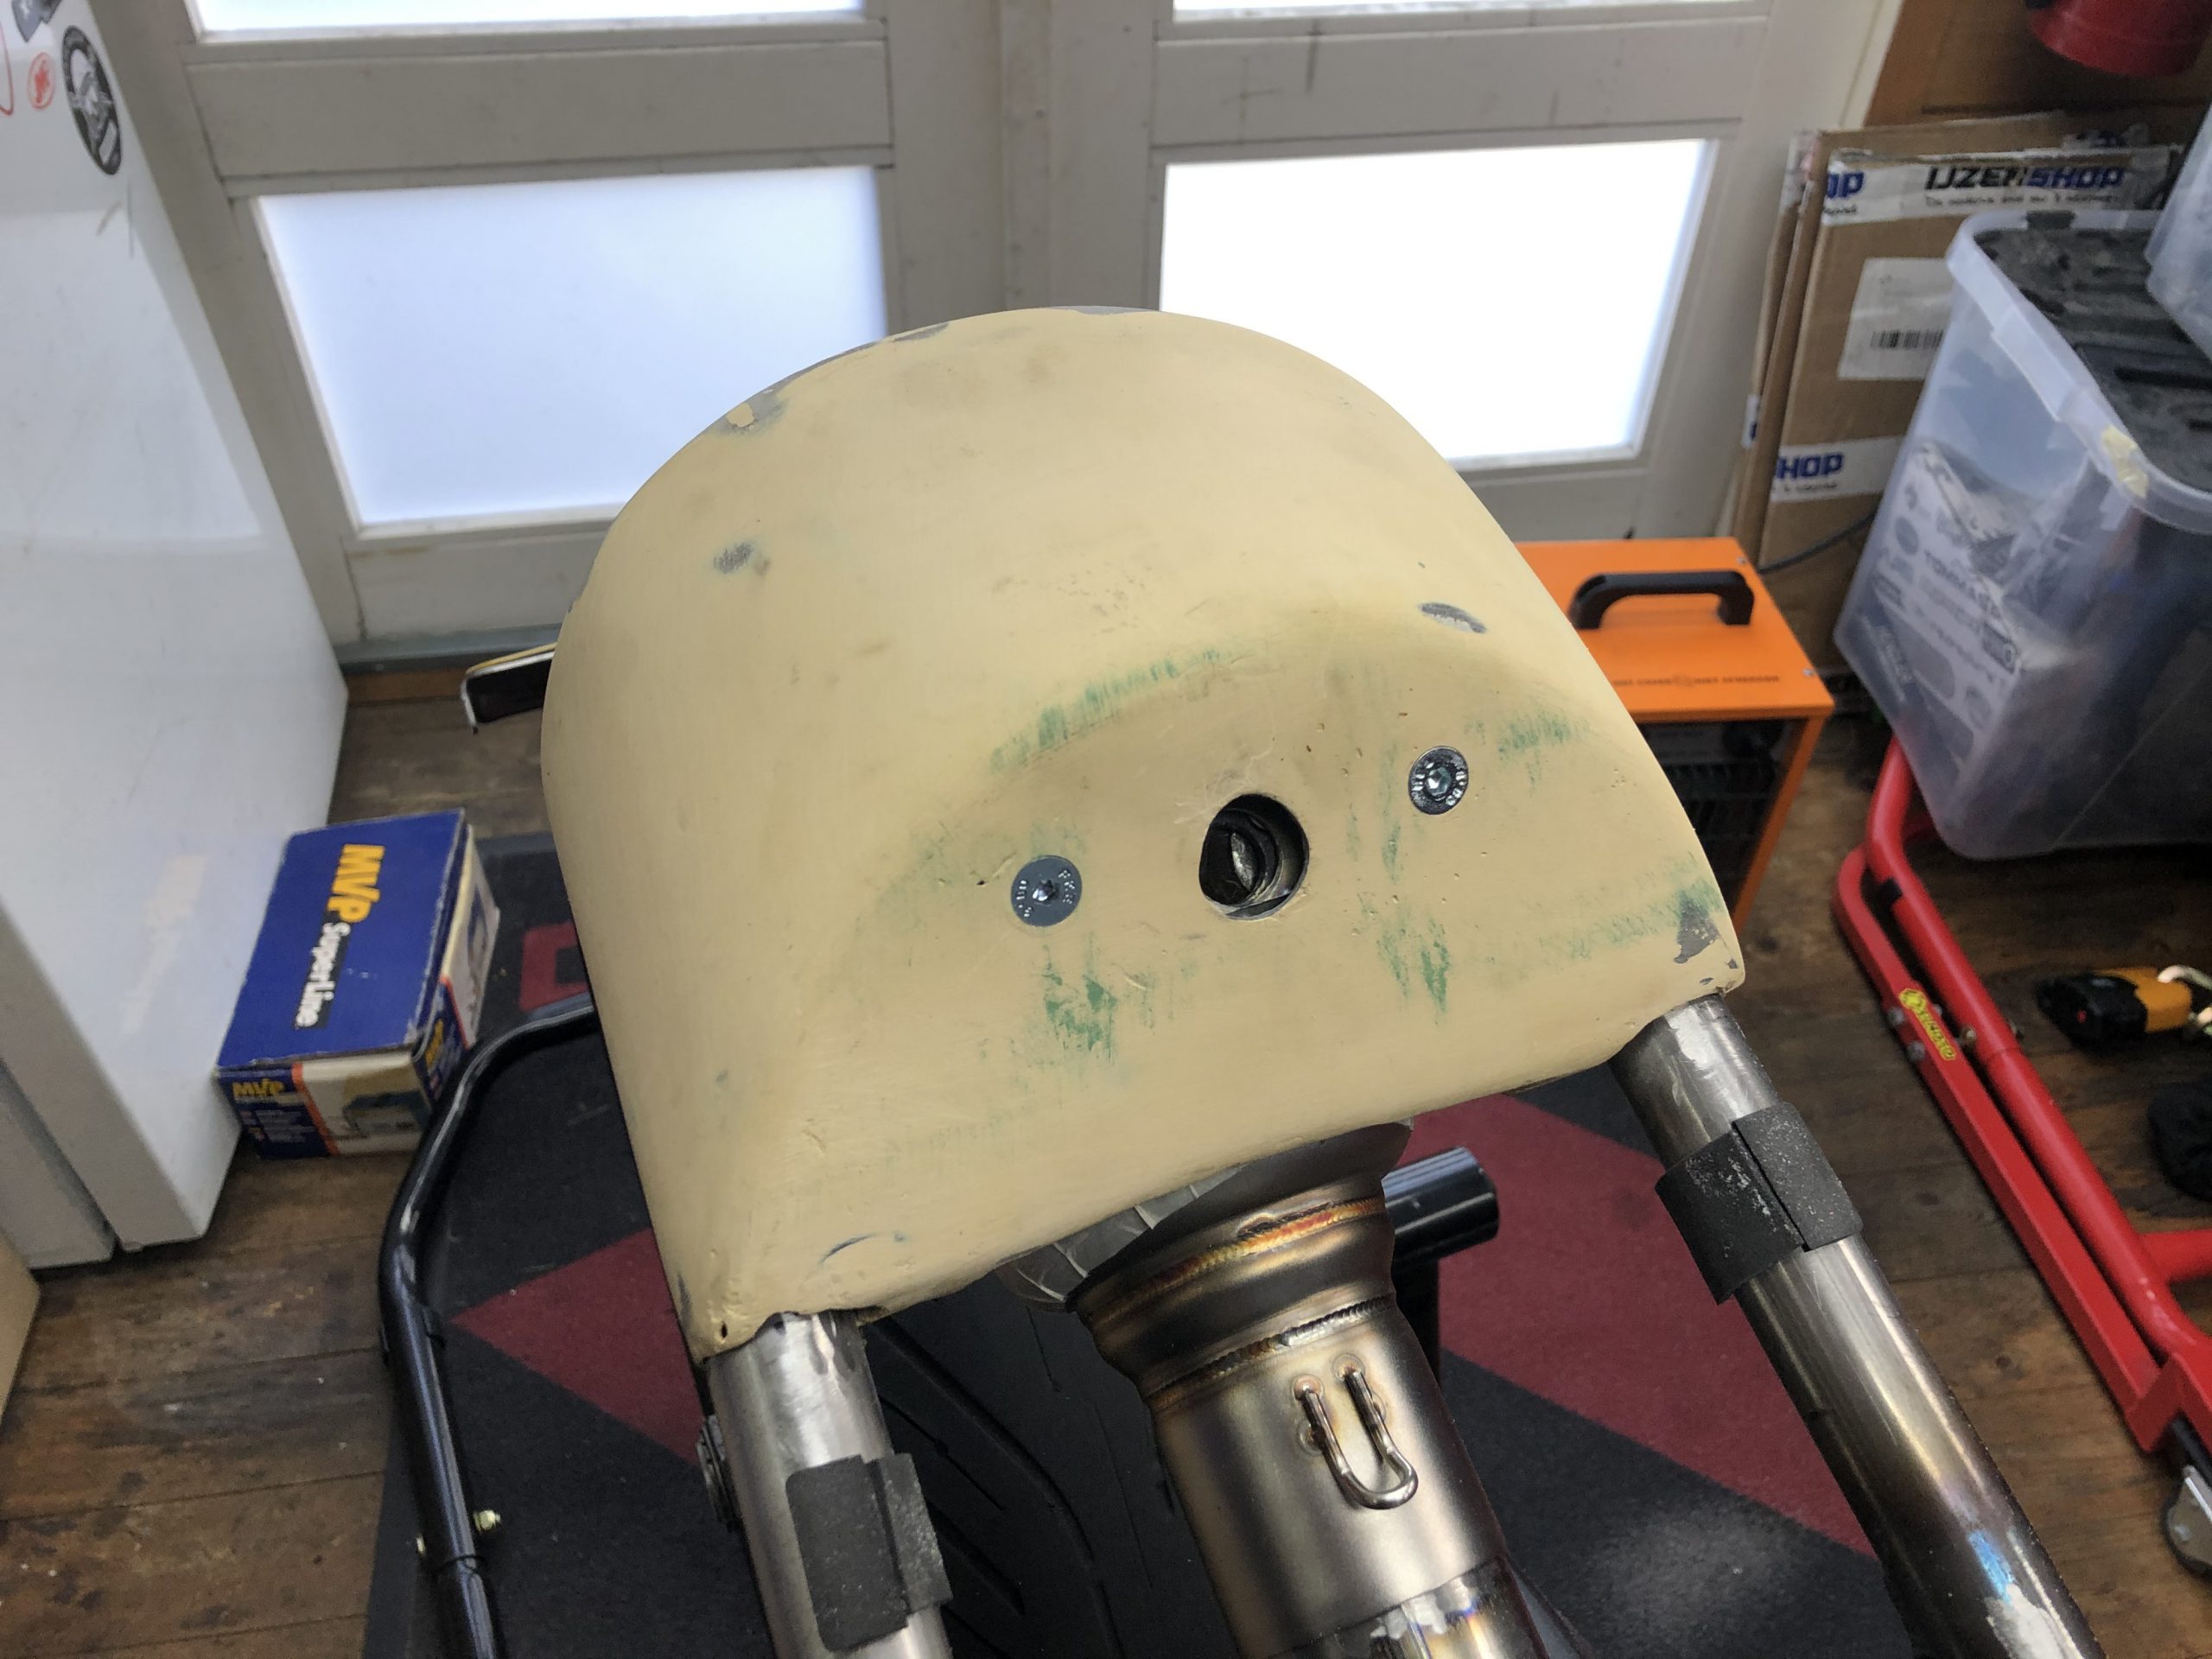
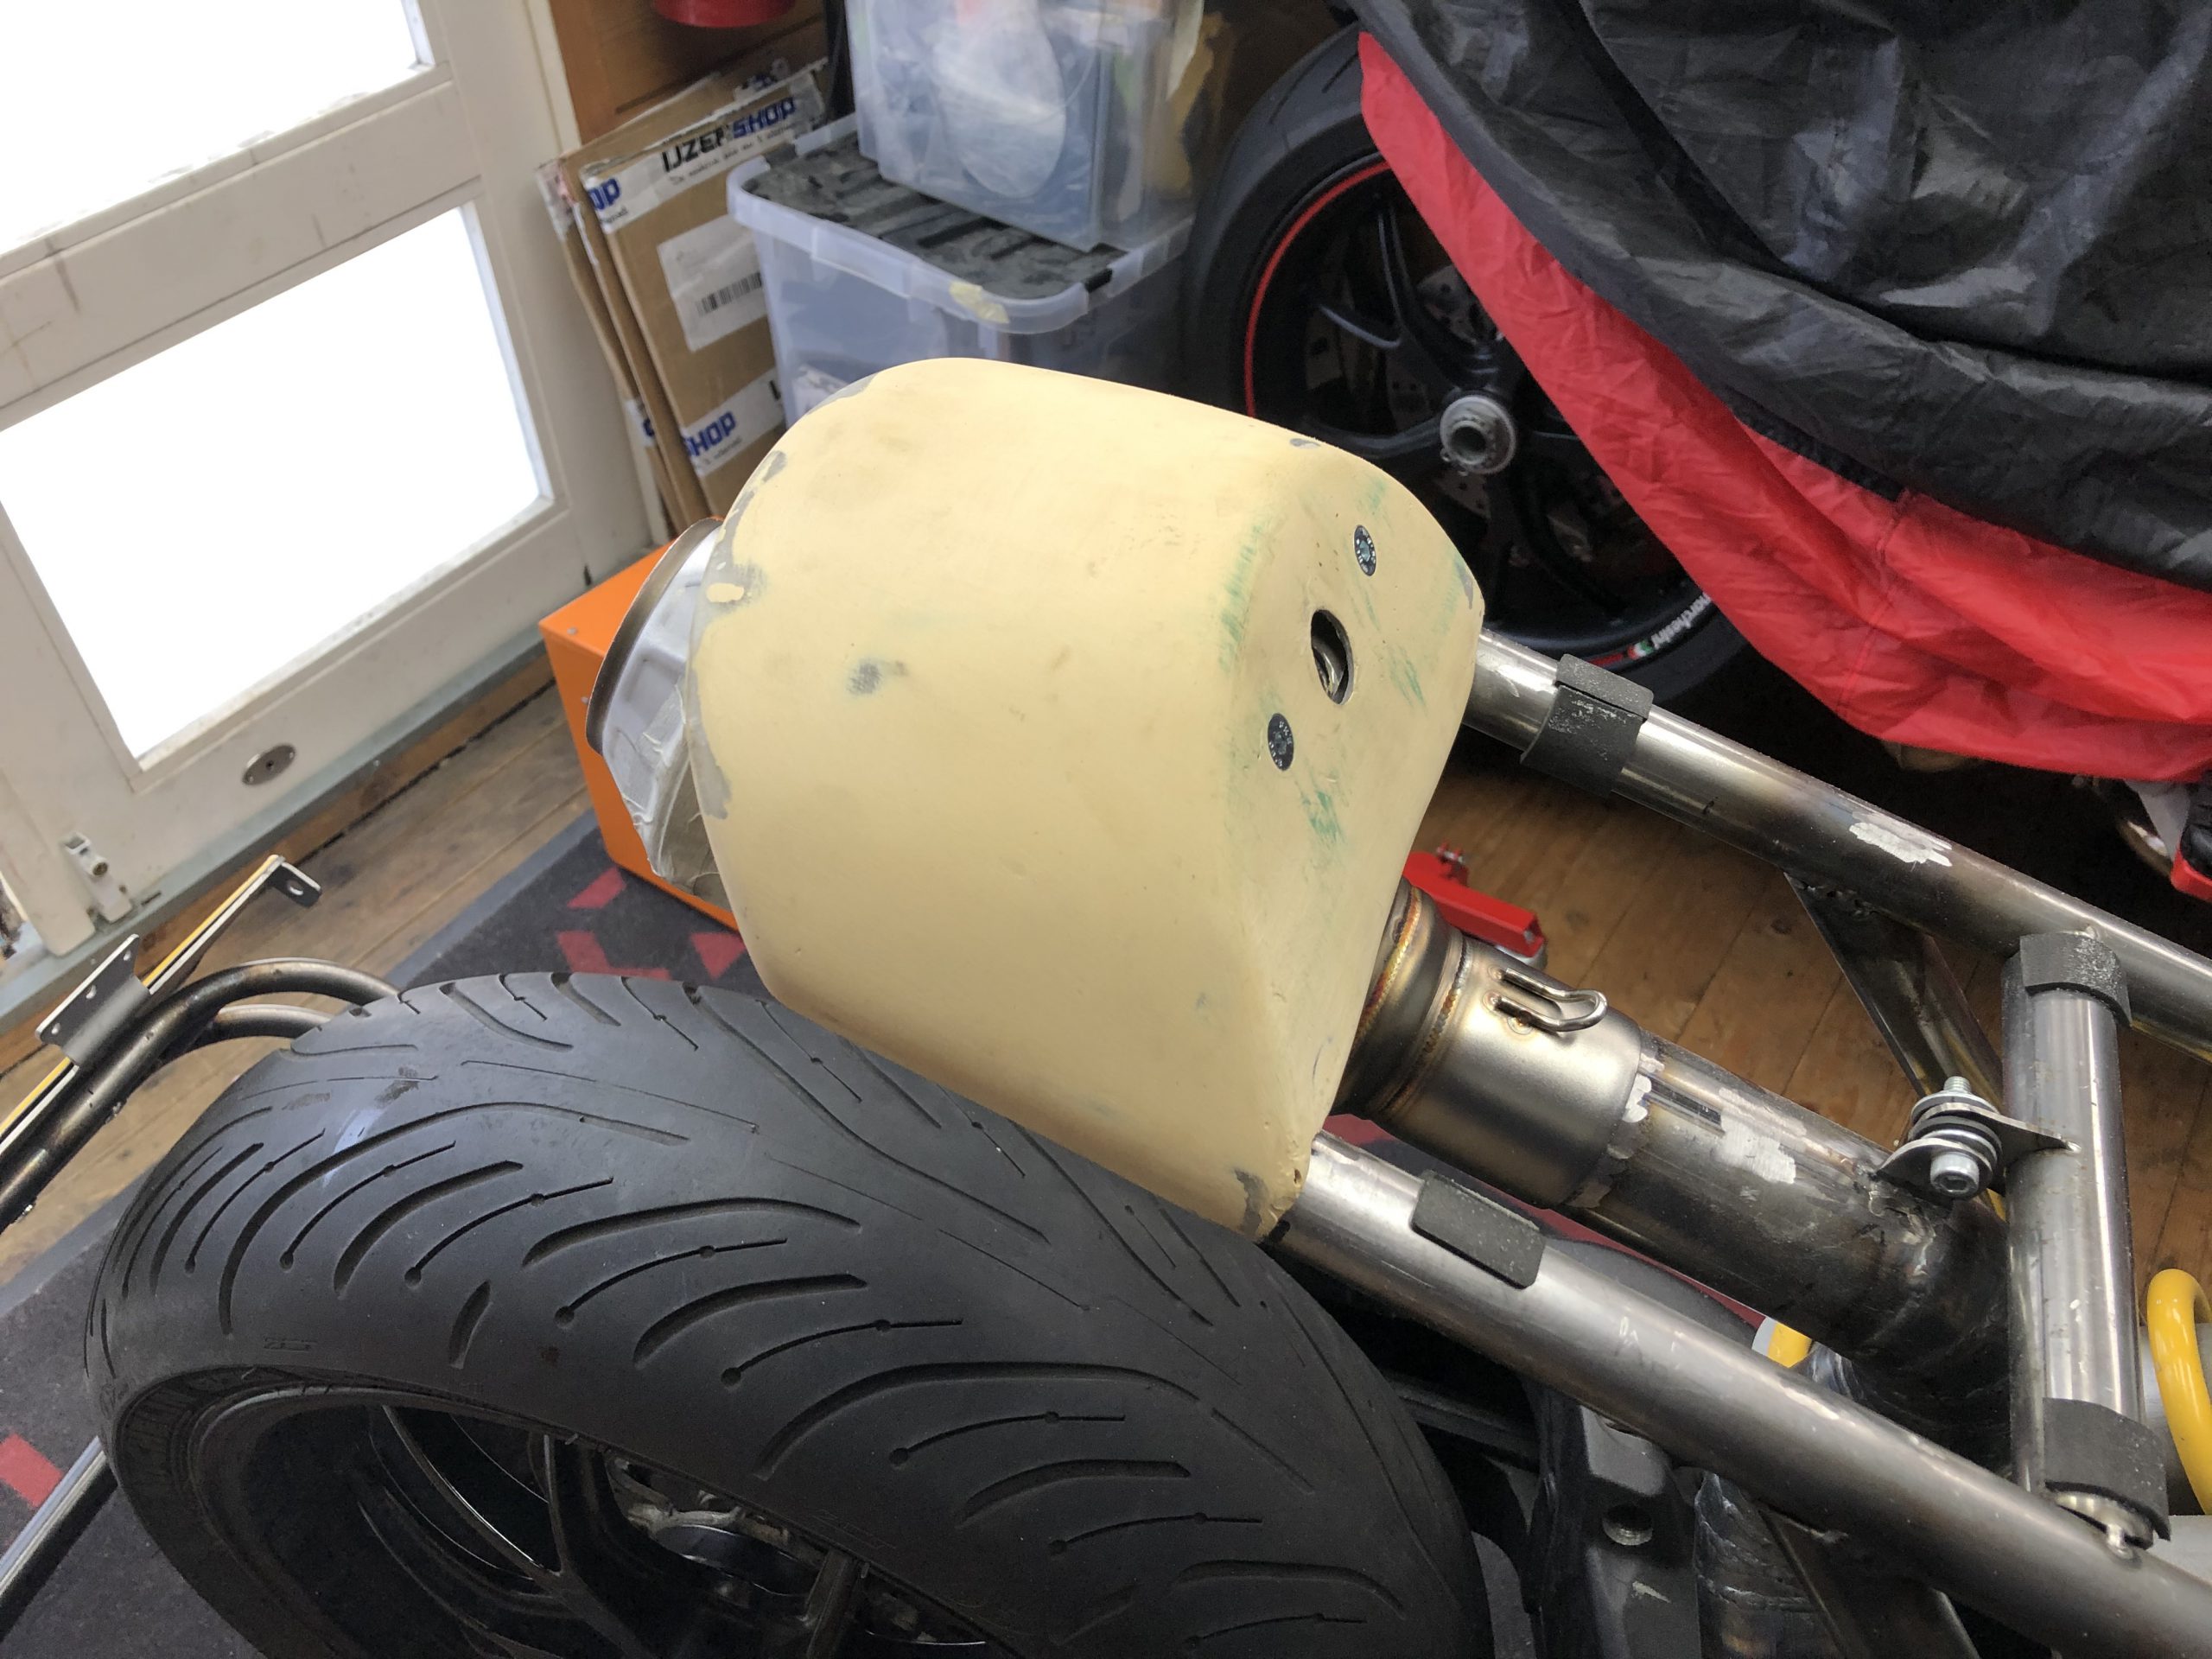
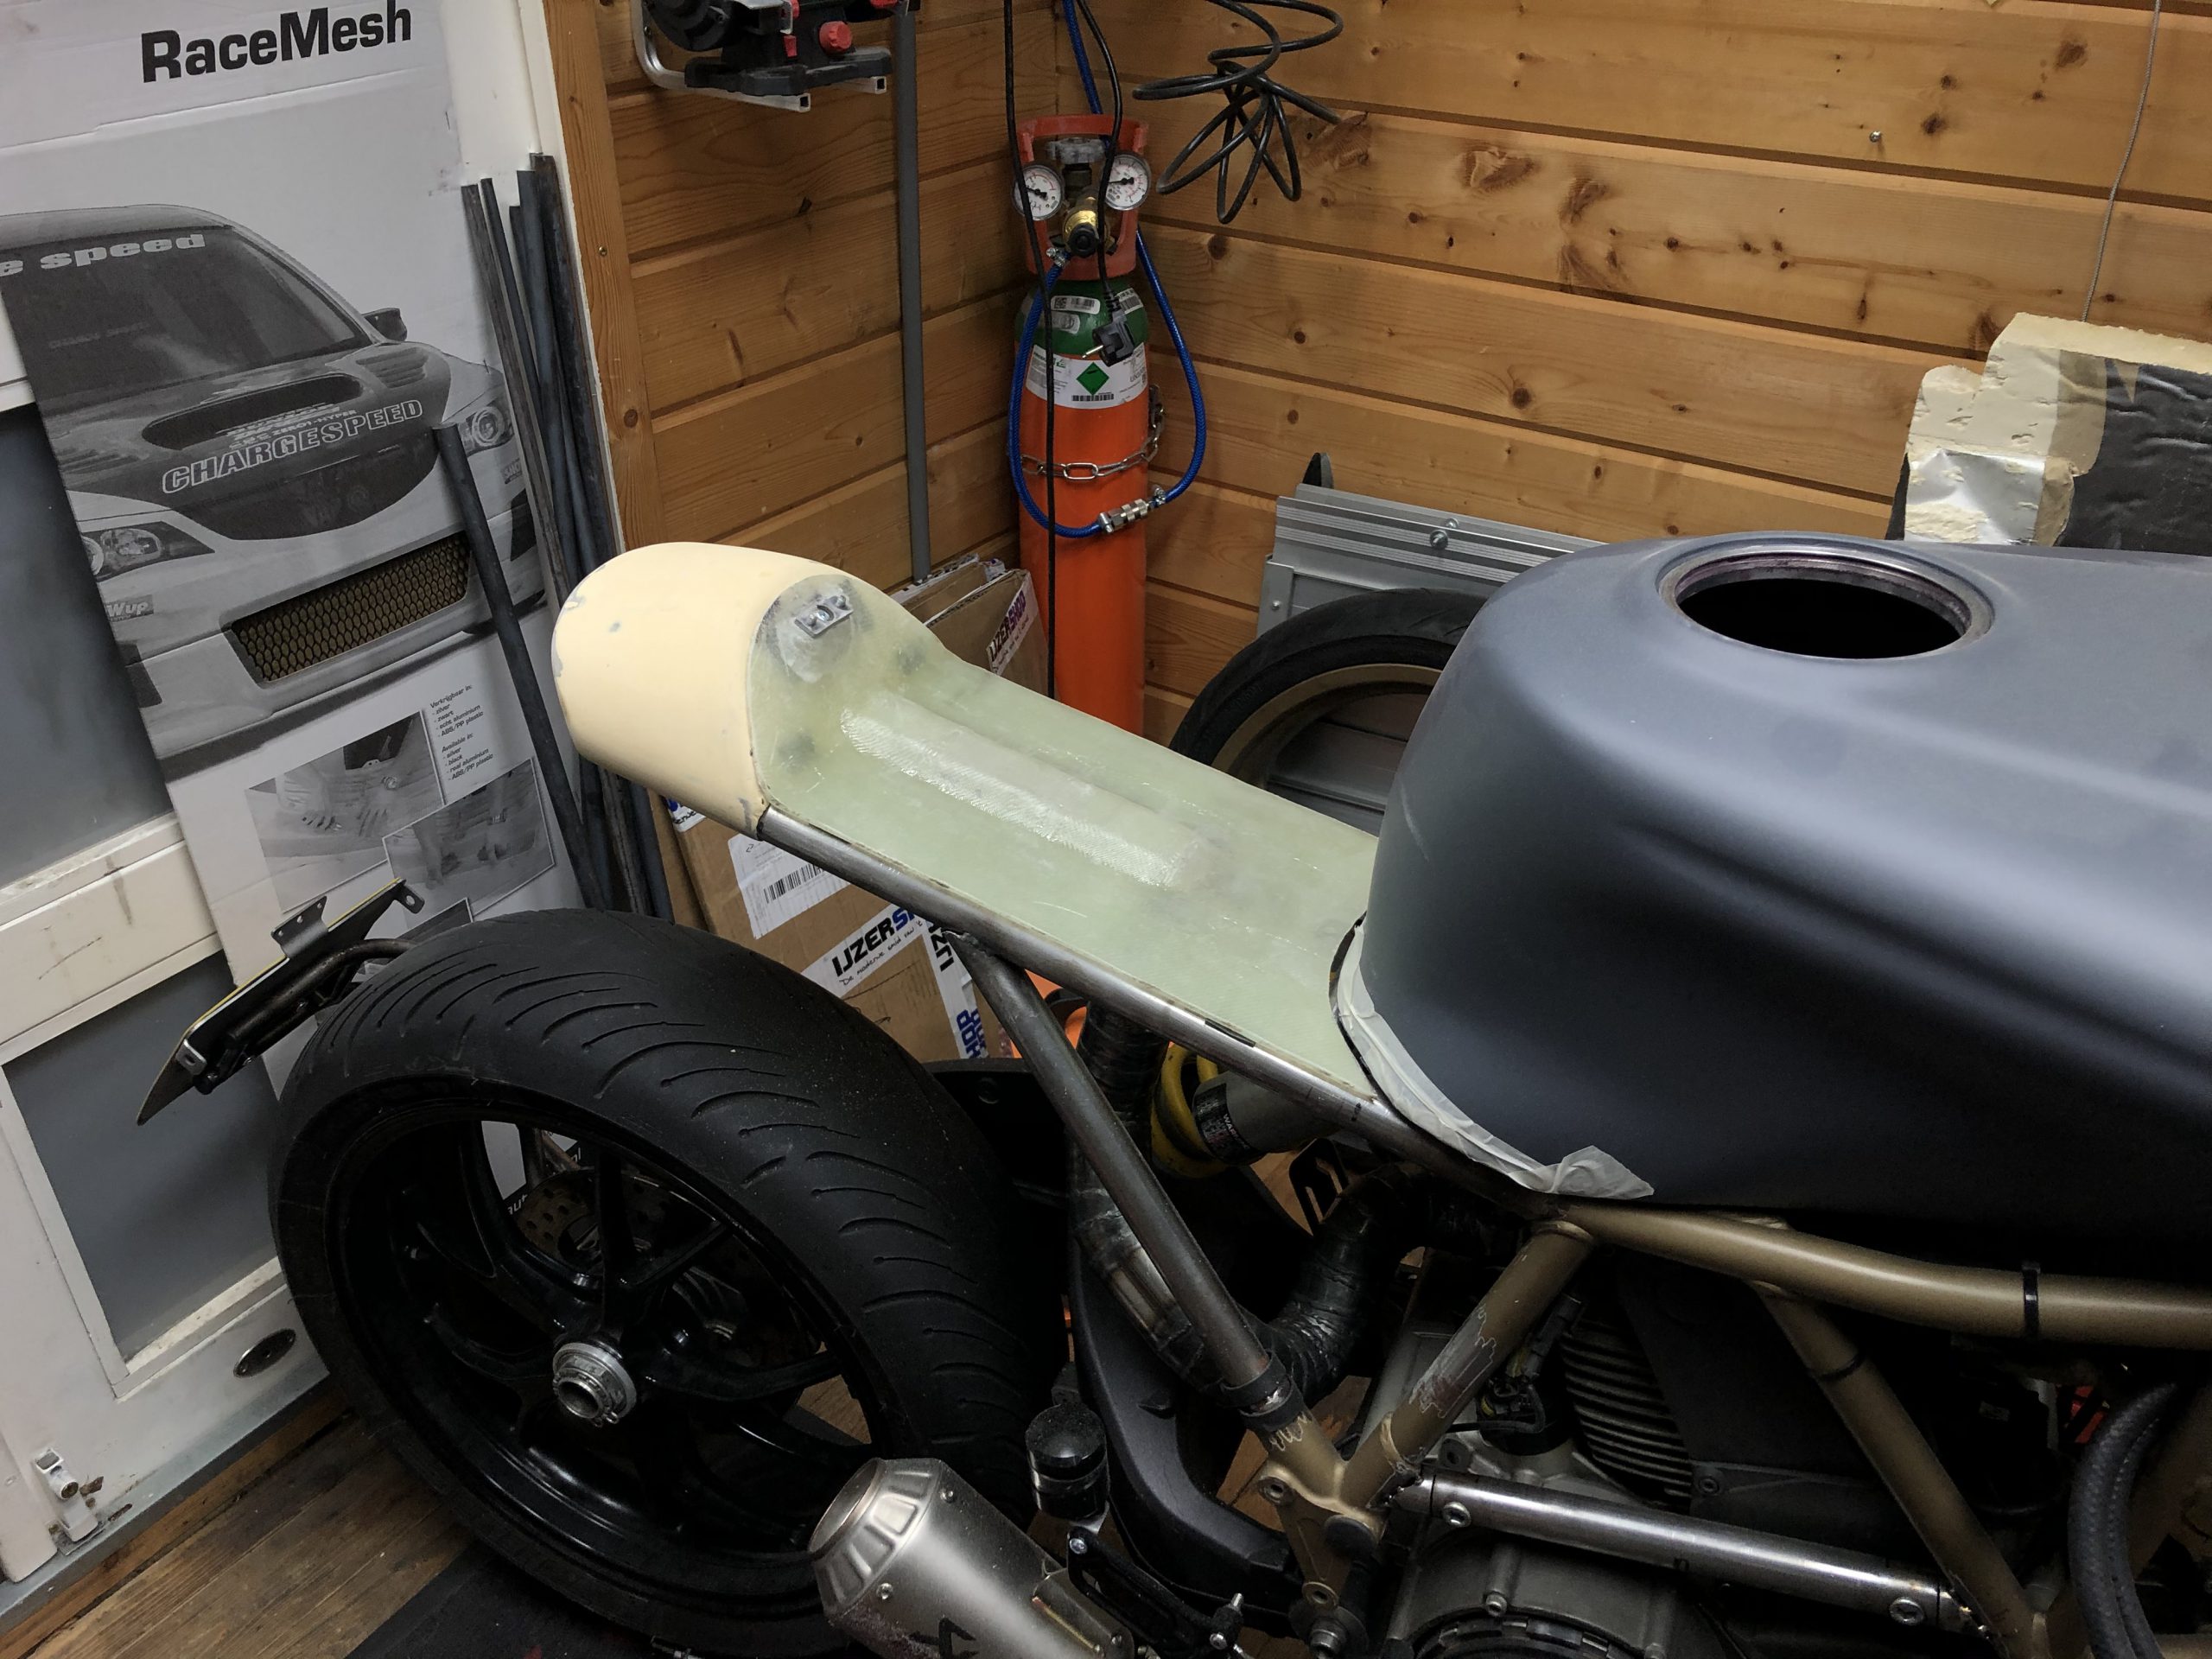
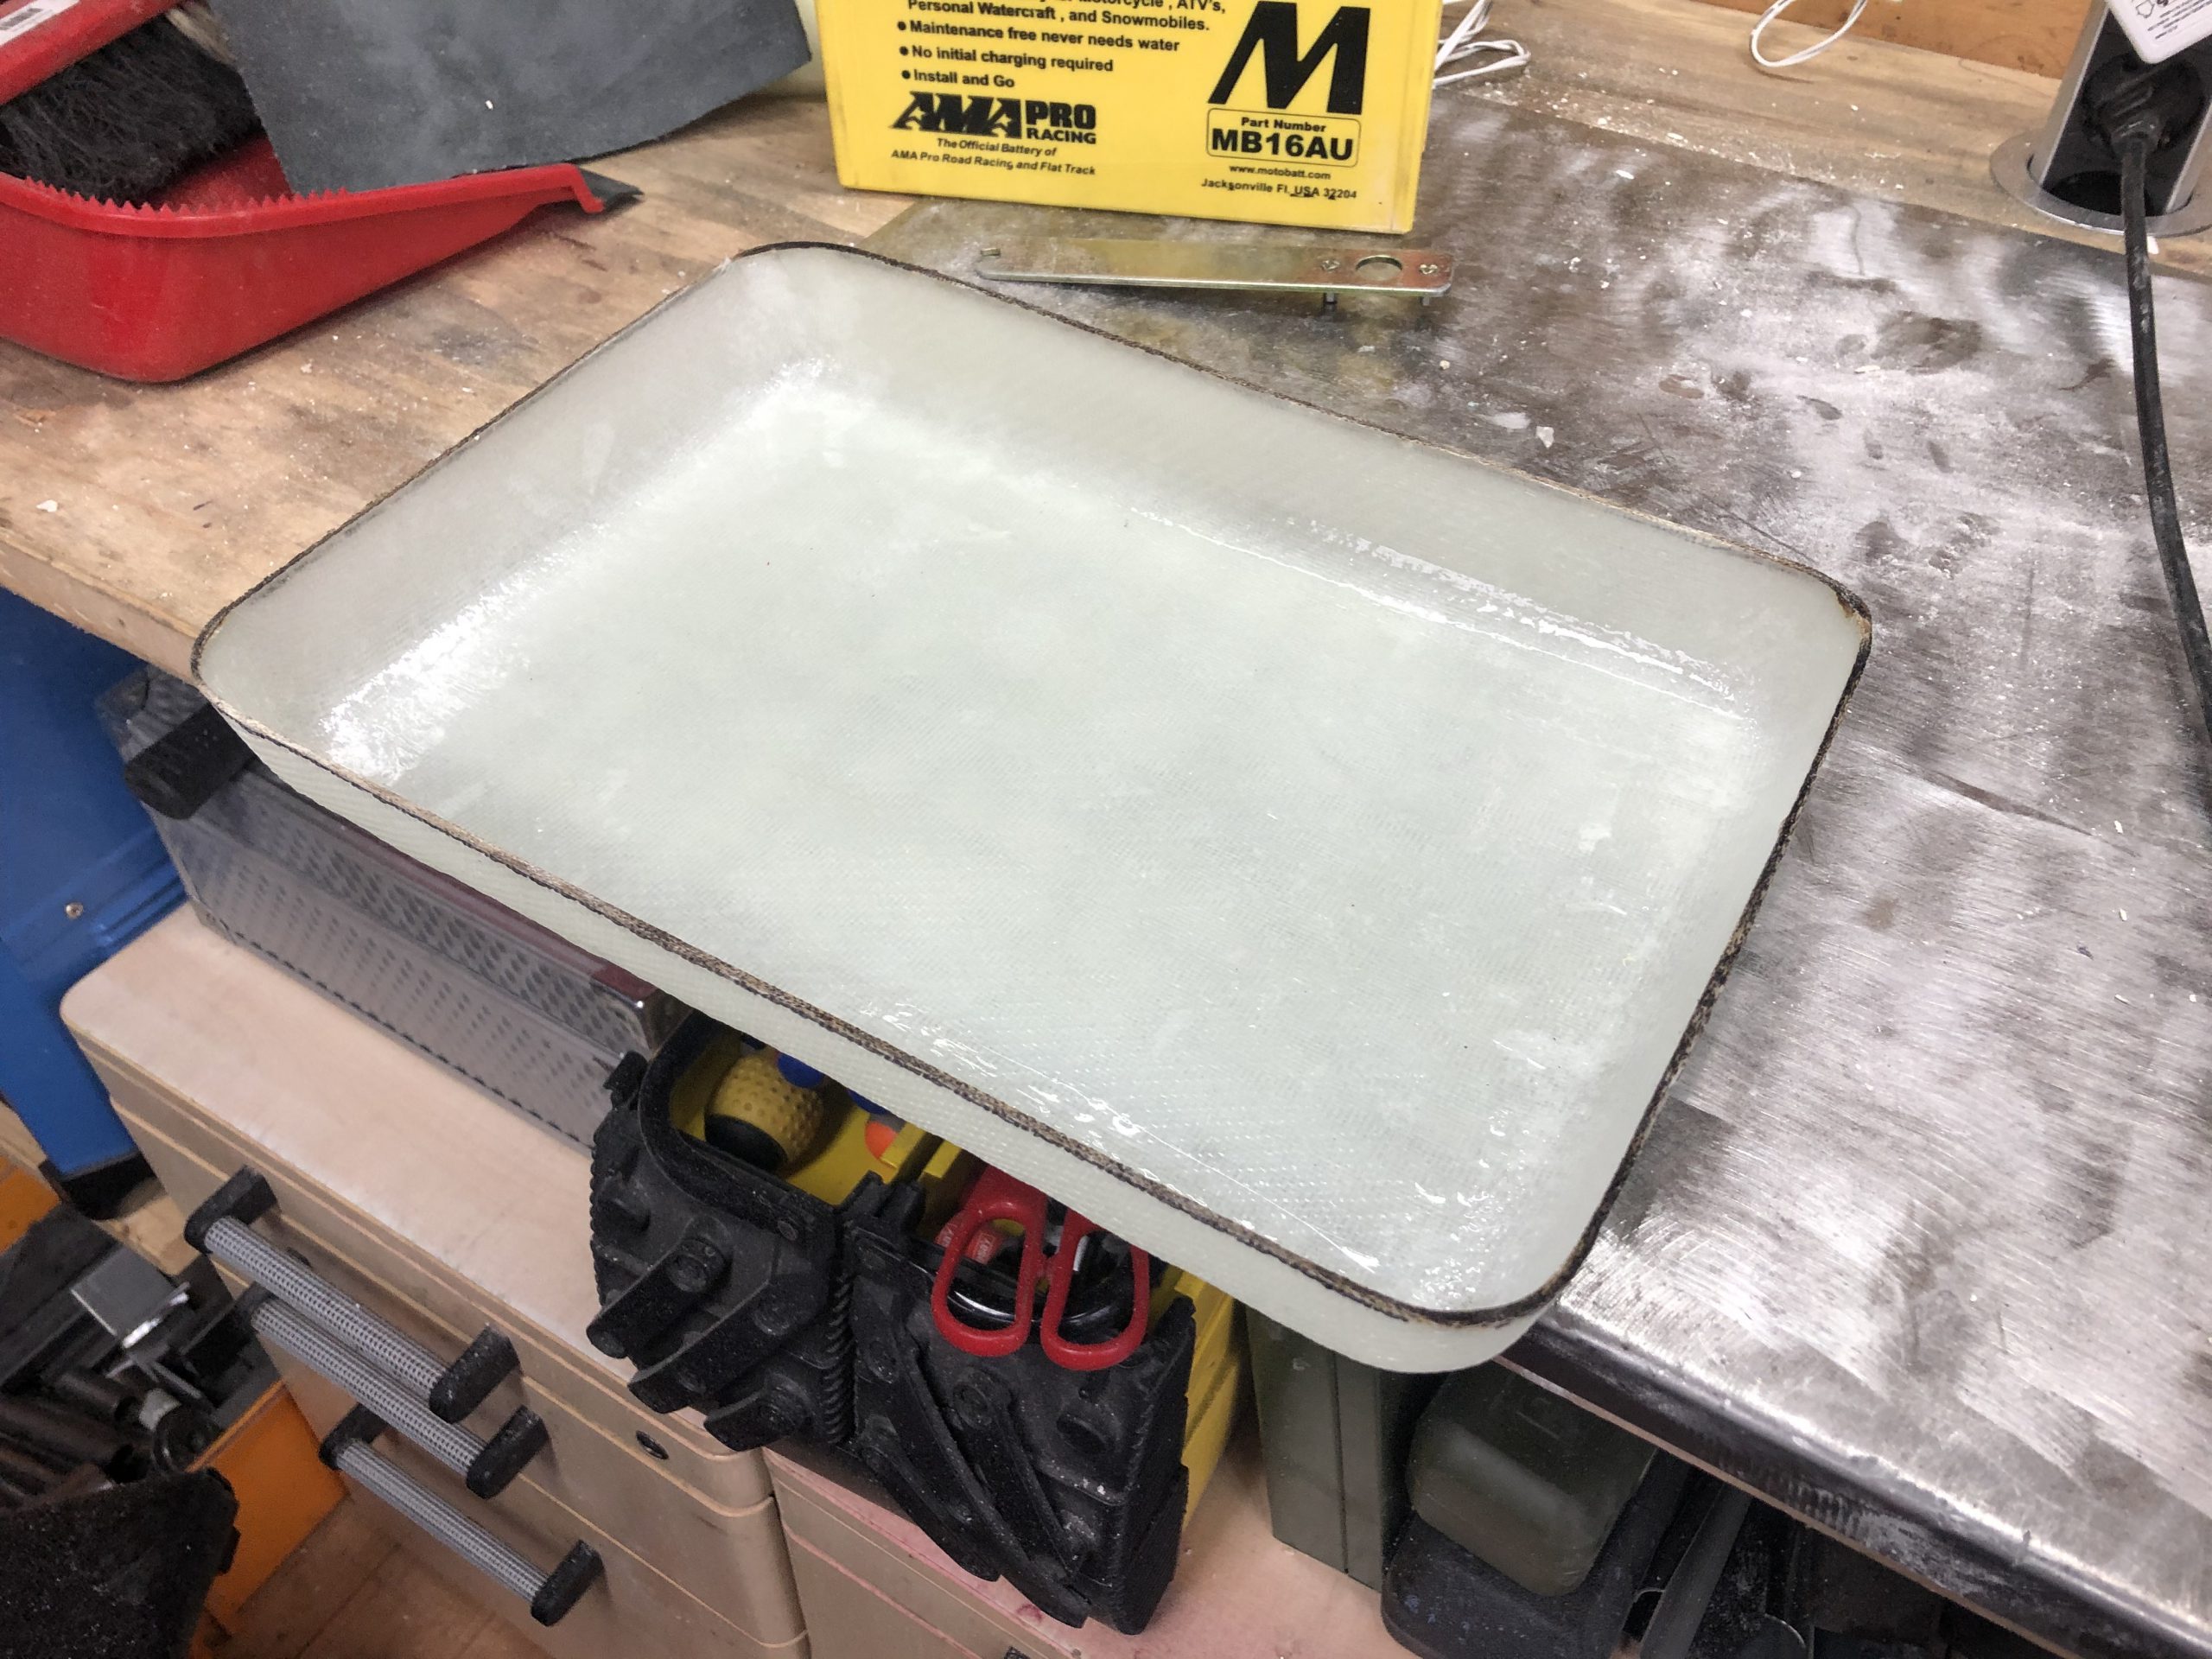
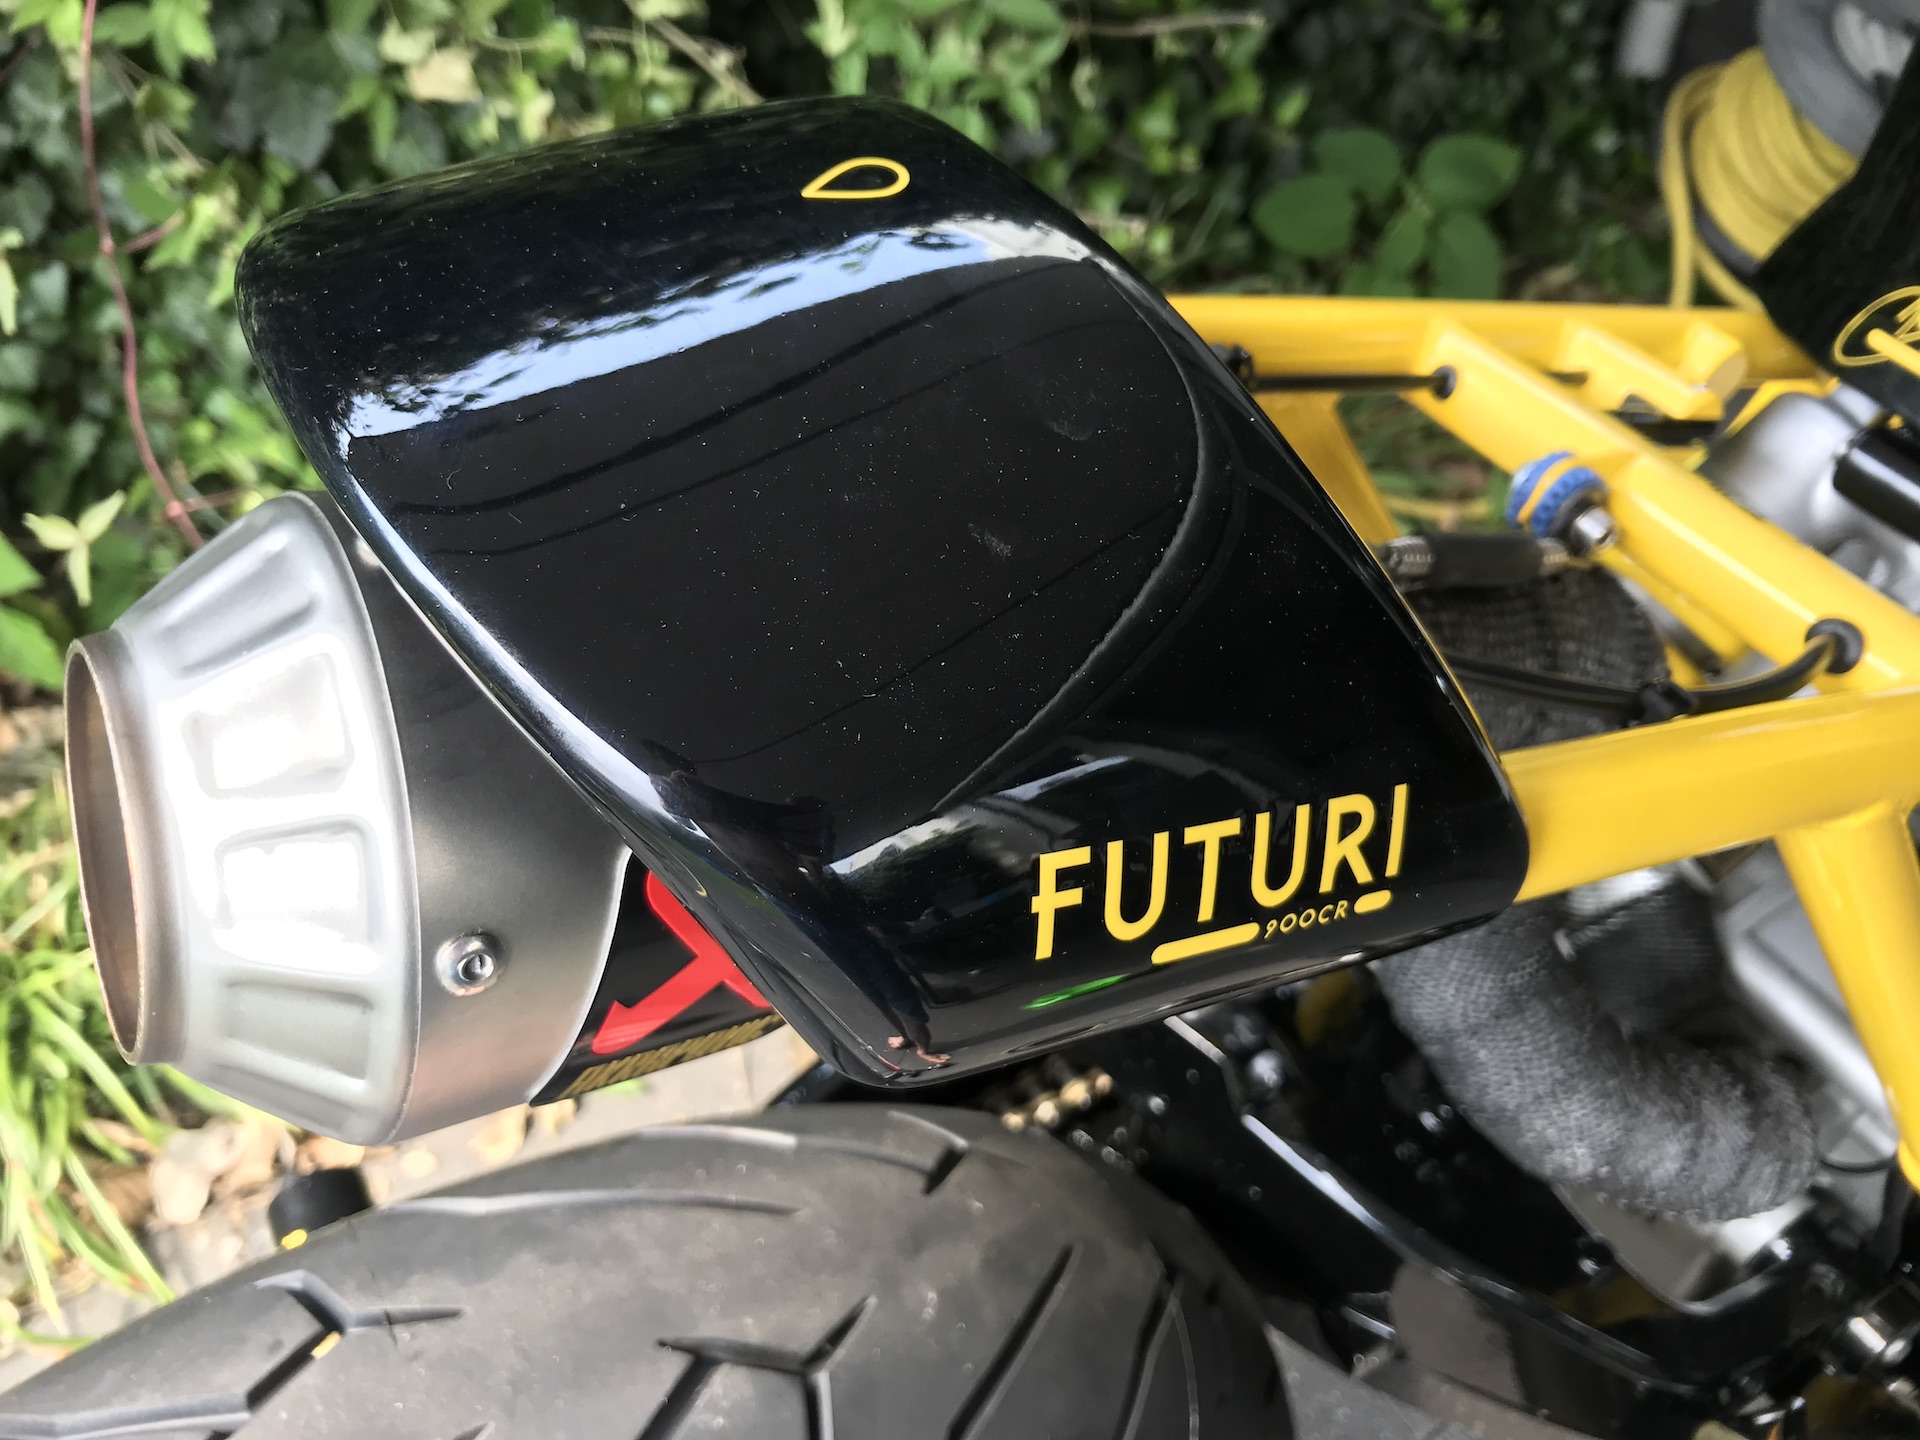
REAR FAIRING
My first time ever working with fiberglass…. And i chose a really difficult shape to start with. The small rear fairing. A single fiberglass piece that needs to slide onto the end of the subframe.
I created a puck to use as a base for the fiberglass. Love the end result, but holy shit this was a lot of work. So glad it is done…. Almost! Still needs some filler but after thats it done.
Also integrated the seat latching mechanism within the piece.


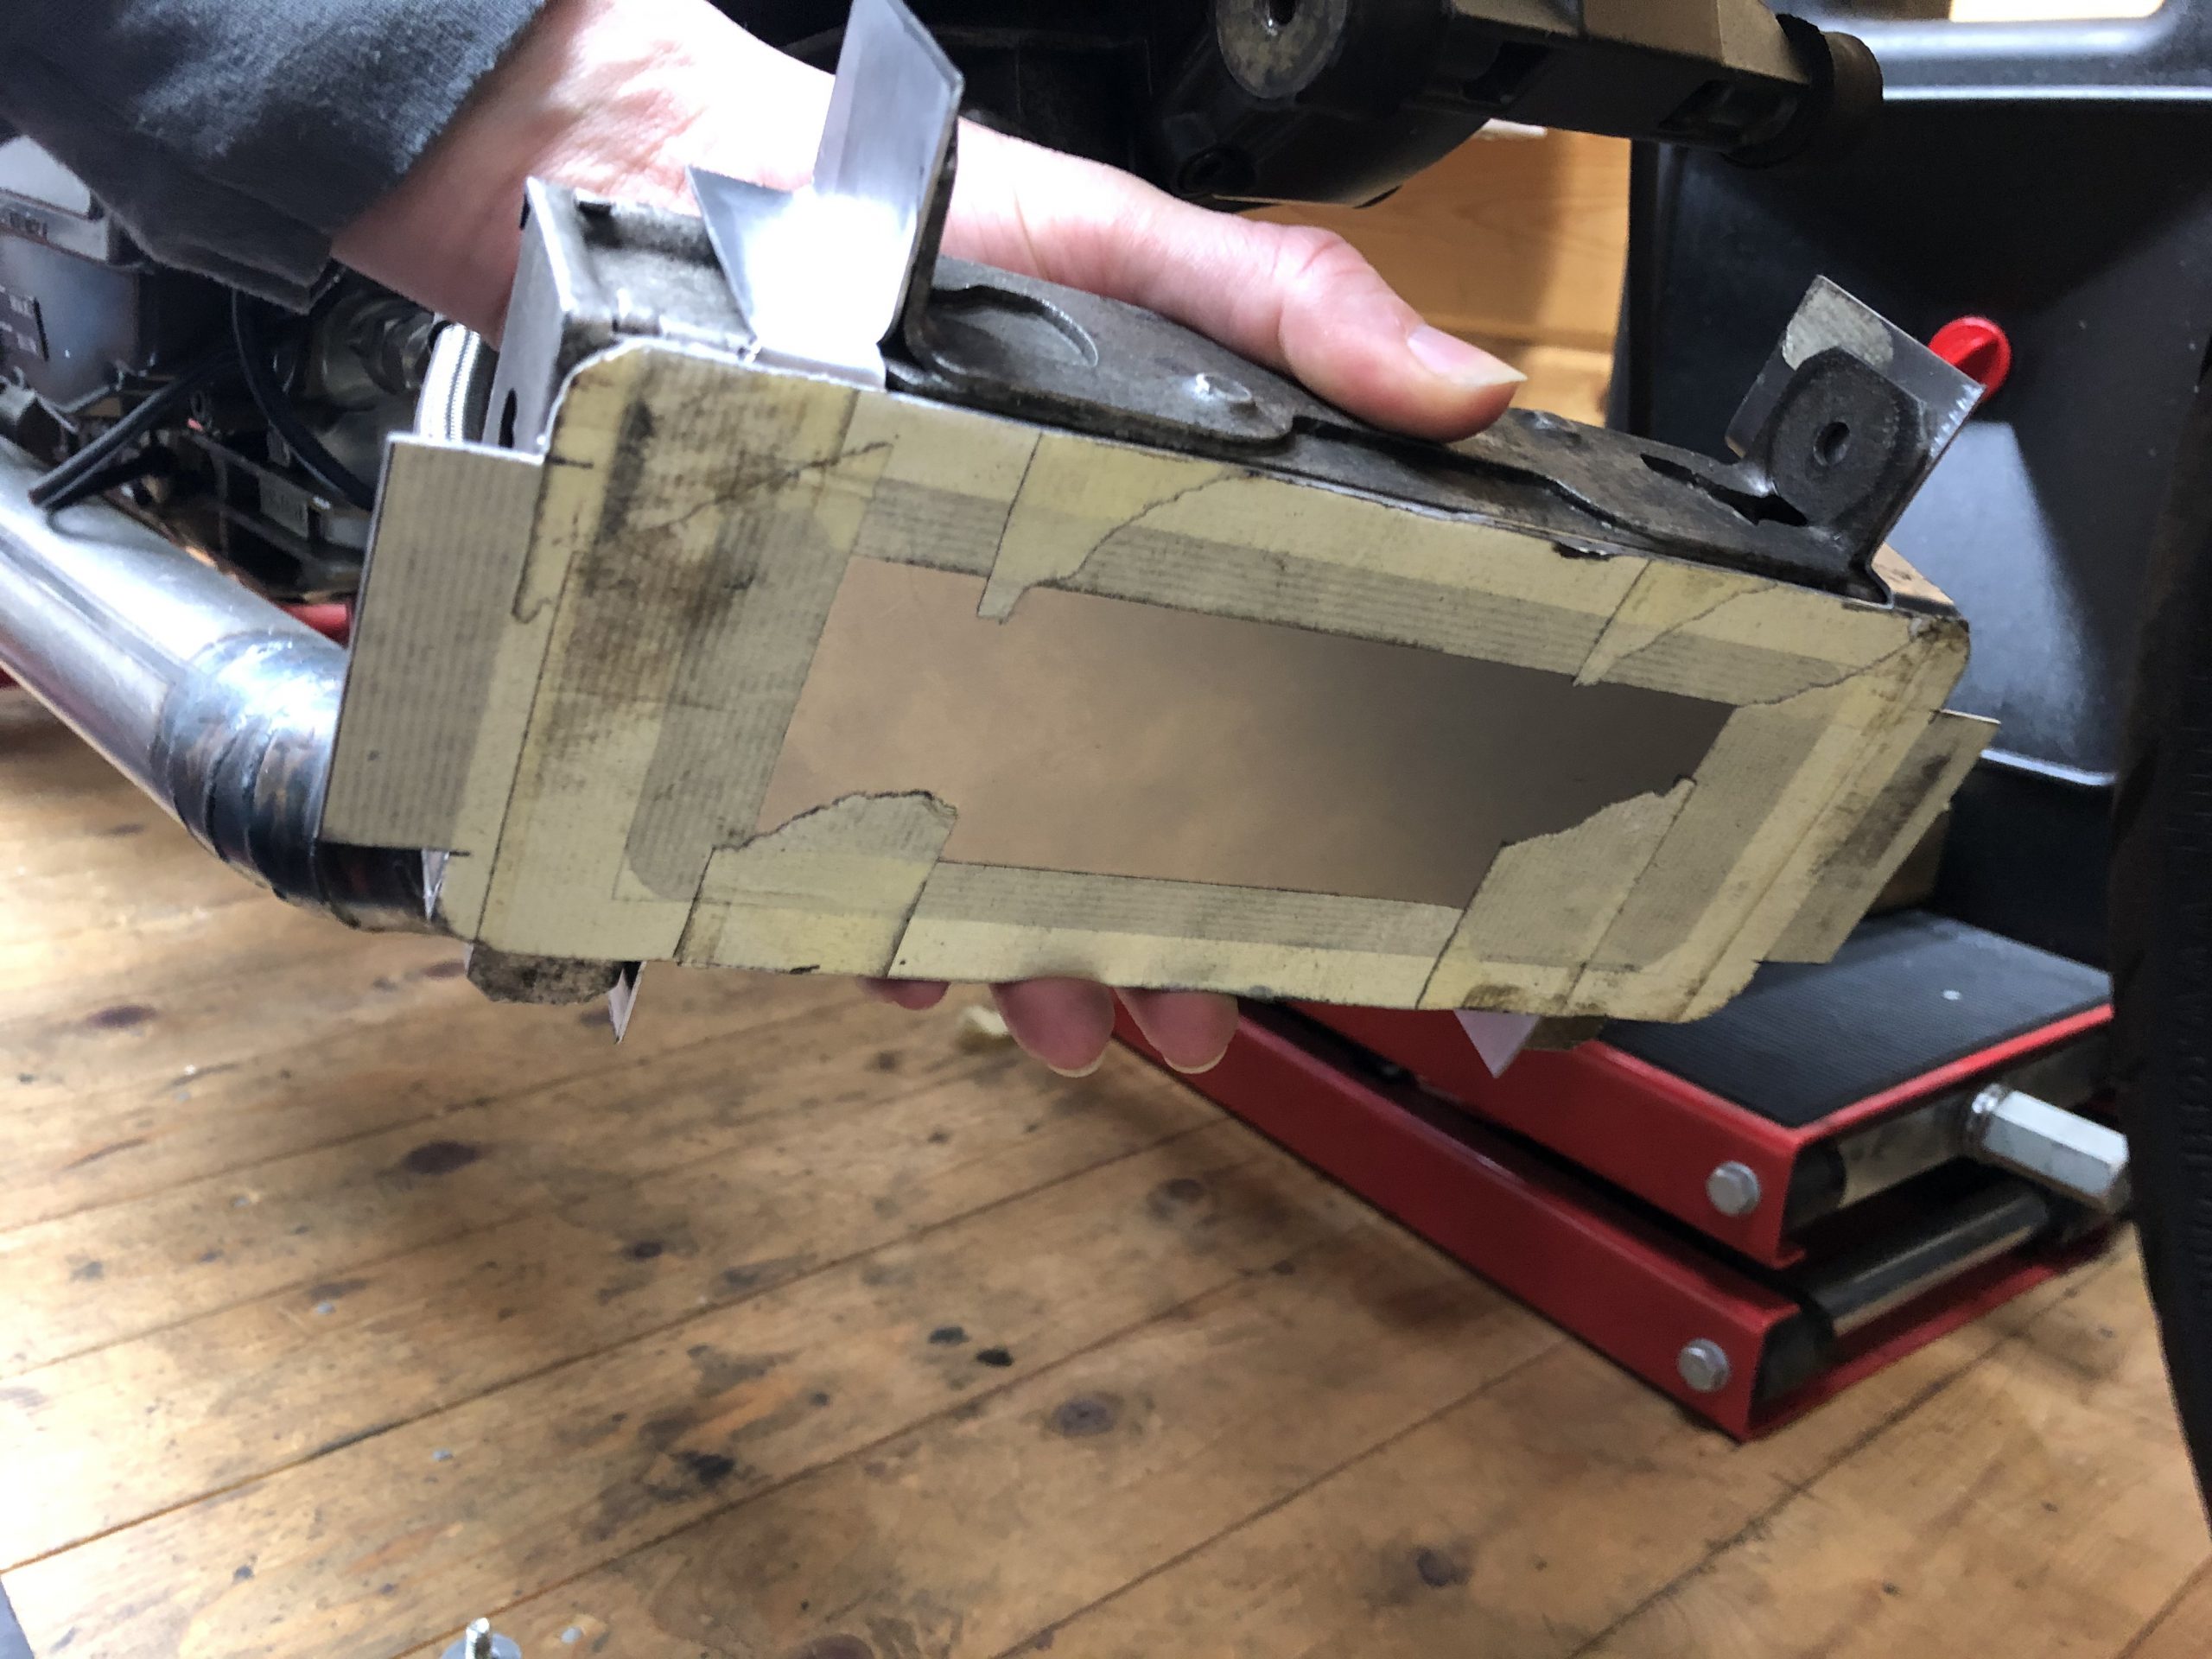
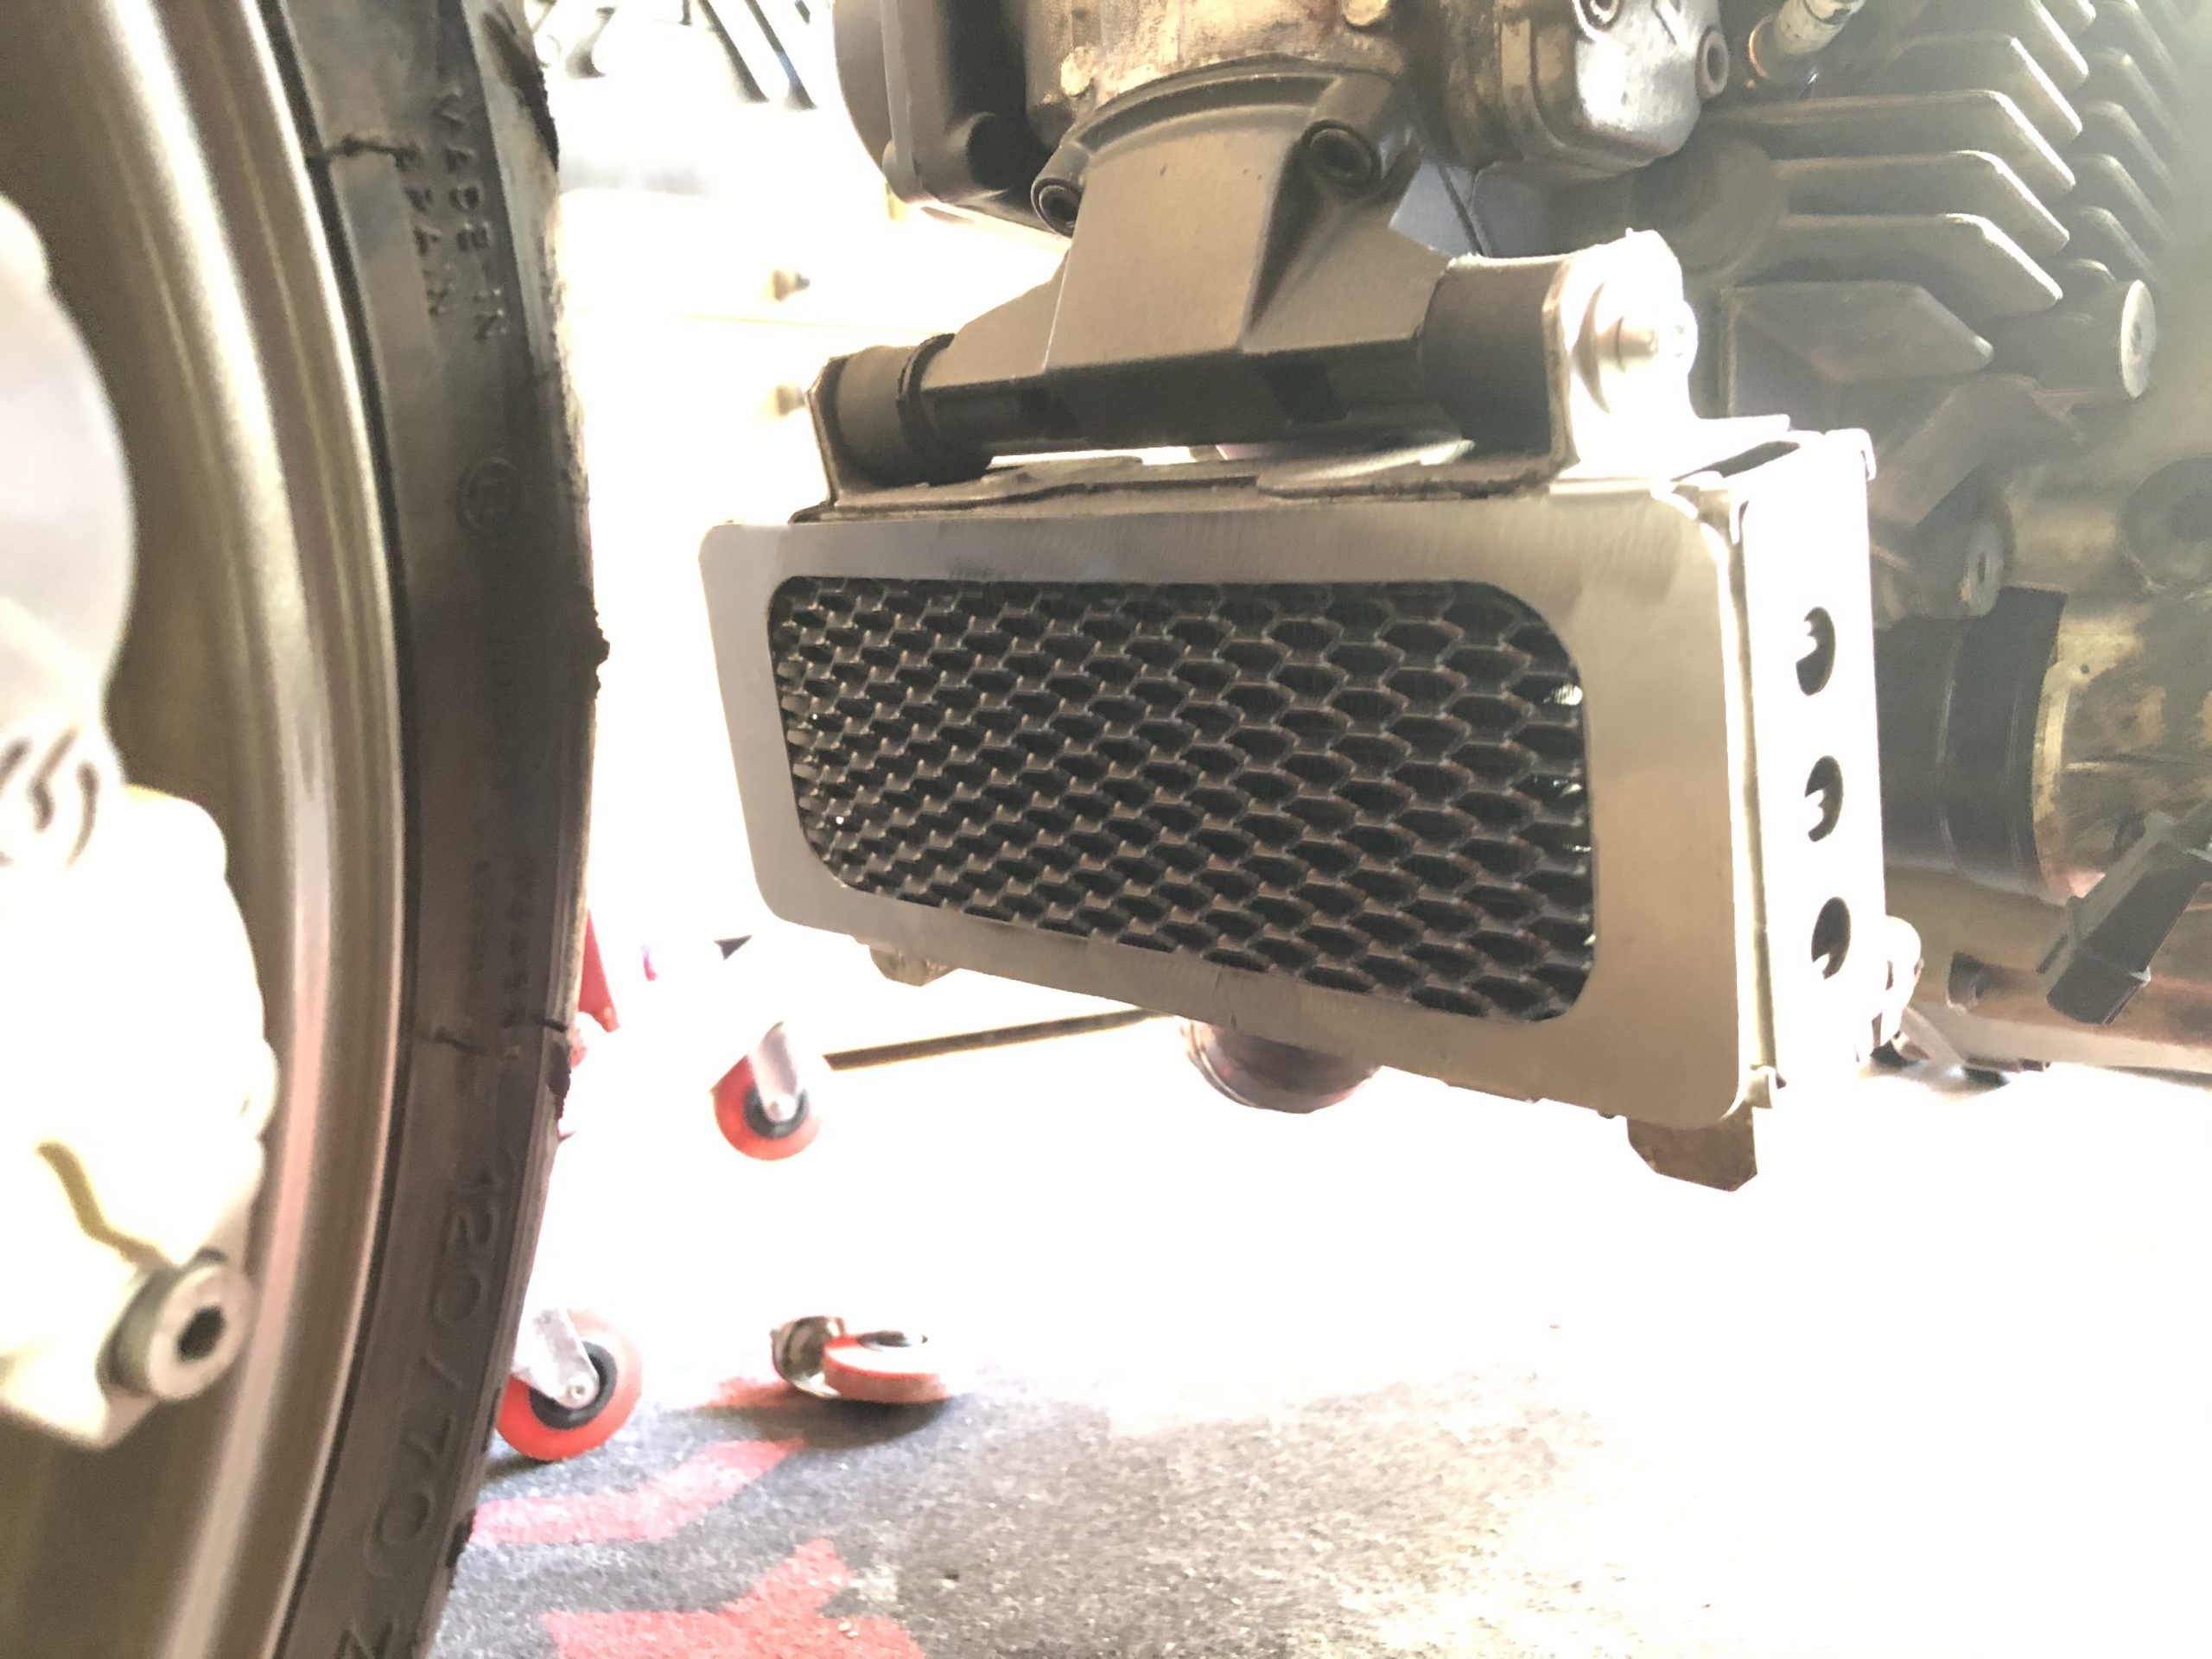
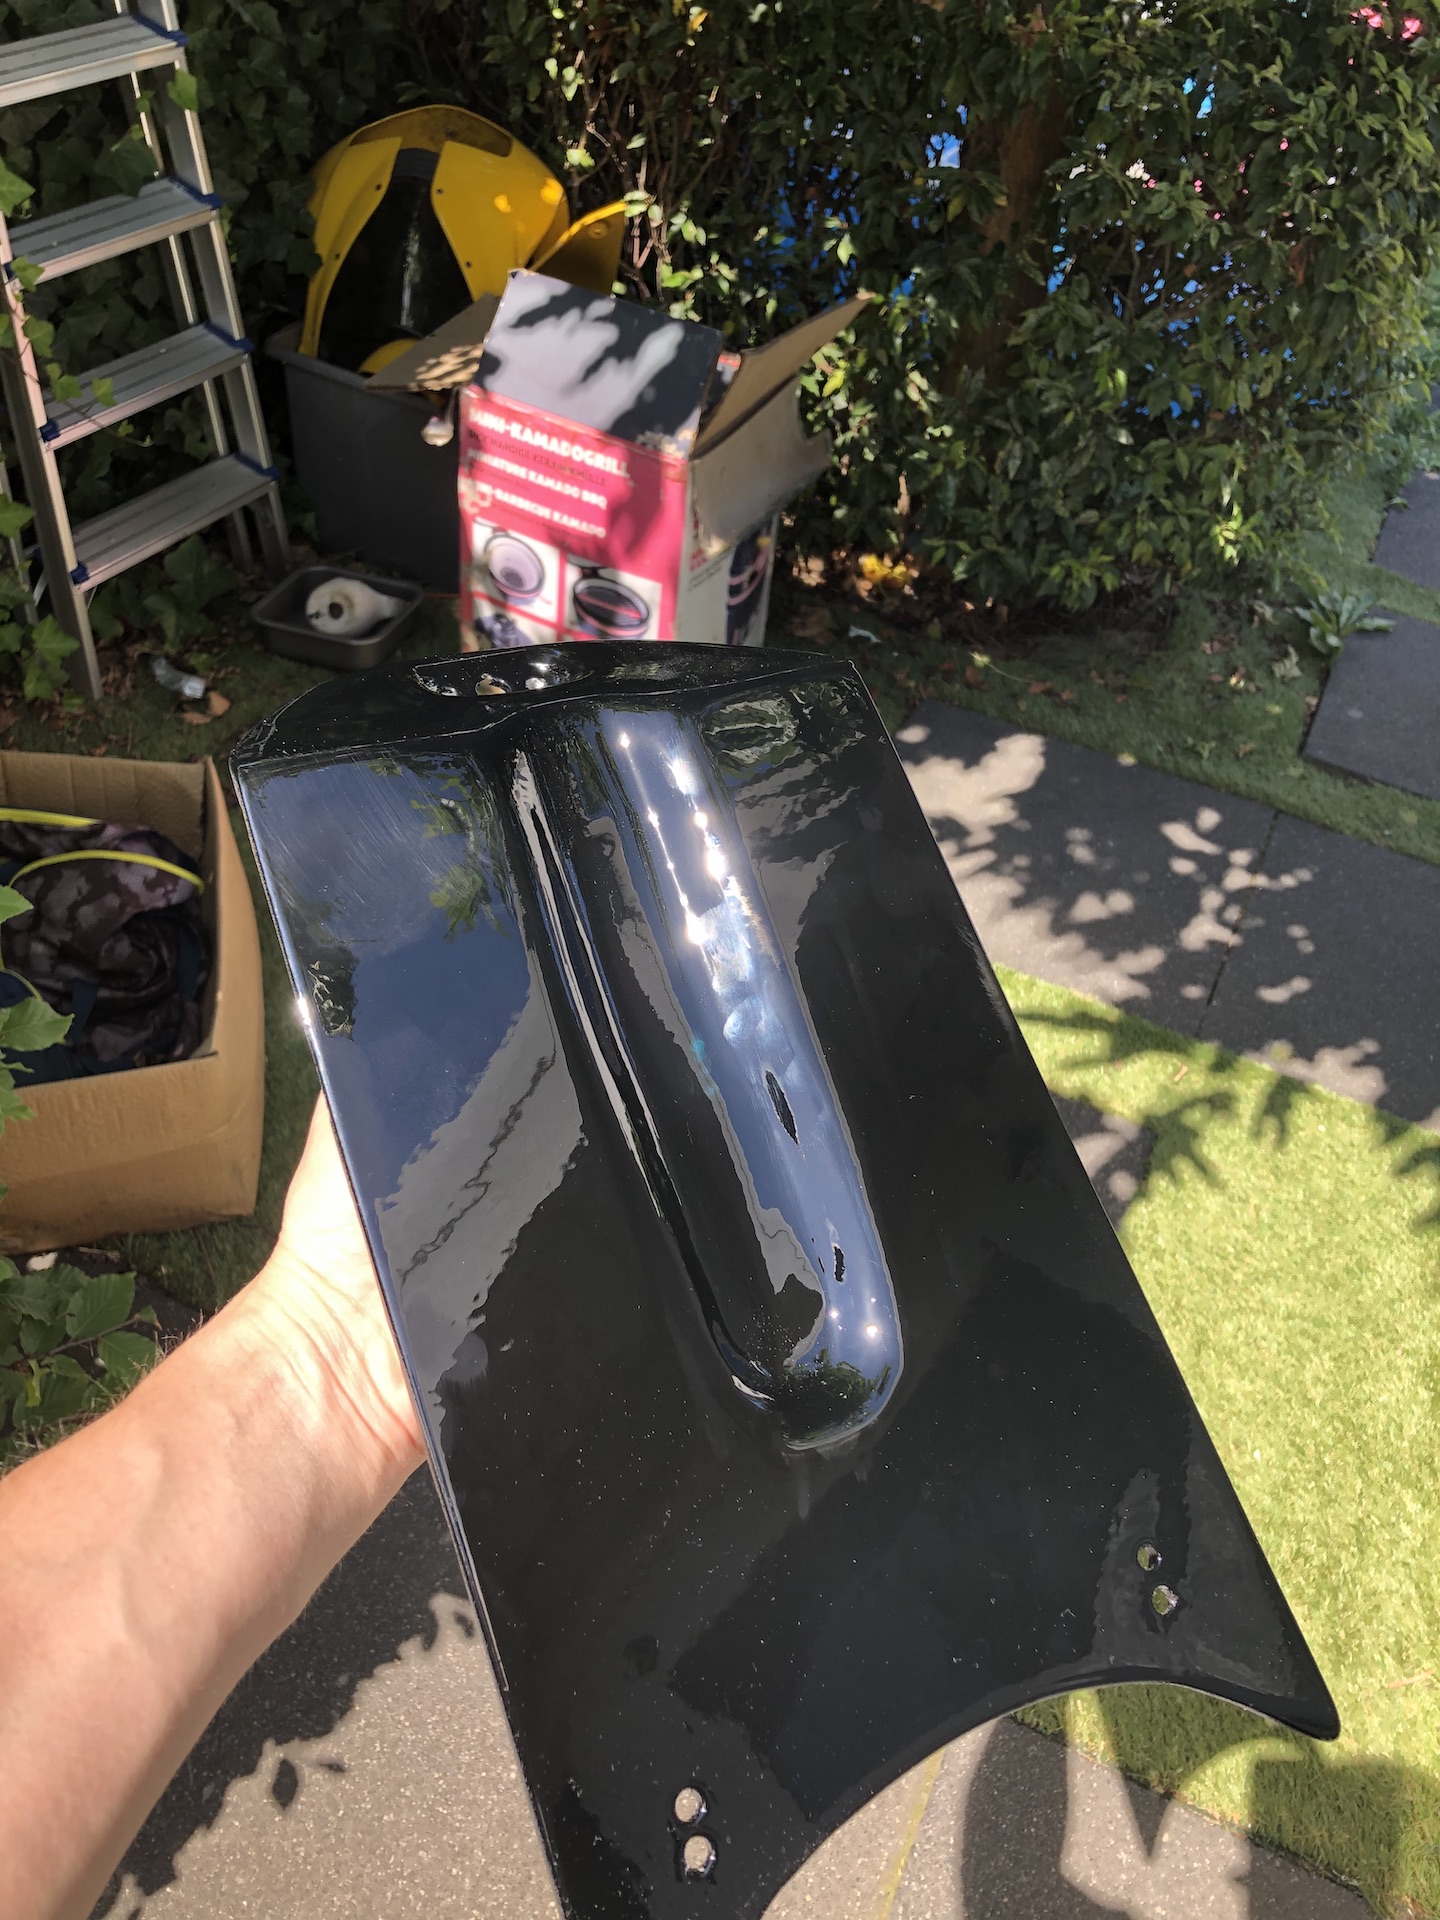
DIY OIL COOLER GUARD

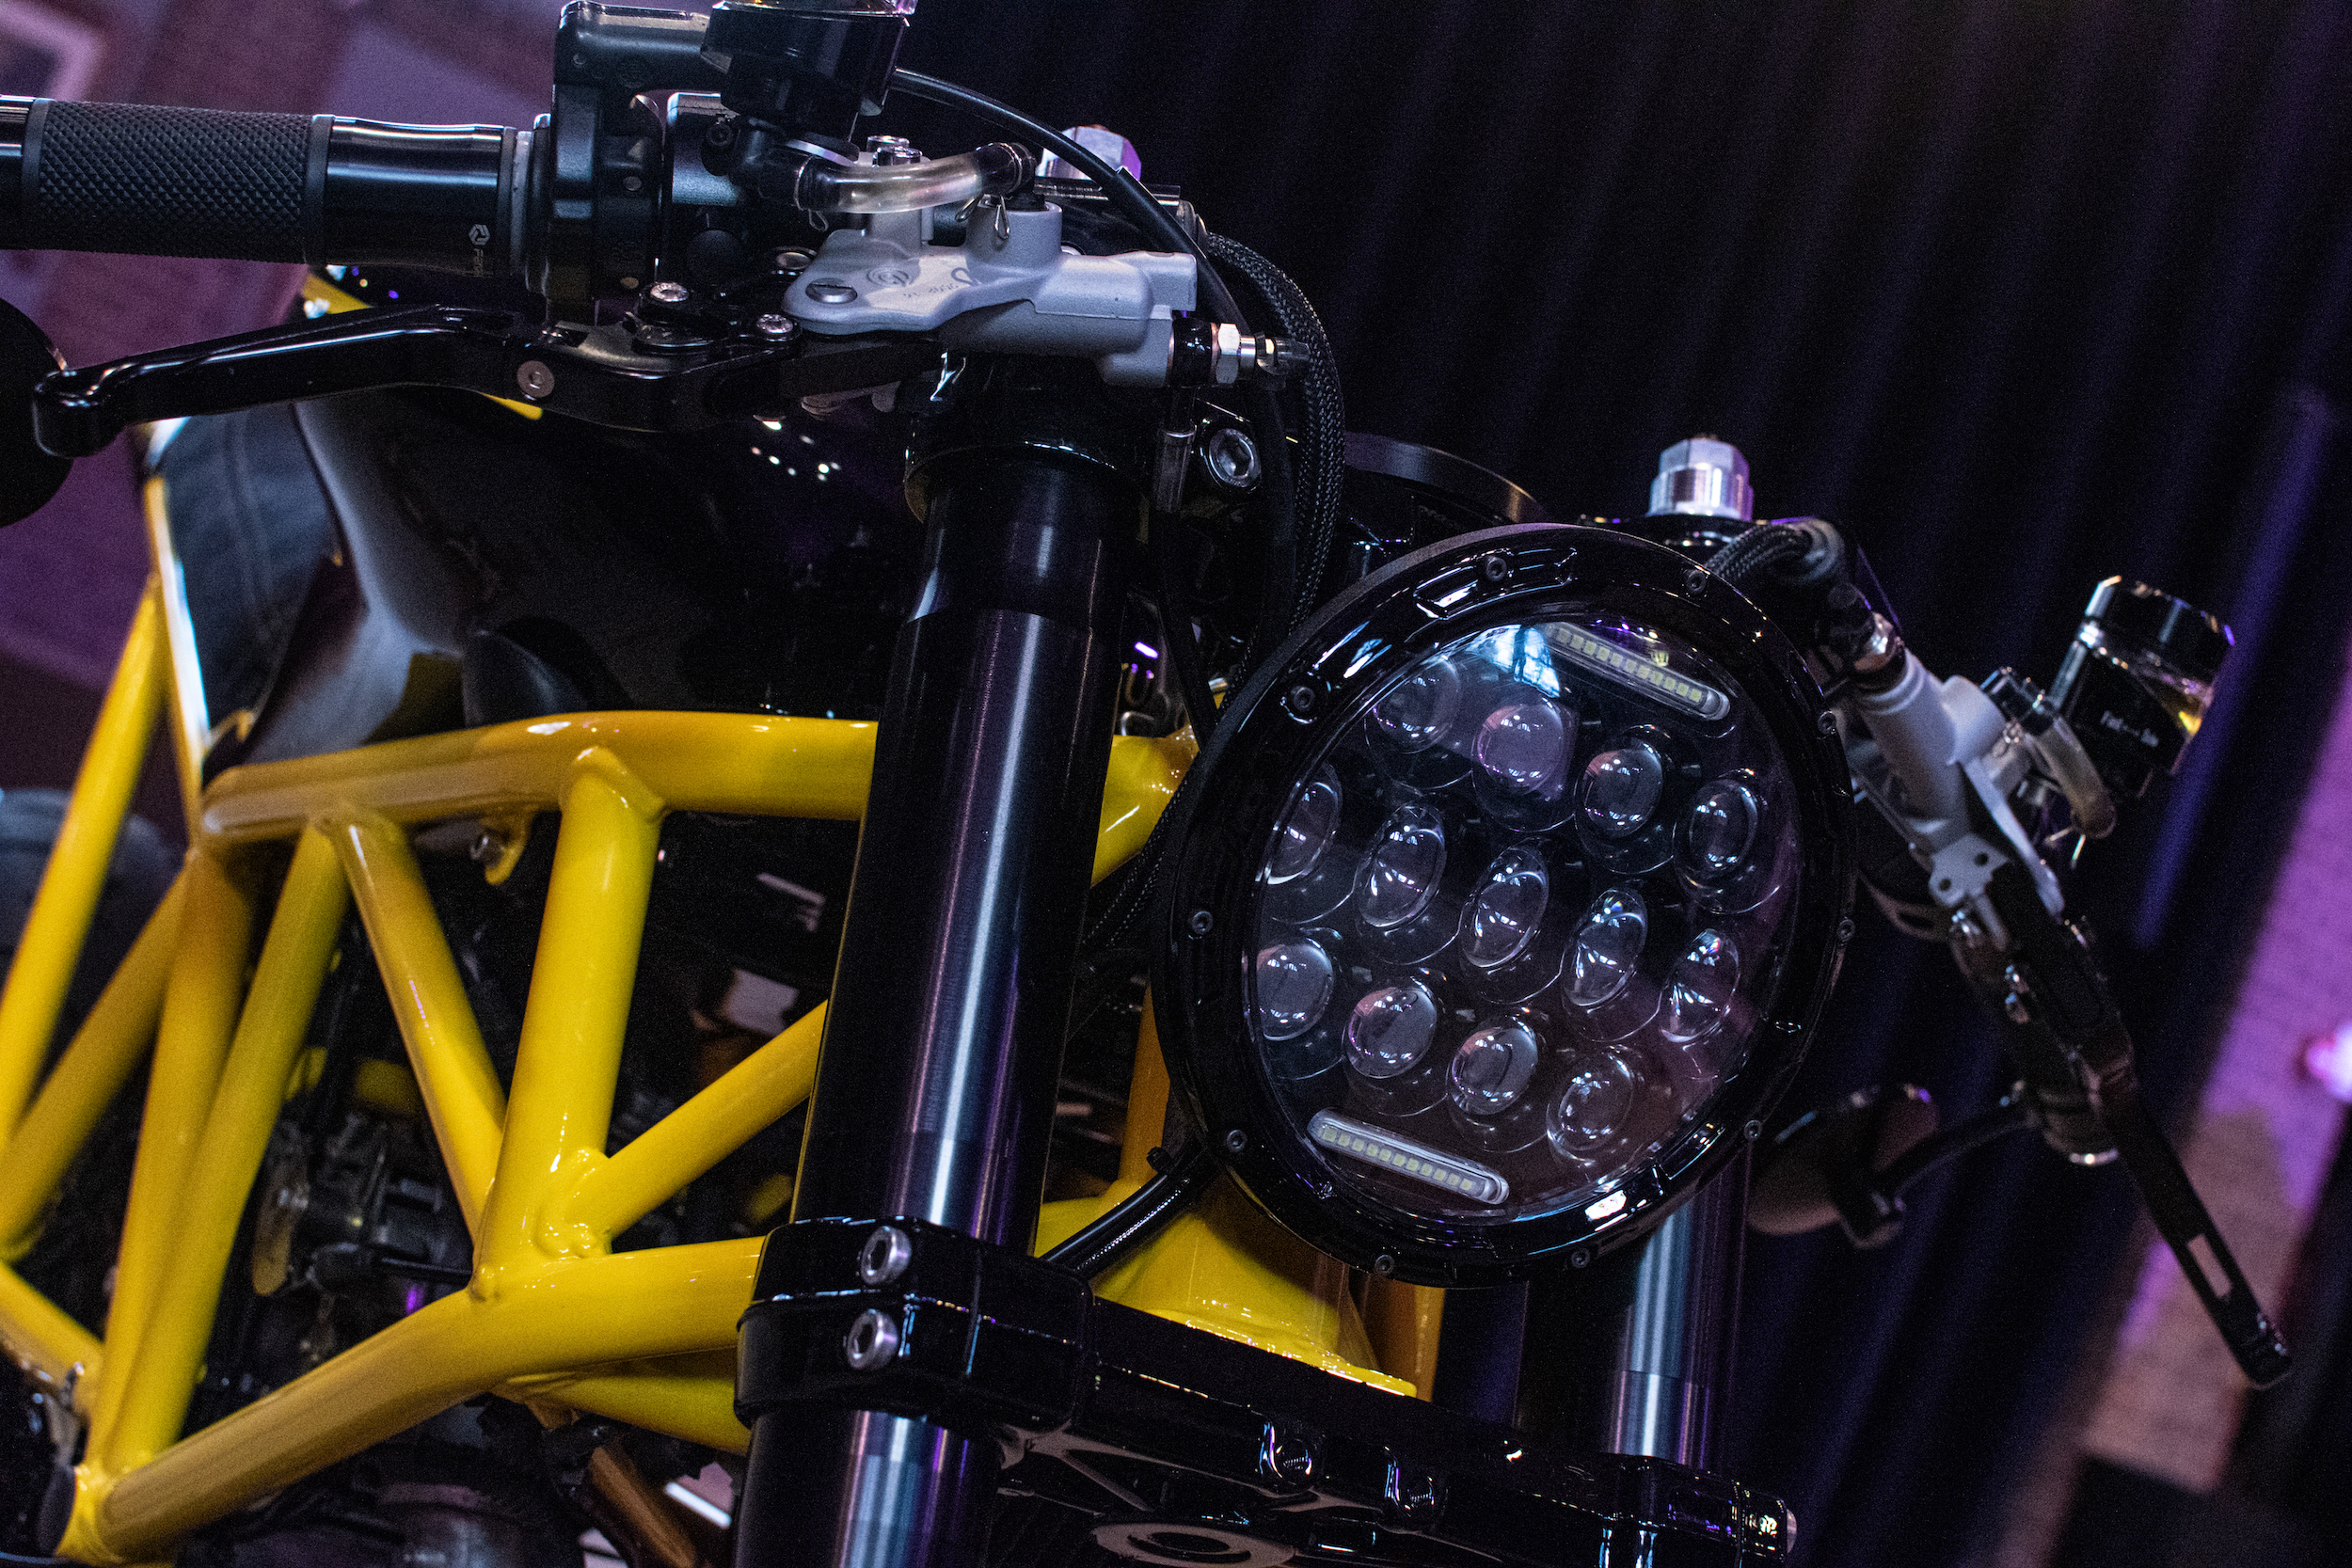
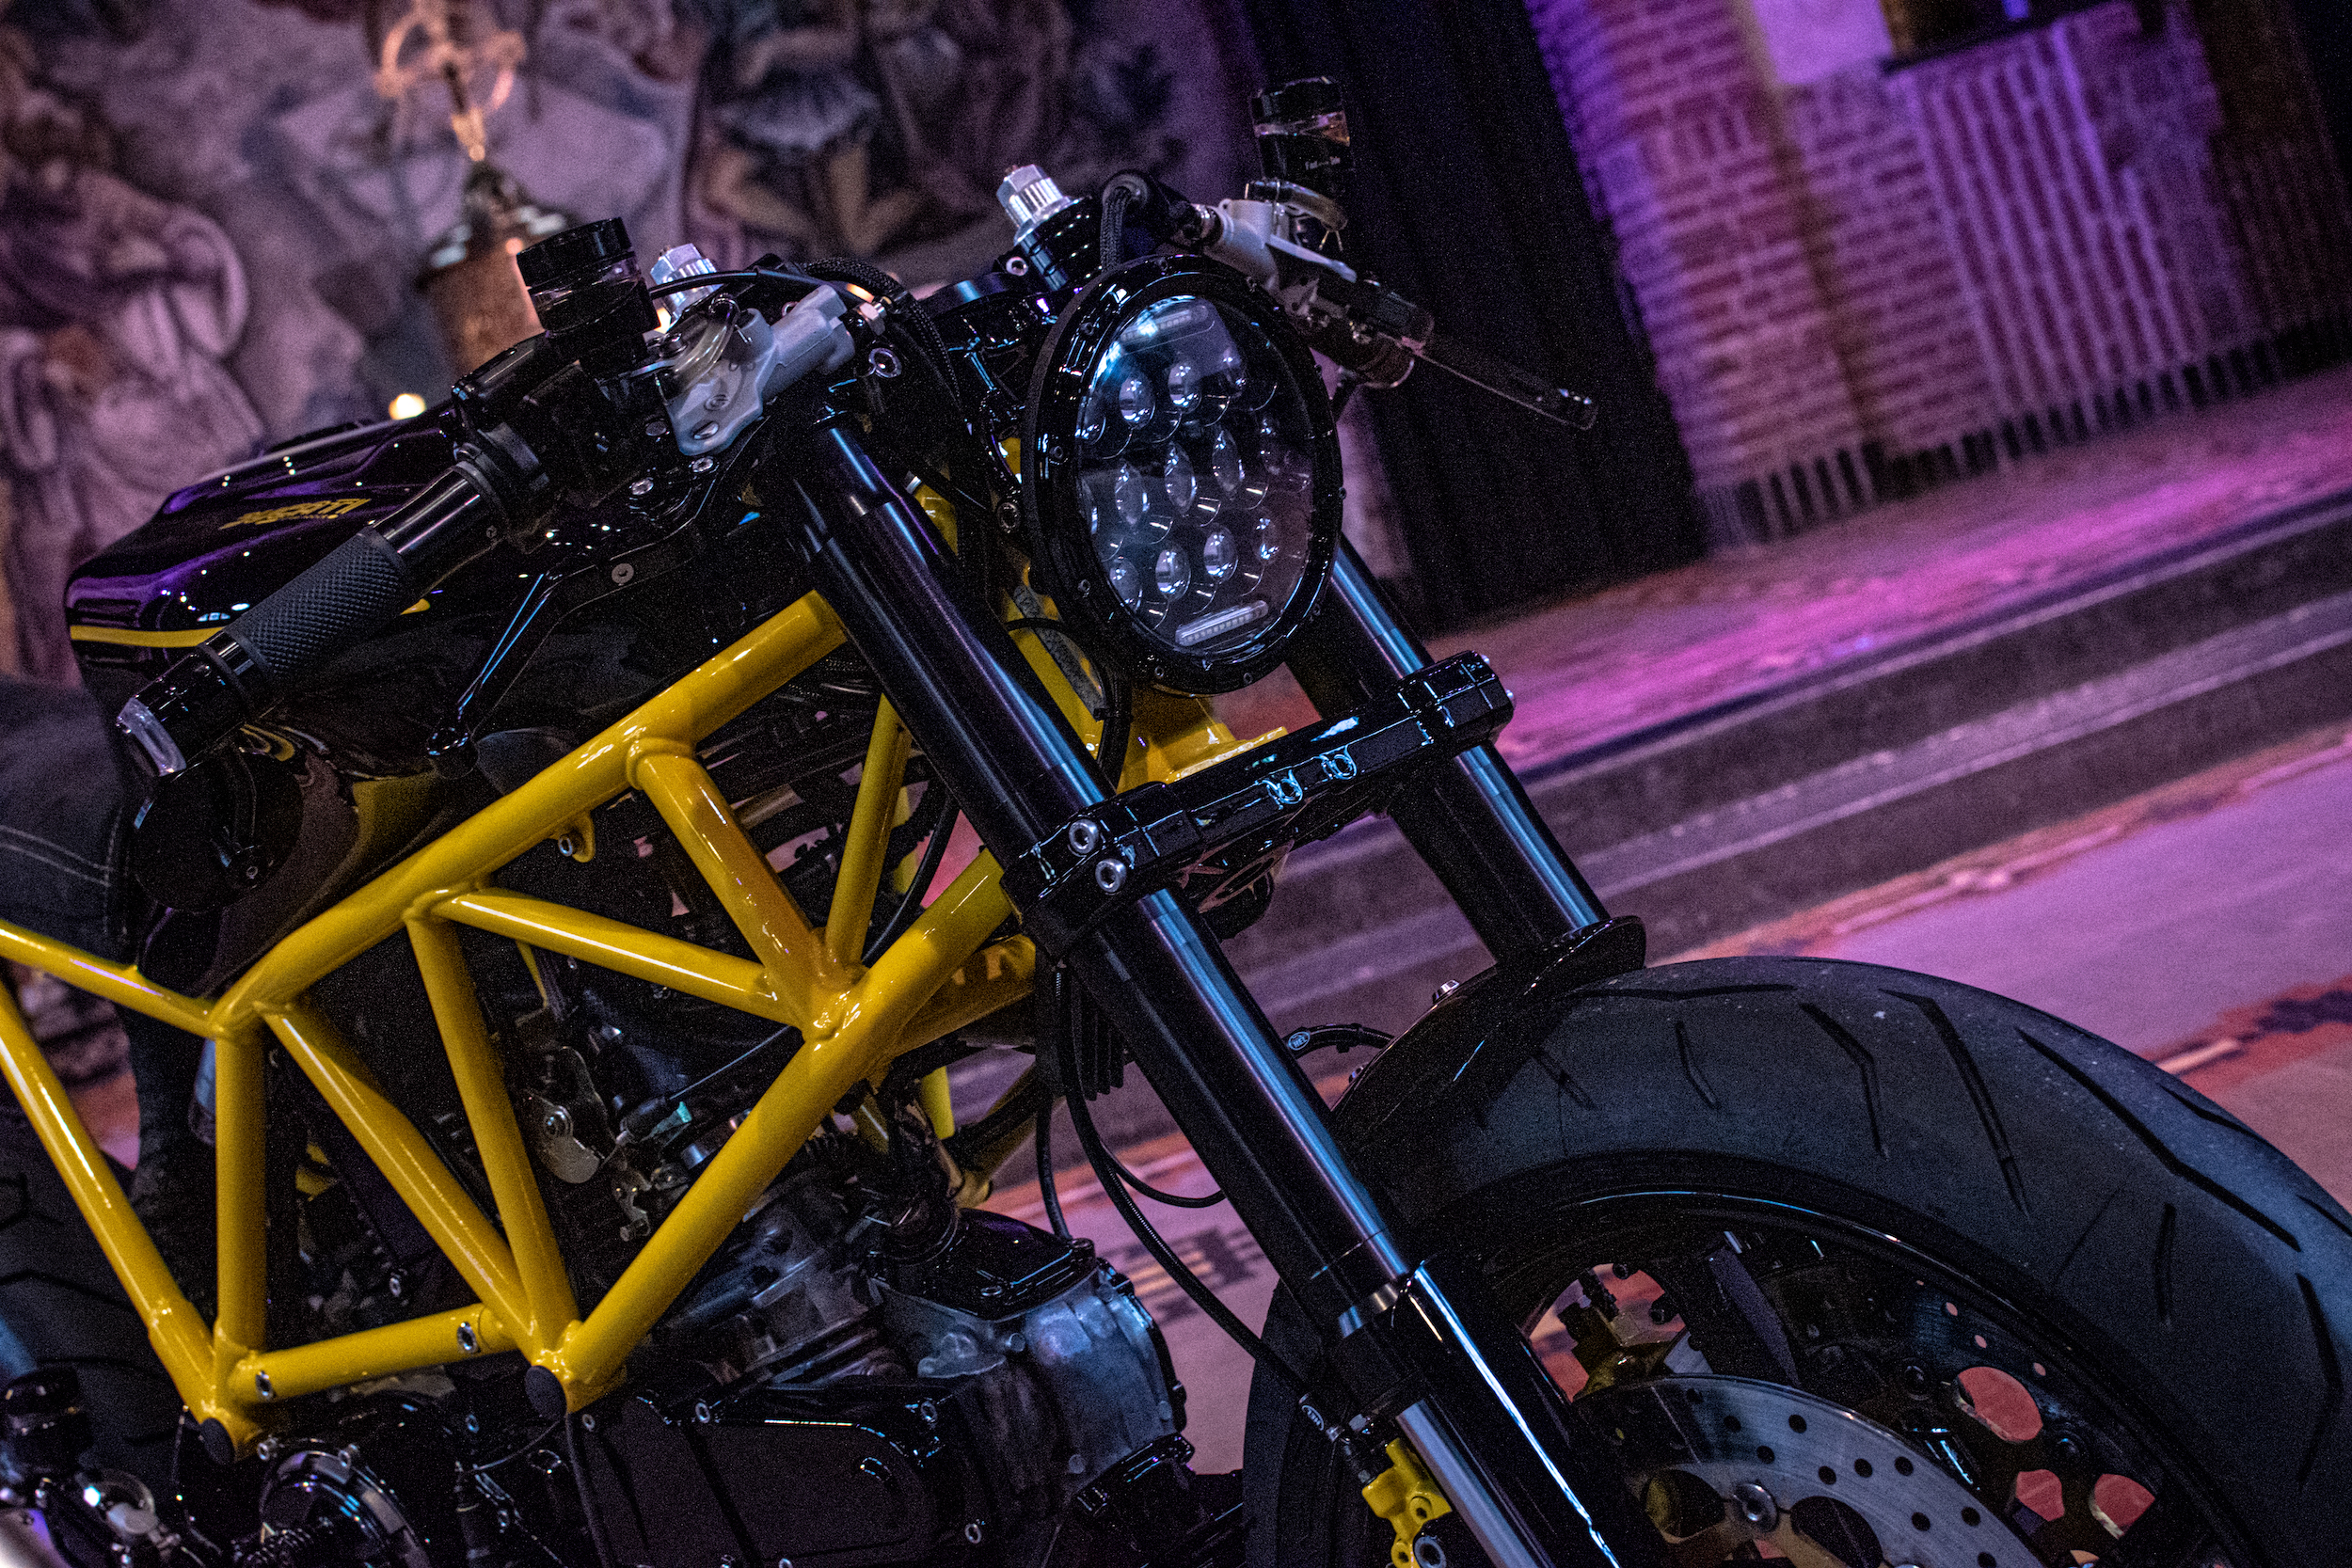
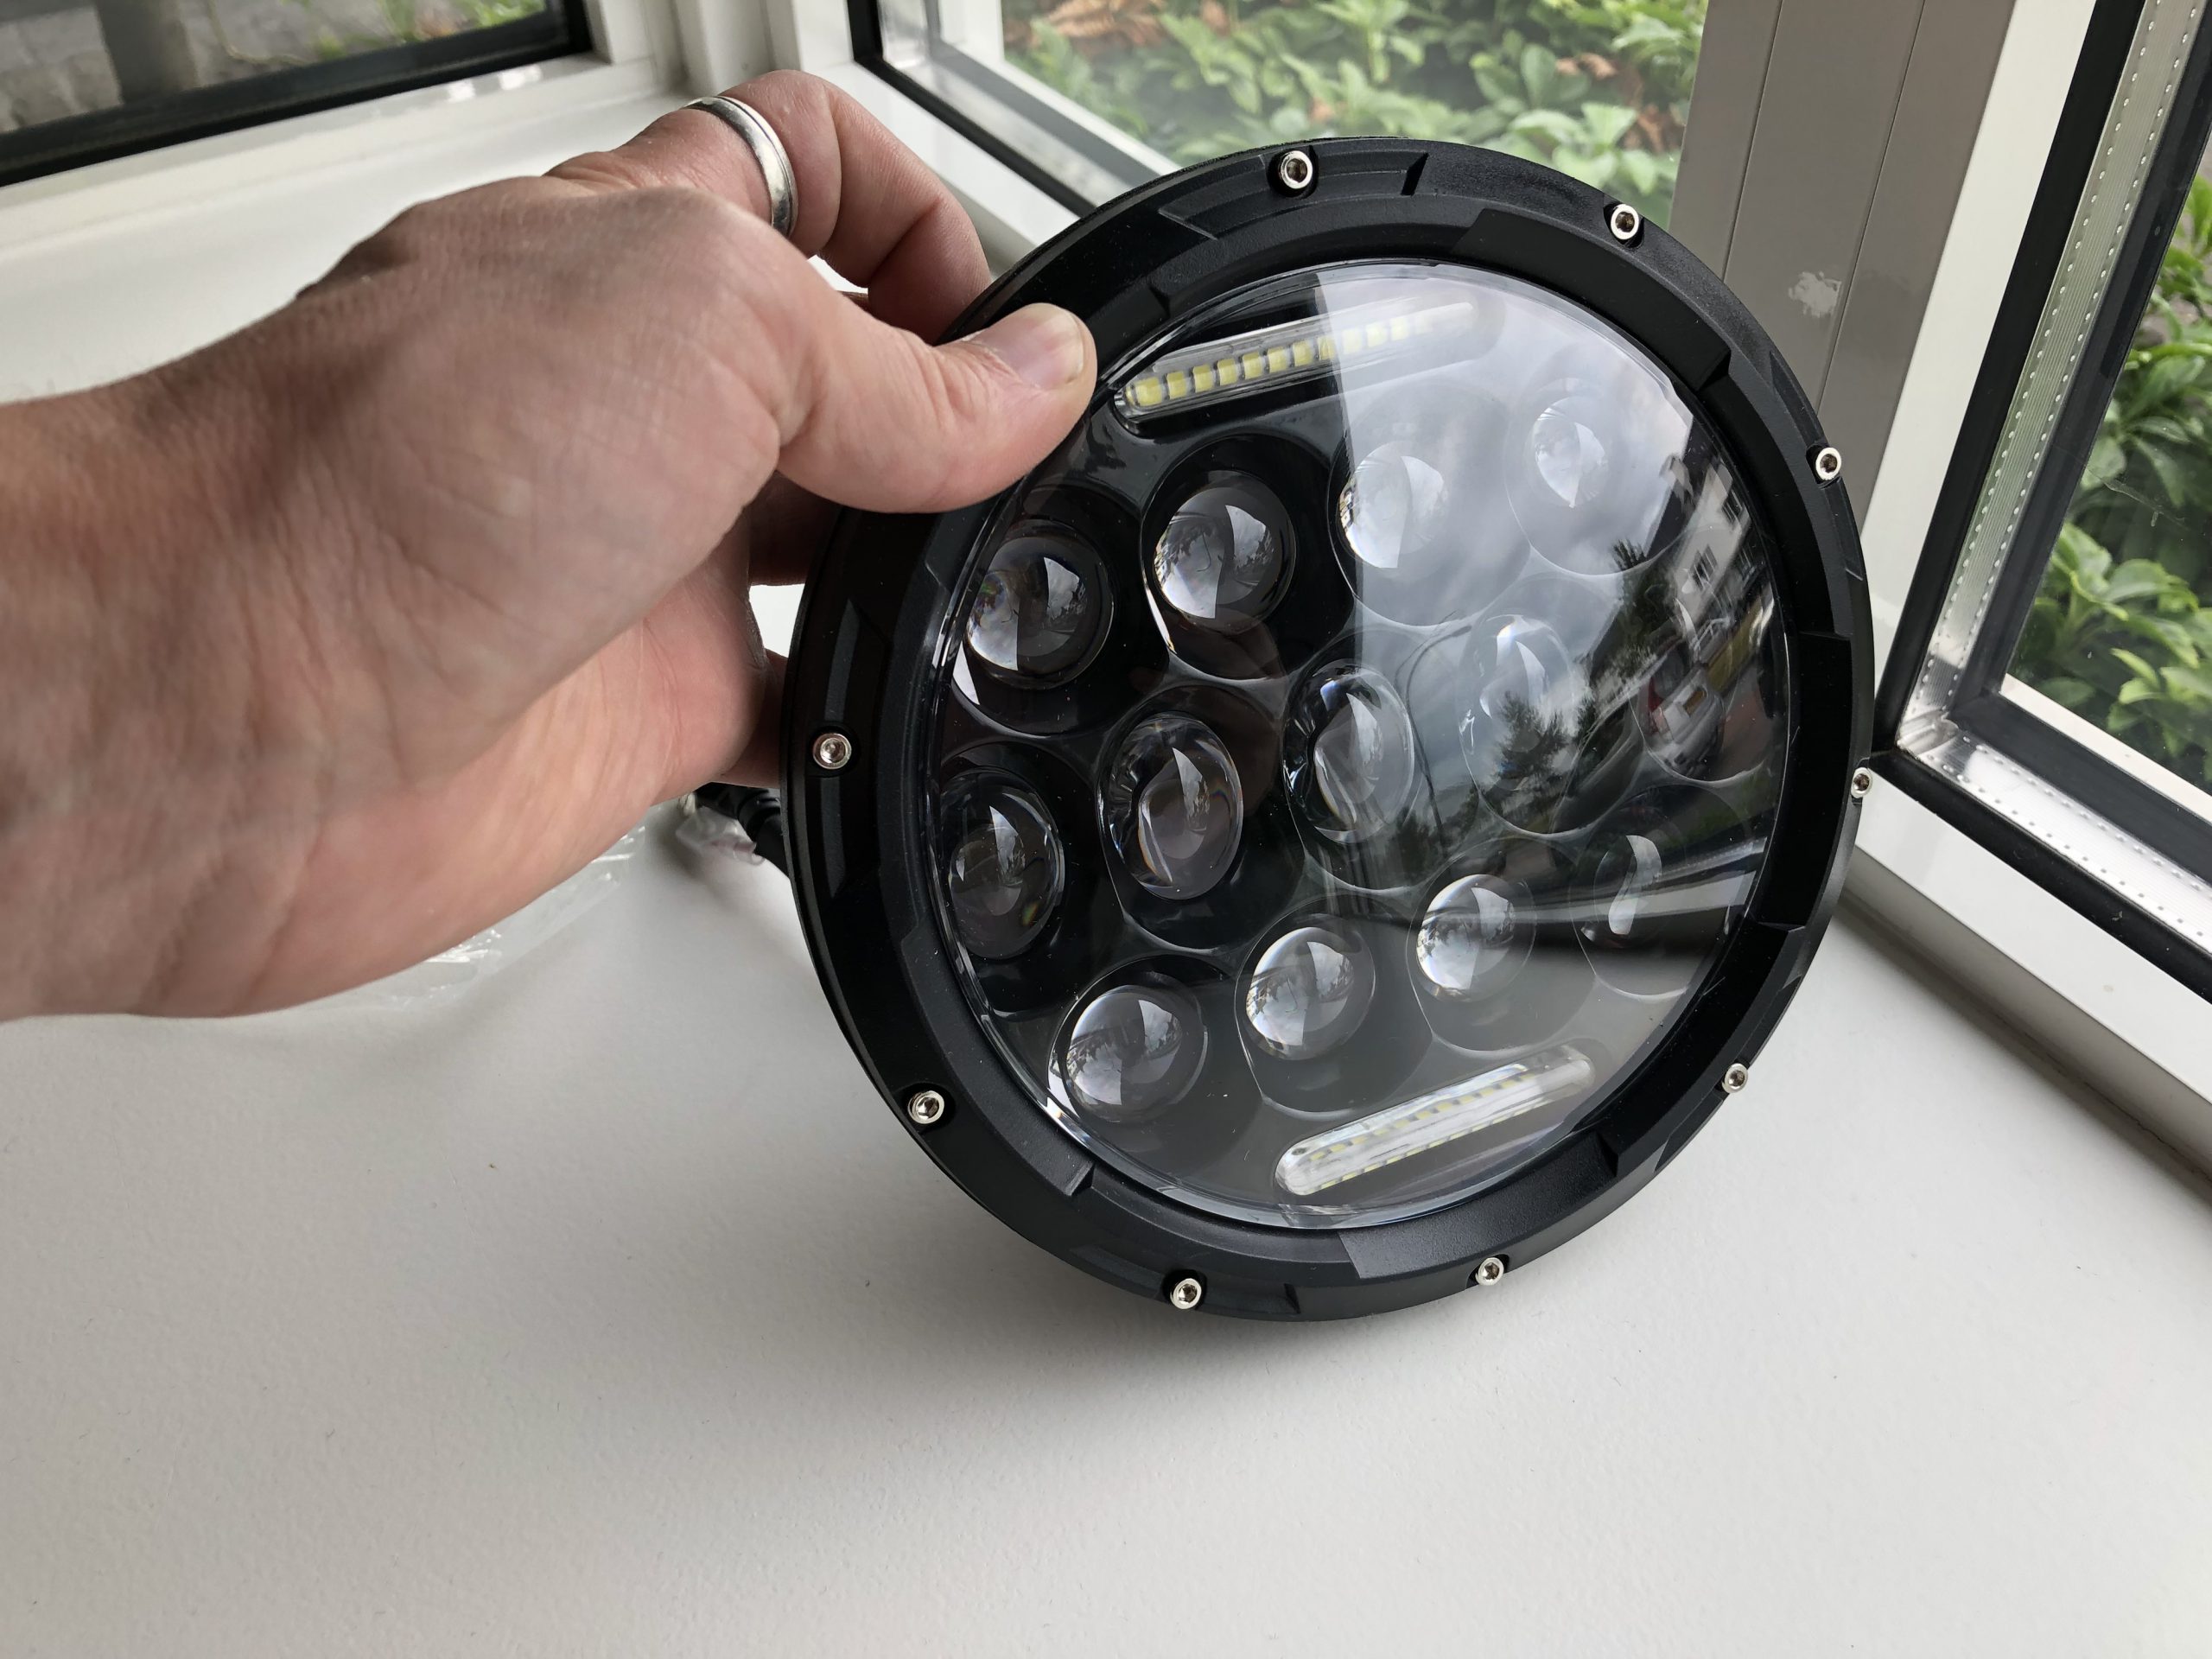
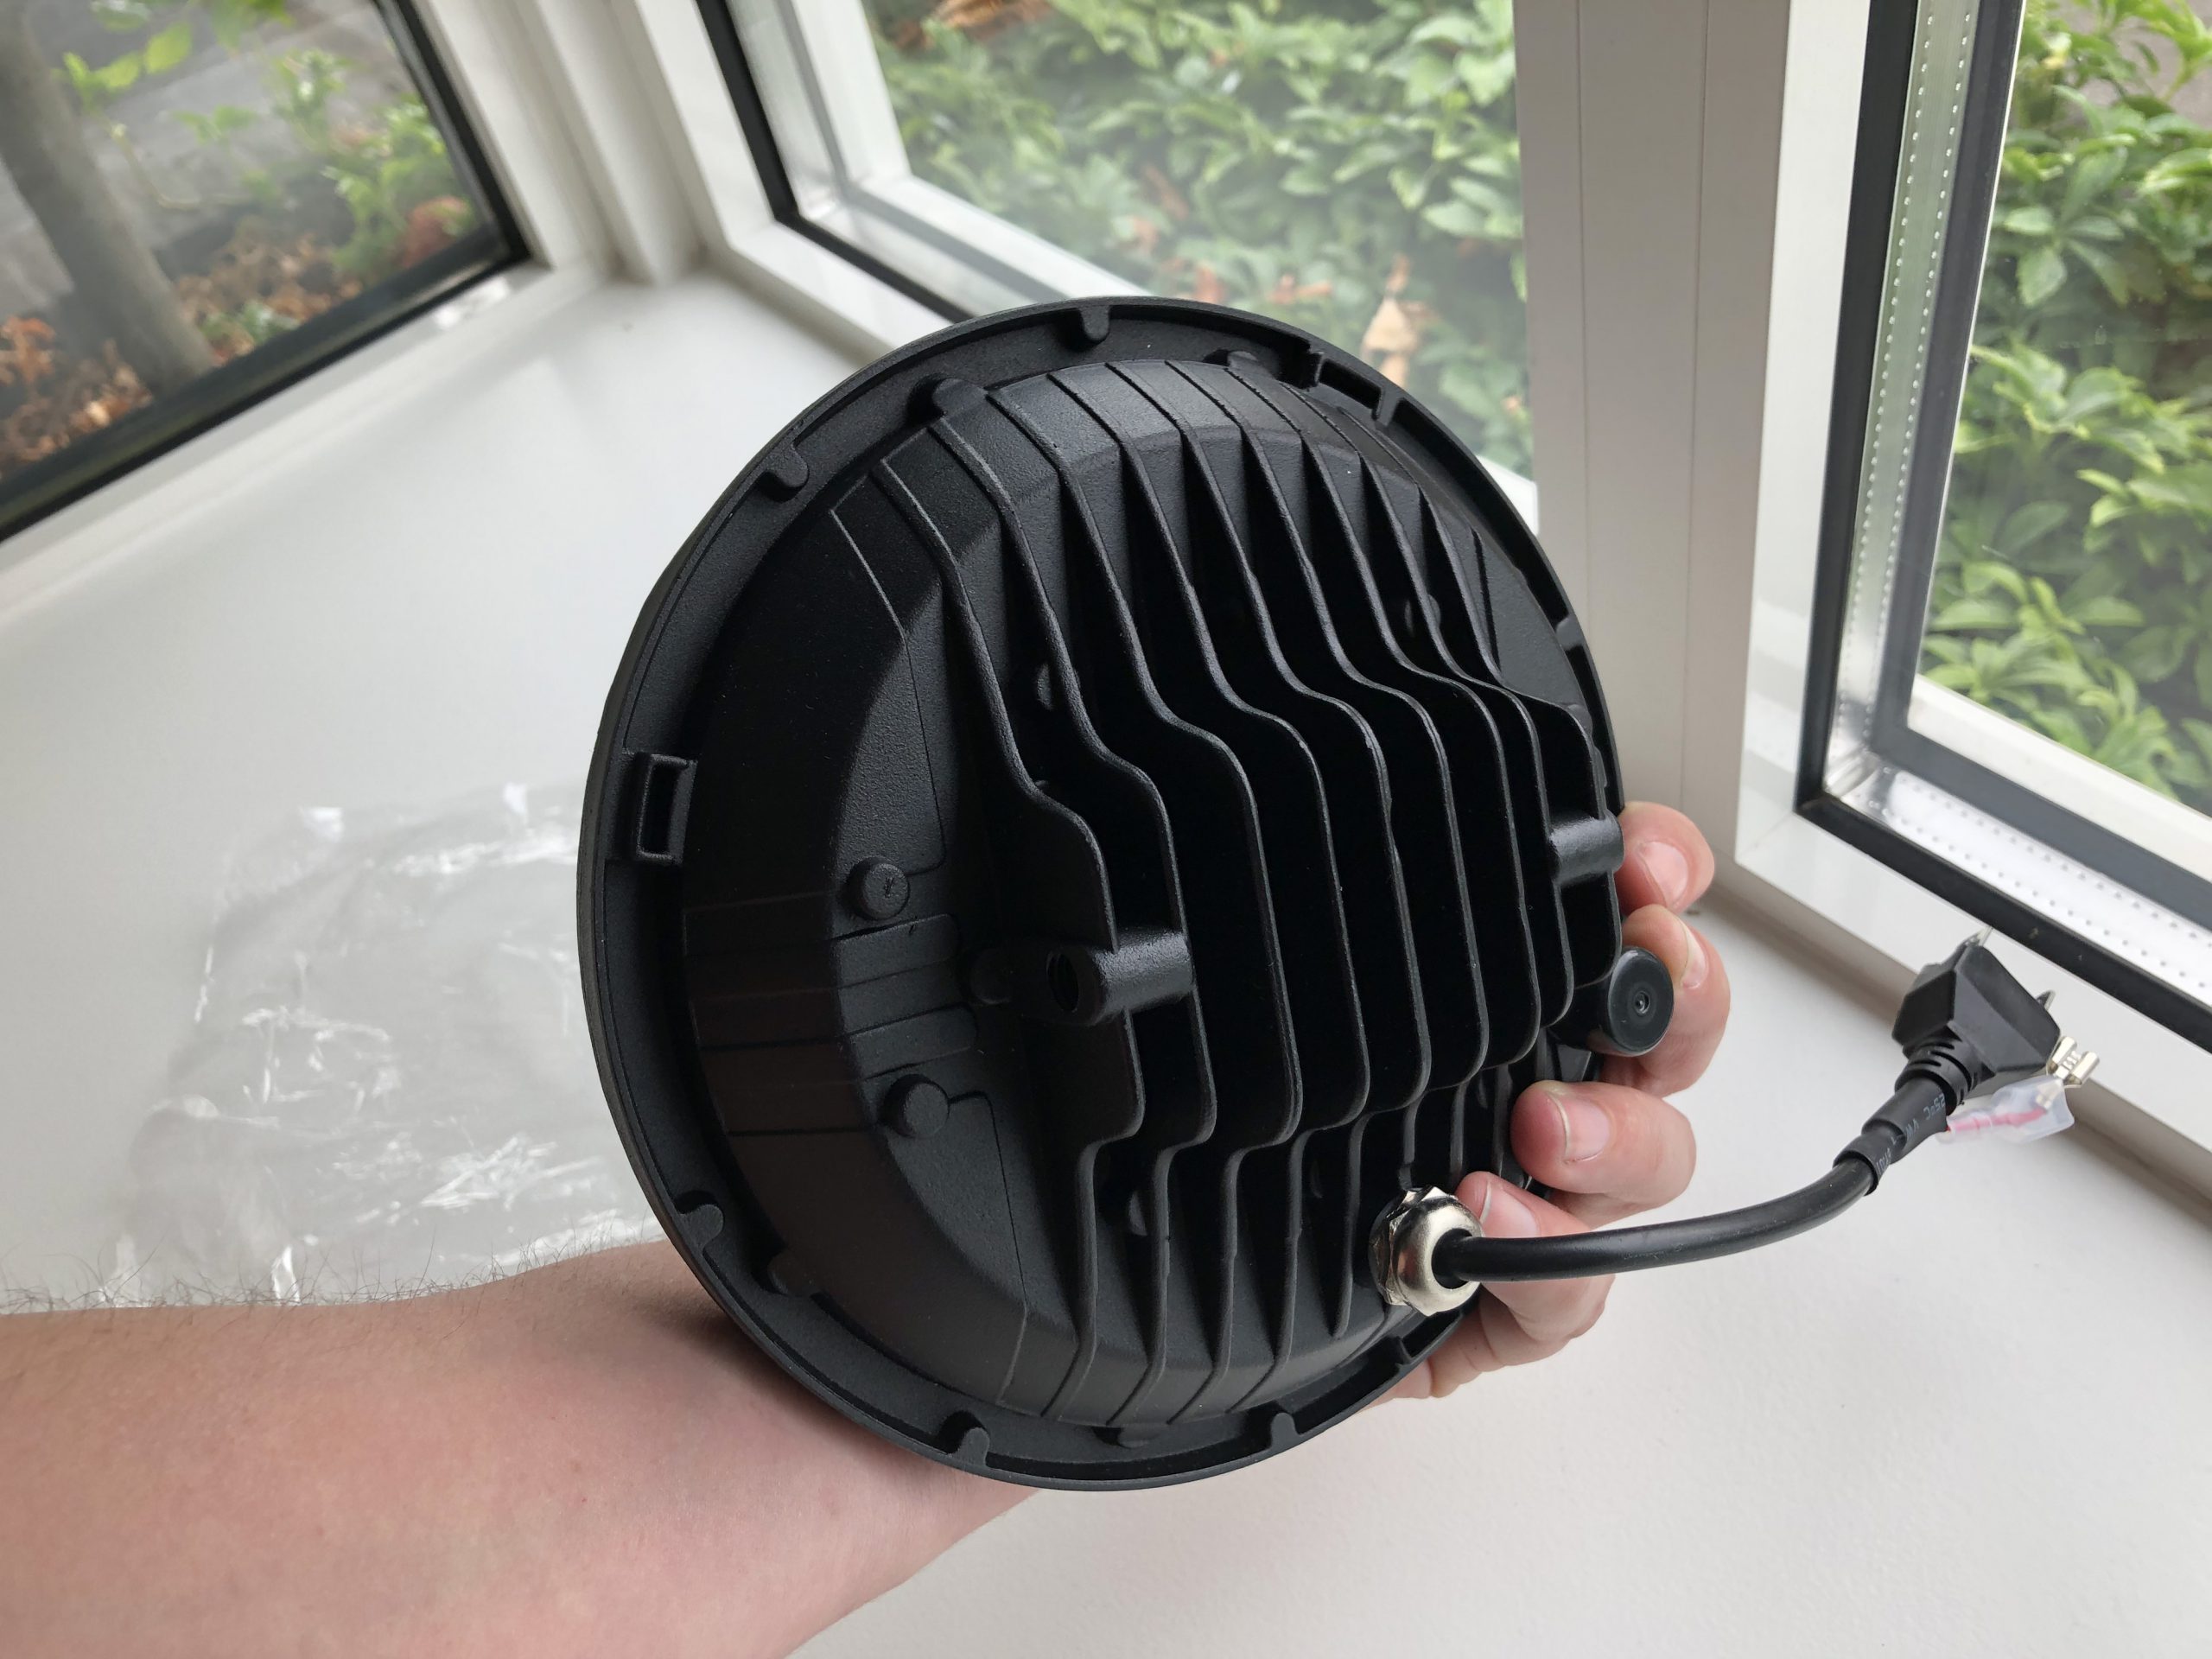
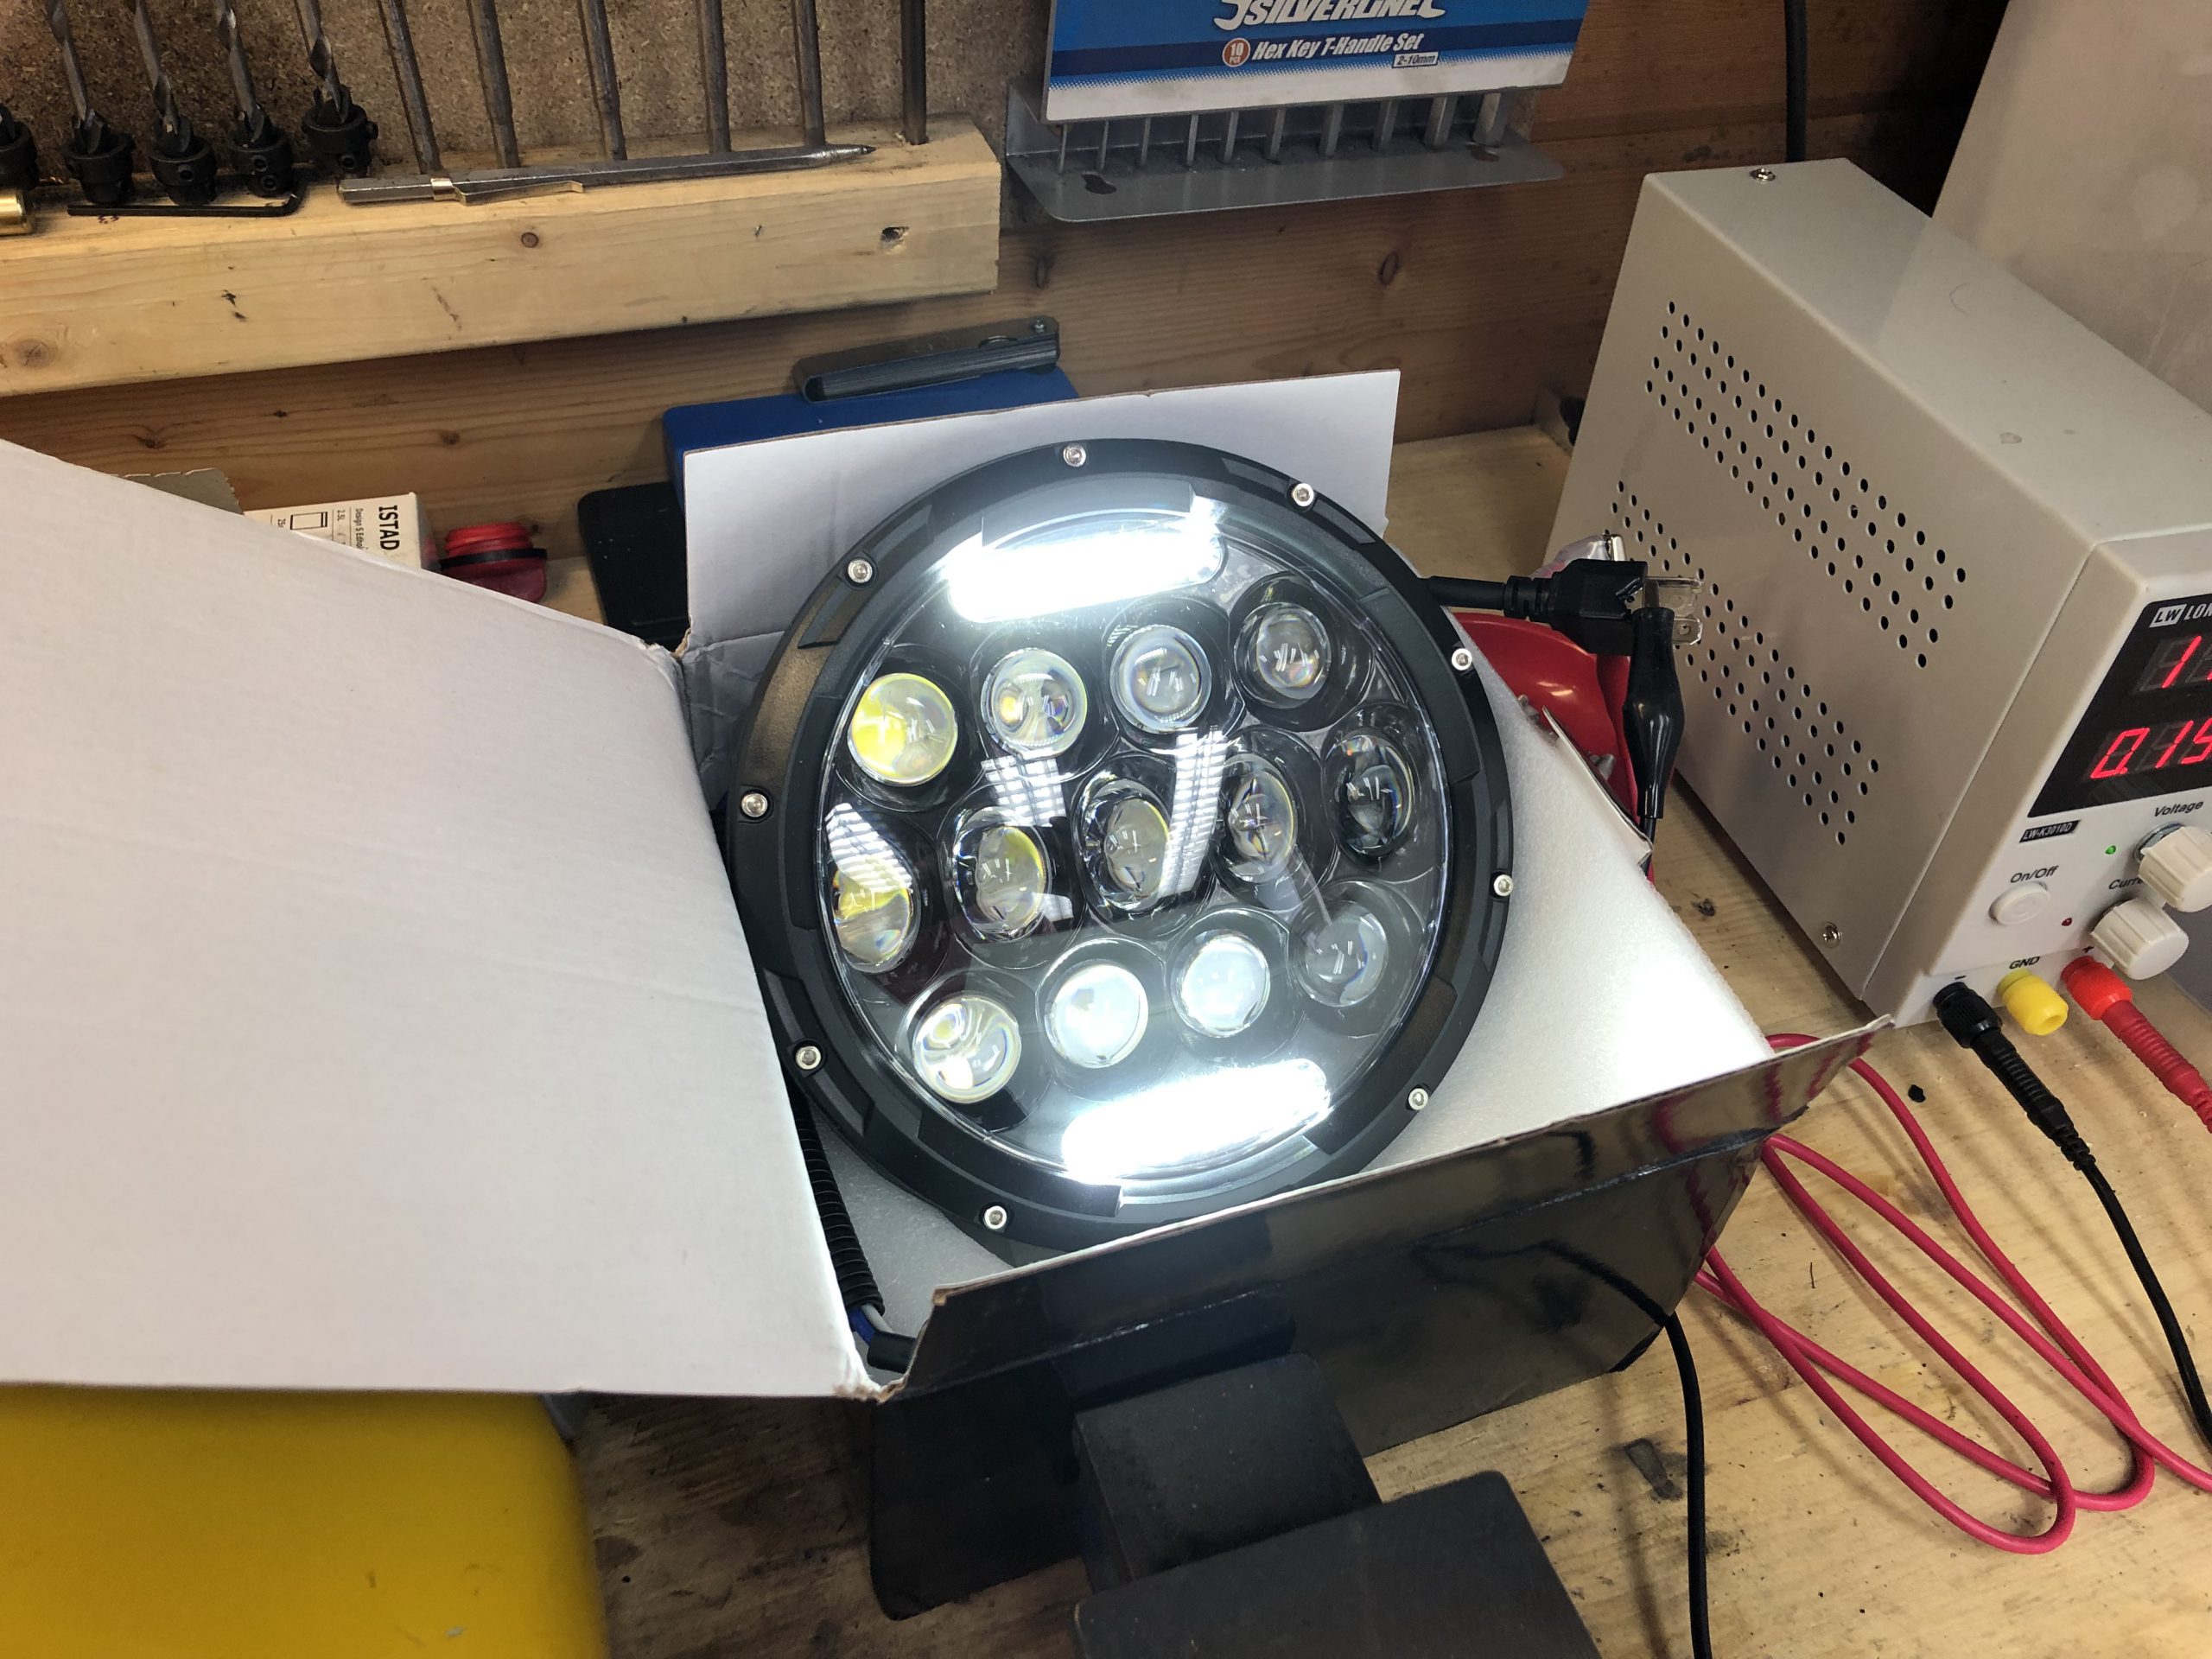
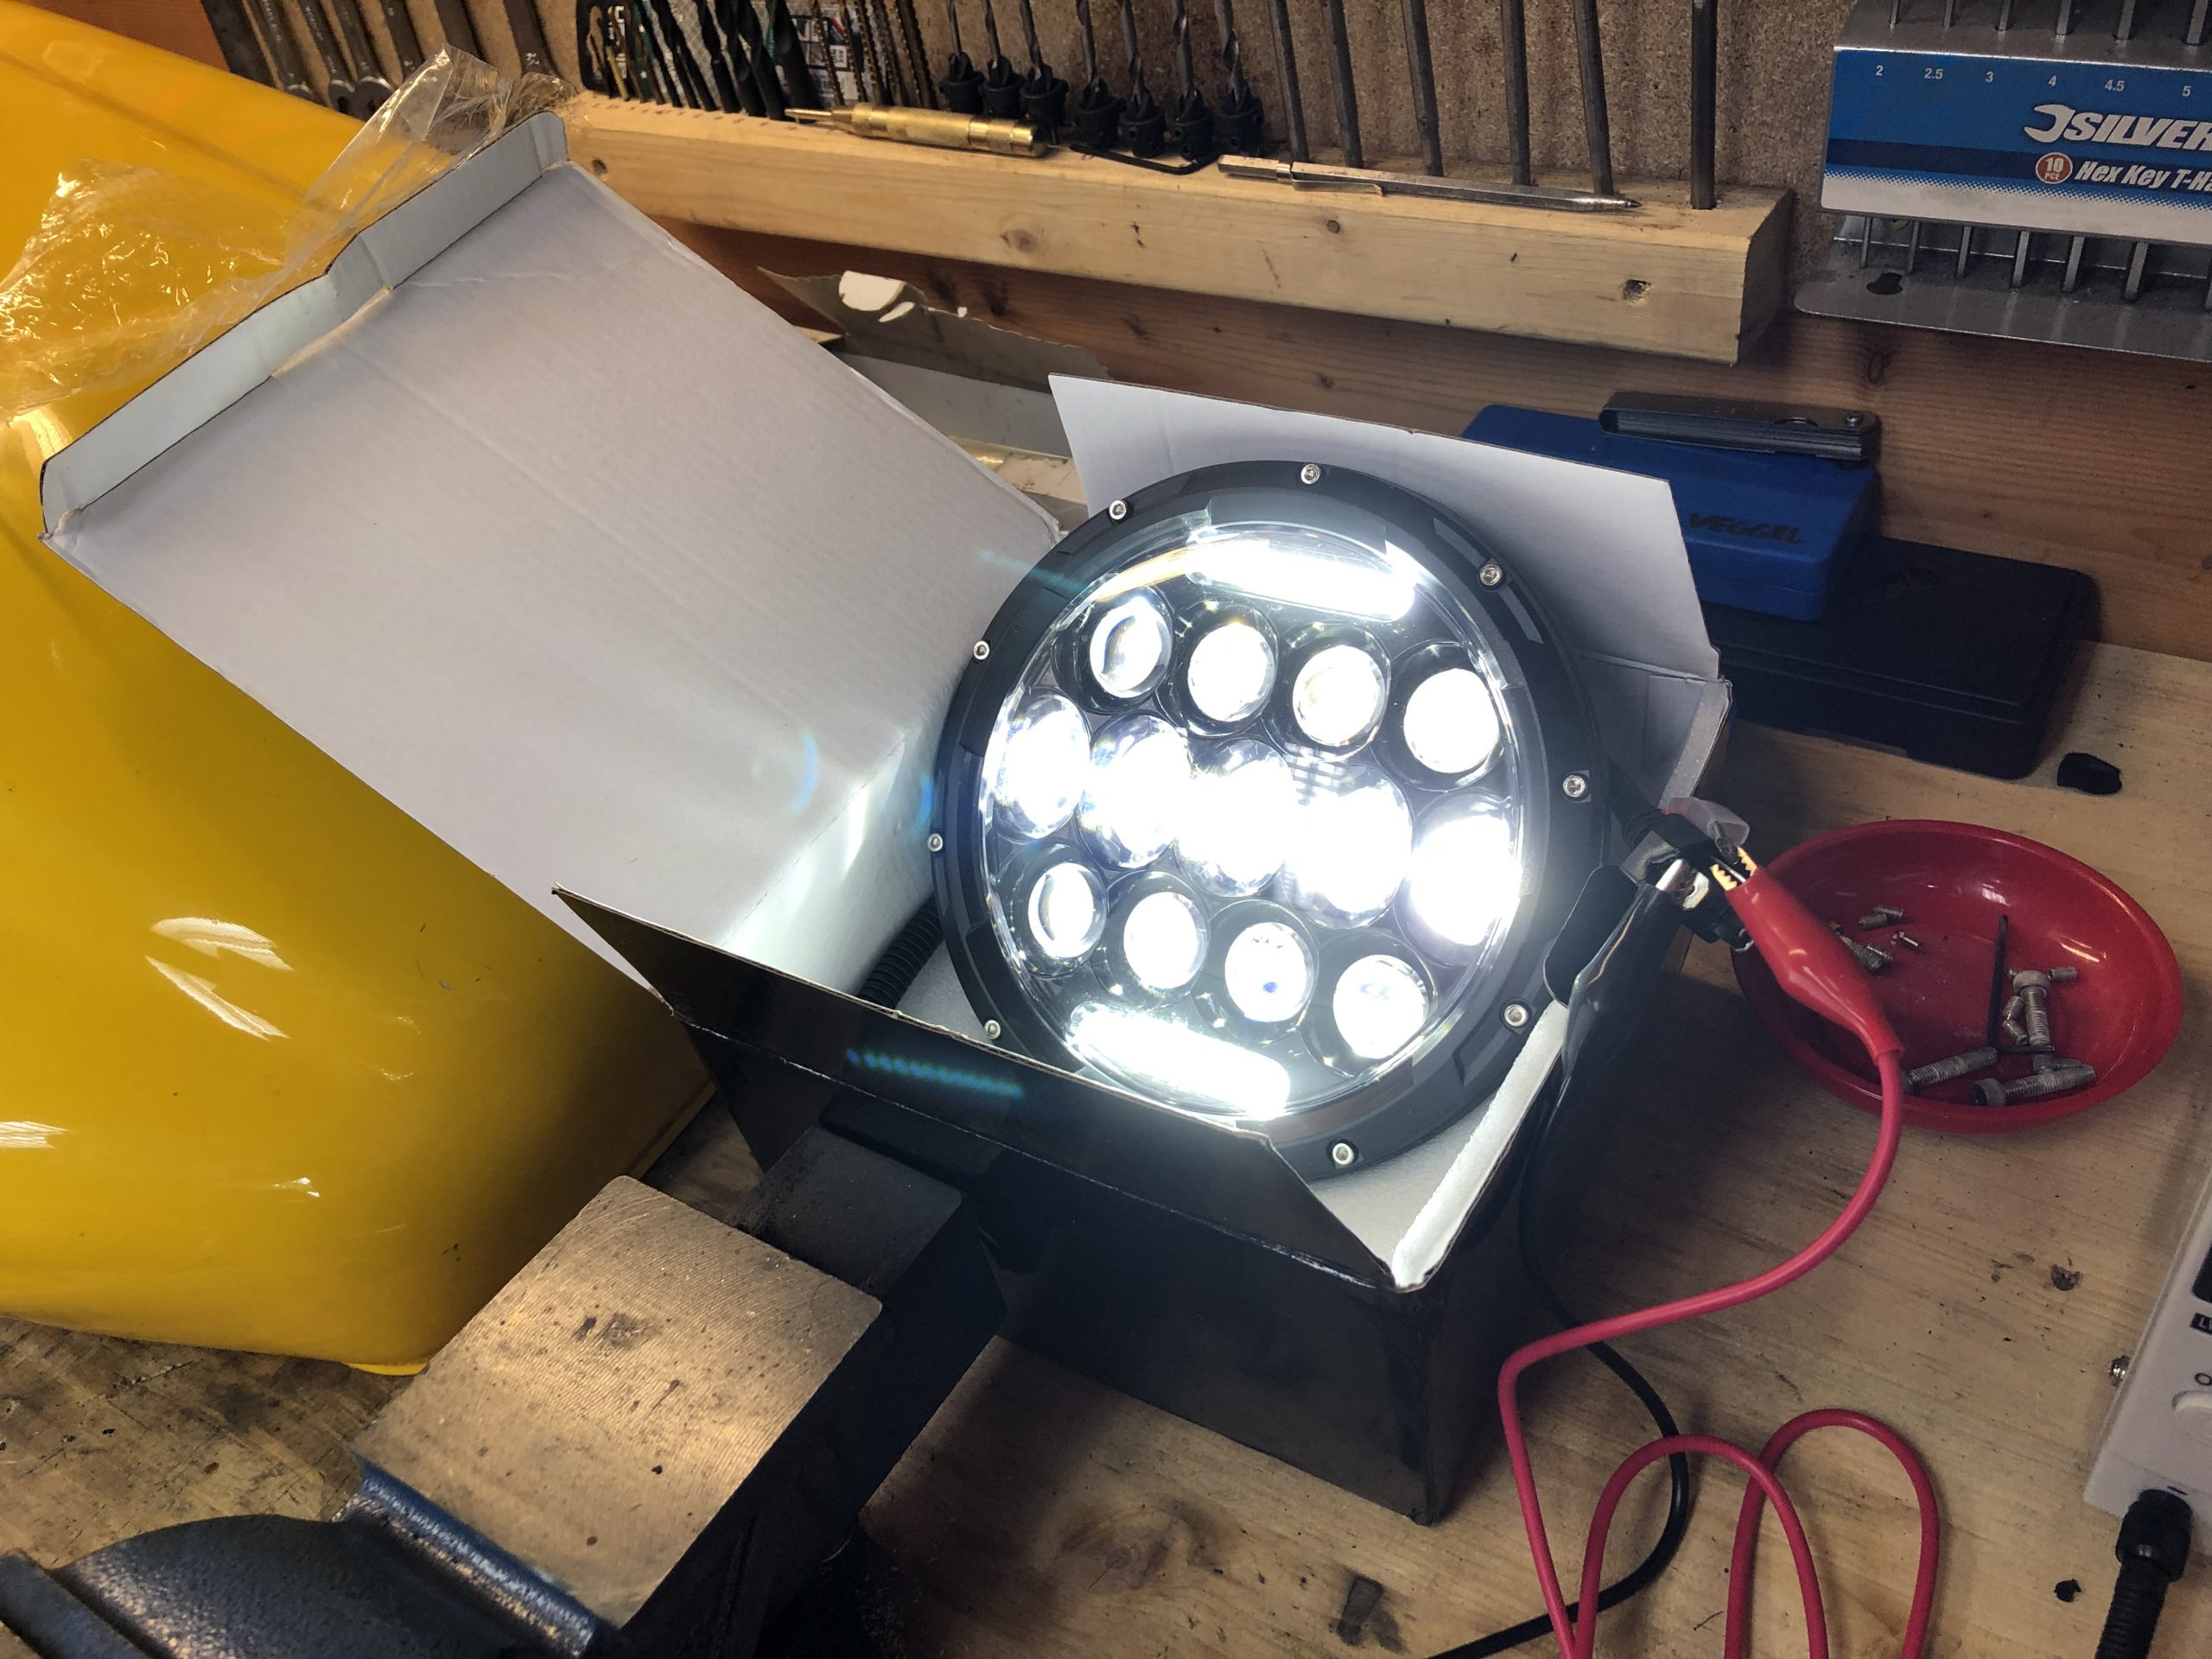
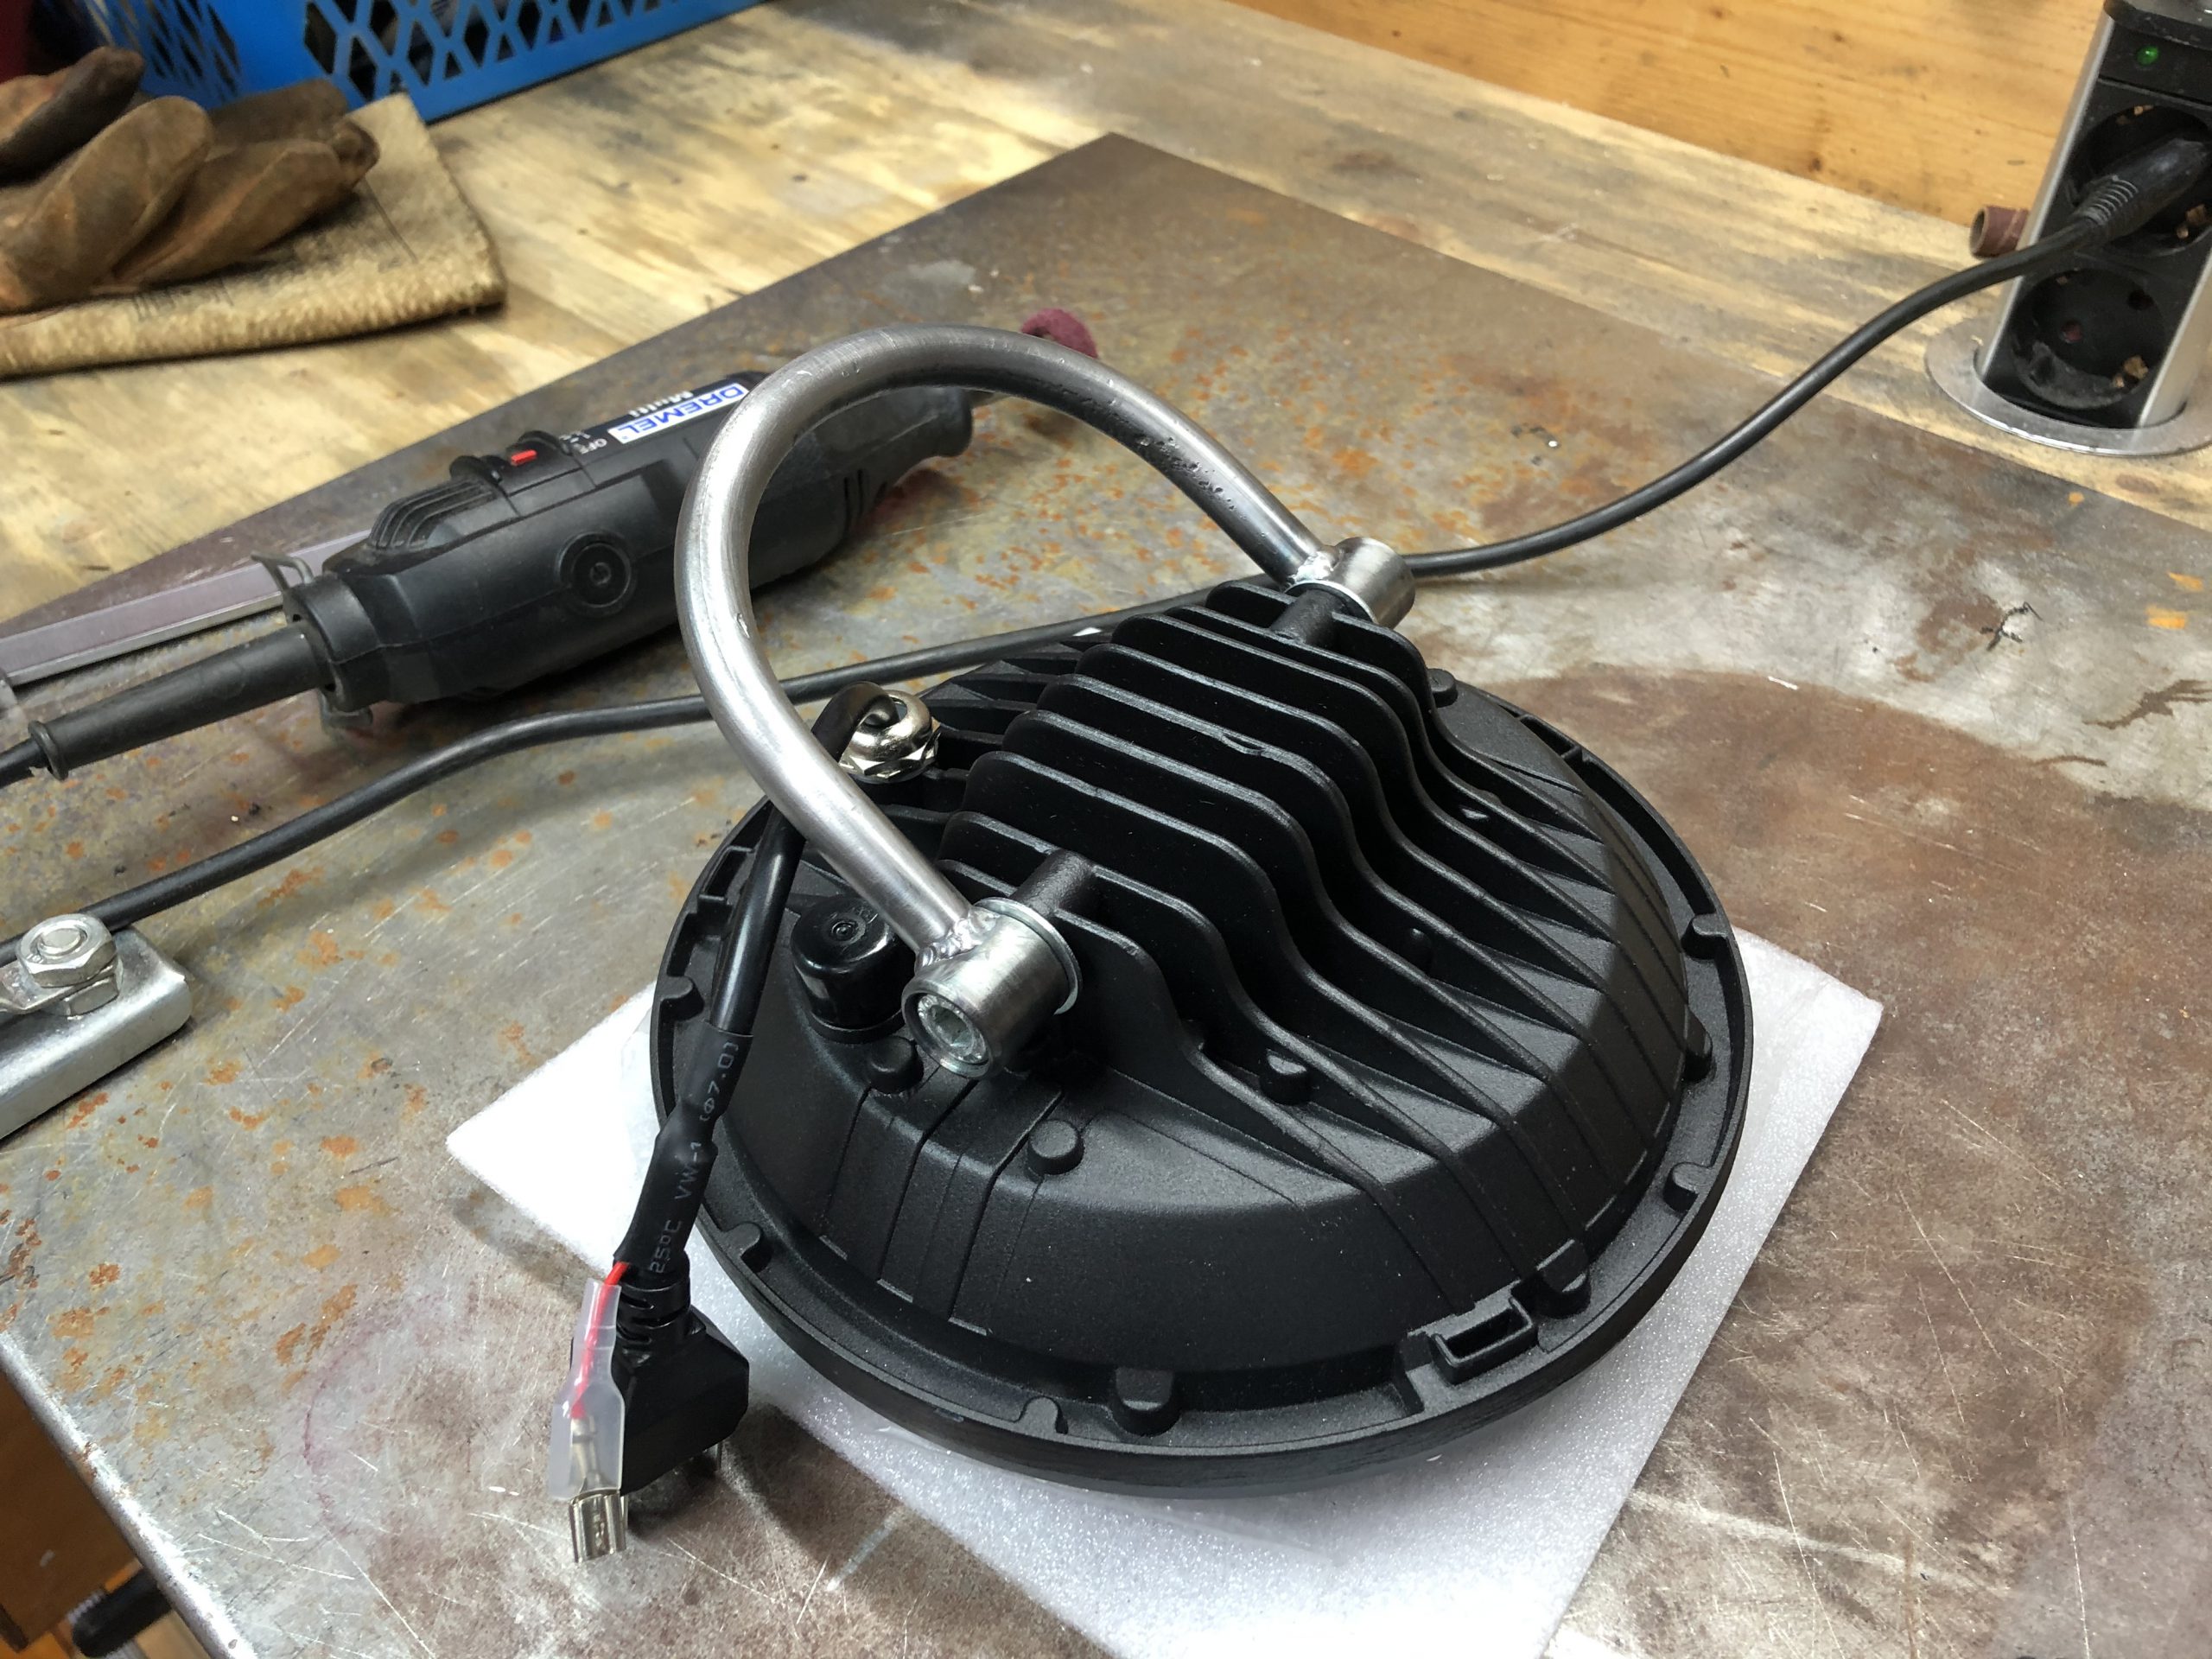
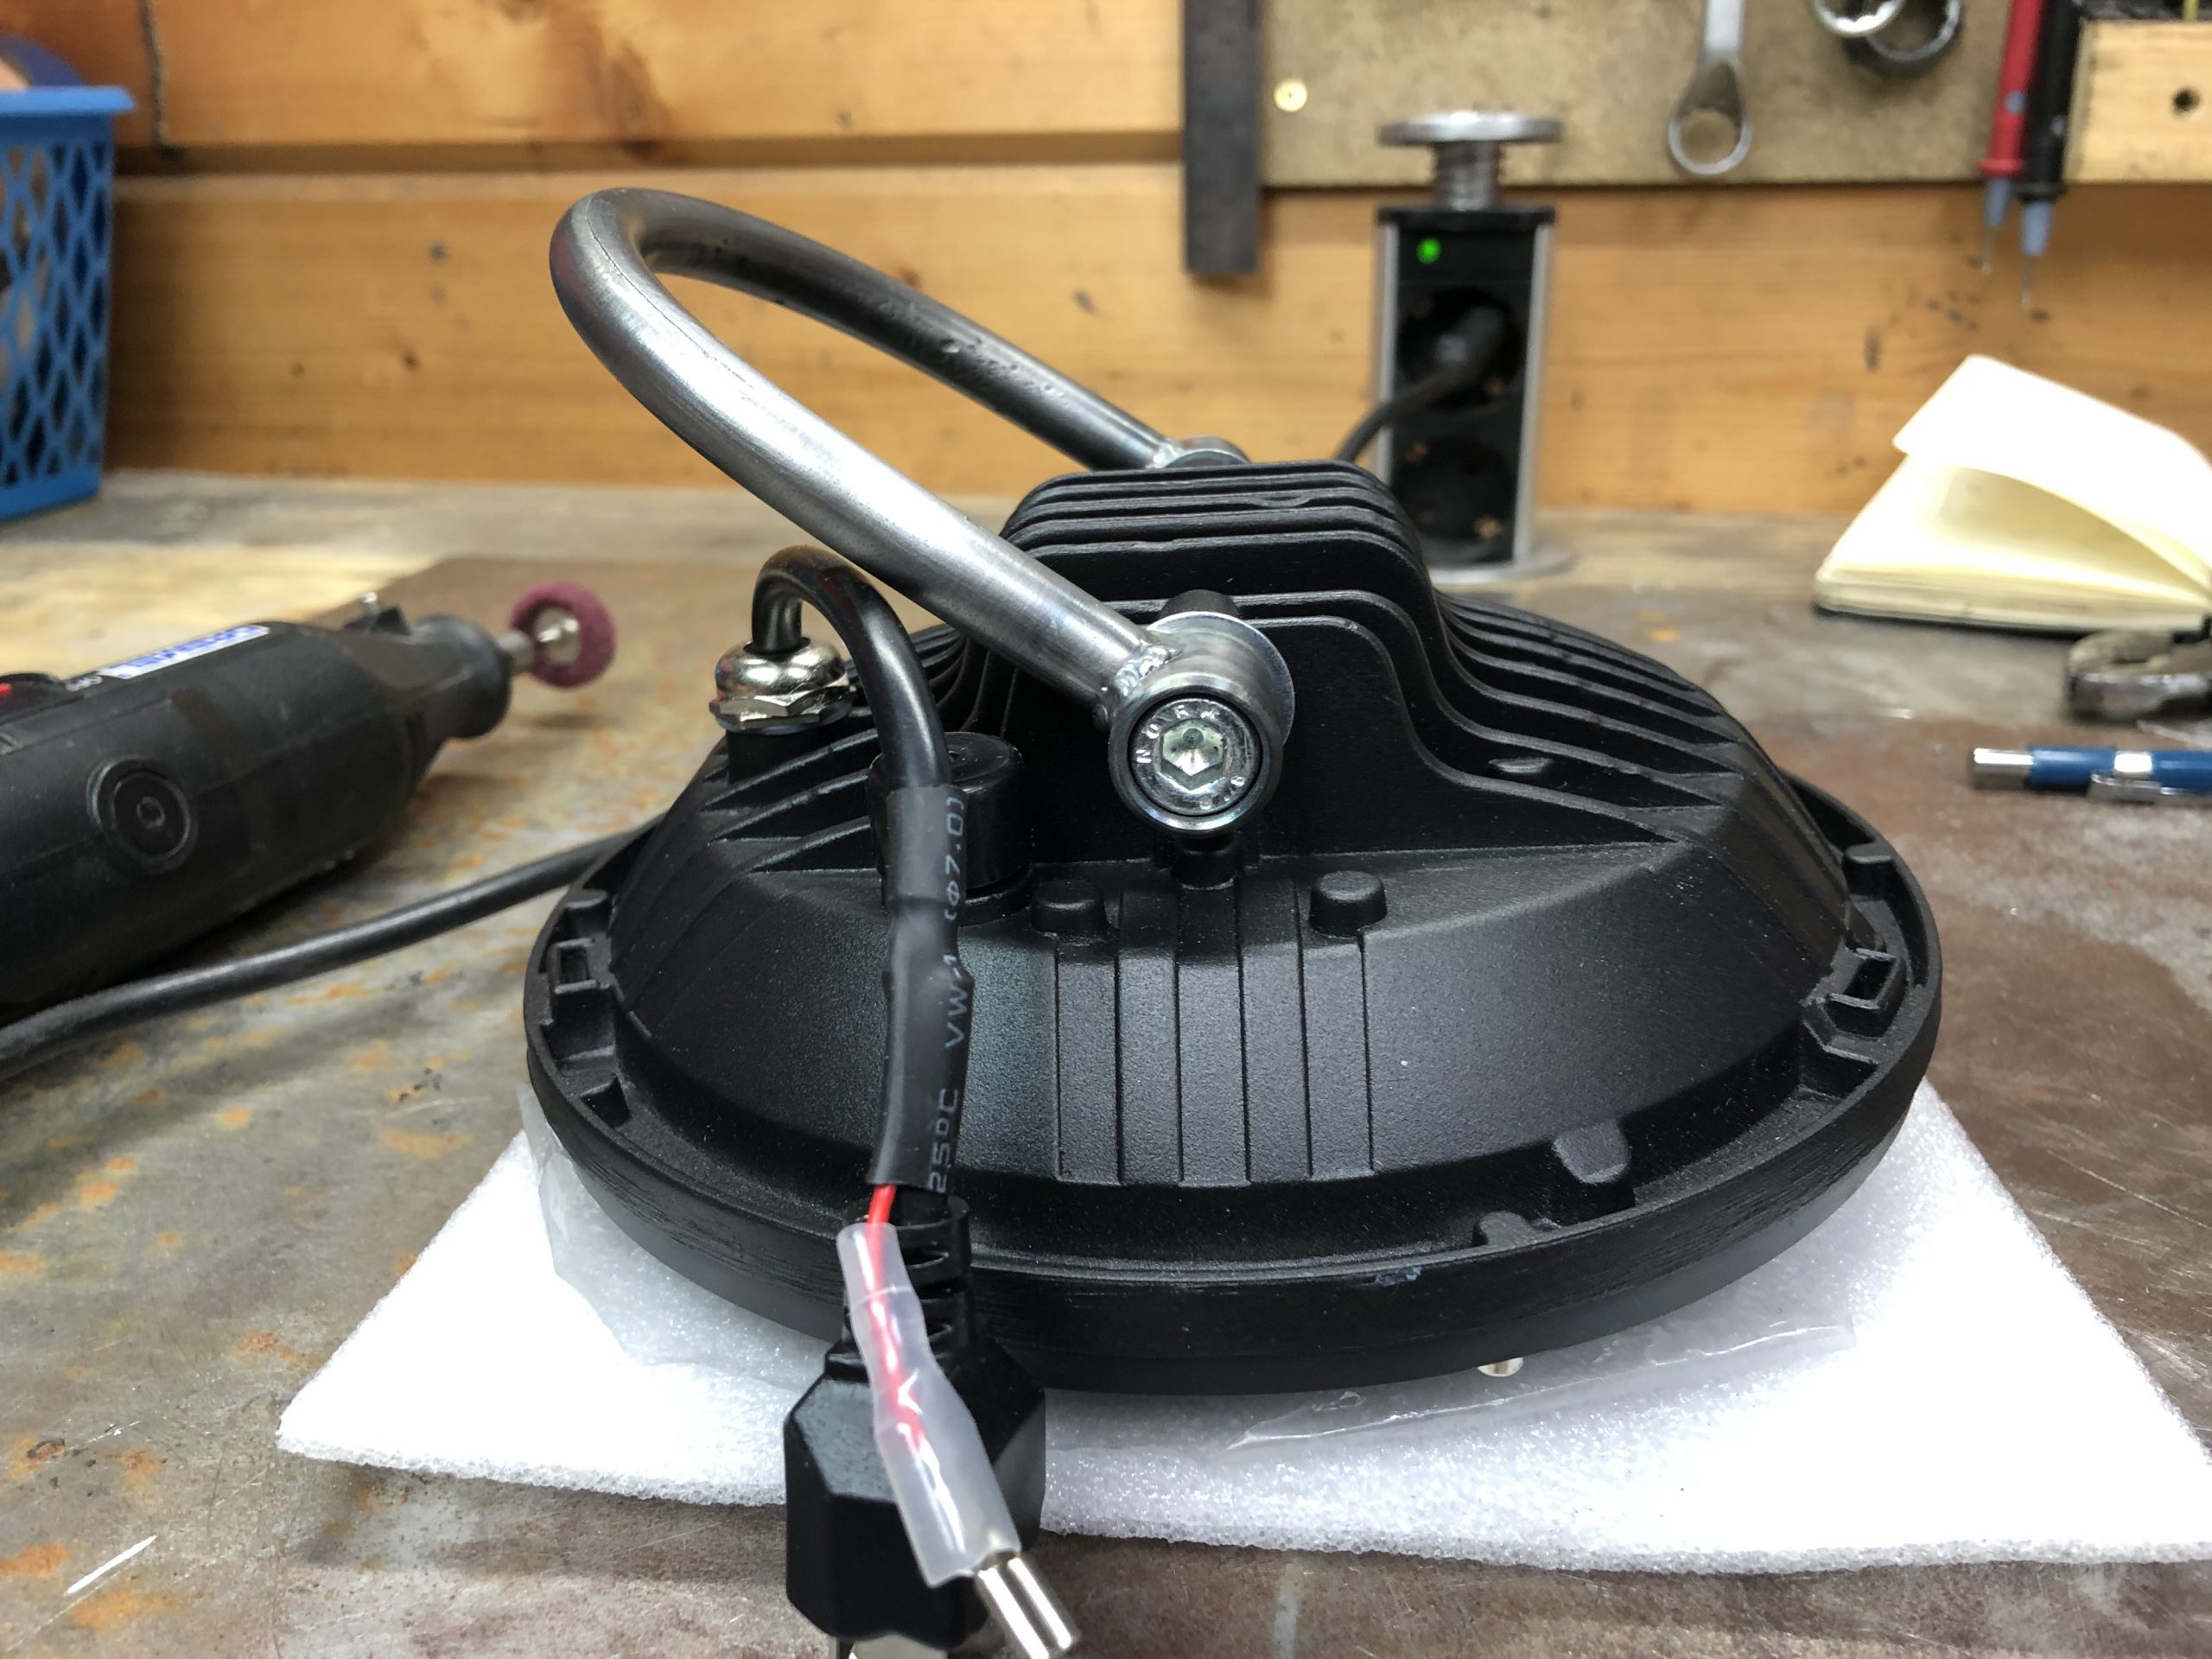
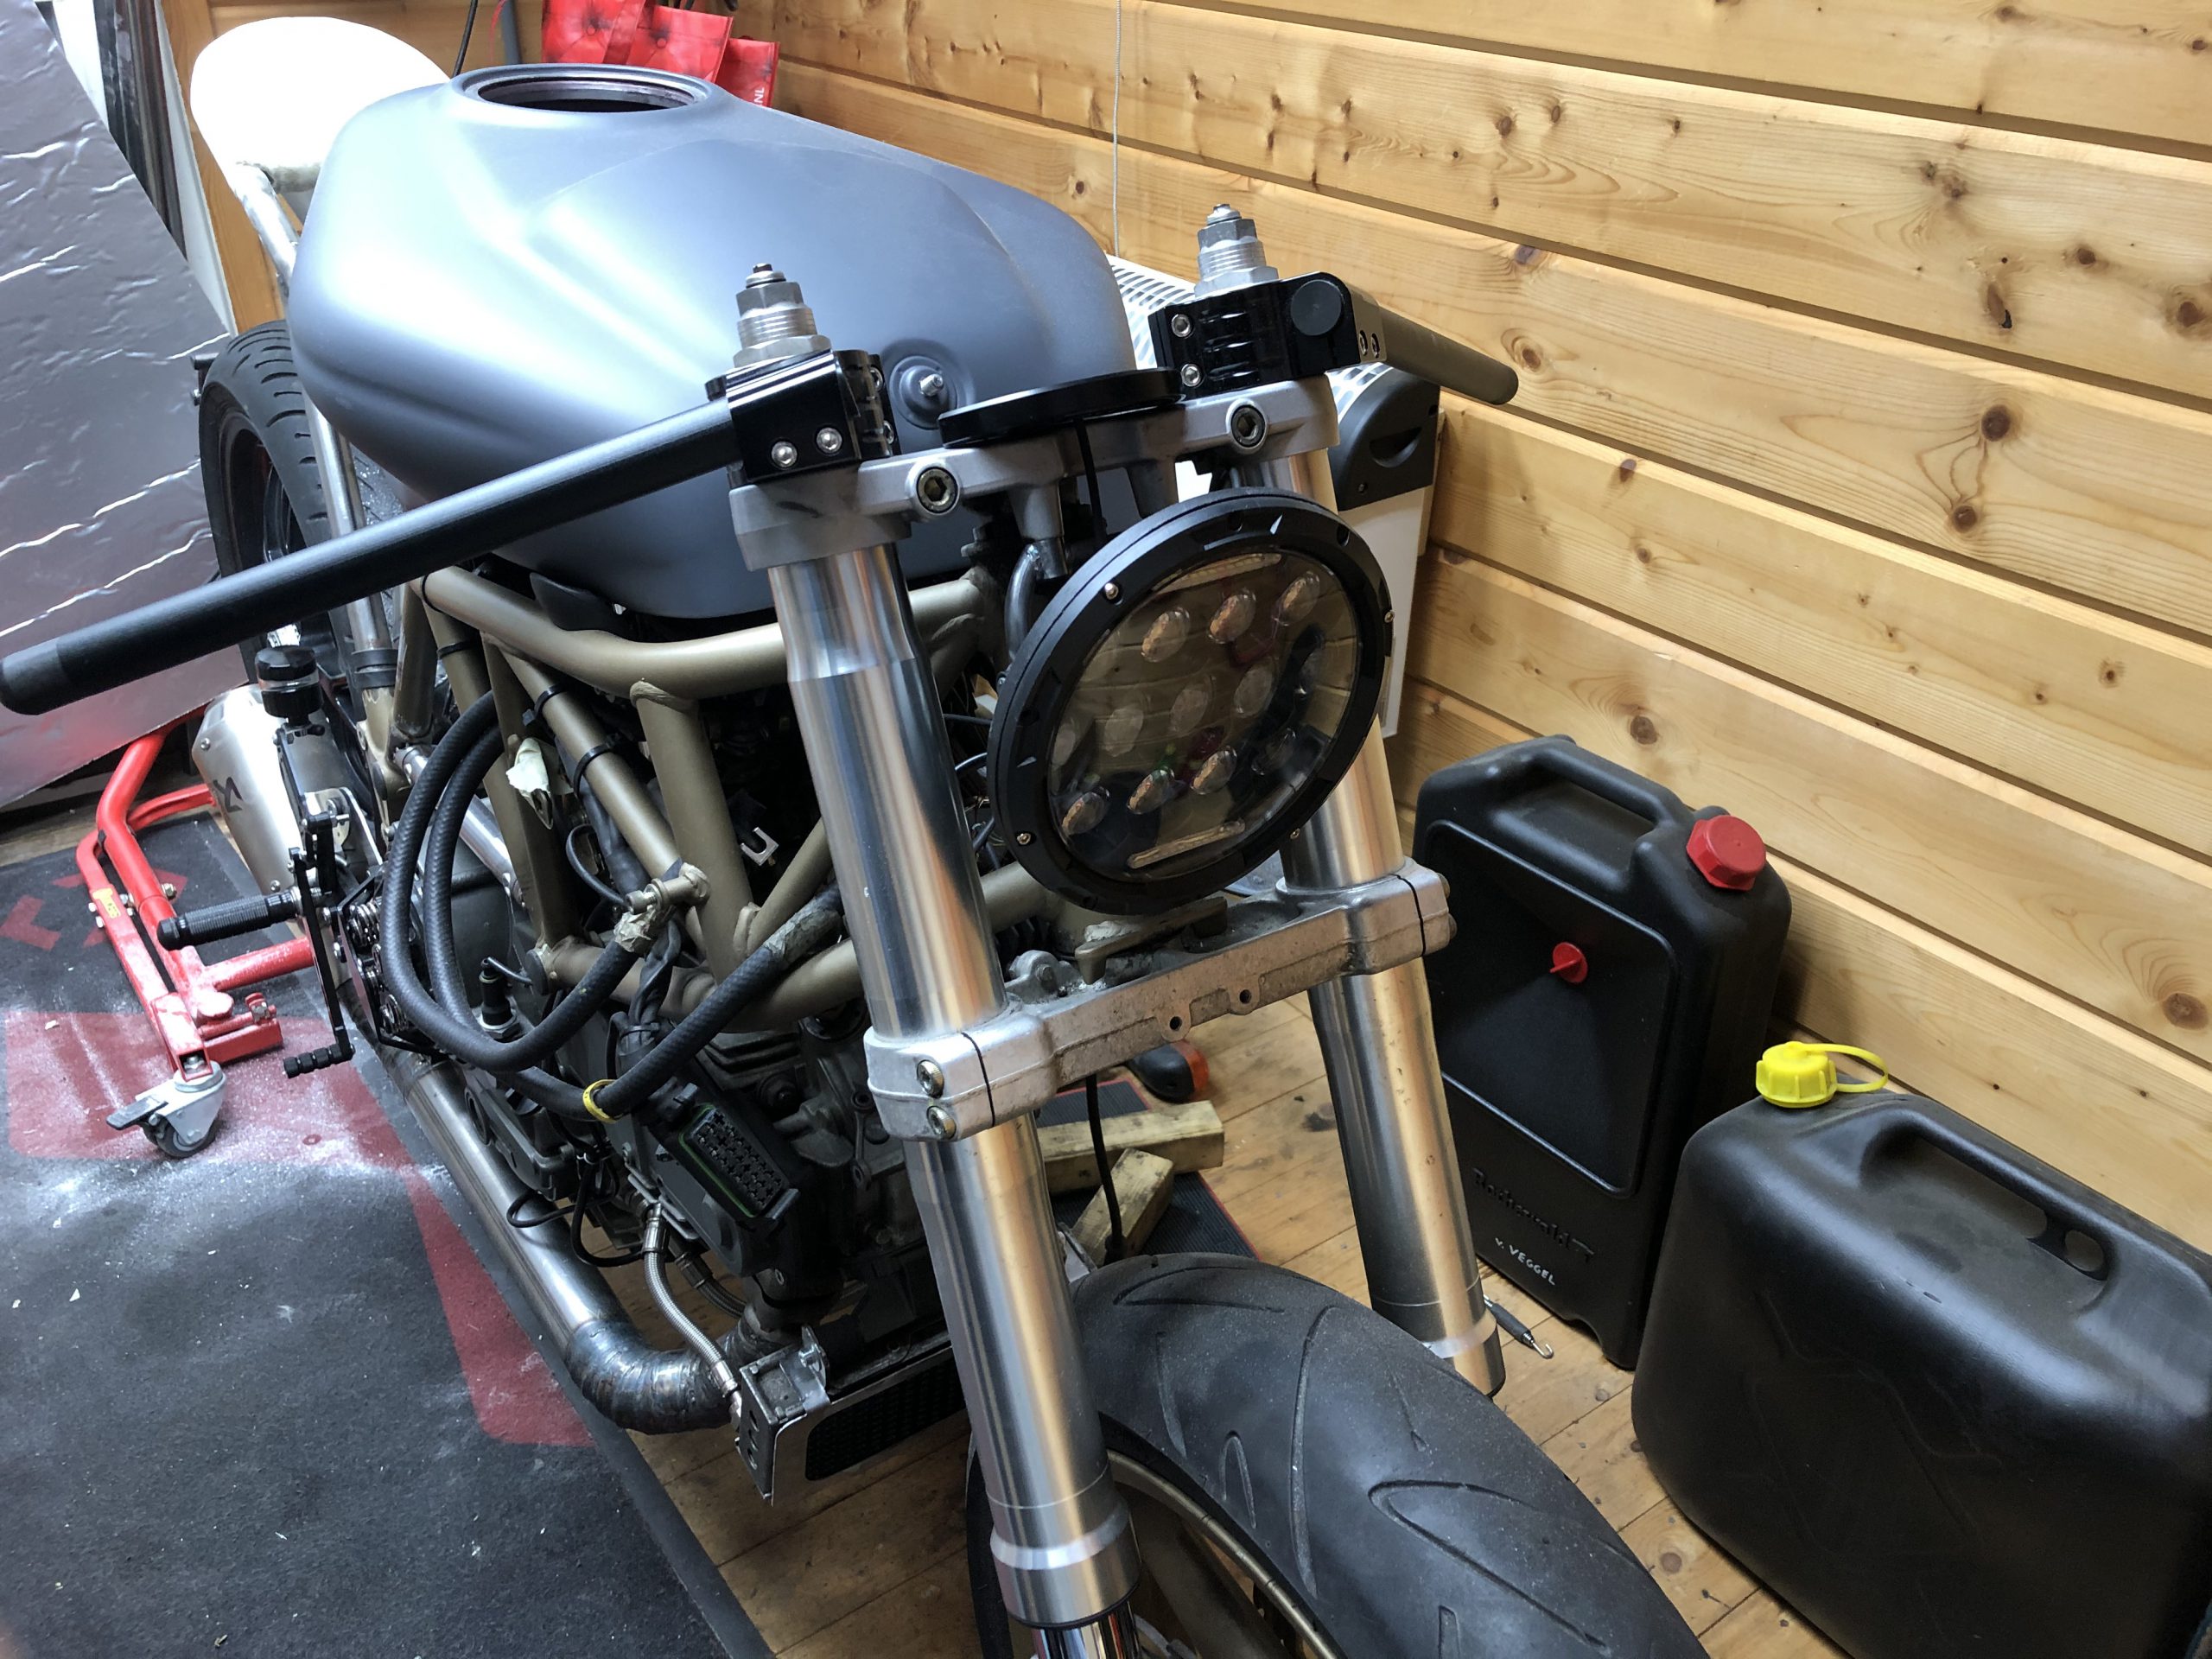
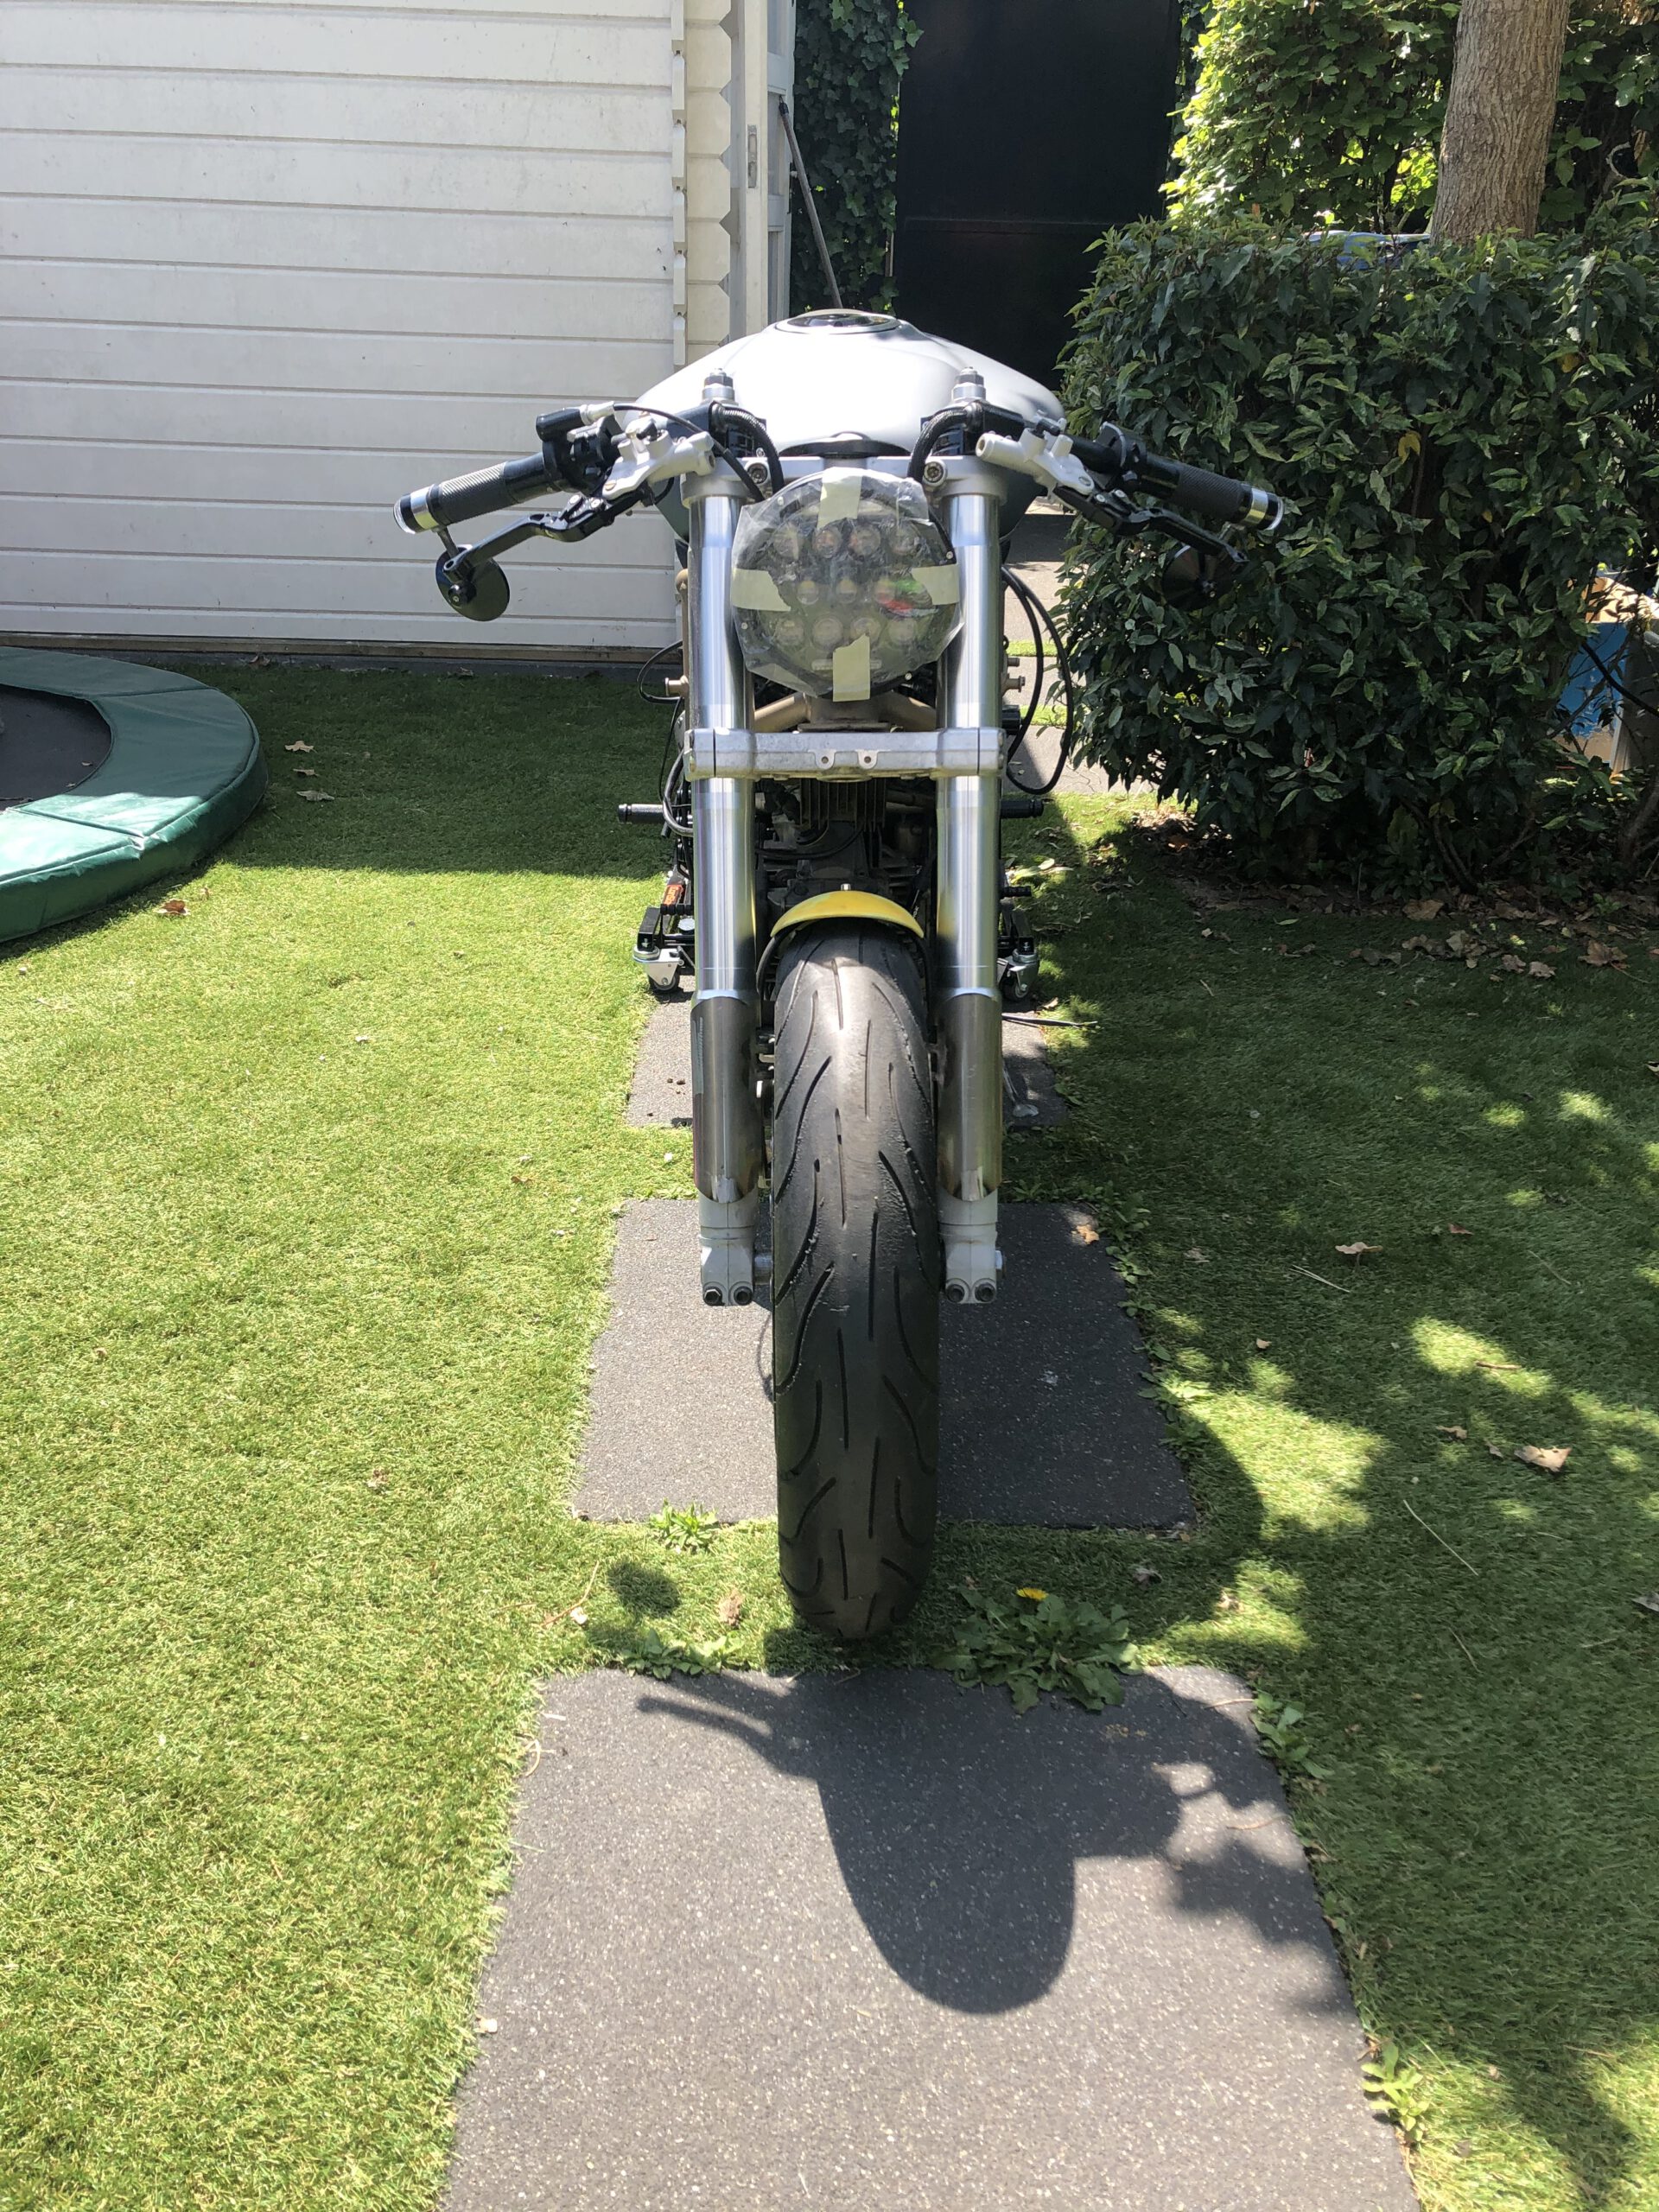
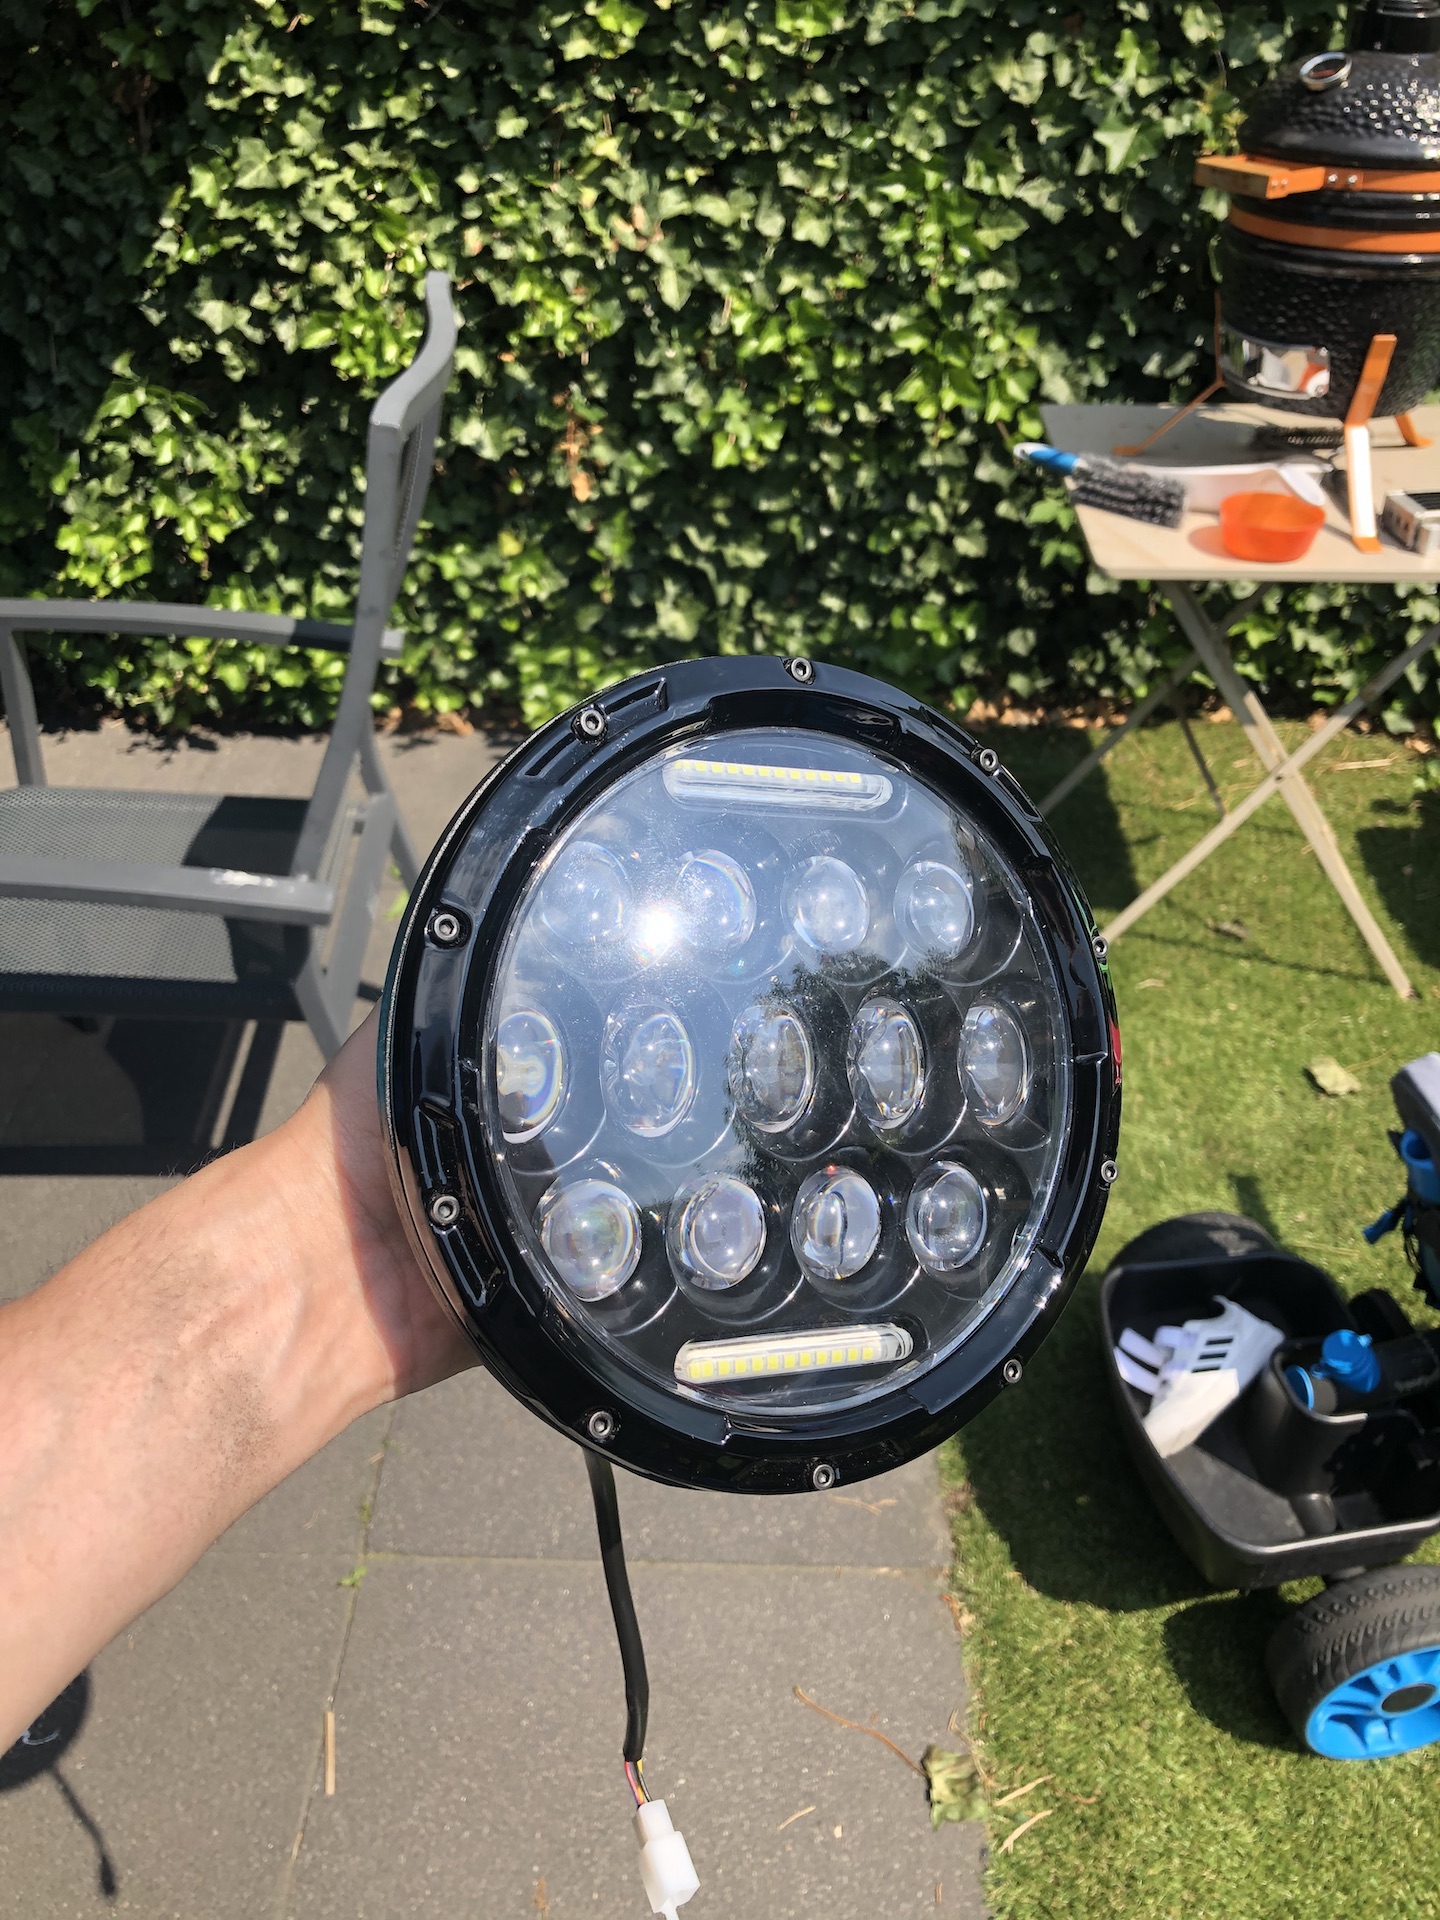
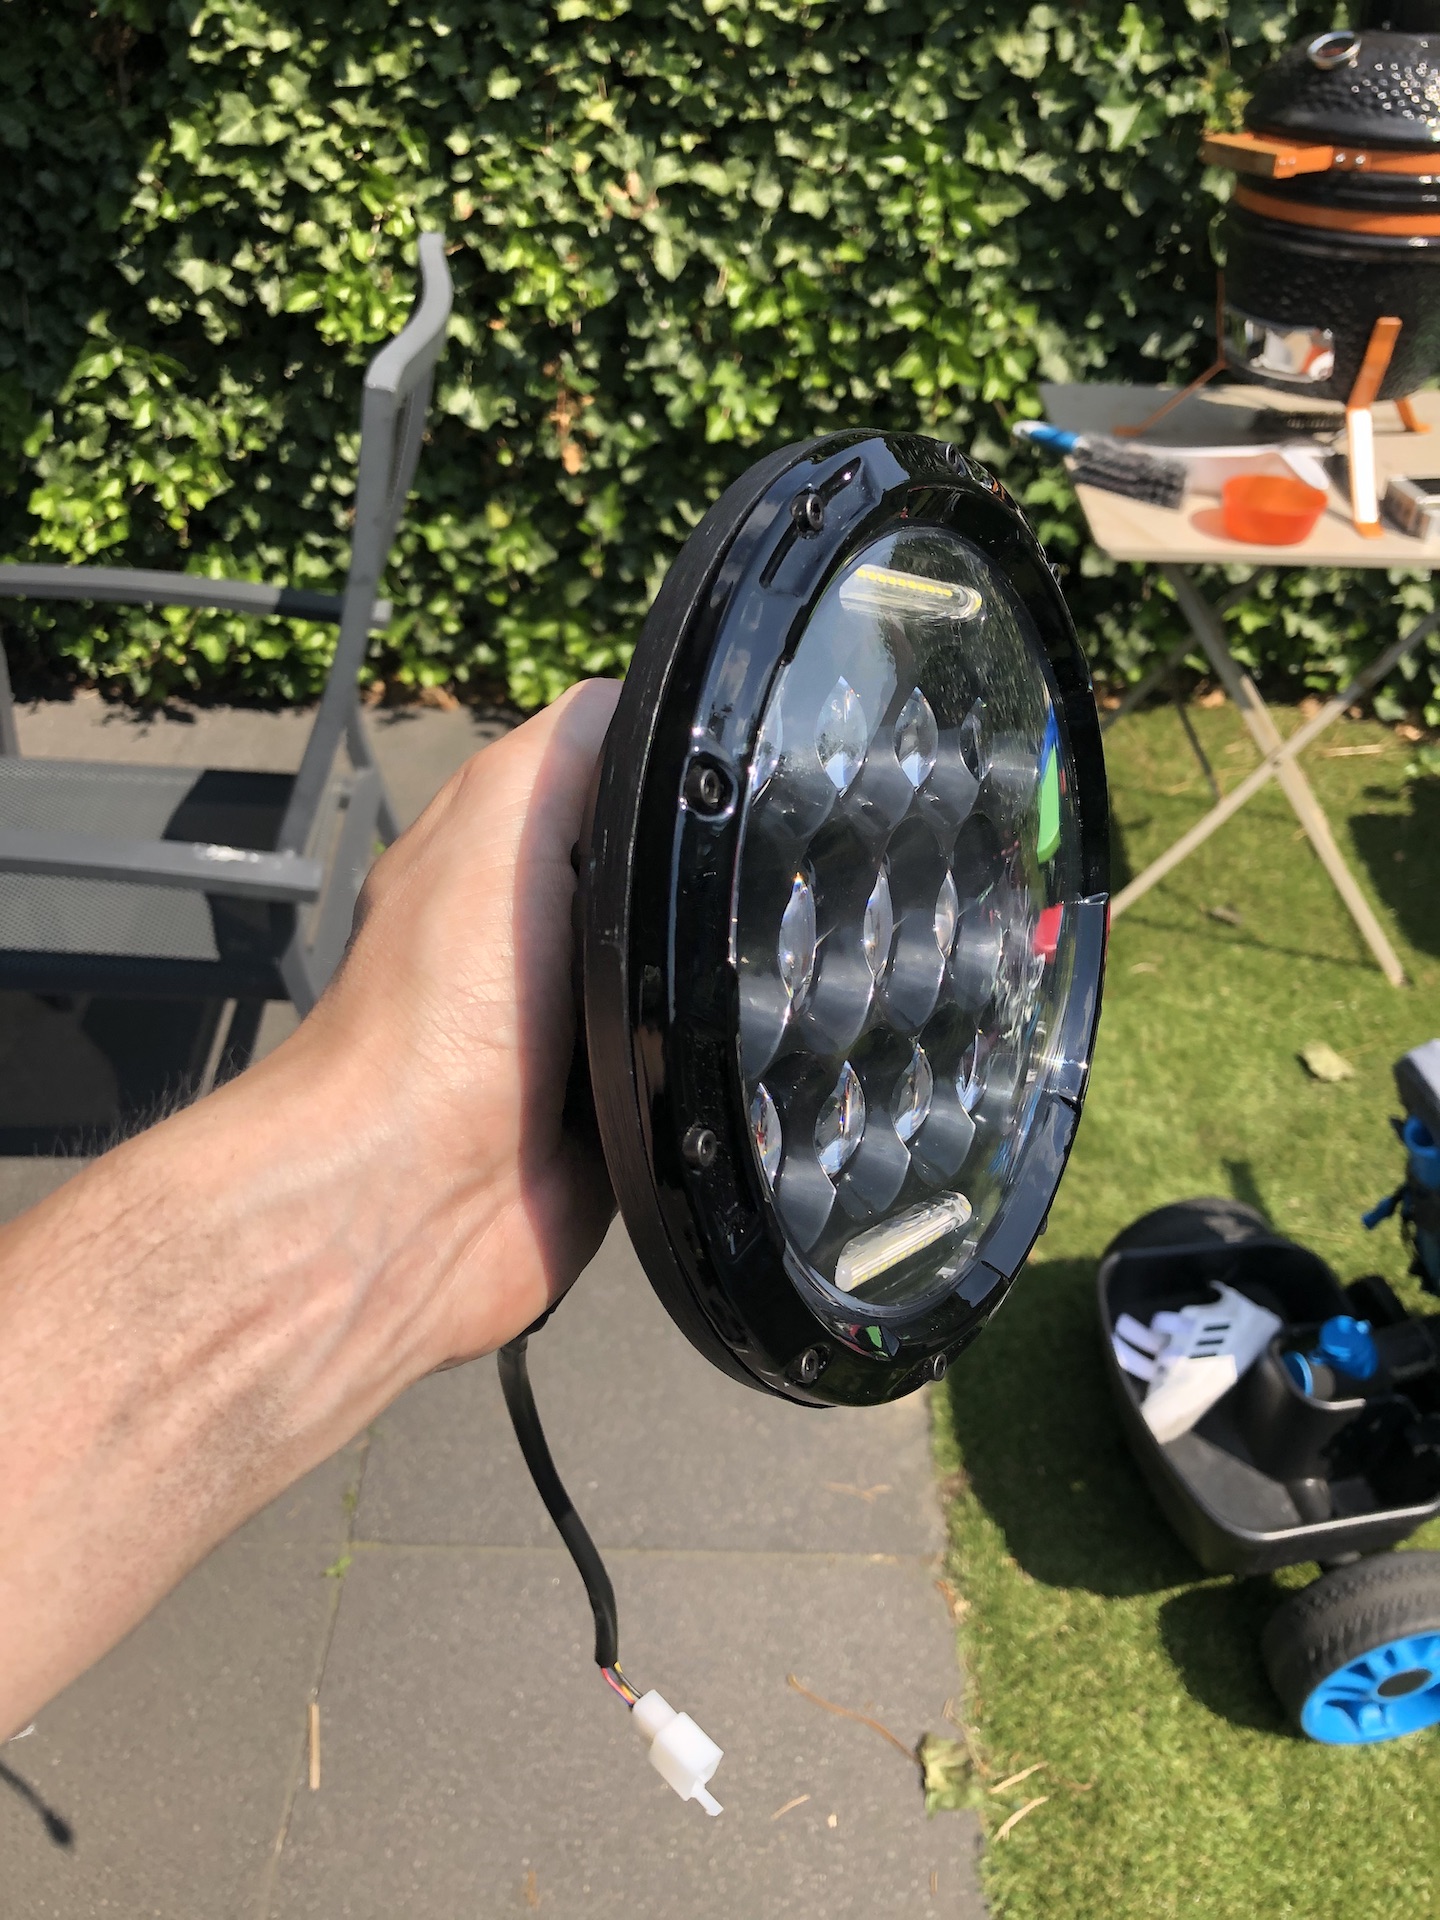
FITTING THE HEADLIGHT
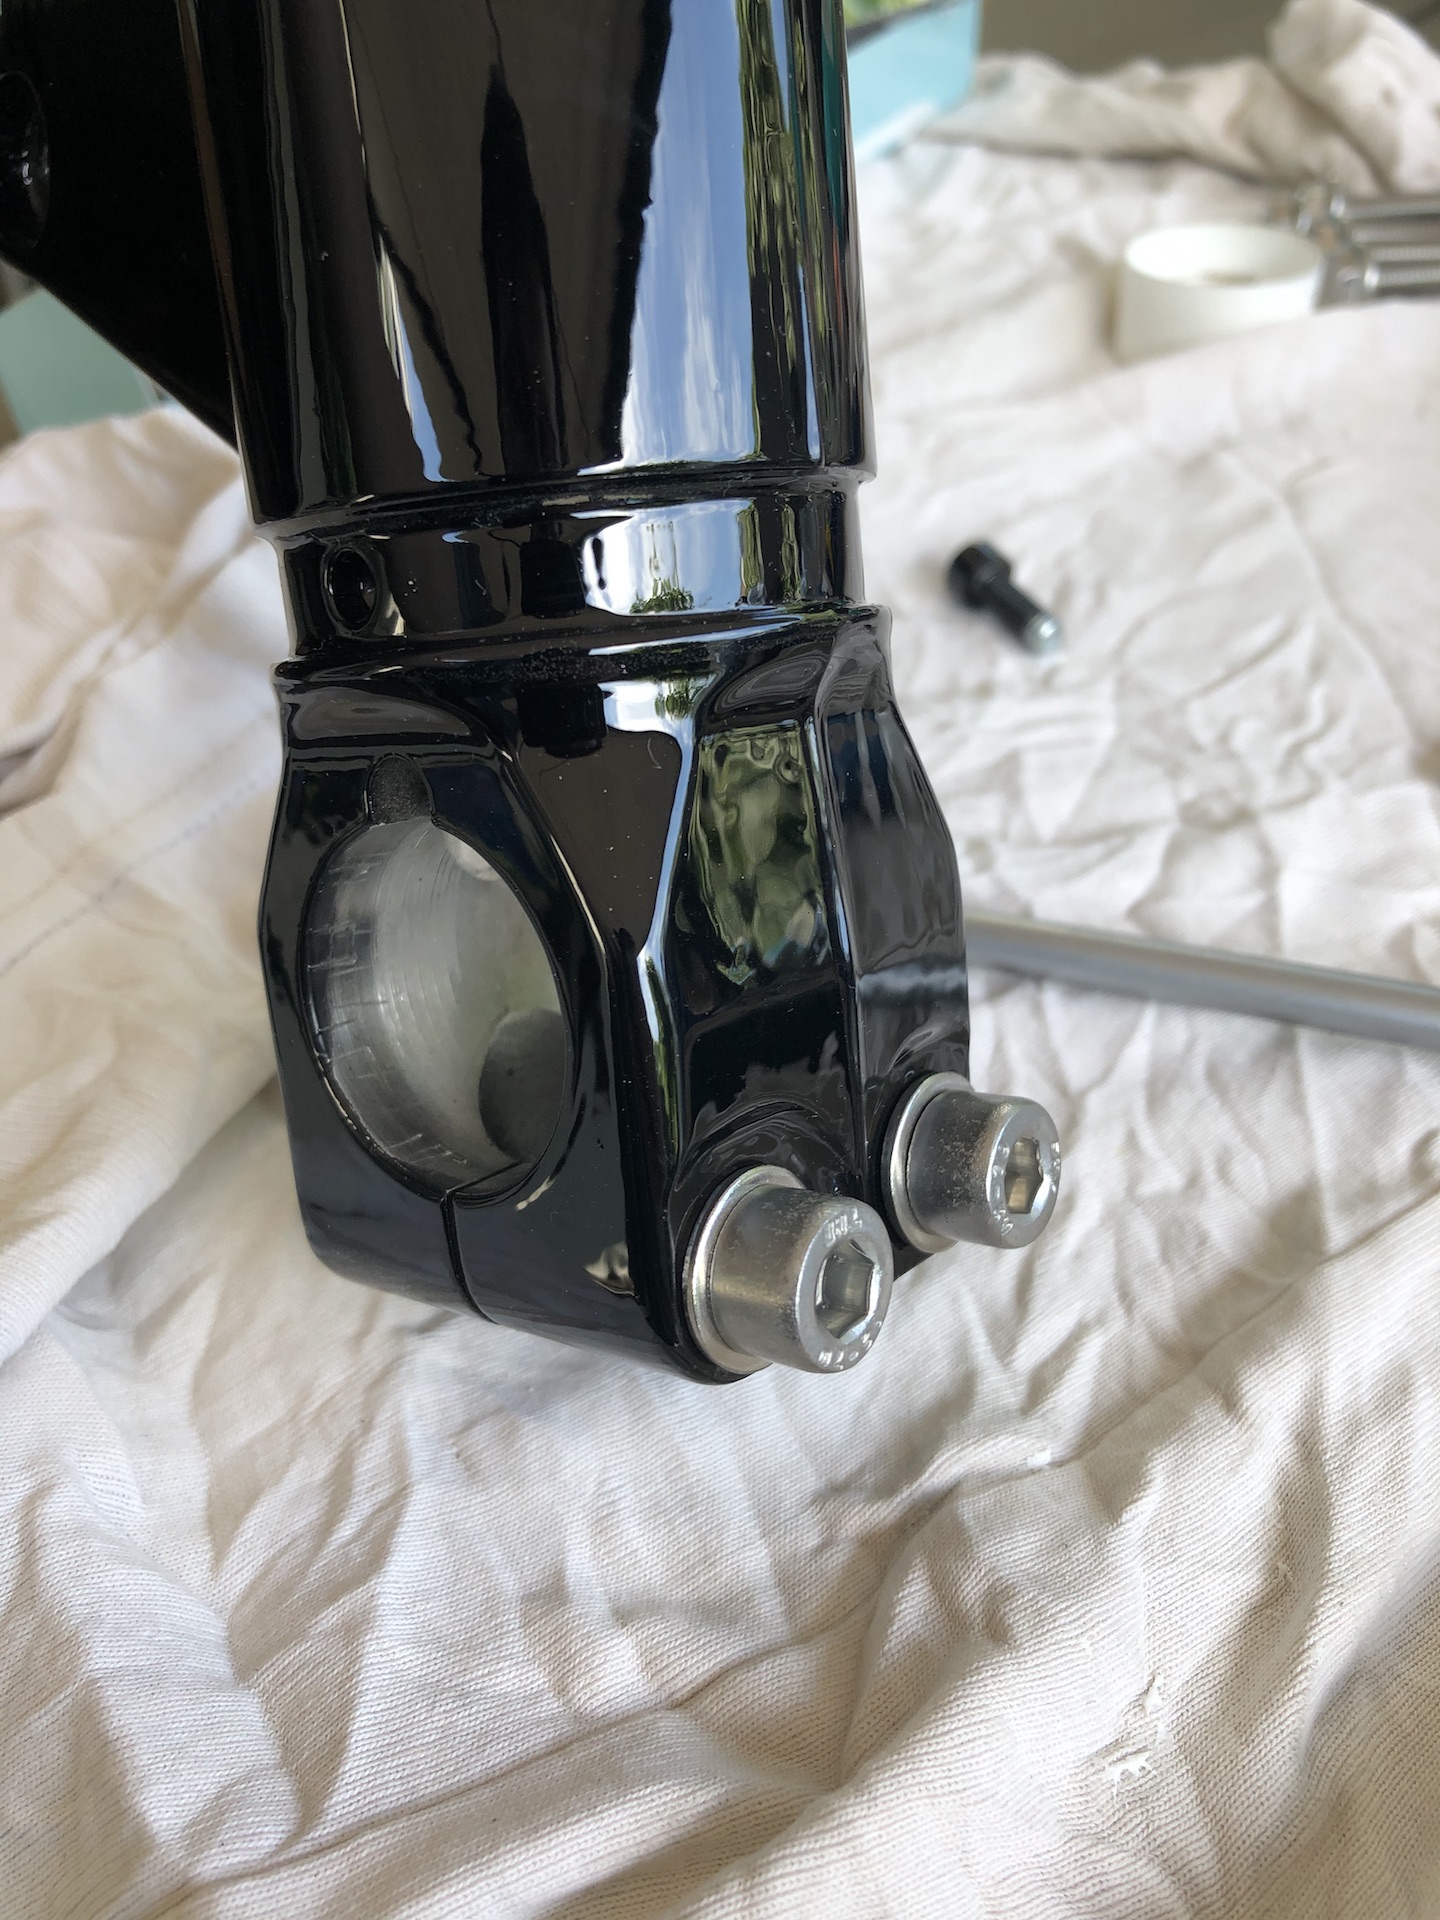
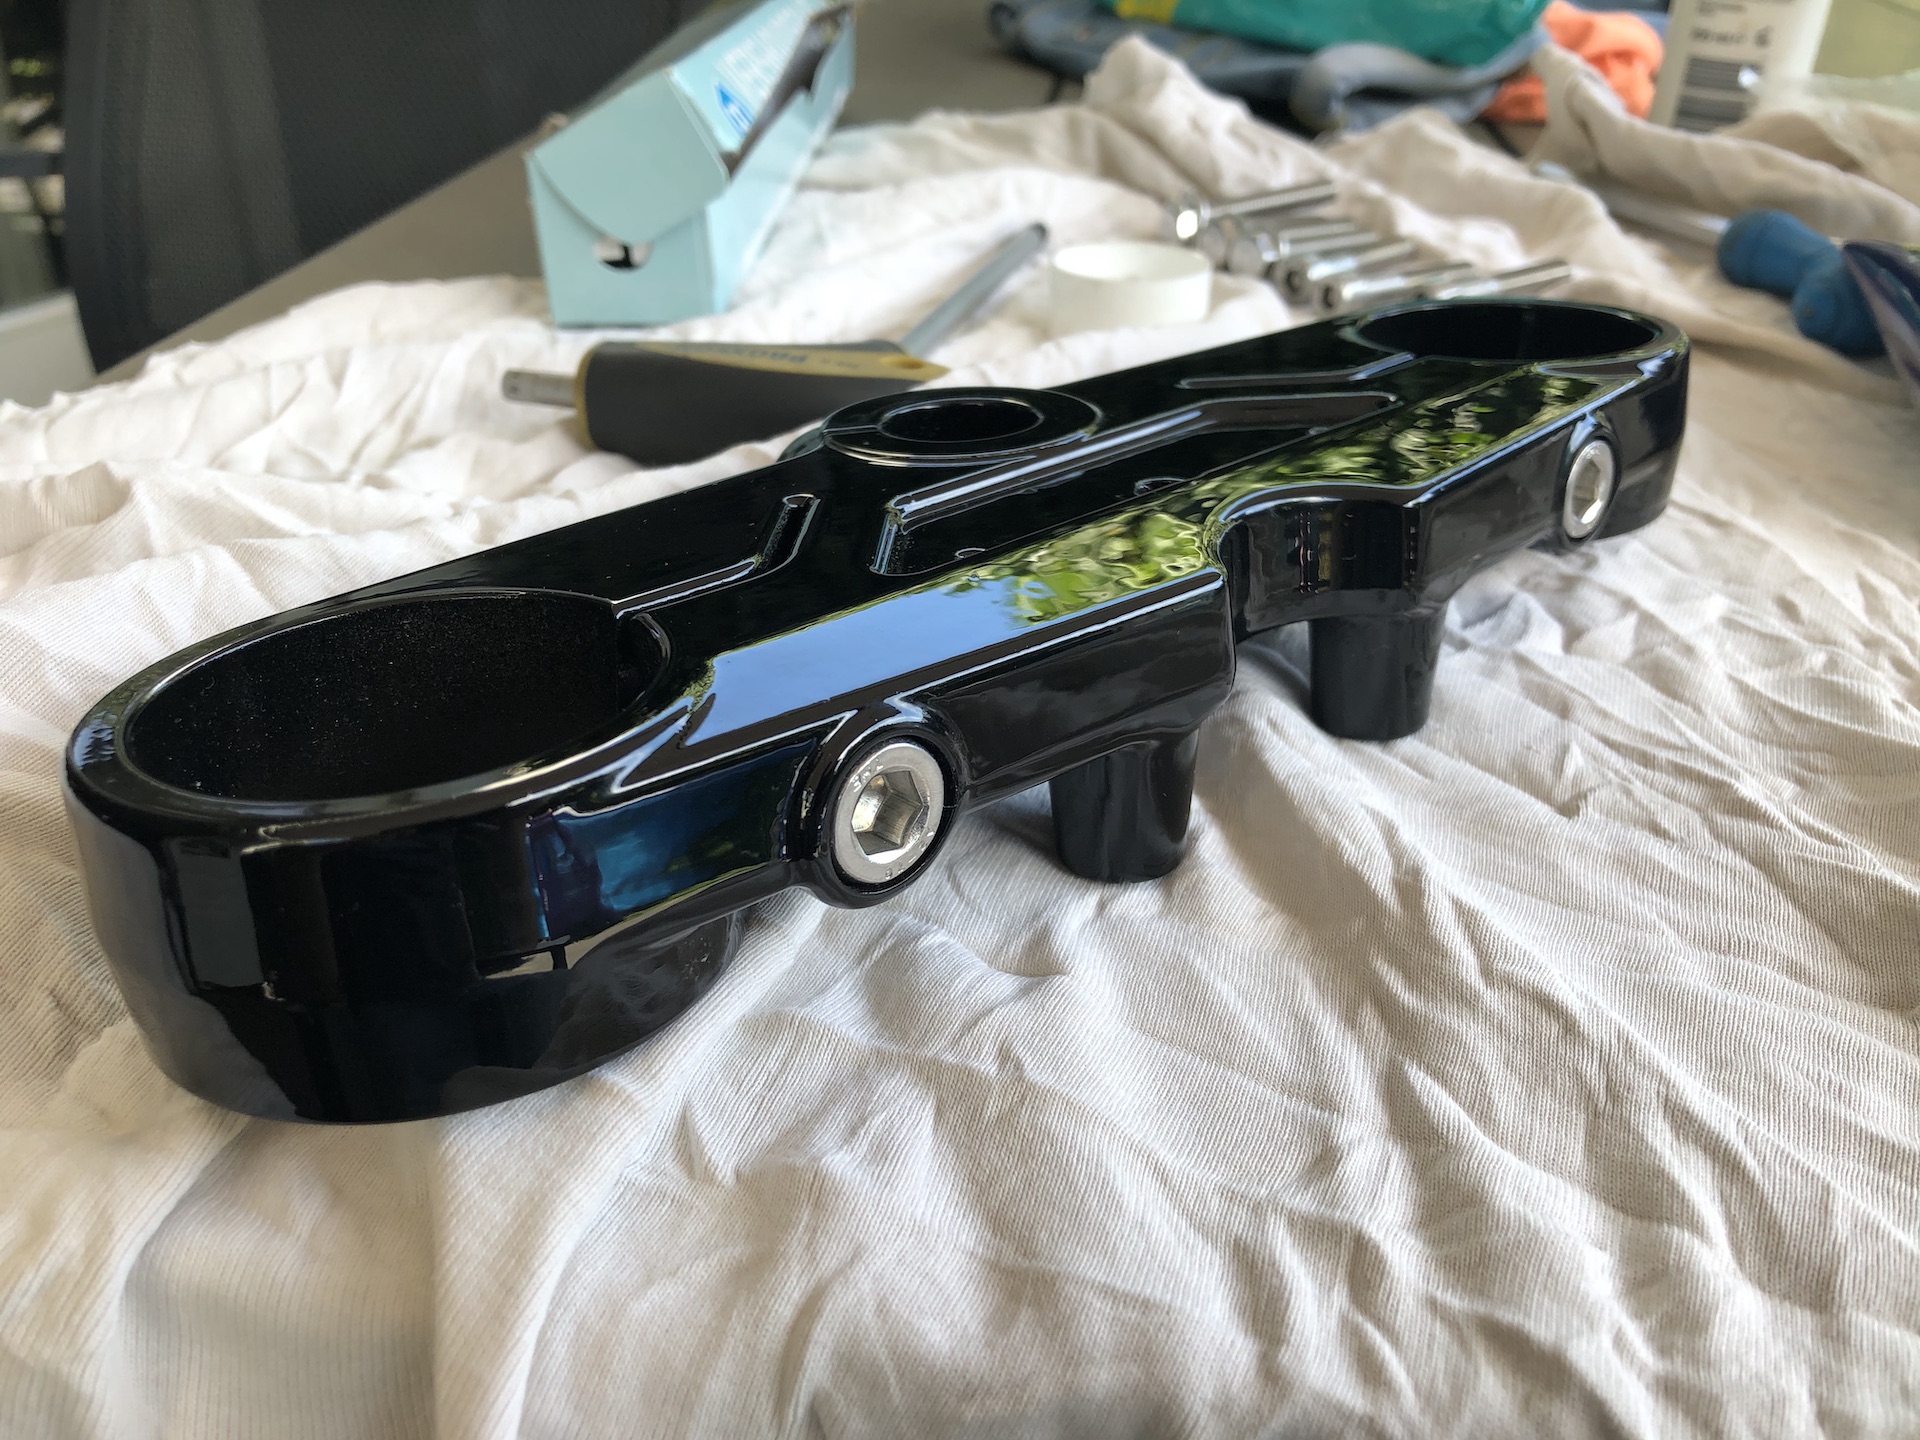
Again our chinese friends to the rescue. Cool headlight that normally mounts to Jeep bullbars haha. Created a custom bracket that allows the headlight to mount to the triple clamp.
Tried a few positions for the headlight, but this seems to be the best look. Like the nice sleek look of the light.
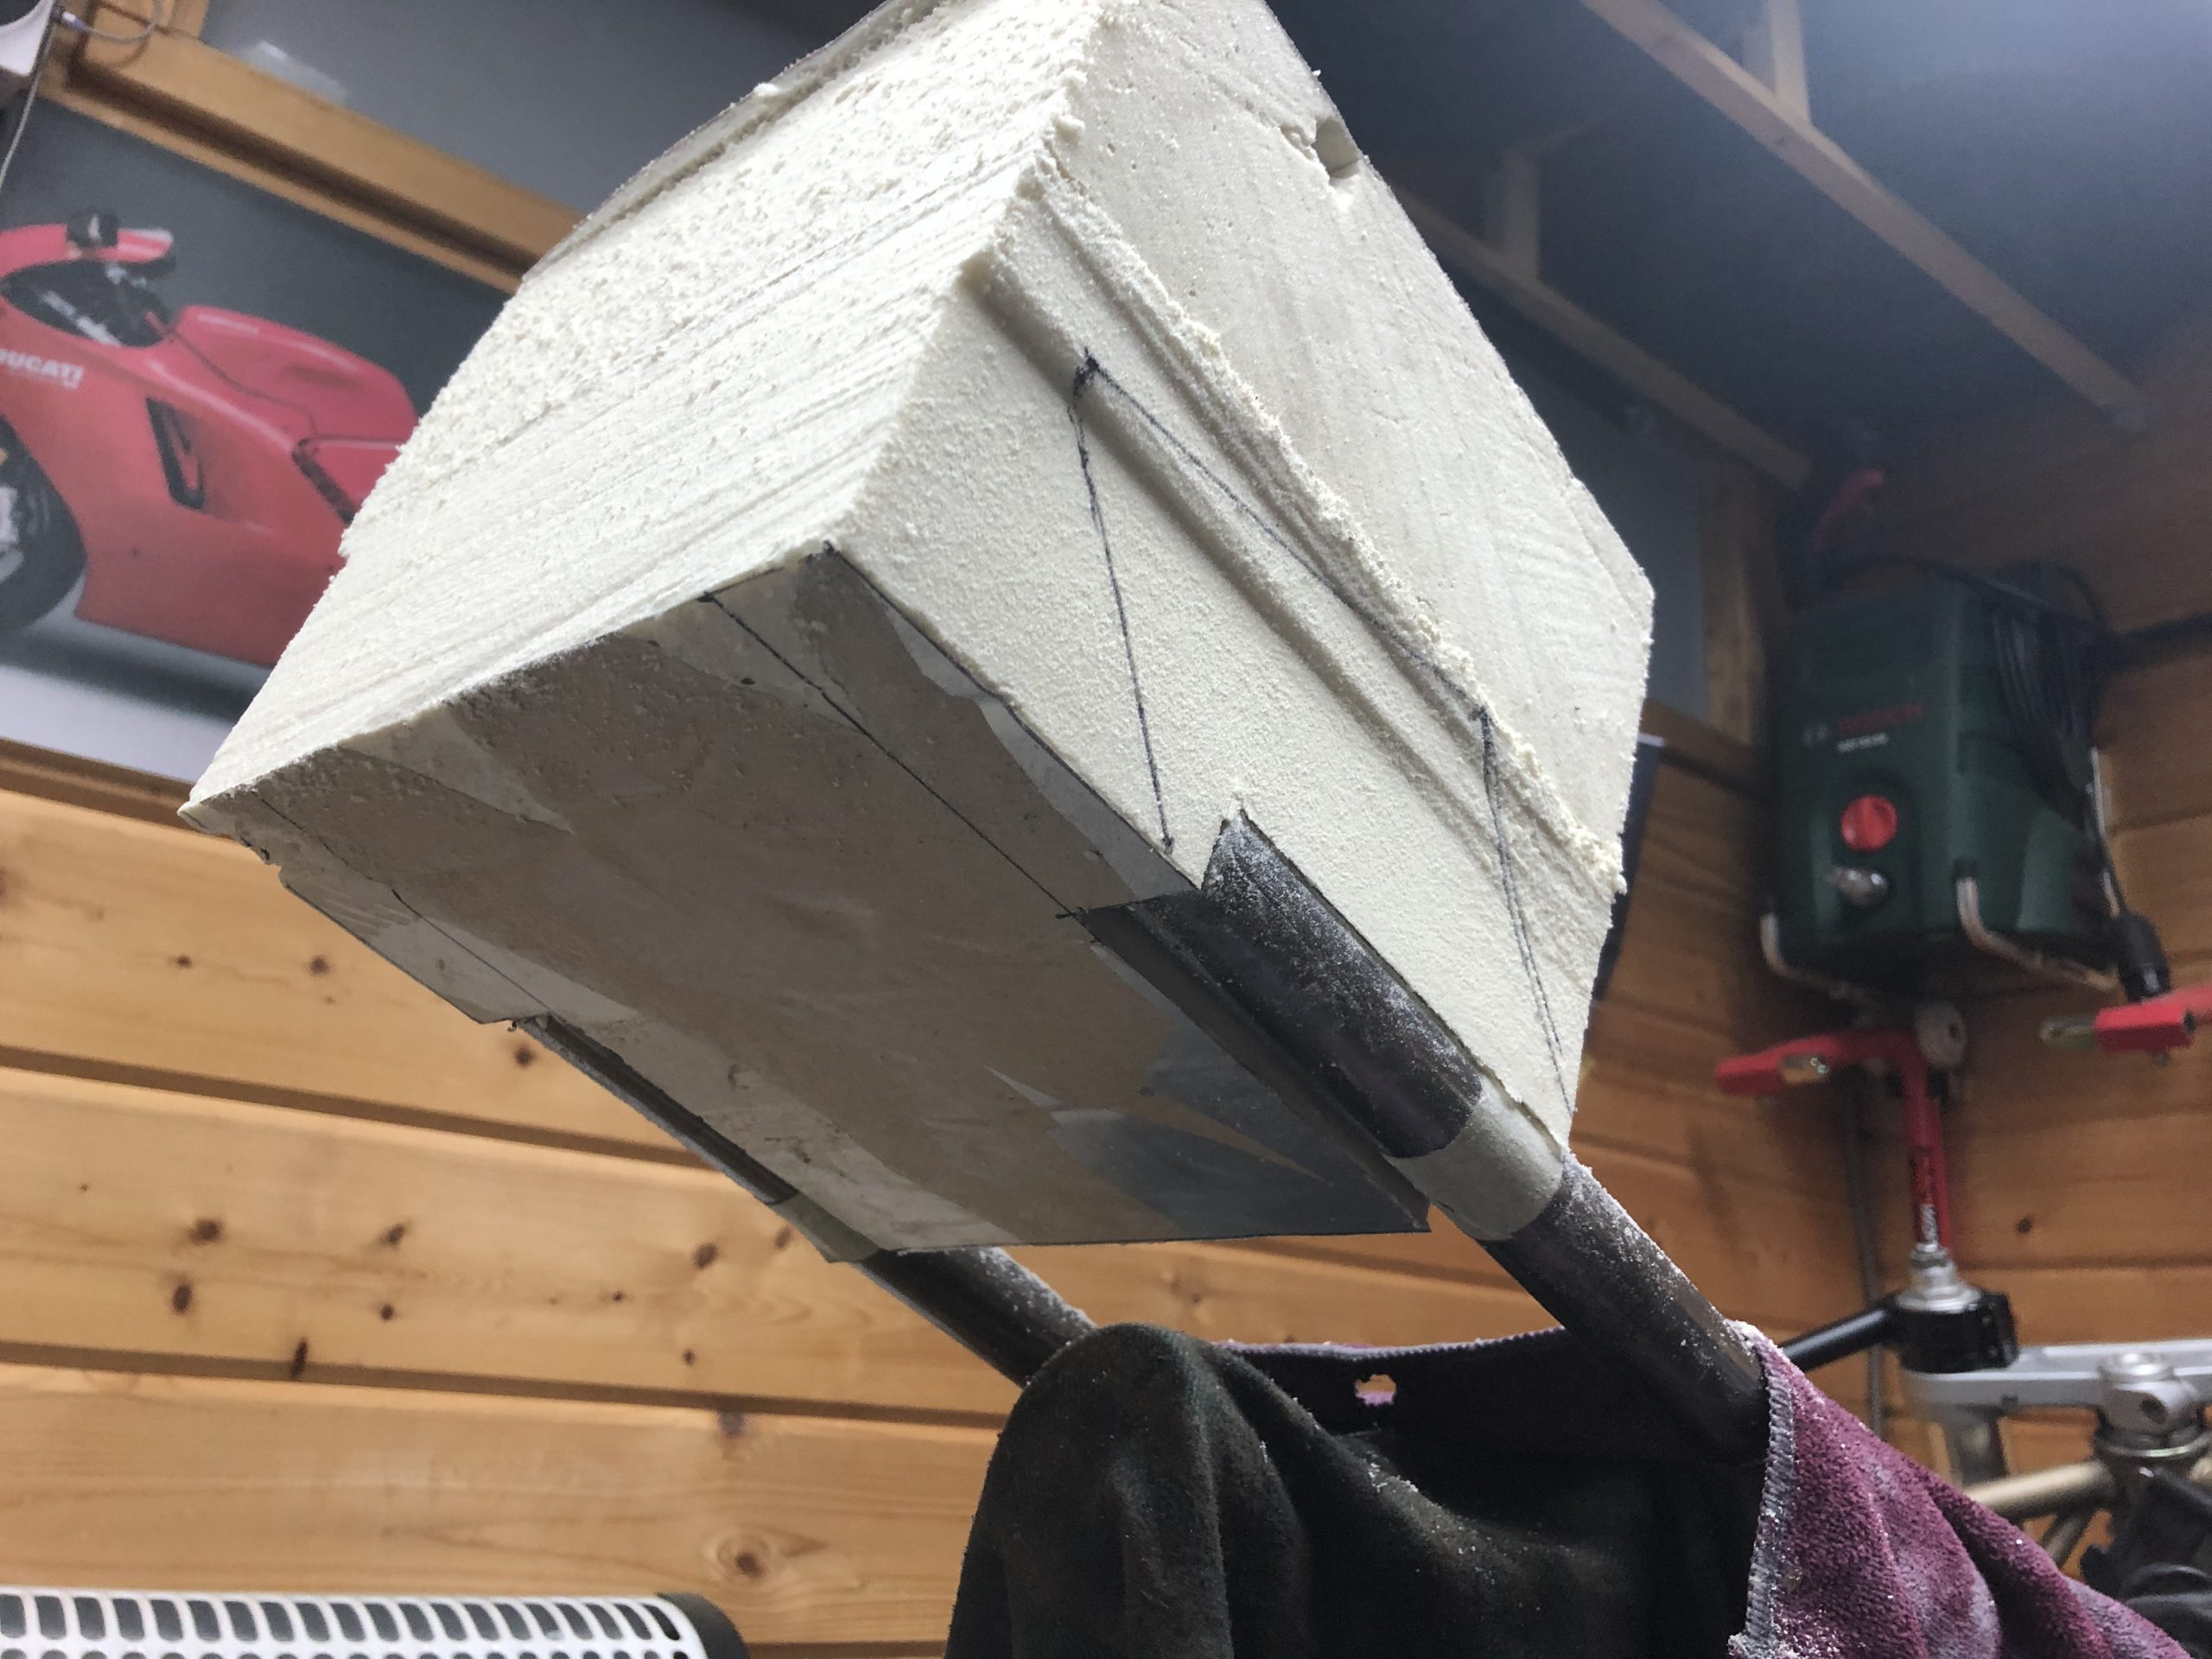
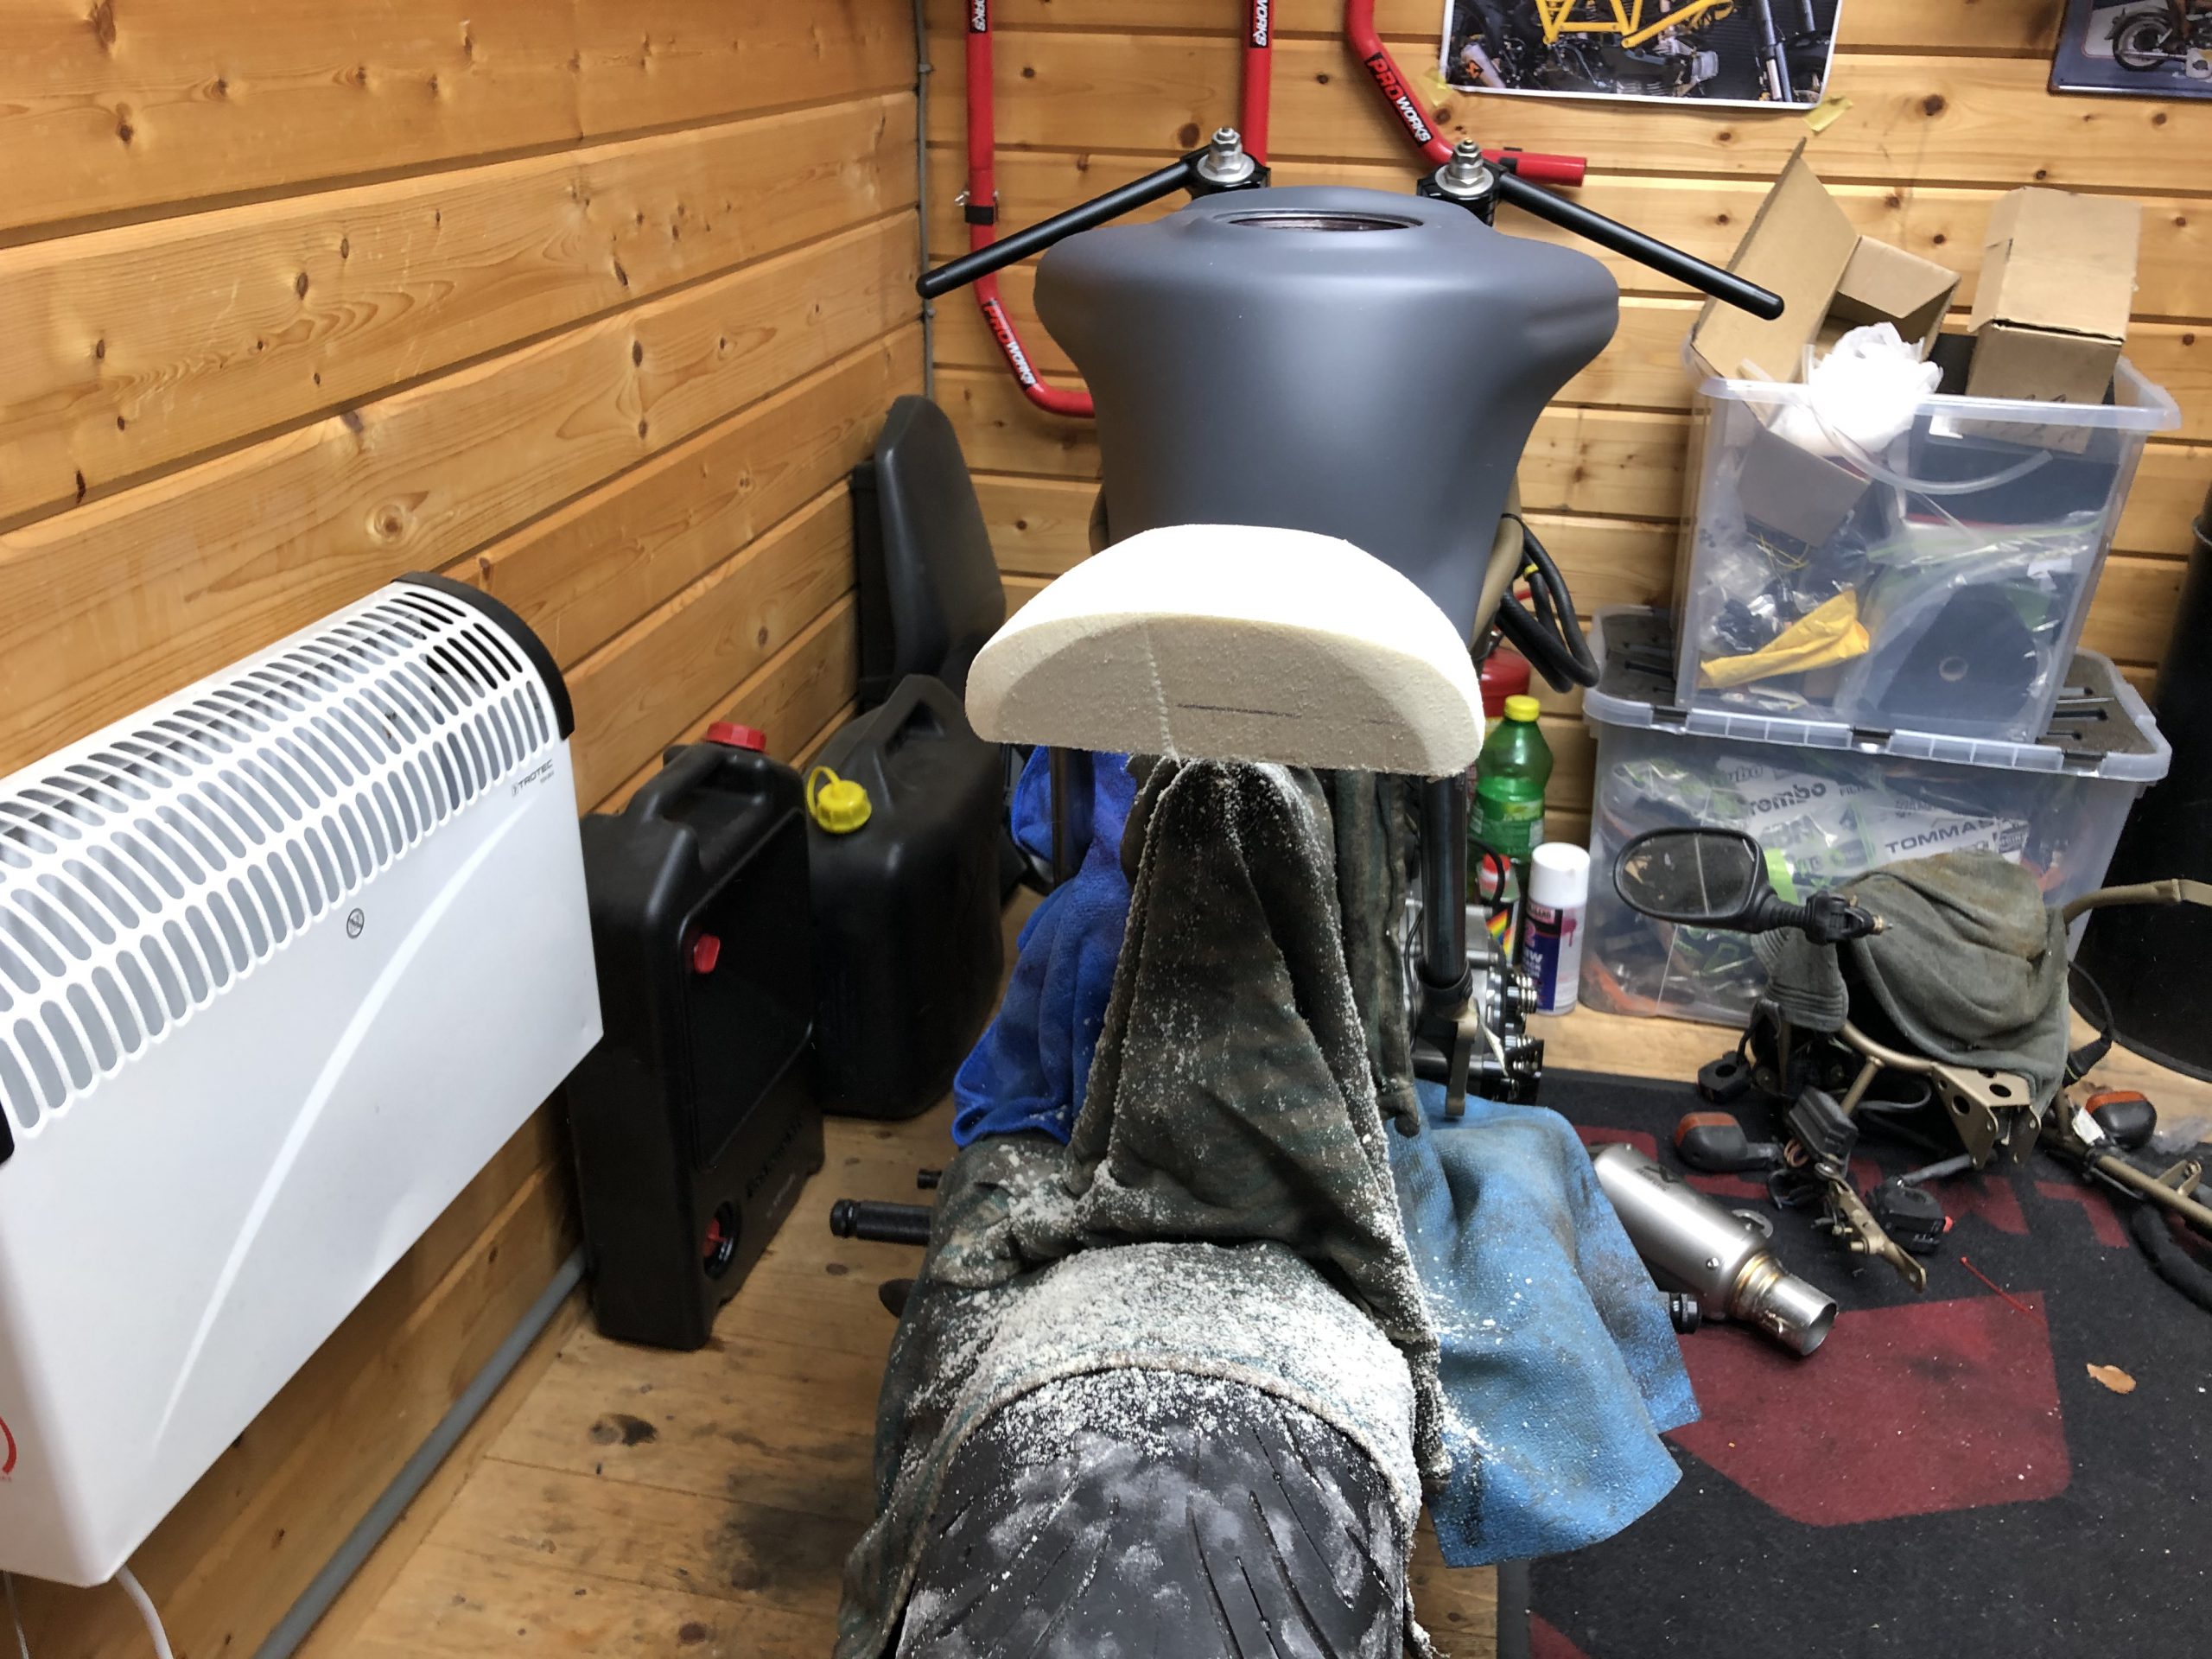
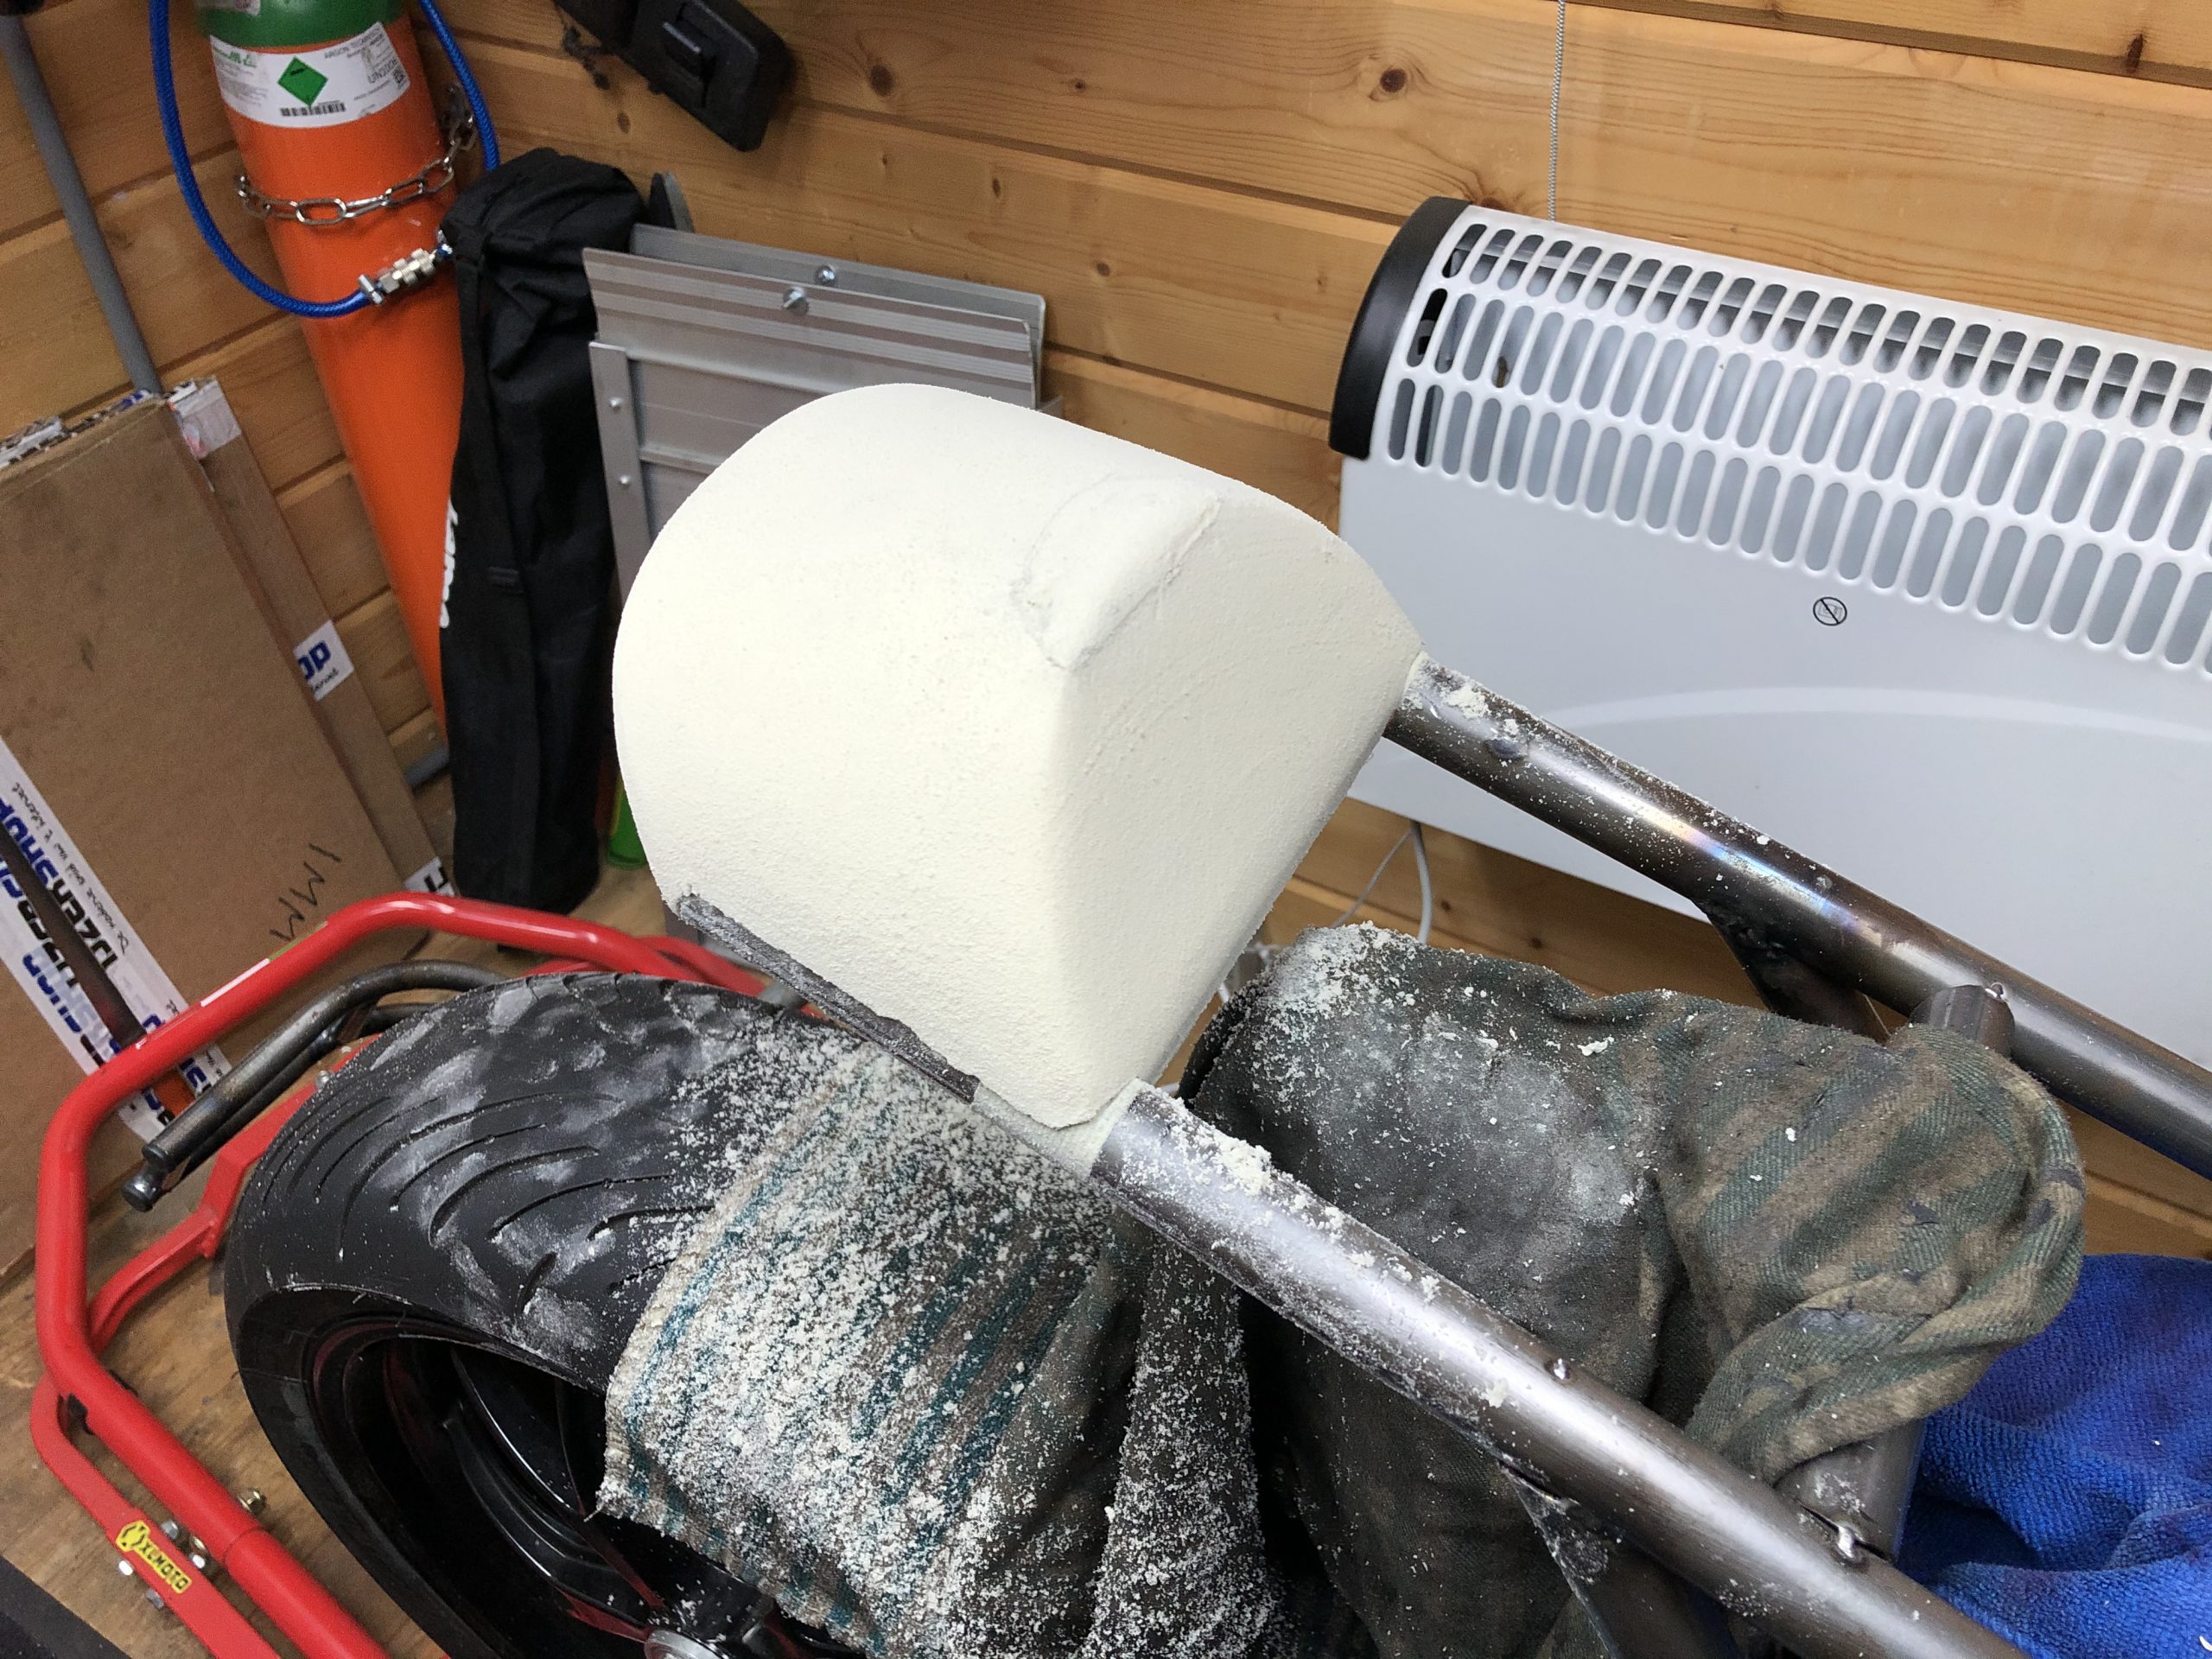
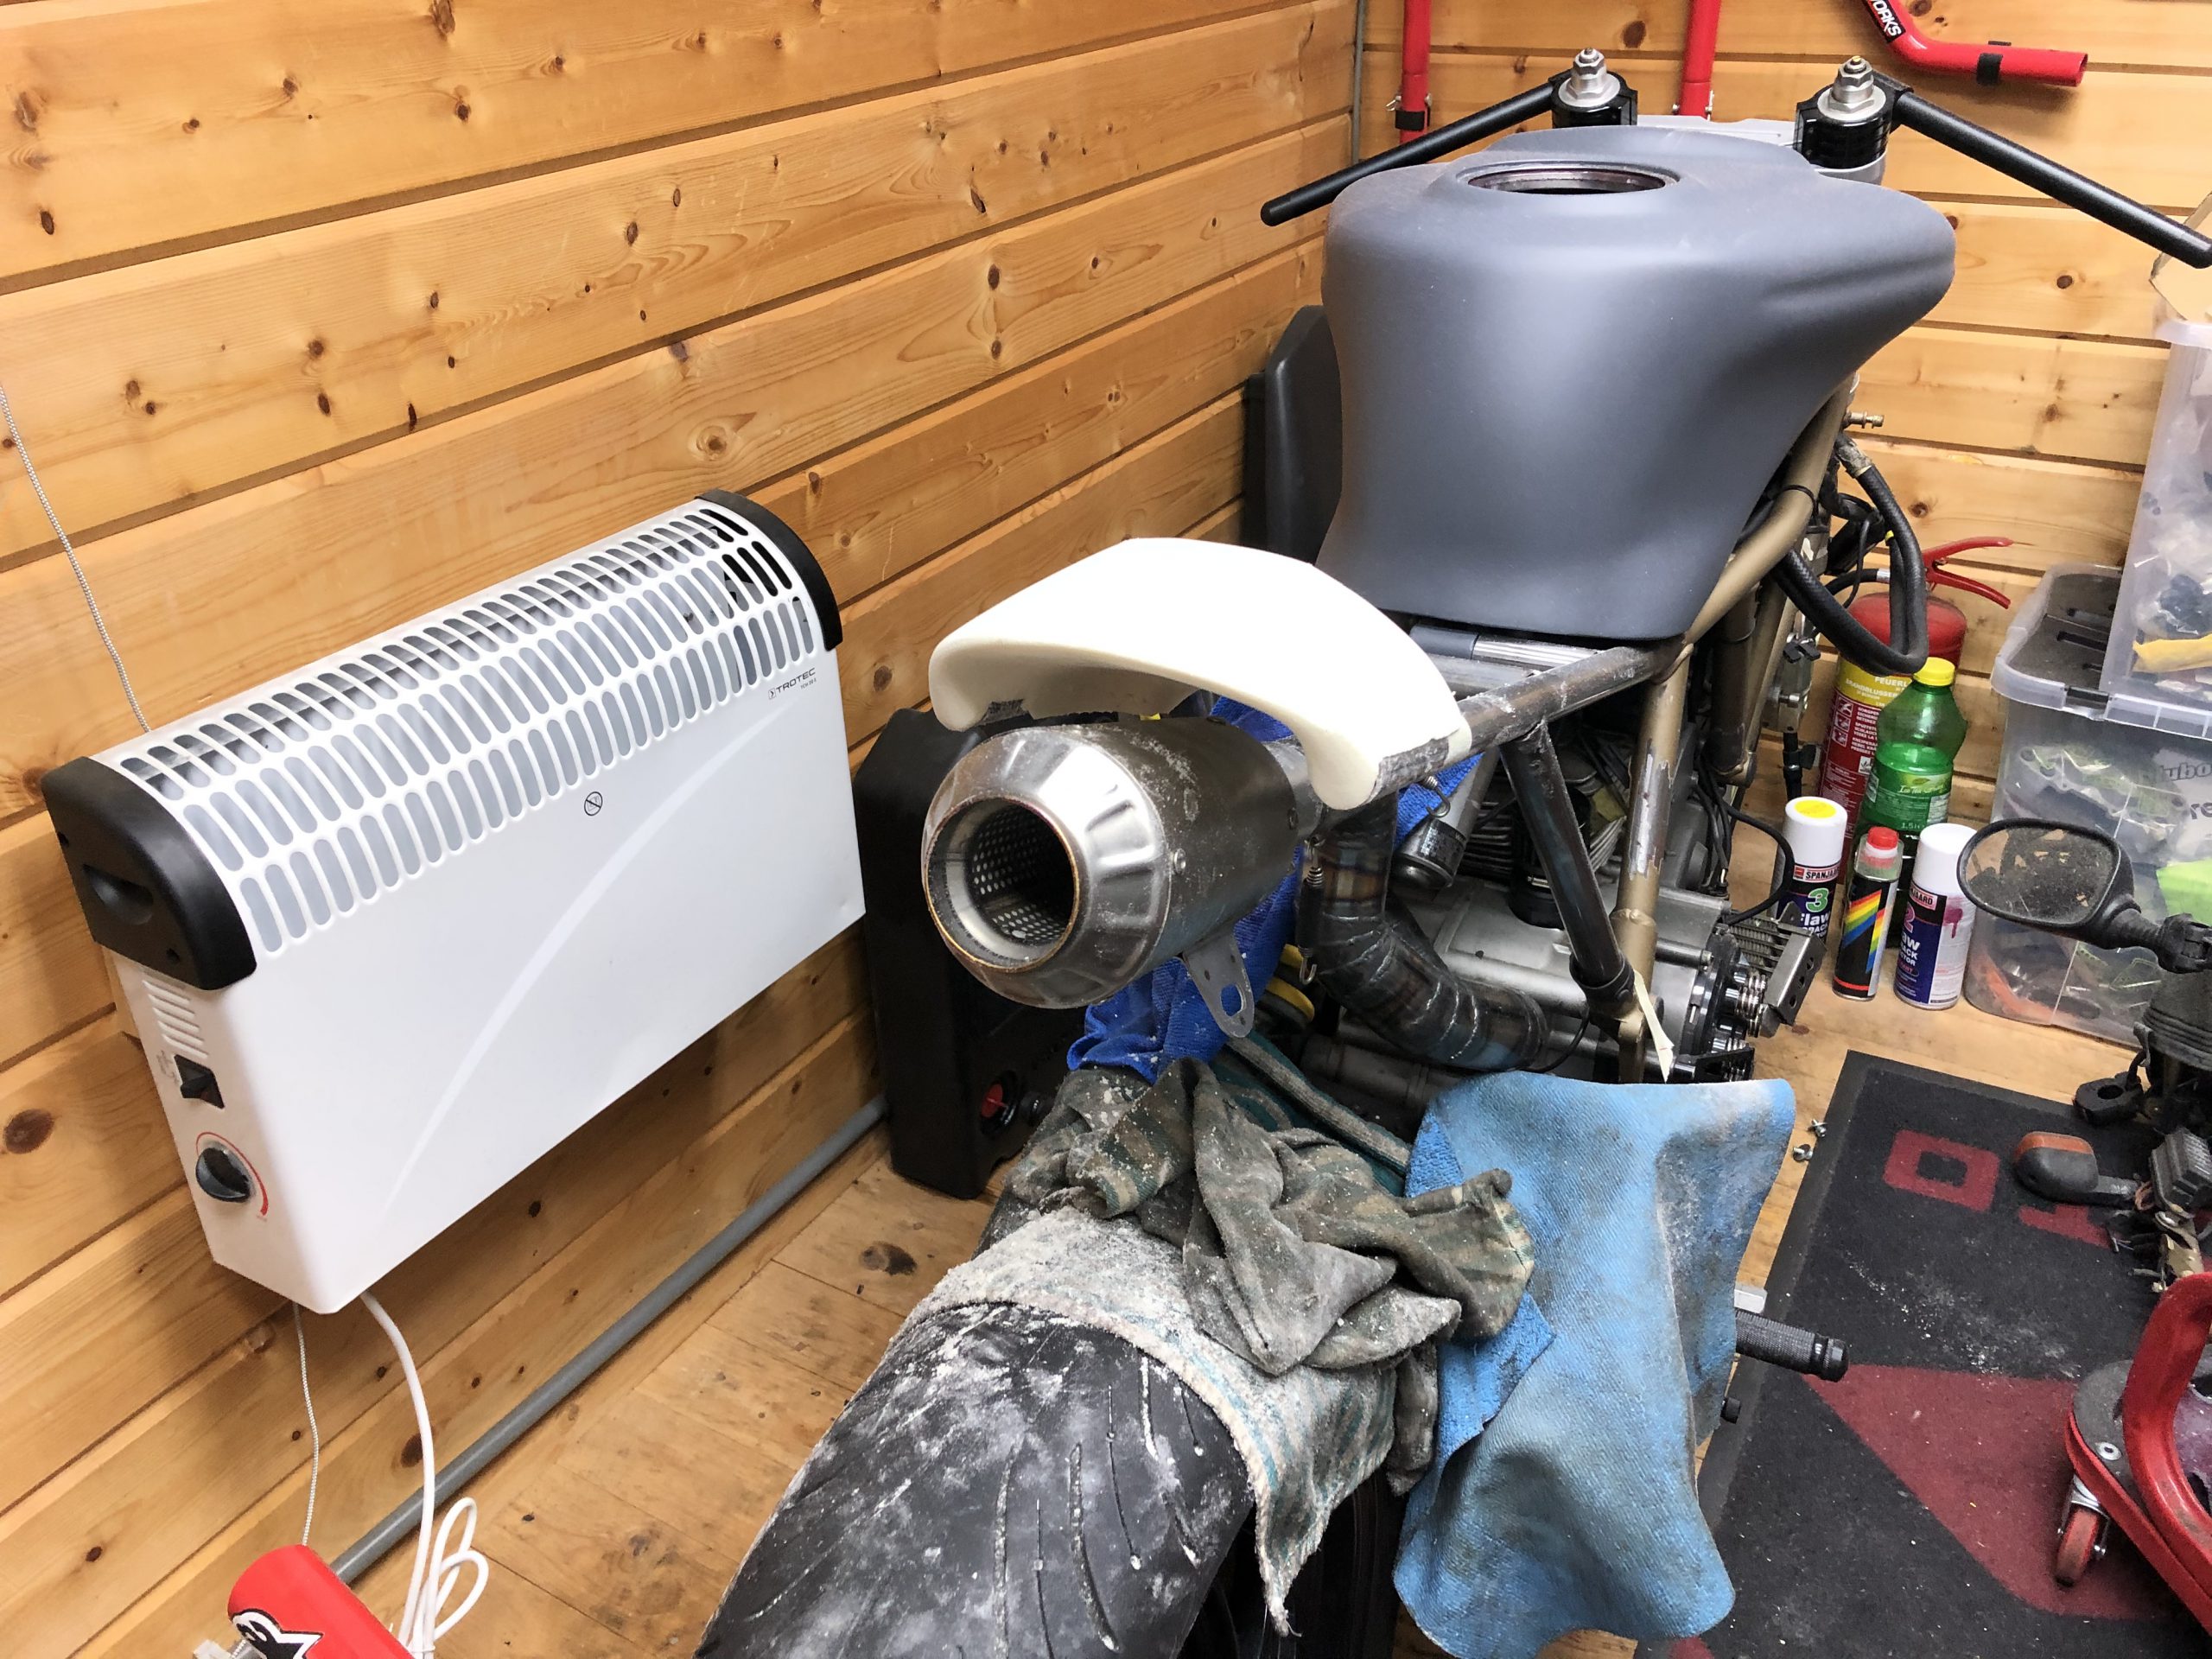
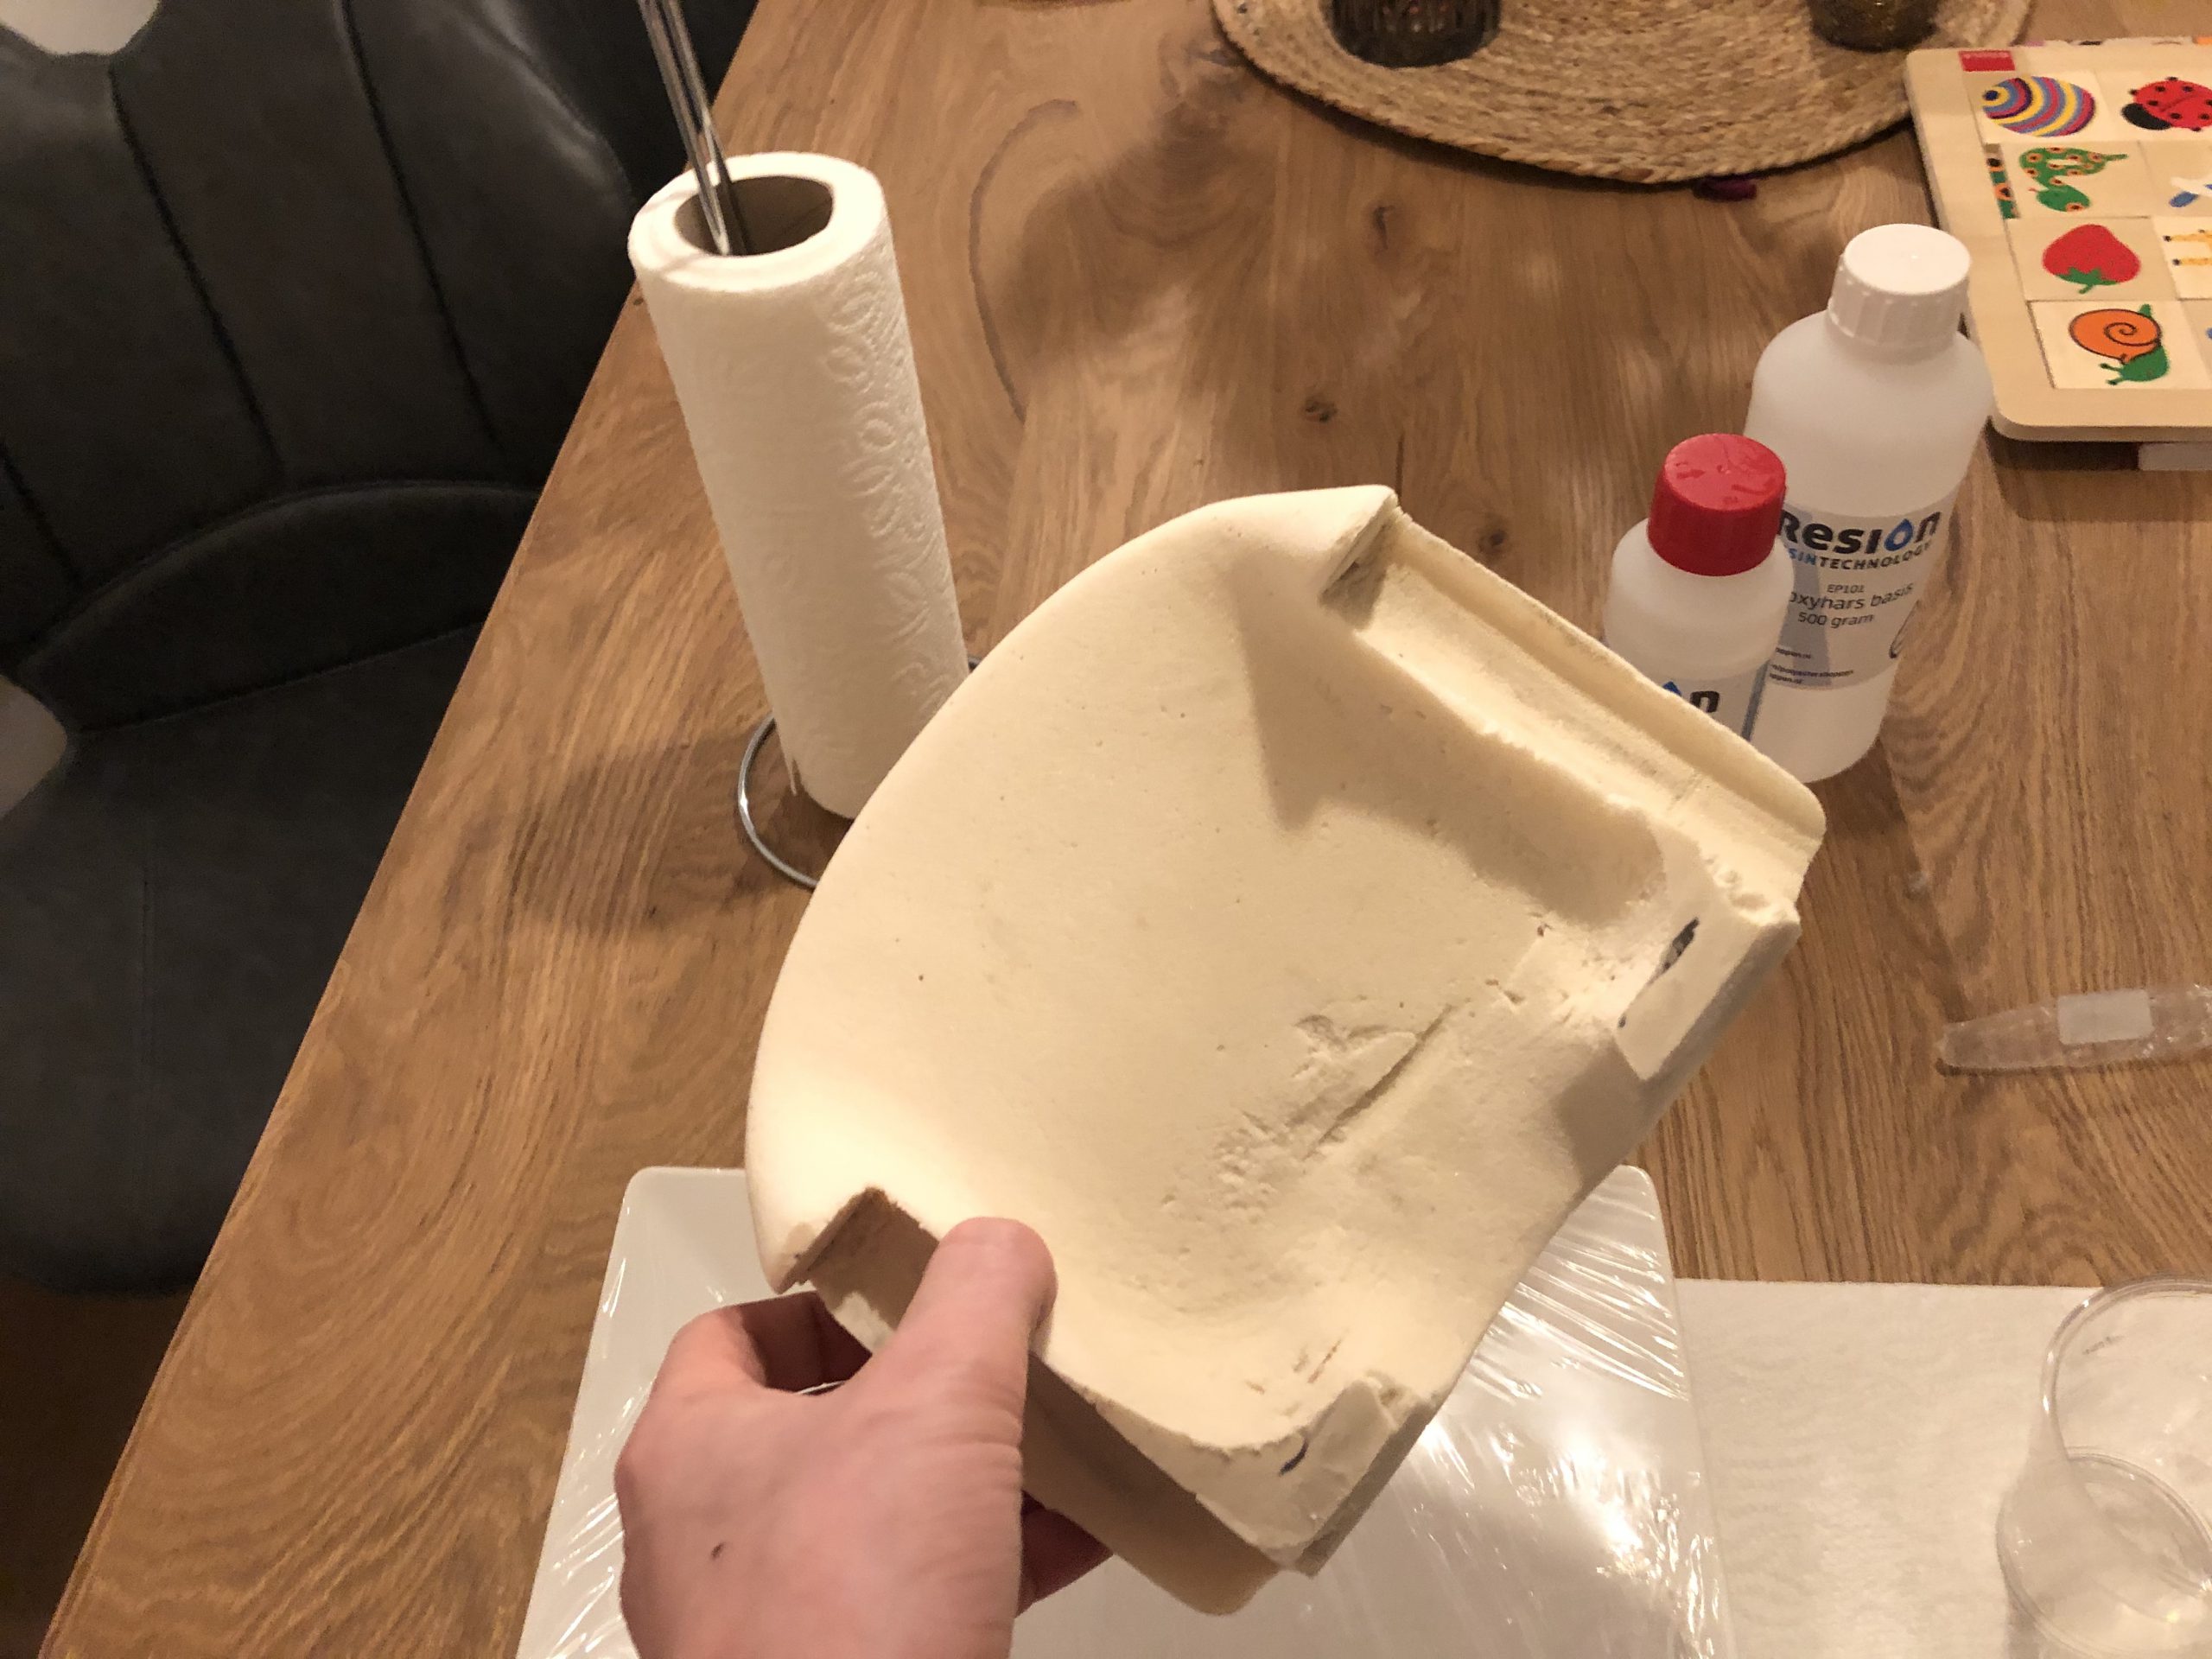
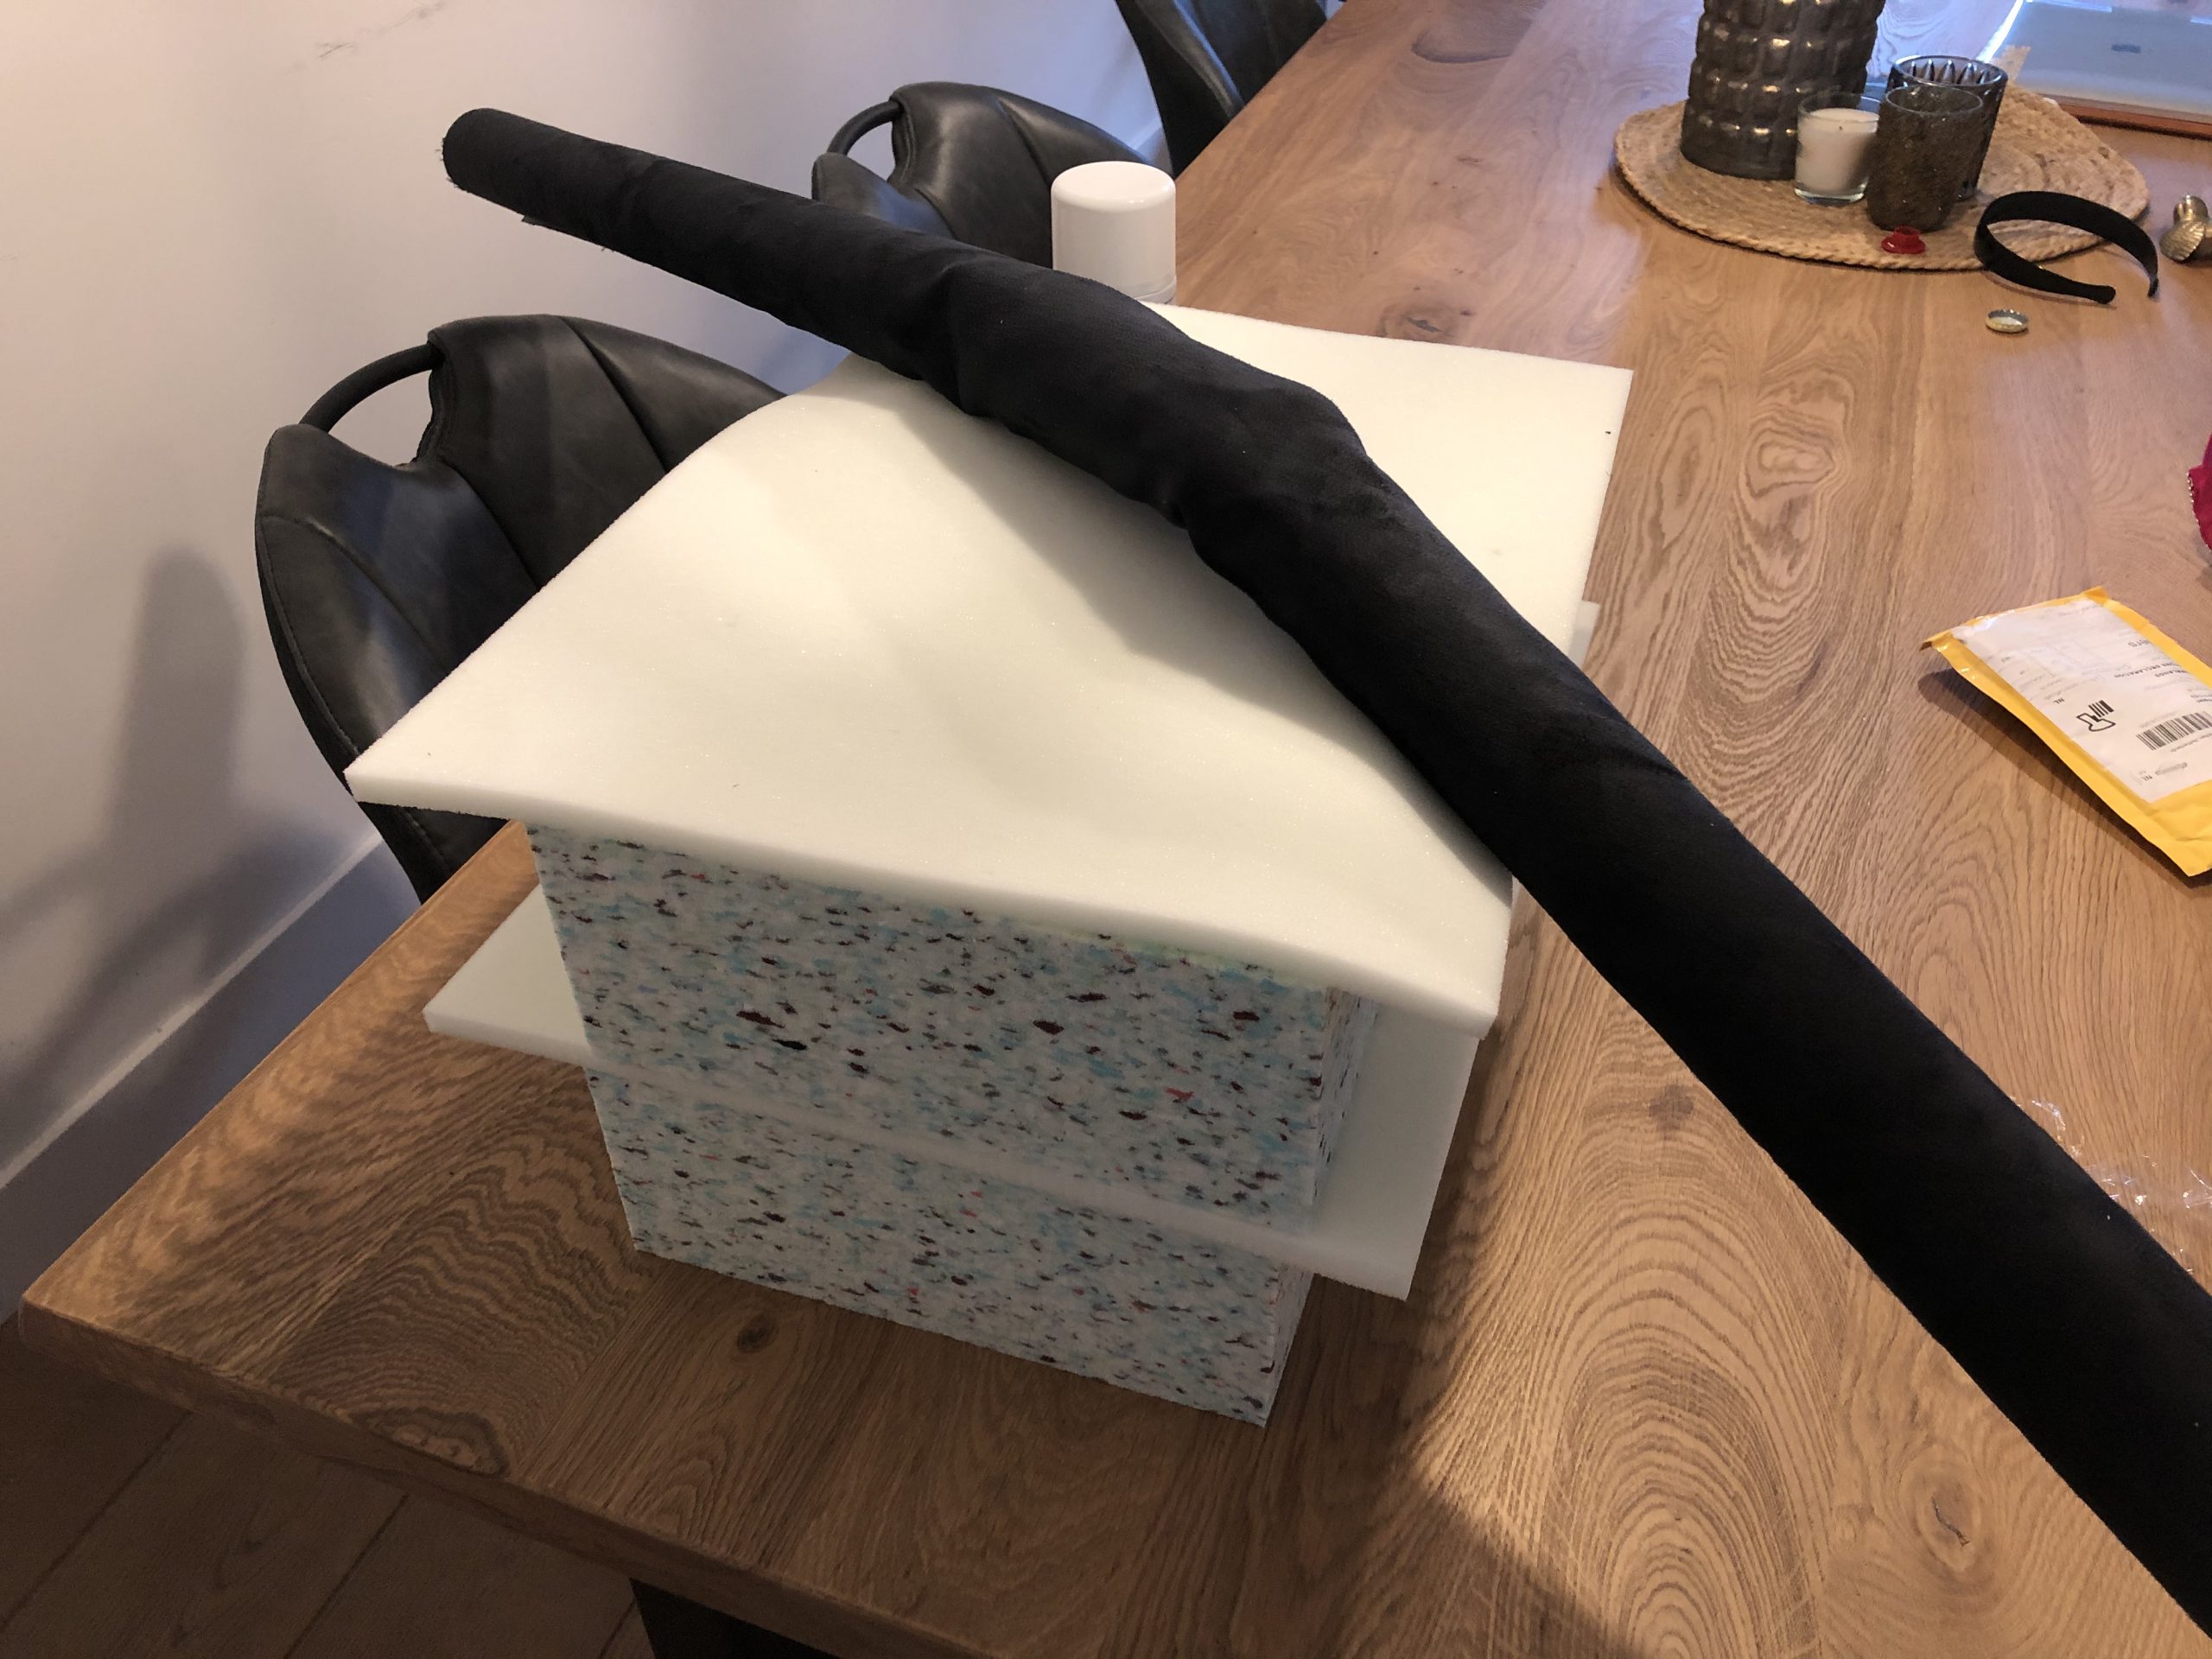
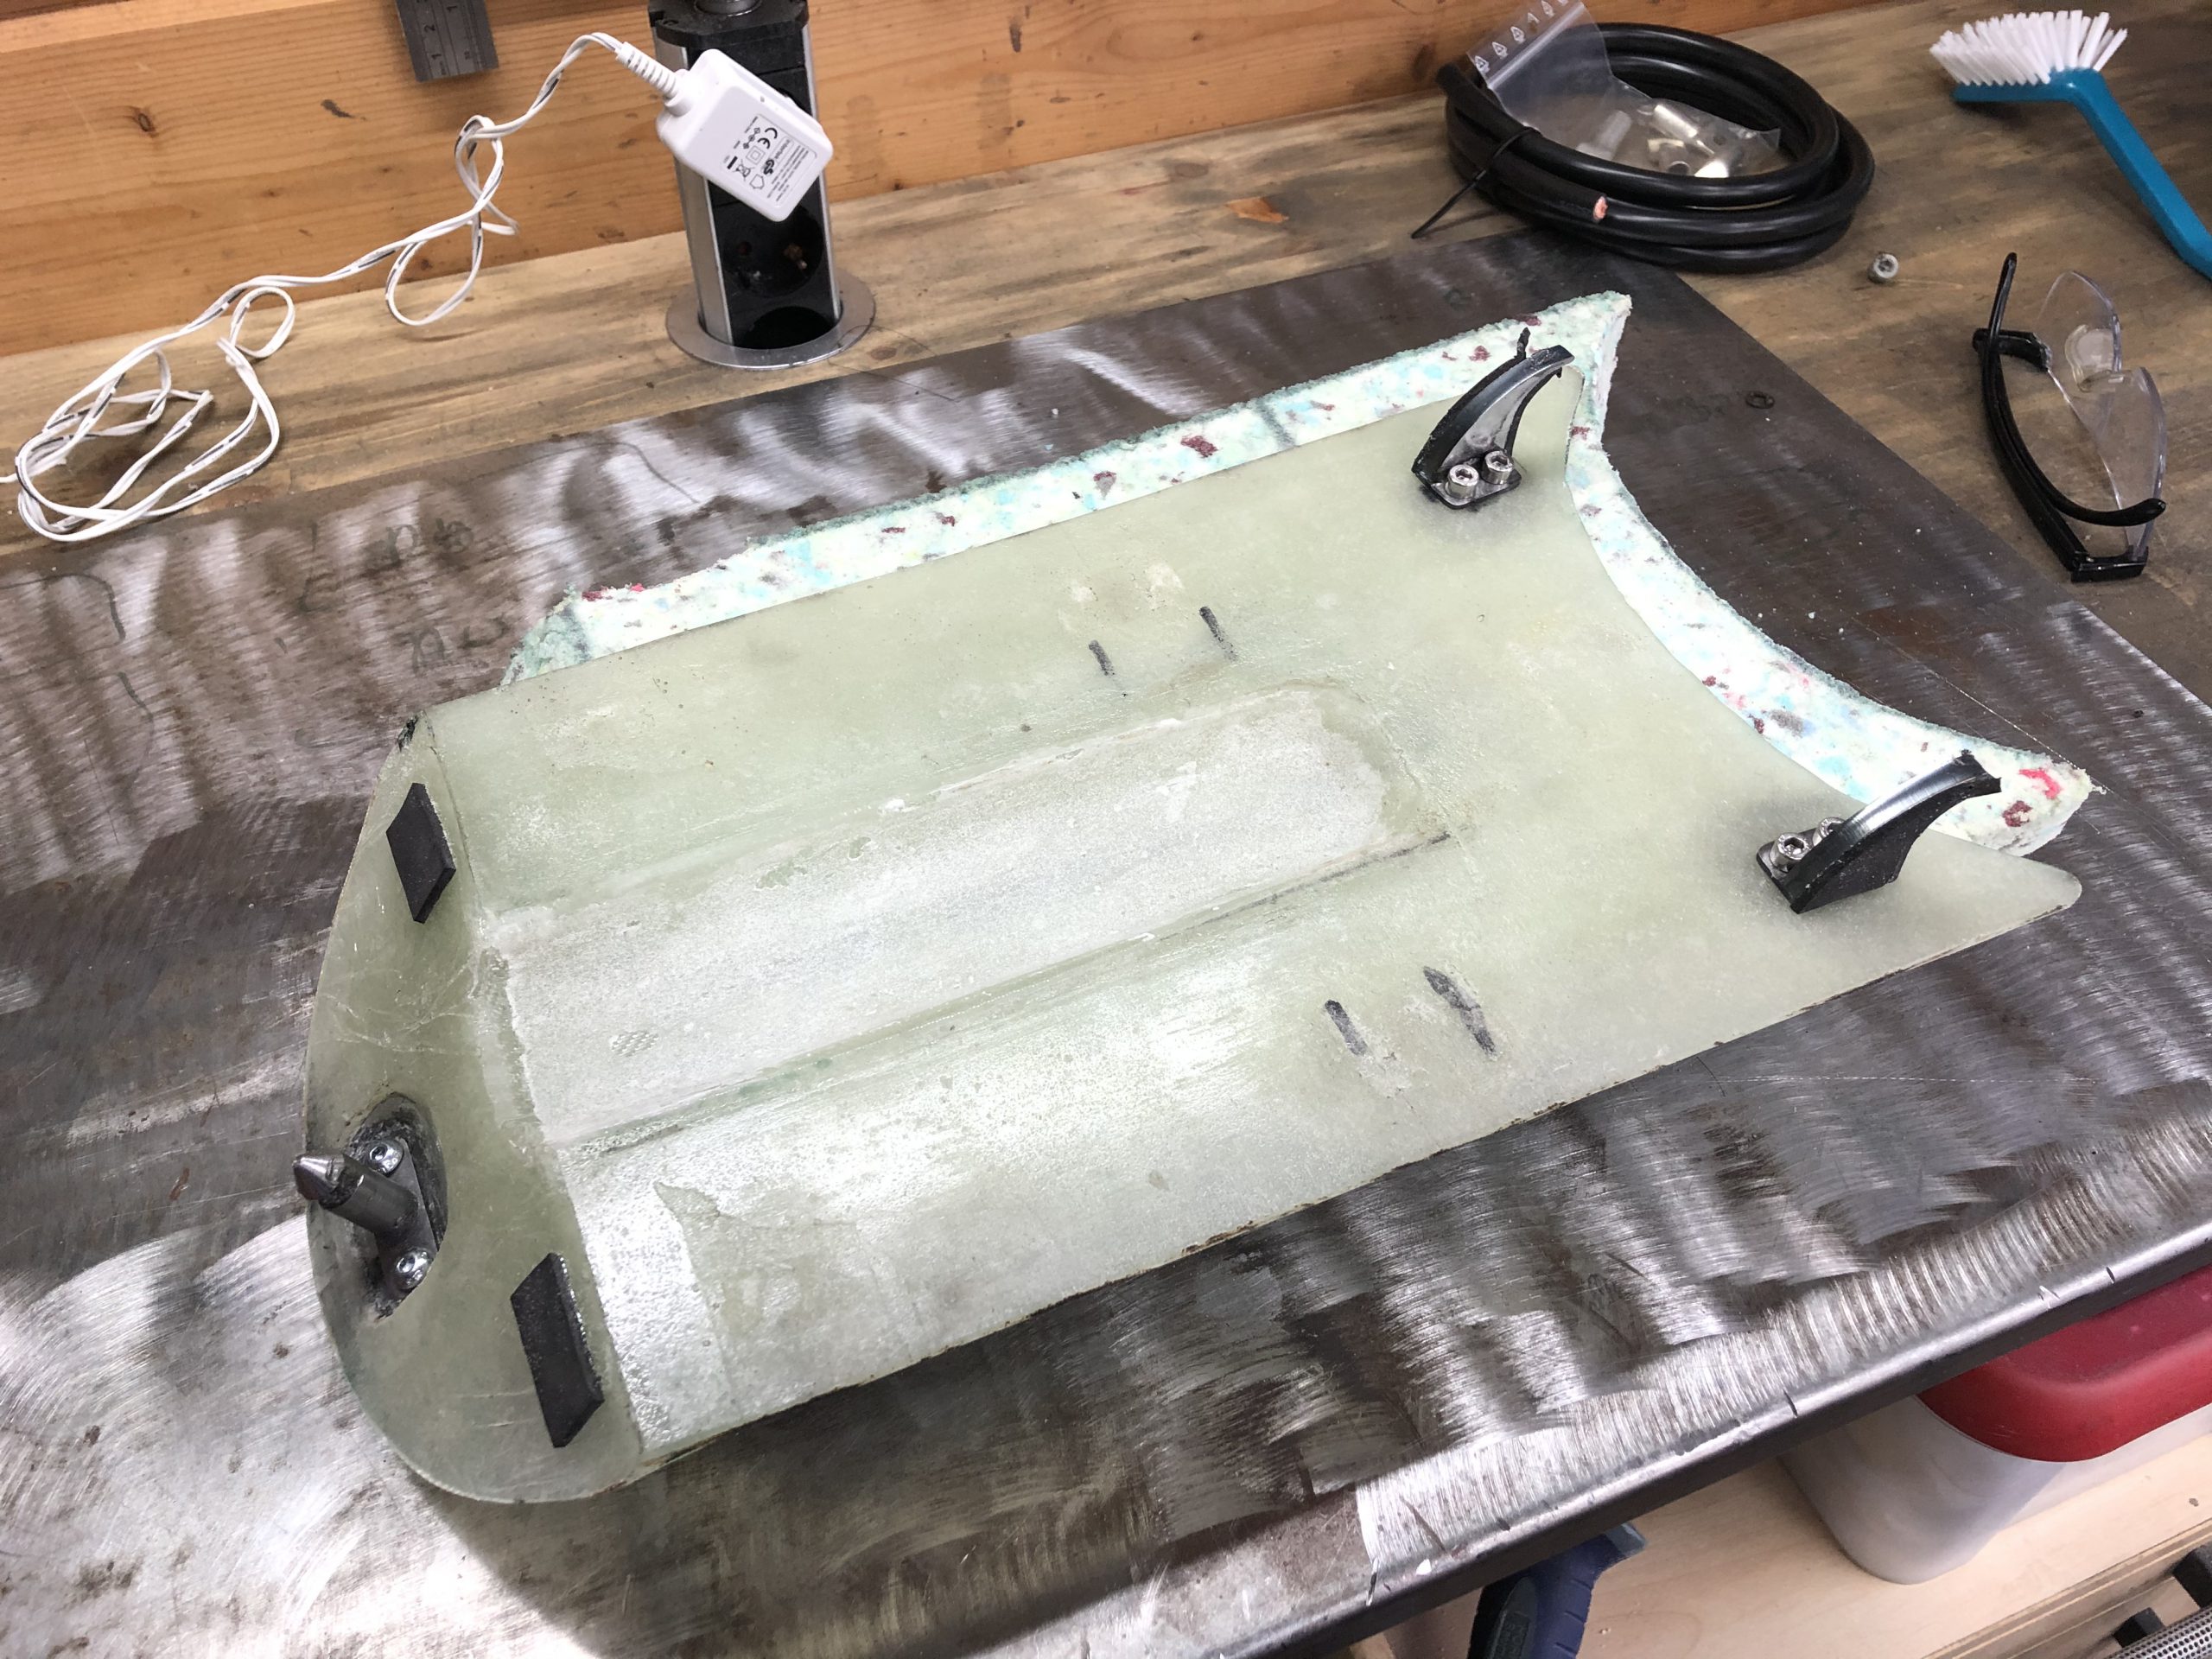
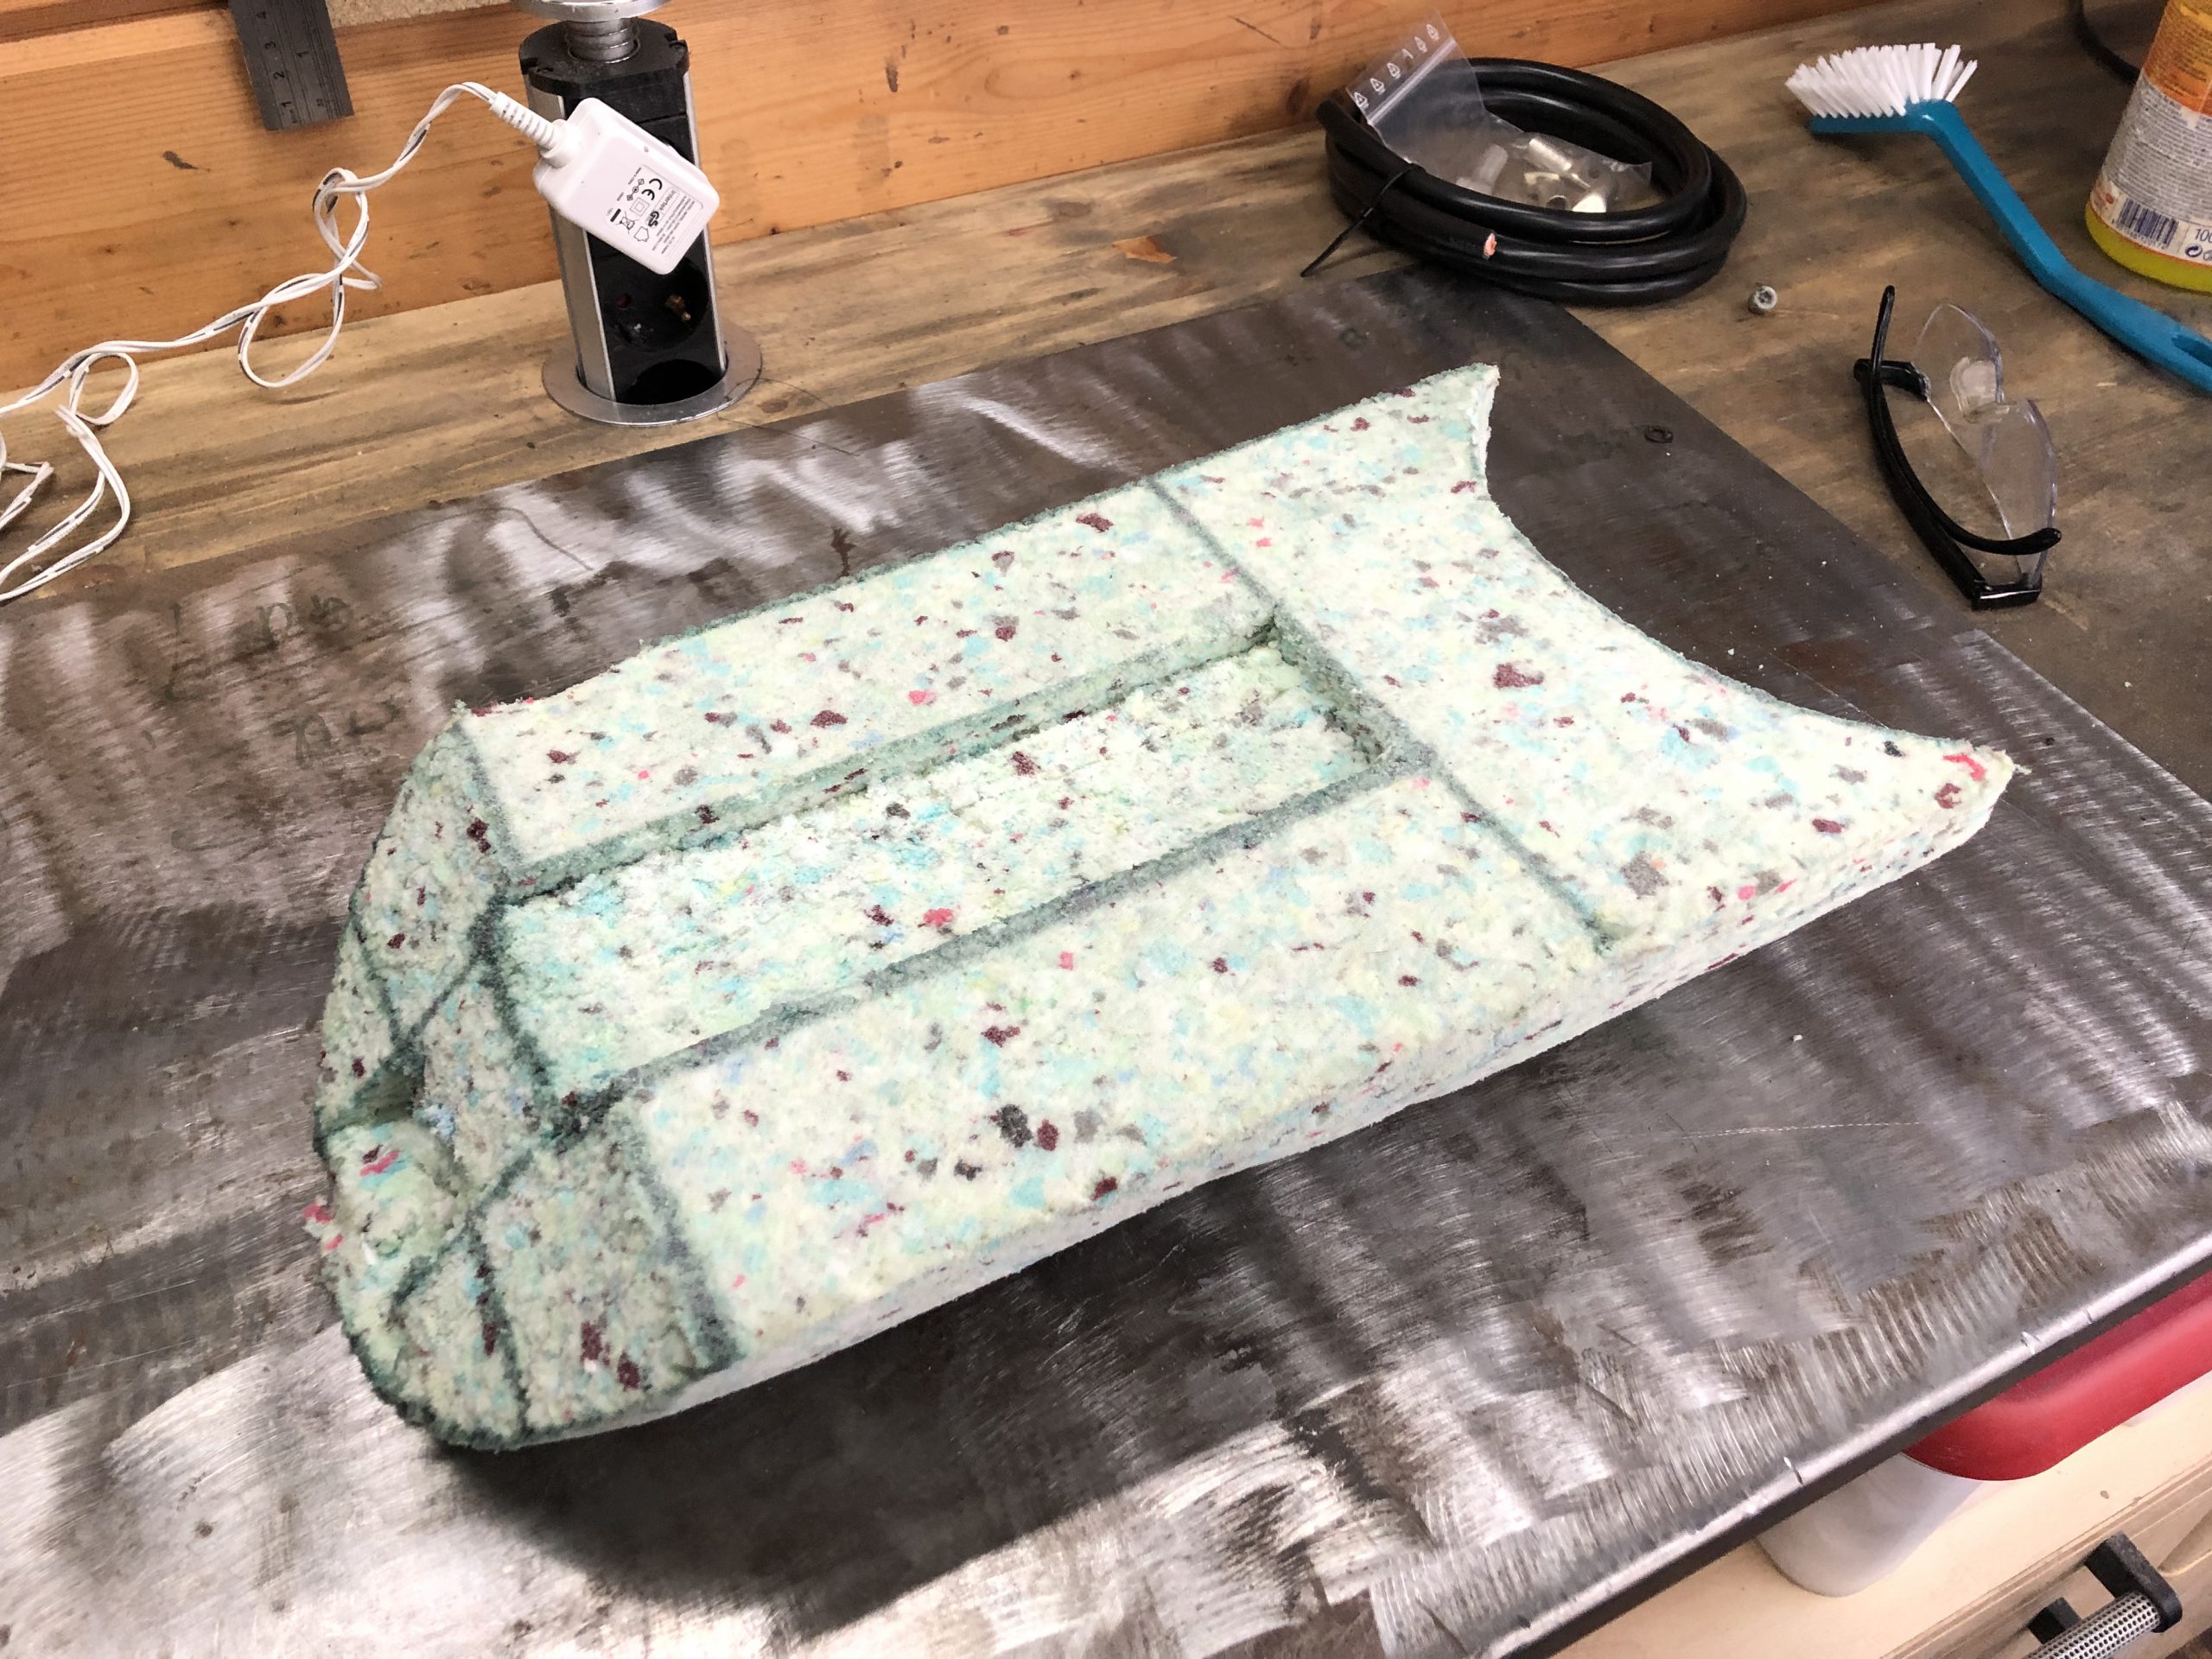
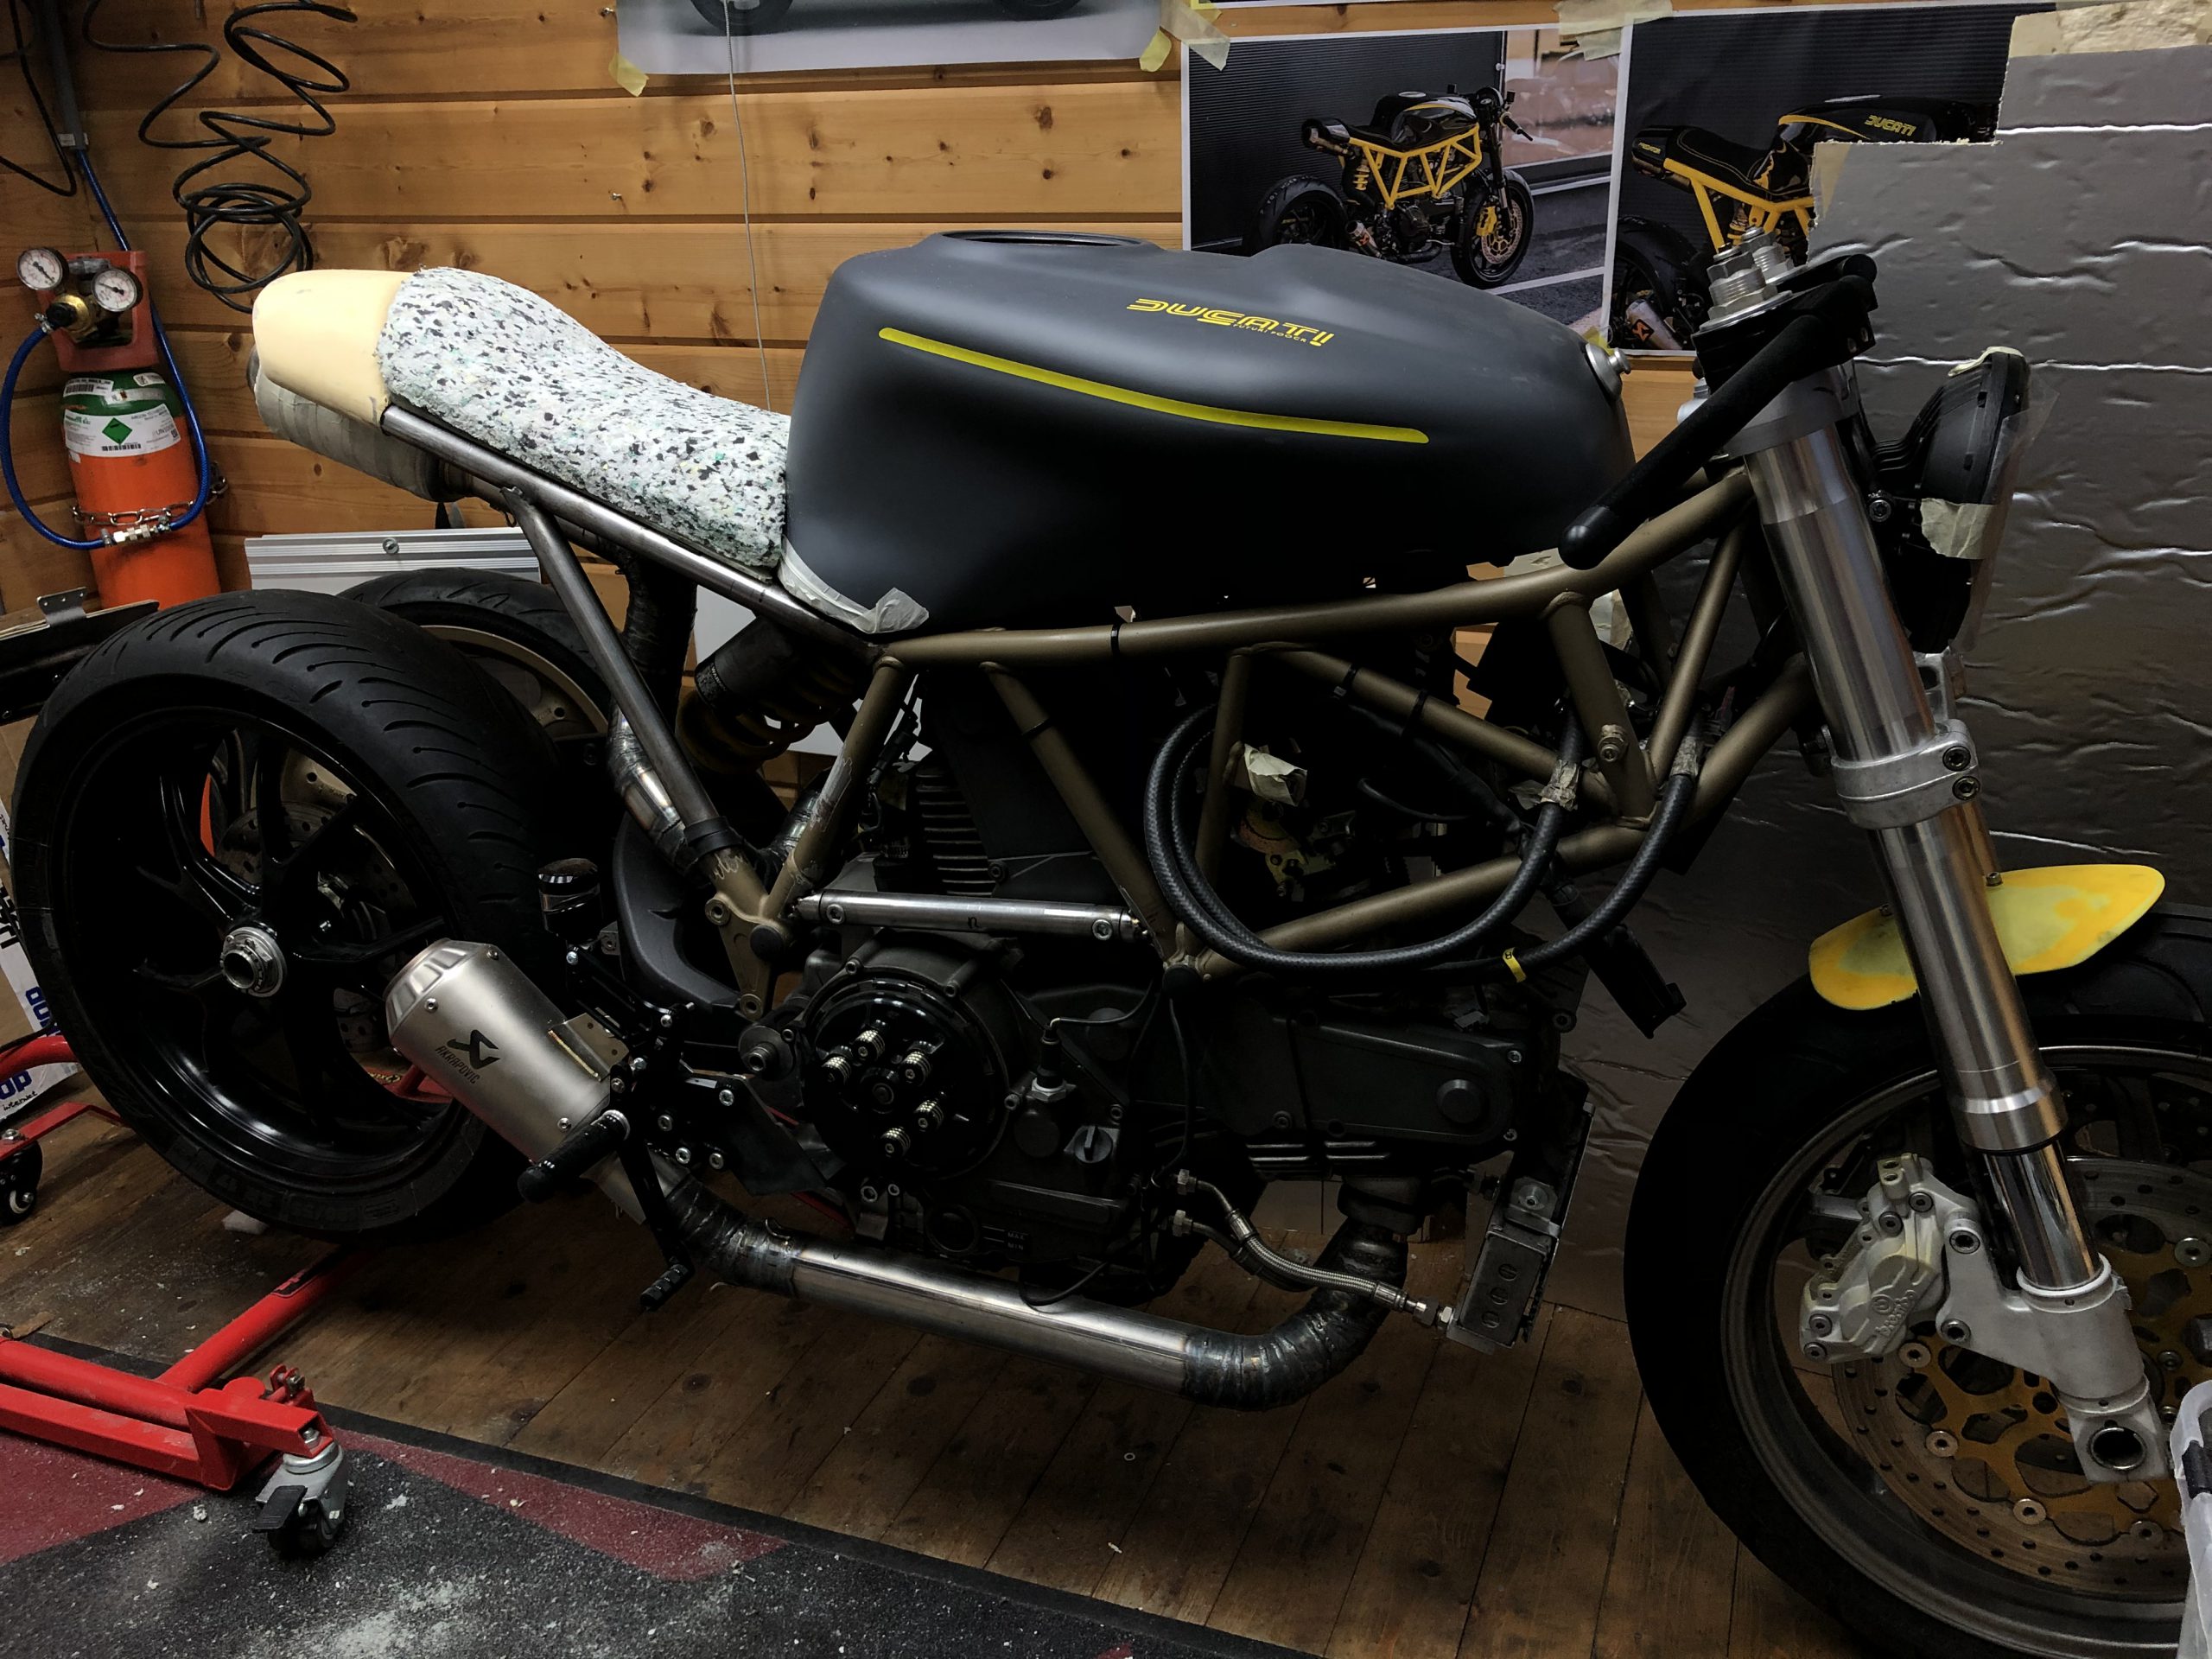
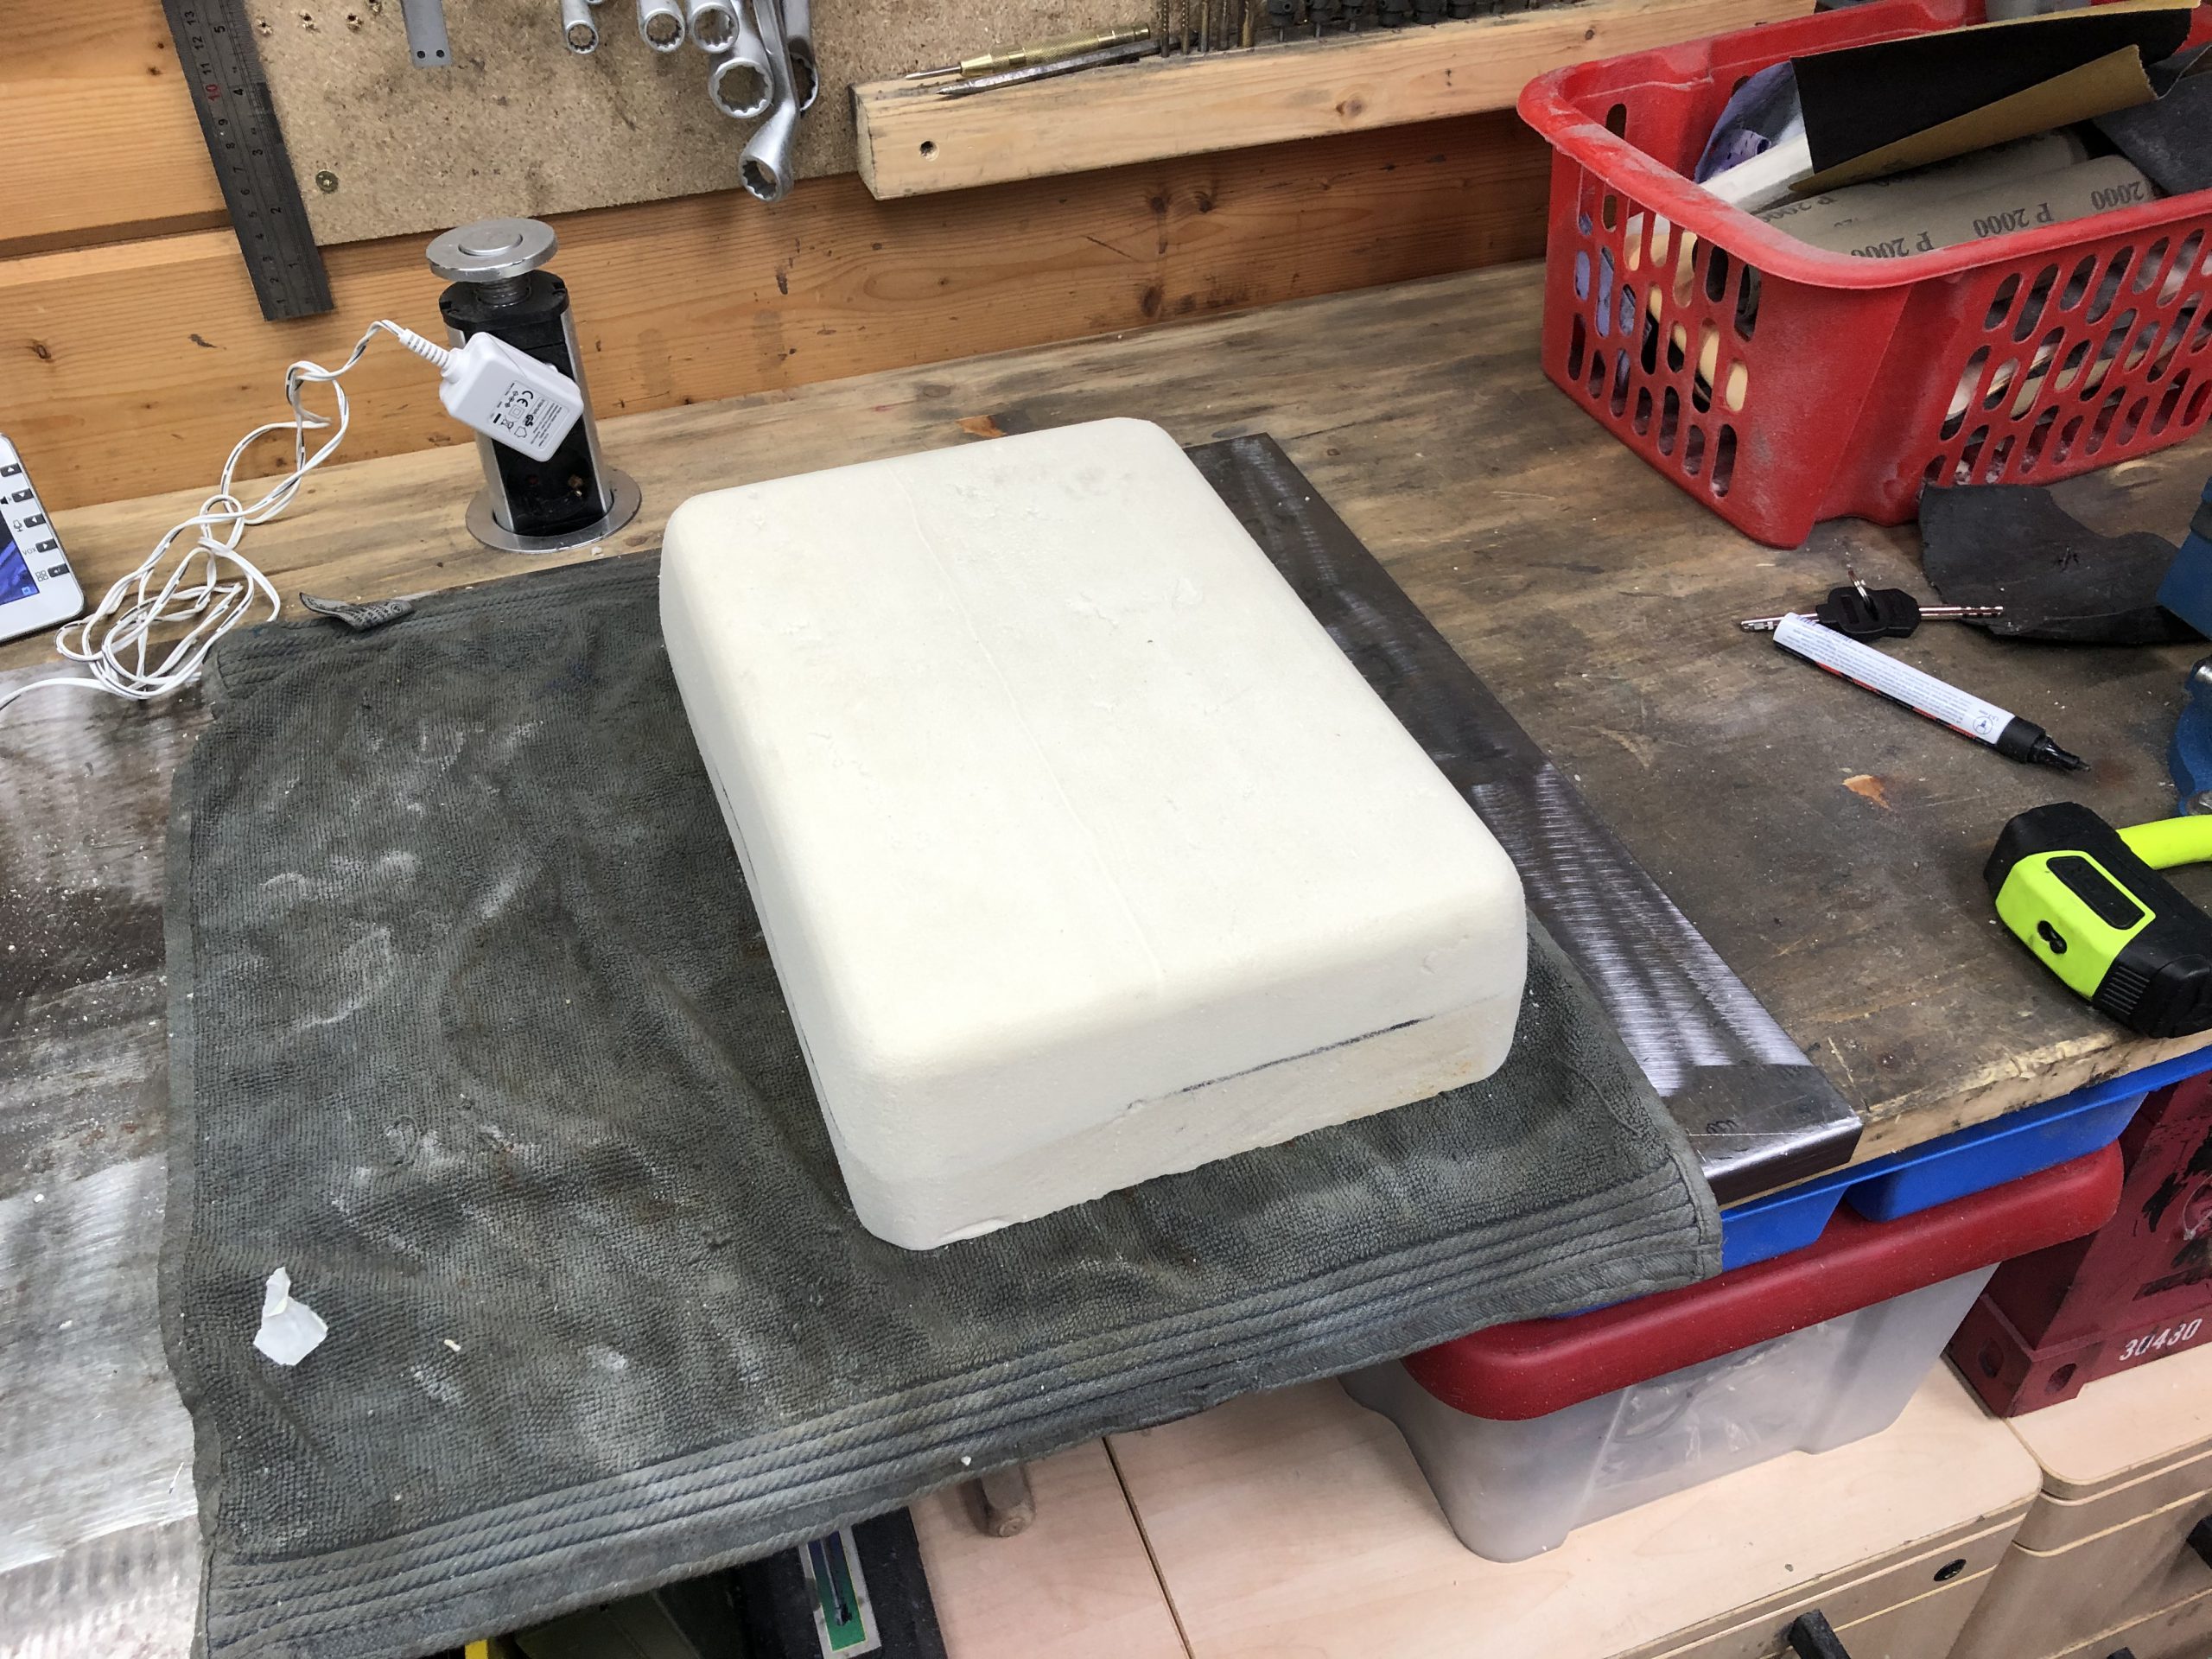
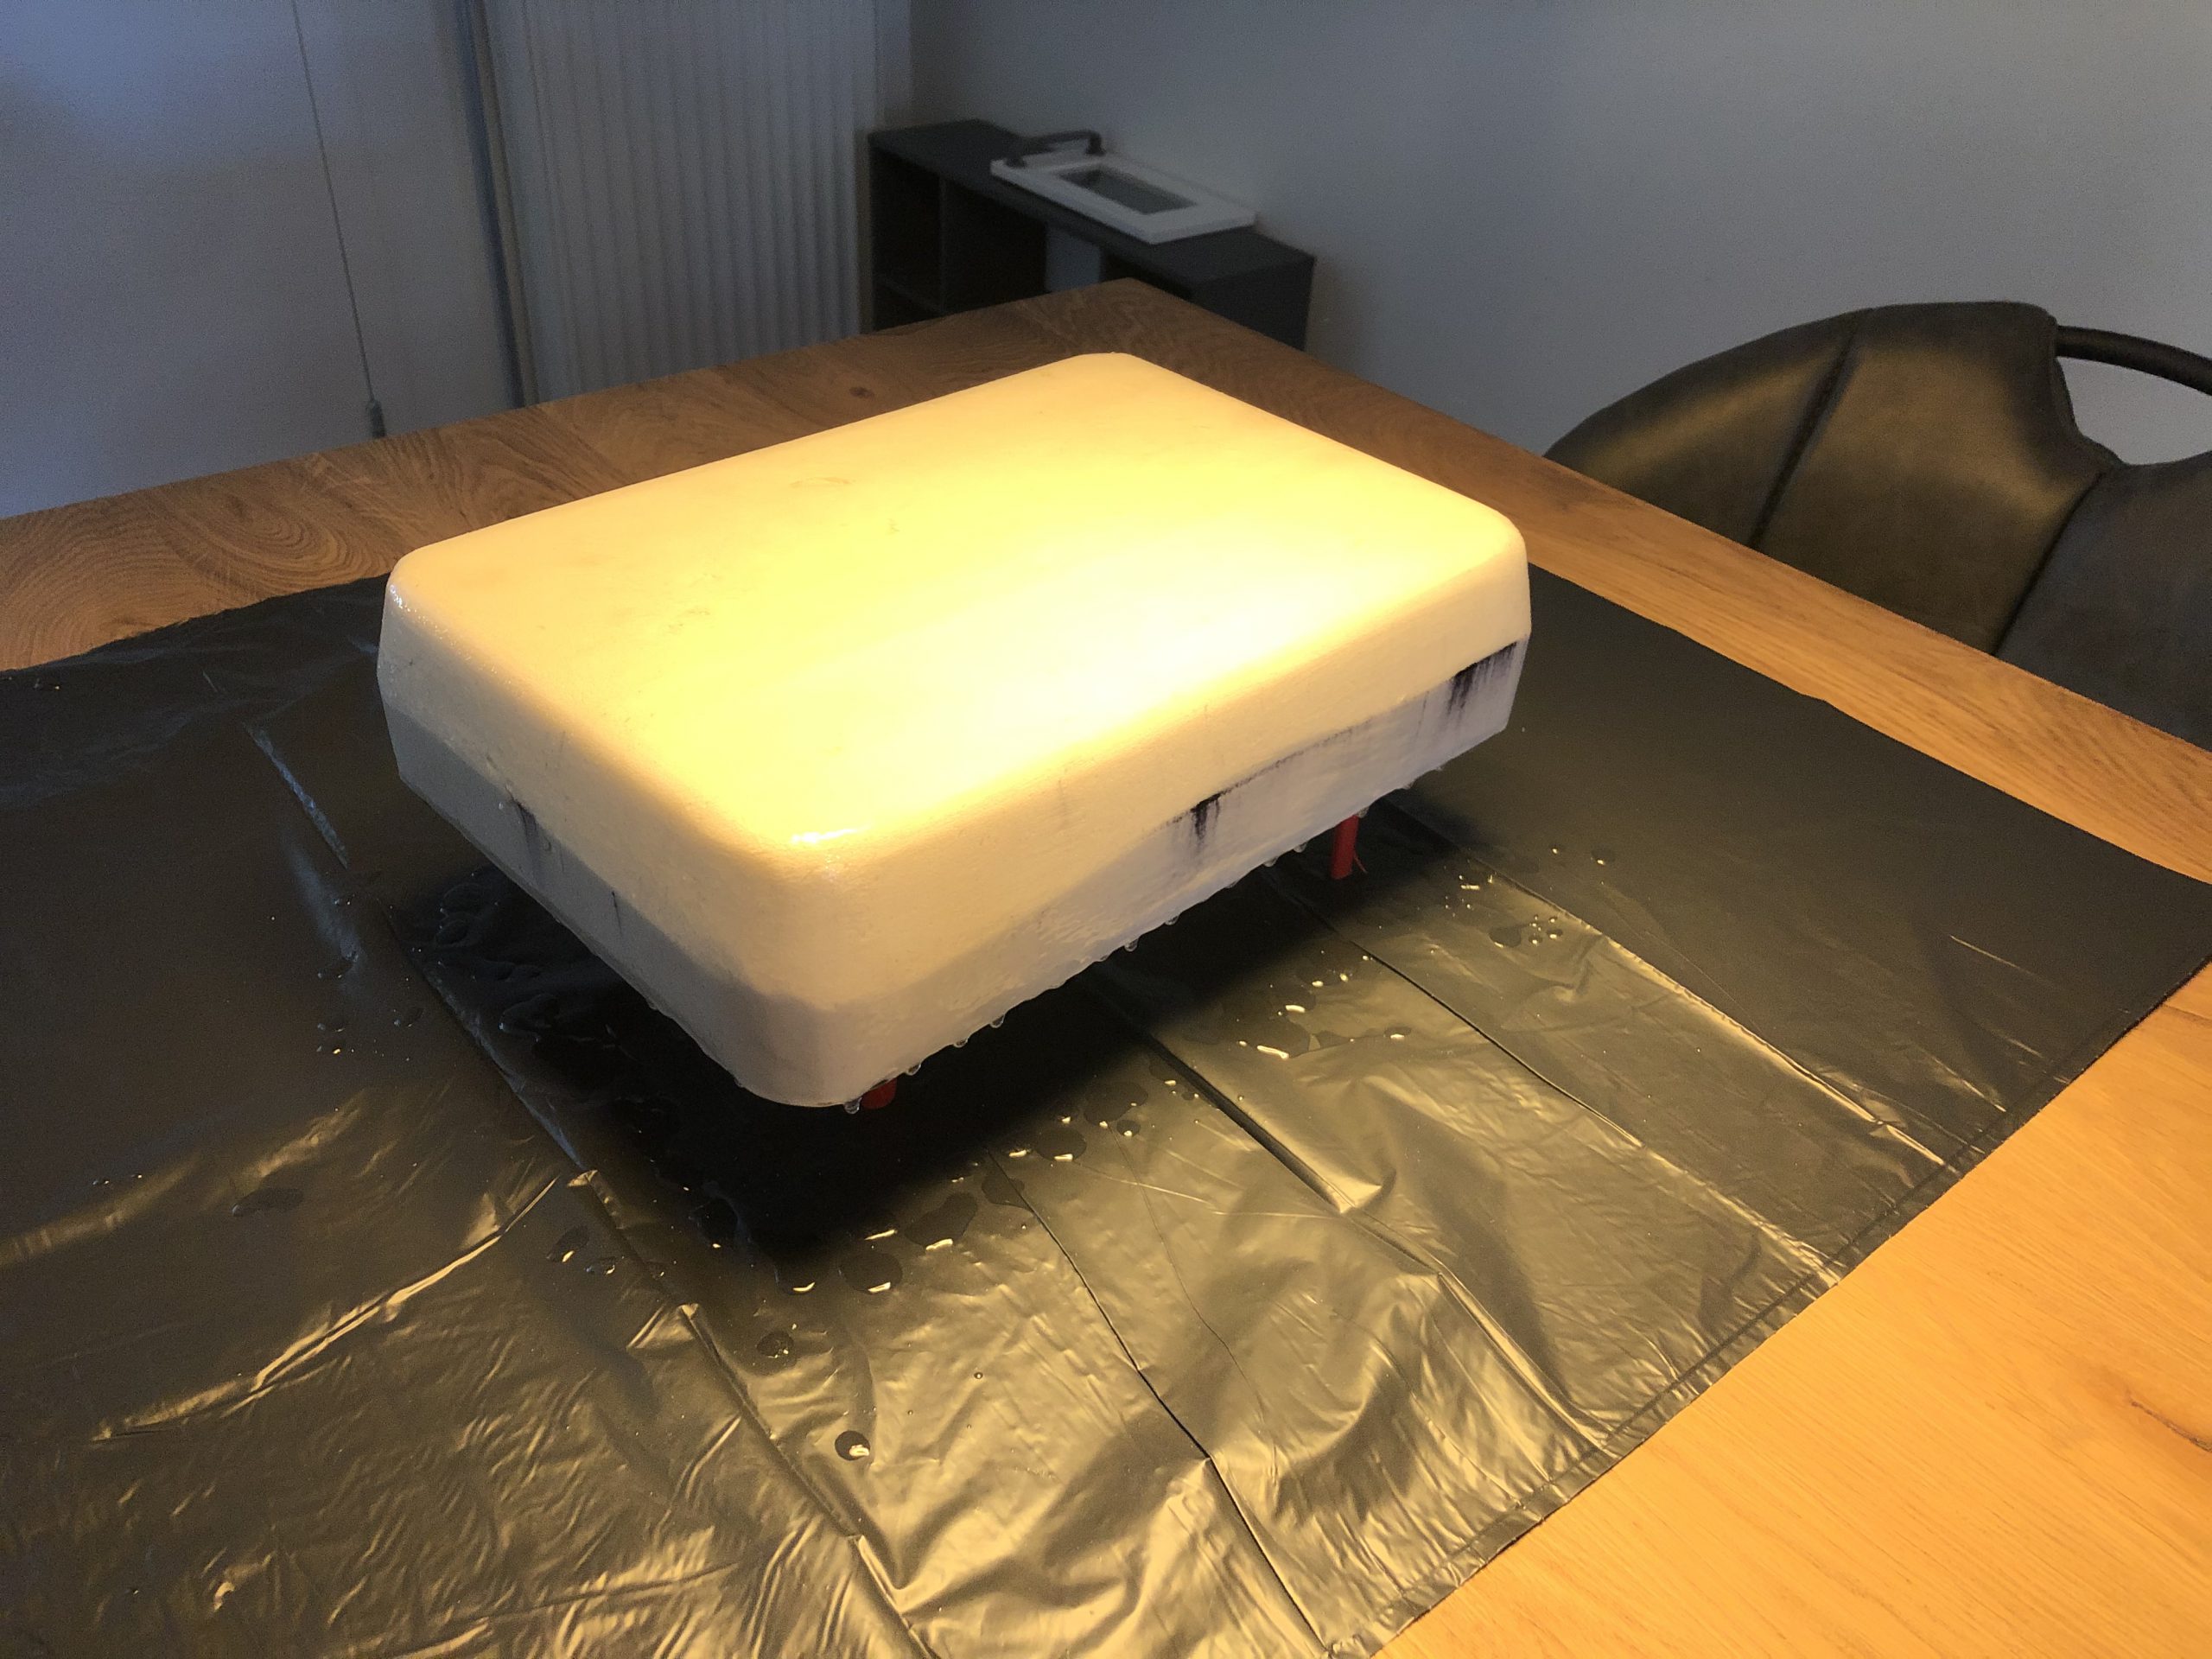
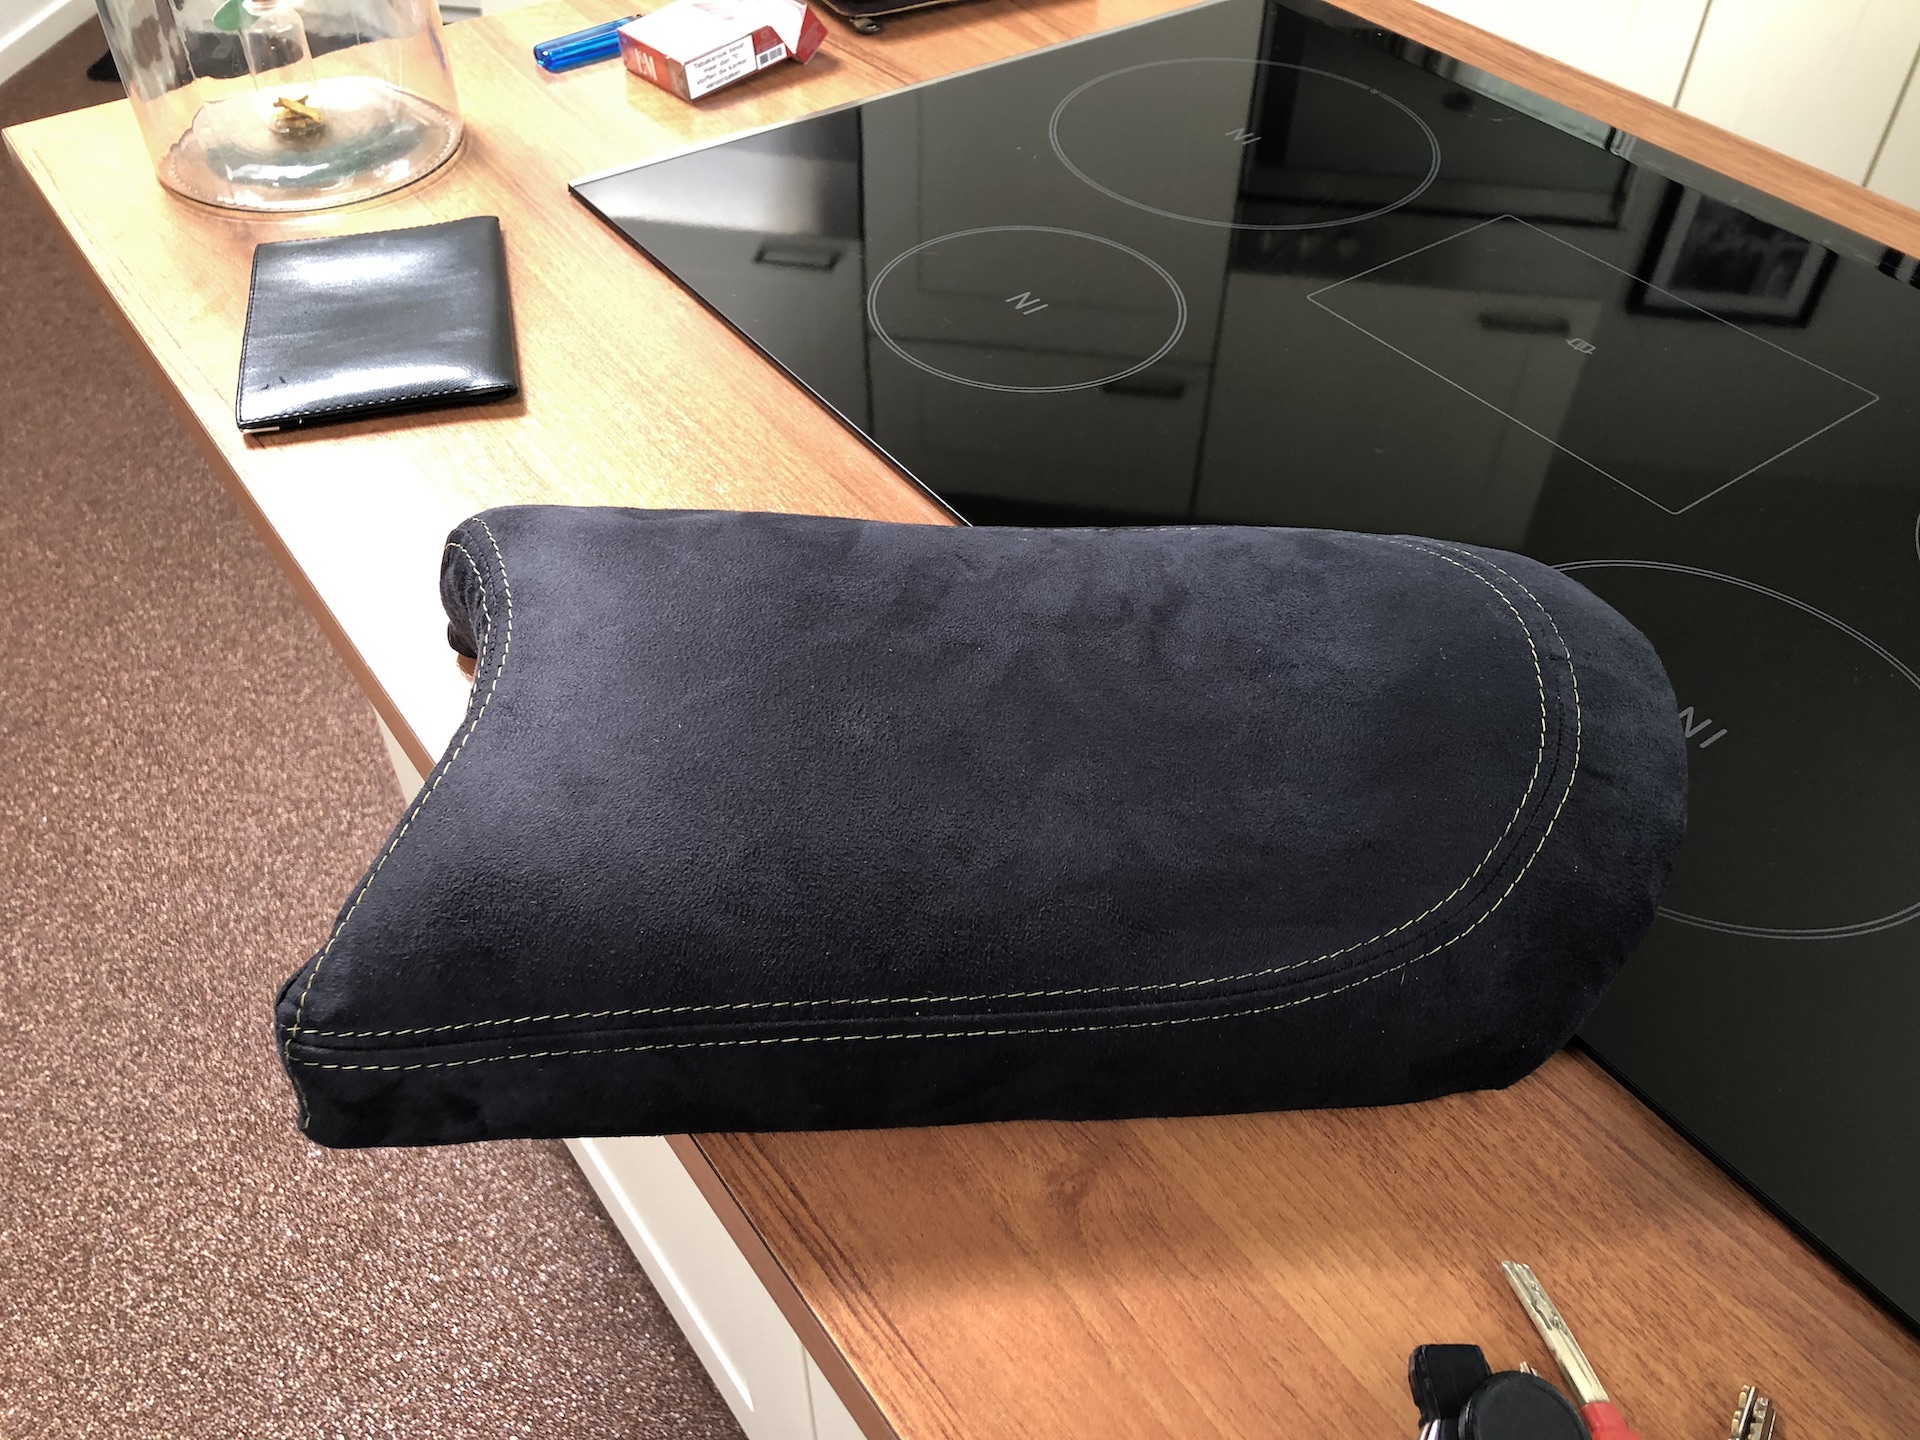
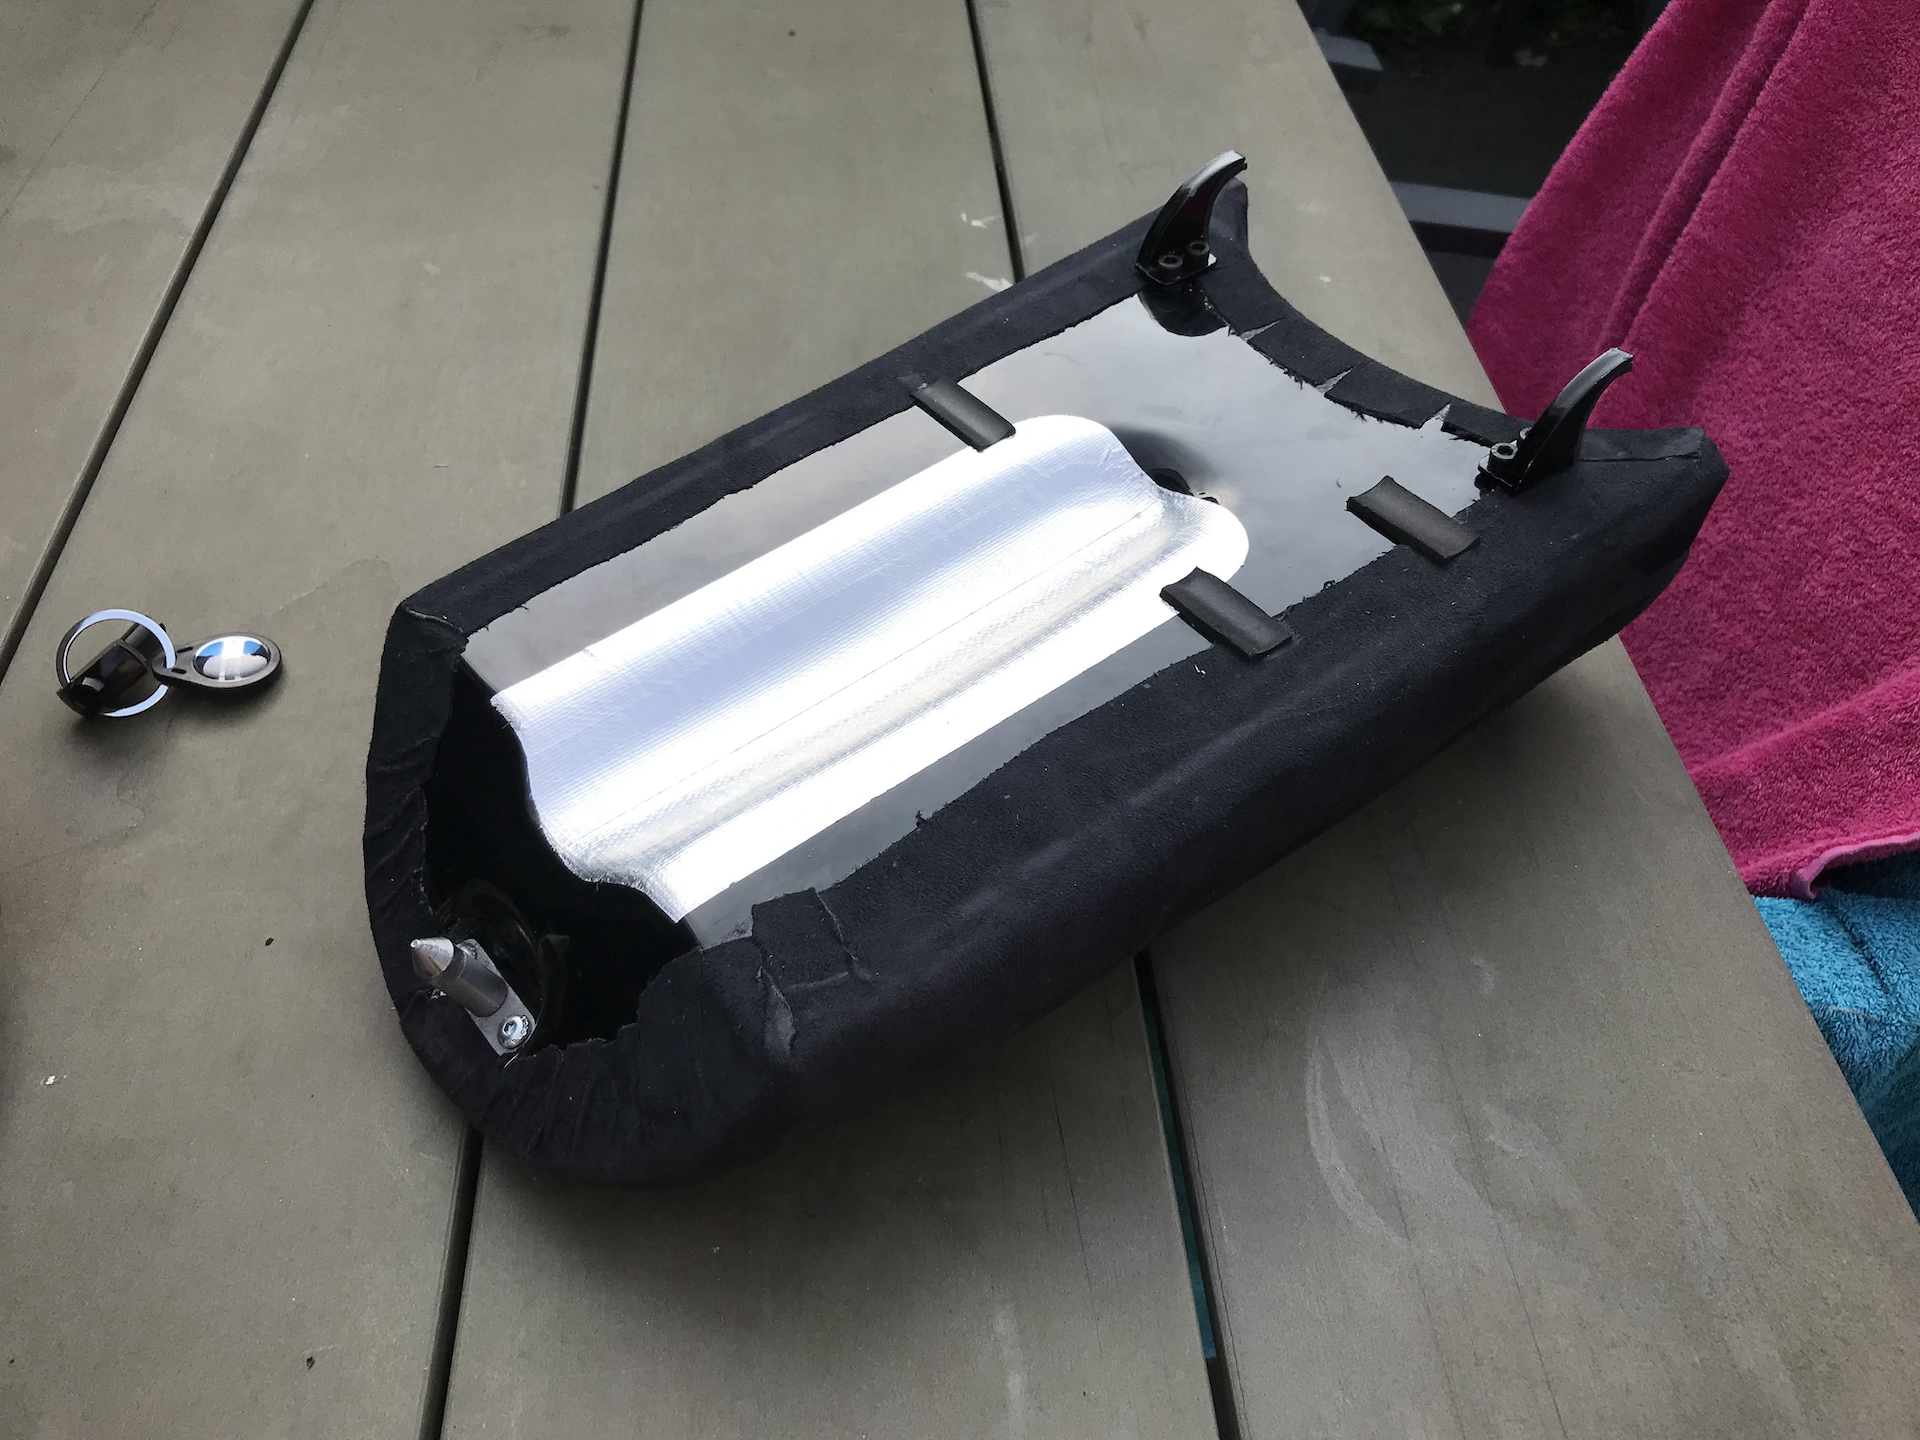
SEATING COMFORT
Time for the seat. I created the seatpan using fiberglass. As you can see i made a cutout that allows for some extra space around the exhaust due to heat.
The foam is Polypress SG120 that is going to be lined with Alcantara. Between the Polypress and Alcantara is going to be Polyether SG40 to make sure it has a nice smooth look. Used a grinder to get the foam into shape. Holy shit the dust!!!
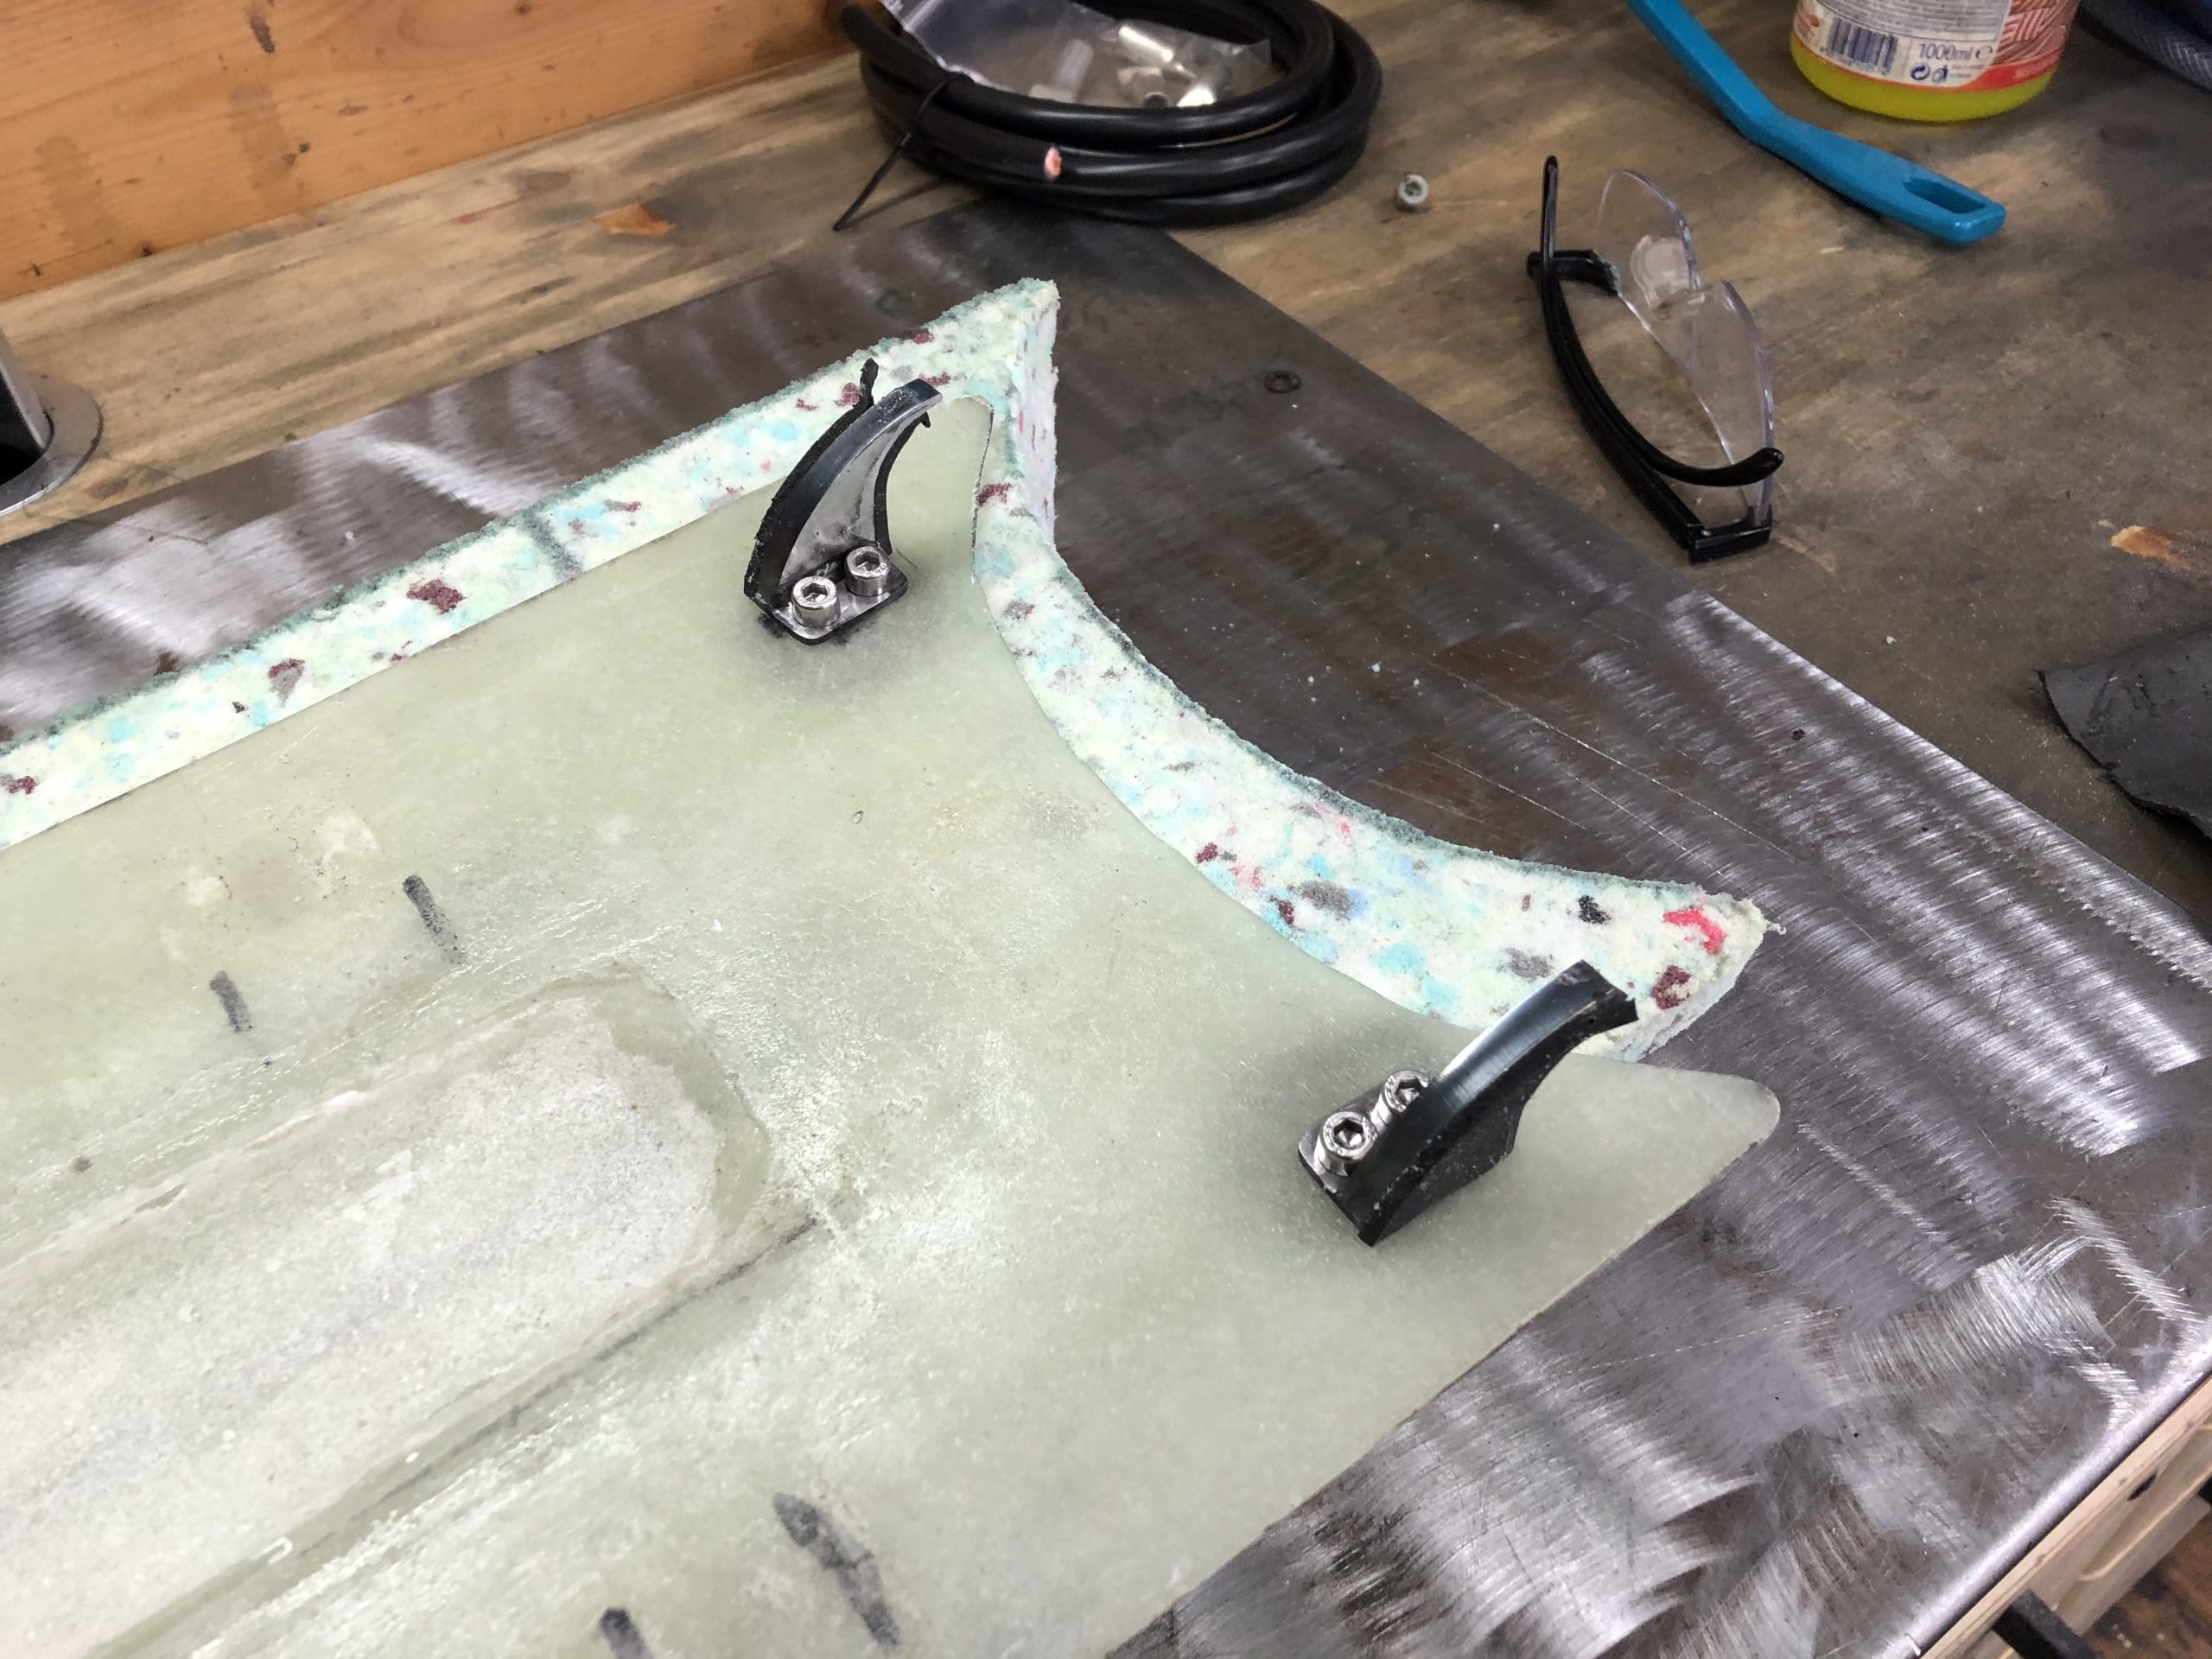
The seatpan mounts to the subframe using 2 clip thingies in the front, and locks to the rear fairing using a custom made locking pin.


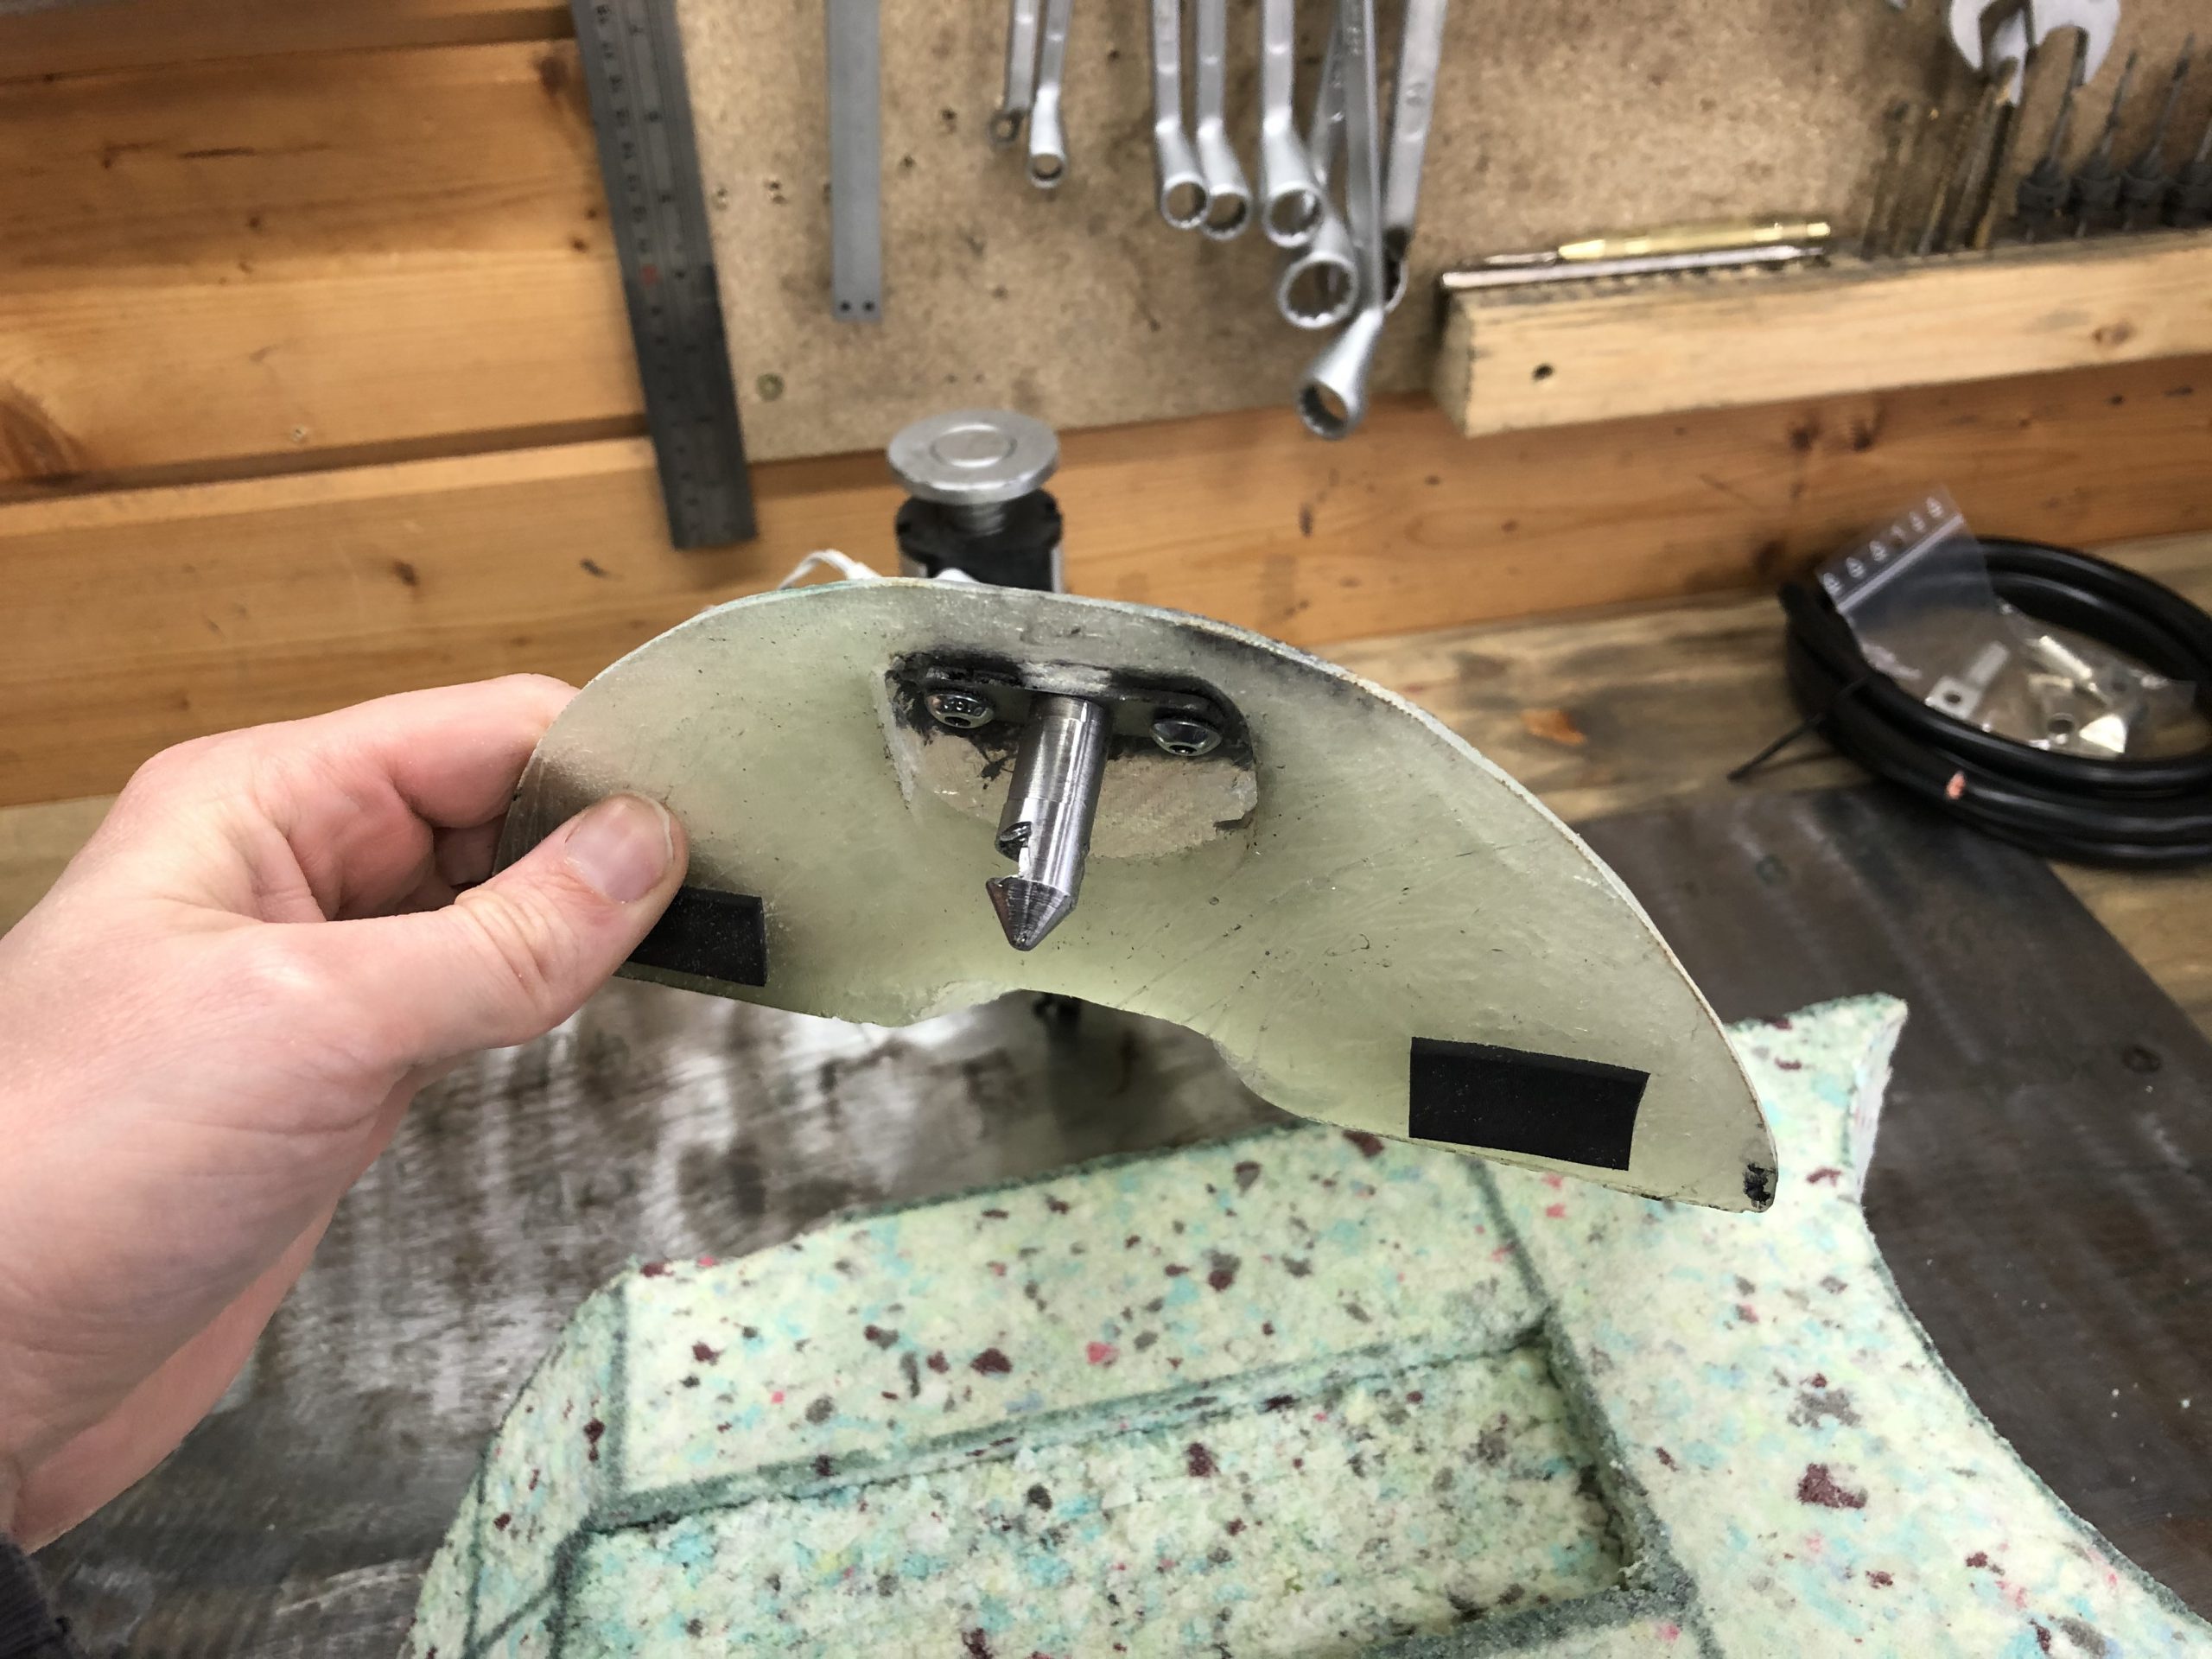


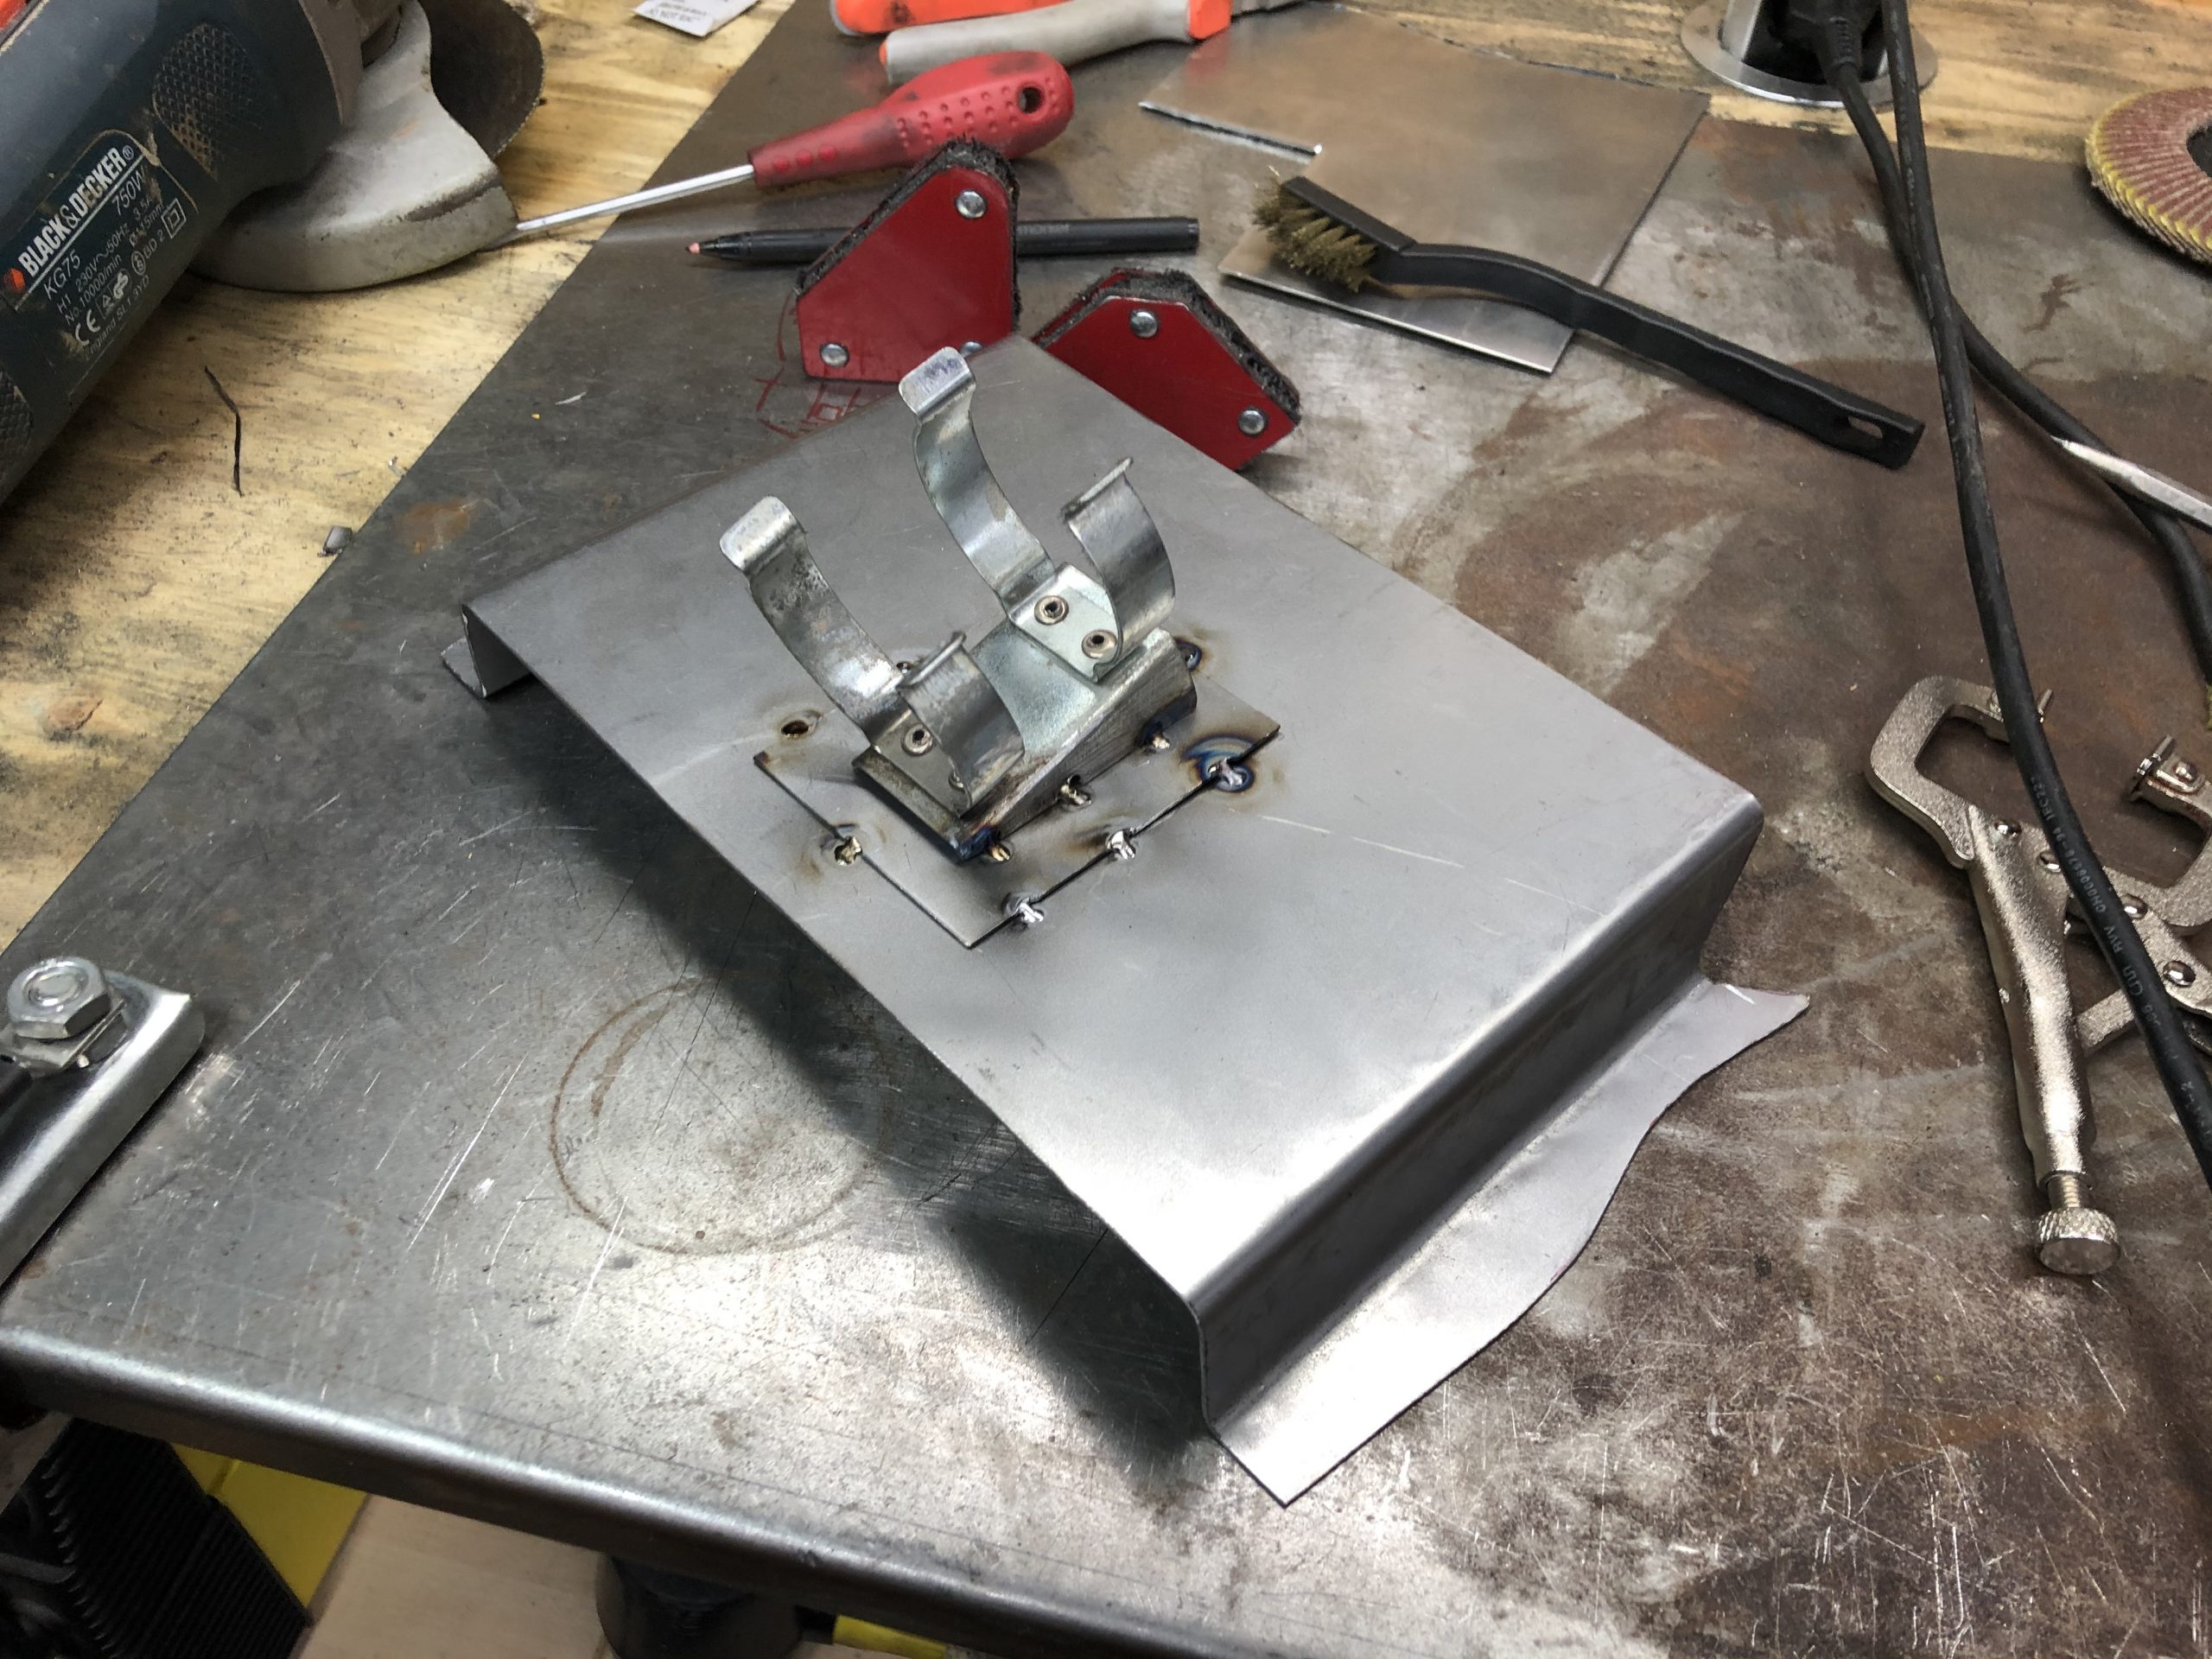
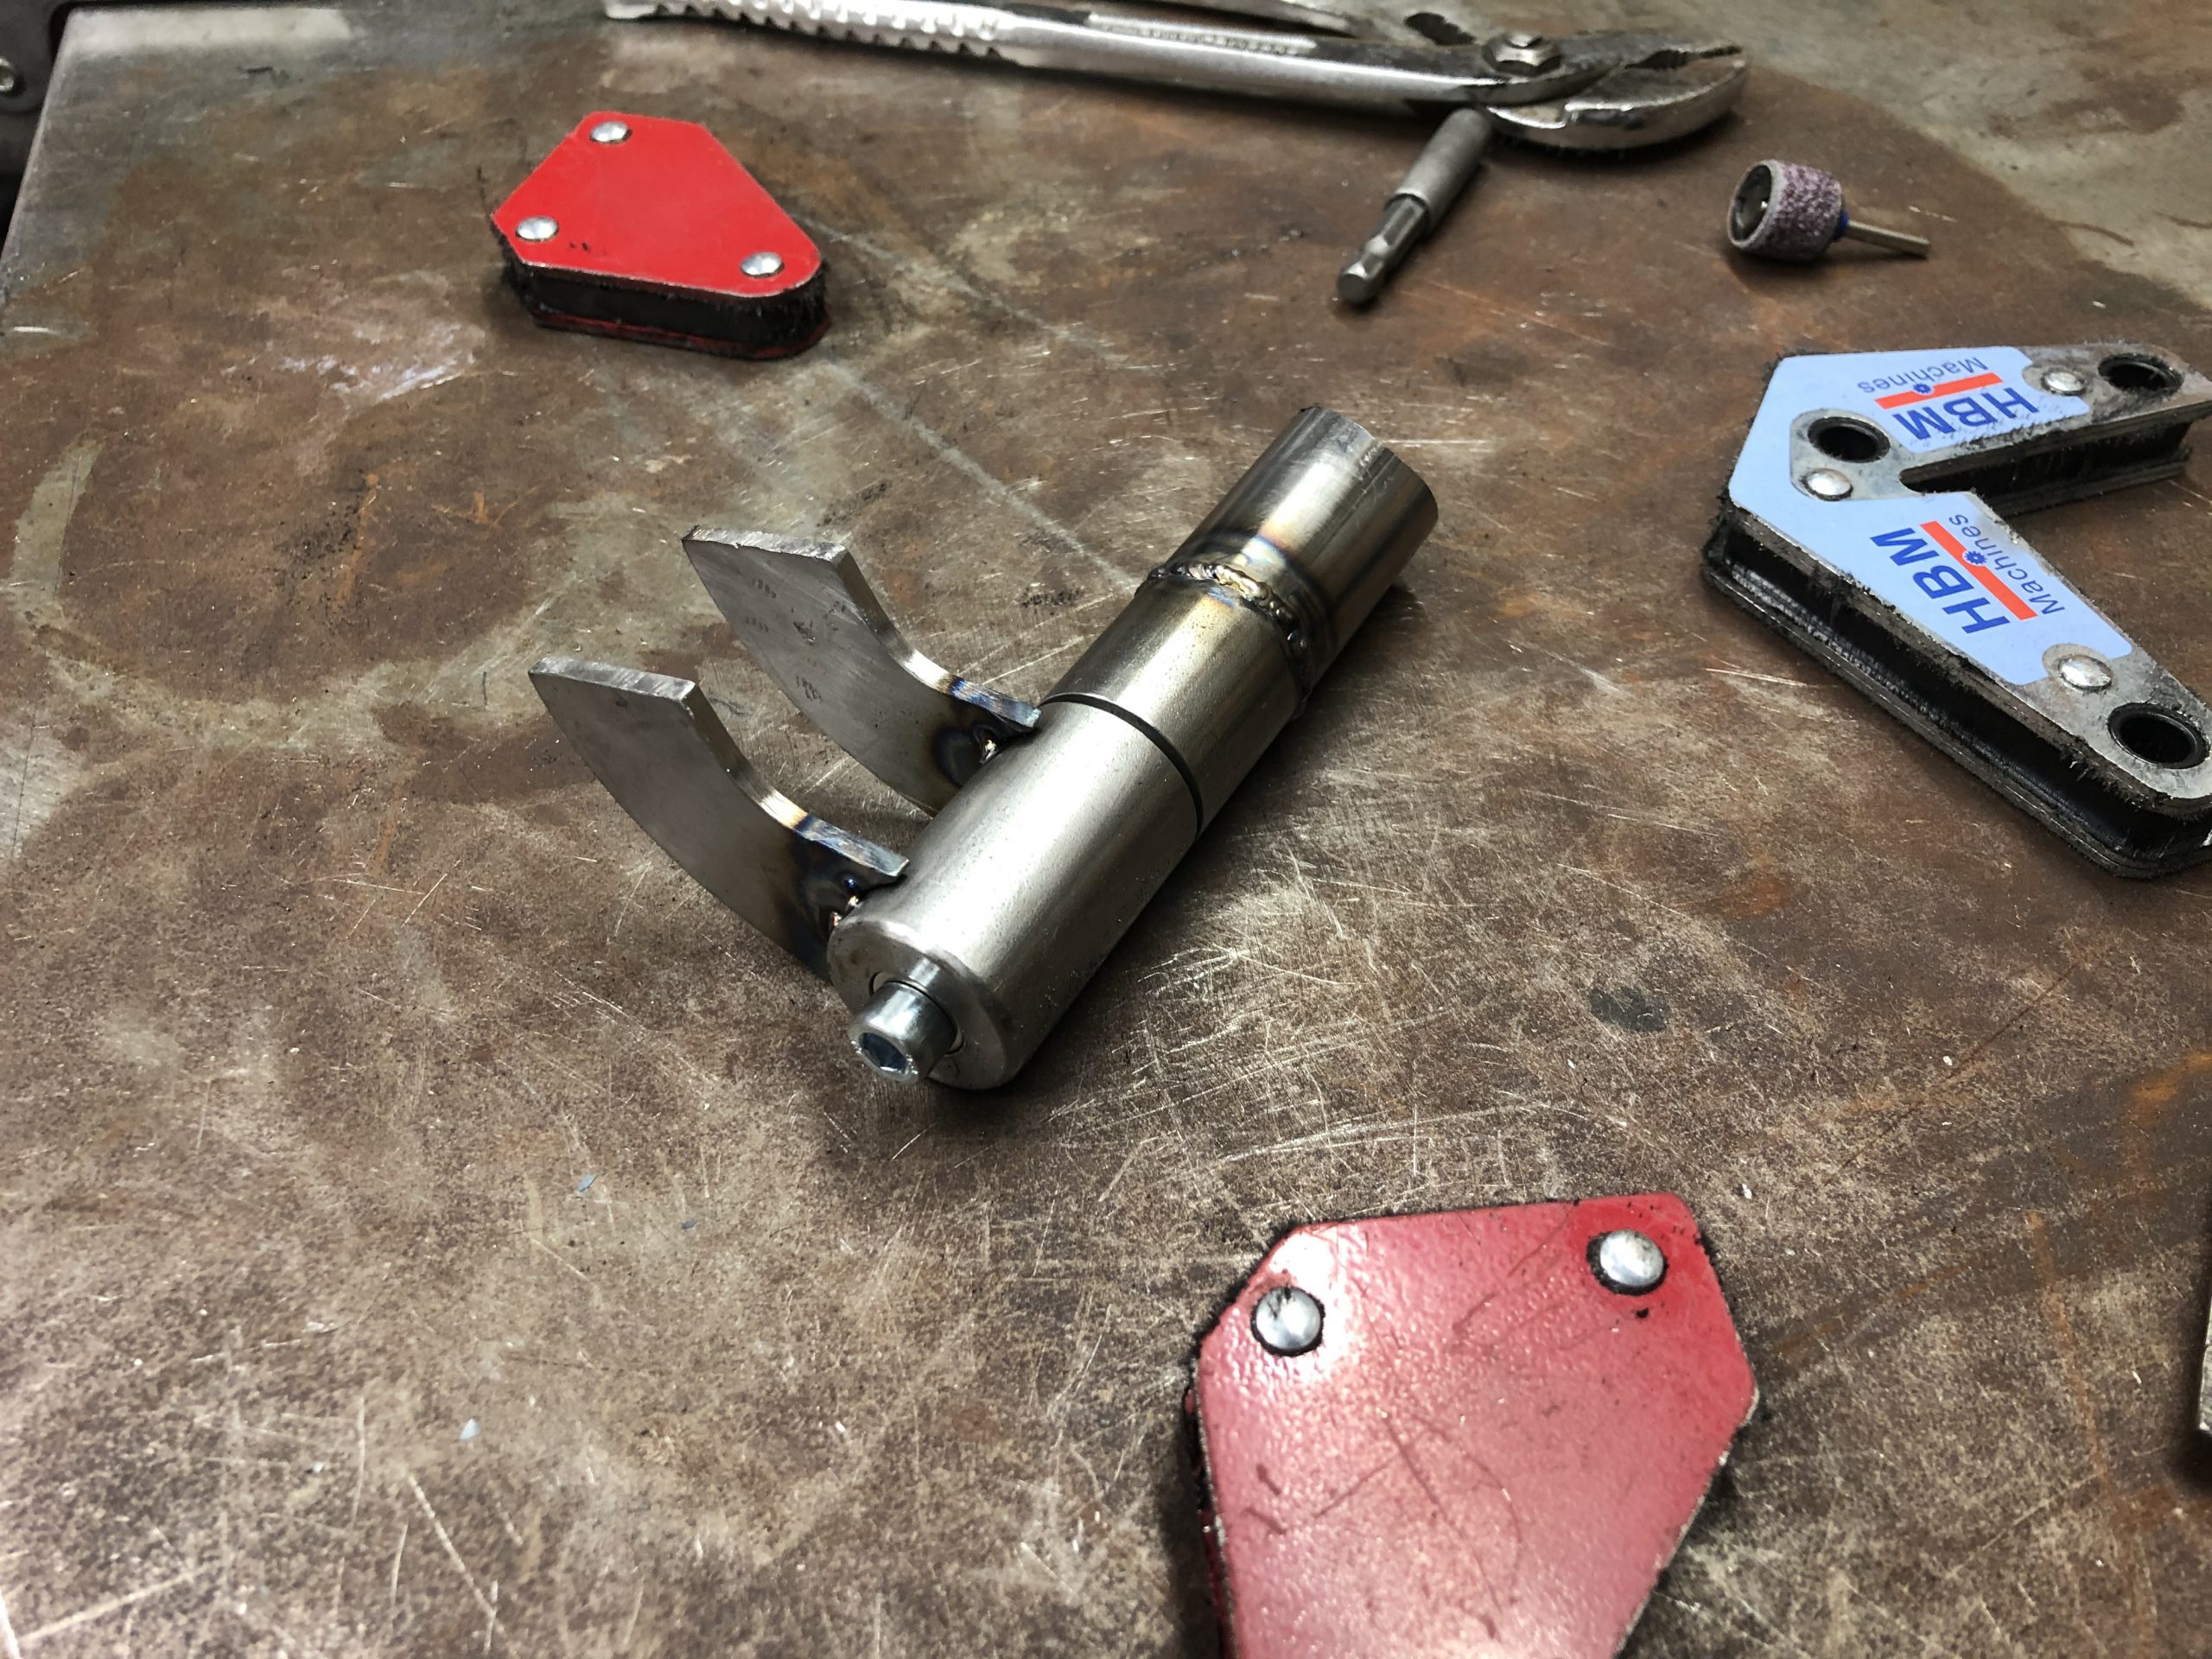
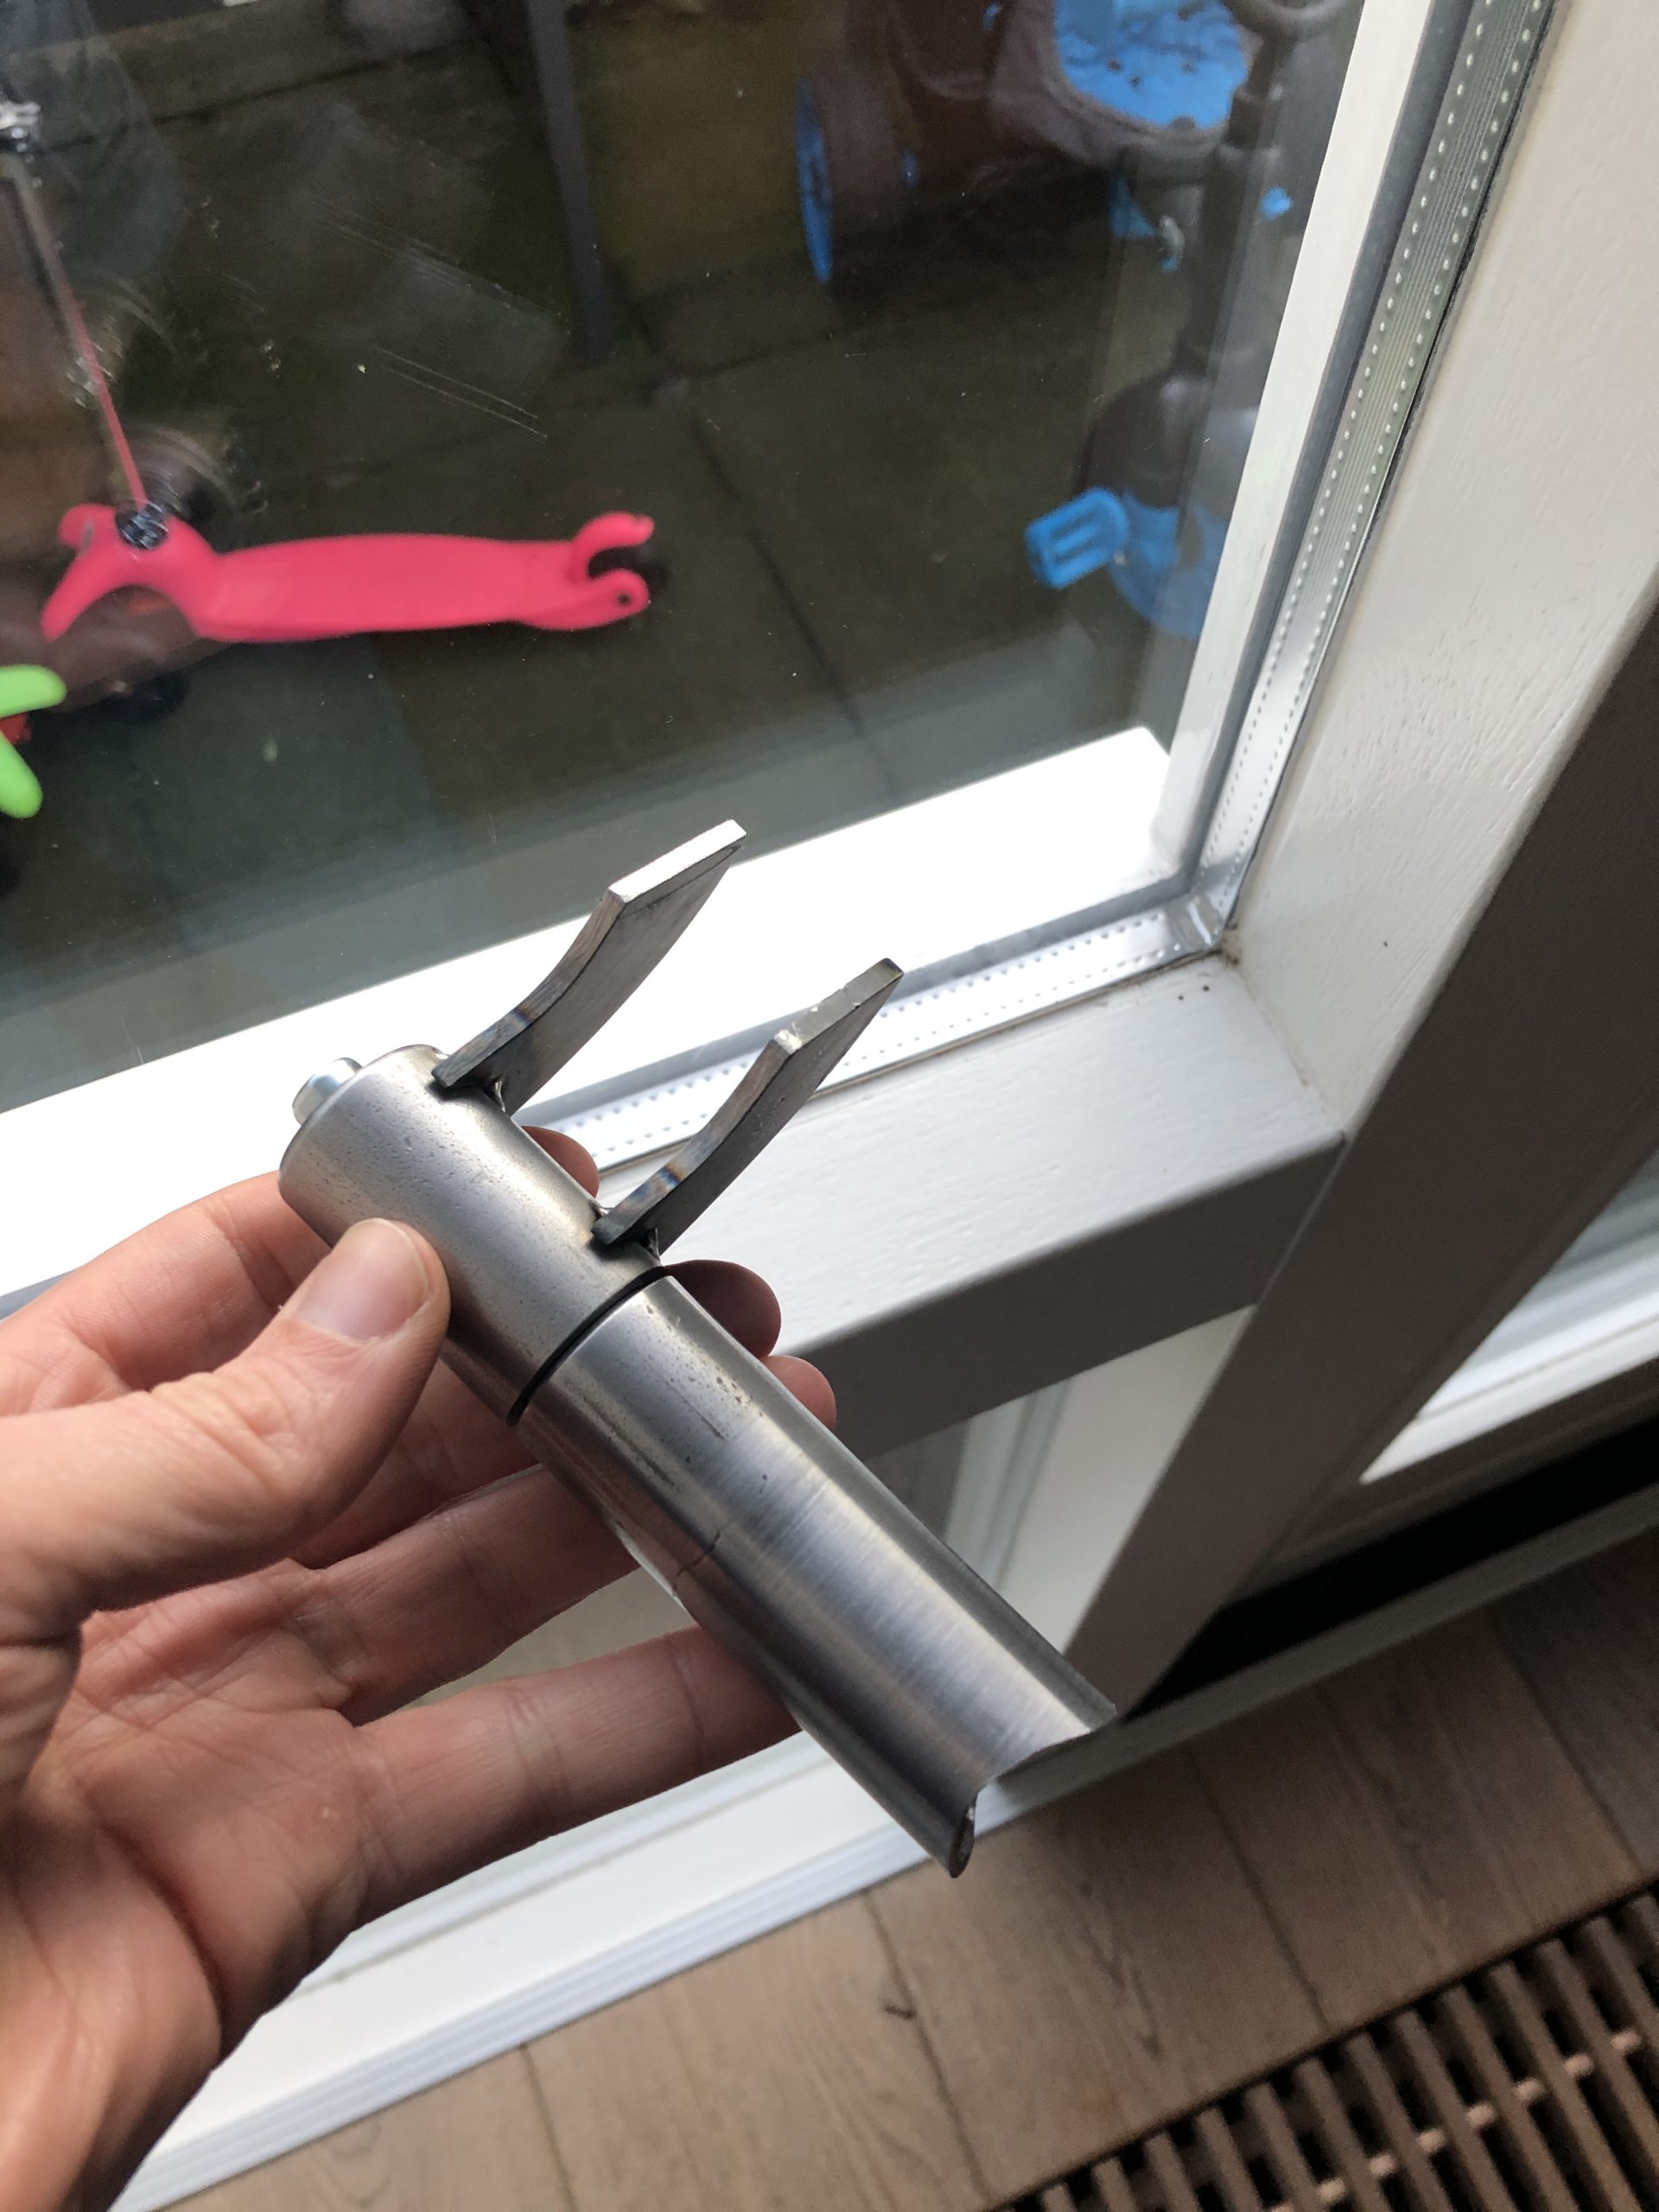
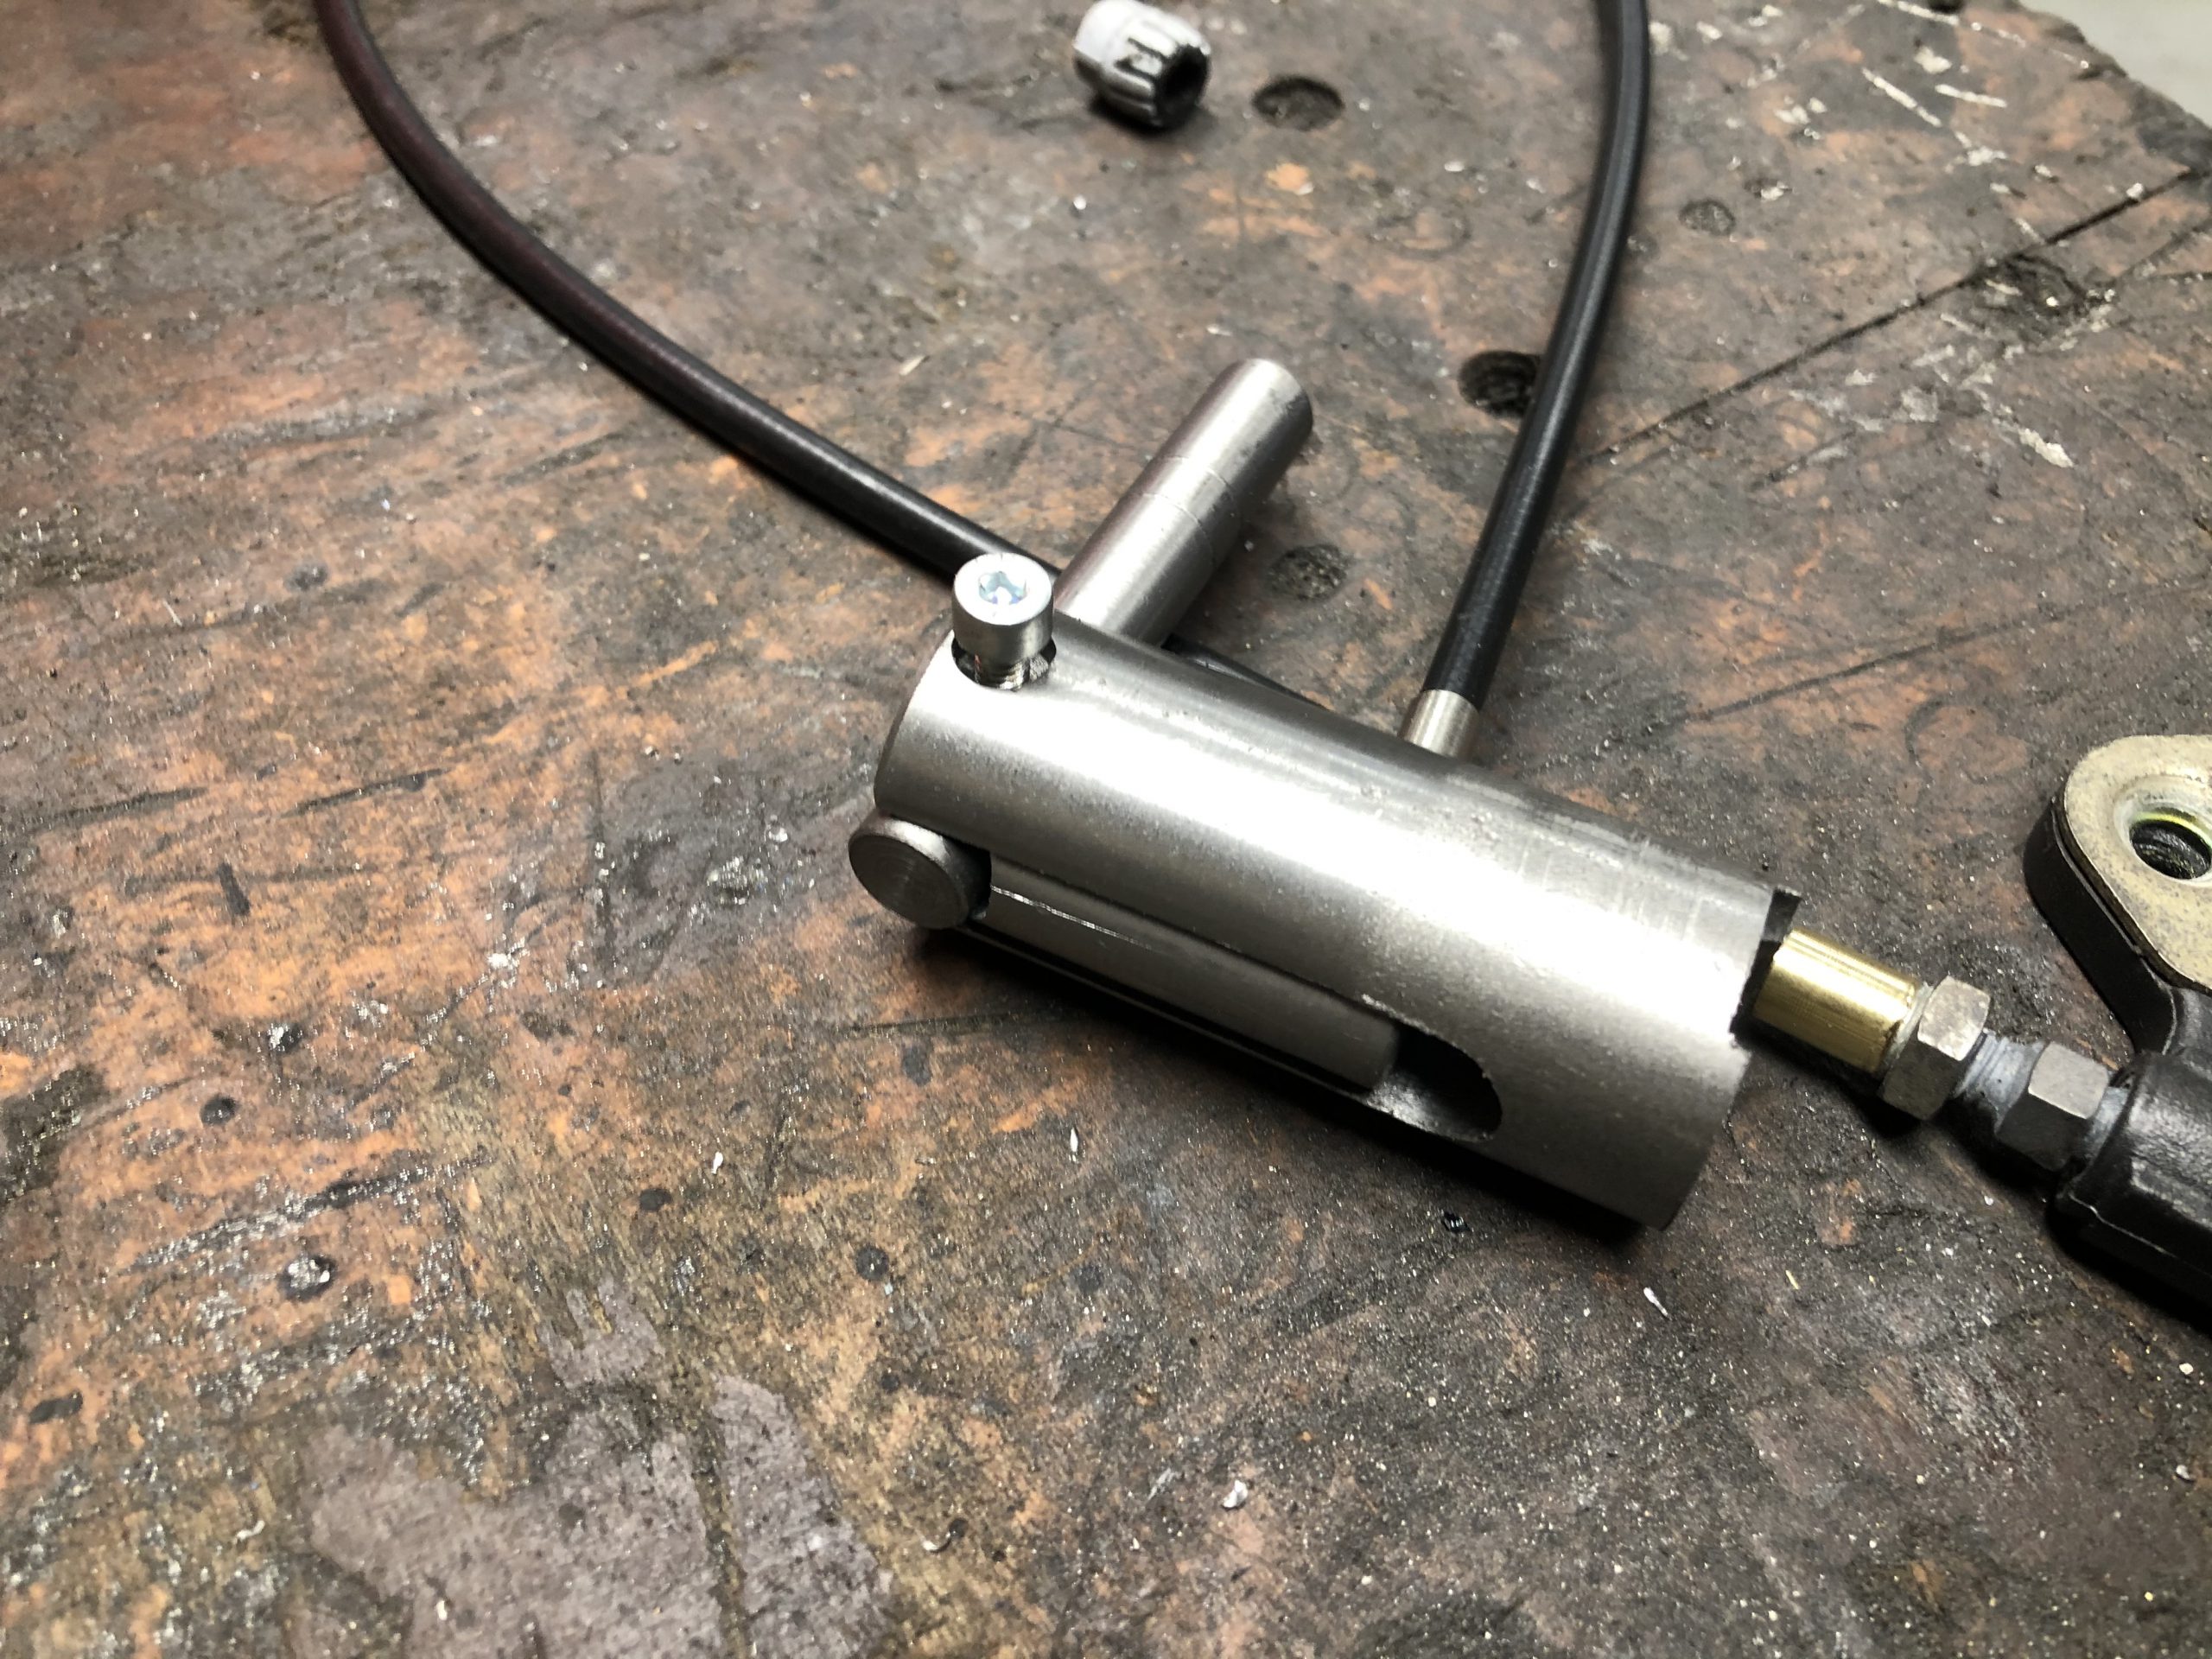
SEAT RELEASE MECHANISM
Offcourse i needed a clean solution to pop the seat out to allow for the fuel tank to open up. I created a custom release mechanism/handle that allows you to pop the seat with just a quick pull of the handle. Grab below the seat and pull.
Love inventing and building stuff like this!


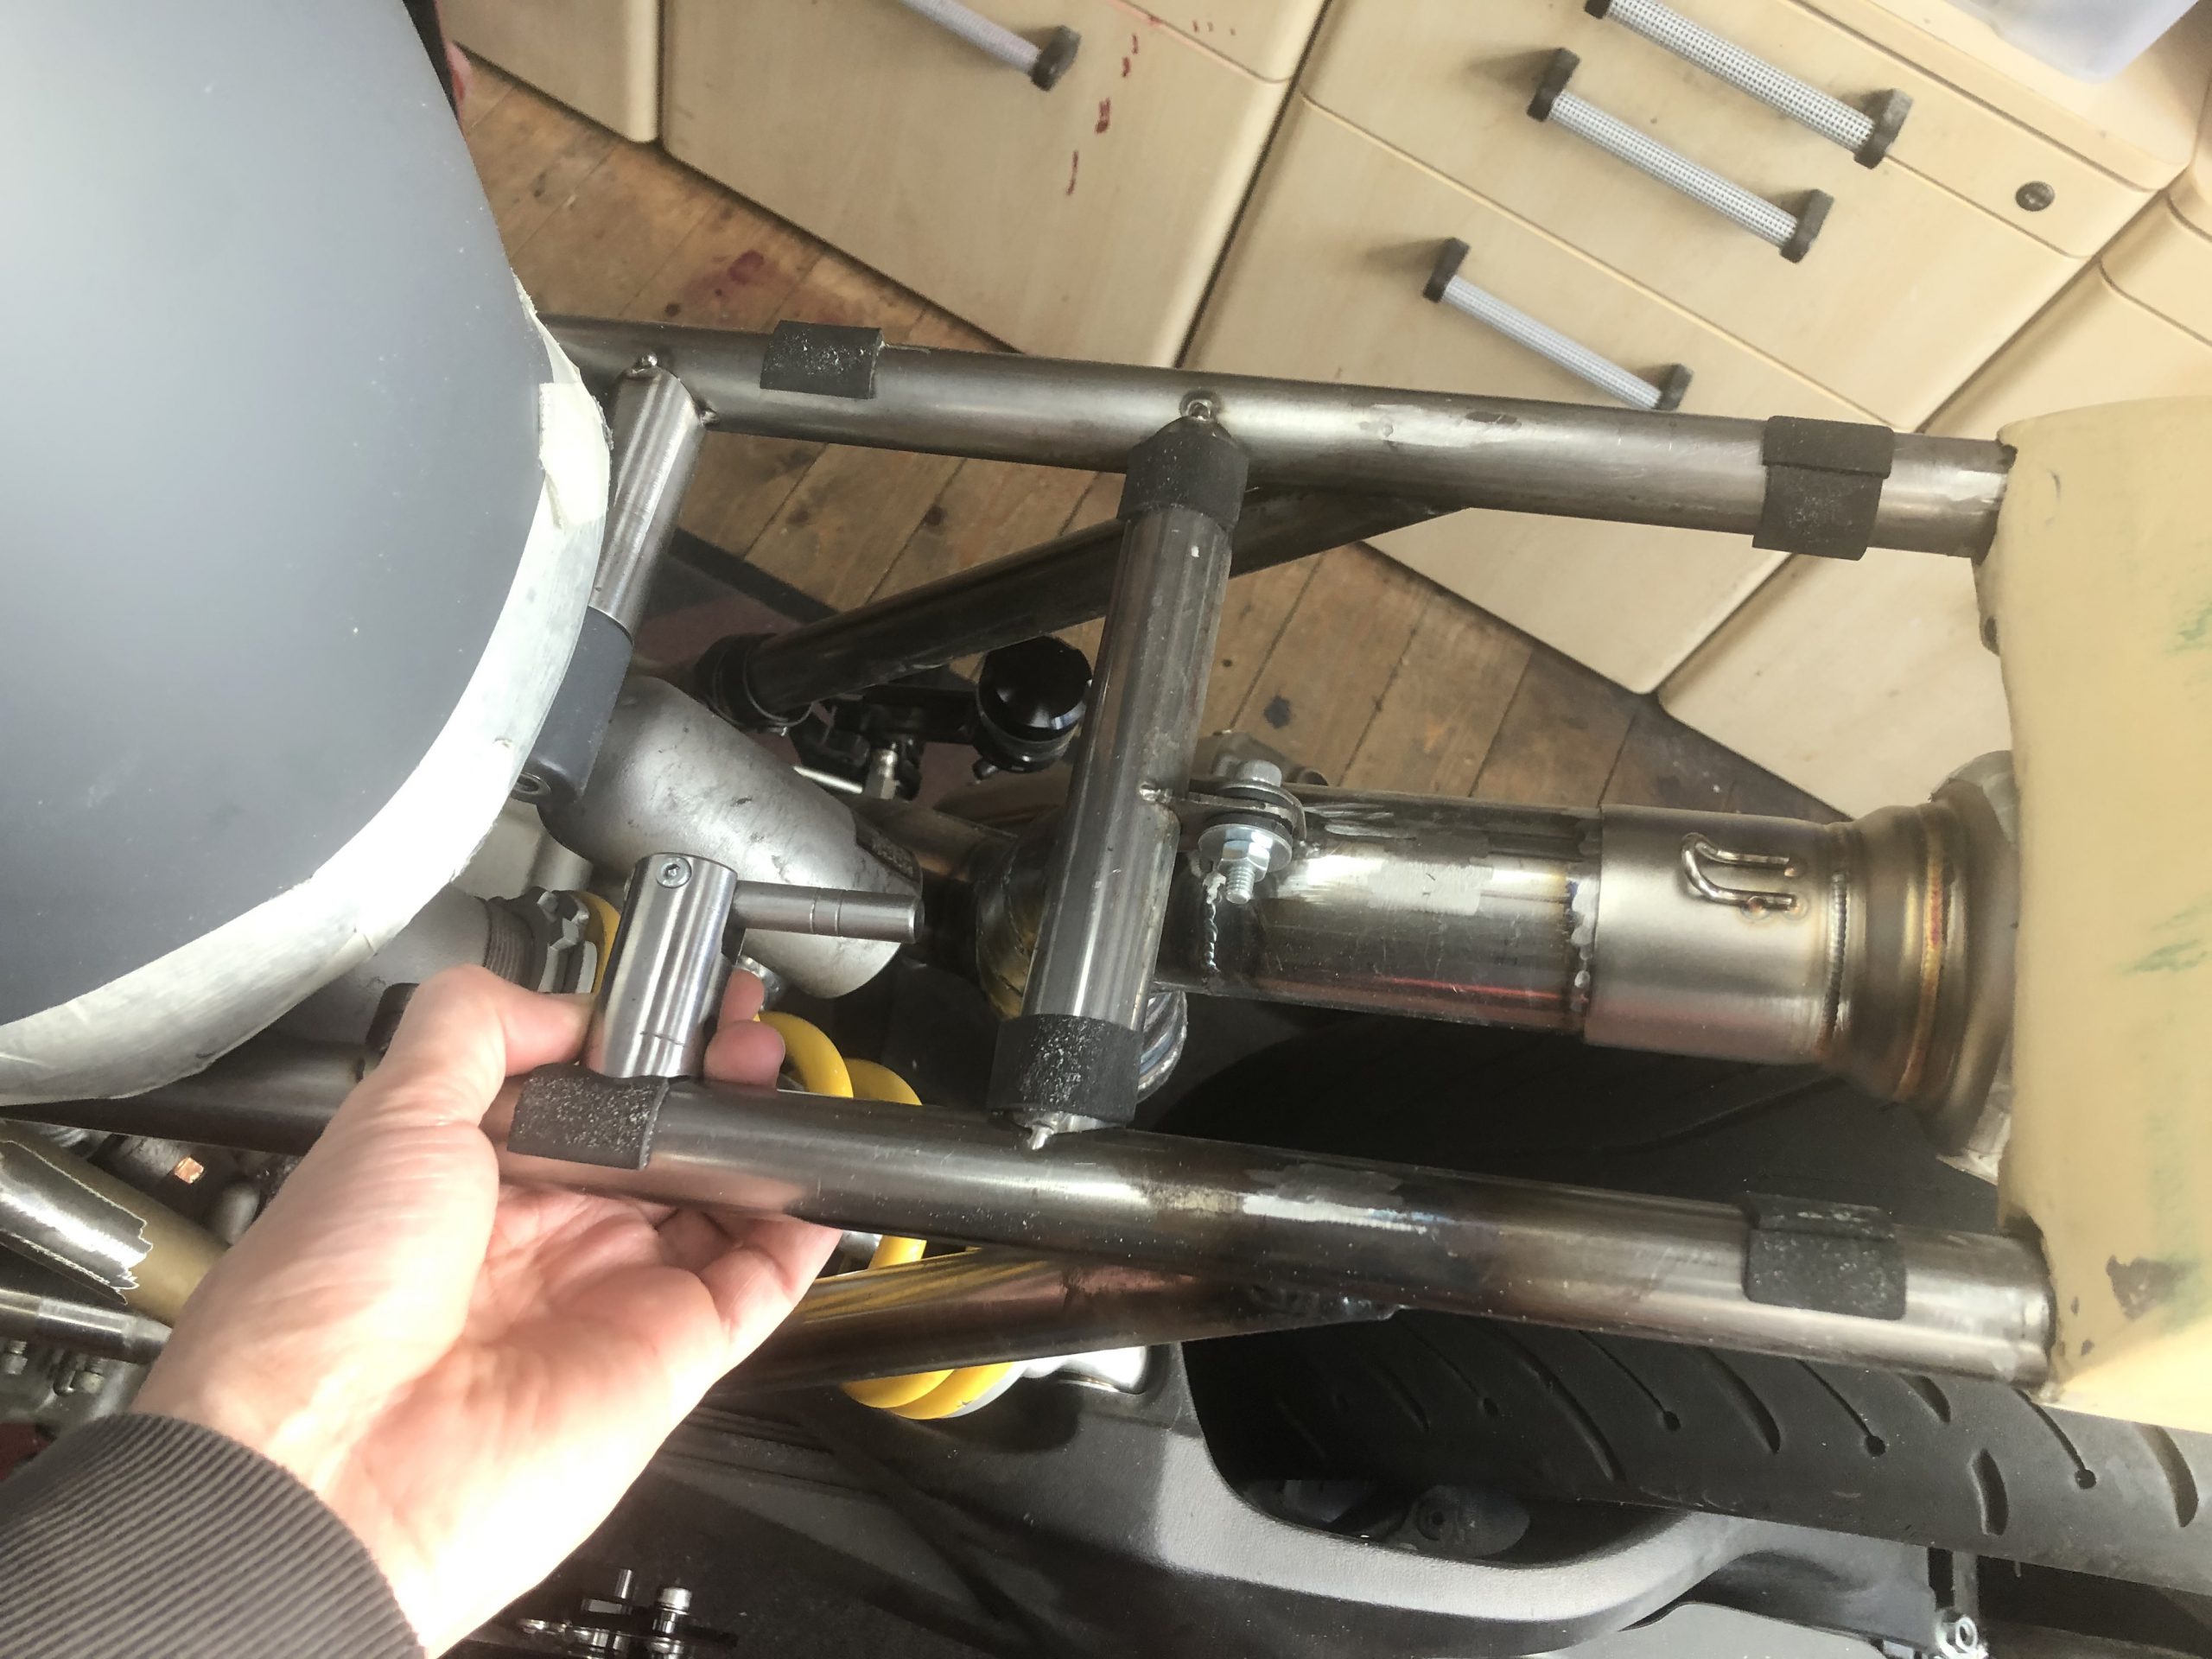
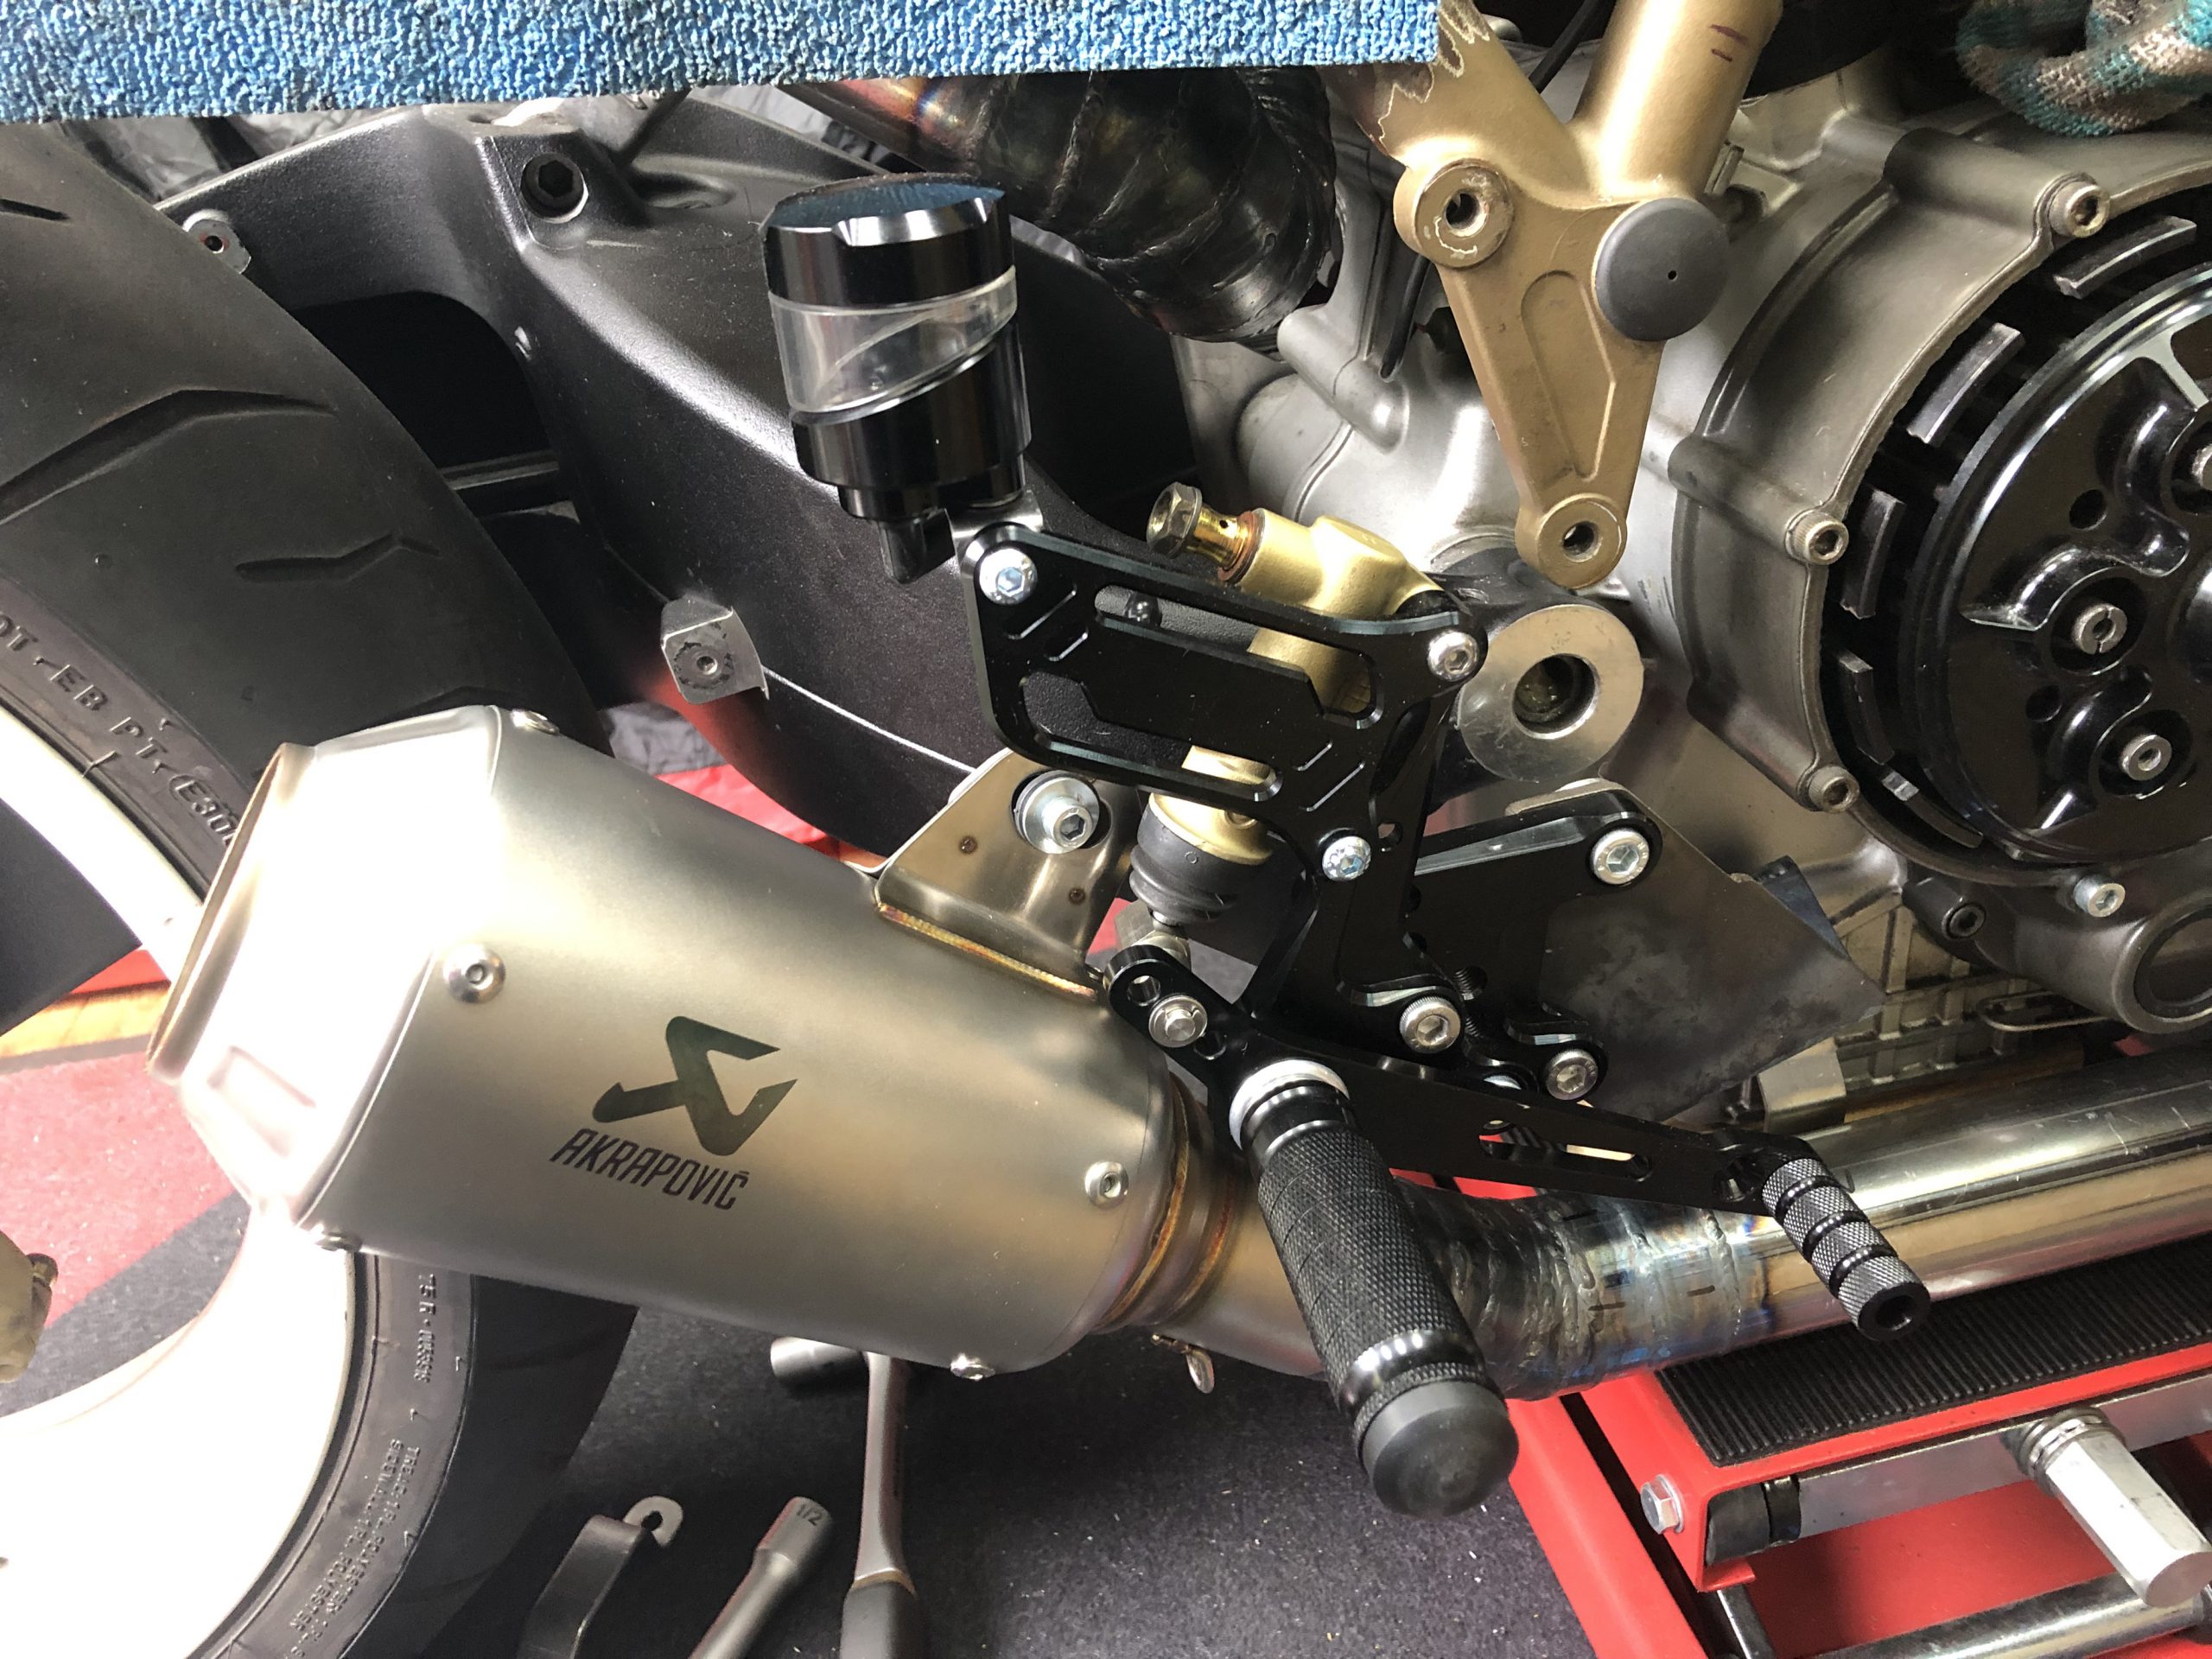
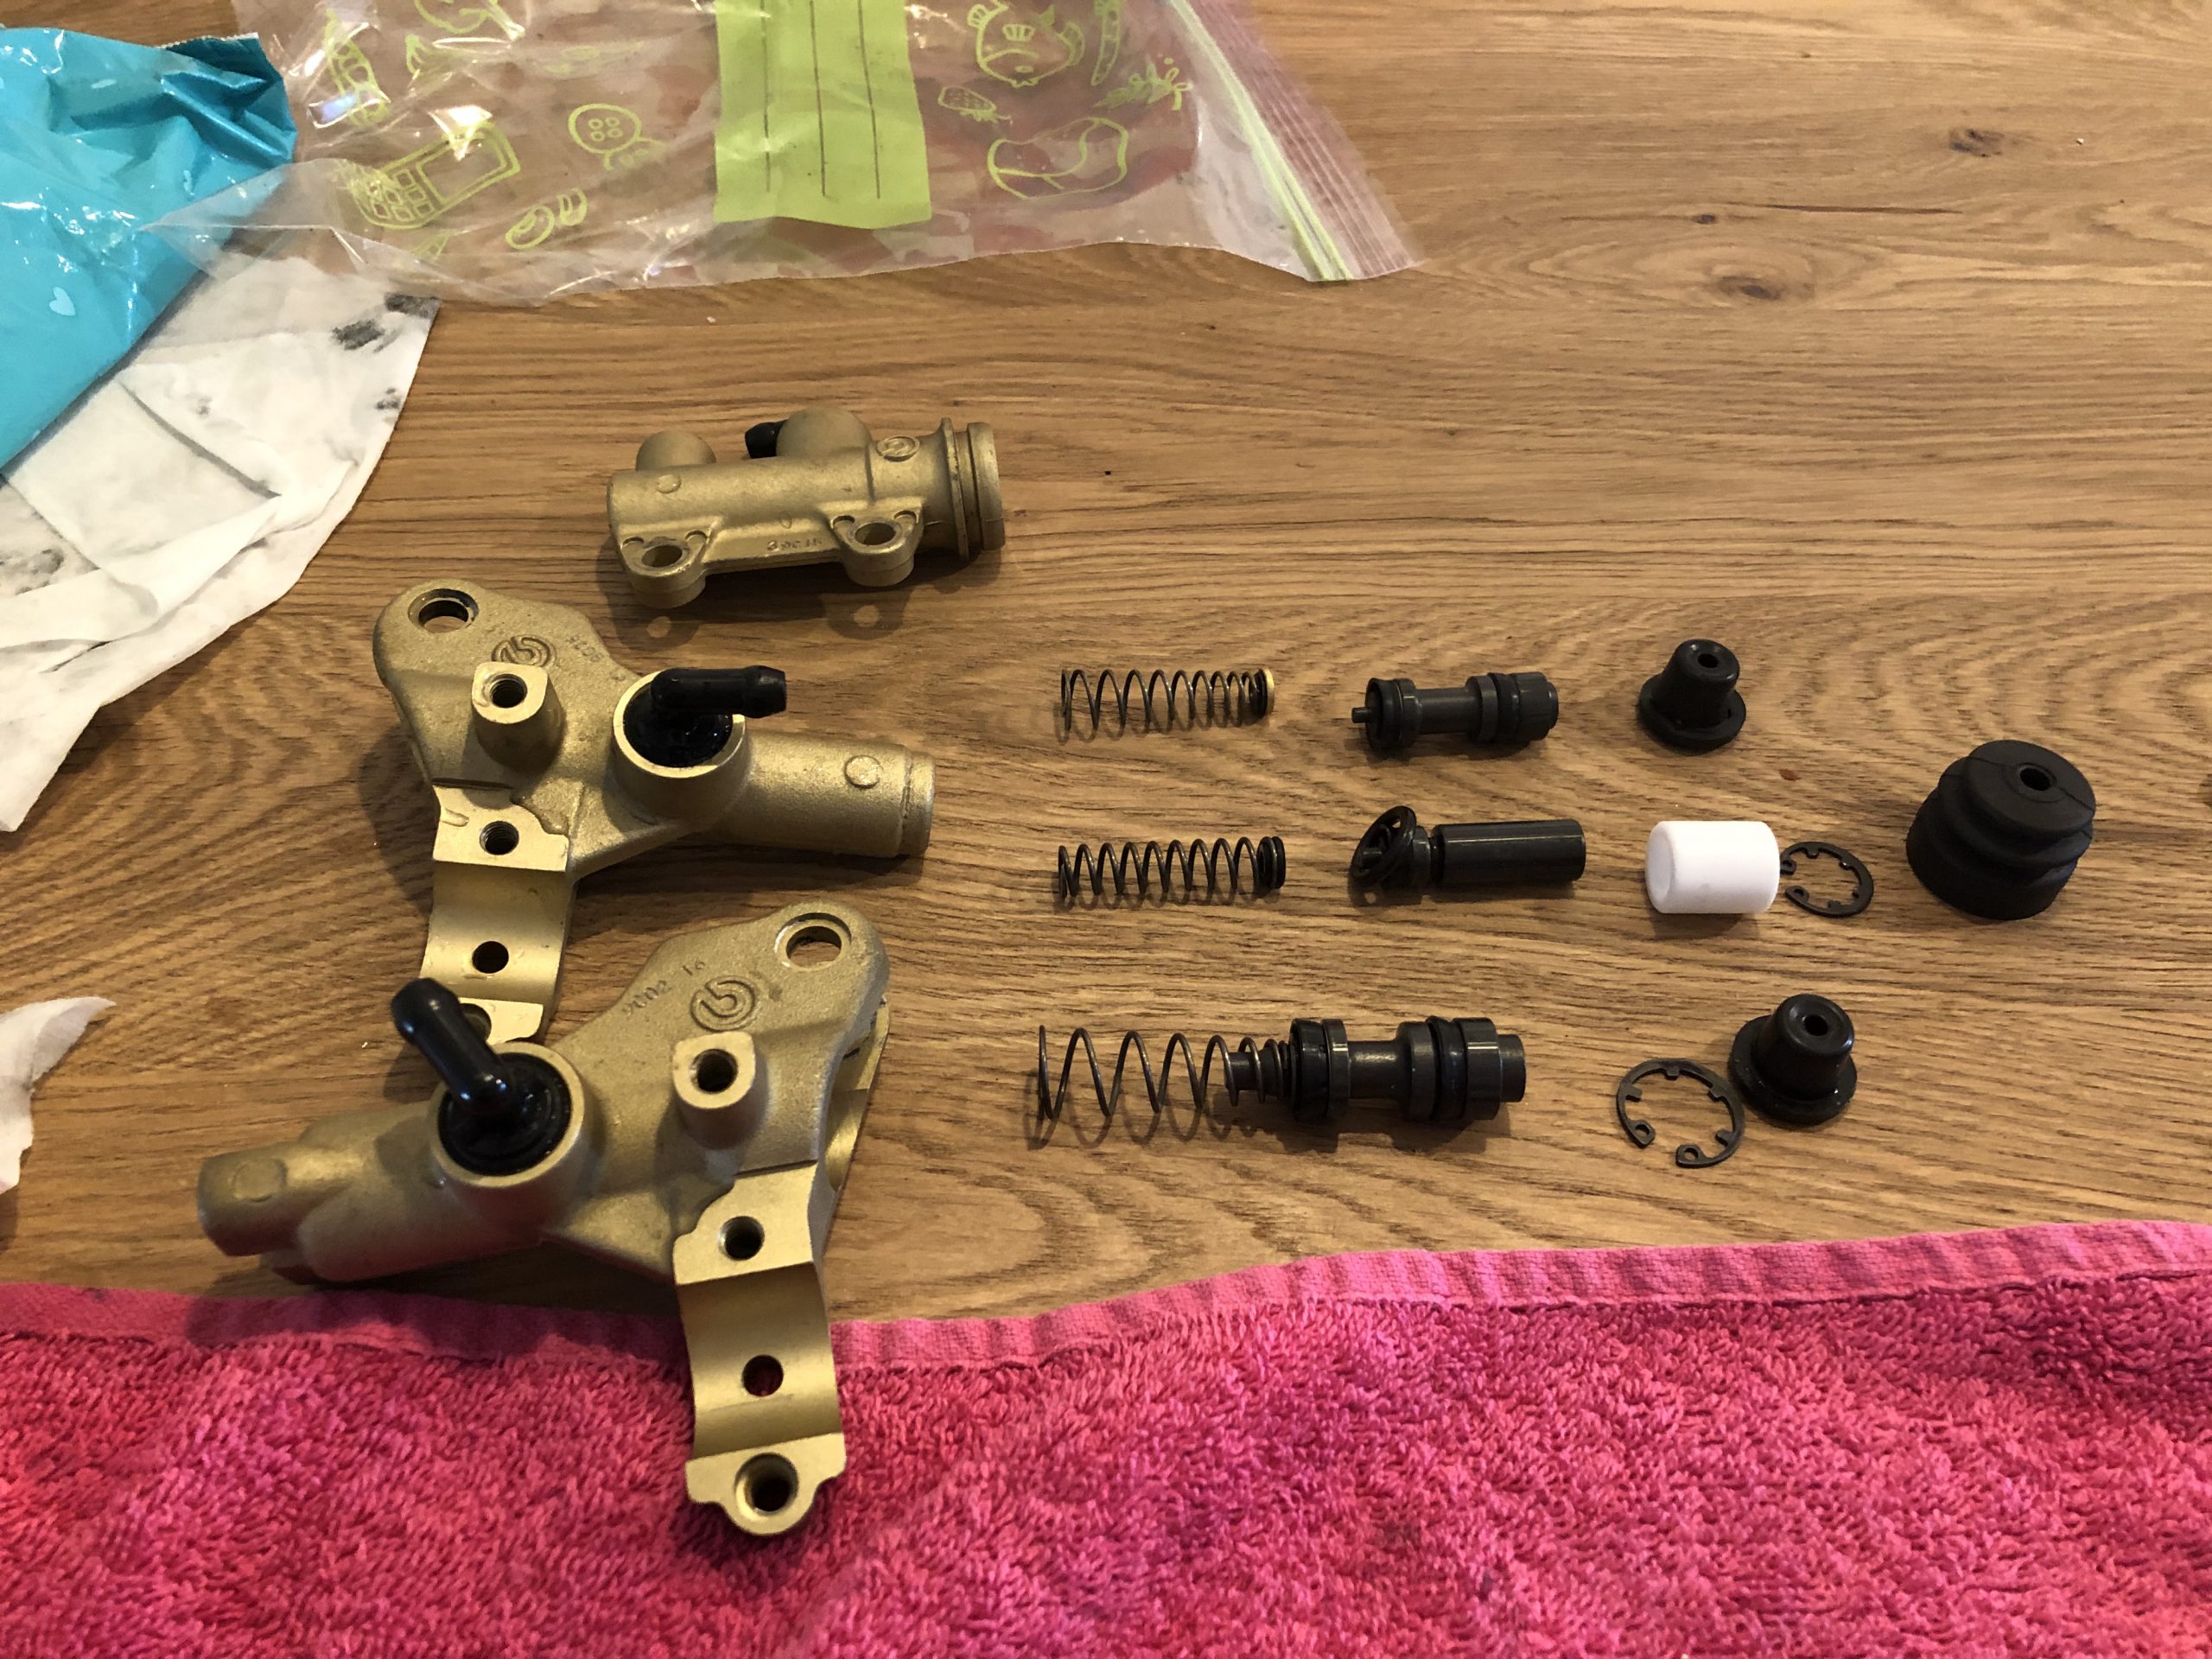
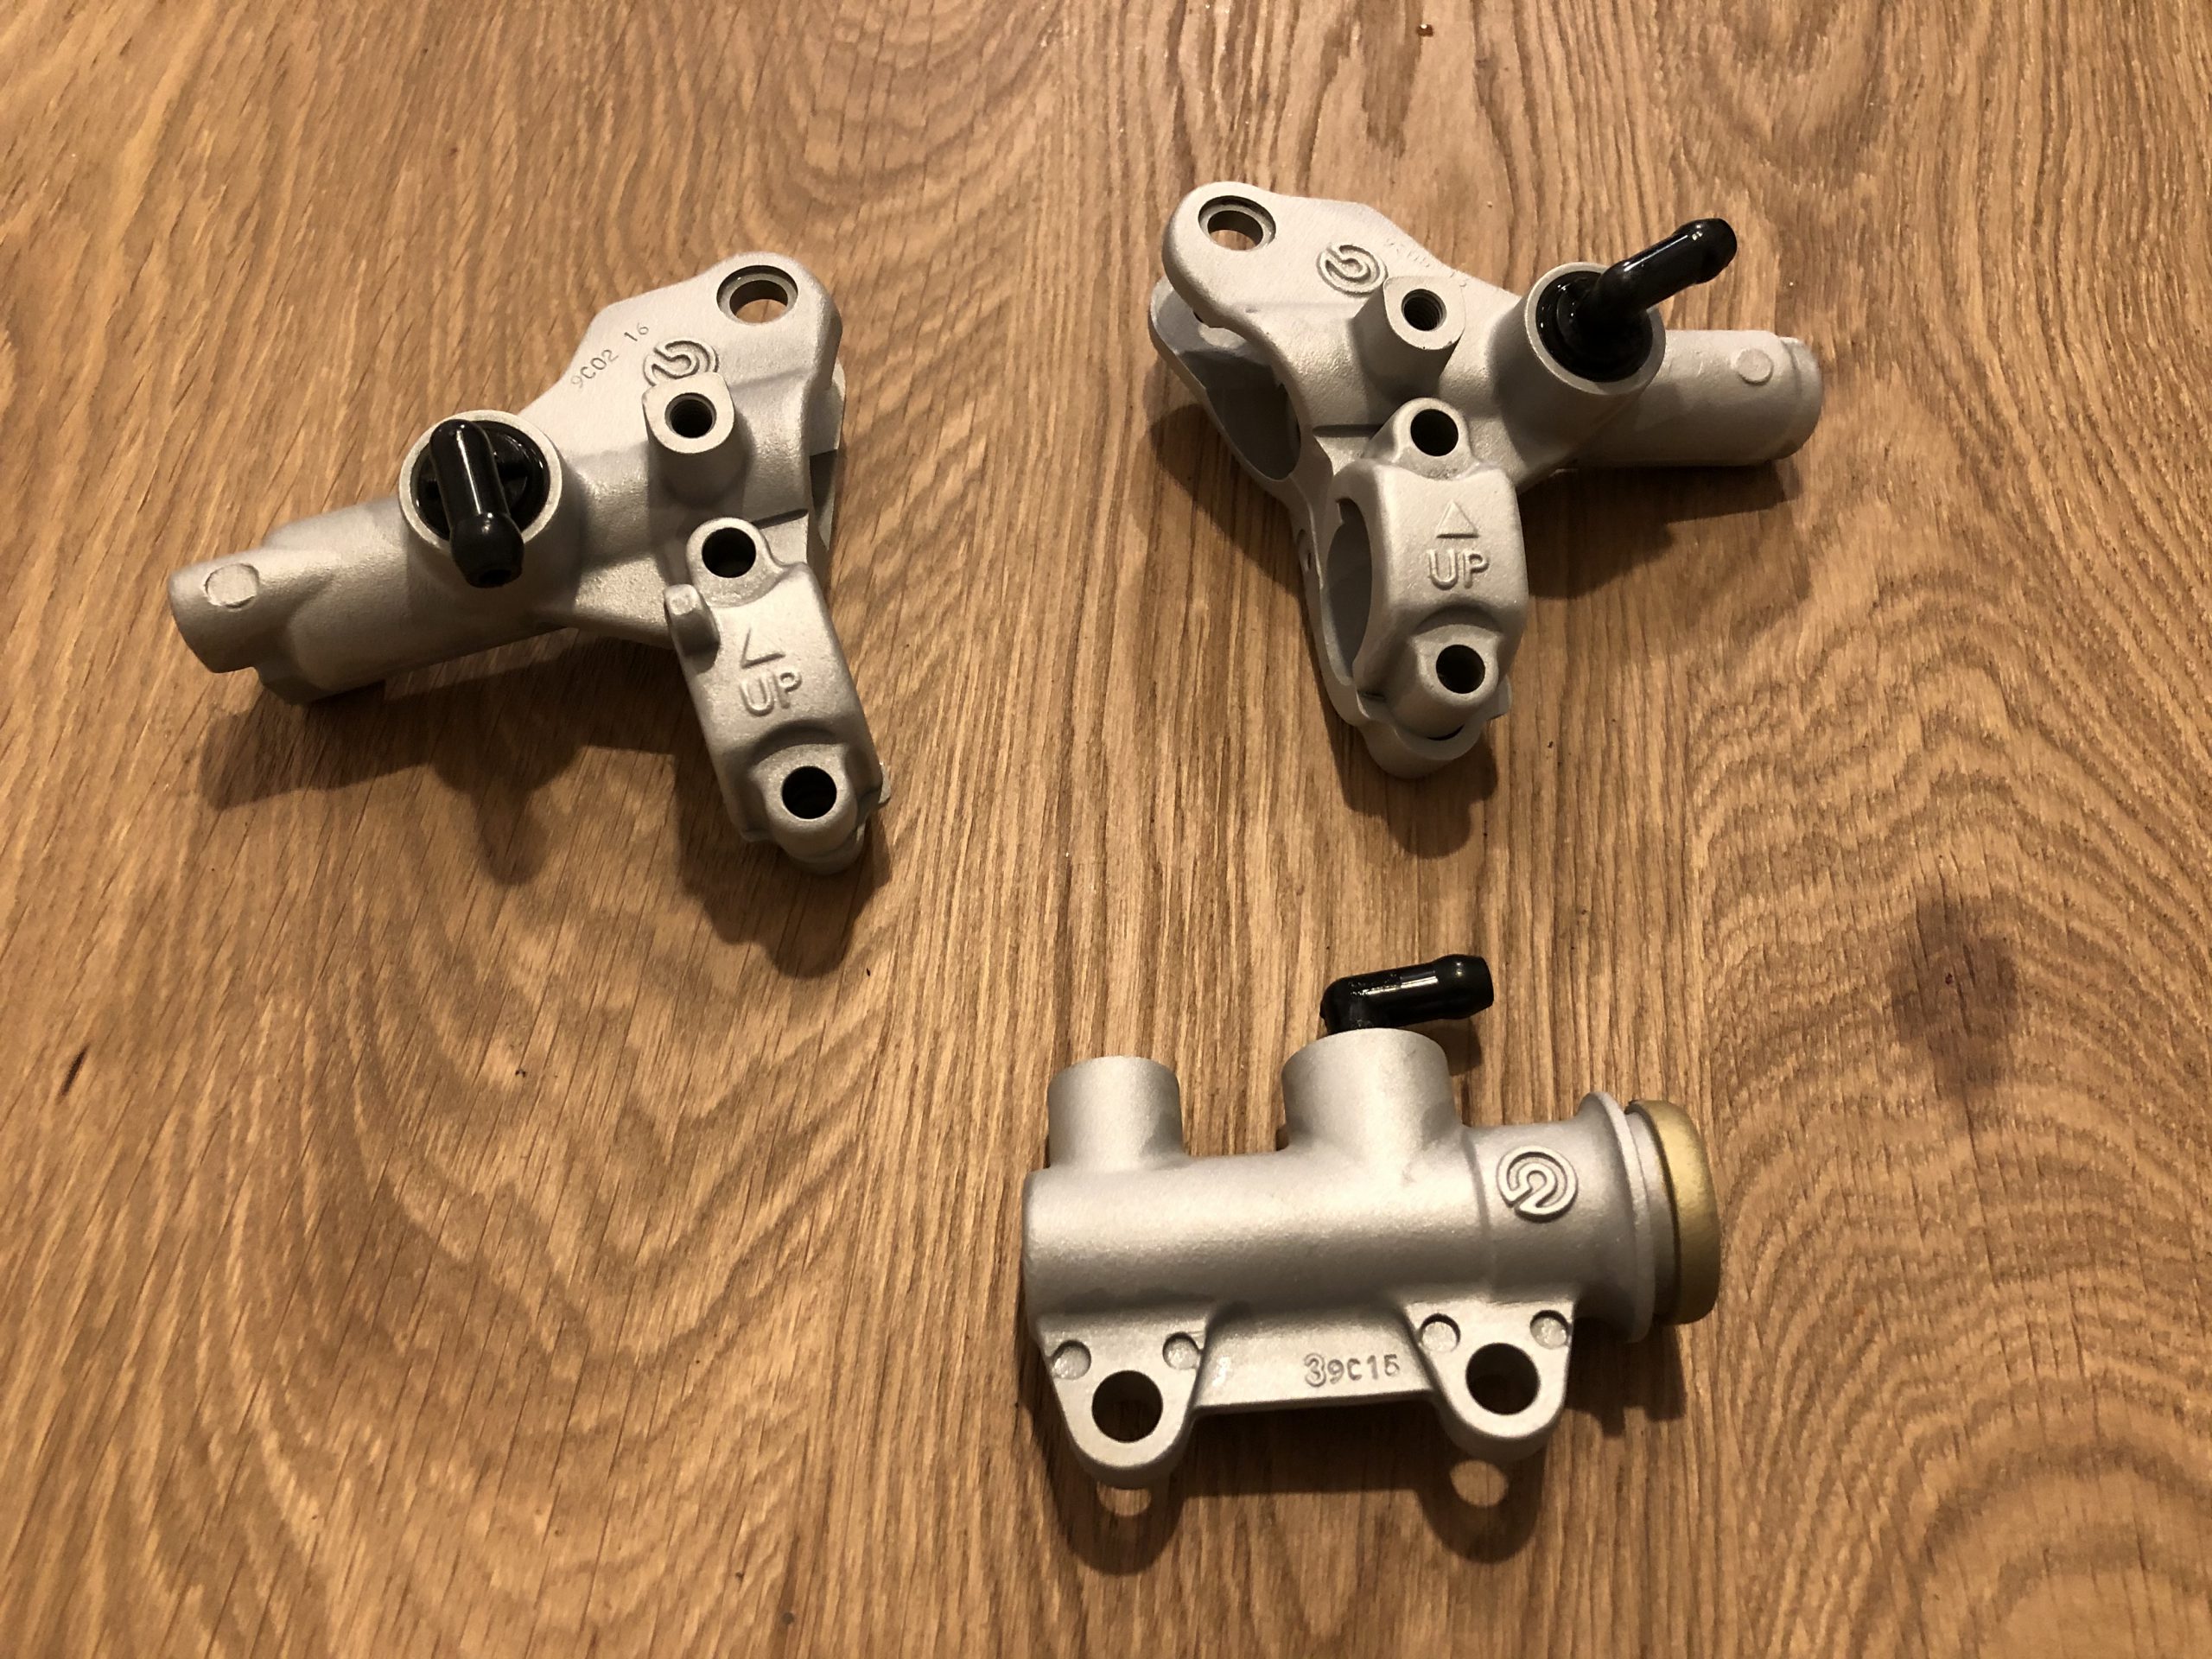
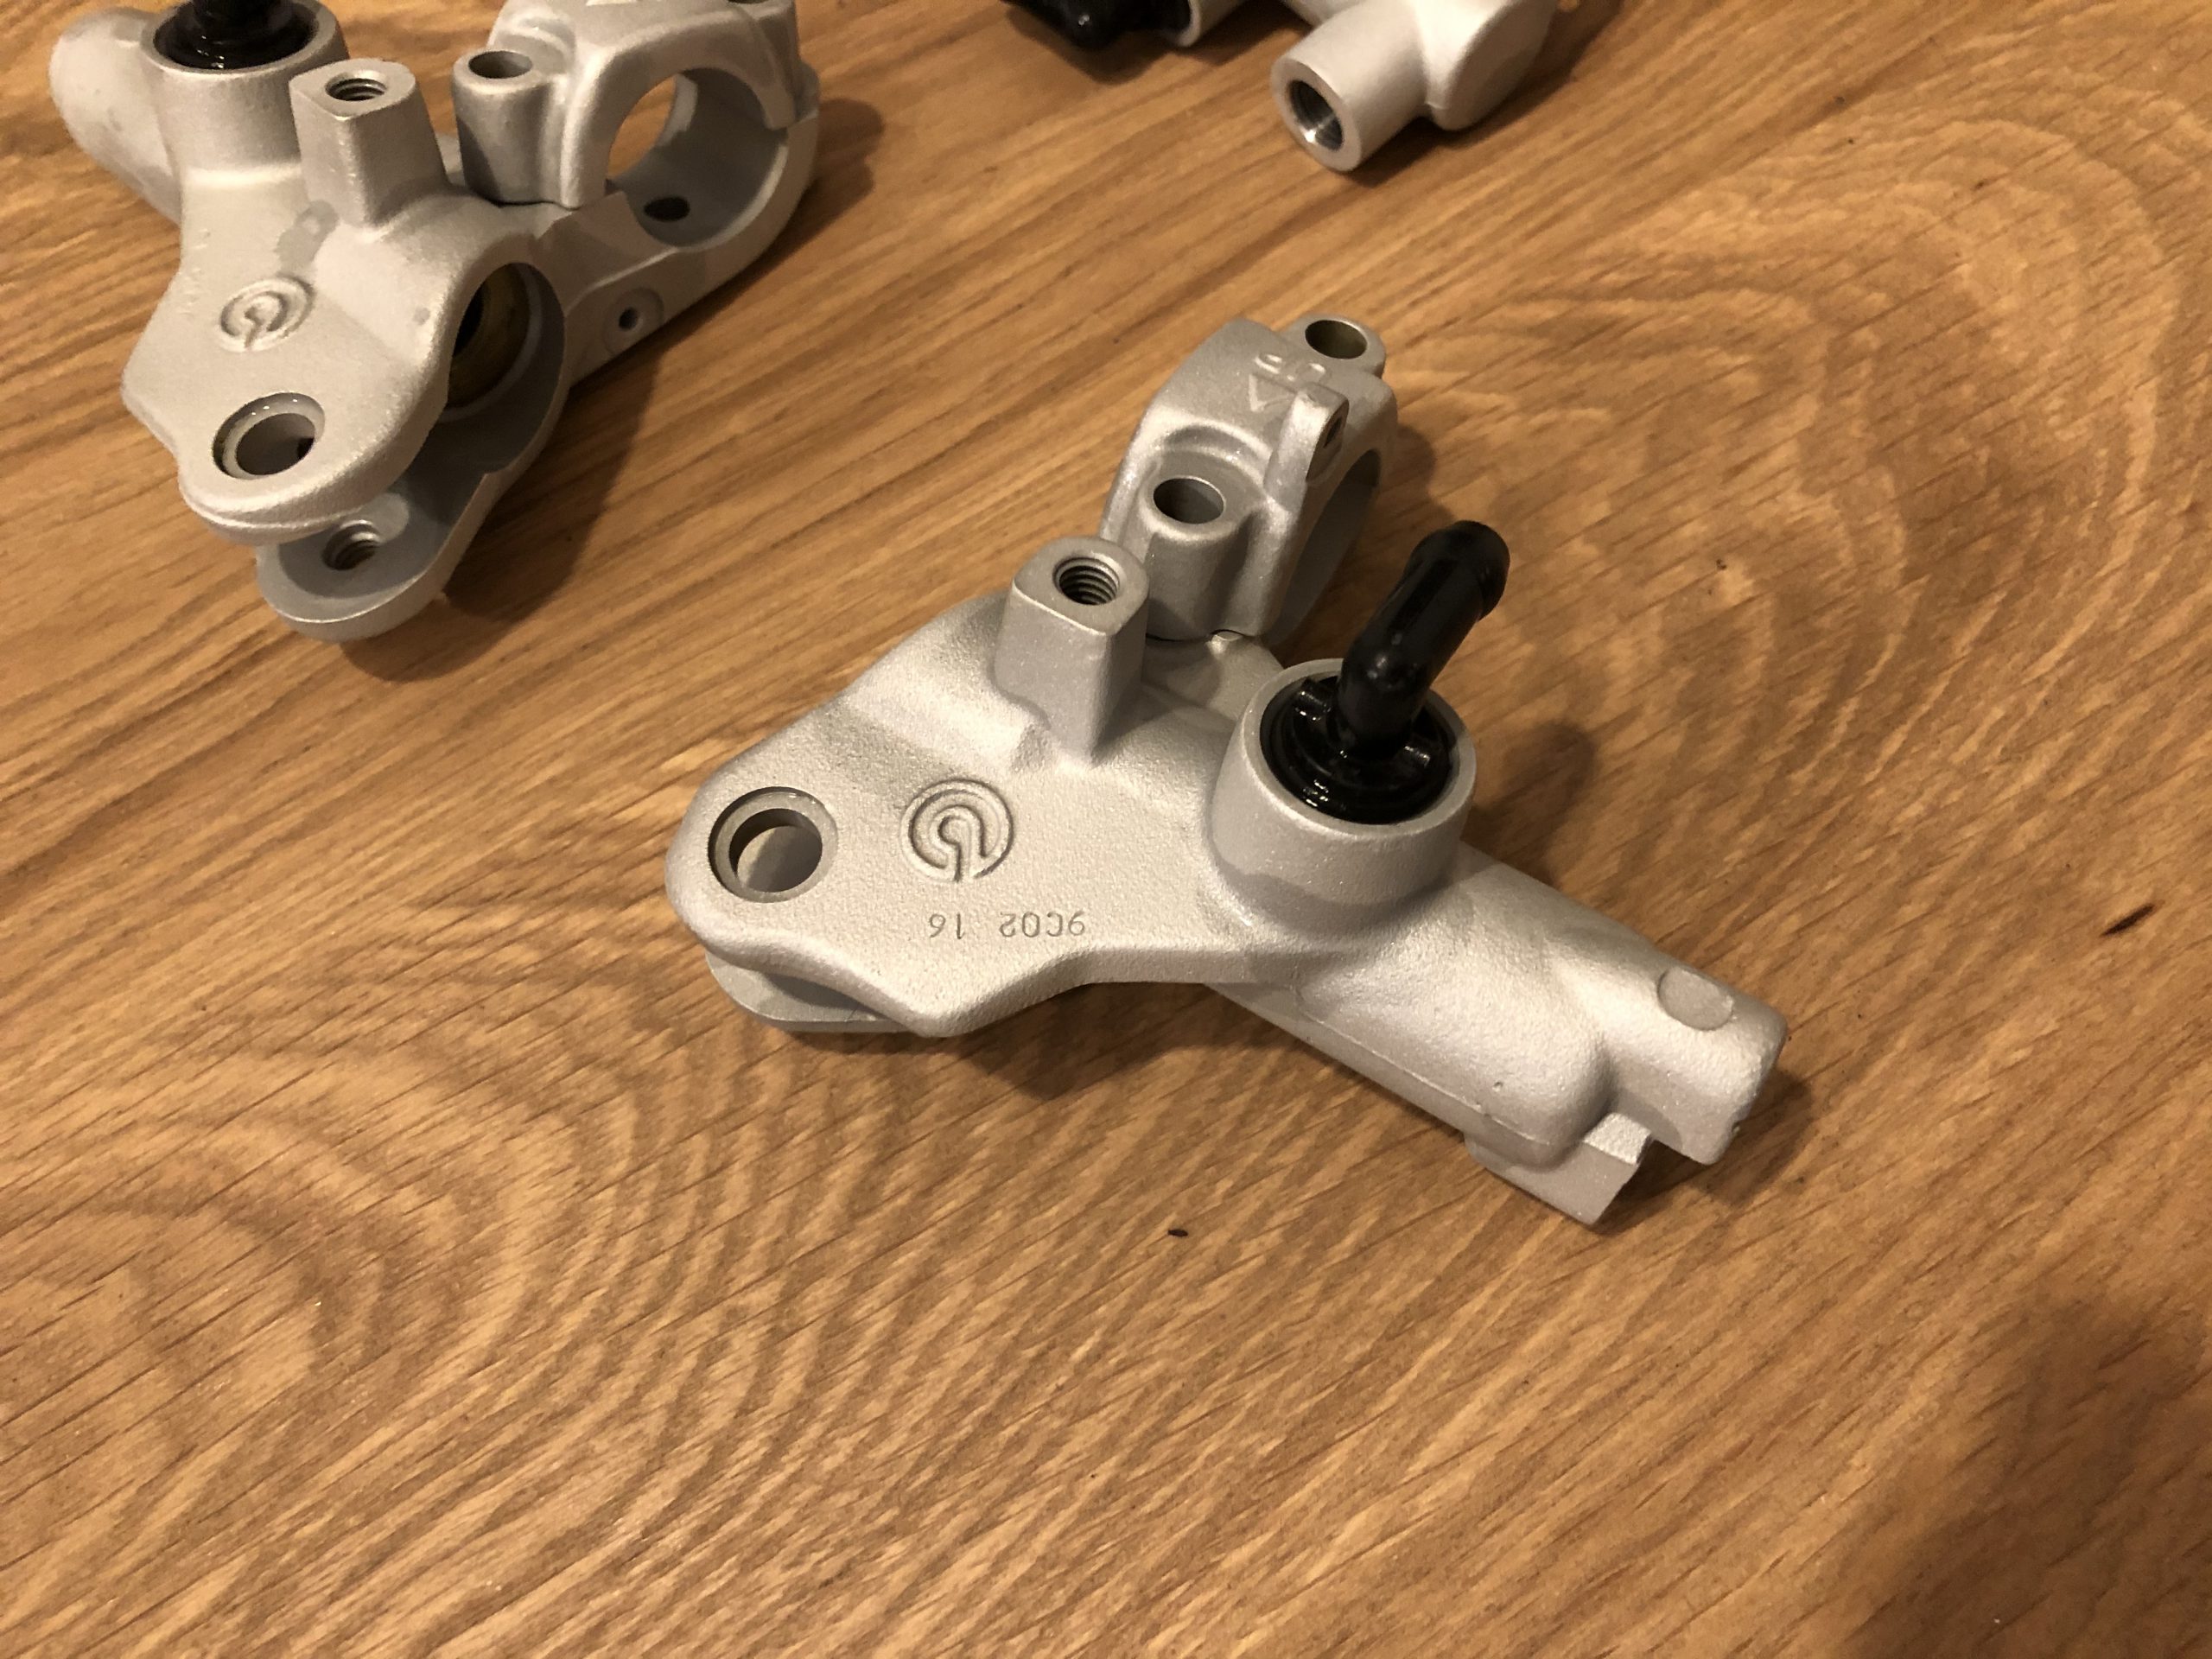
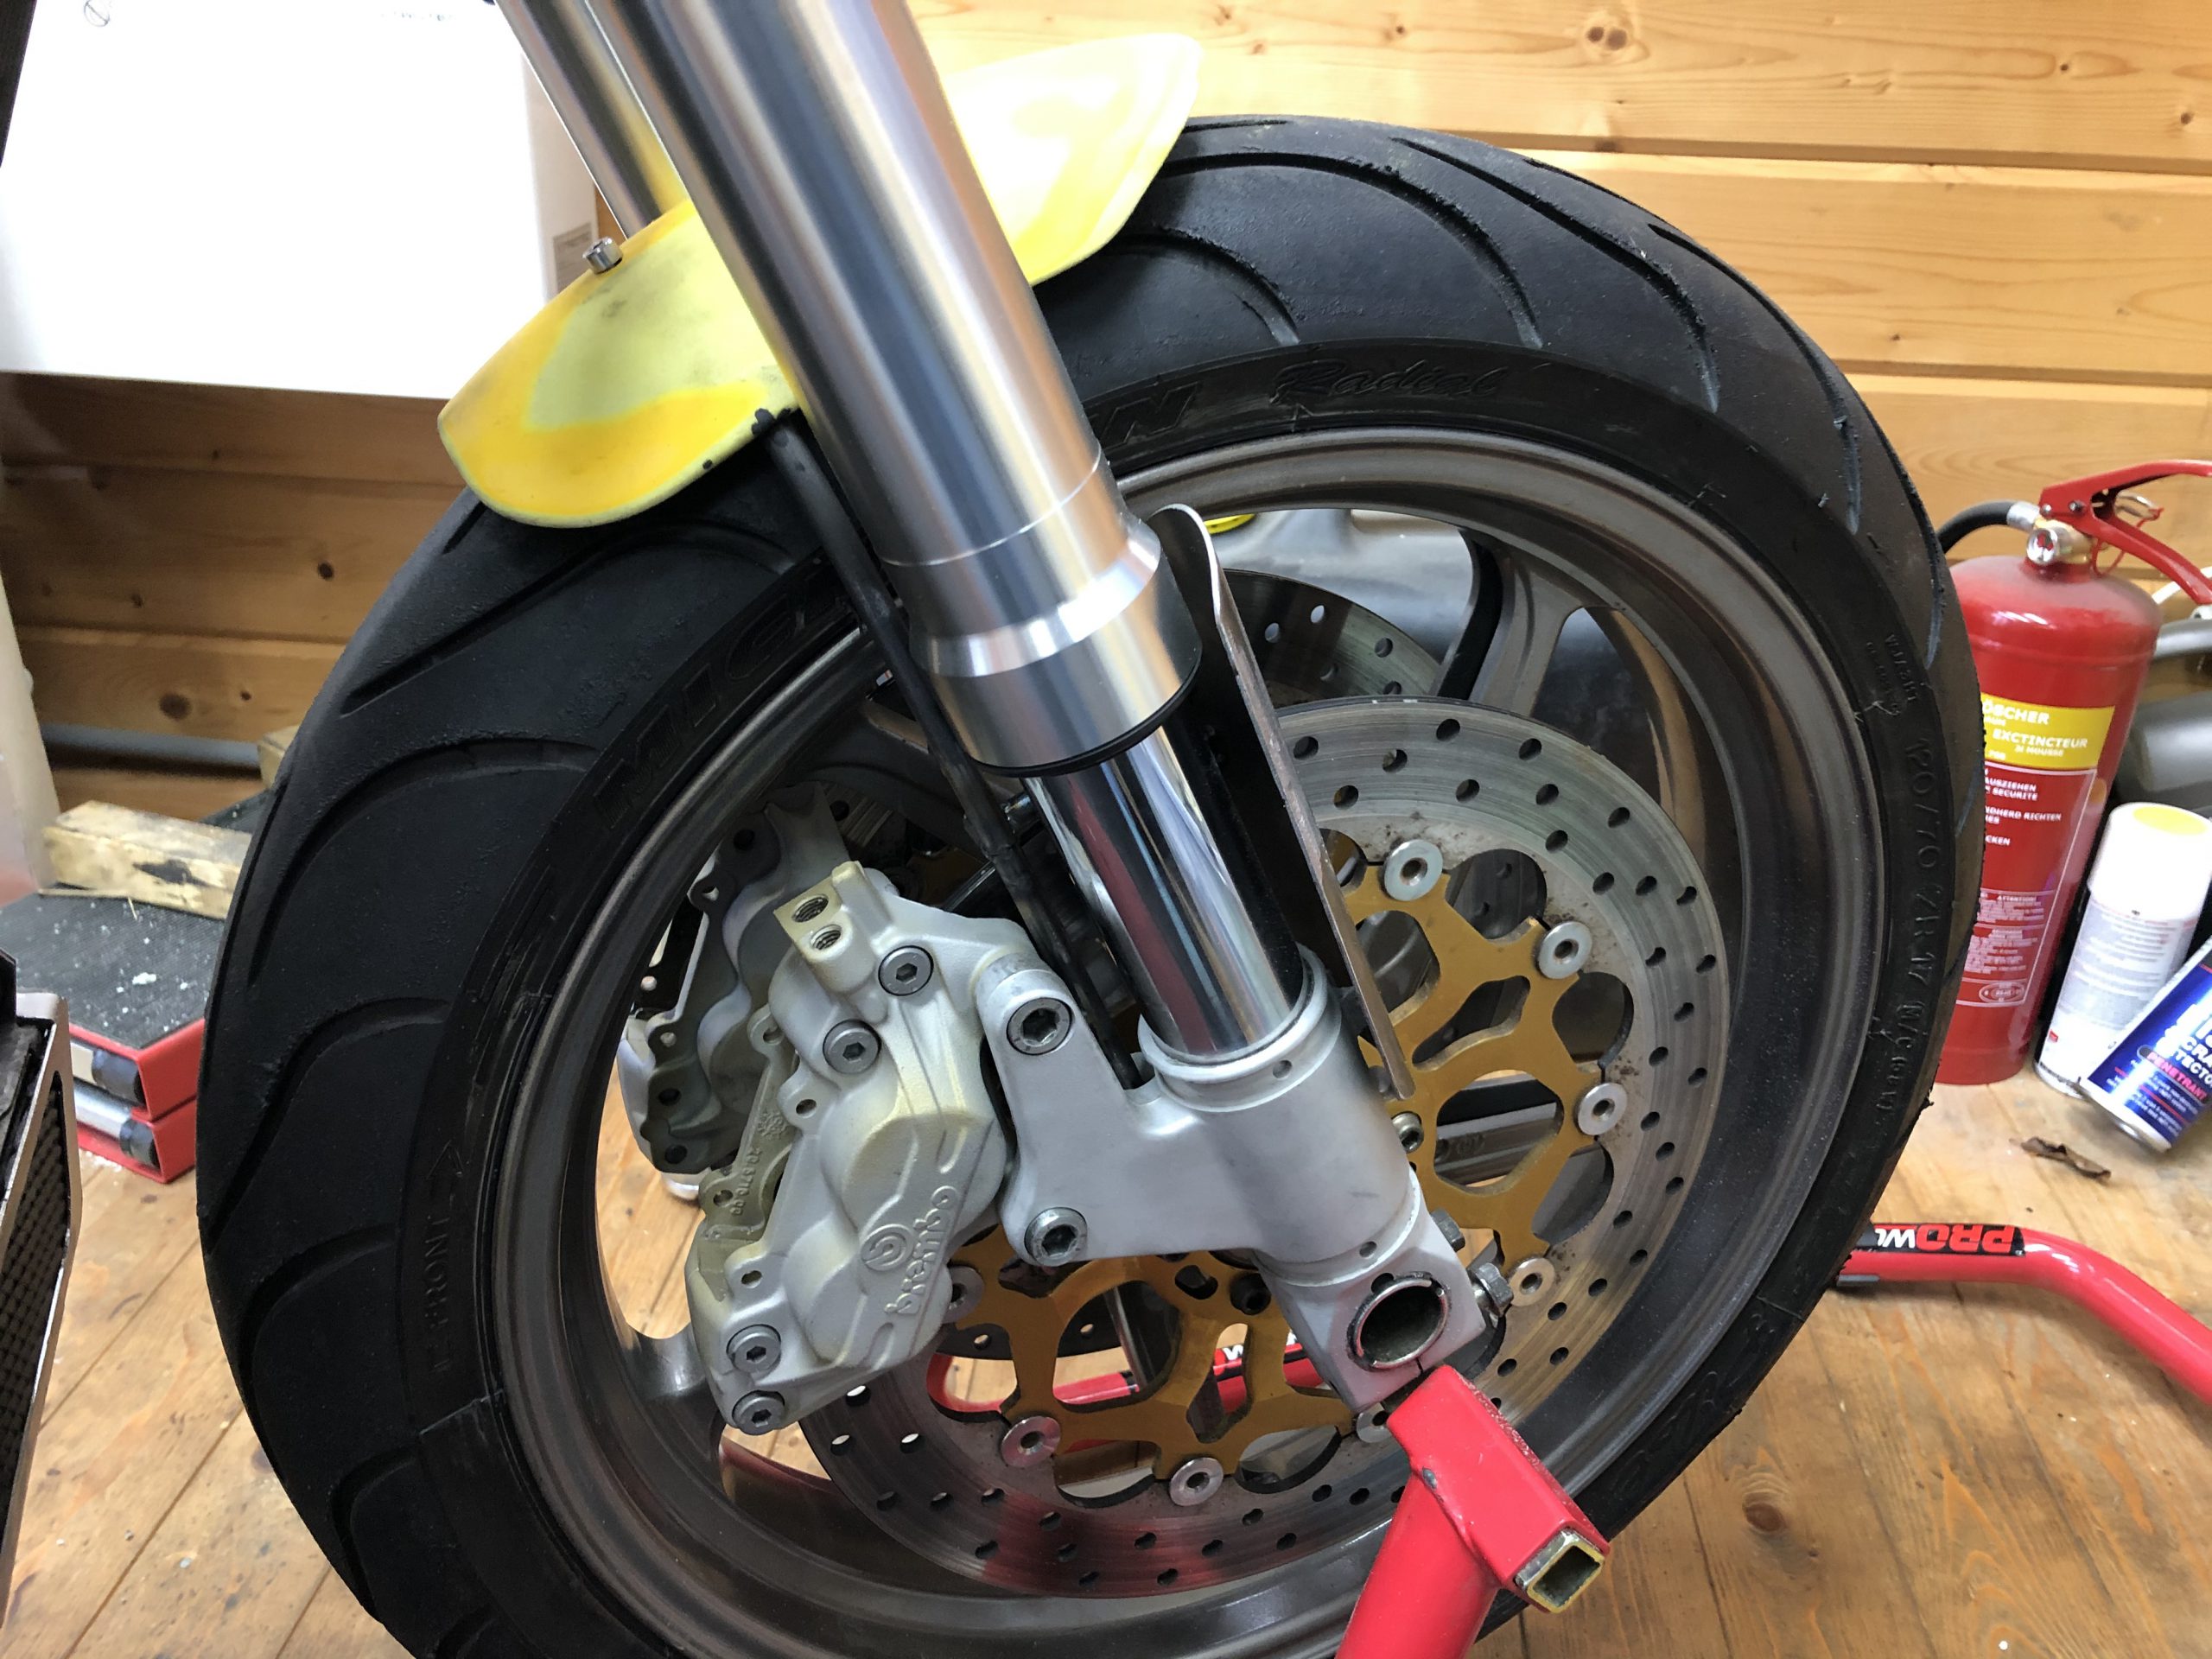
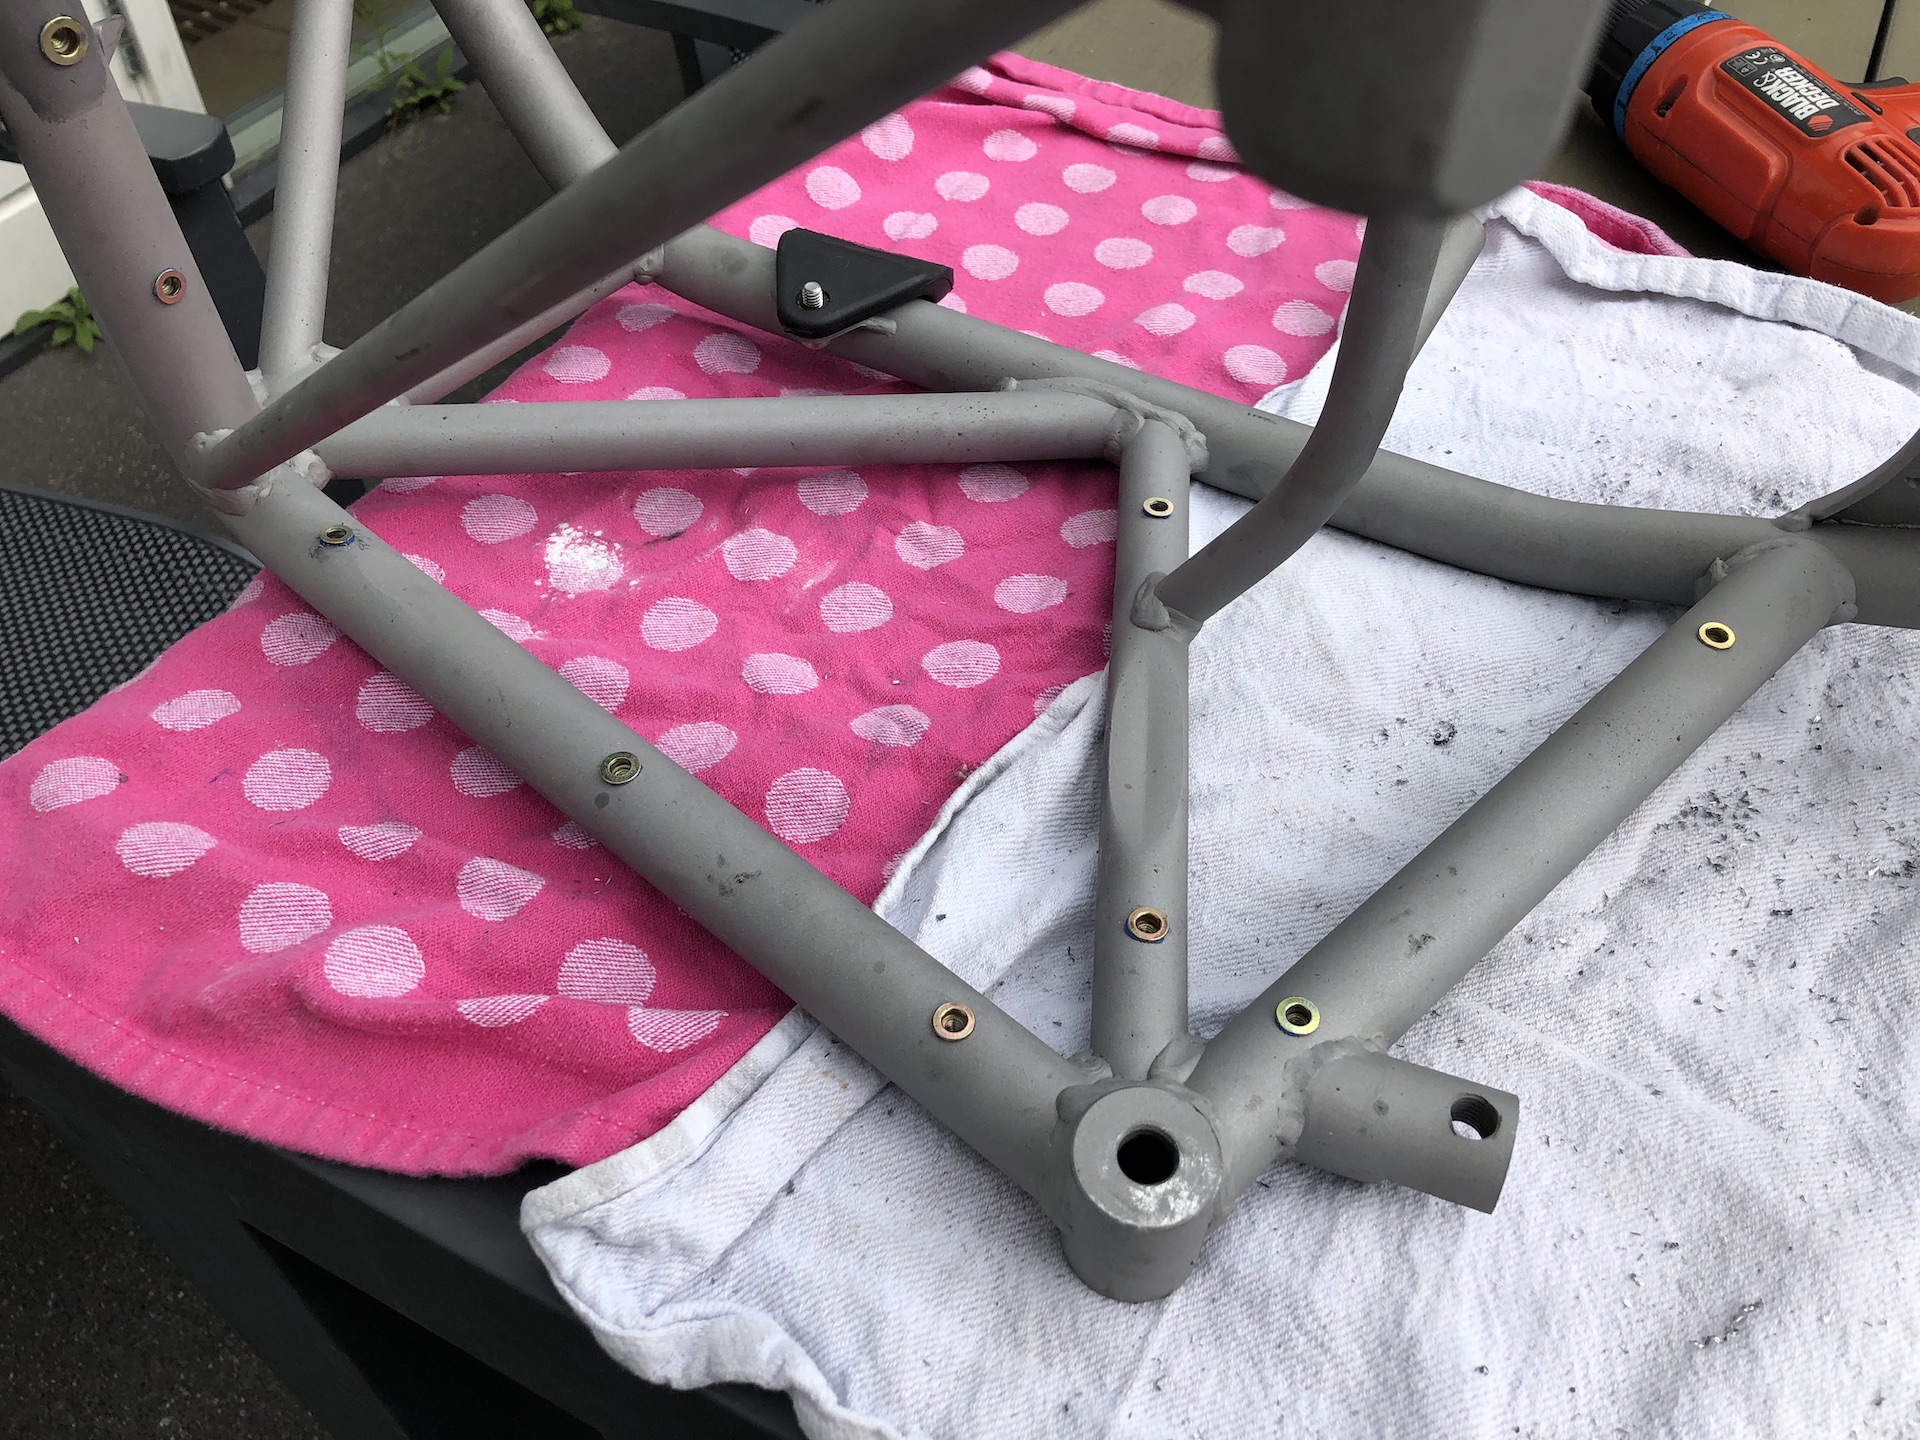
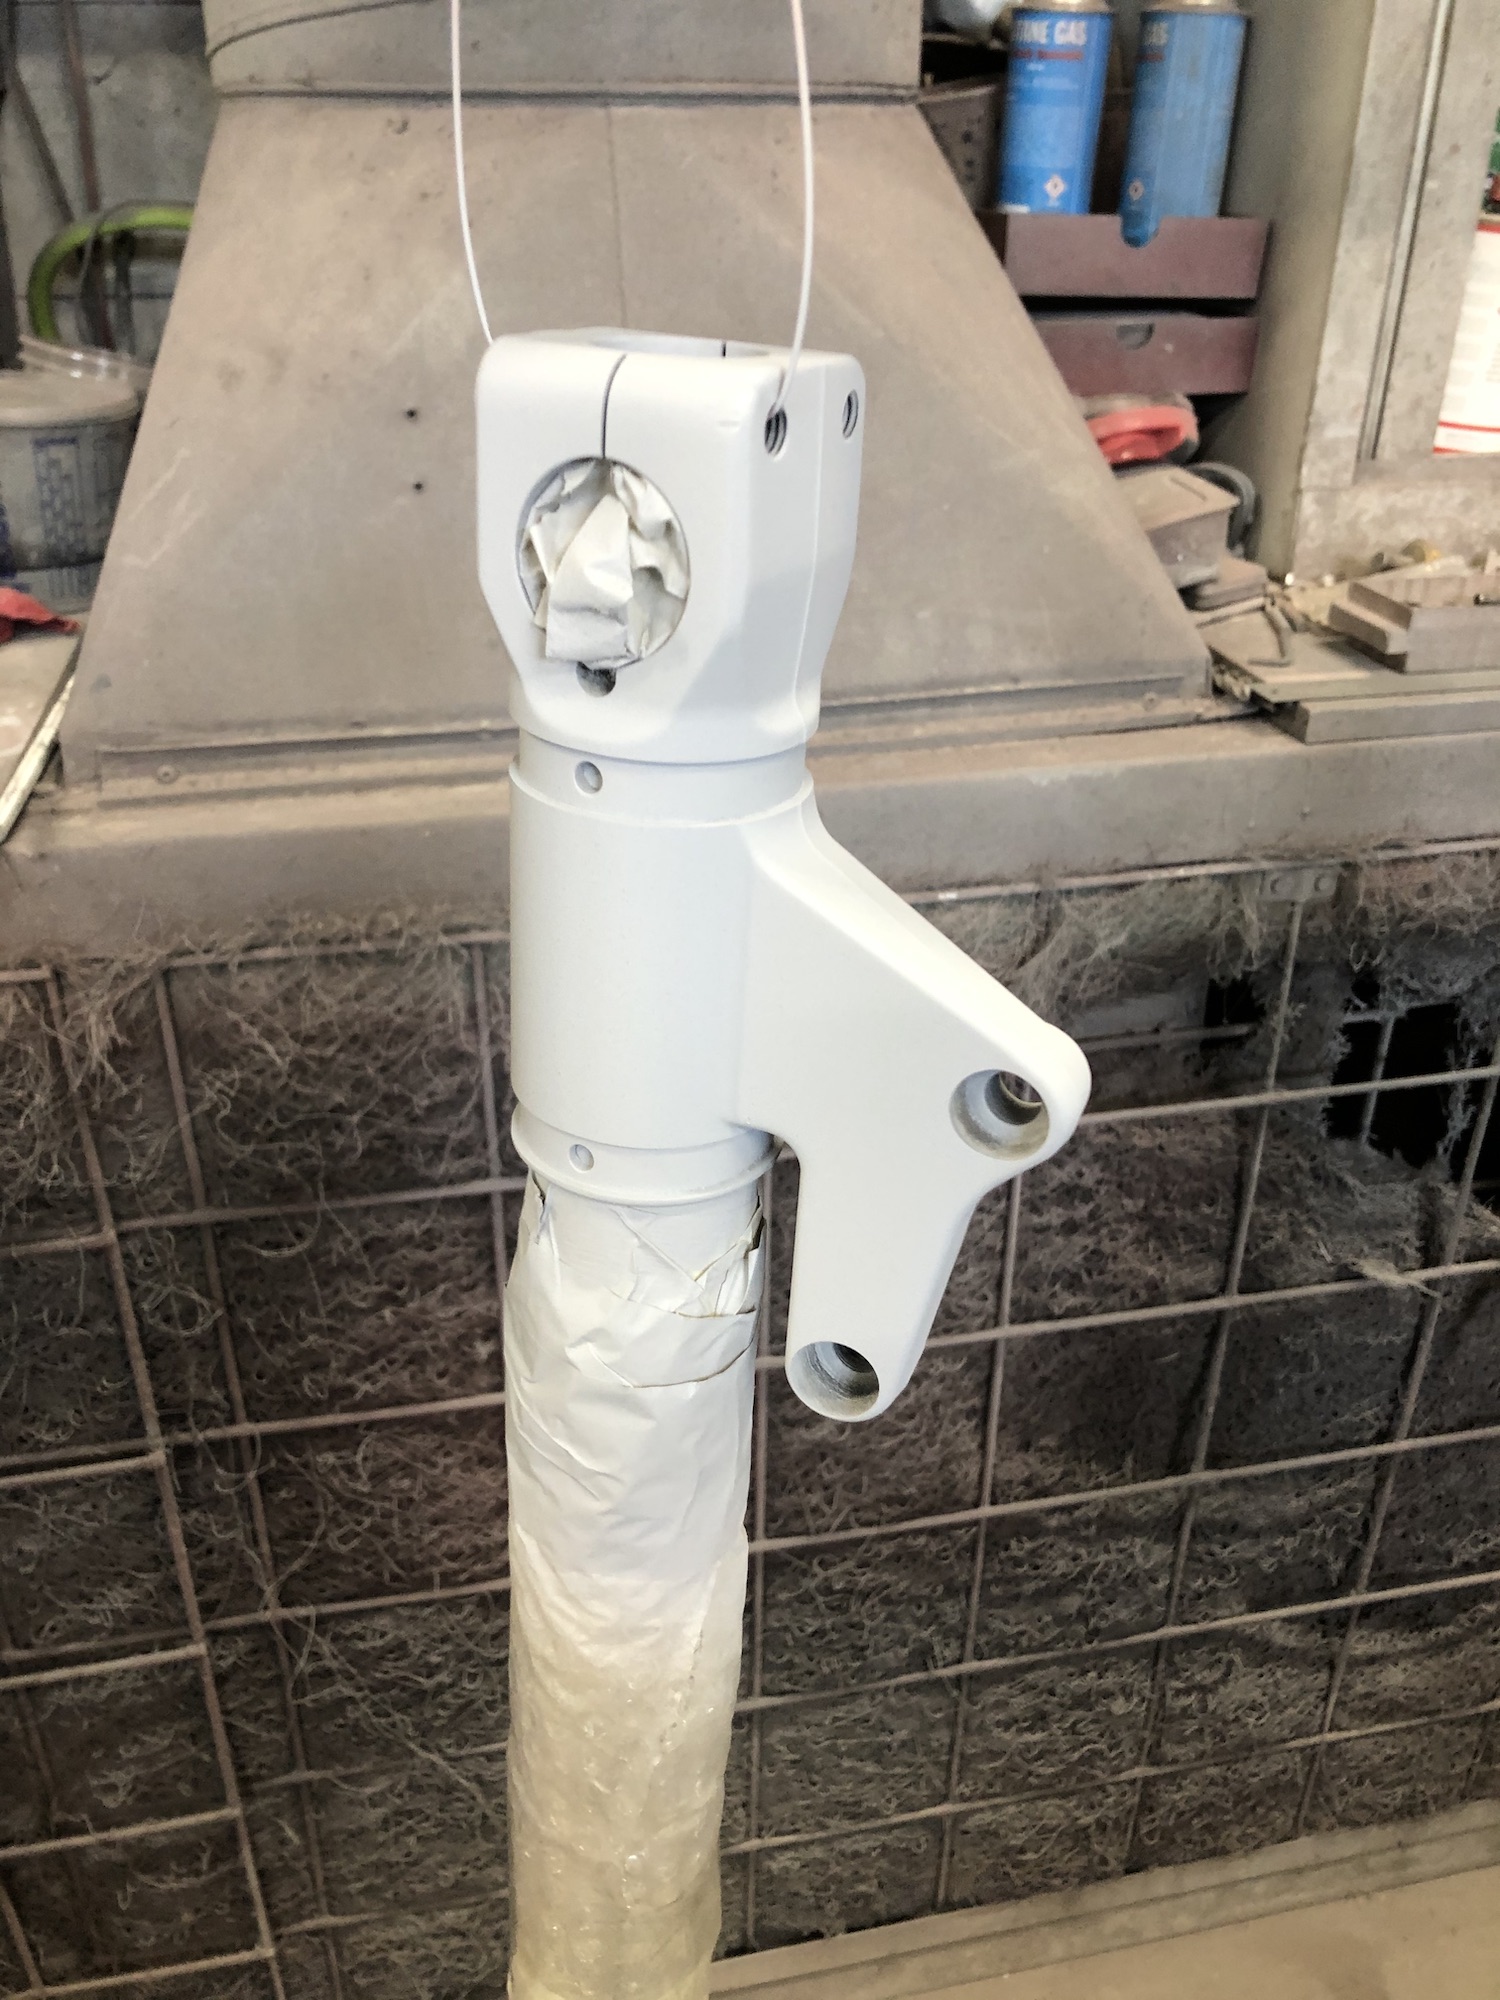
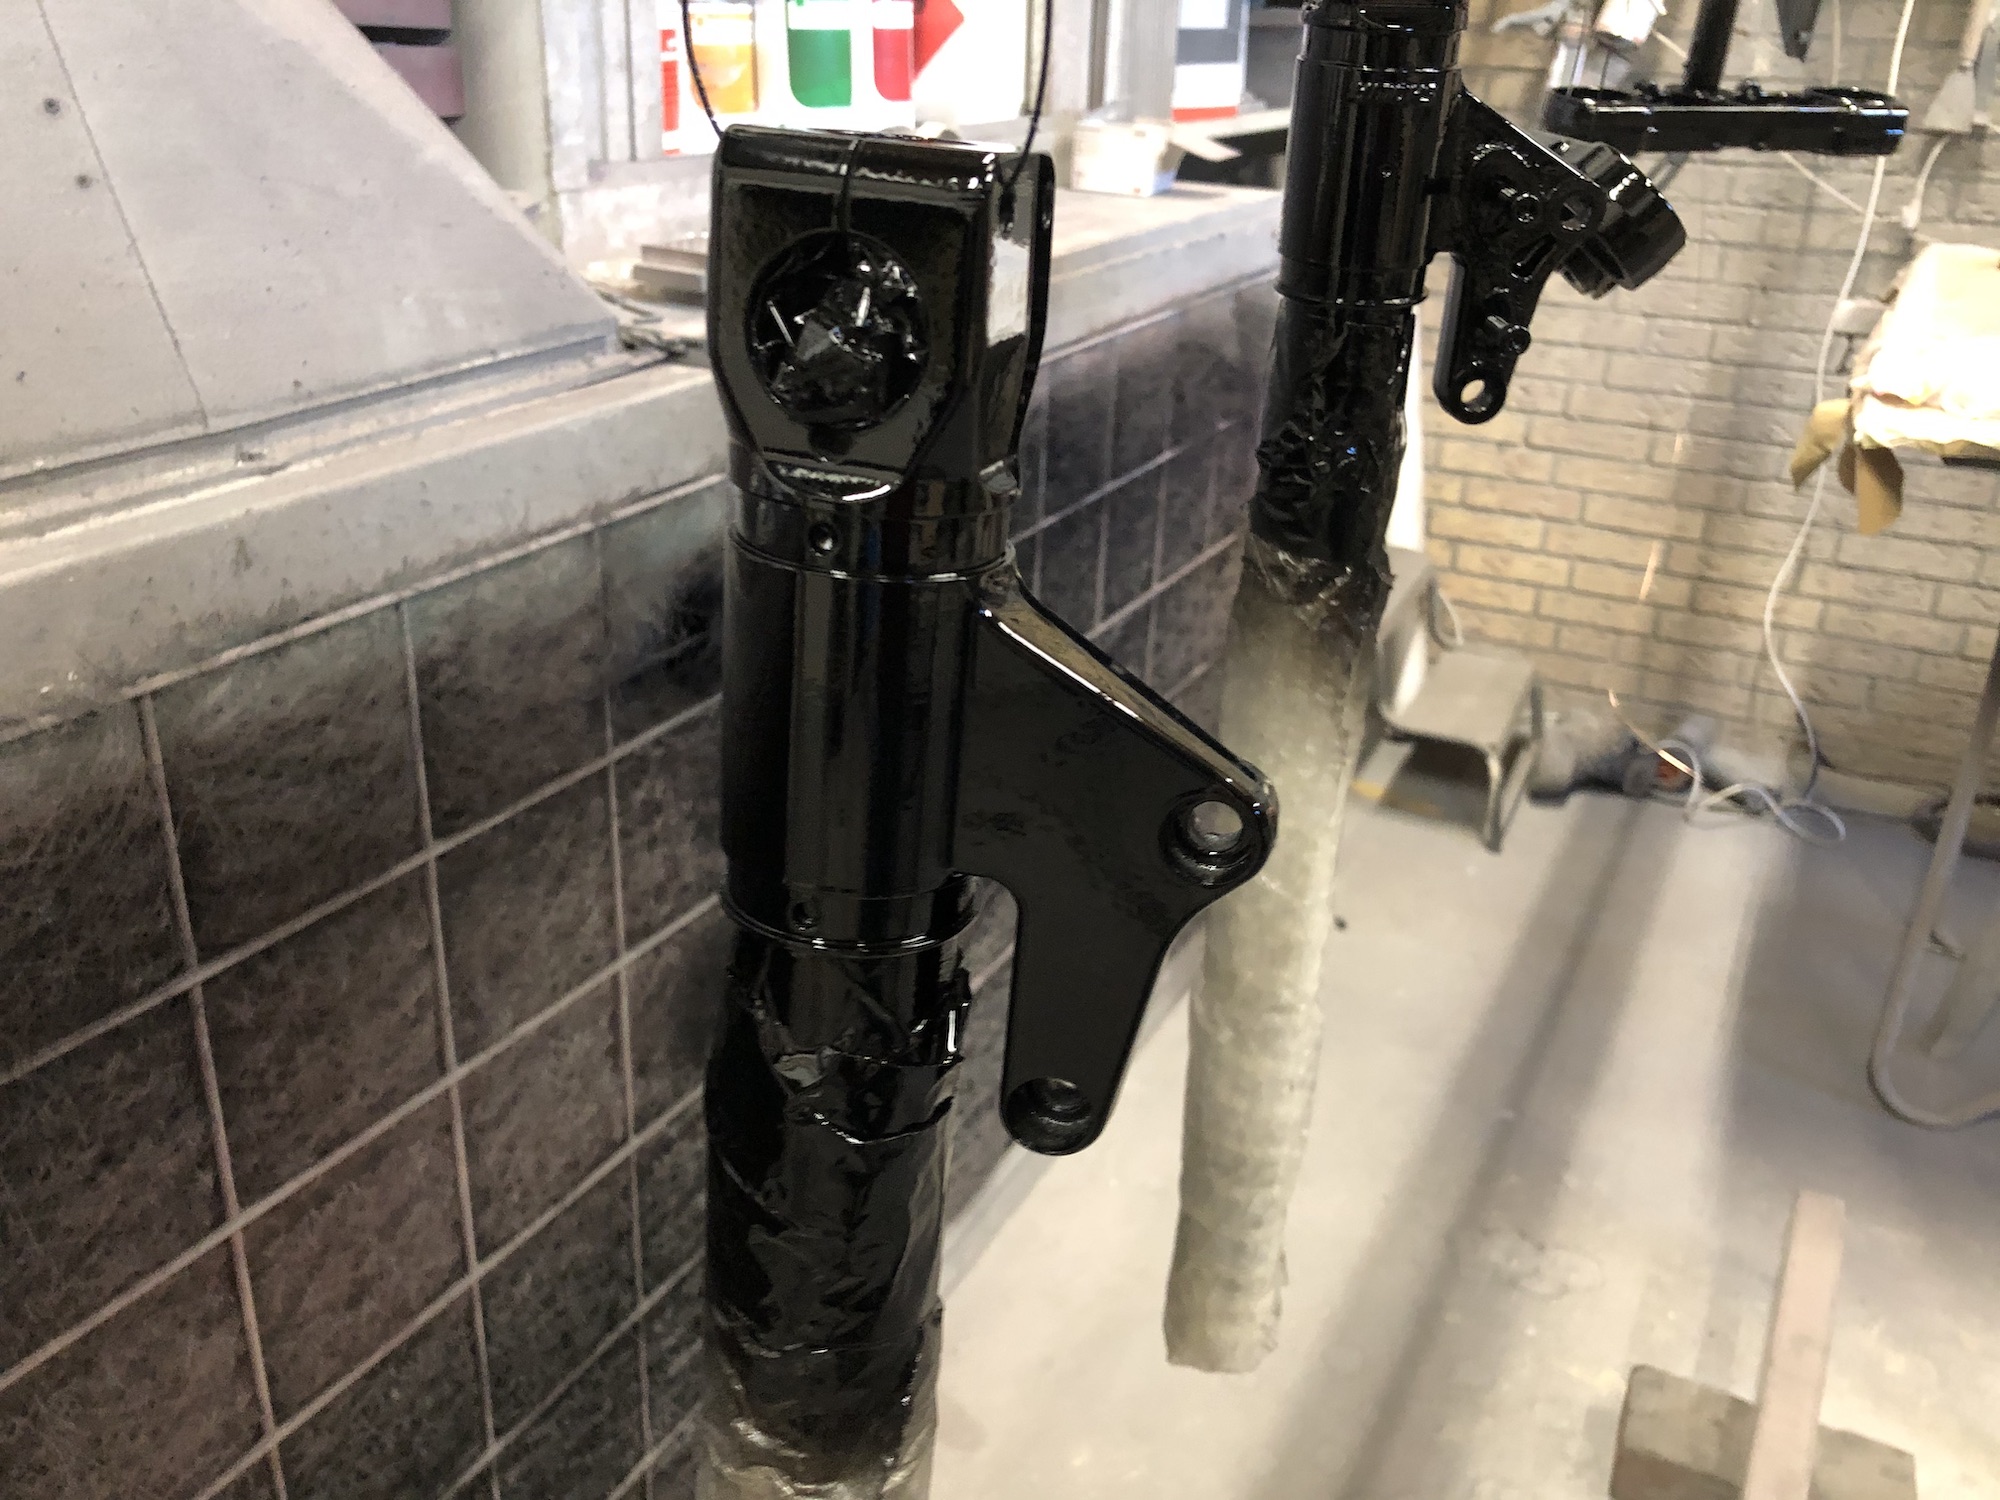
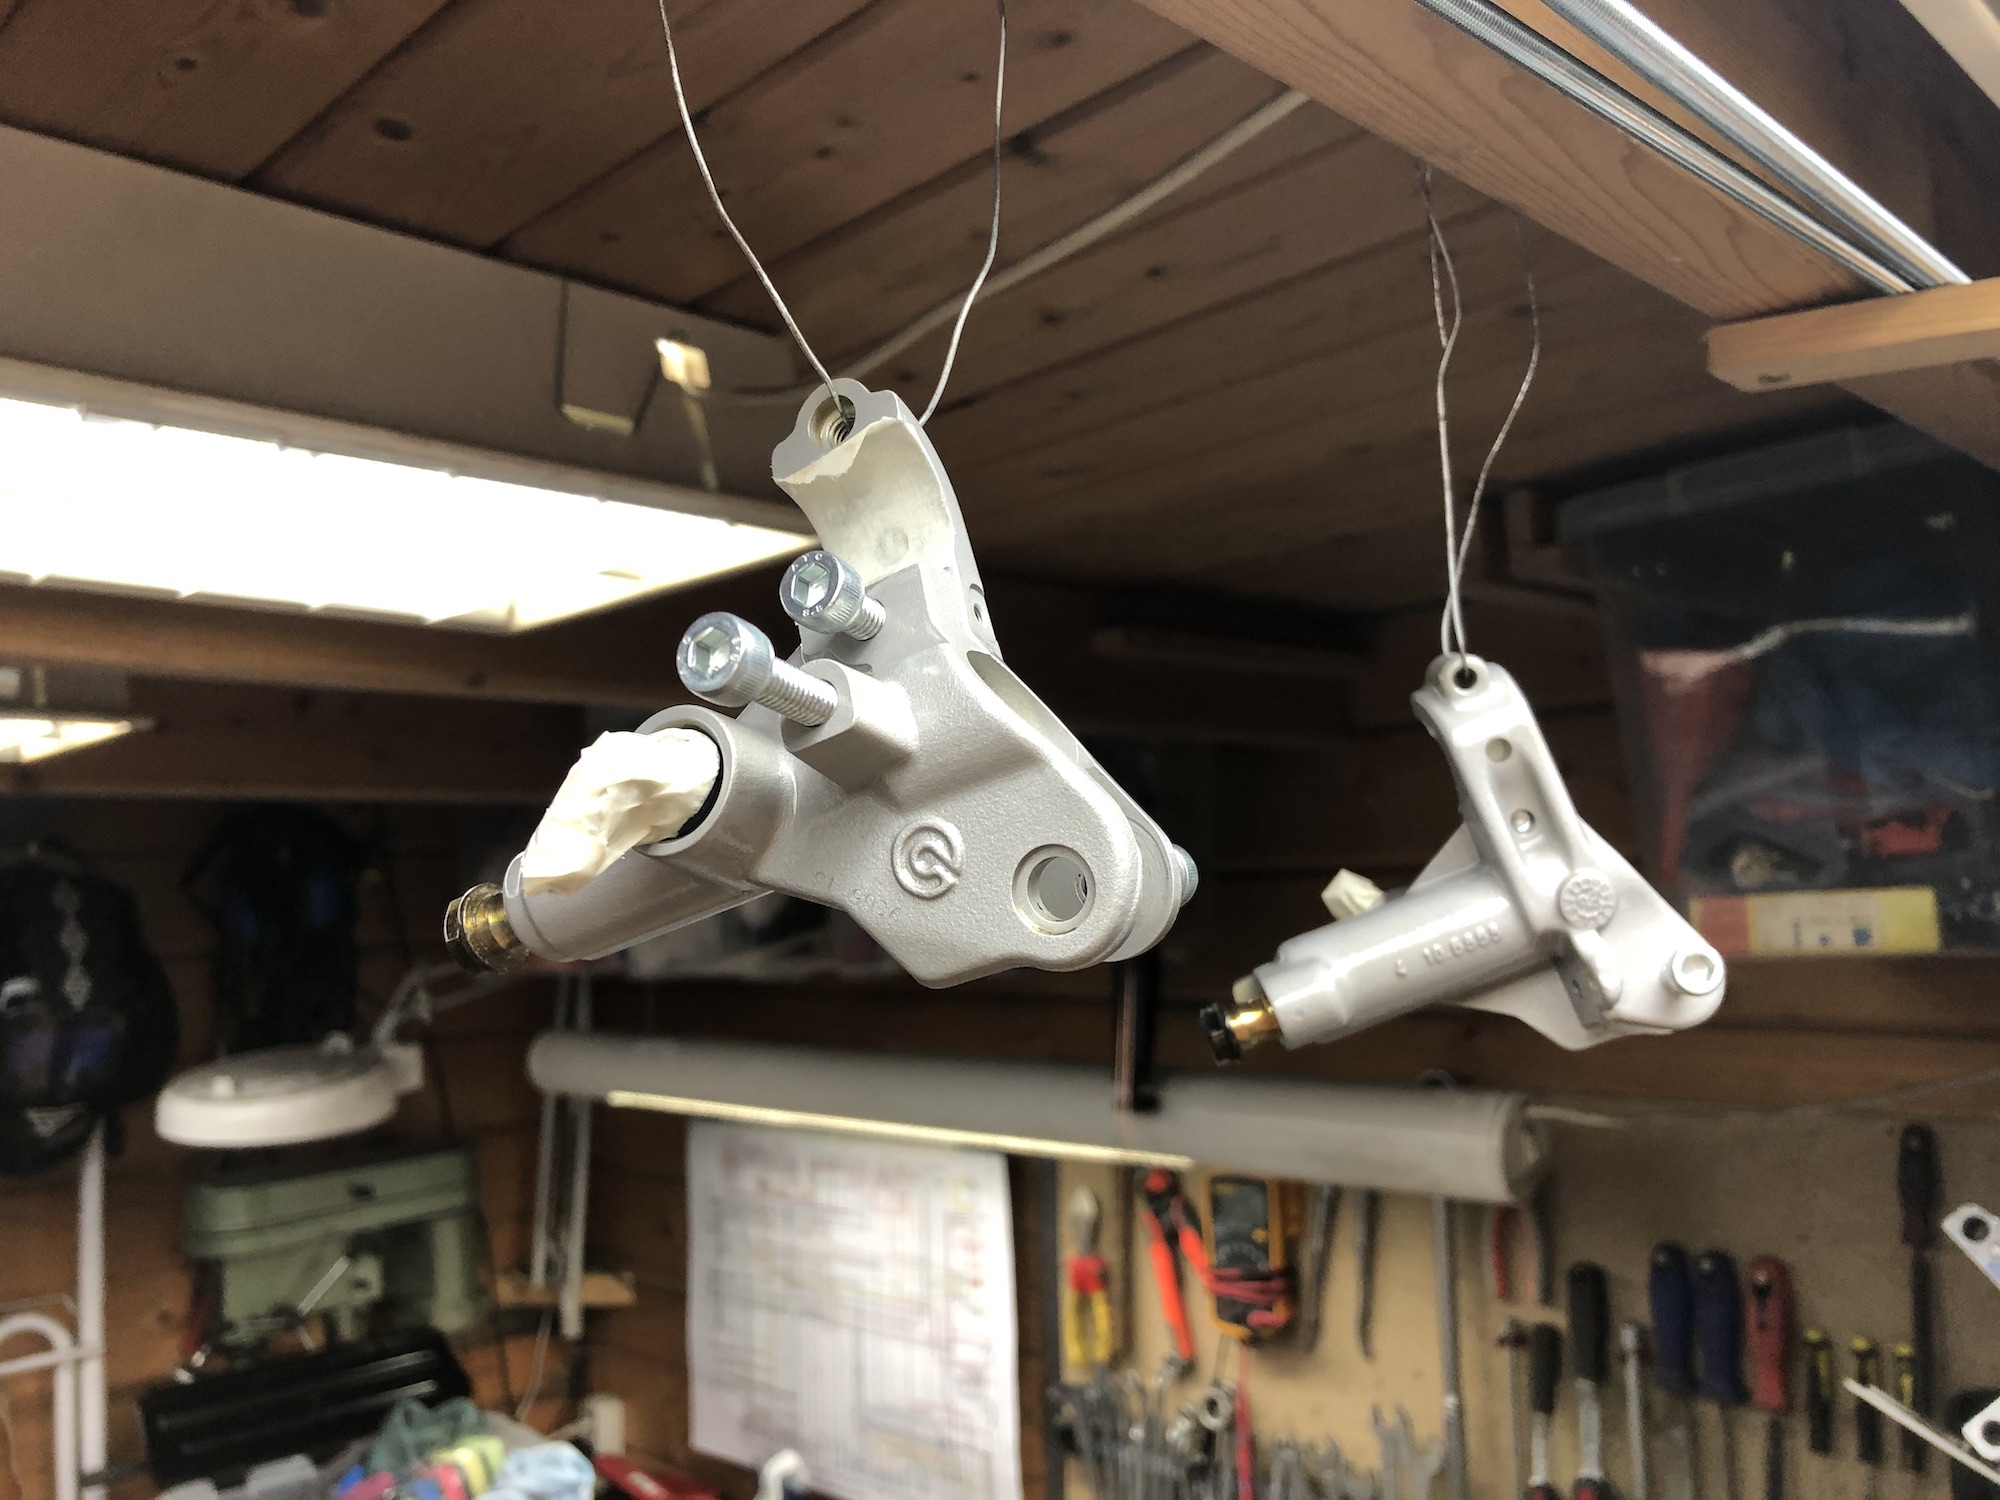
CLEANING UP THE BRAKE/CLUTCH CYLINDERS
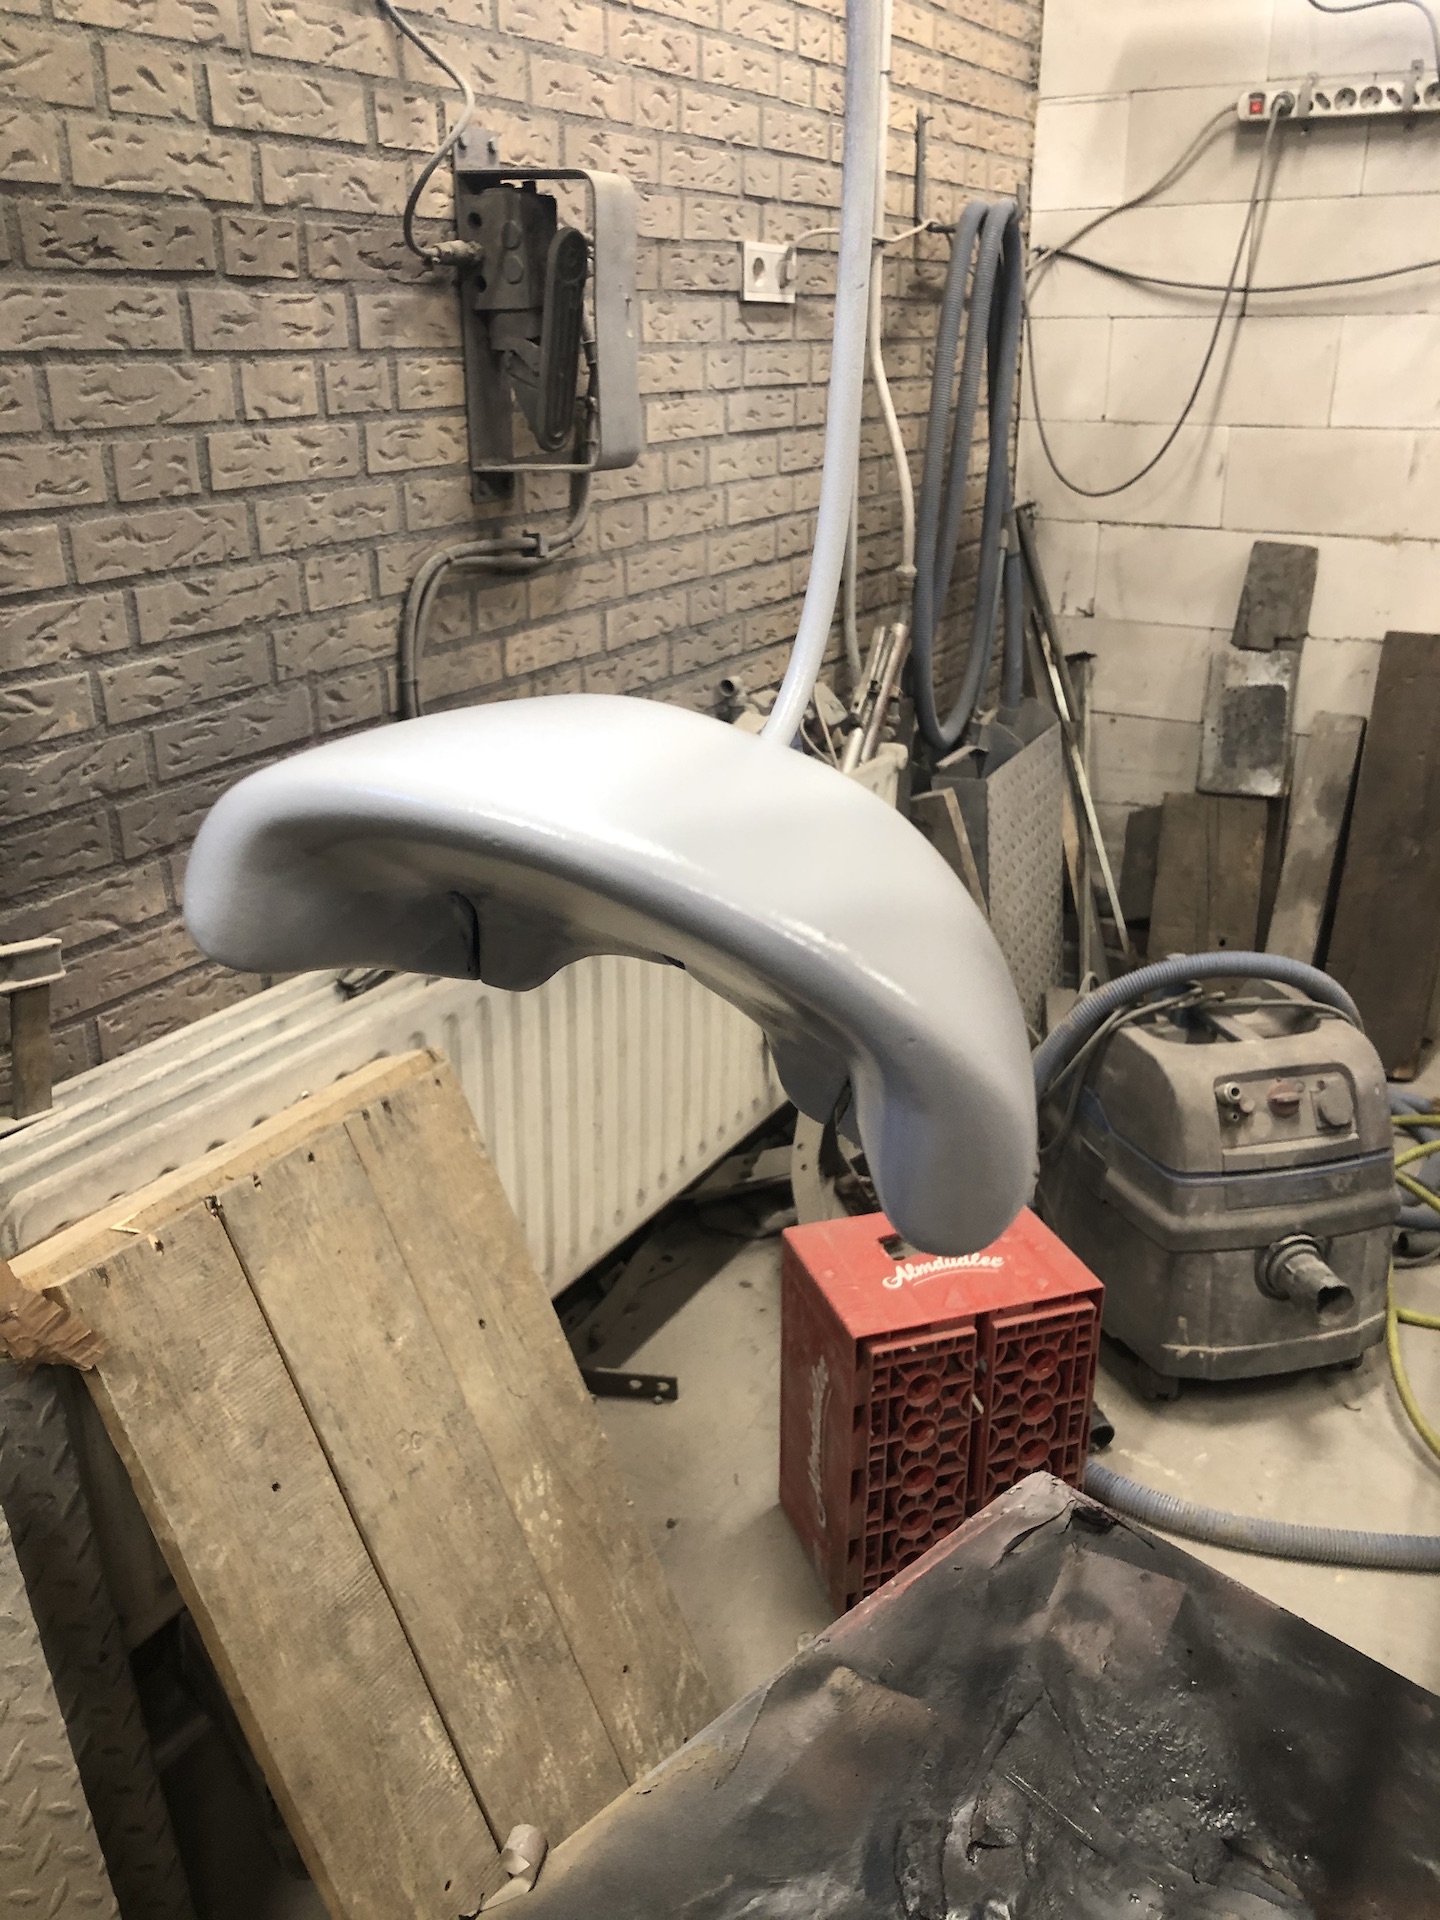
The gold brake/clutch cylinders just dont match the look of the bike. So i cleaned everything and sandblasted the casings. Going to be painted grey before the end of the project.
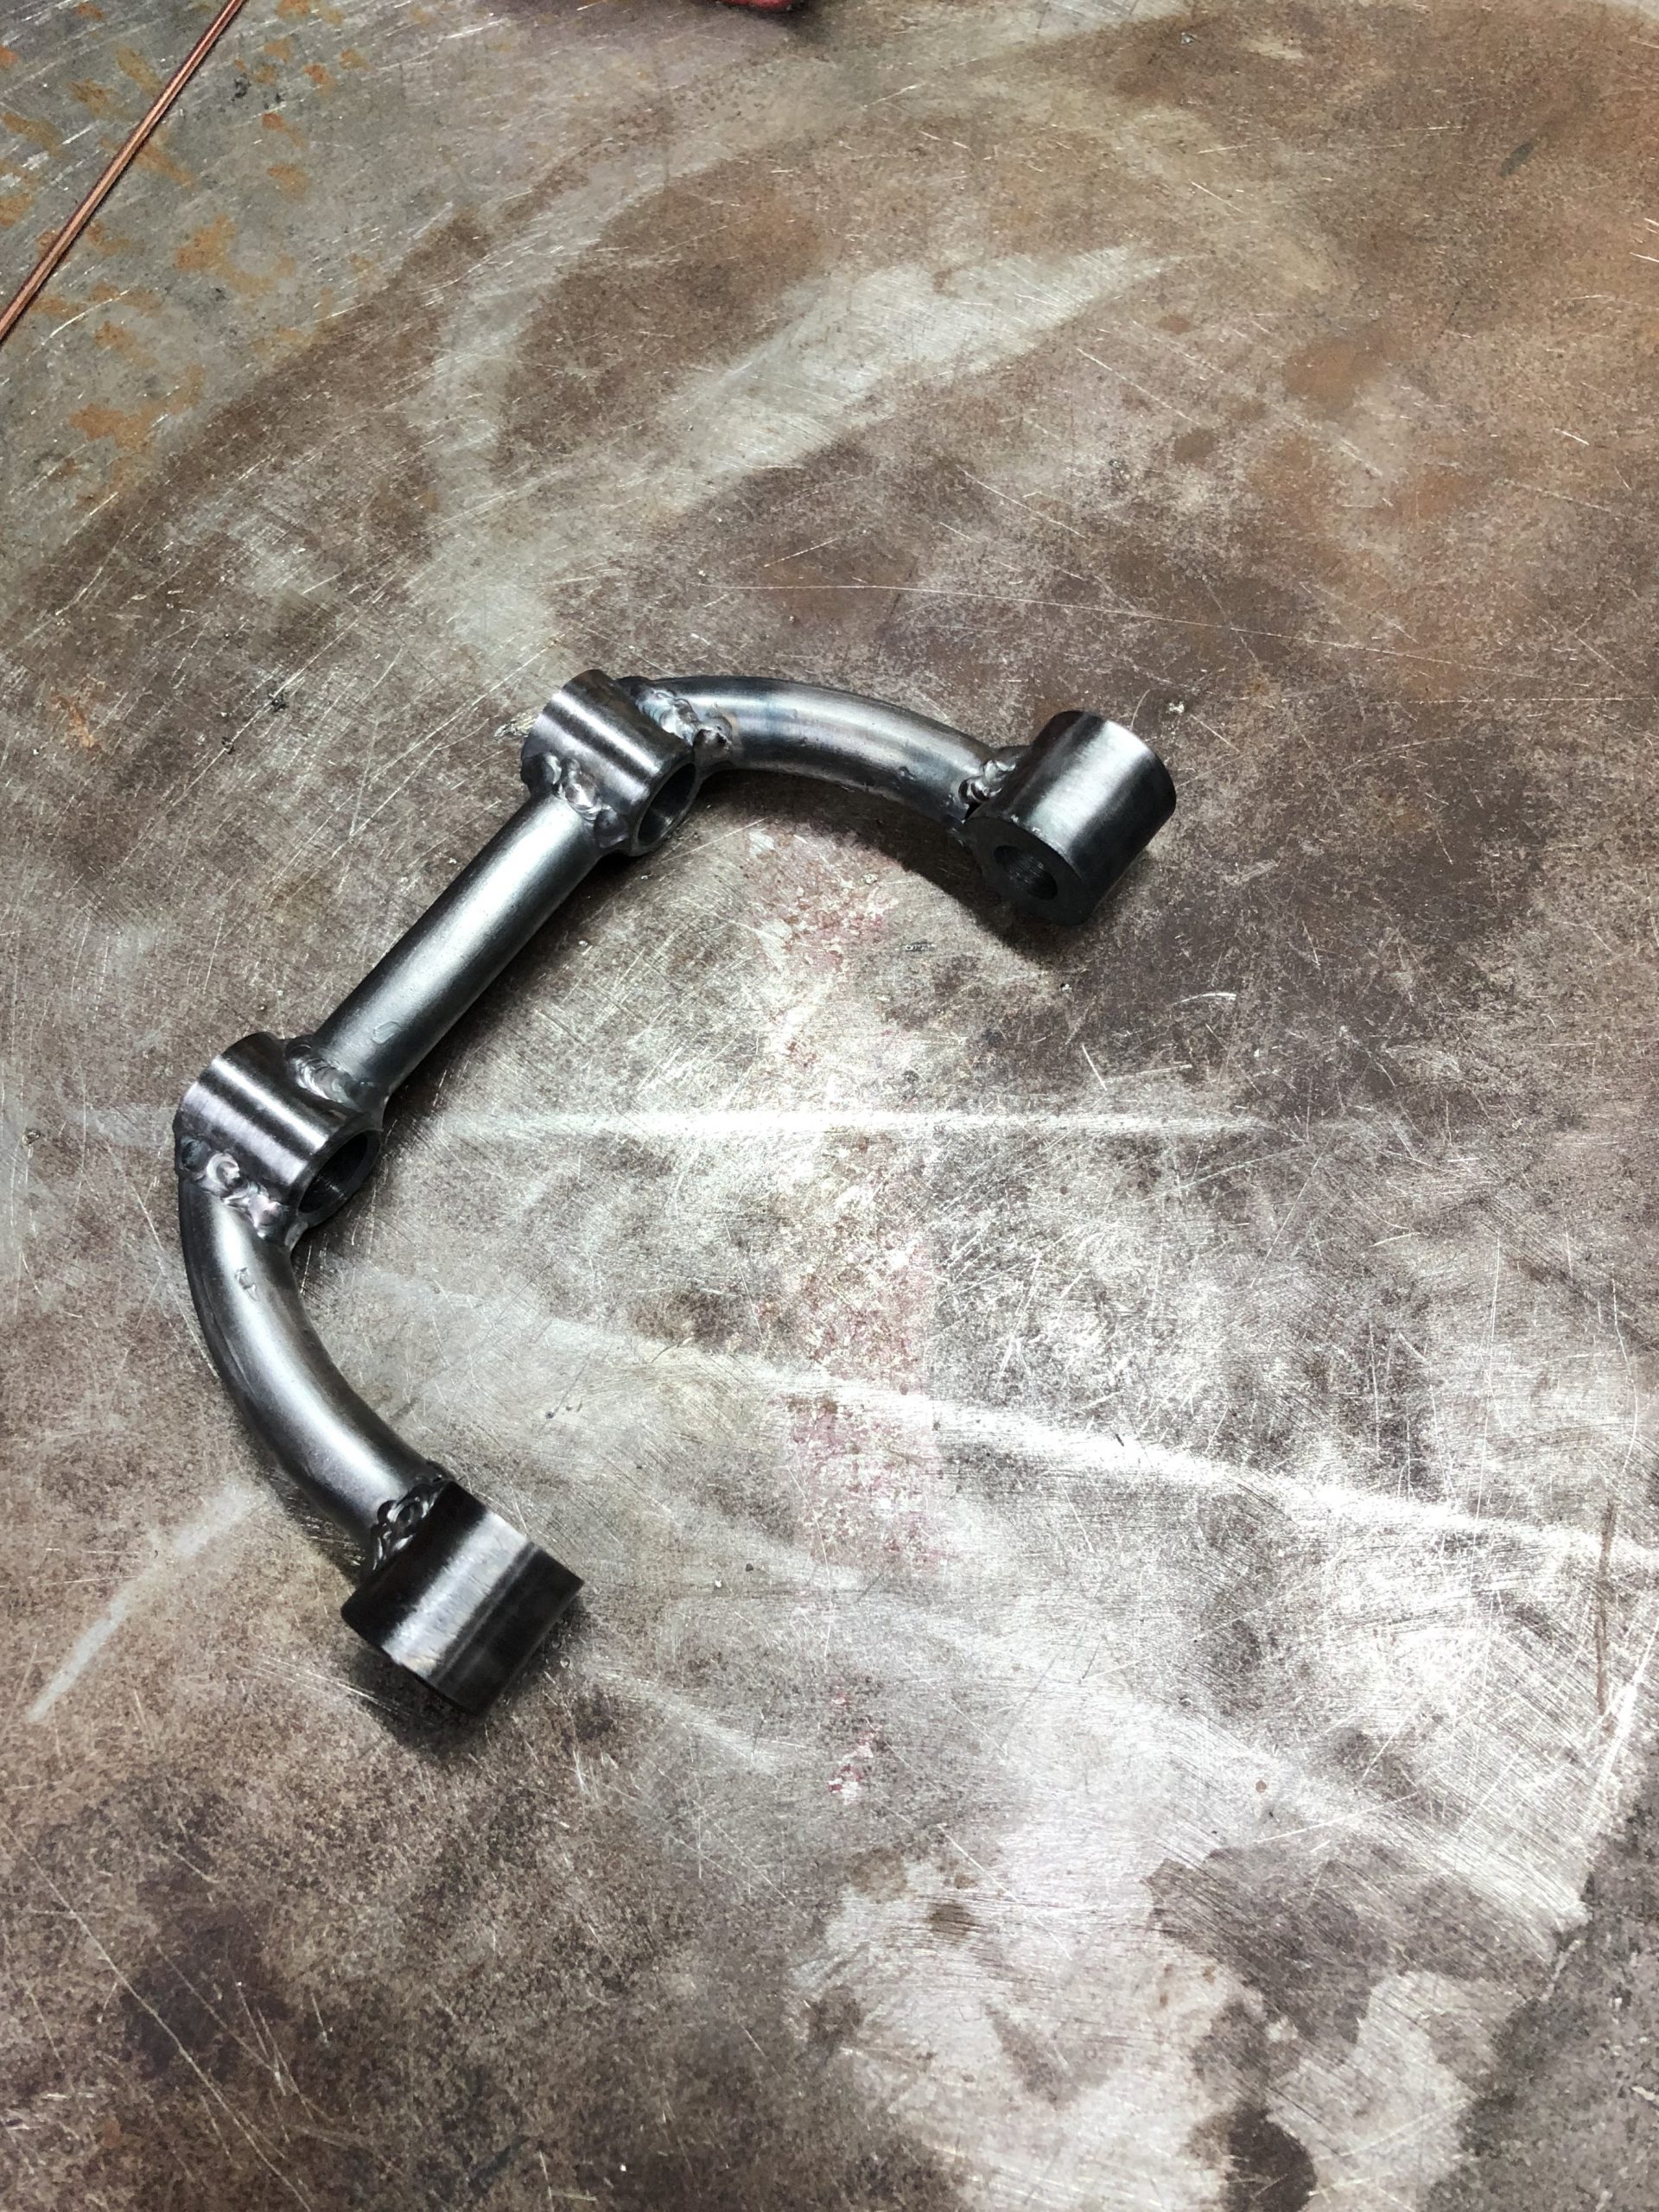
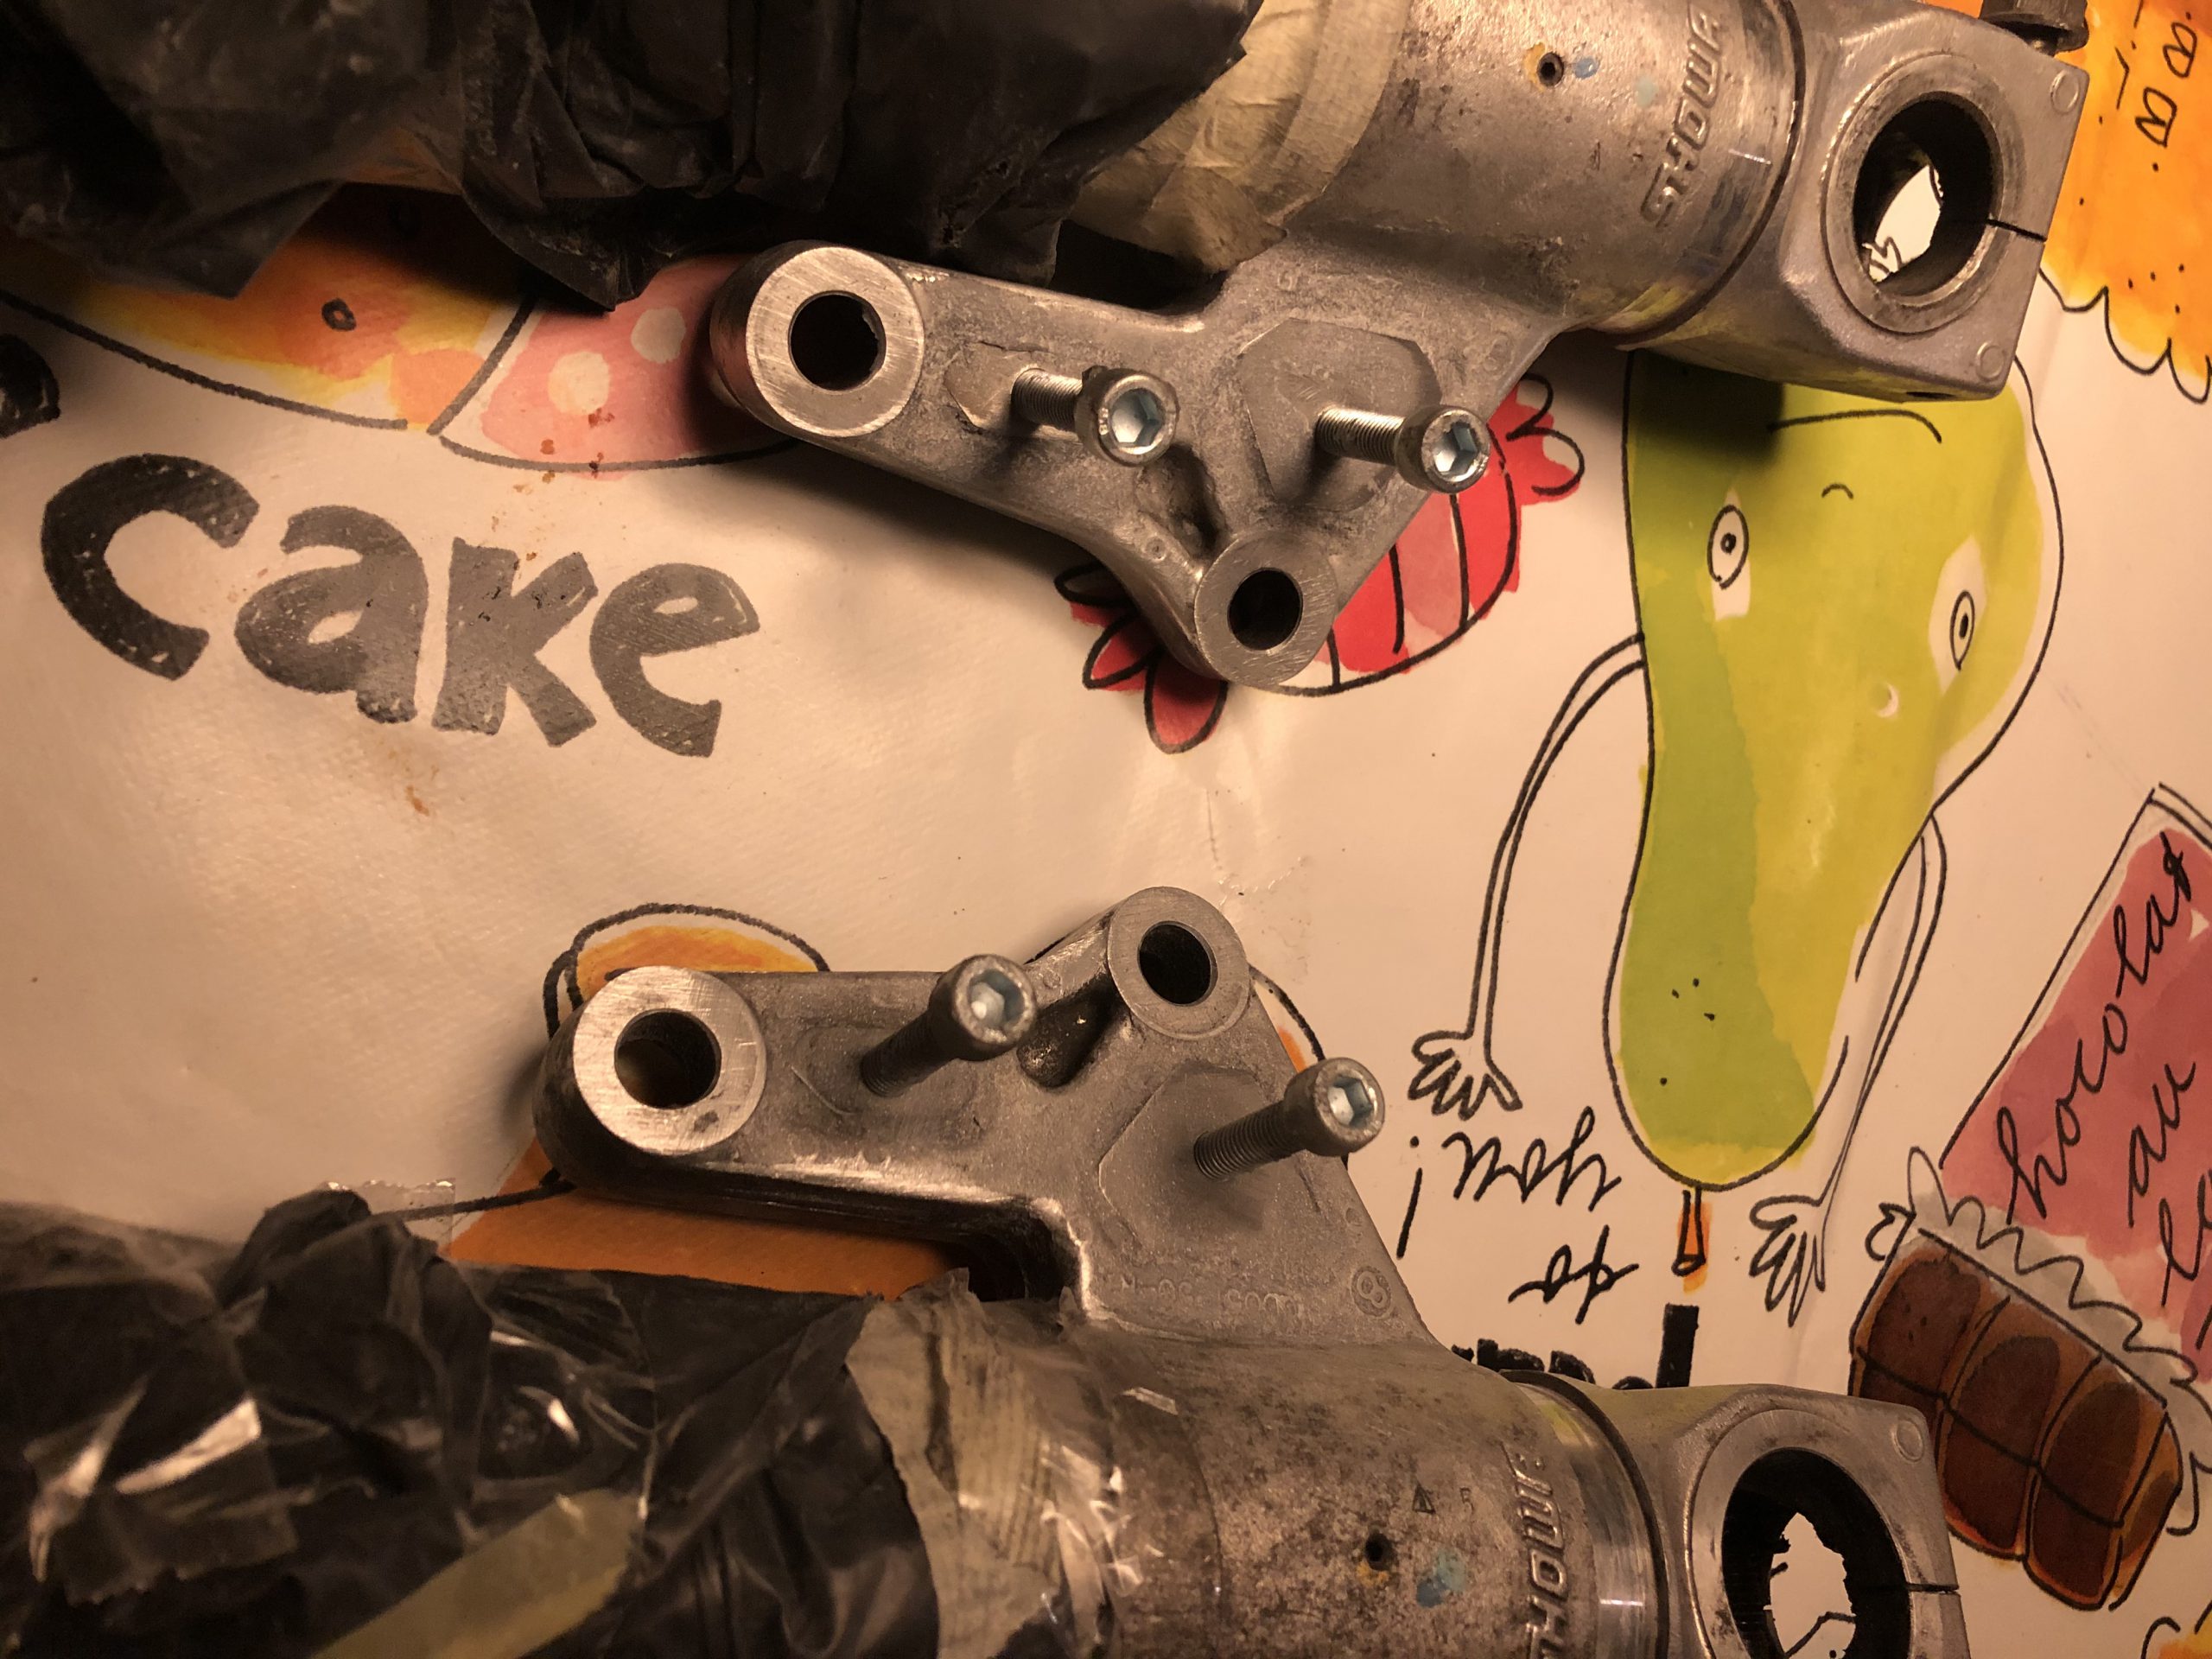
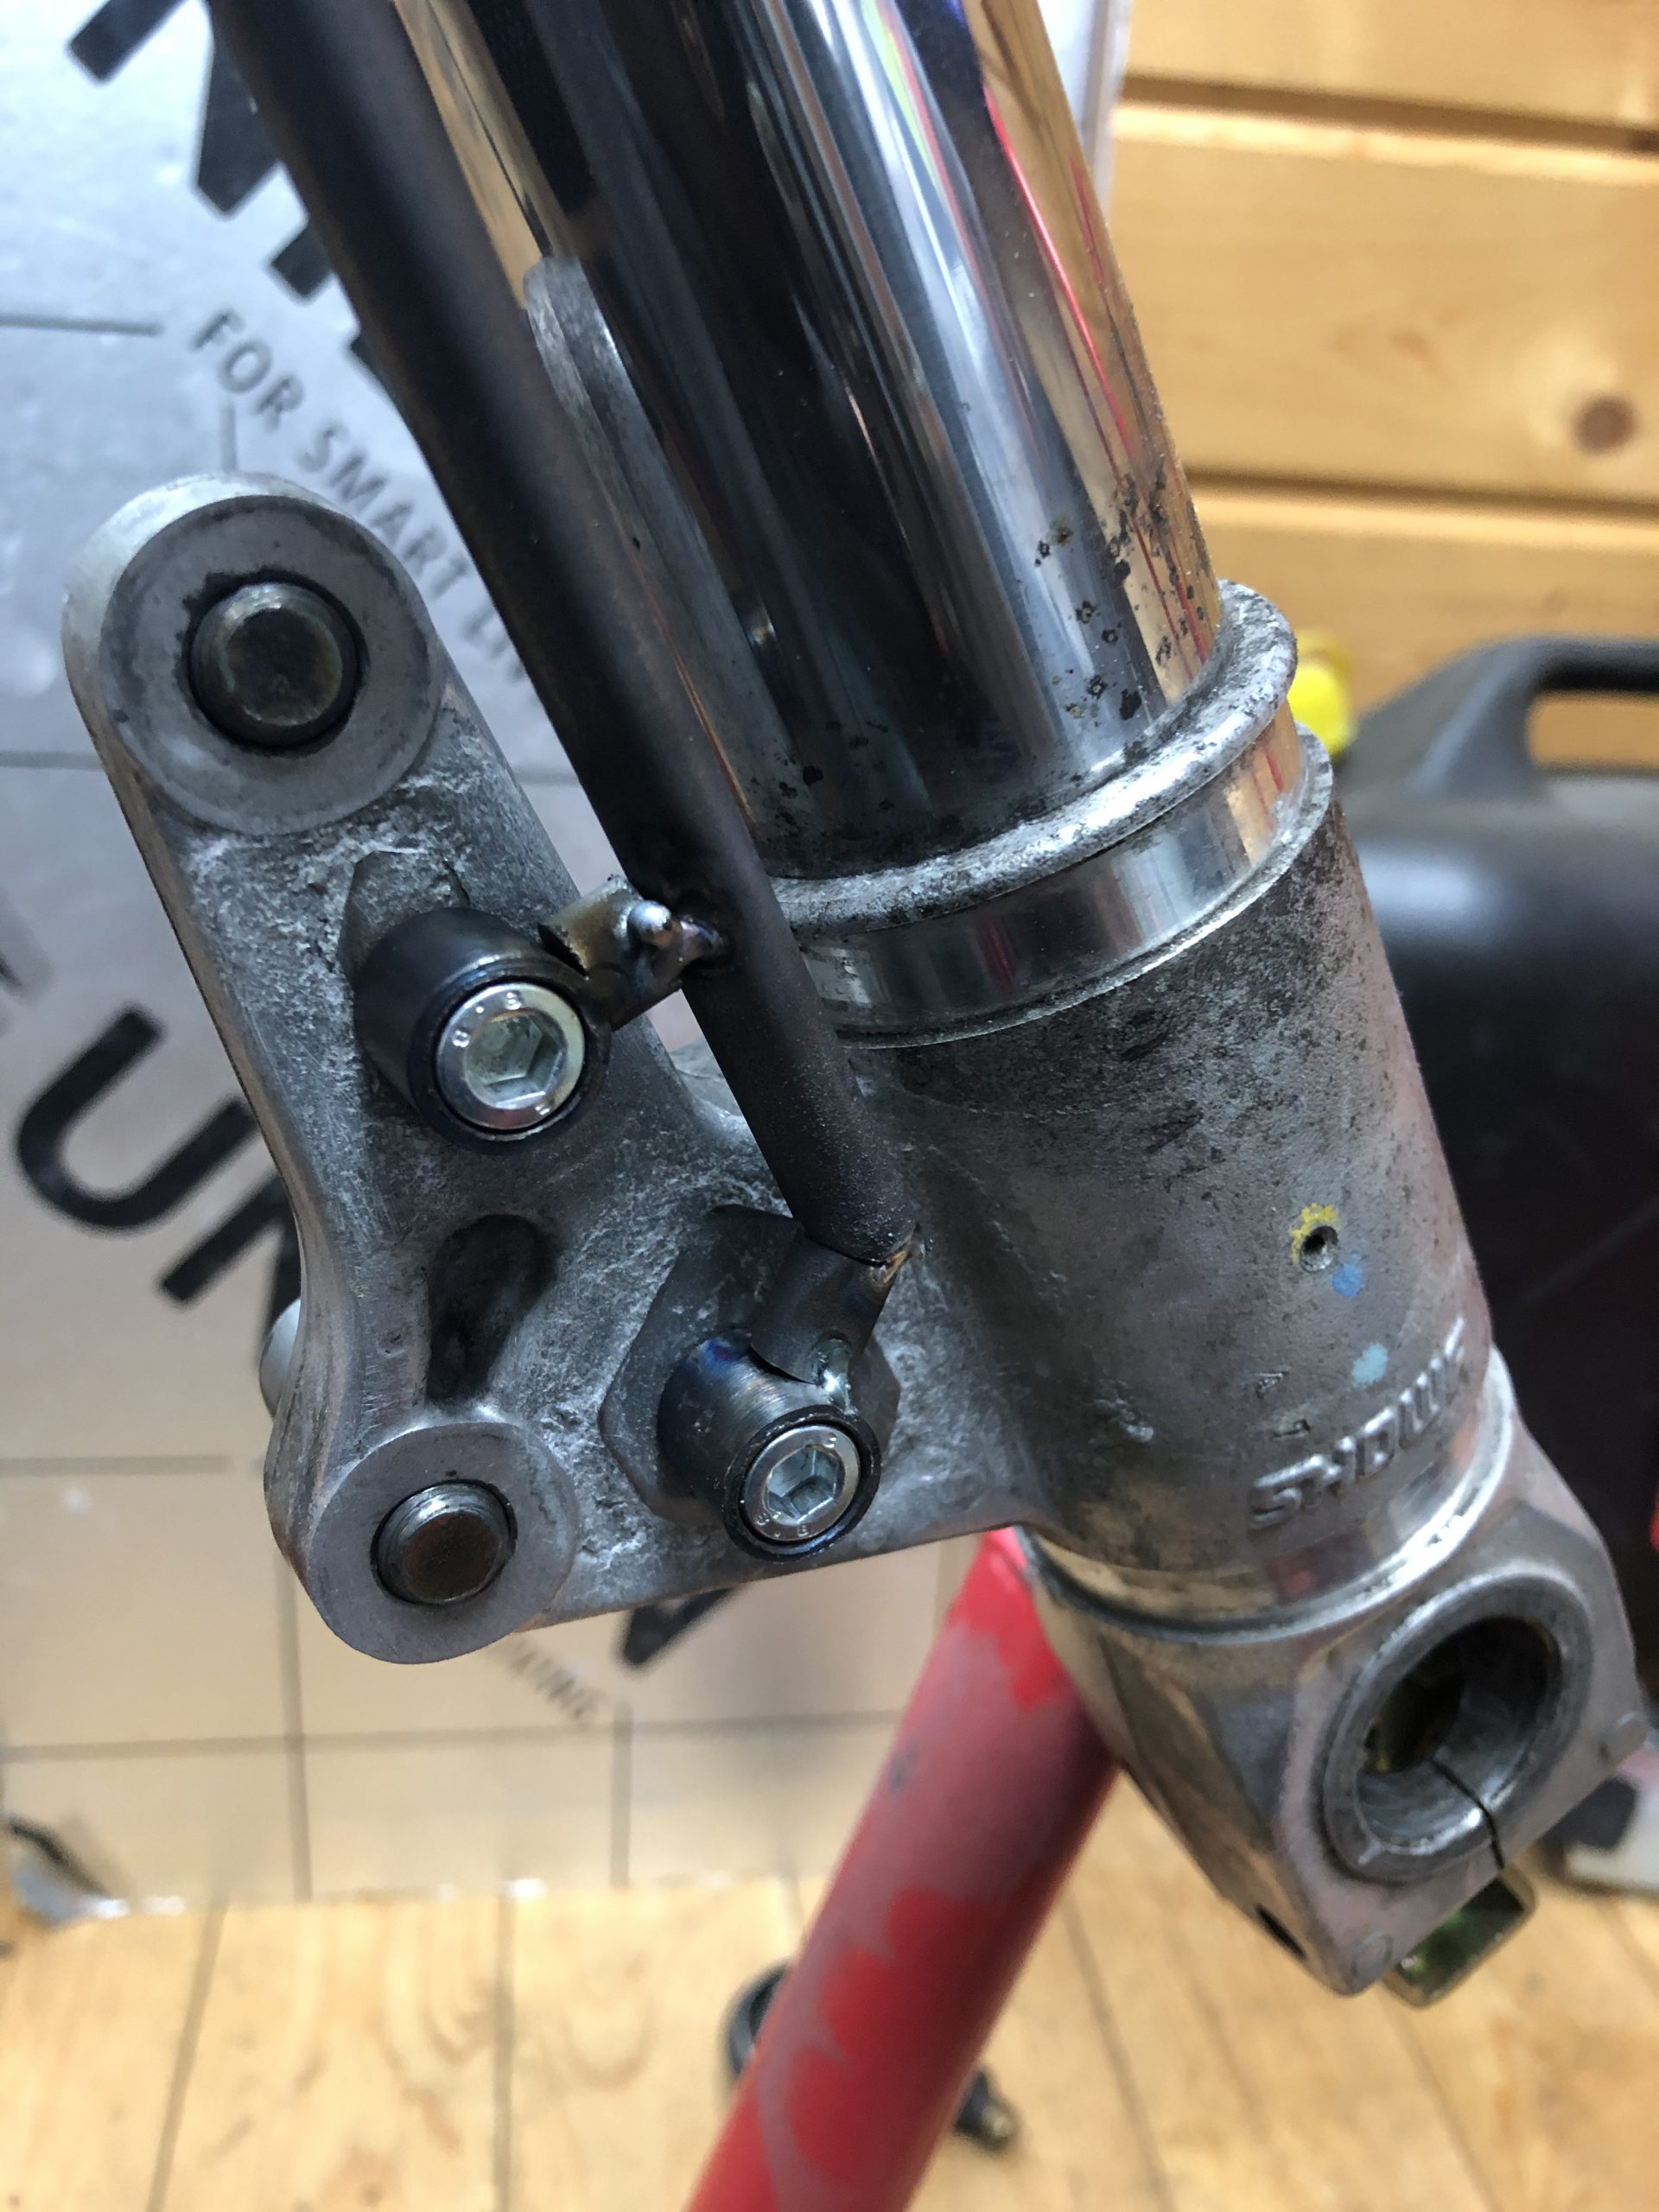
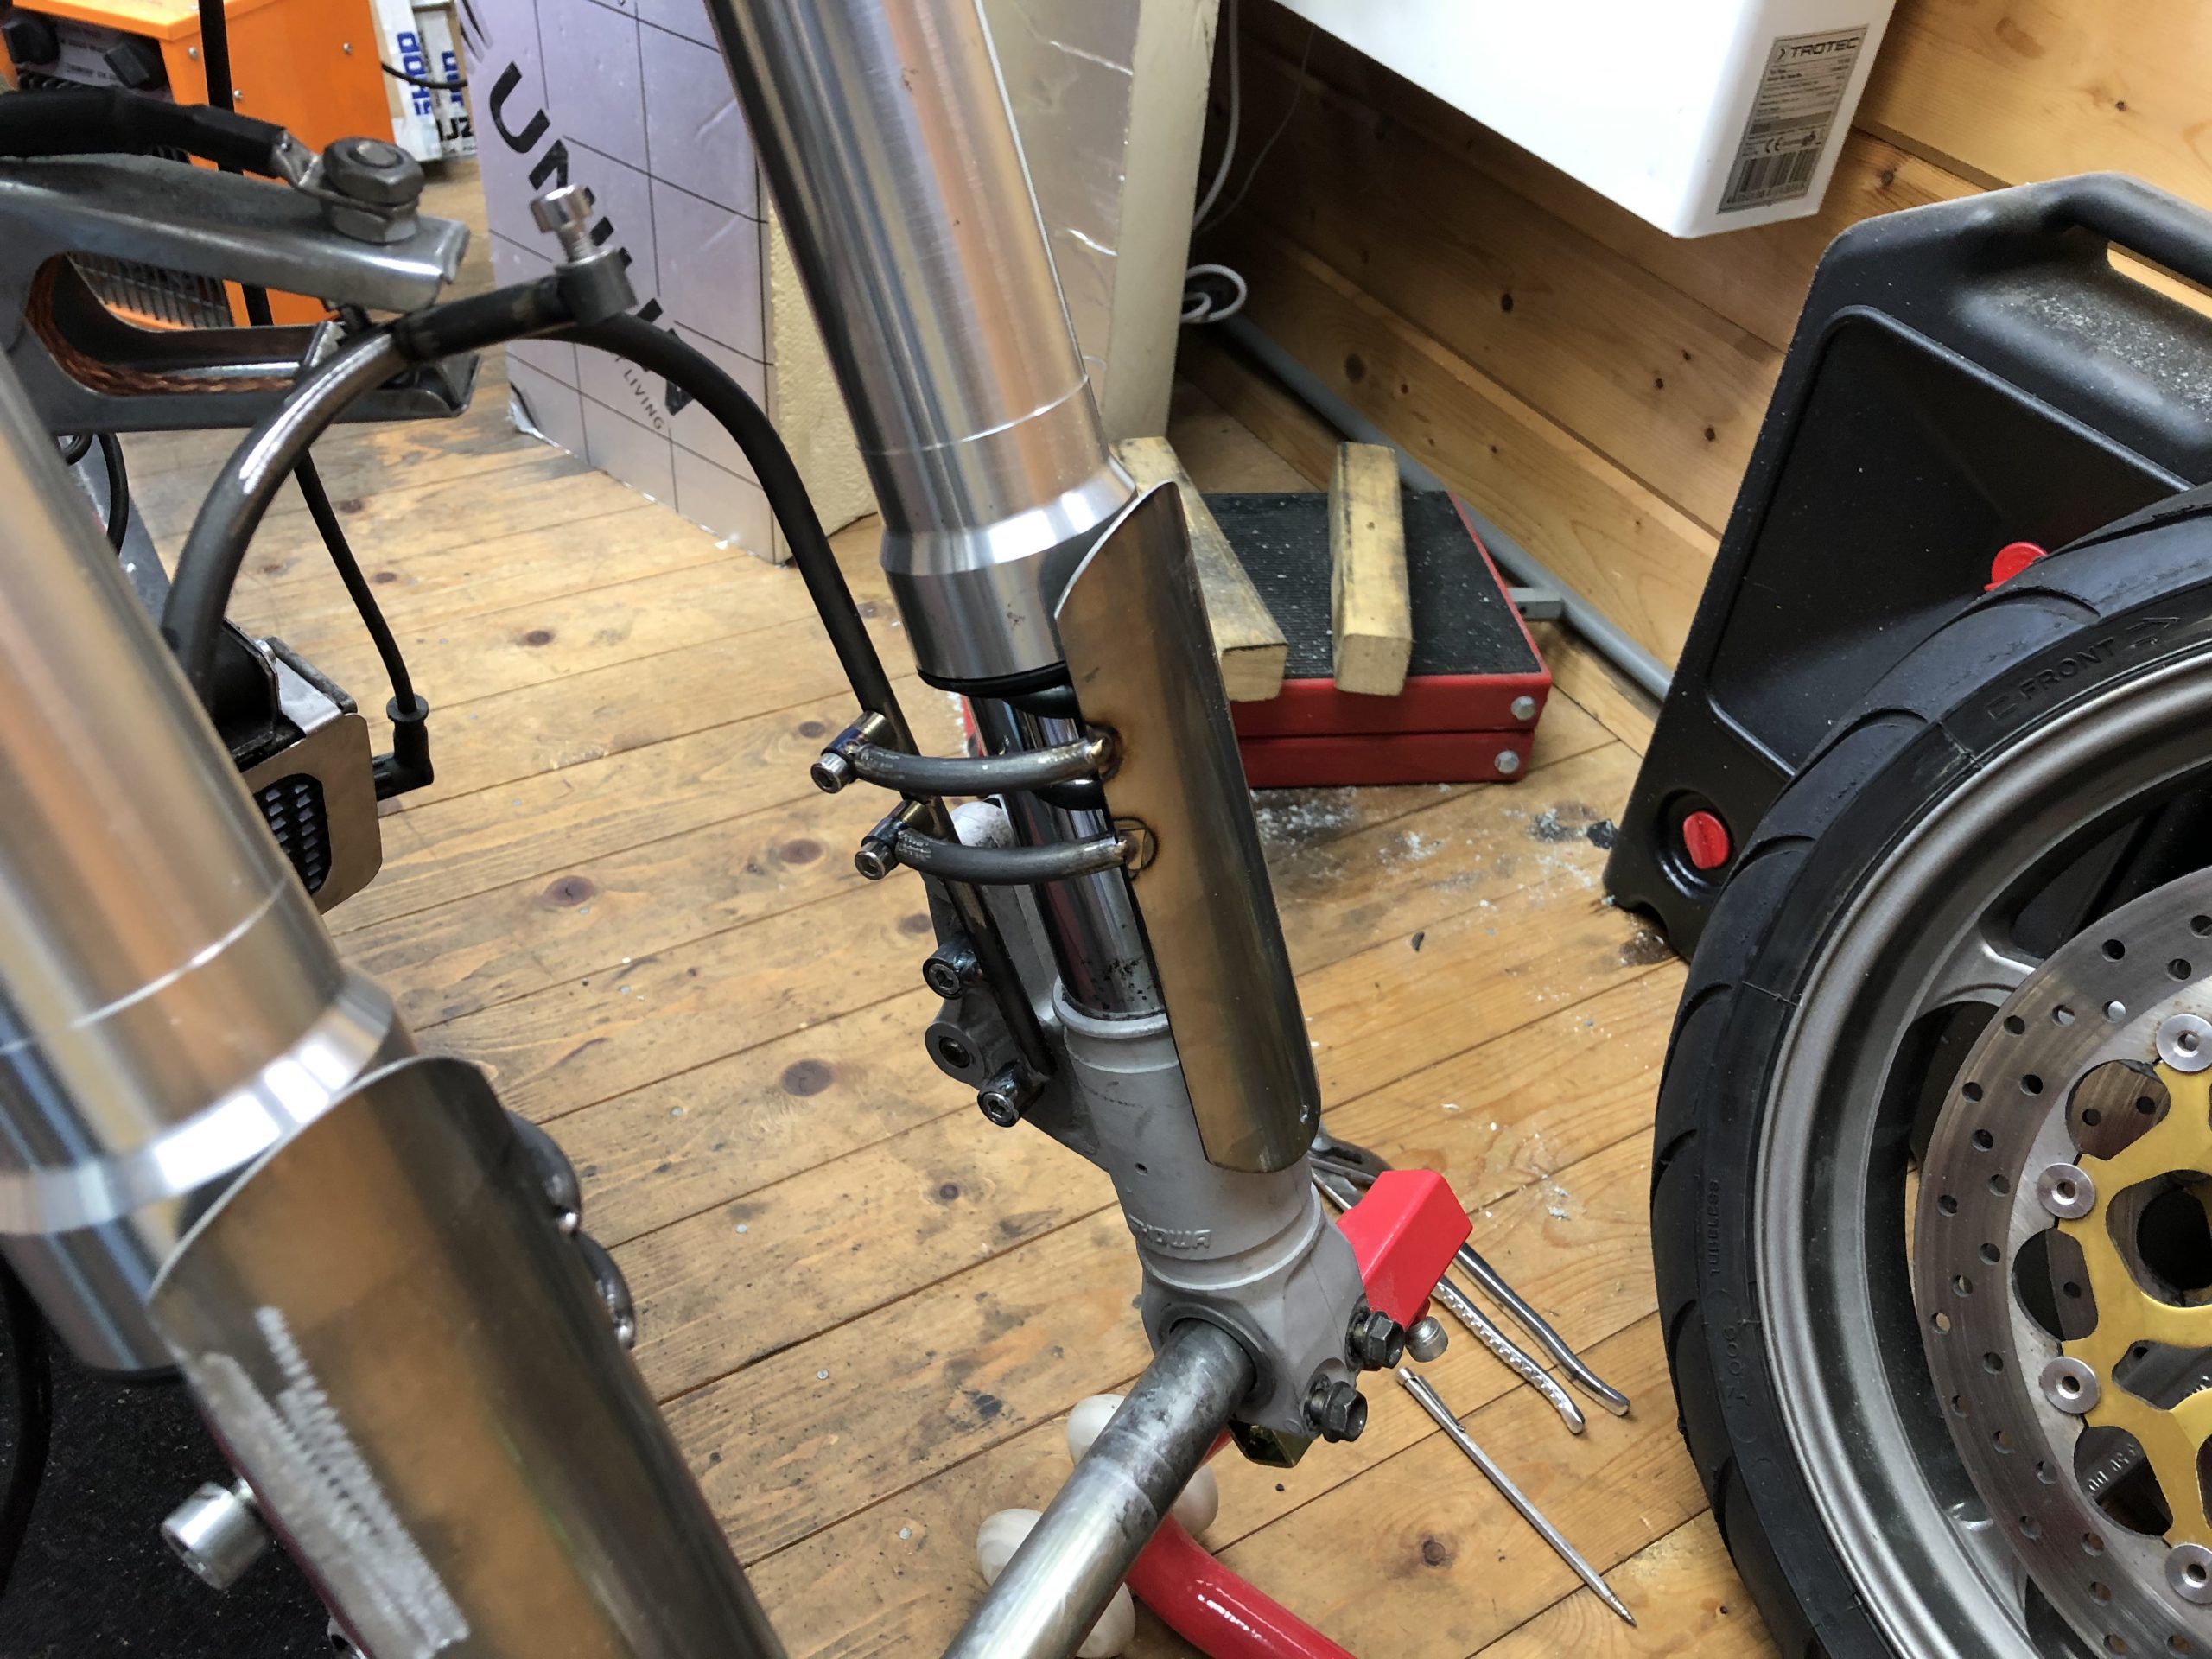
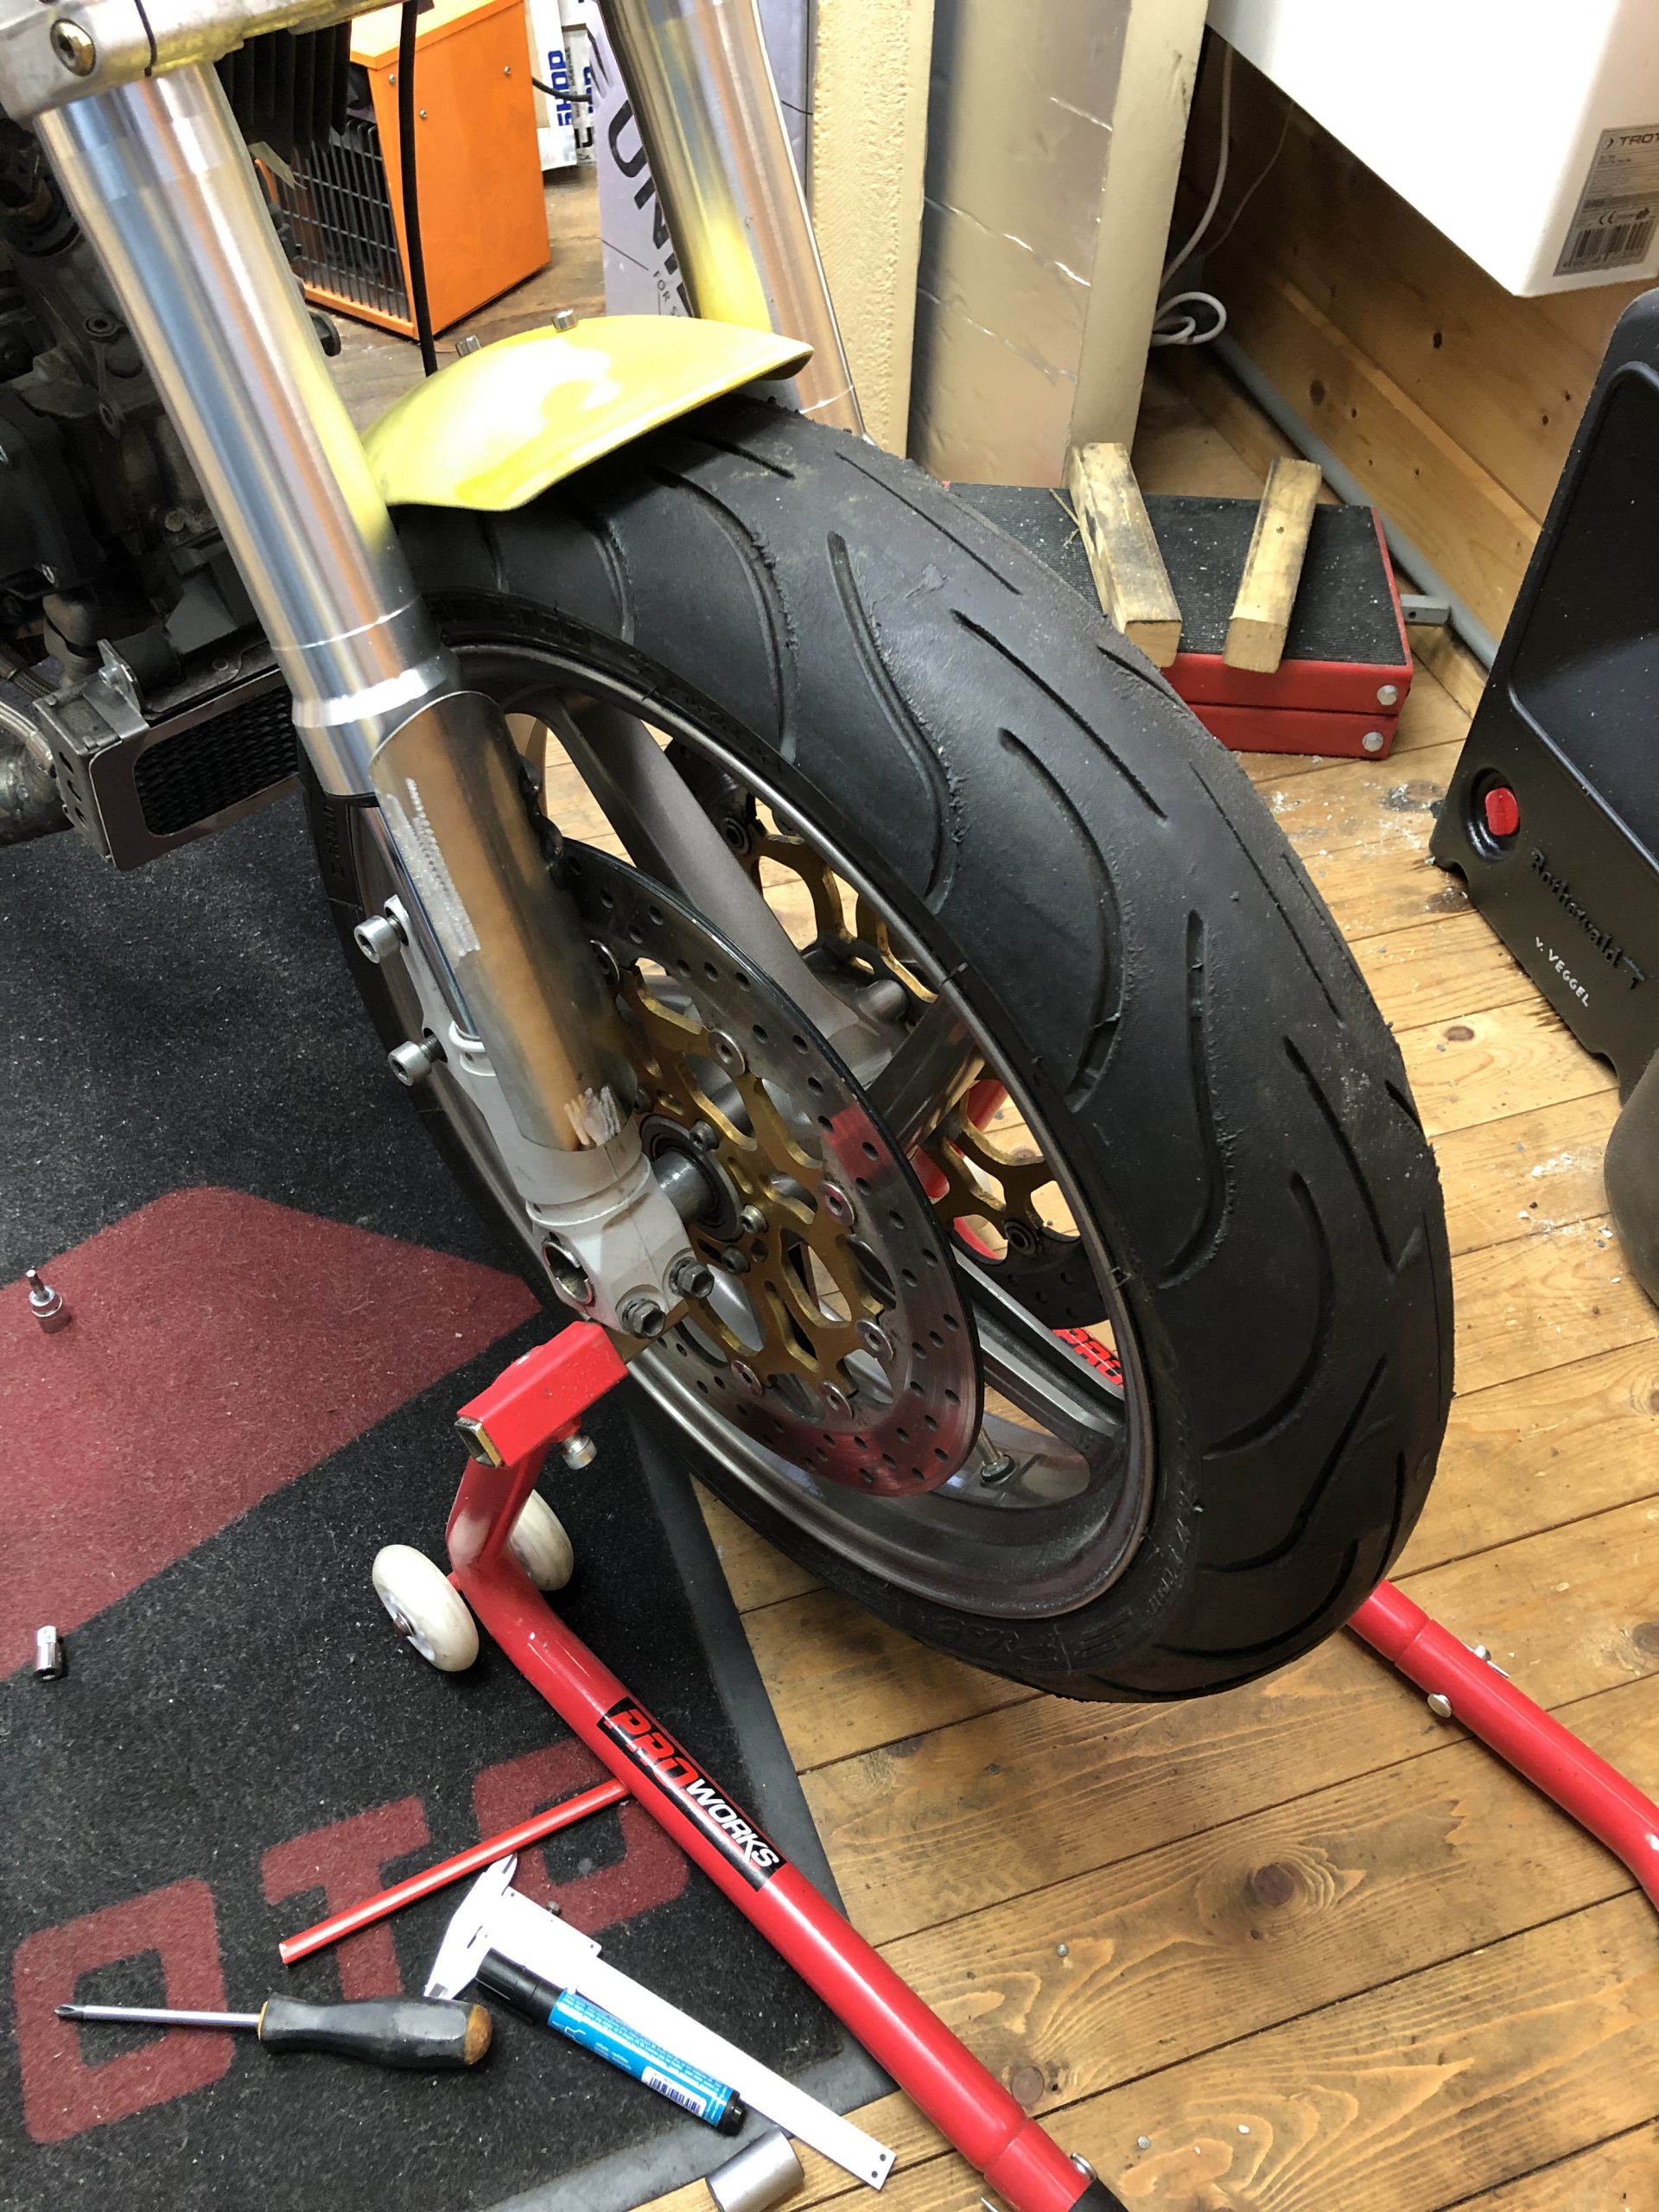
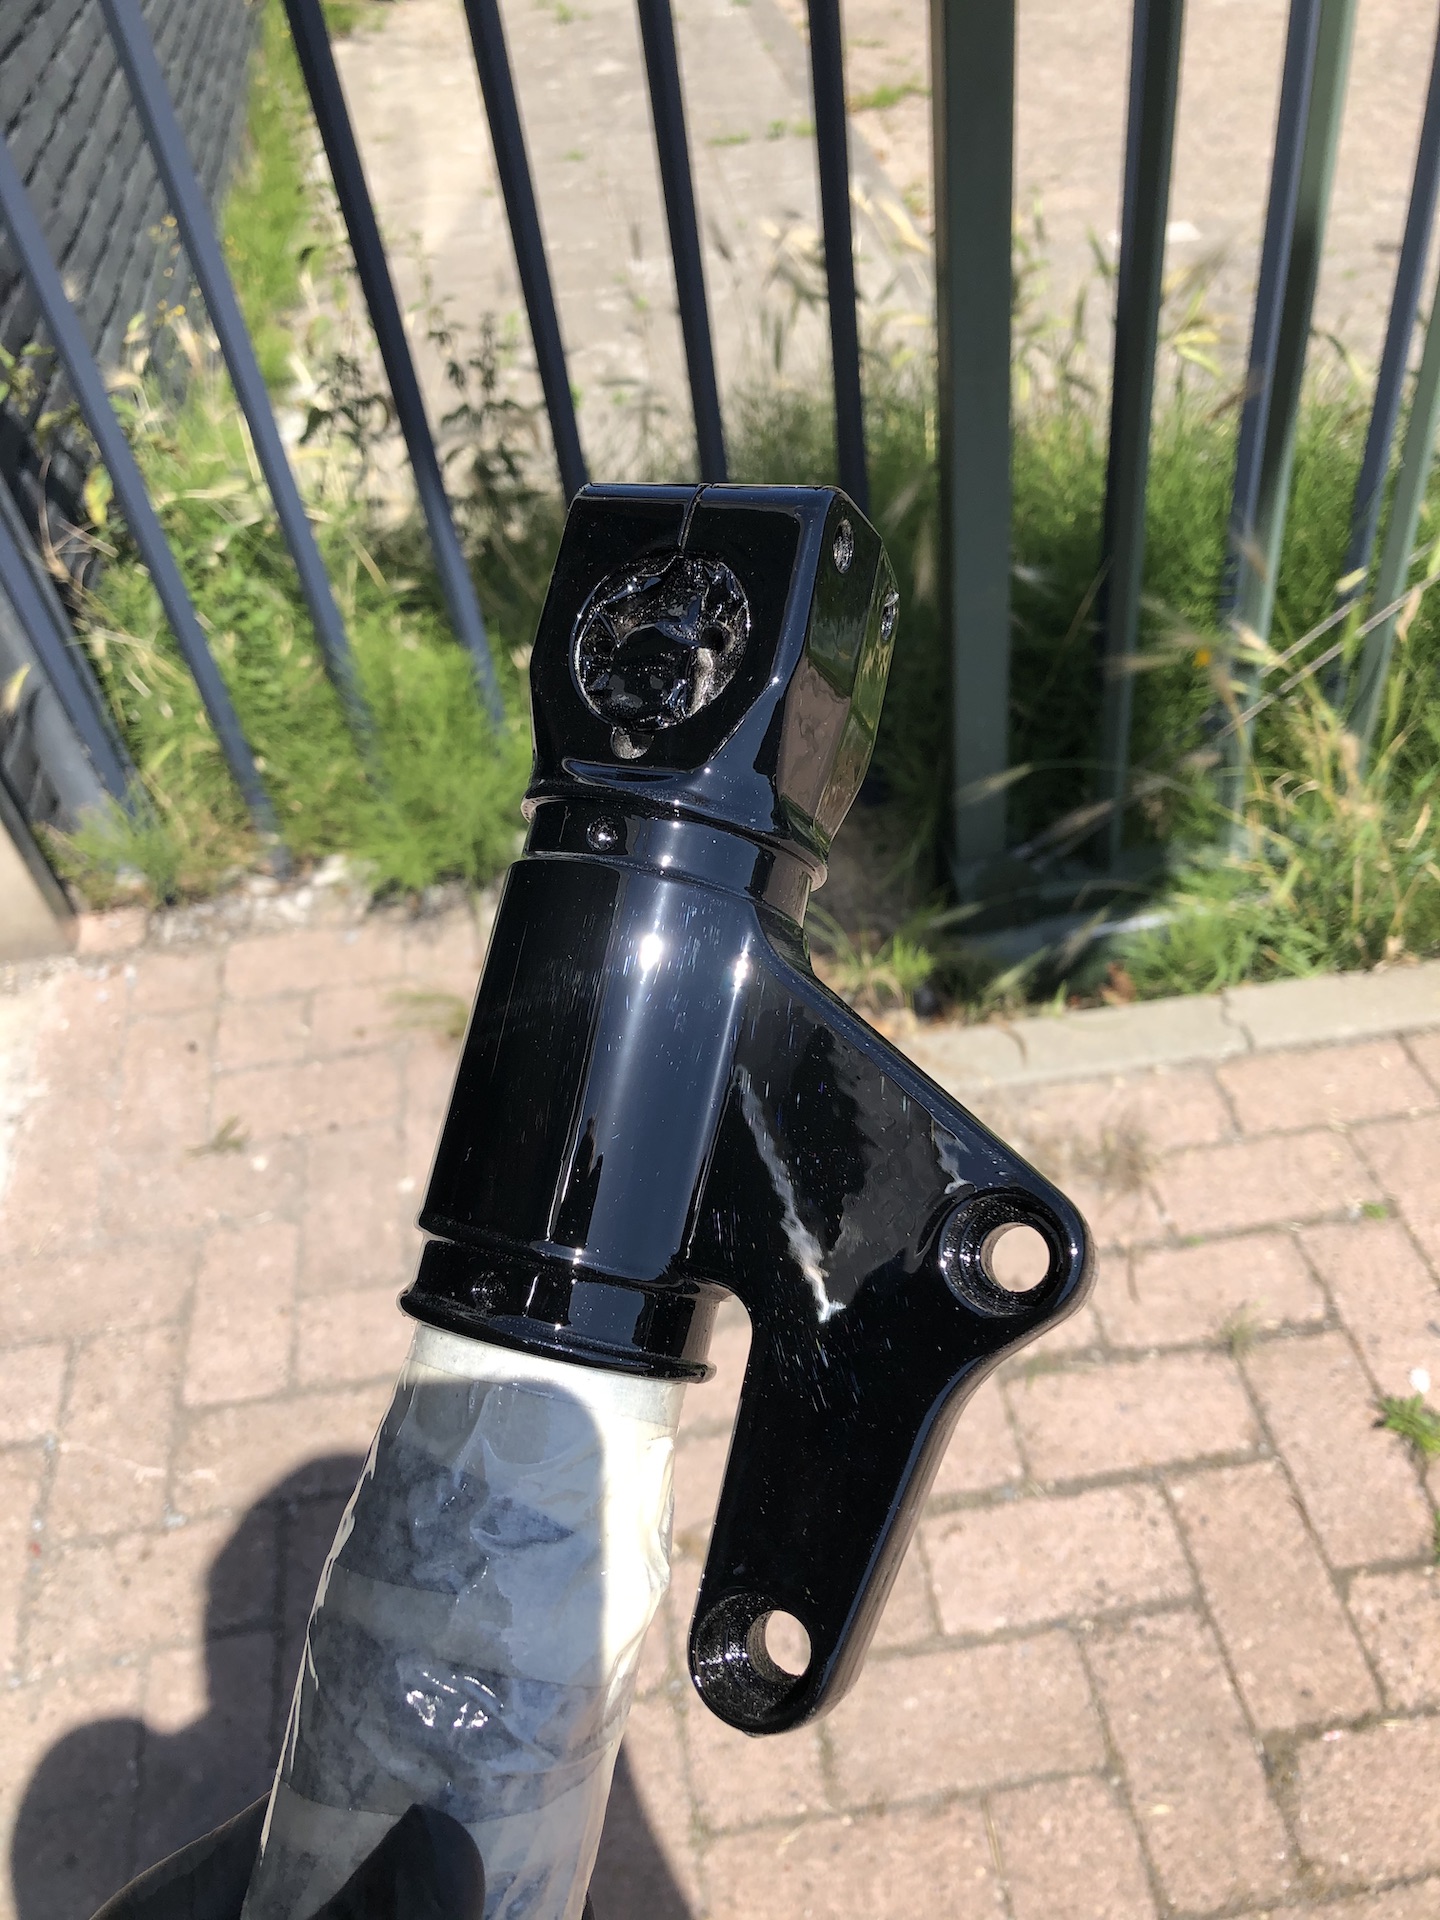
FRONT FENDER MOUNT + FORK GUARDS
And again the quest for simplicity. The 900SS from 1999 has a ugly mounting solution for the front fender using plastic rings clamping the fork. No go for me.
I epoxy’ed steel plates in the front forks (the side not visible) with threaded holes. This allowed me to build a bracket that holds the fender and custom fork guards. This solution isnt really visible from the side. Let alone when its painted black.
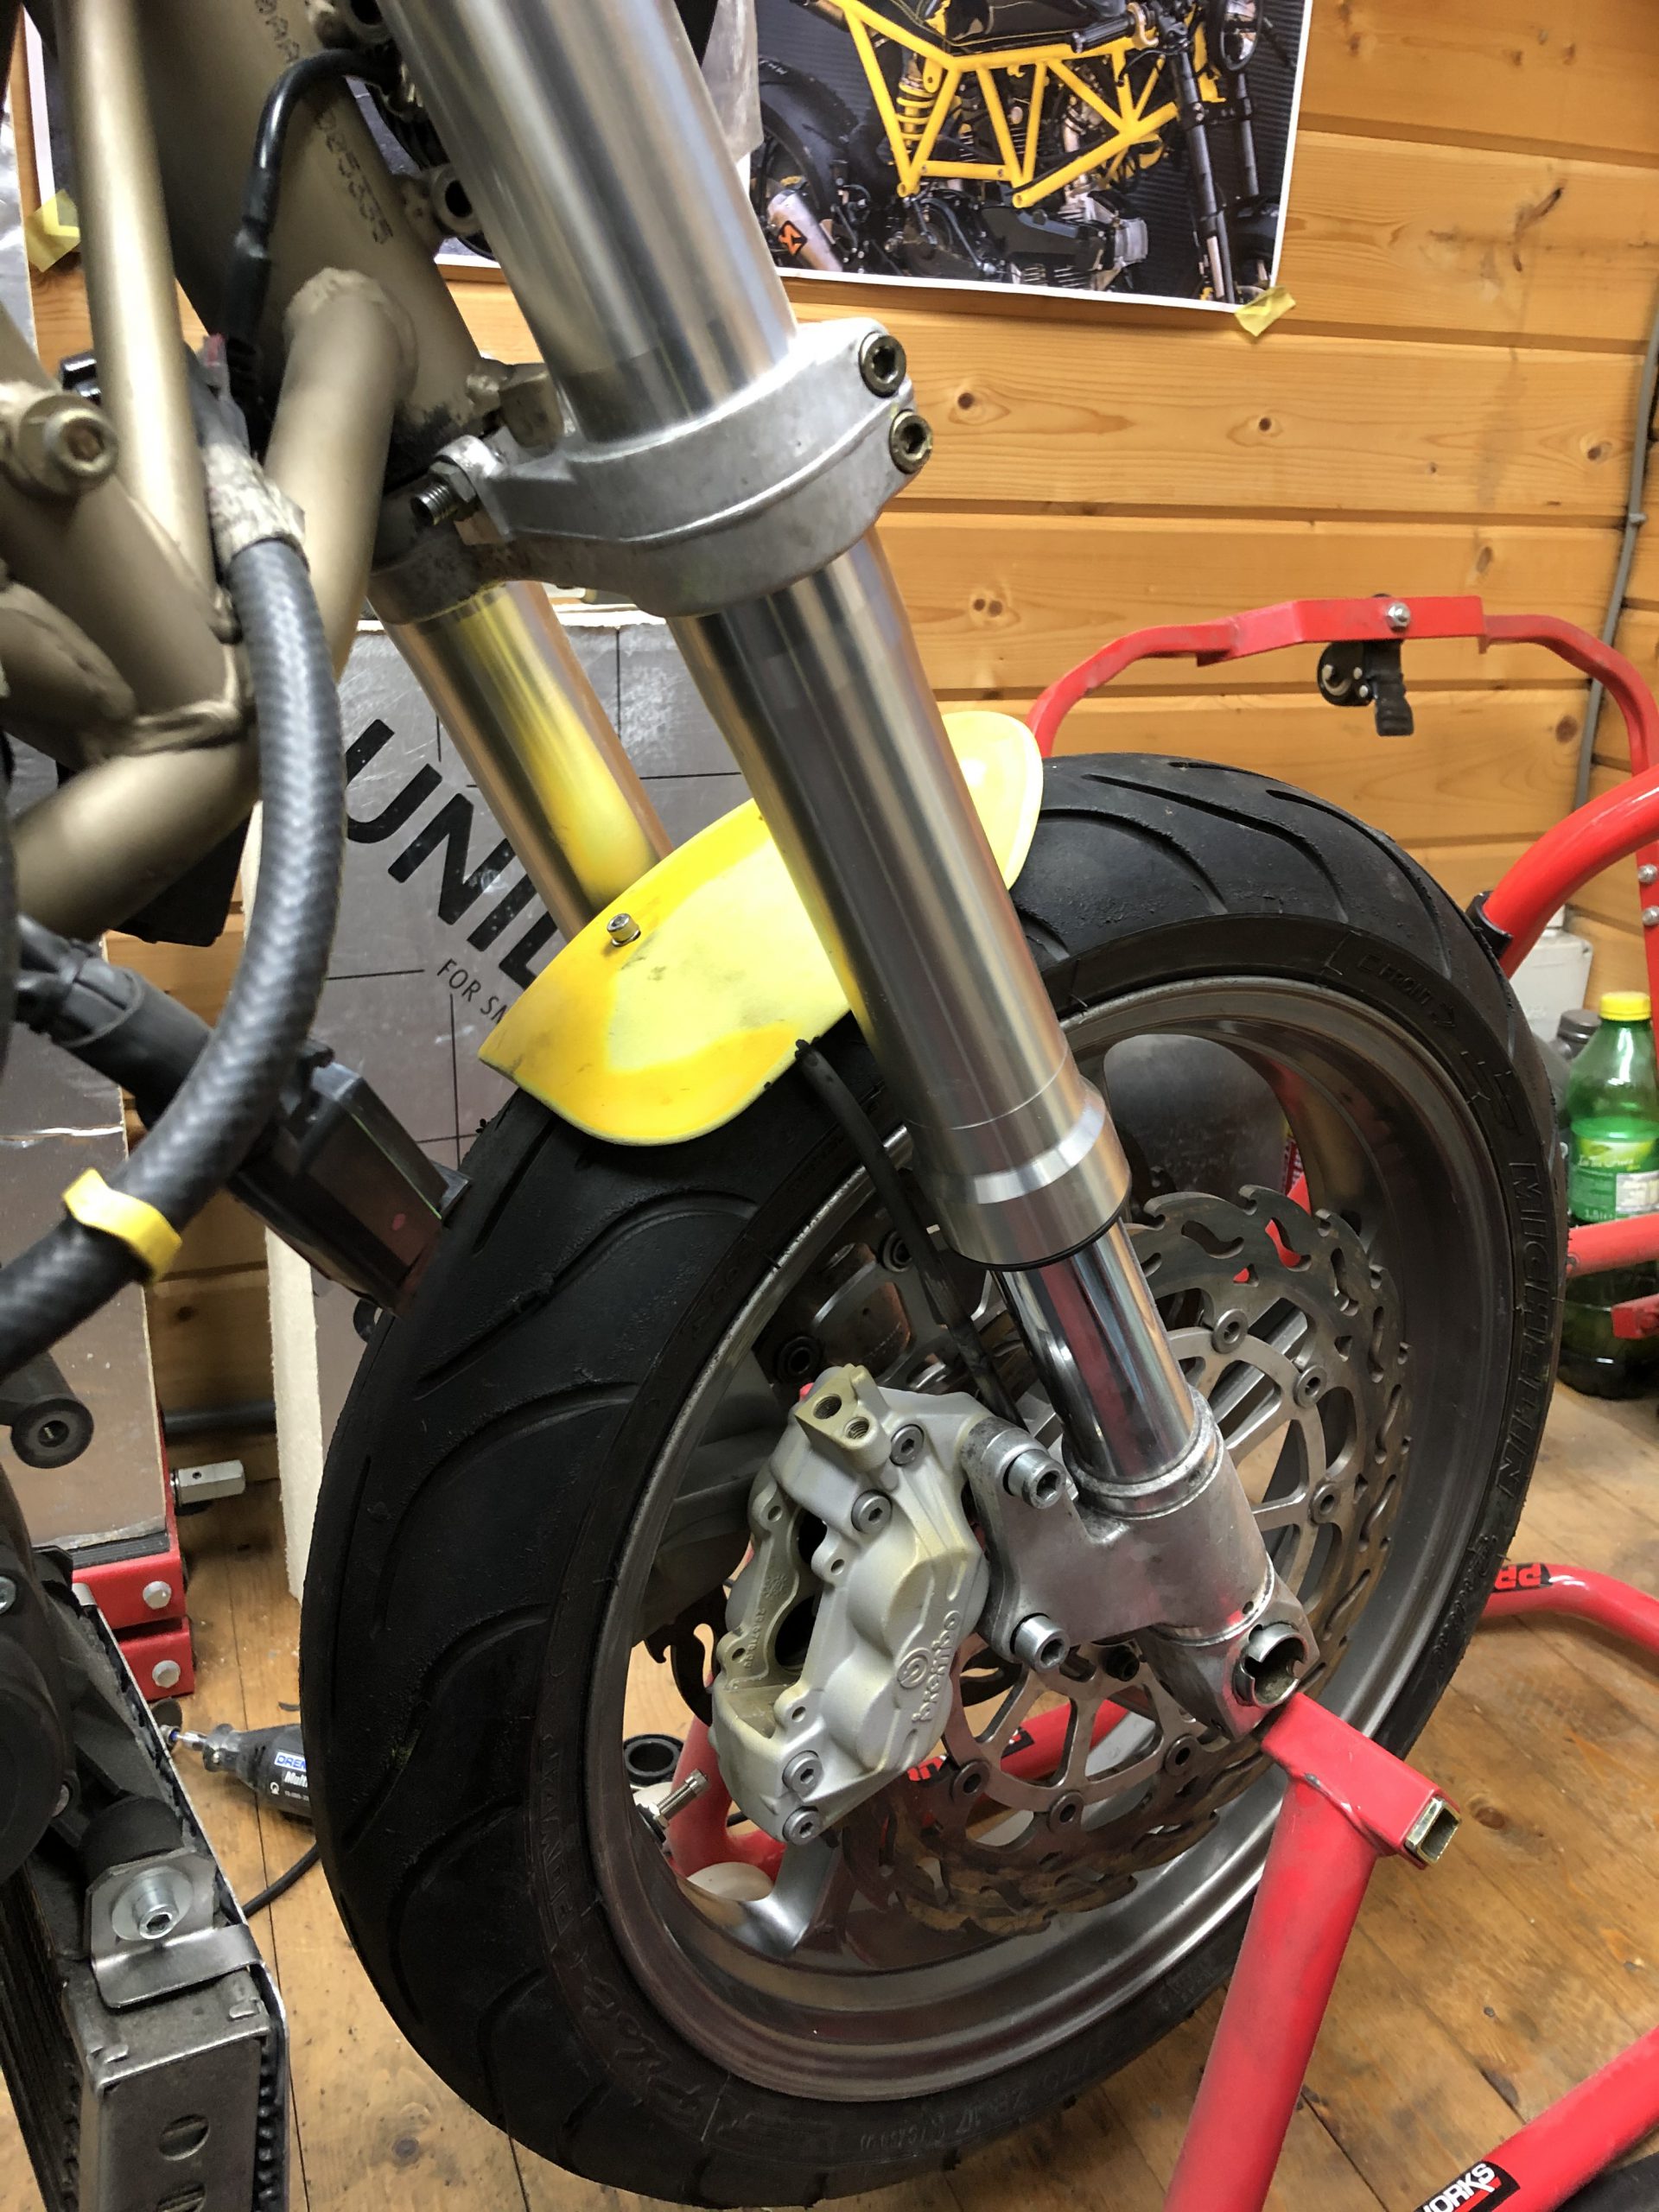
Grinded up the original fender to a nice small clean design.
Alignment of fork guards still needs some work as you can see.


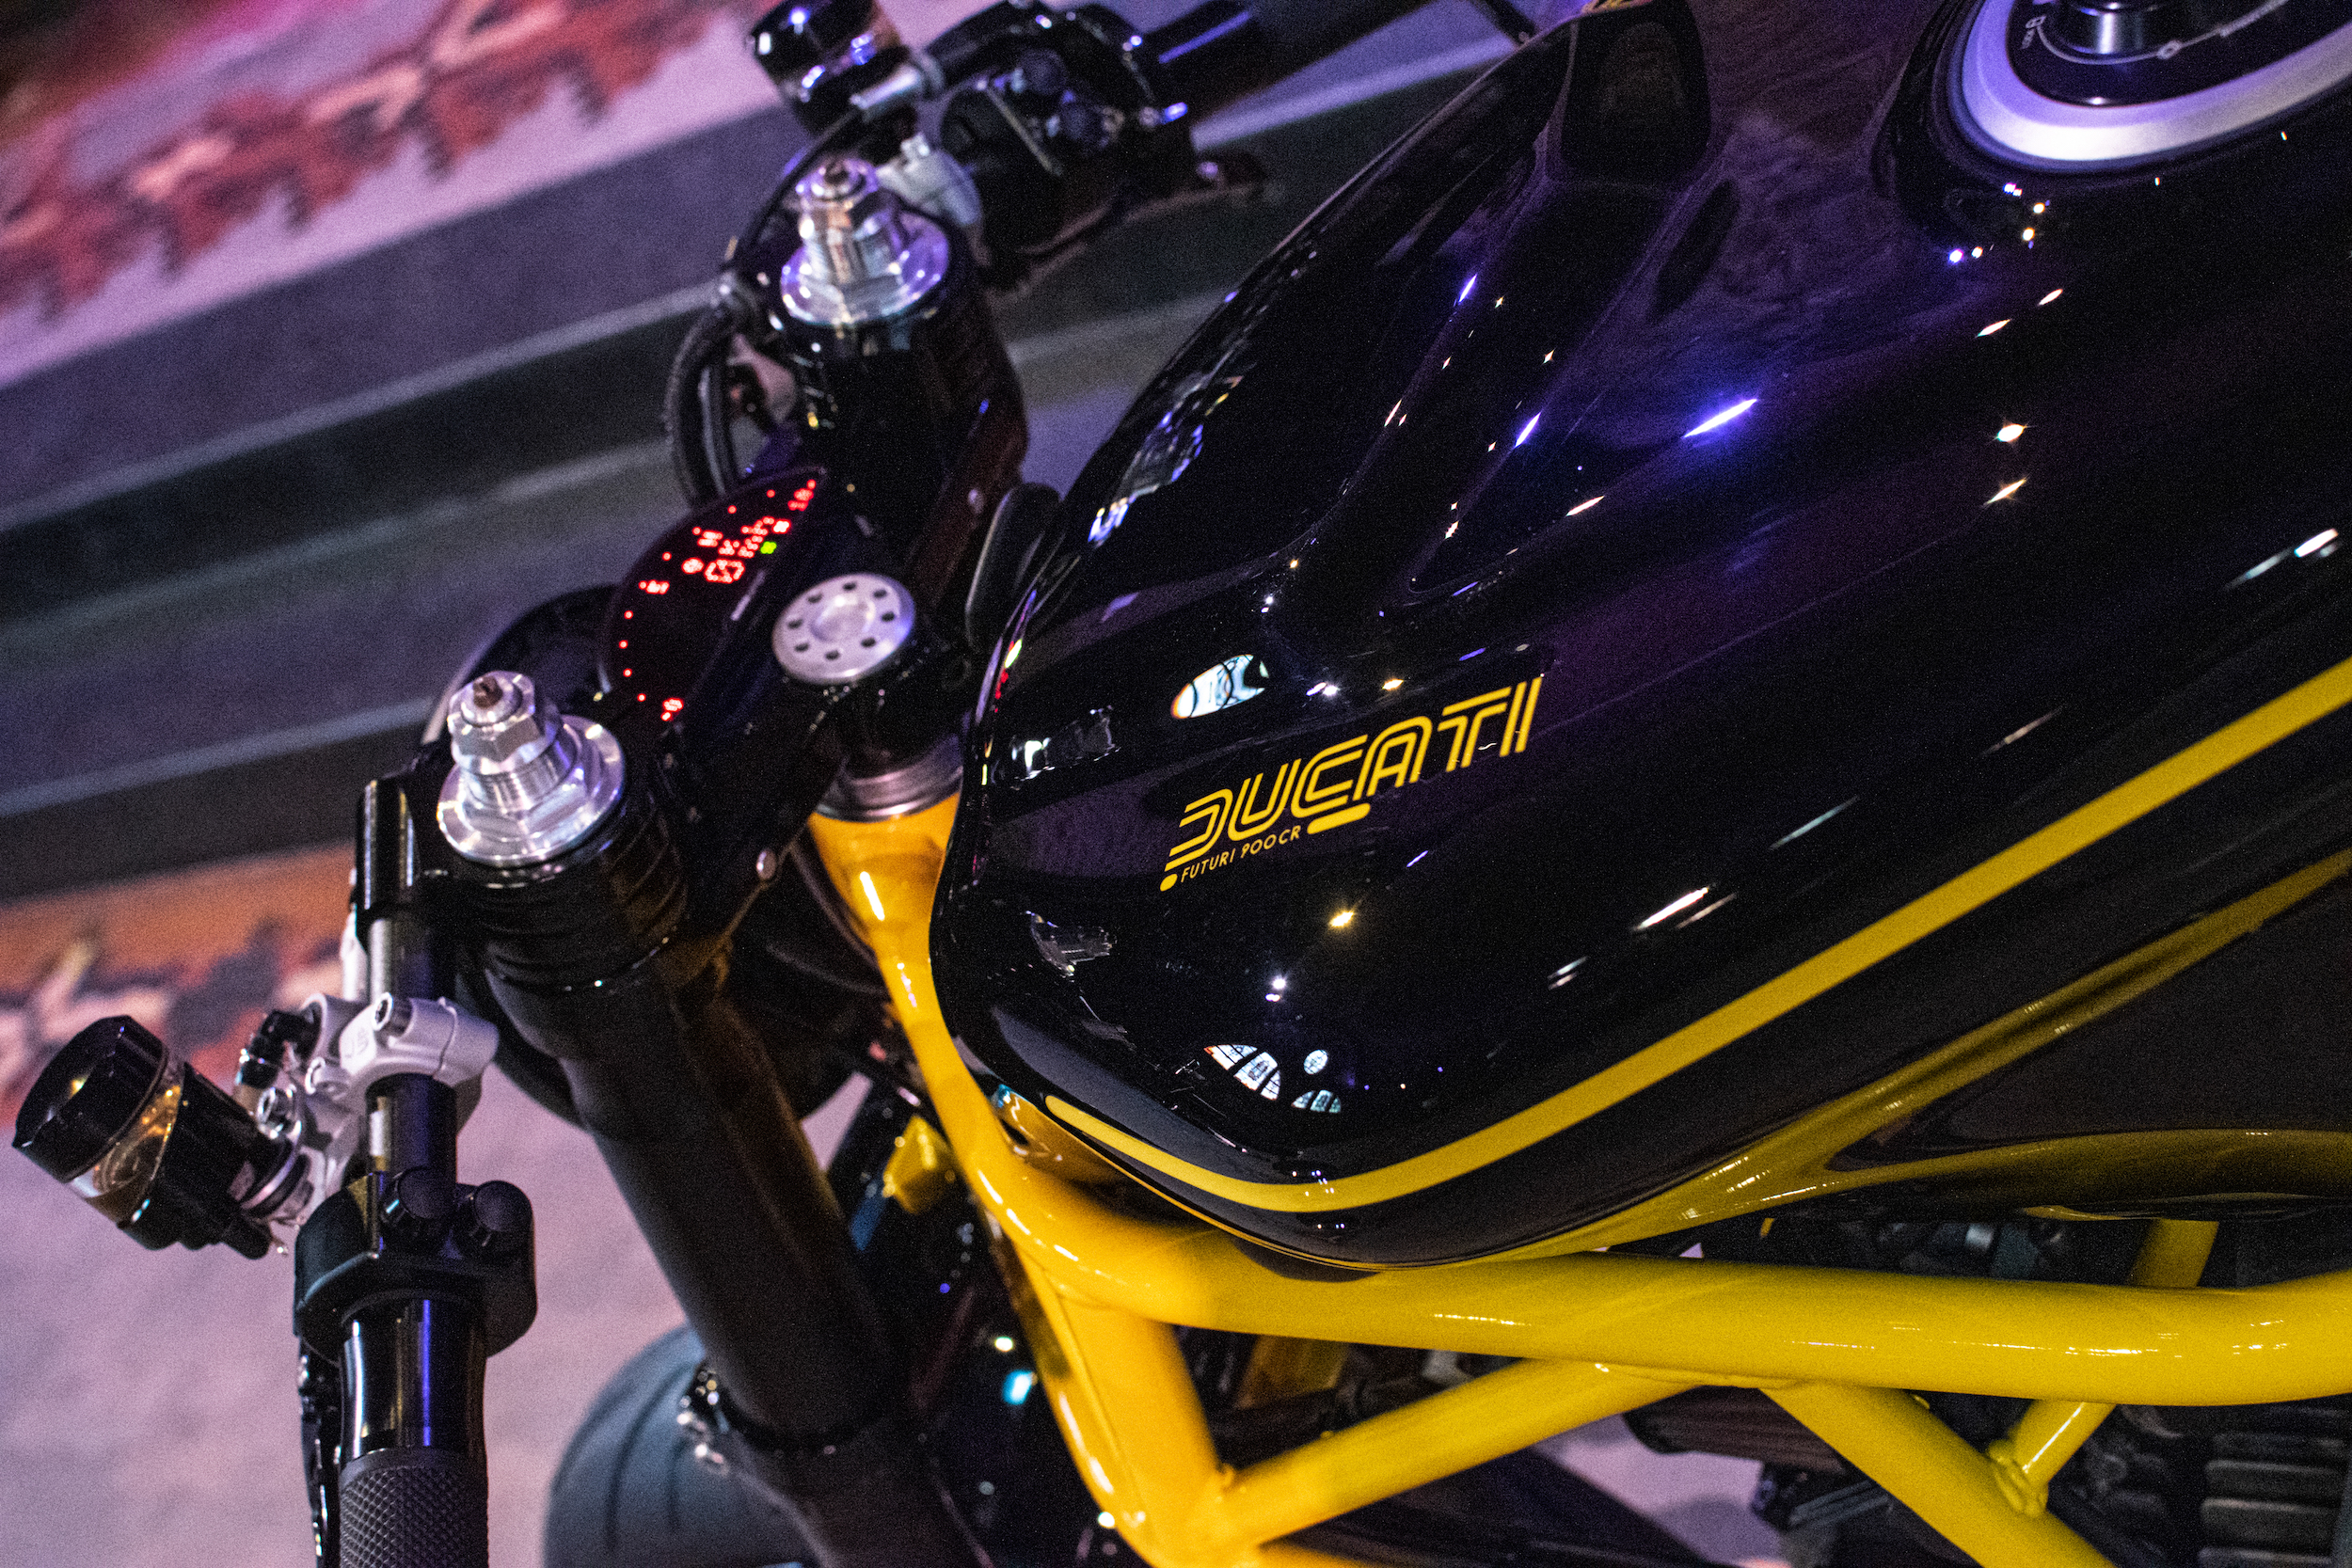
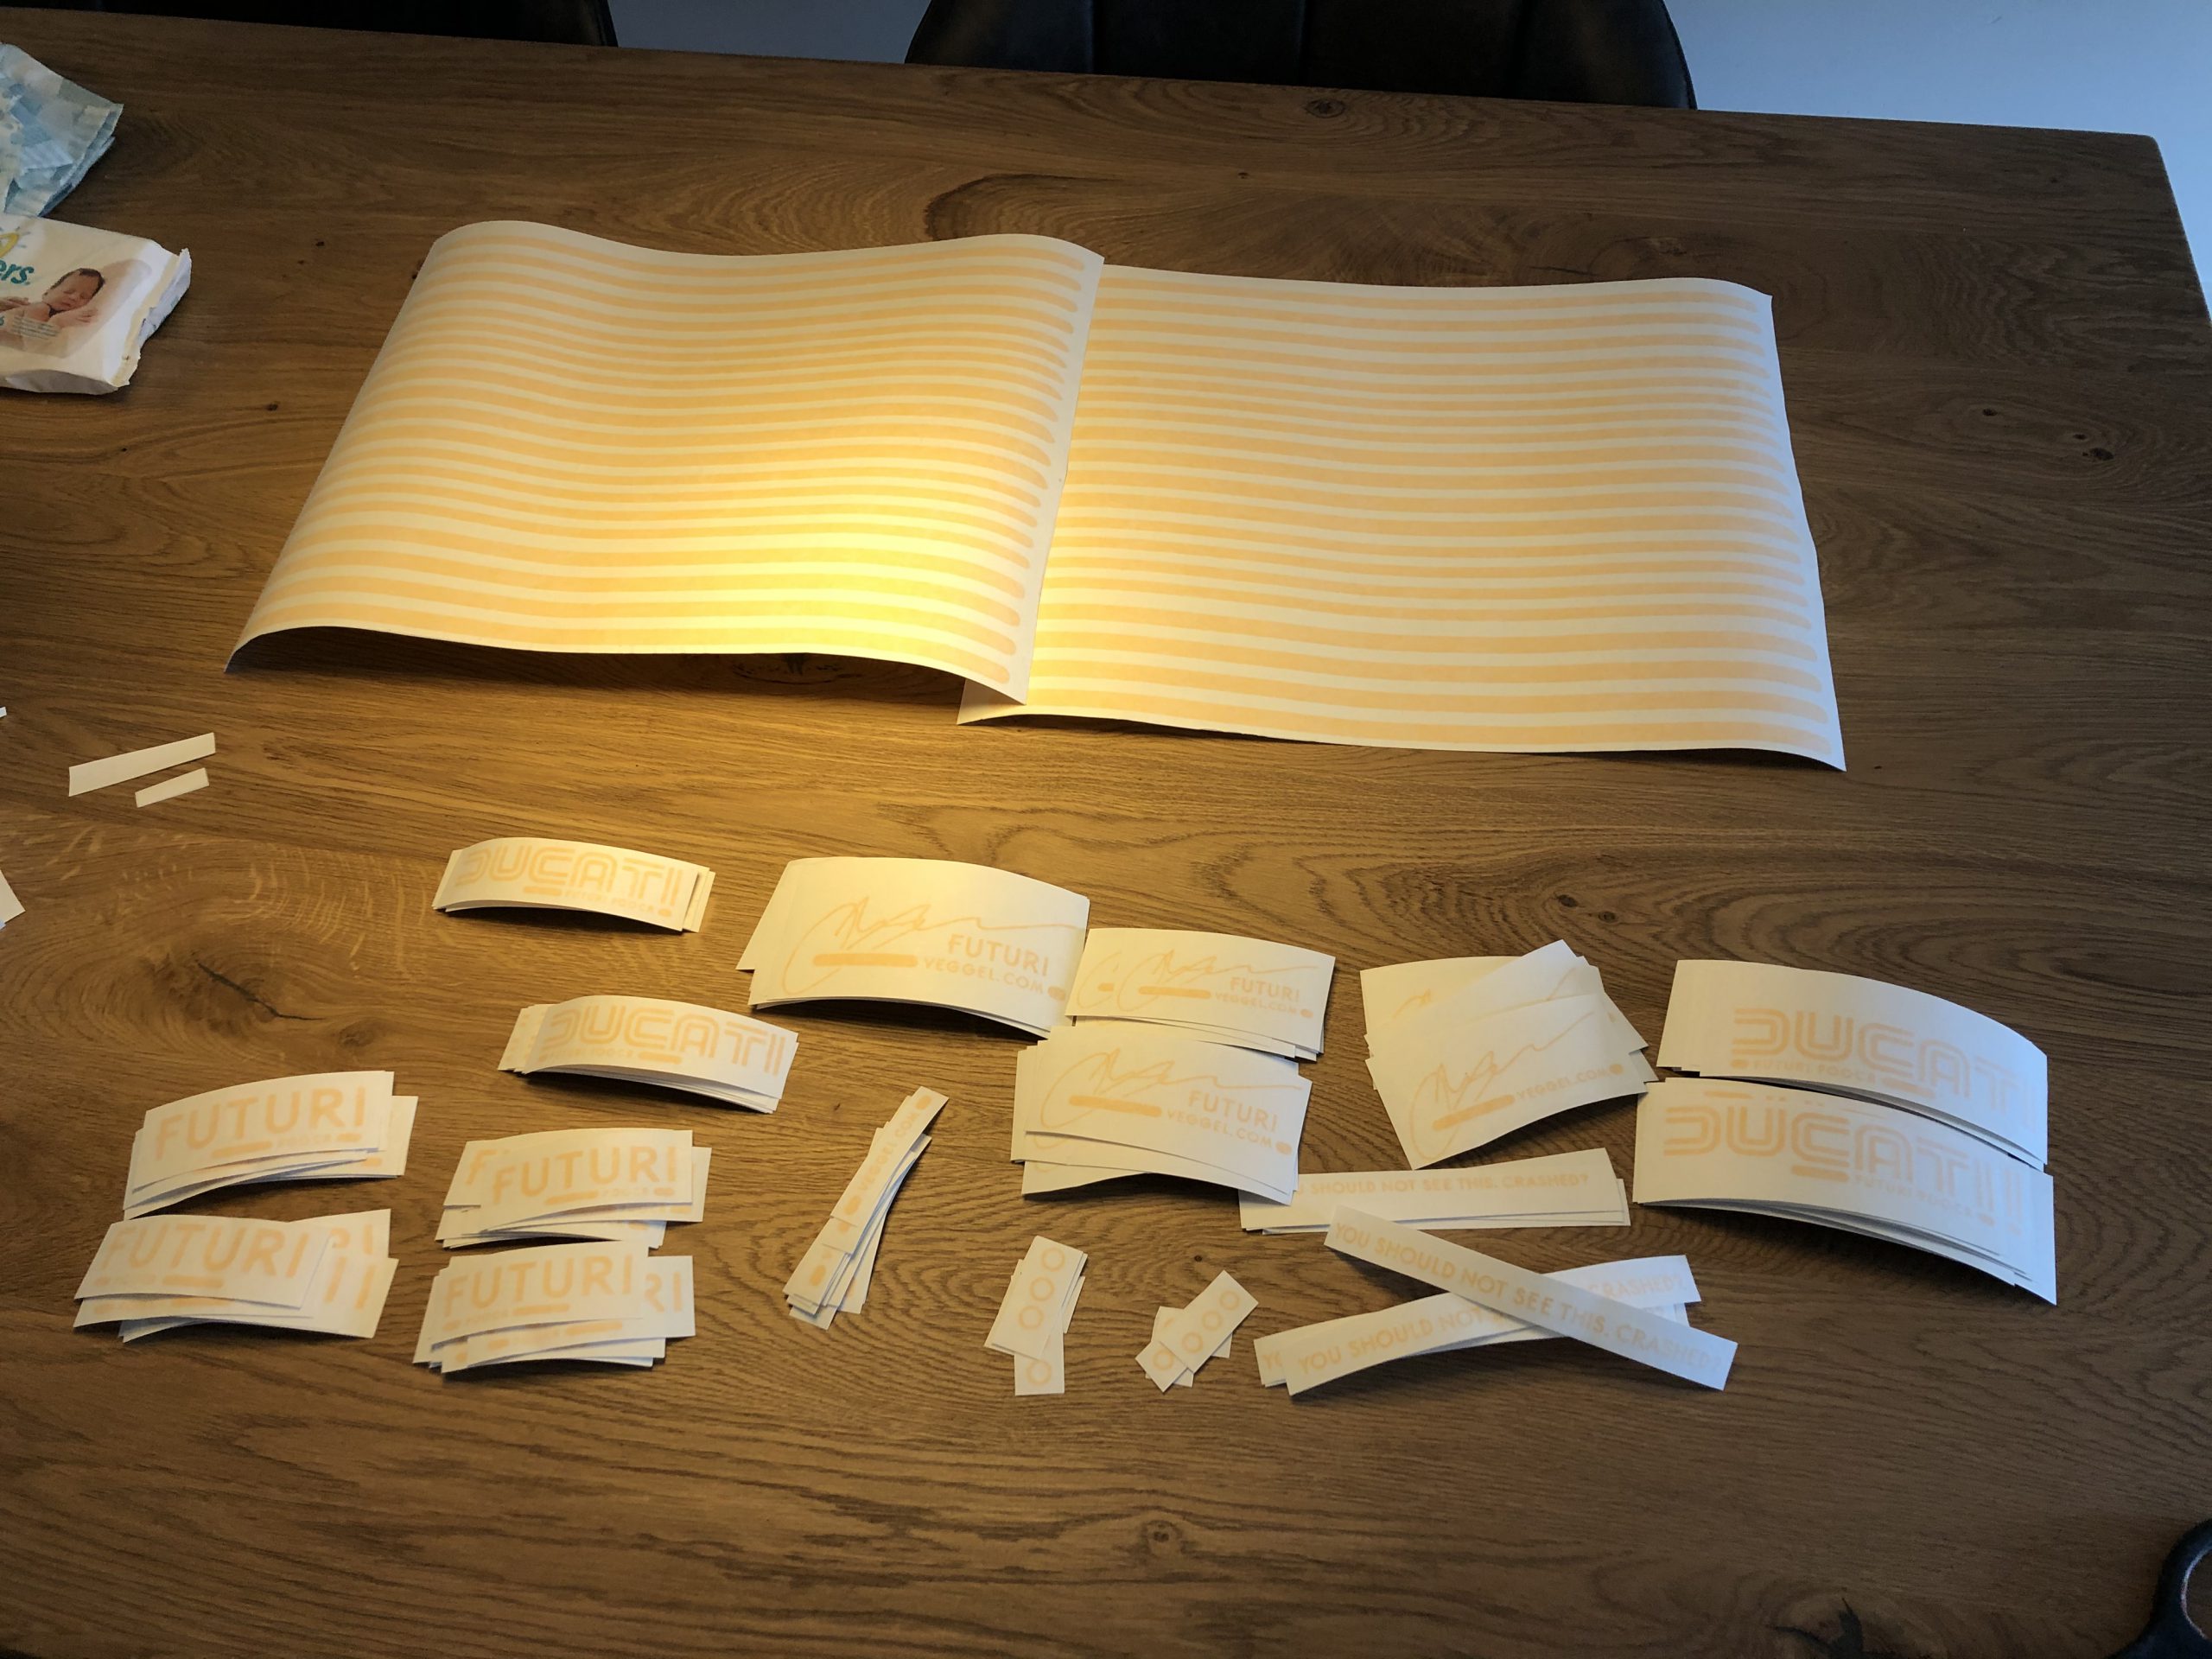
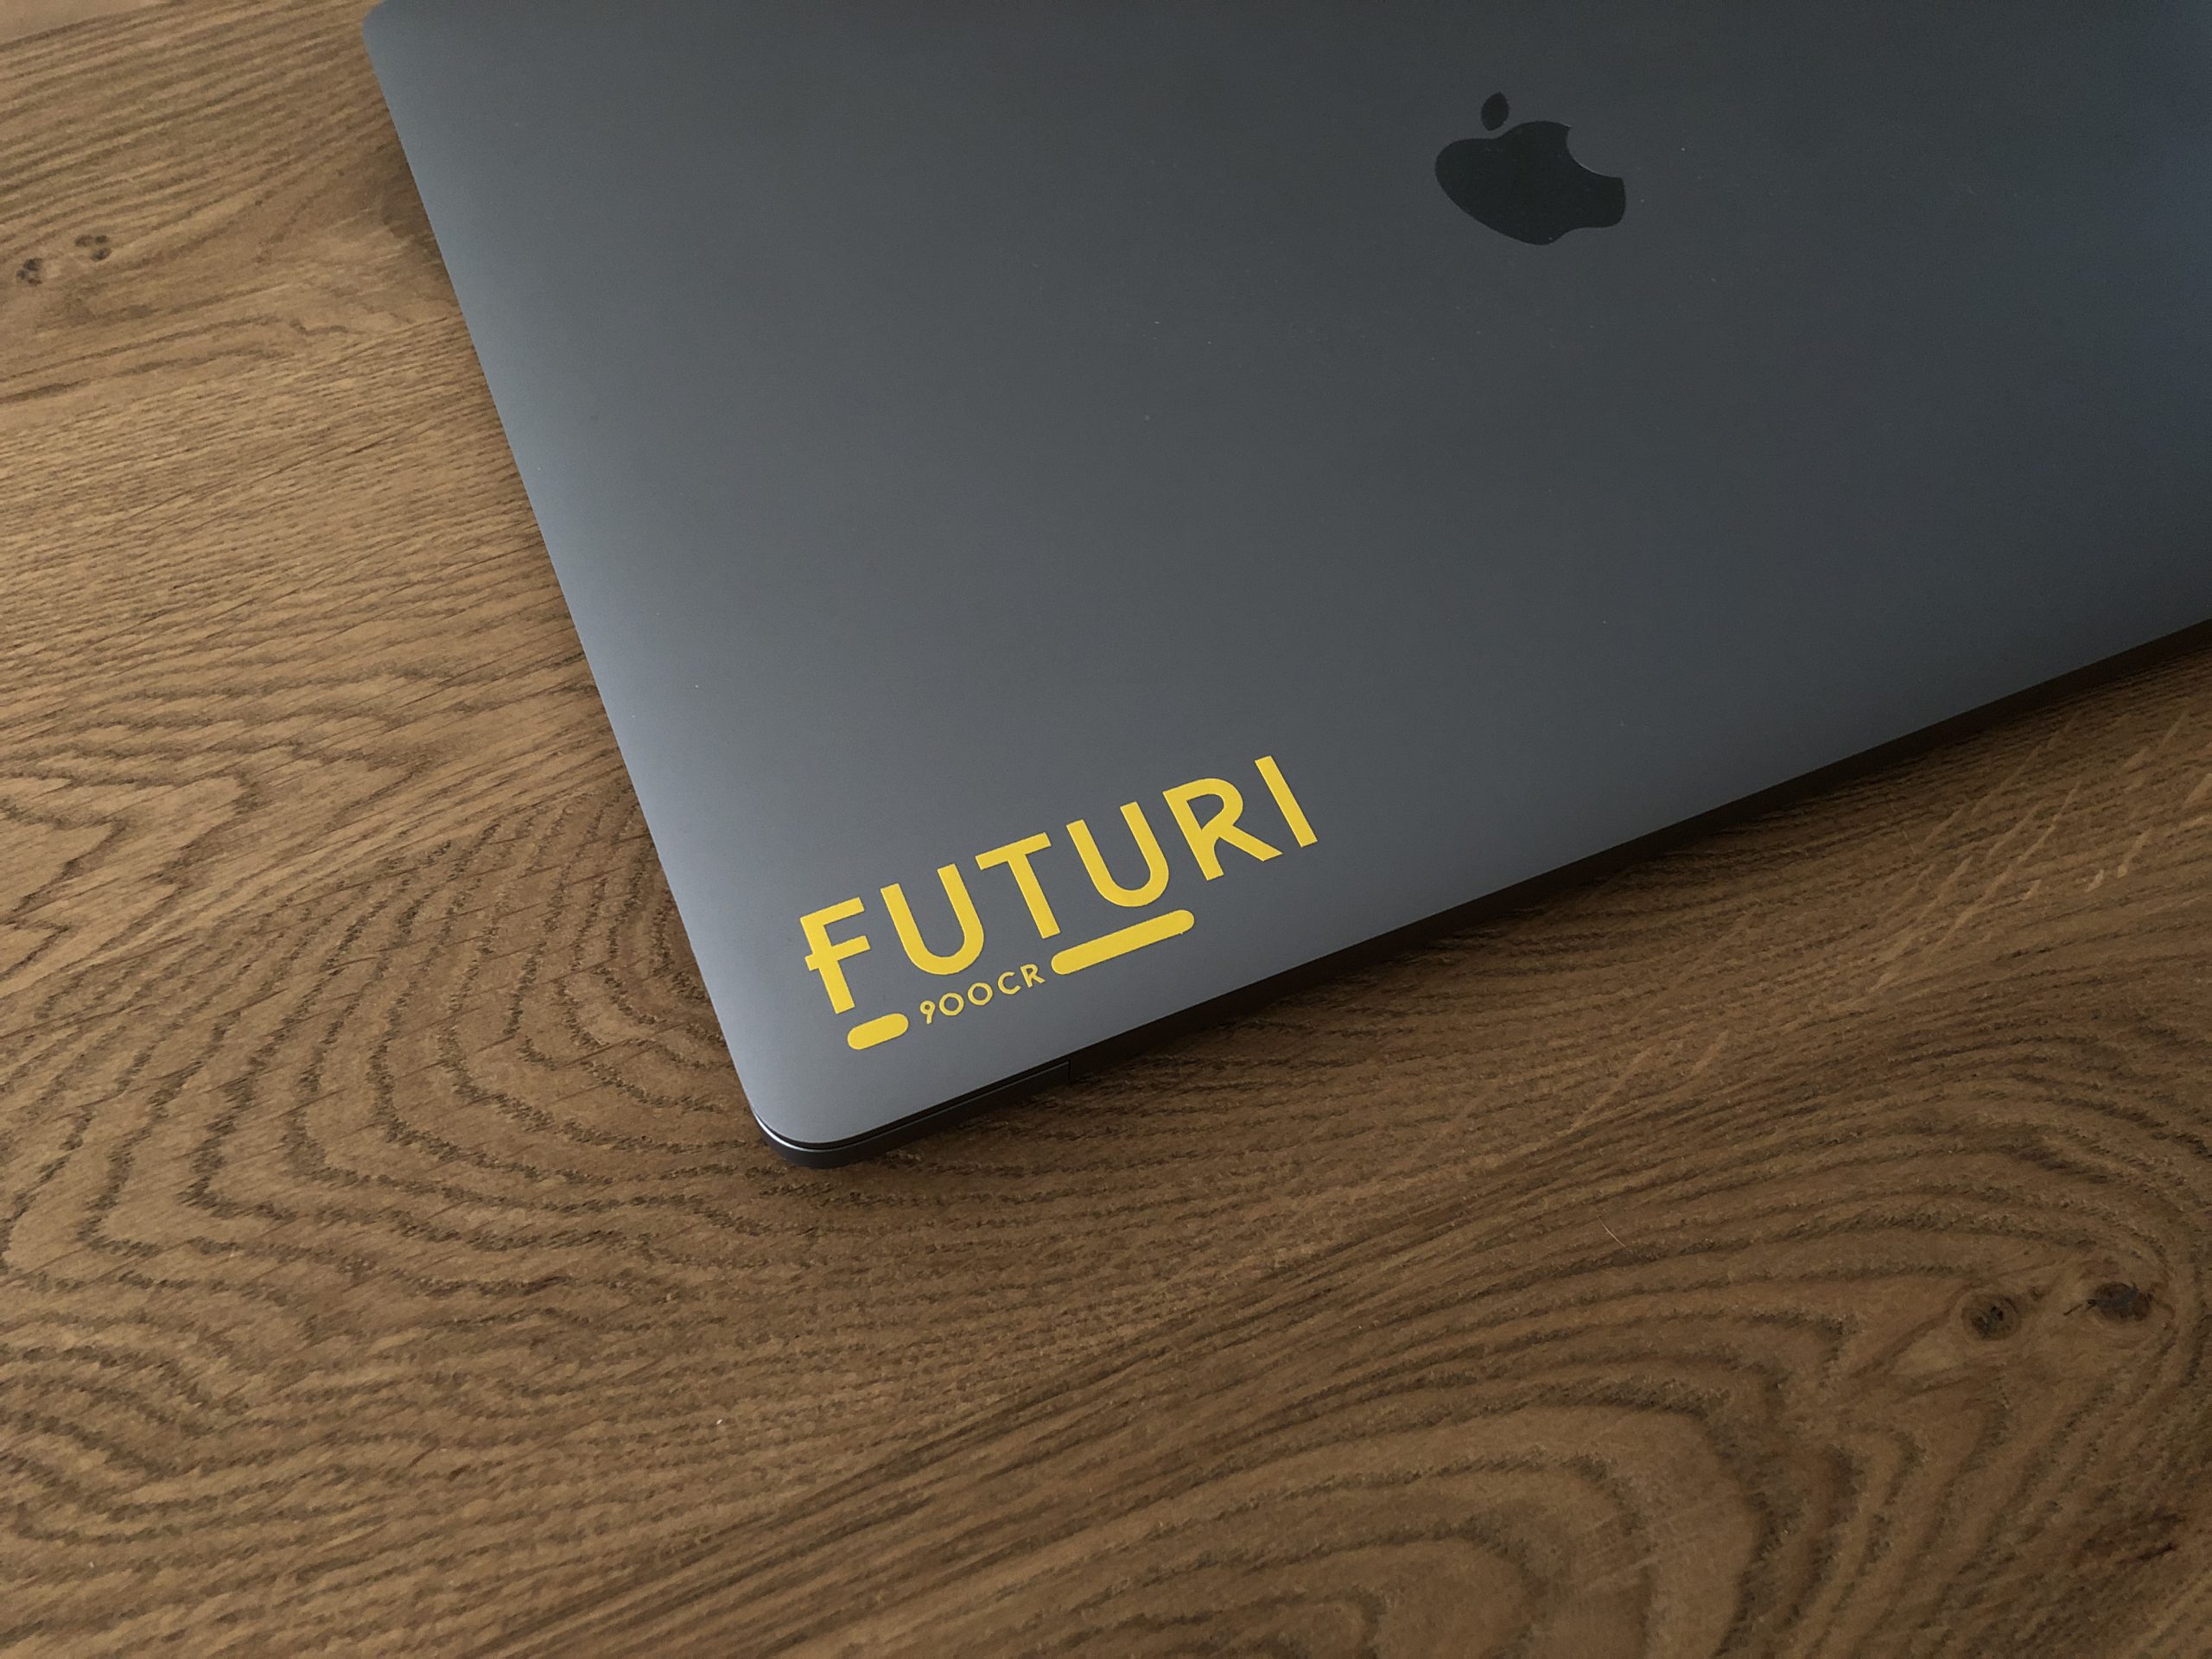
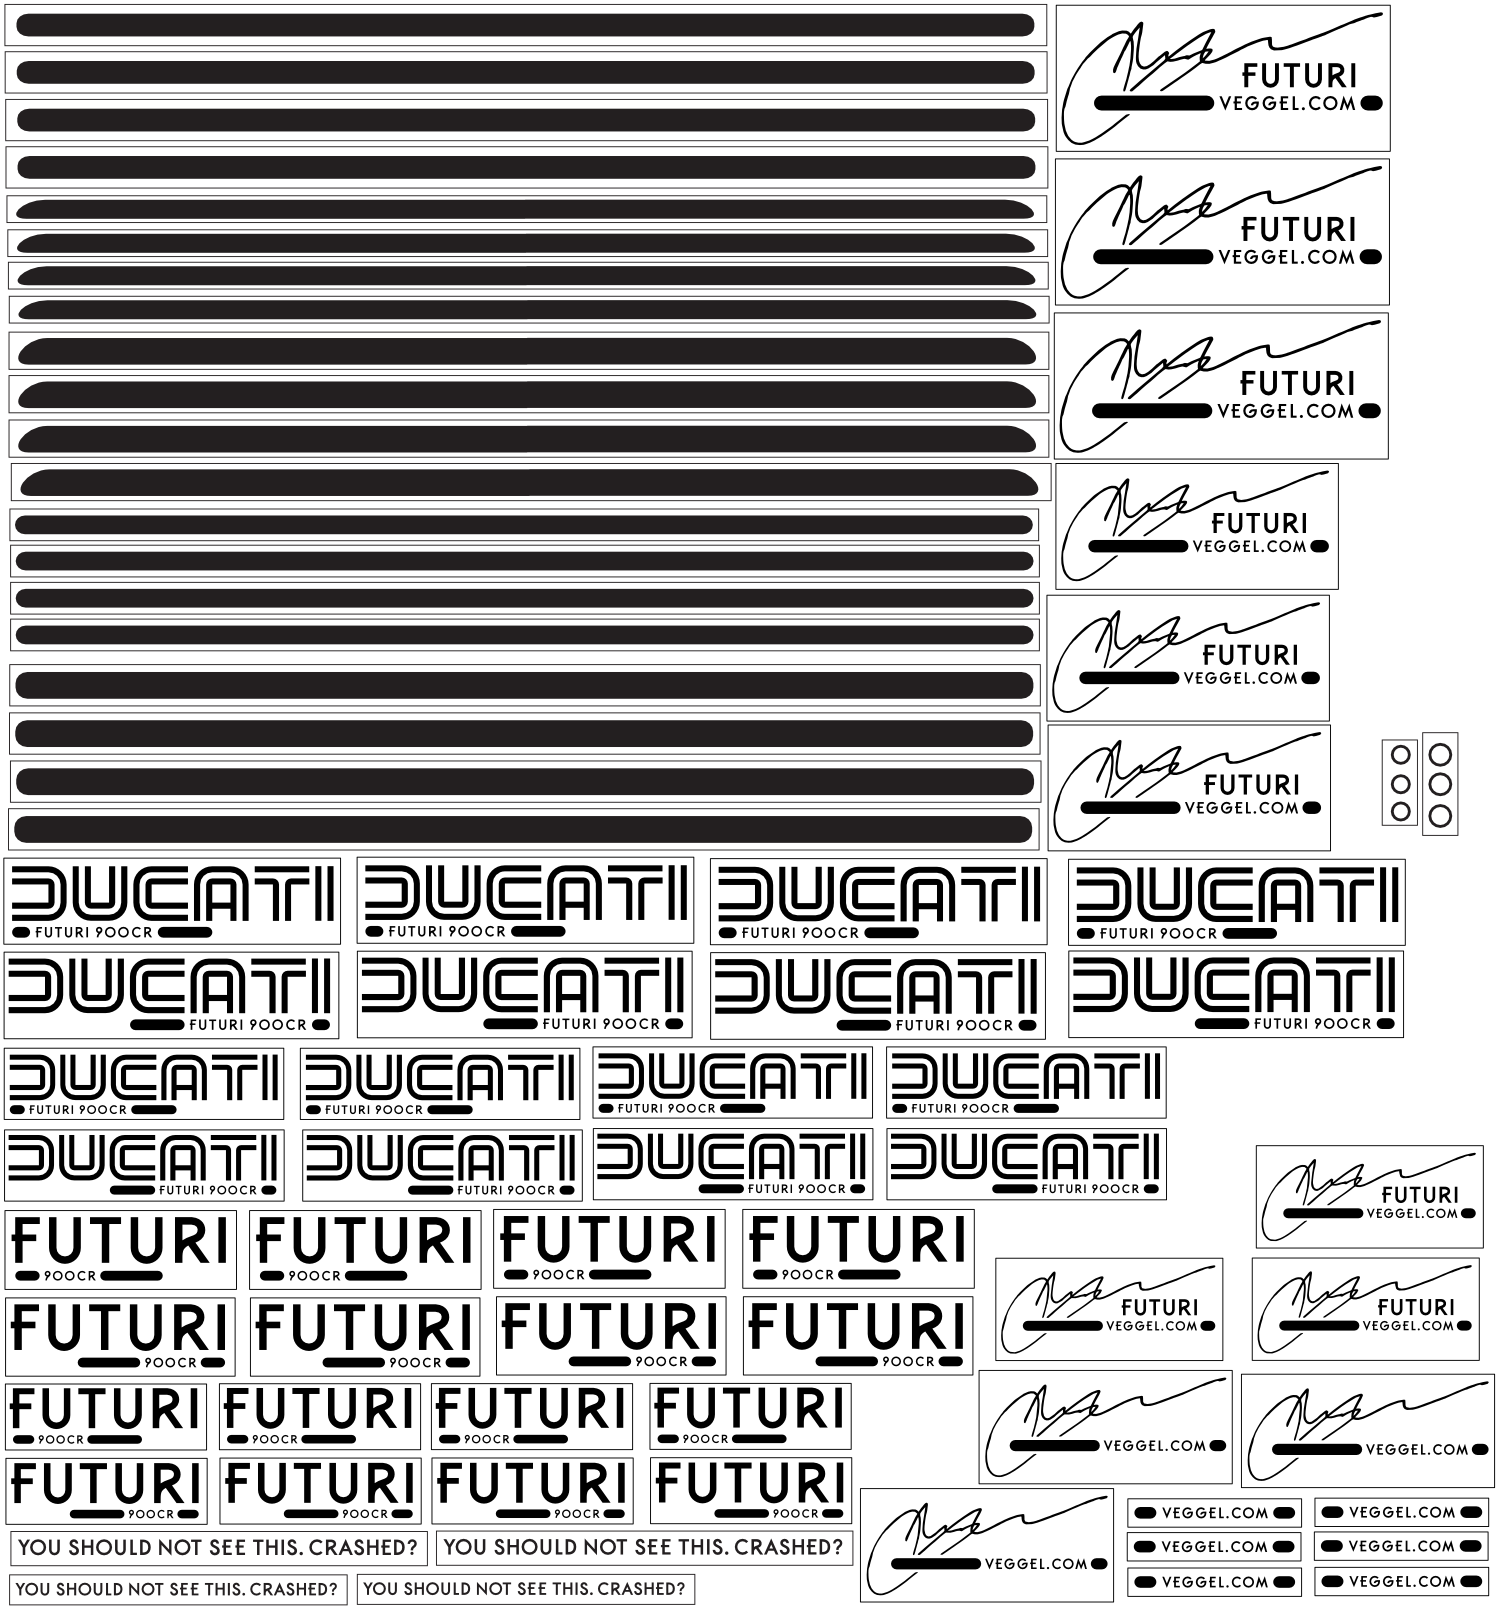
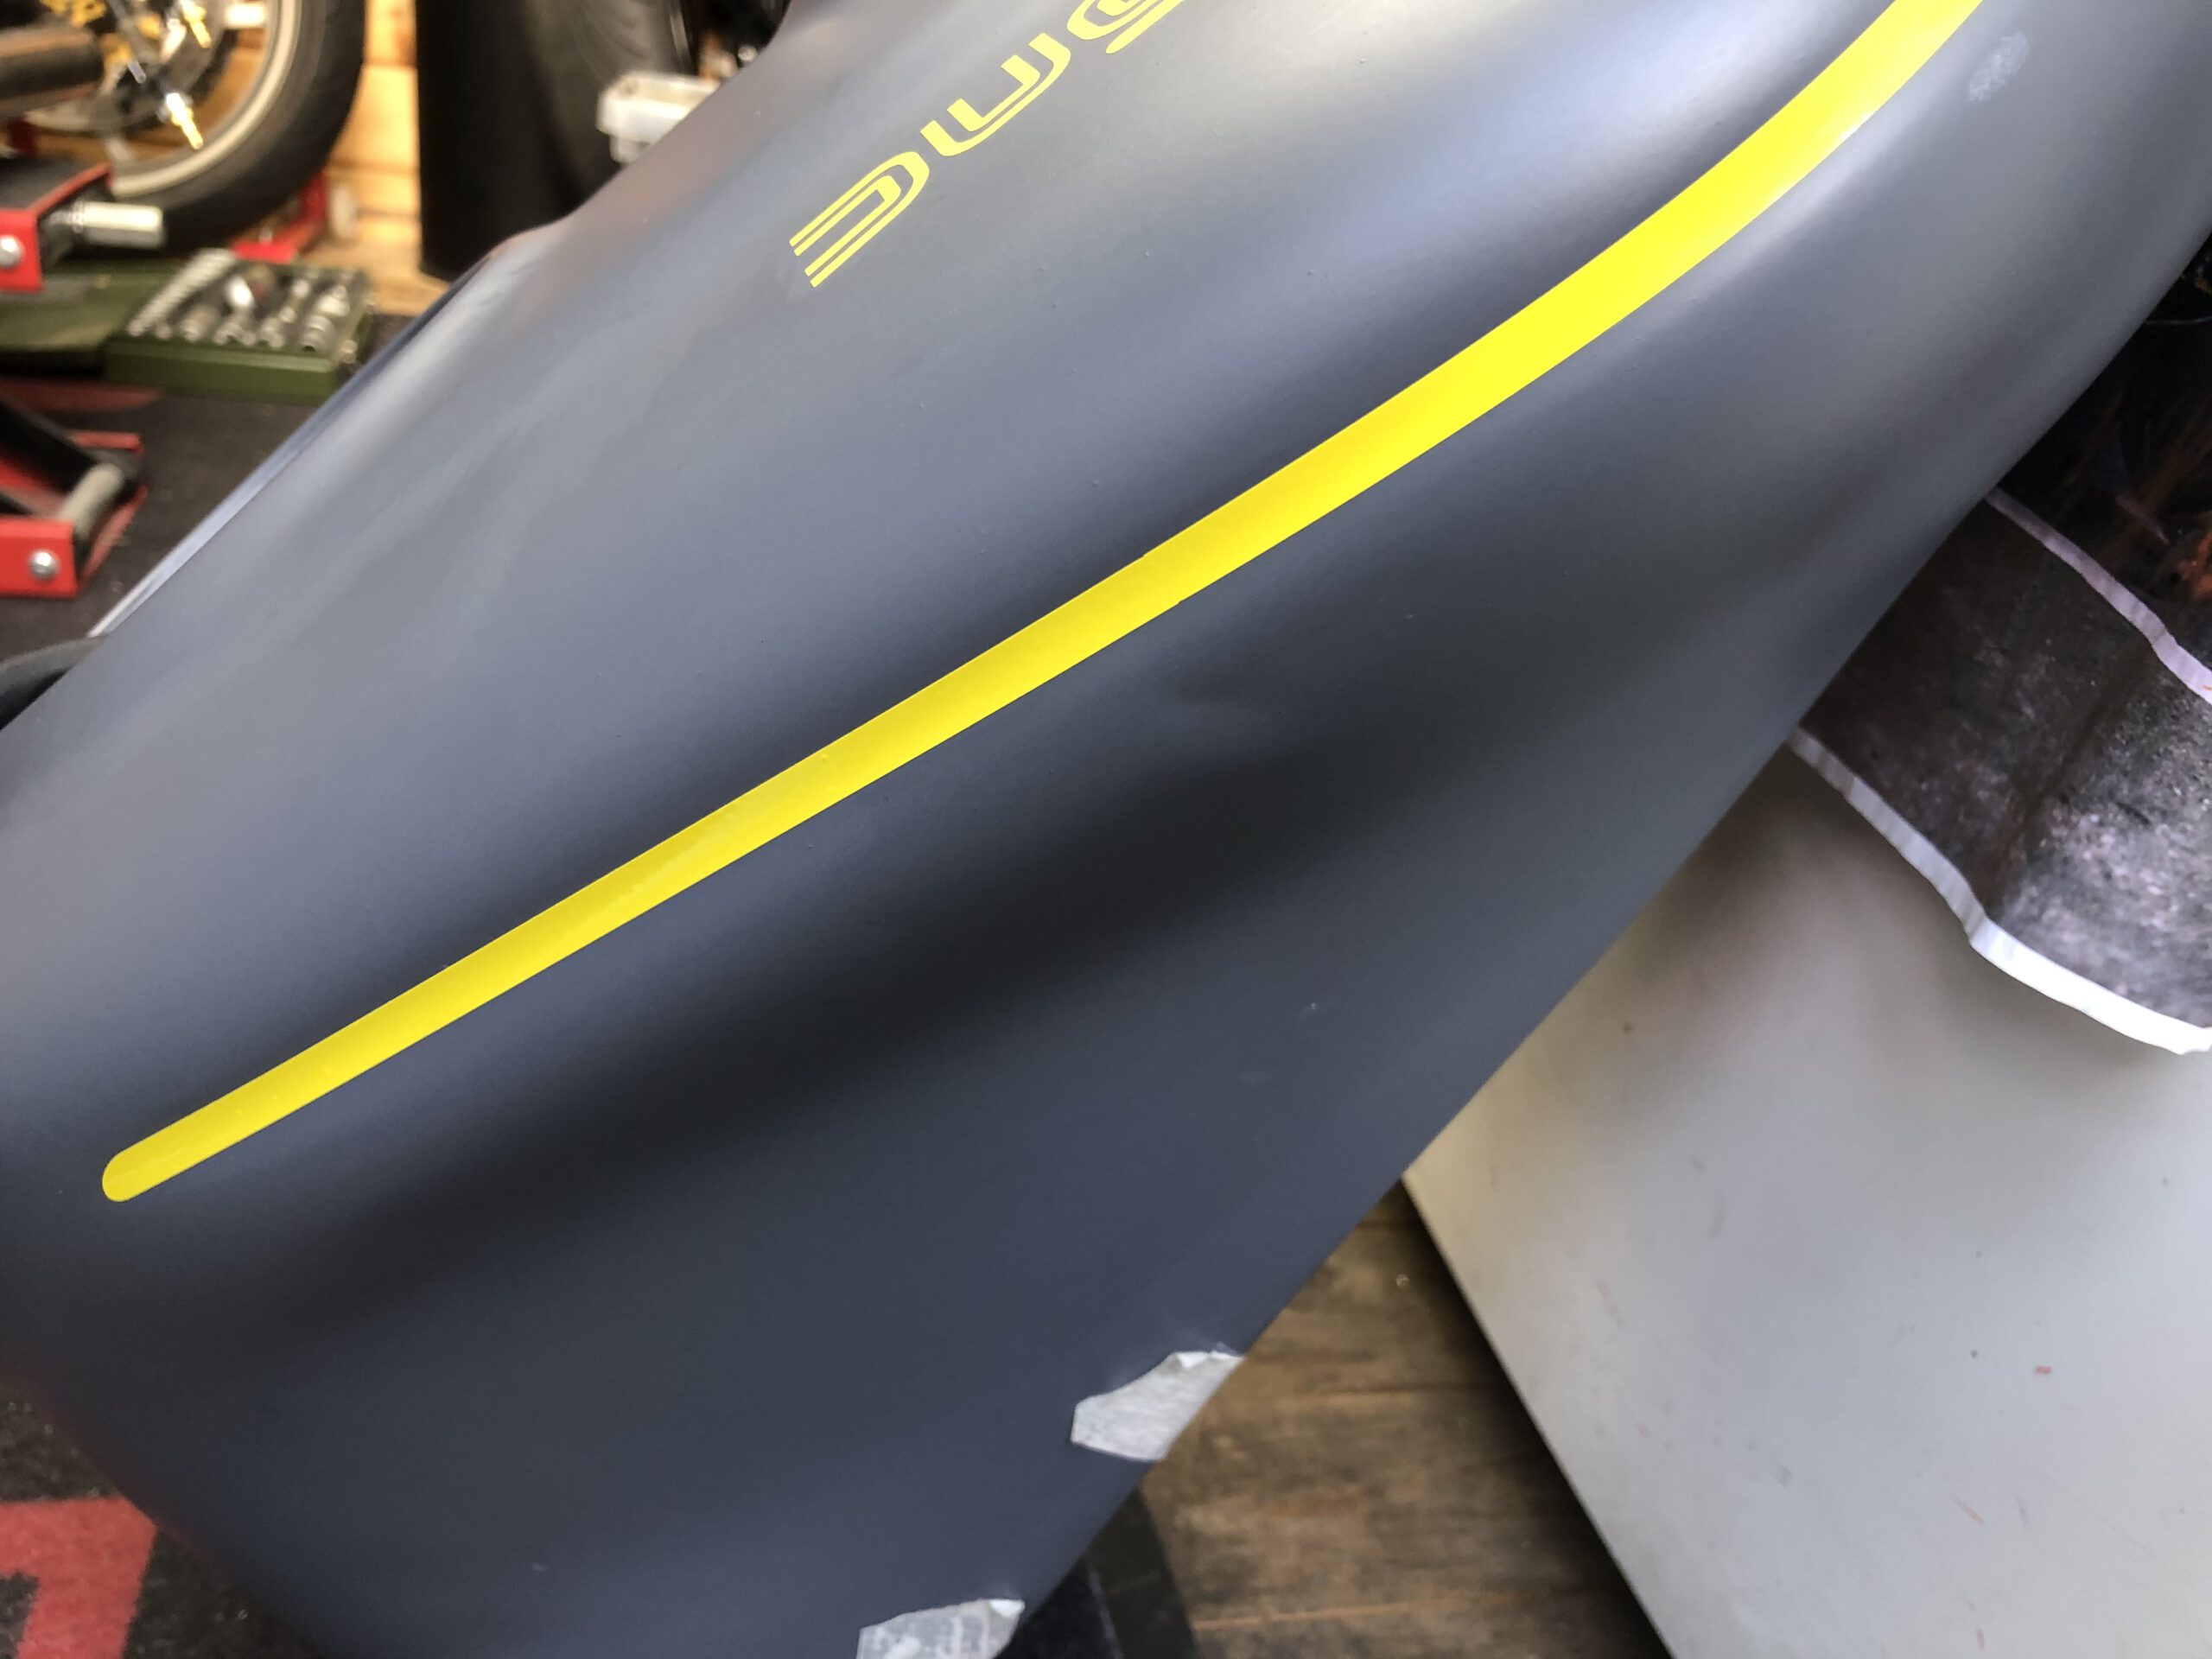
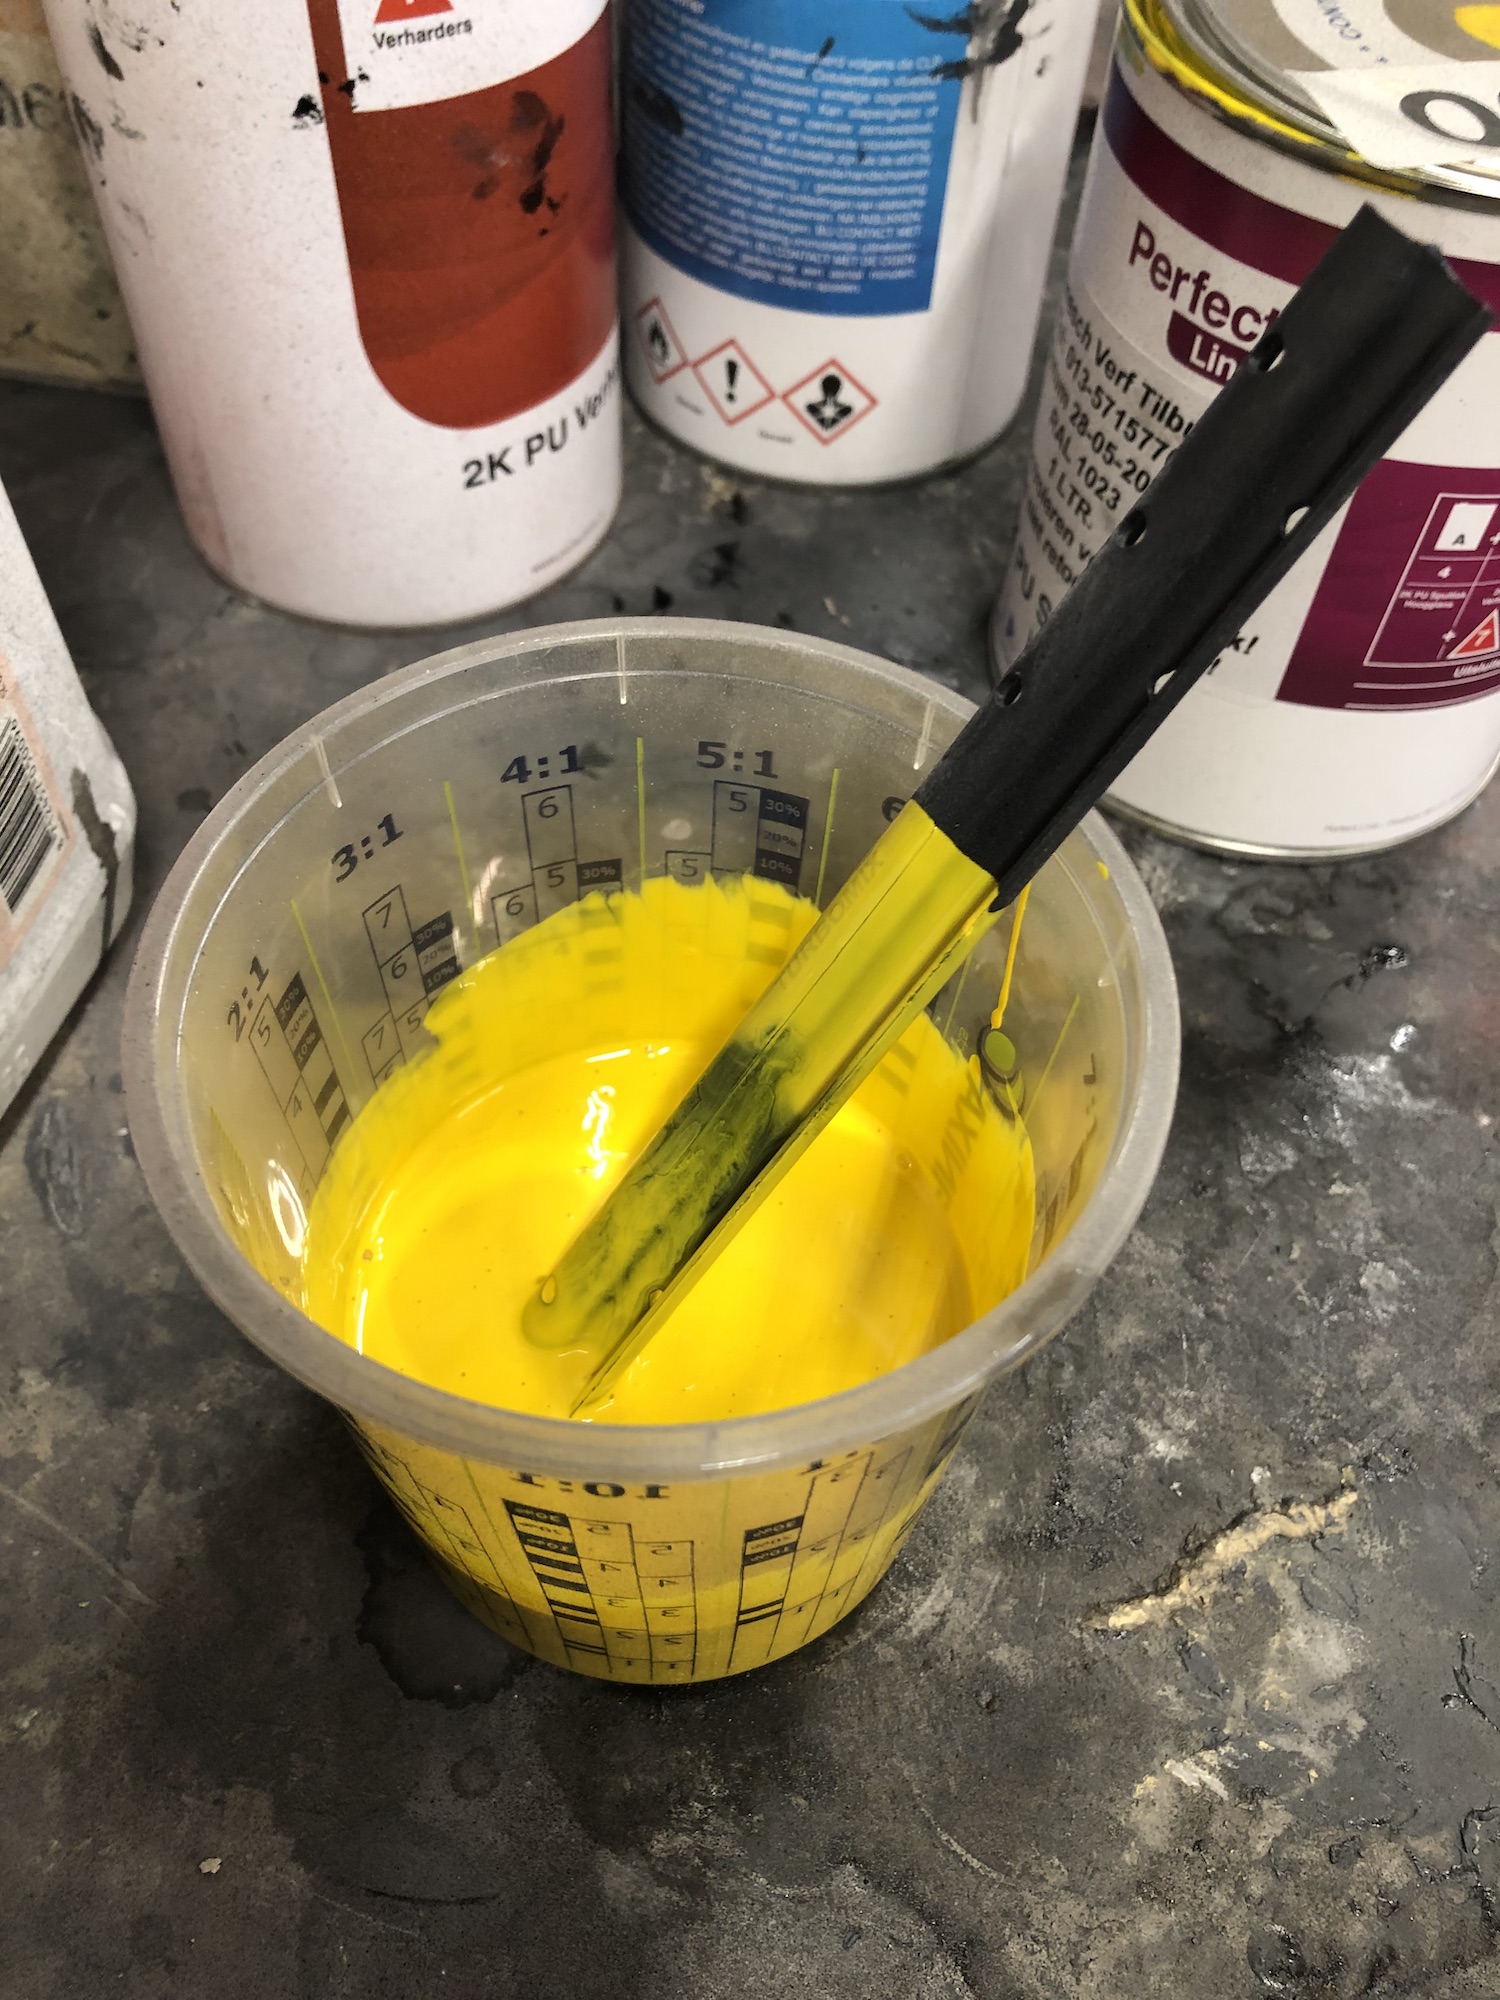
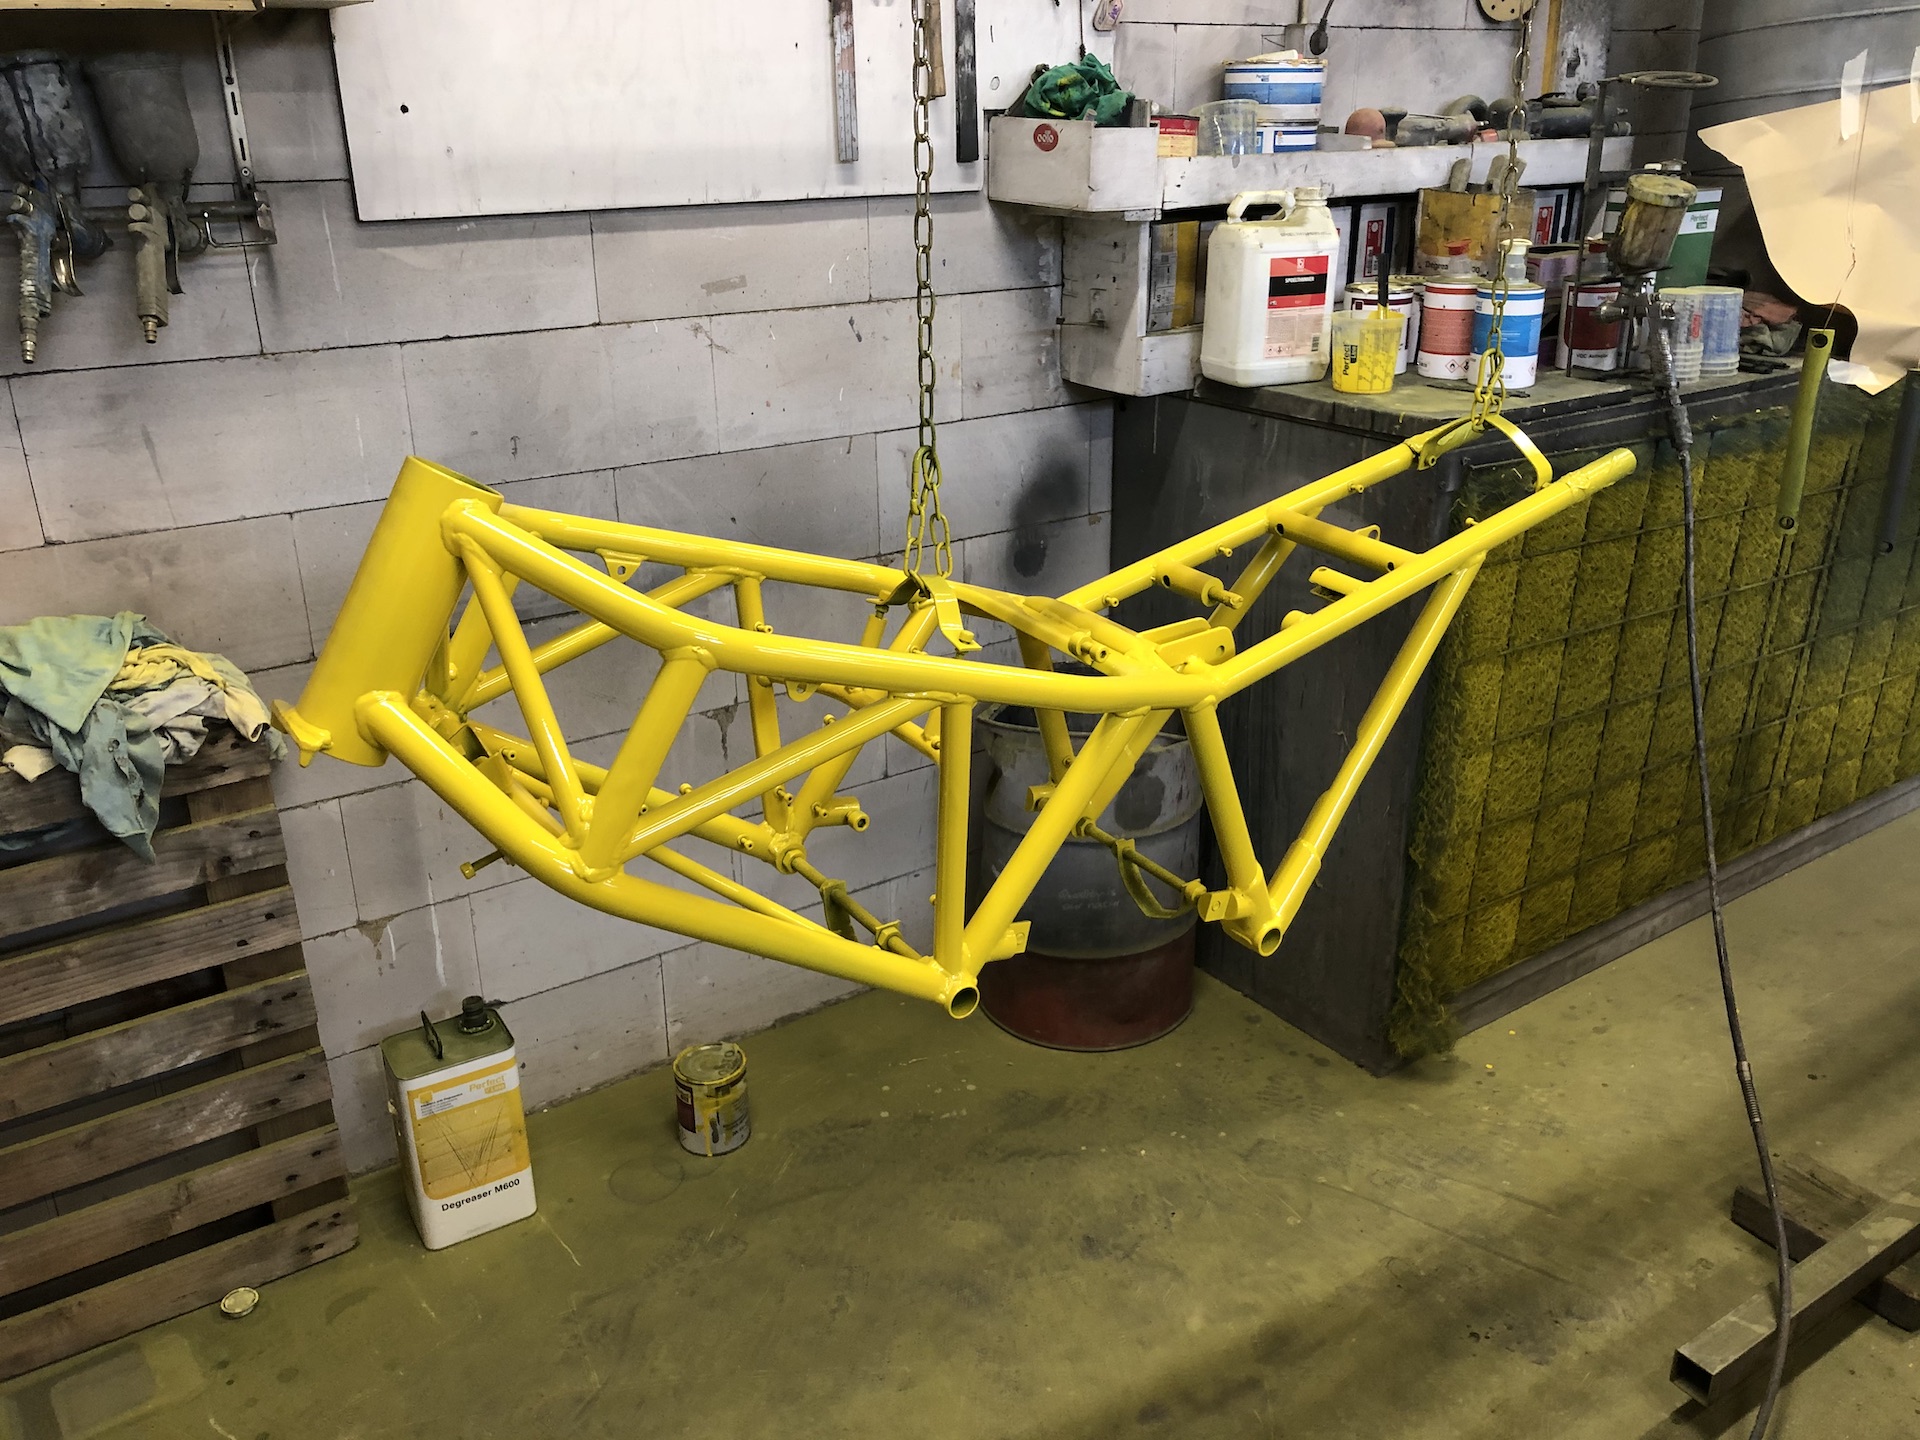
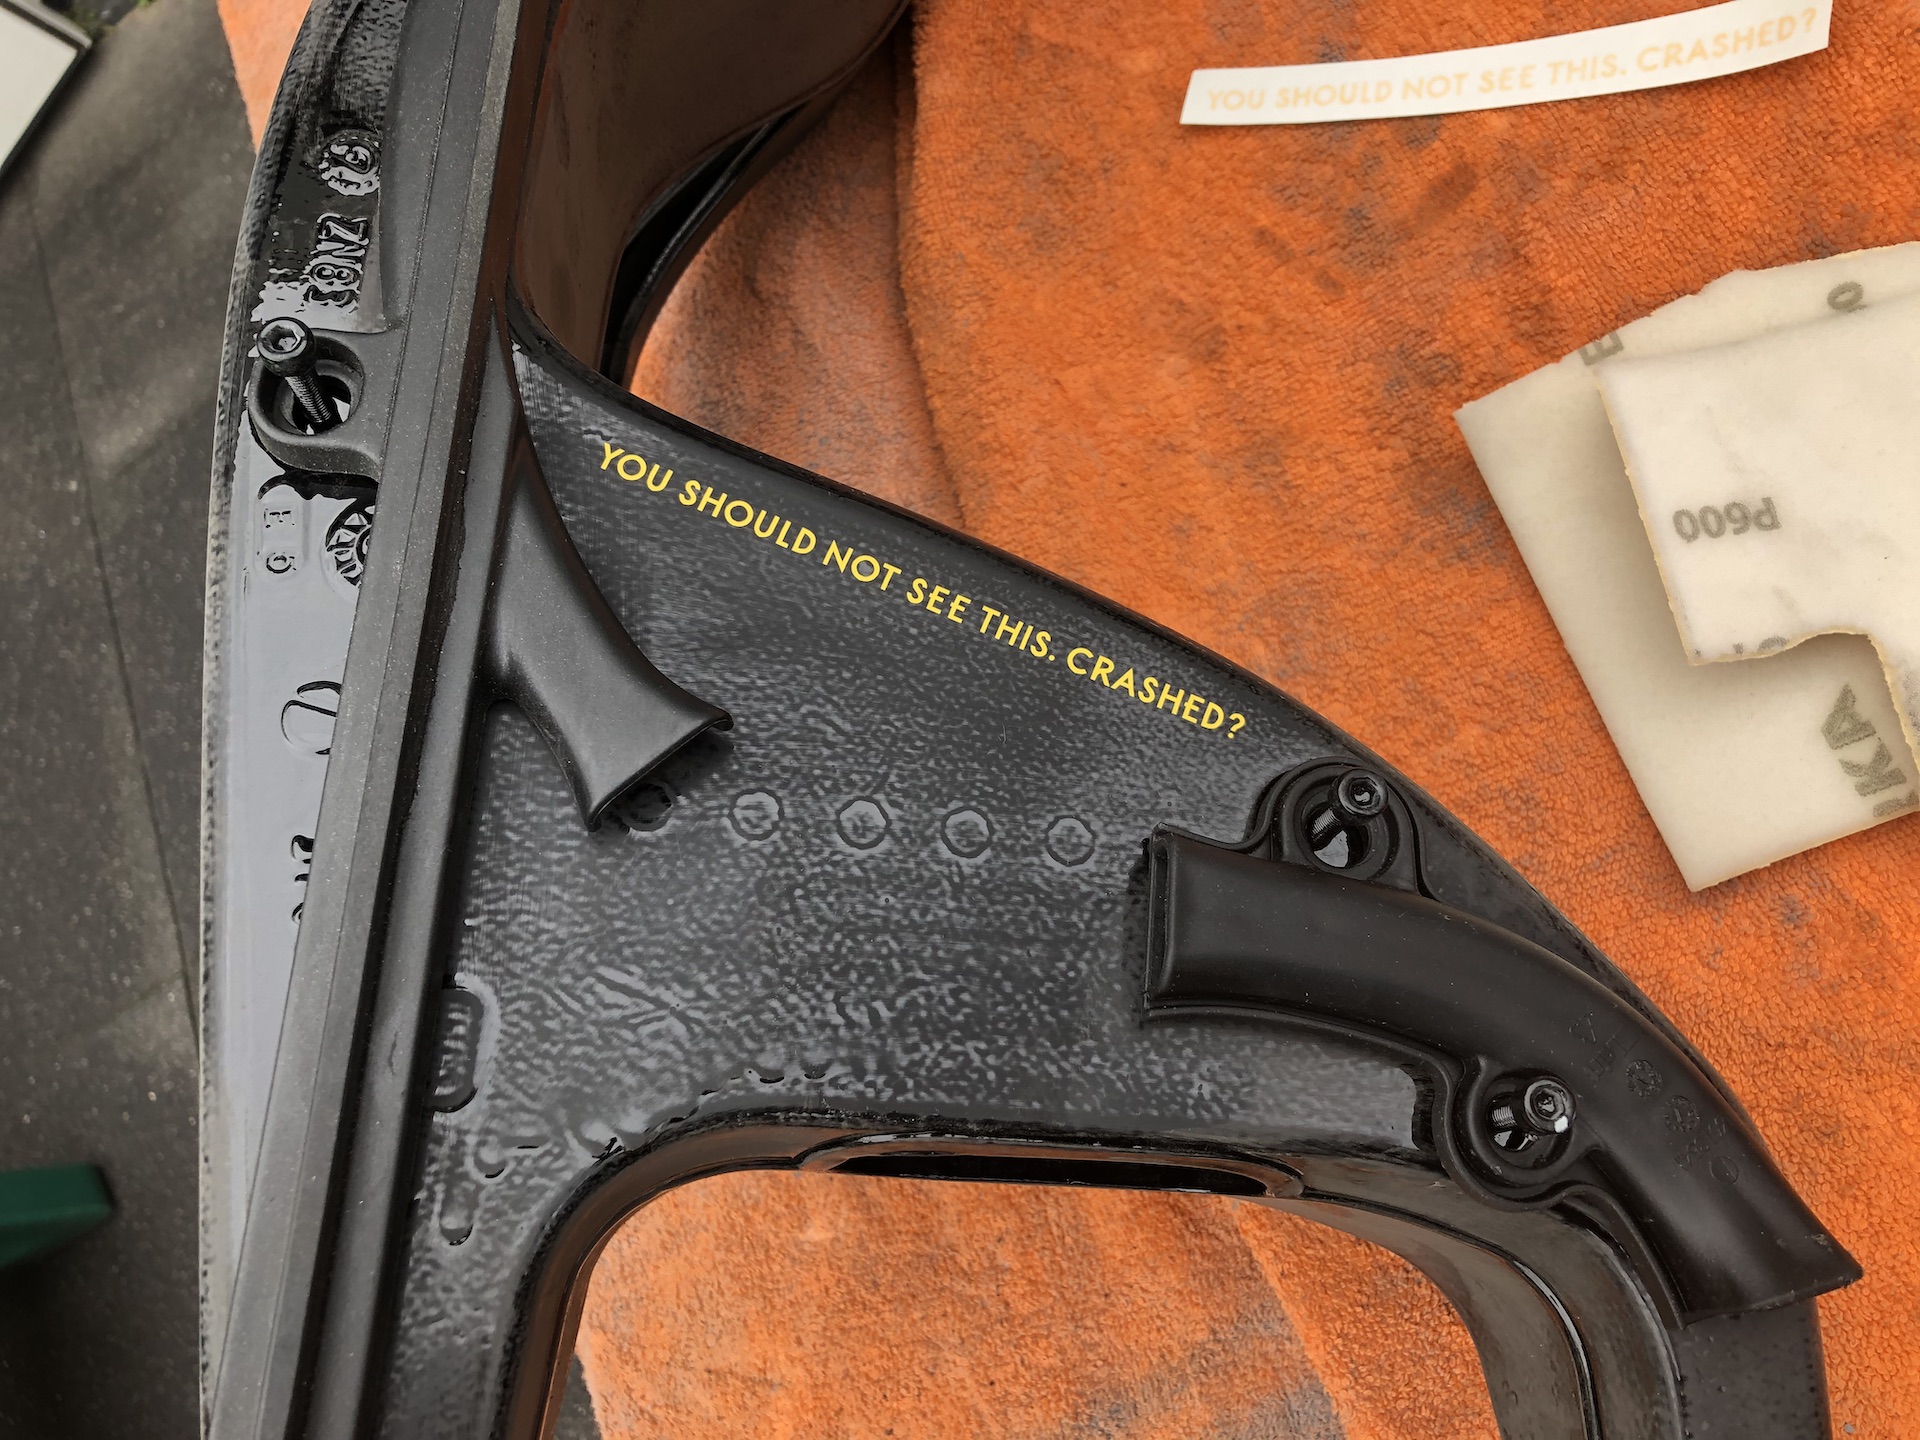
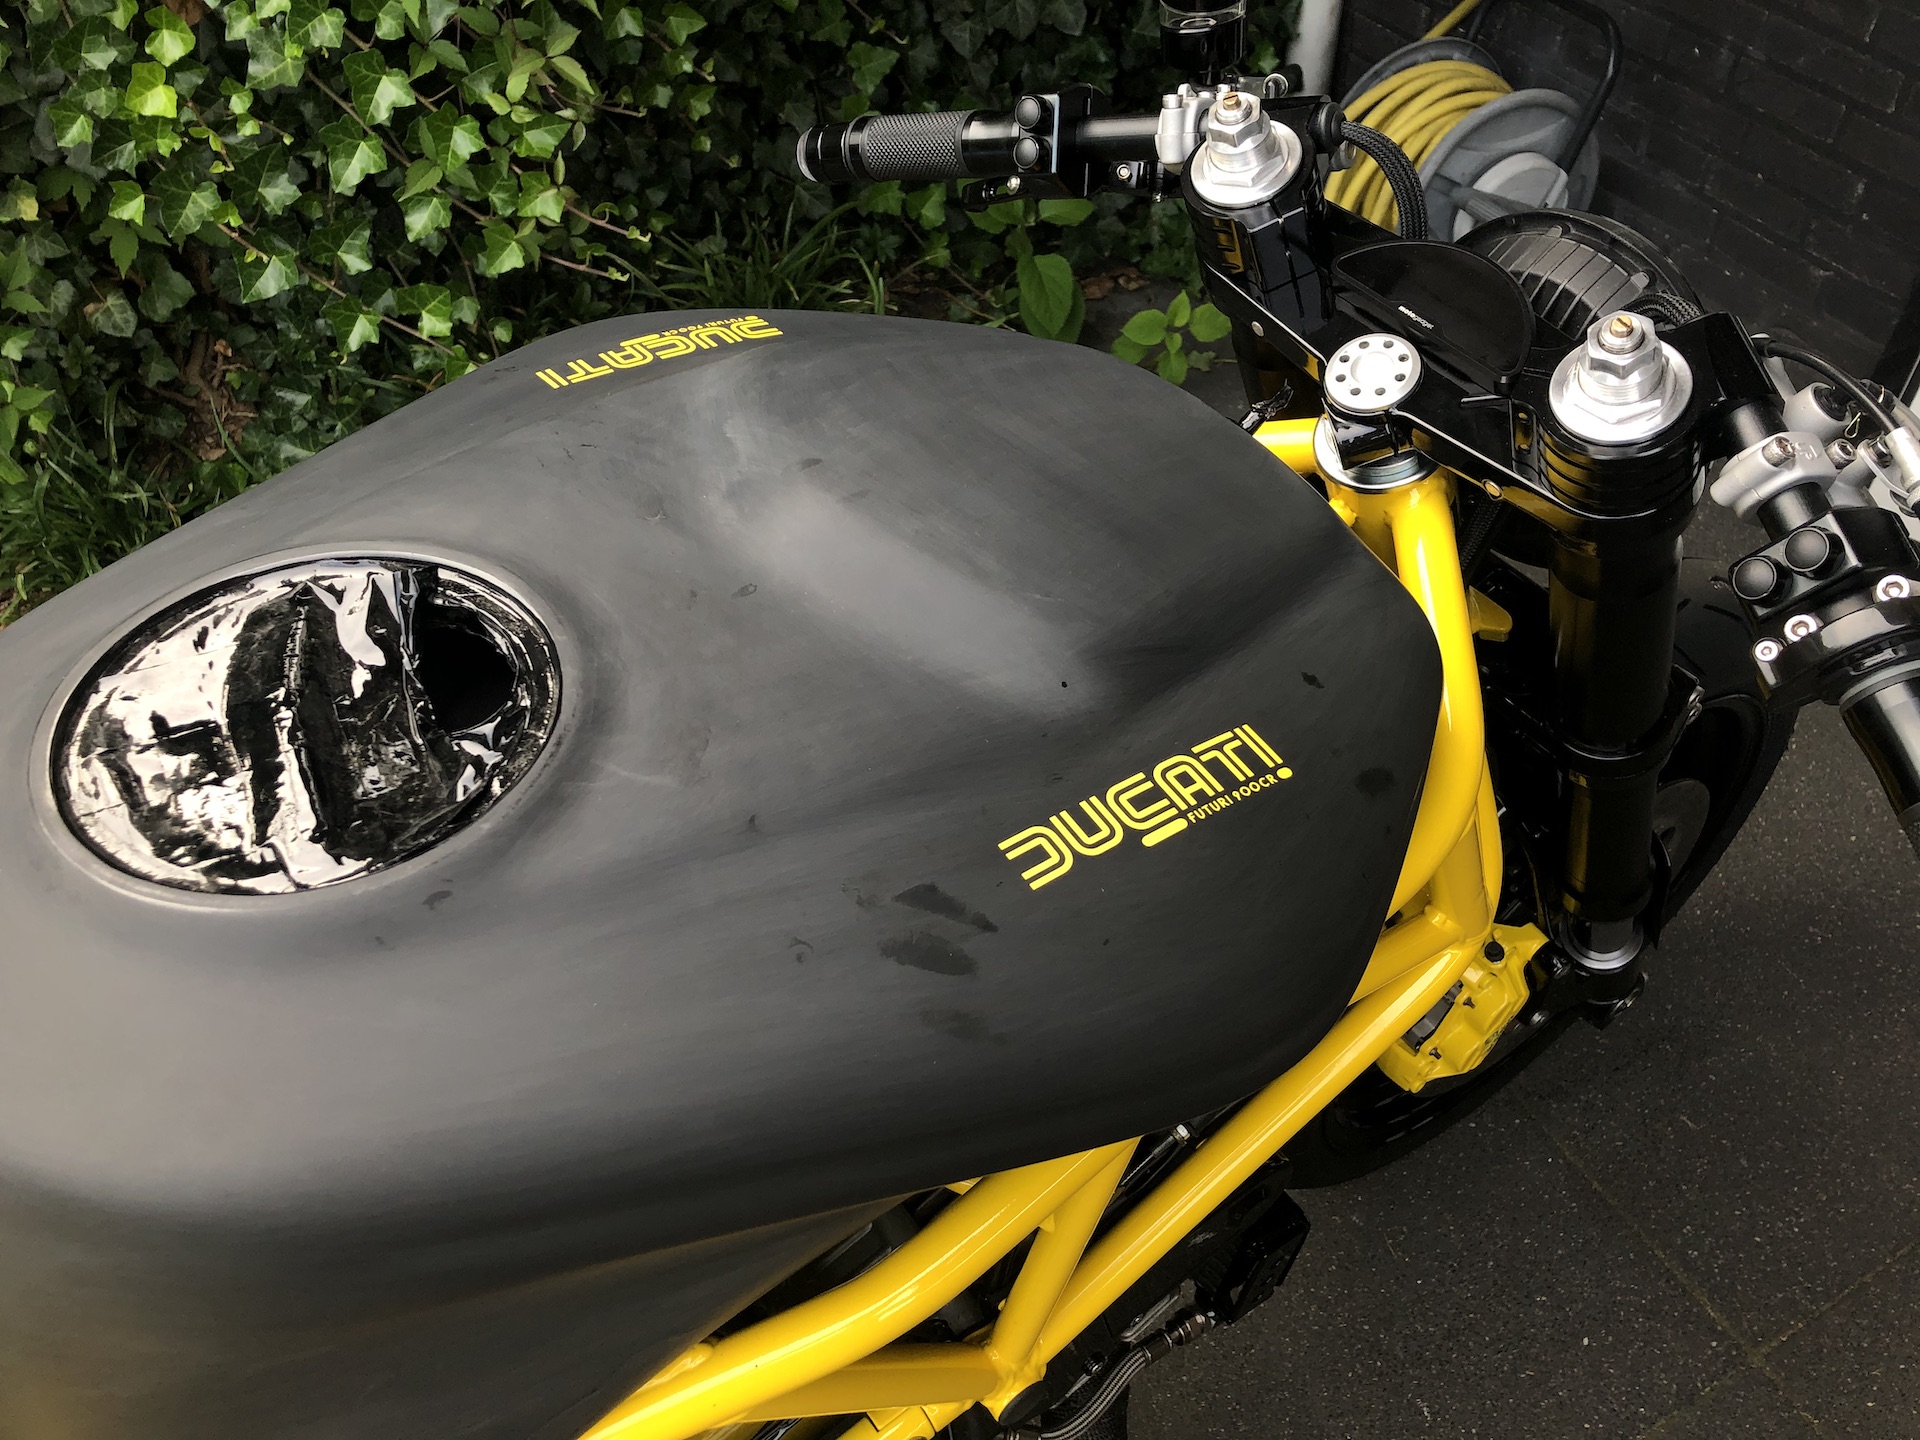
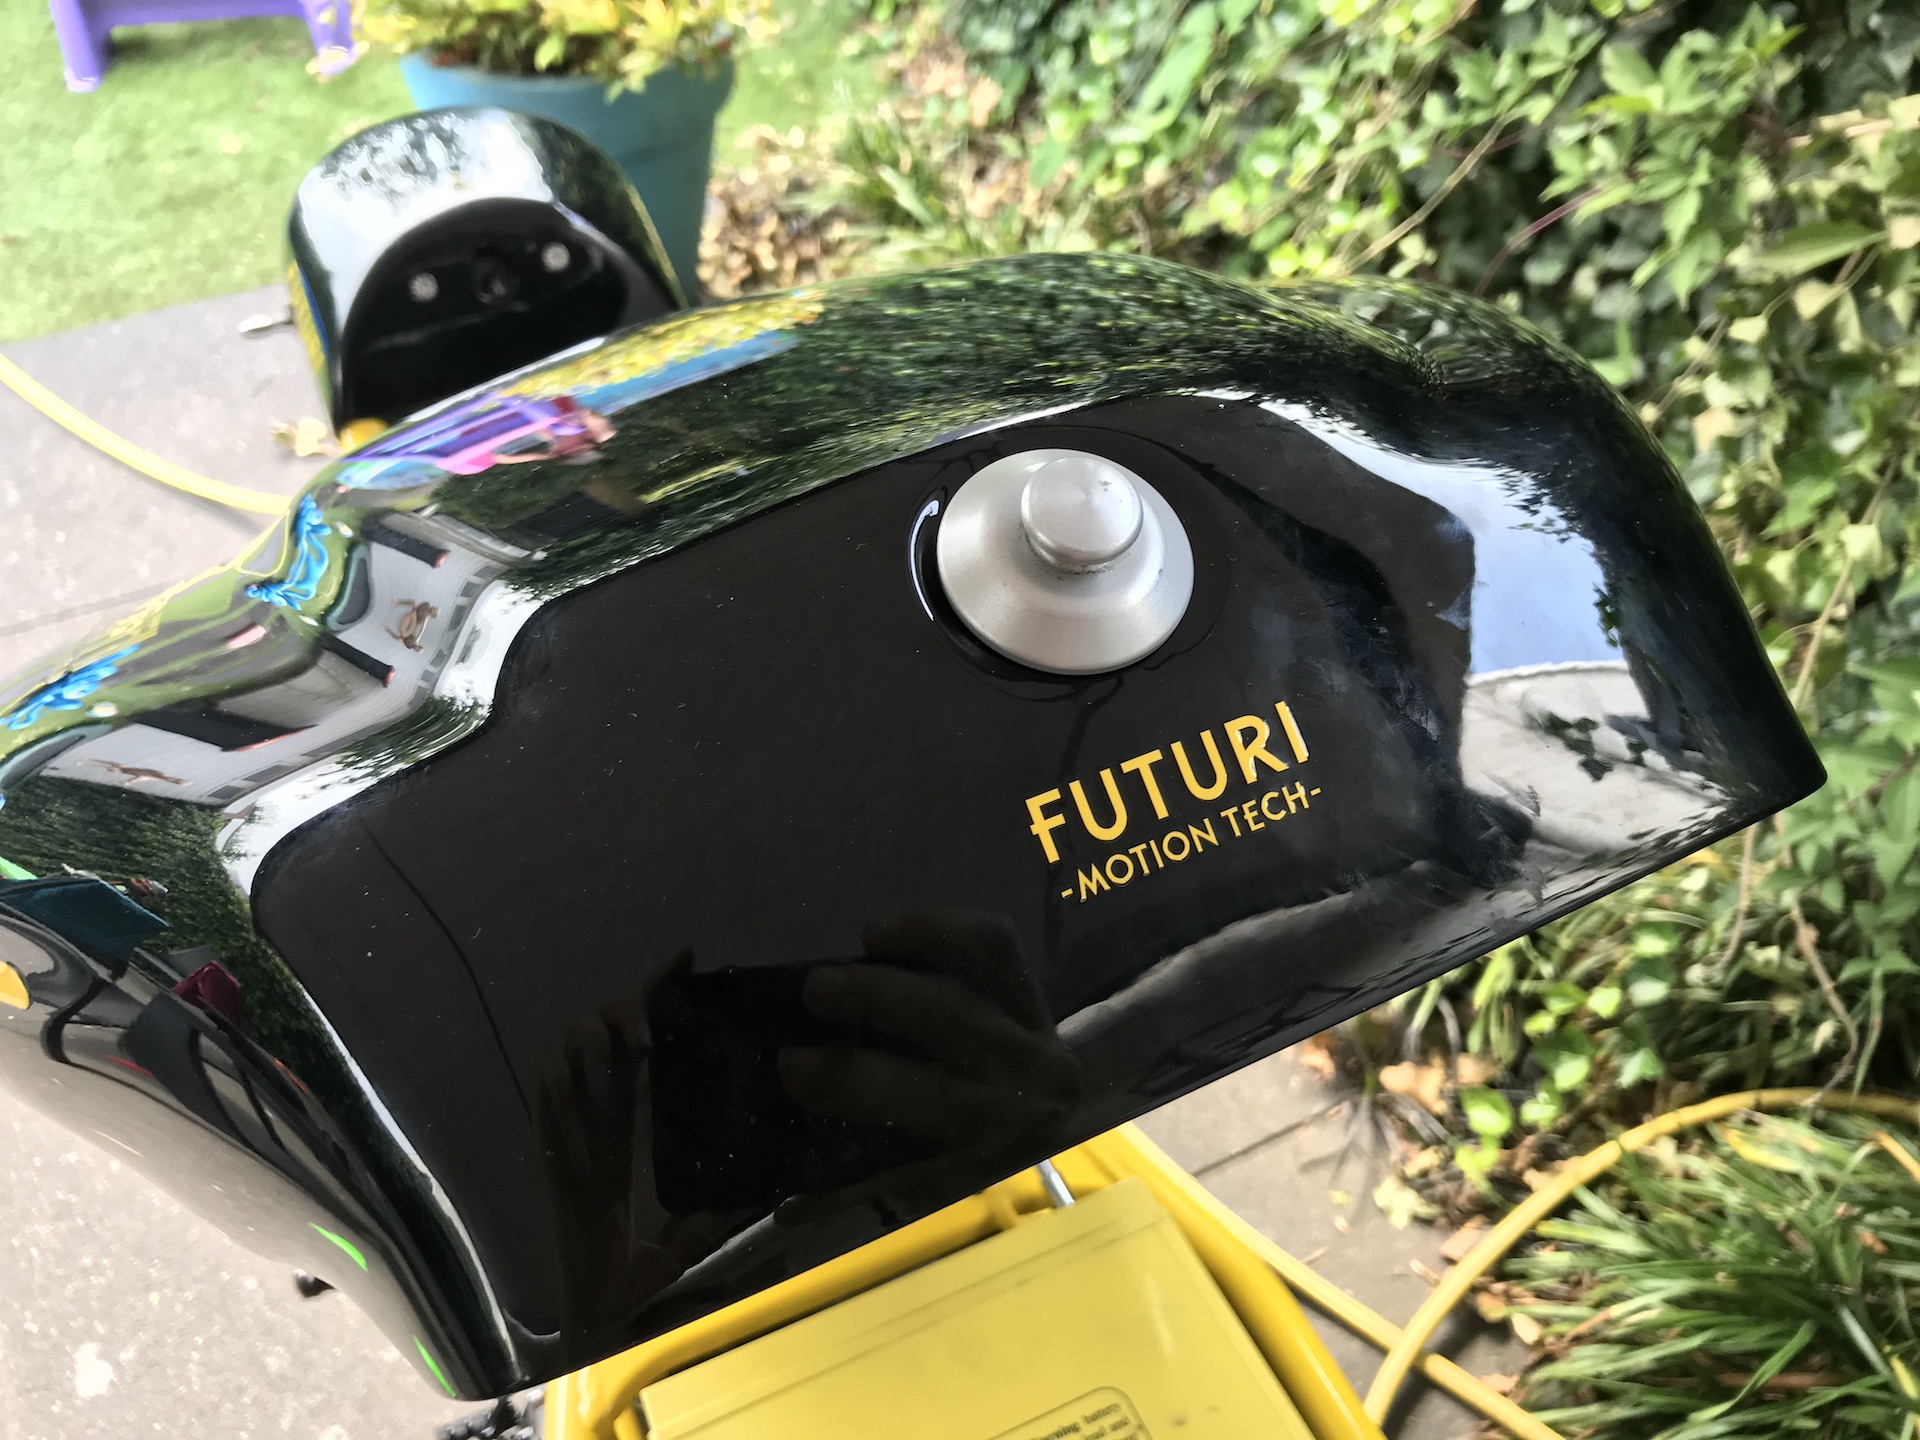
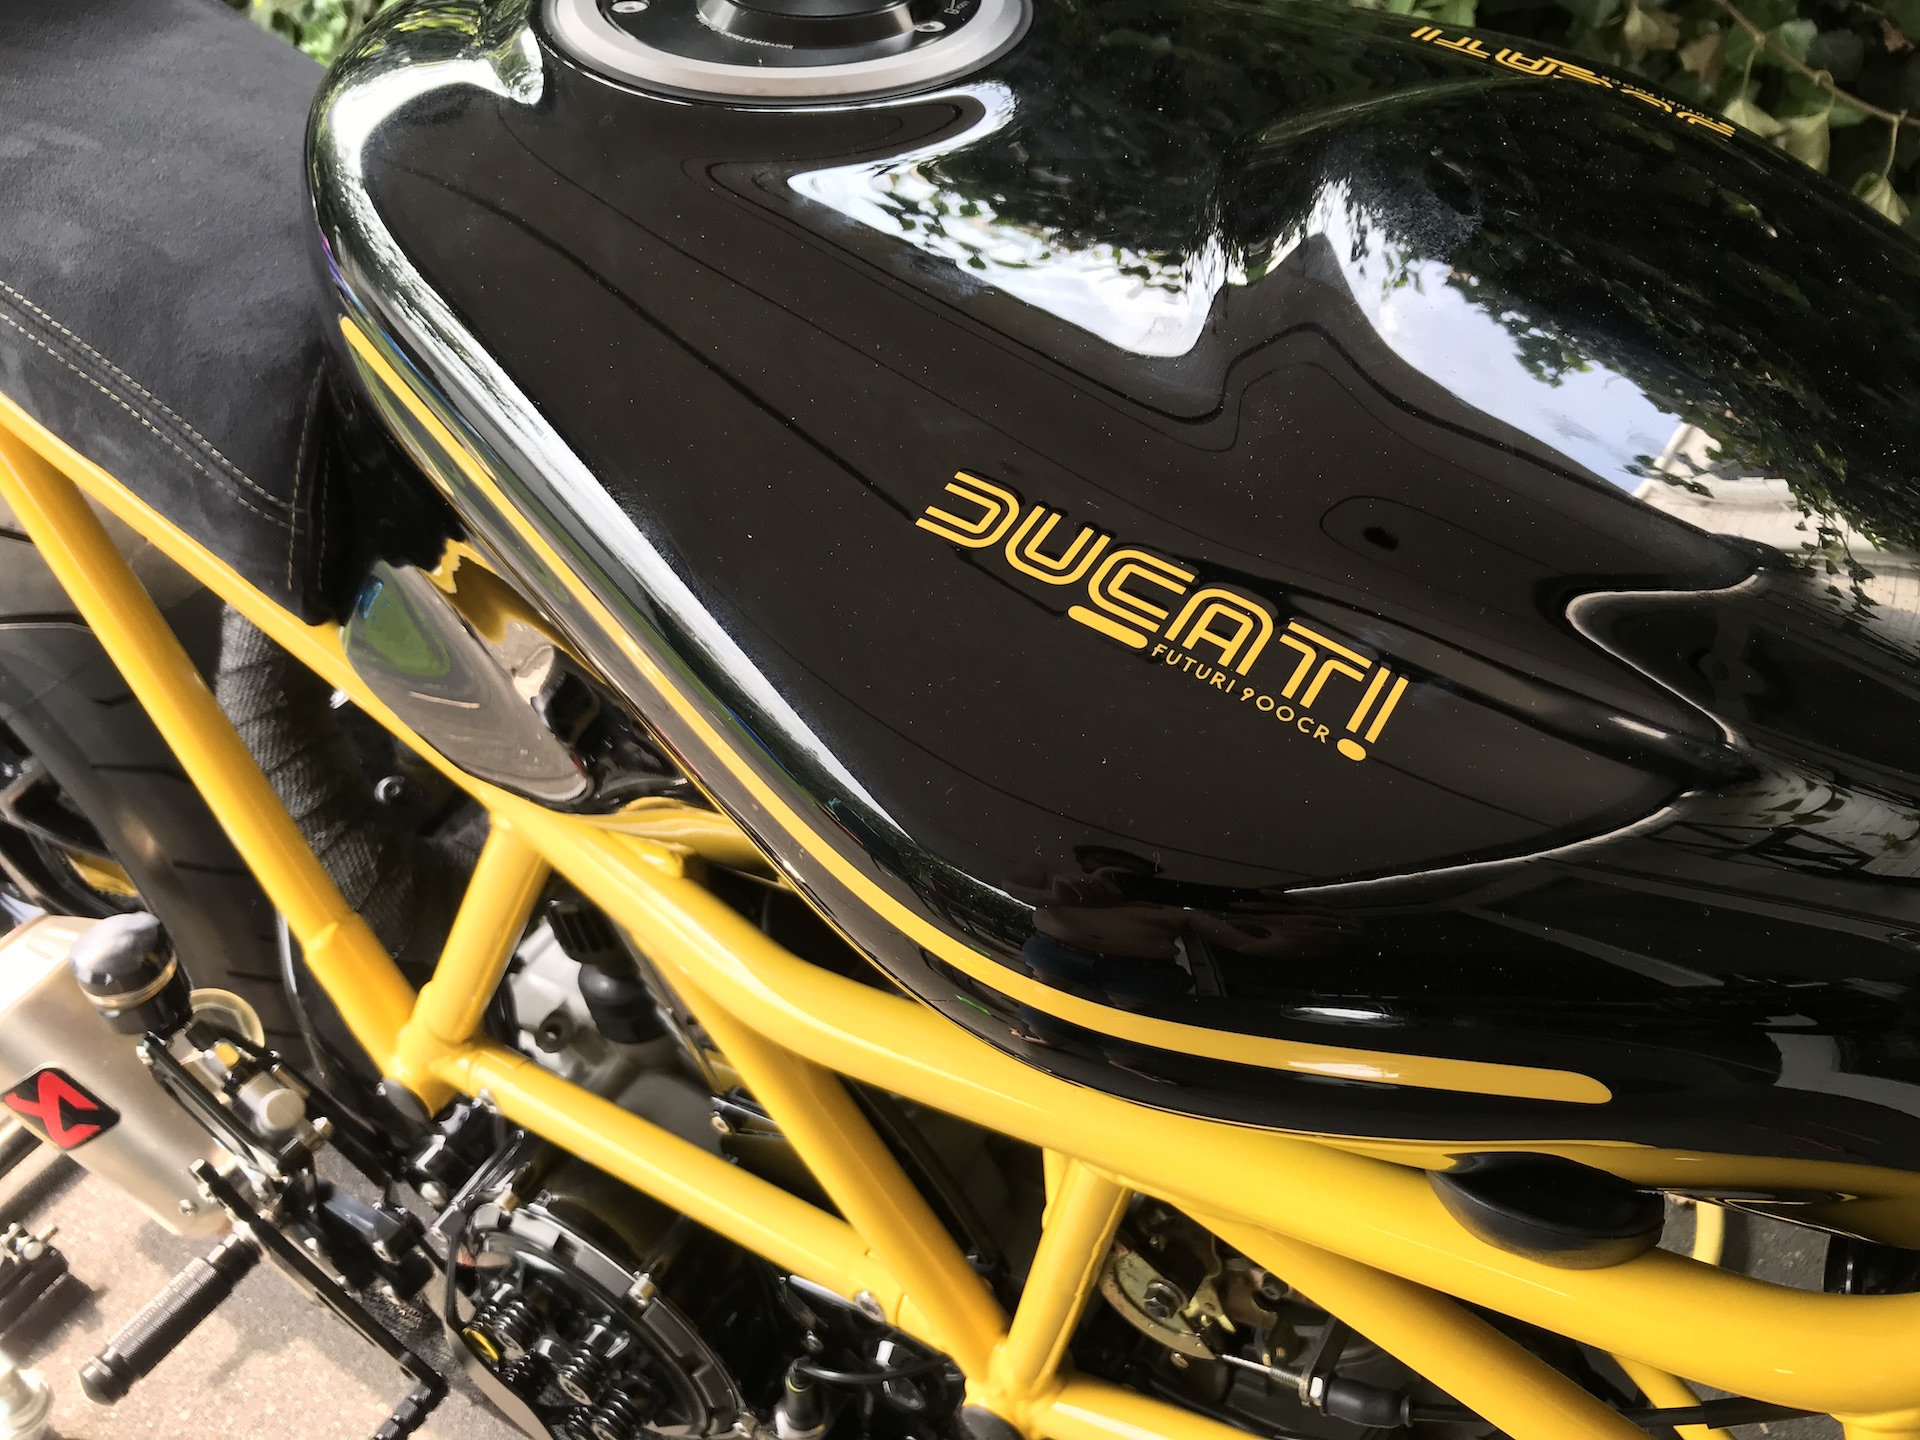
CUSTOM STICKERS
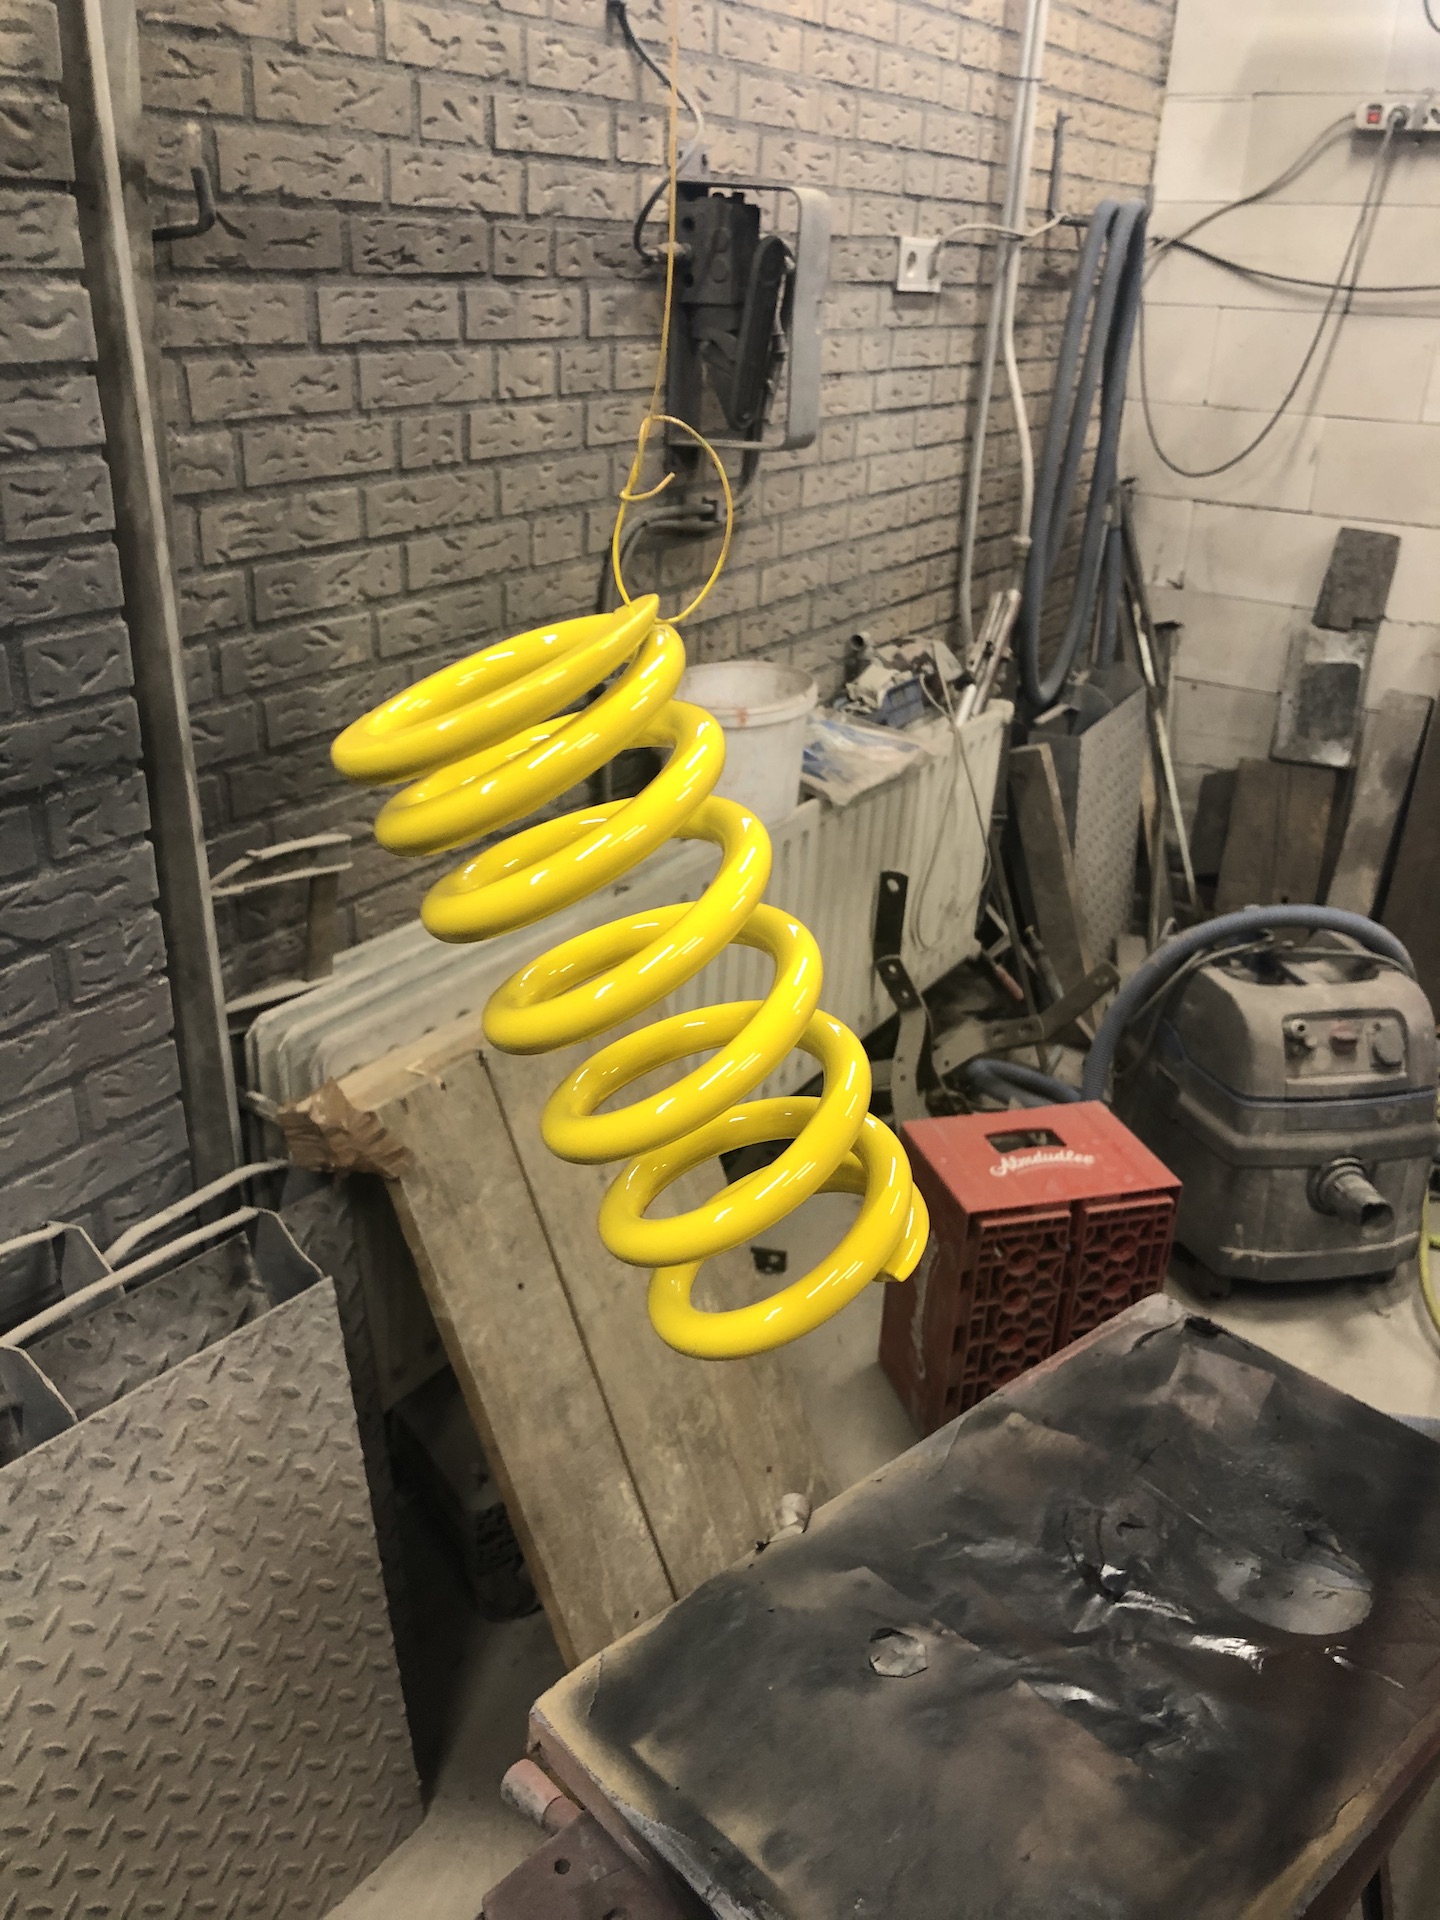
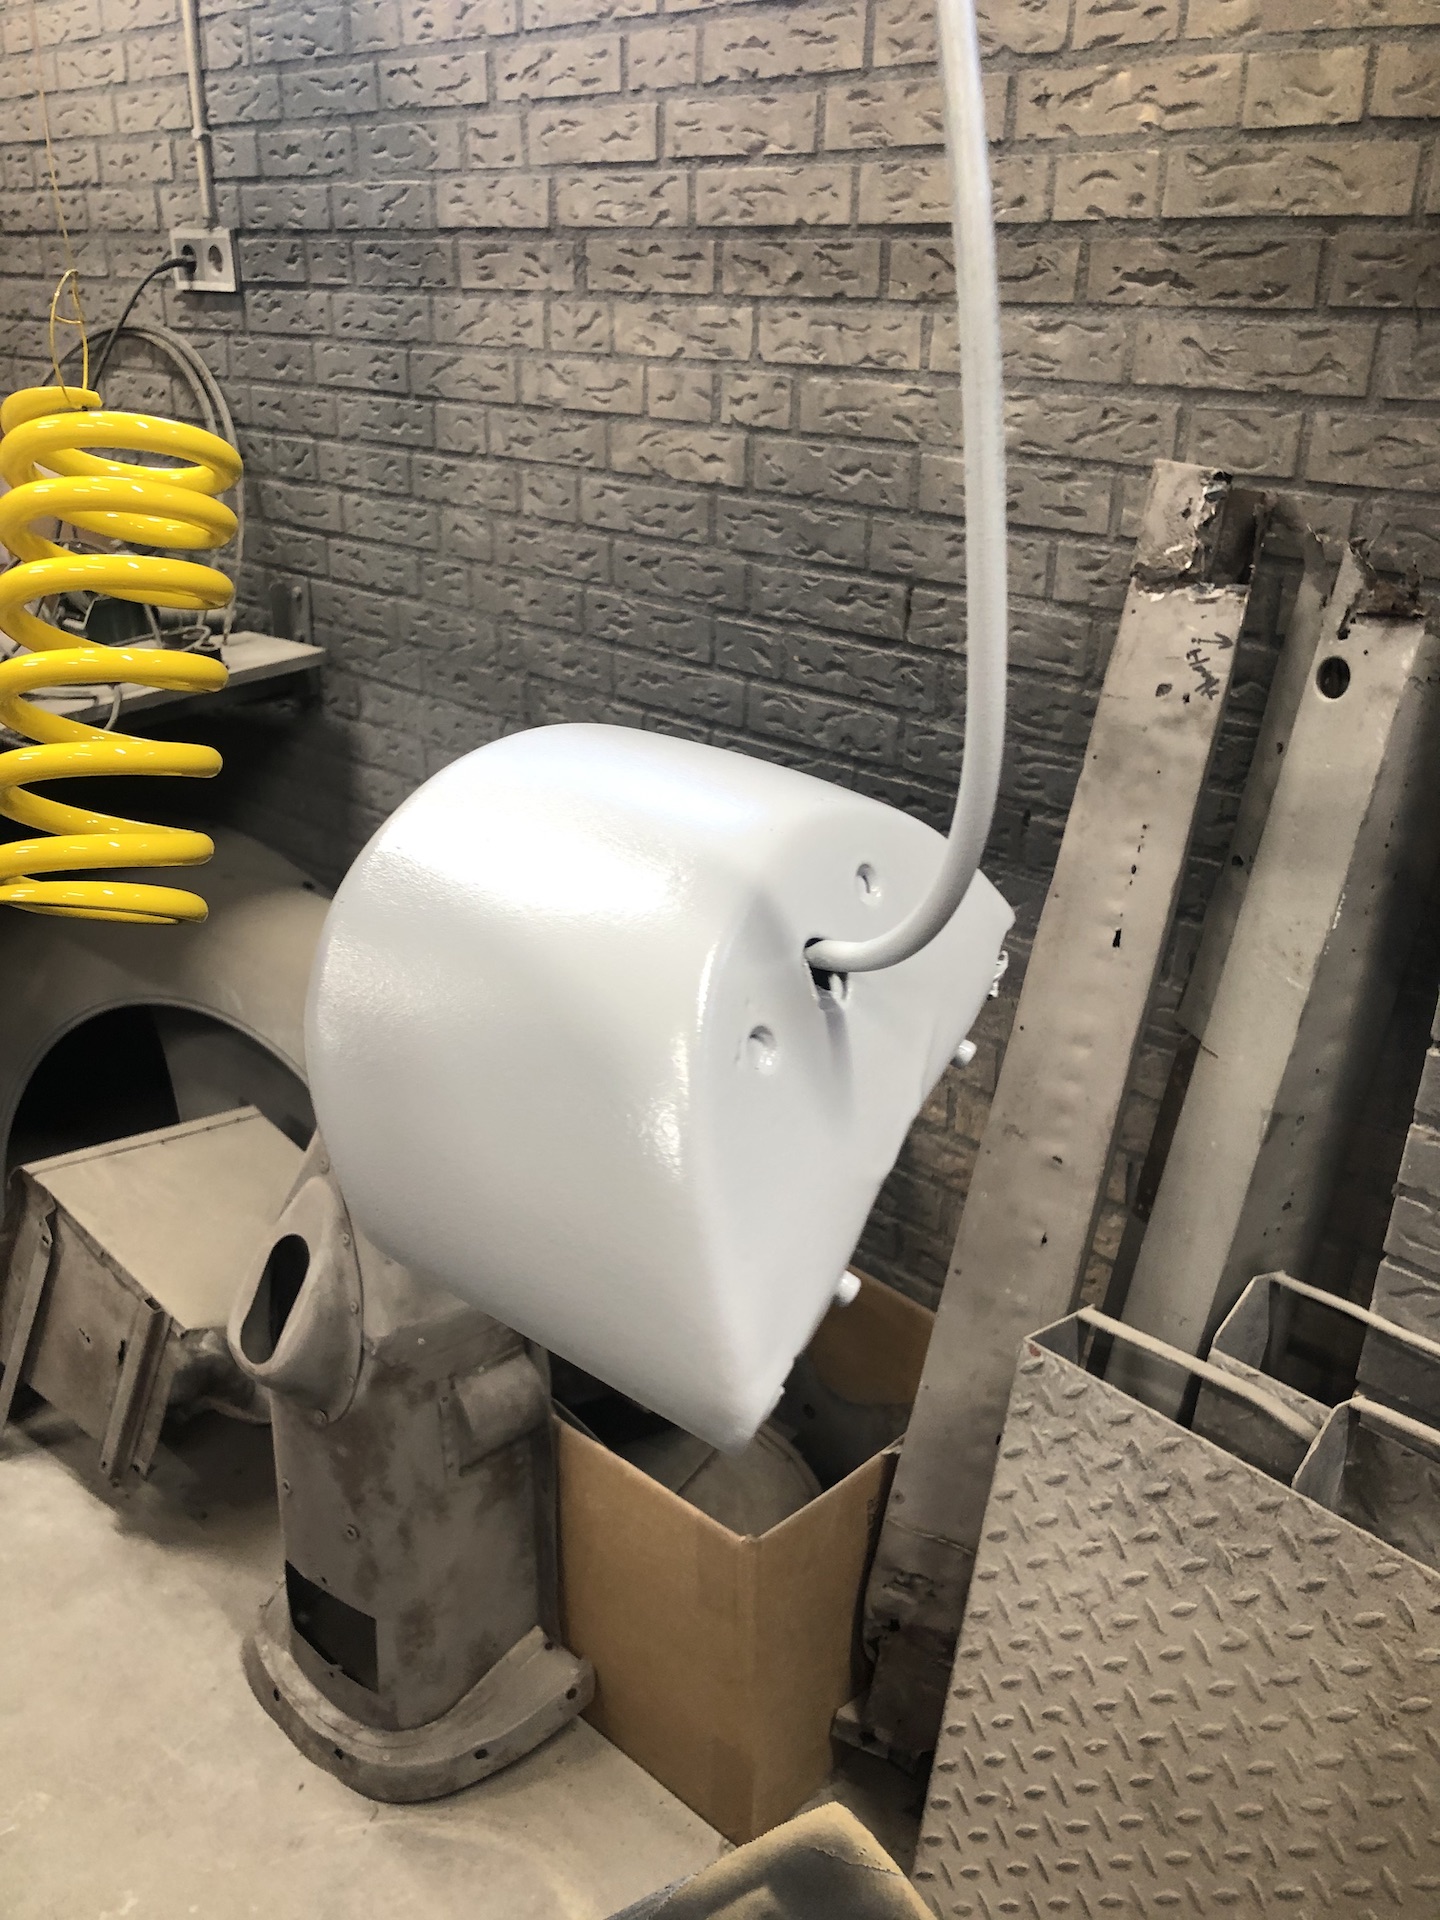
I called this bike Futuri and that means it needs some cool custom stickers ;). I designed everything myself and had them custom made in the same color the frame is going to be painted. RAL1023 Trafficsign Yellow.
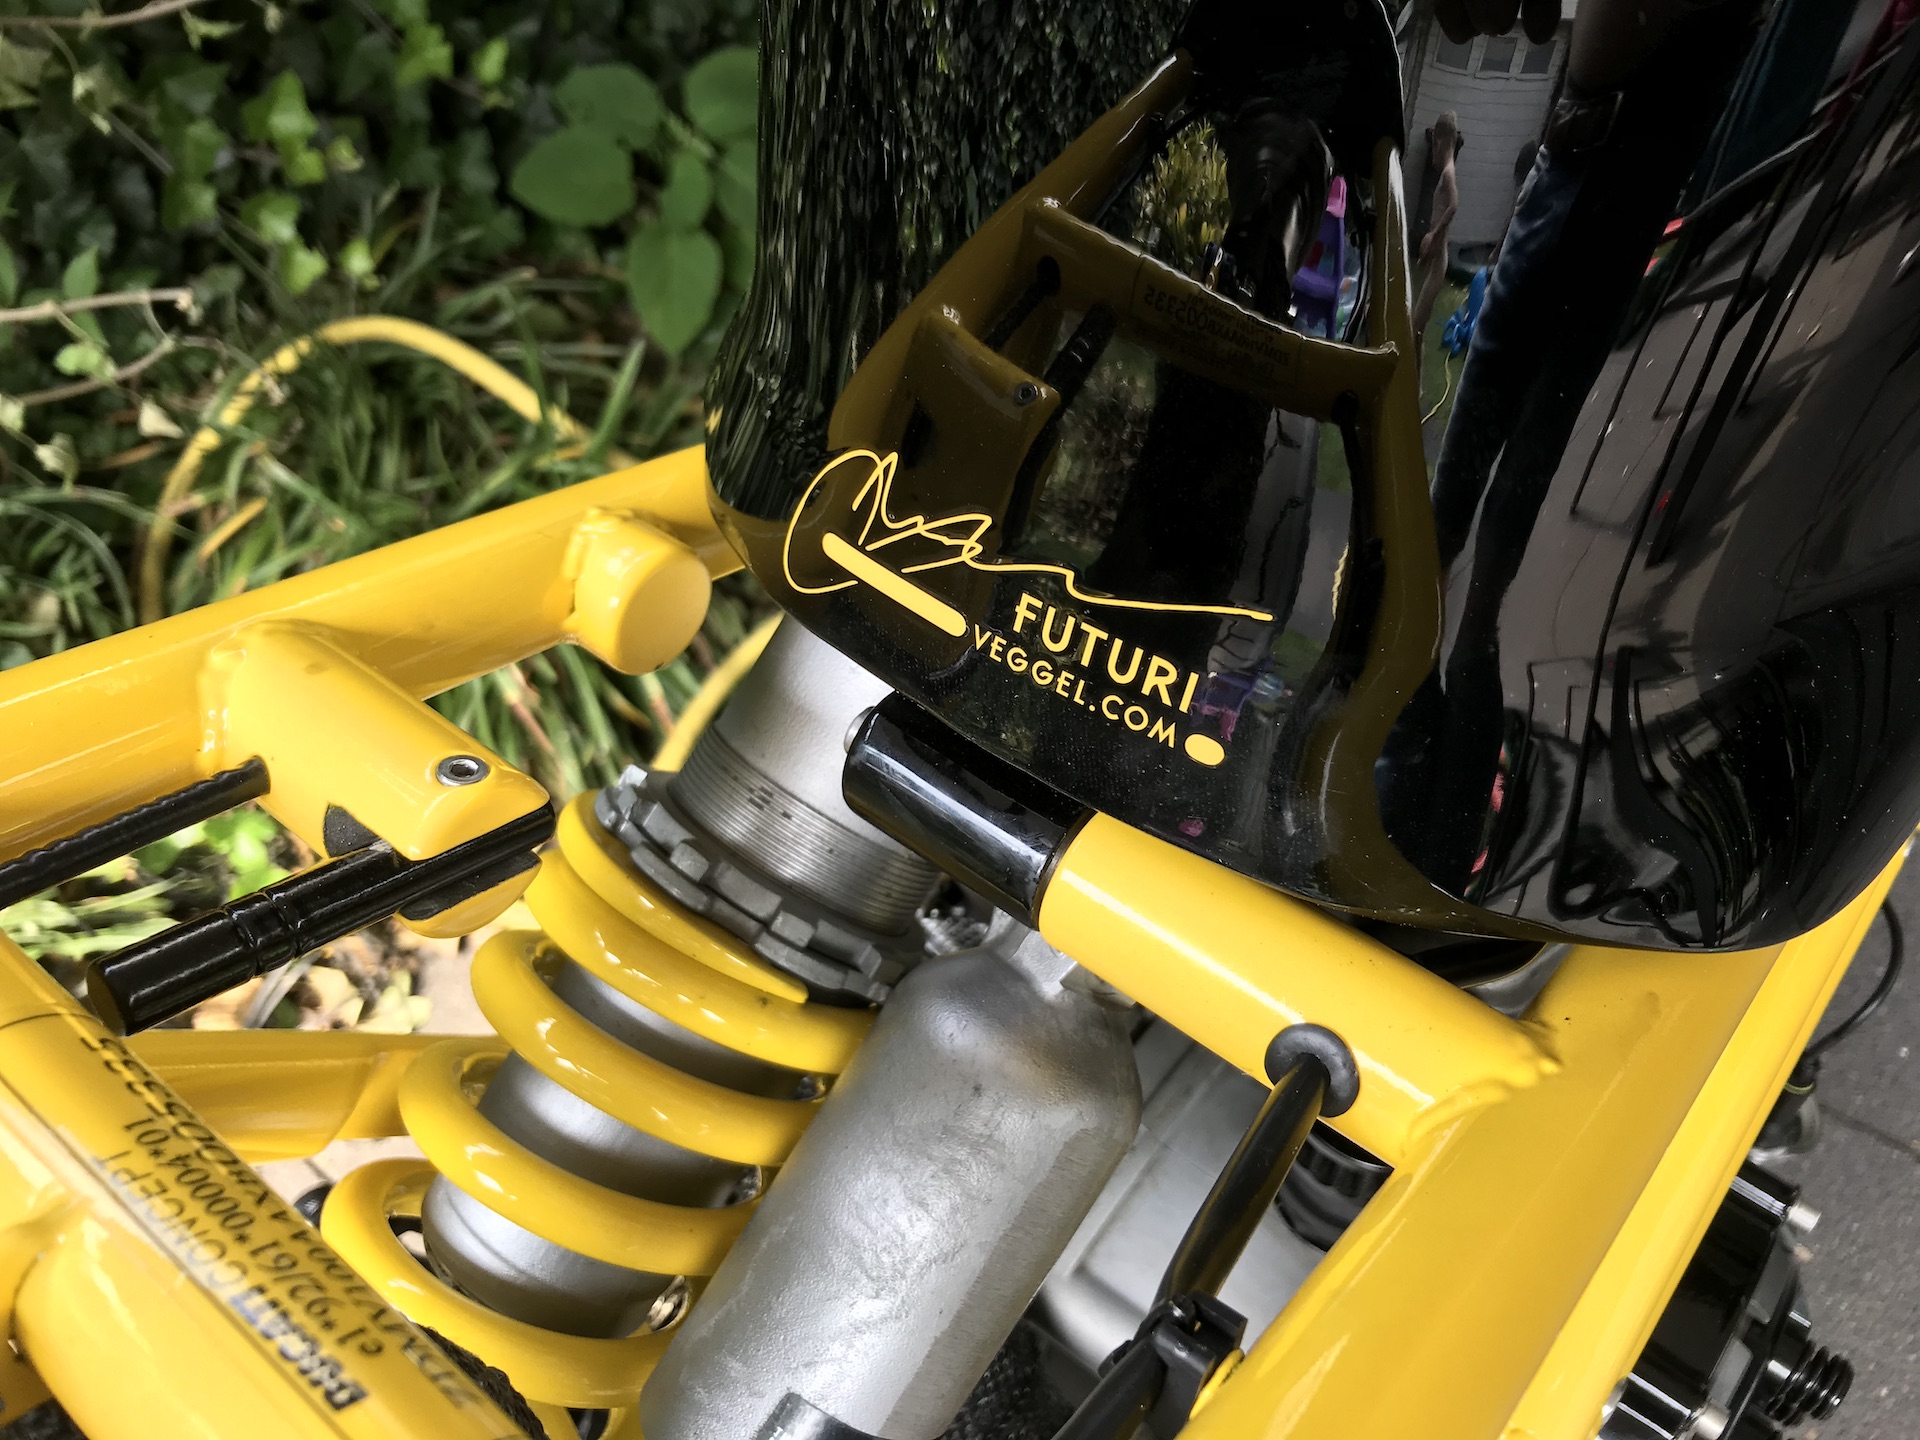
My signature is going to be put somewhere beneath the tank.

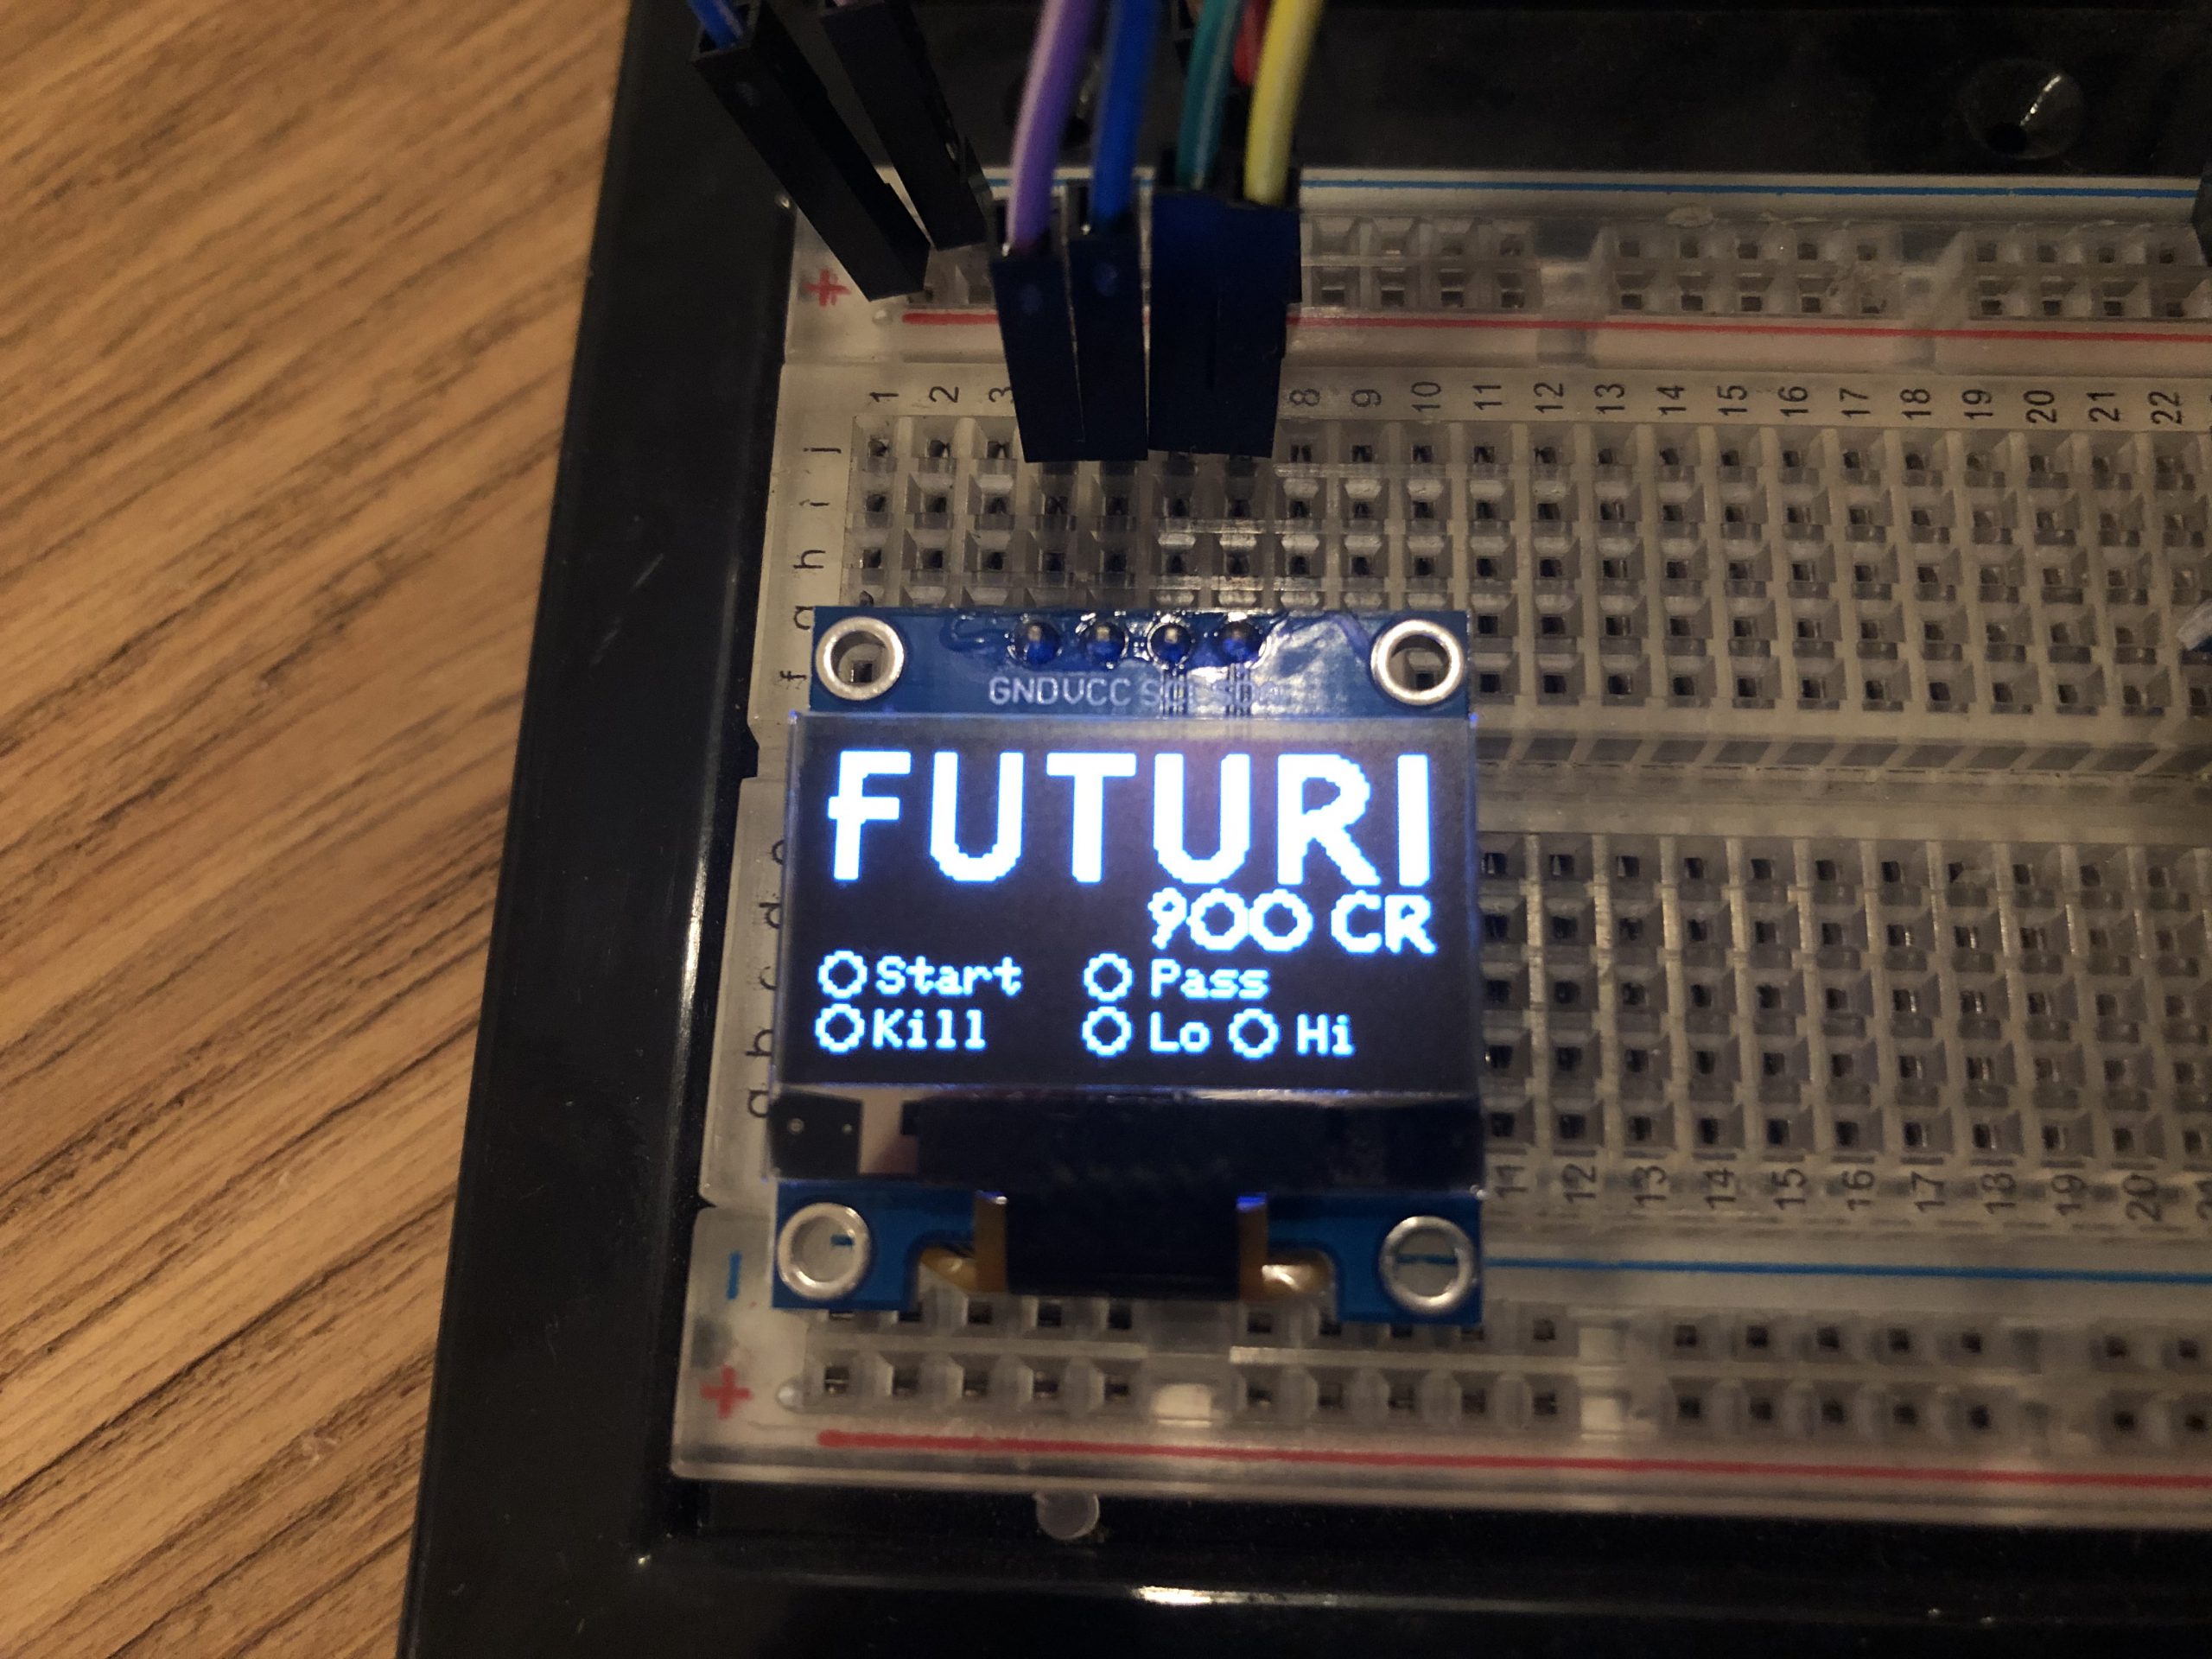
MOTOR CONTROL MANAGEMENT, MCM
- Pass, 1 single press (auto flash 3 times)
- Lo-beam, double press
- Hi-beam, long press (1 press hi-beam off)
- Ignition, long press to start ignition
- Kill switch, double press to activate or deactivate
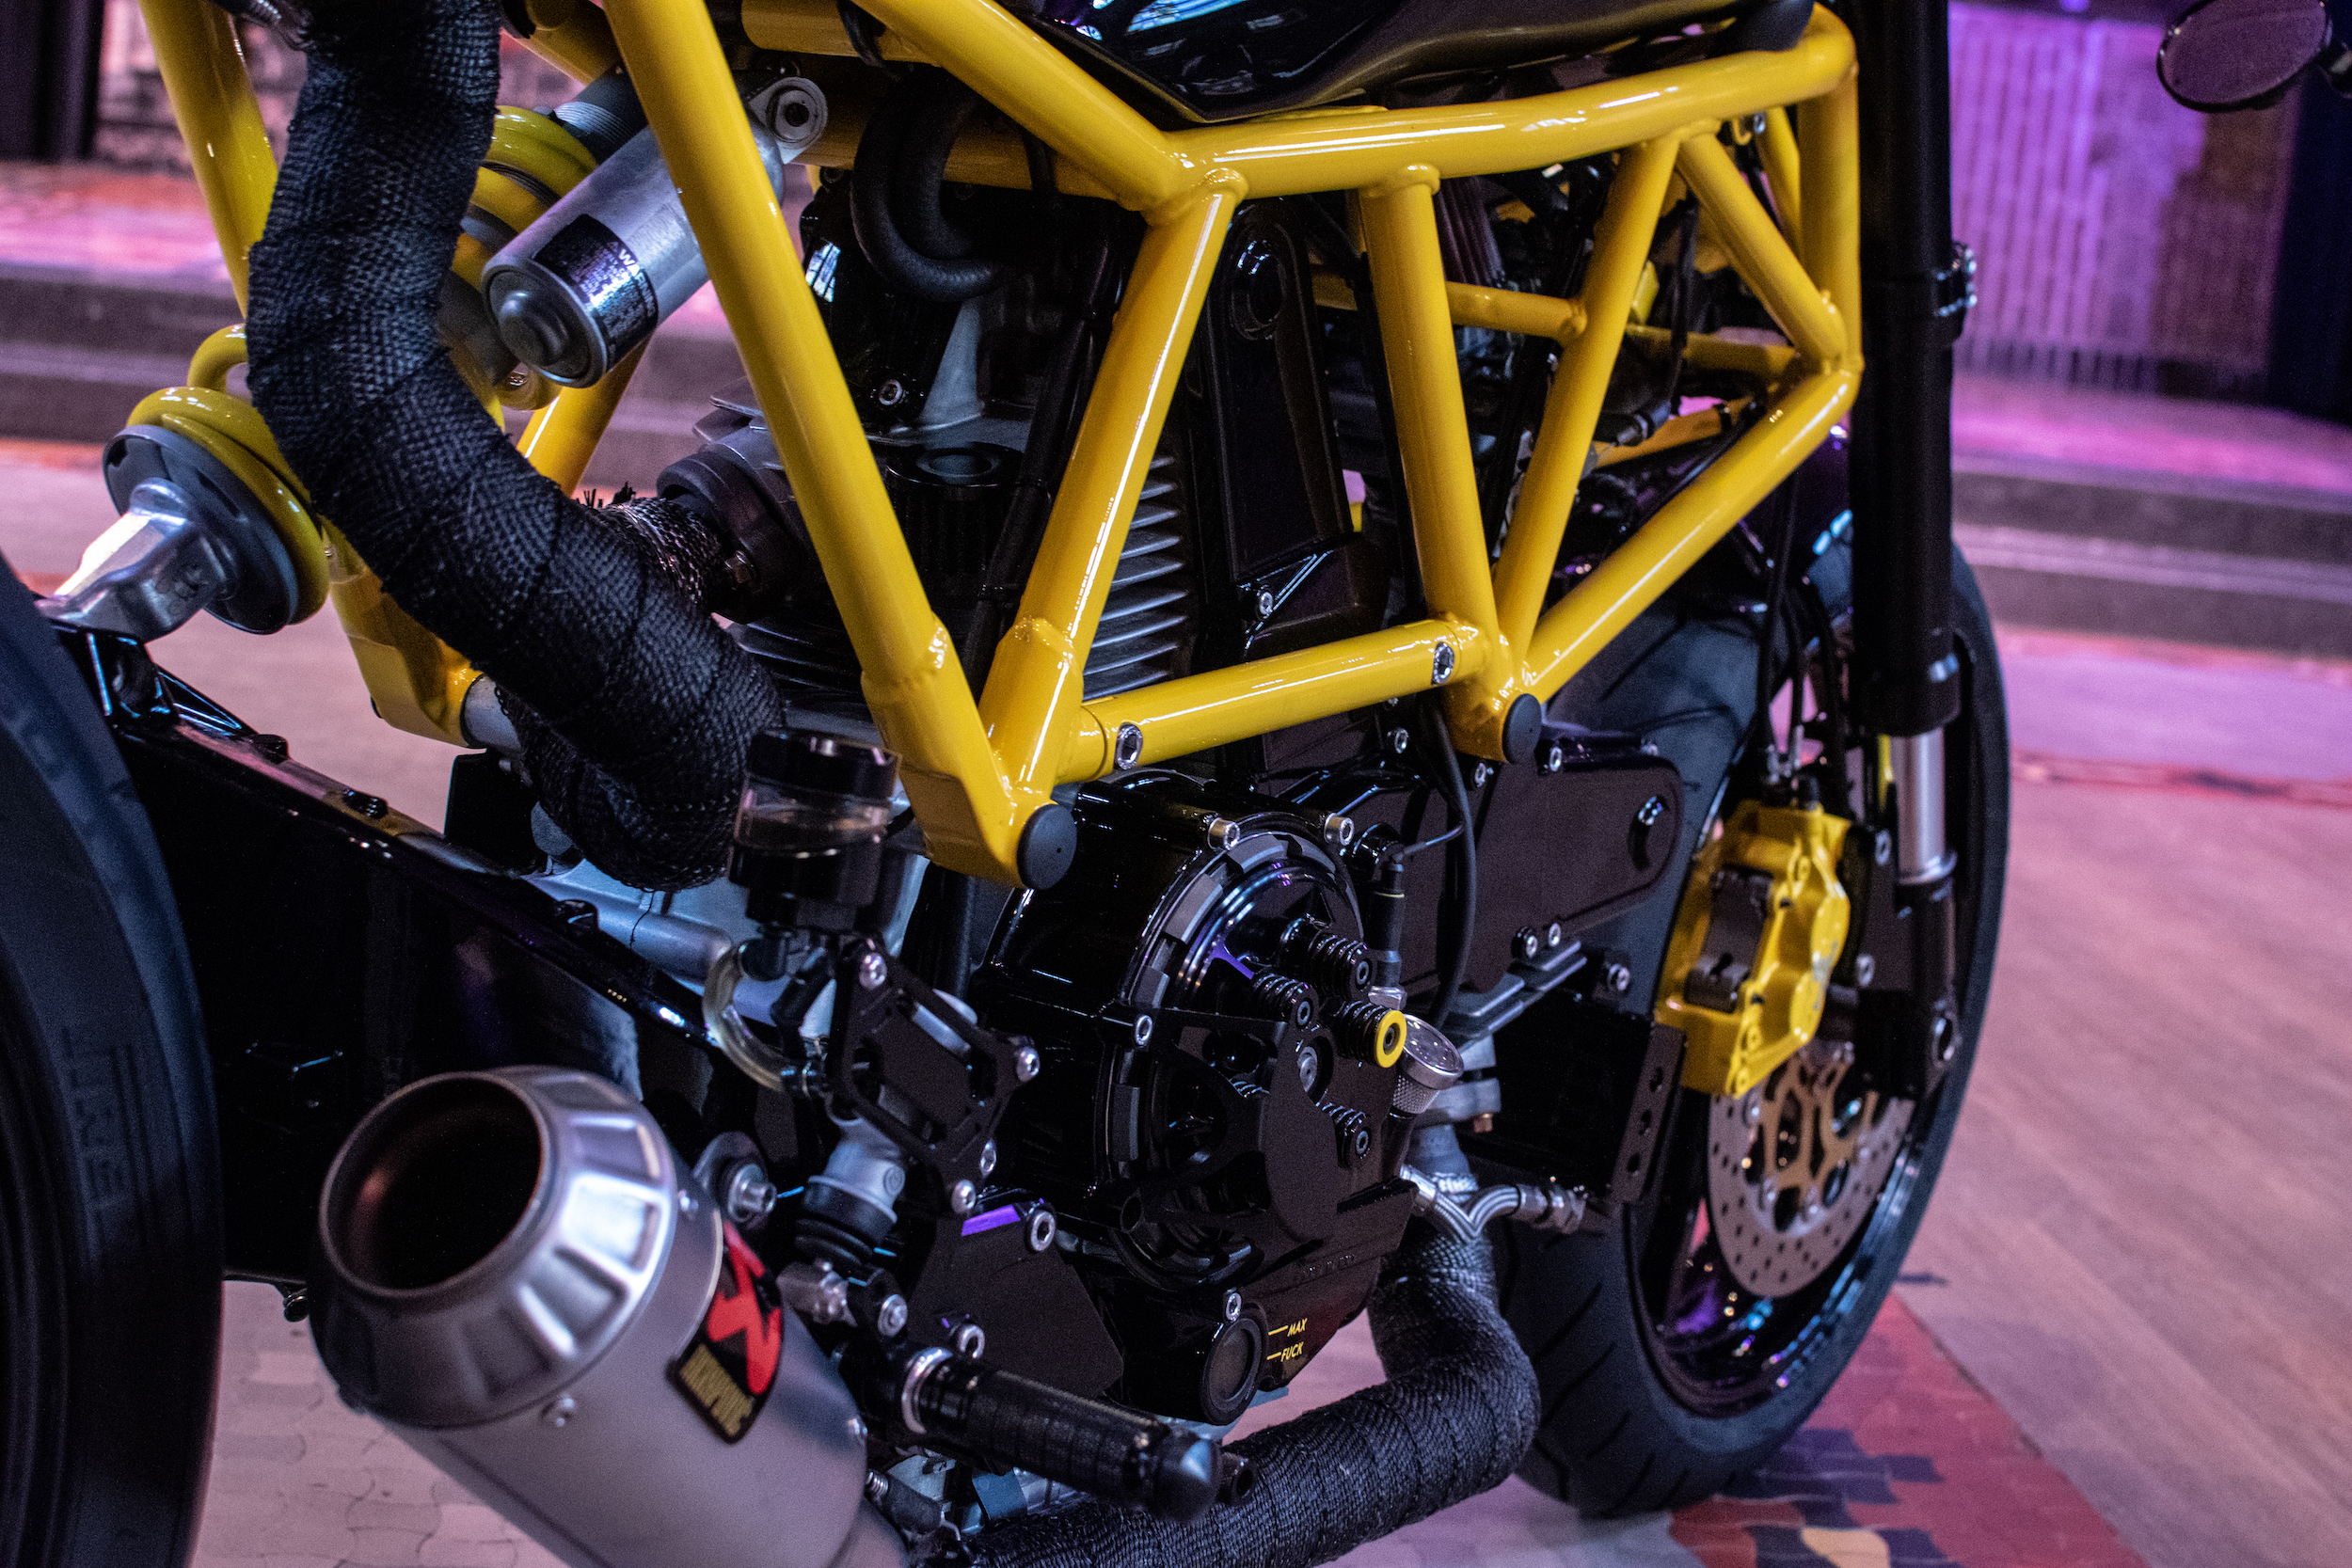
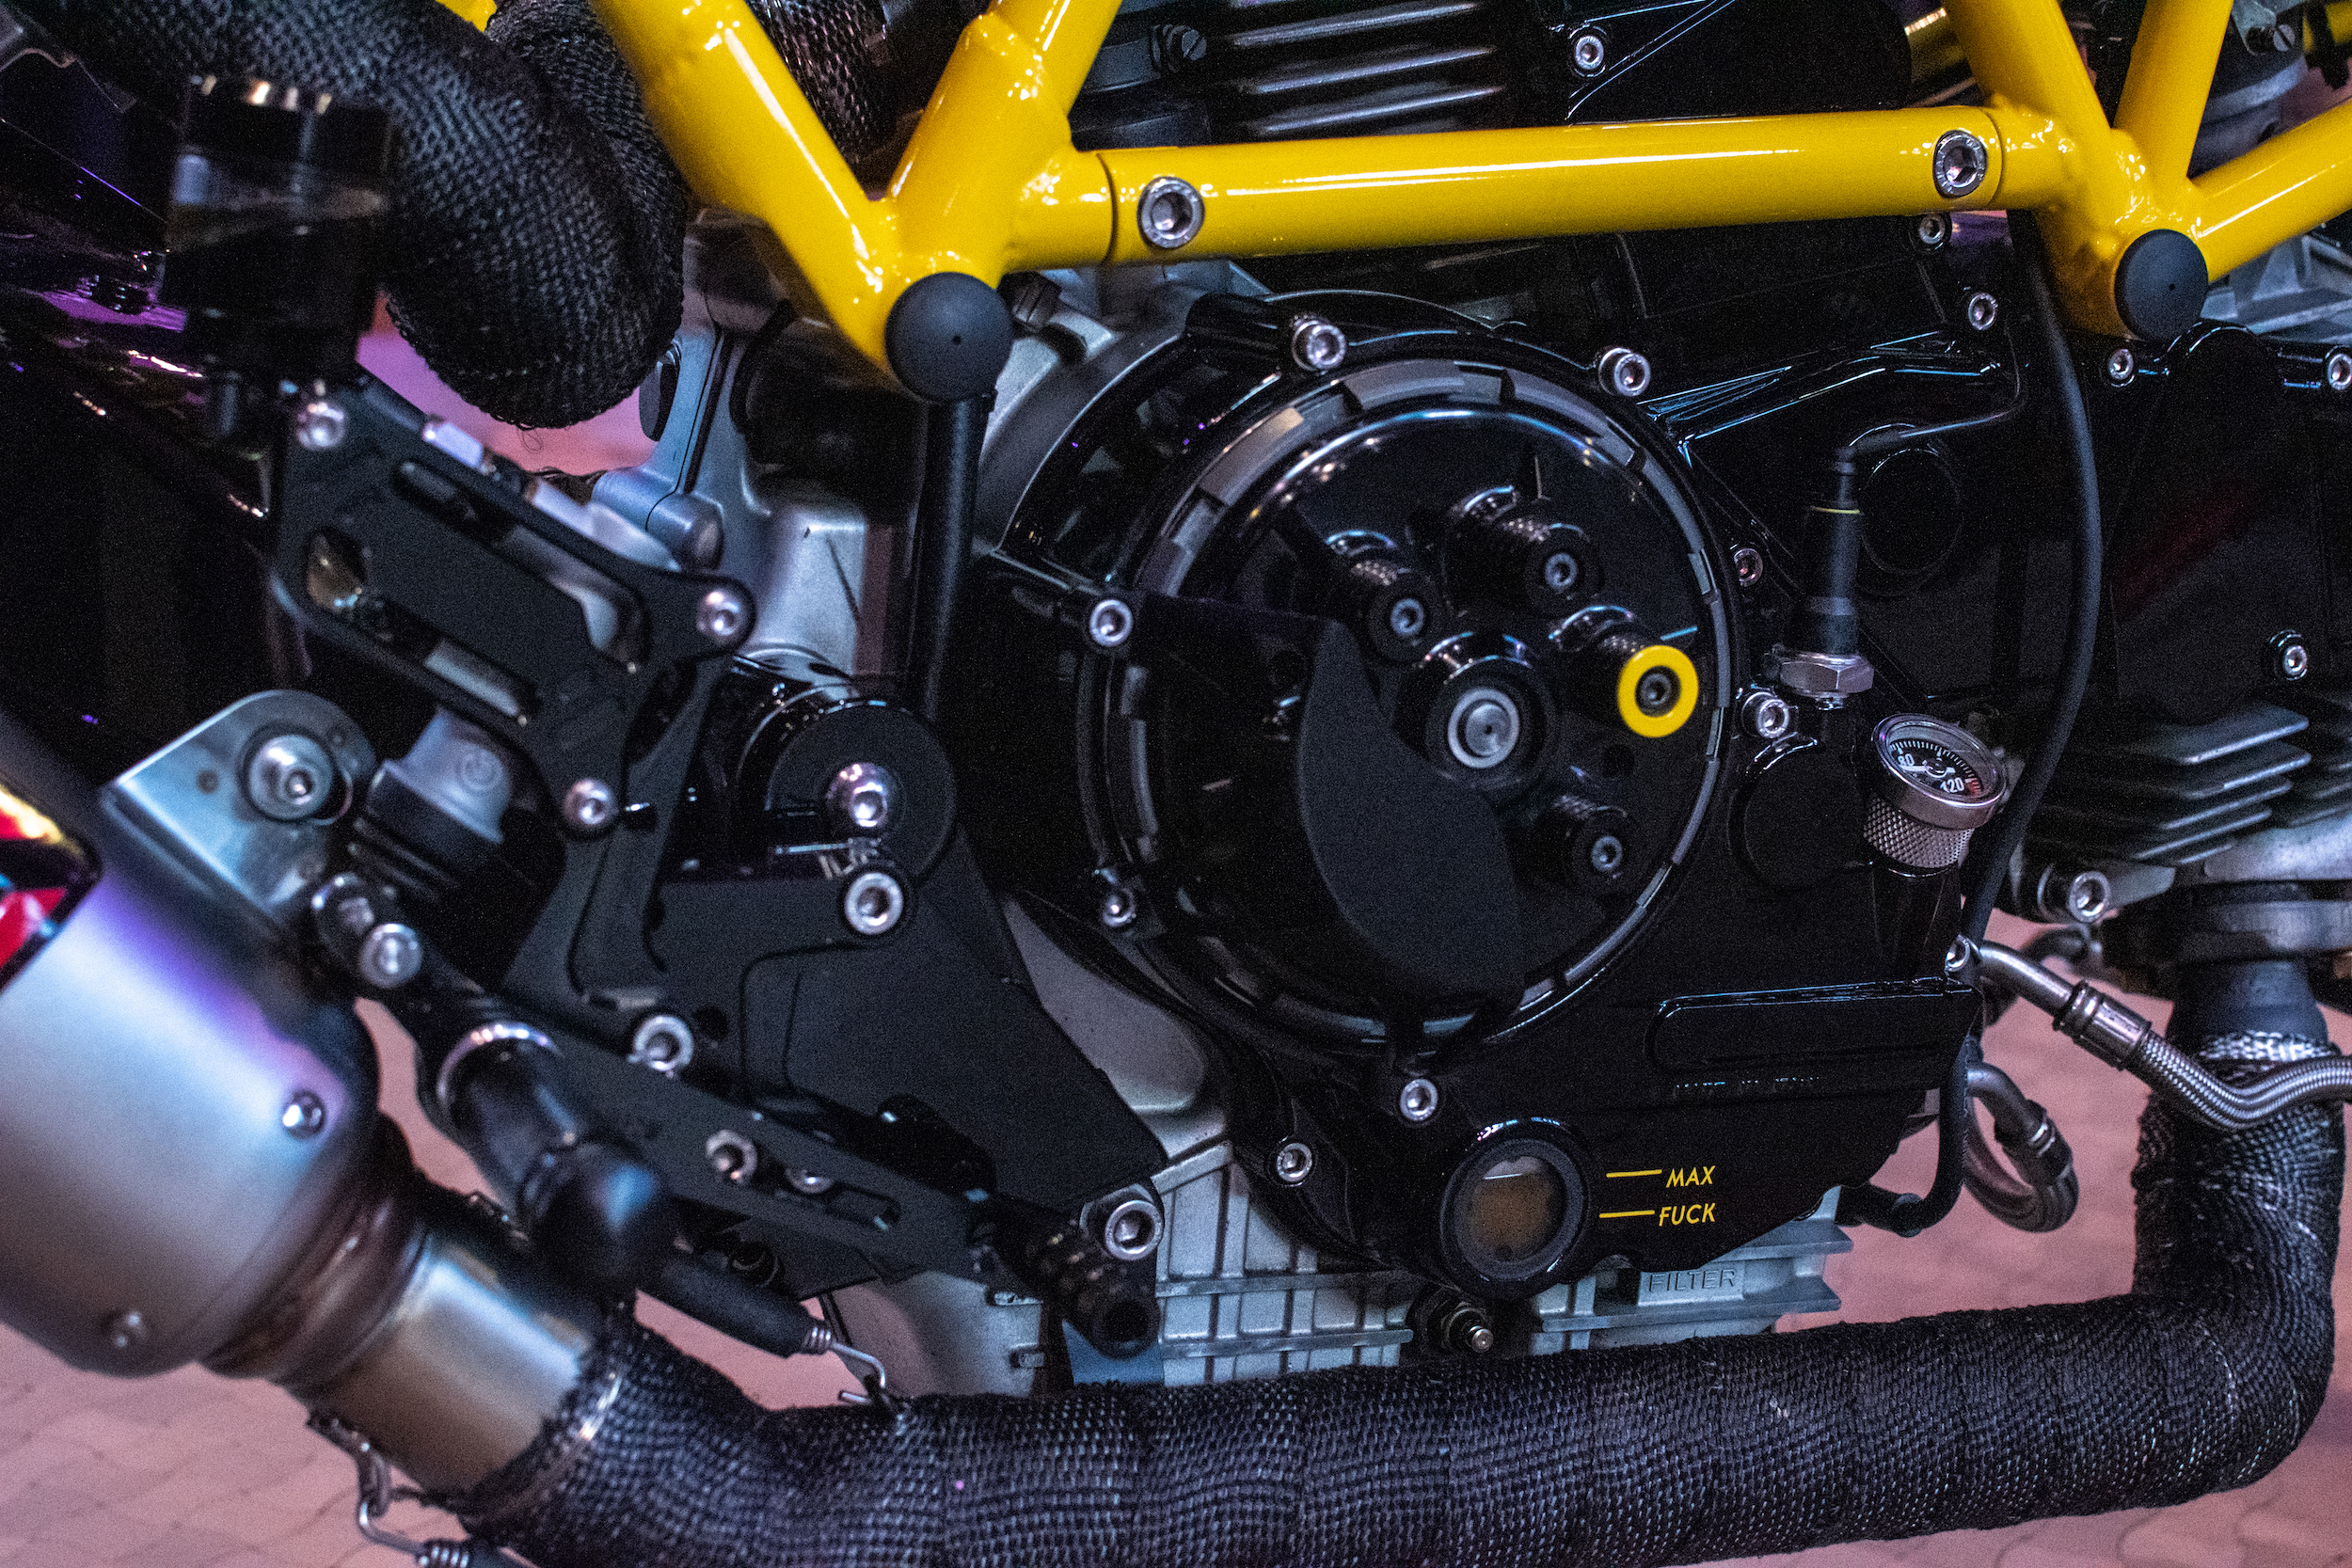
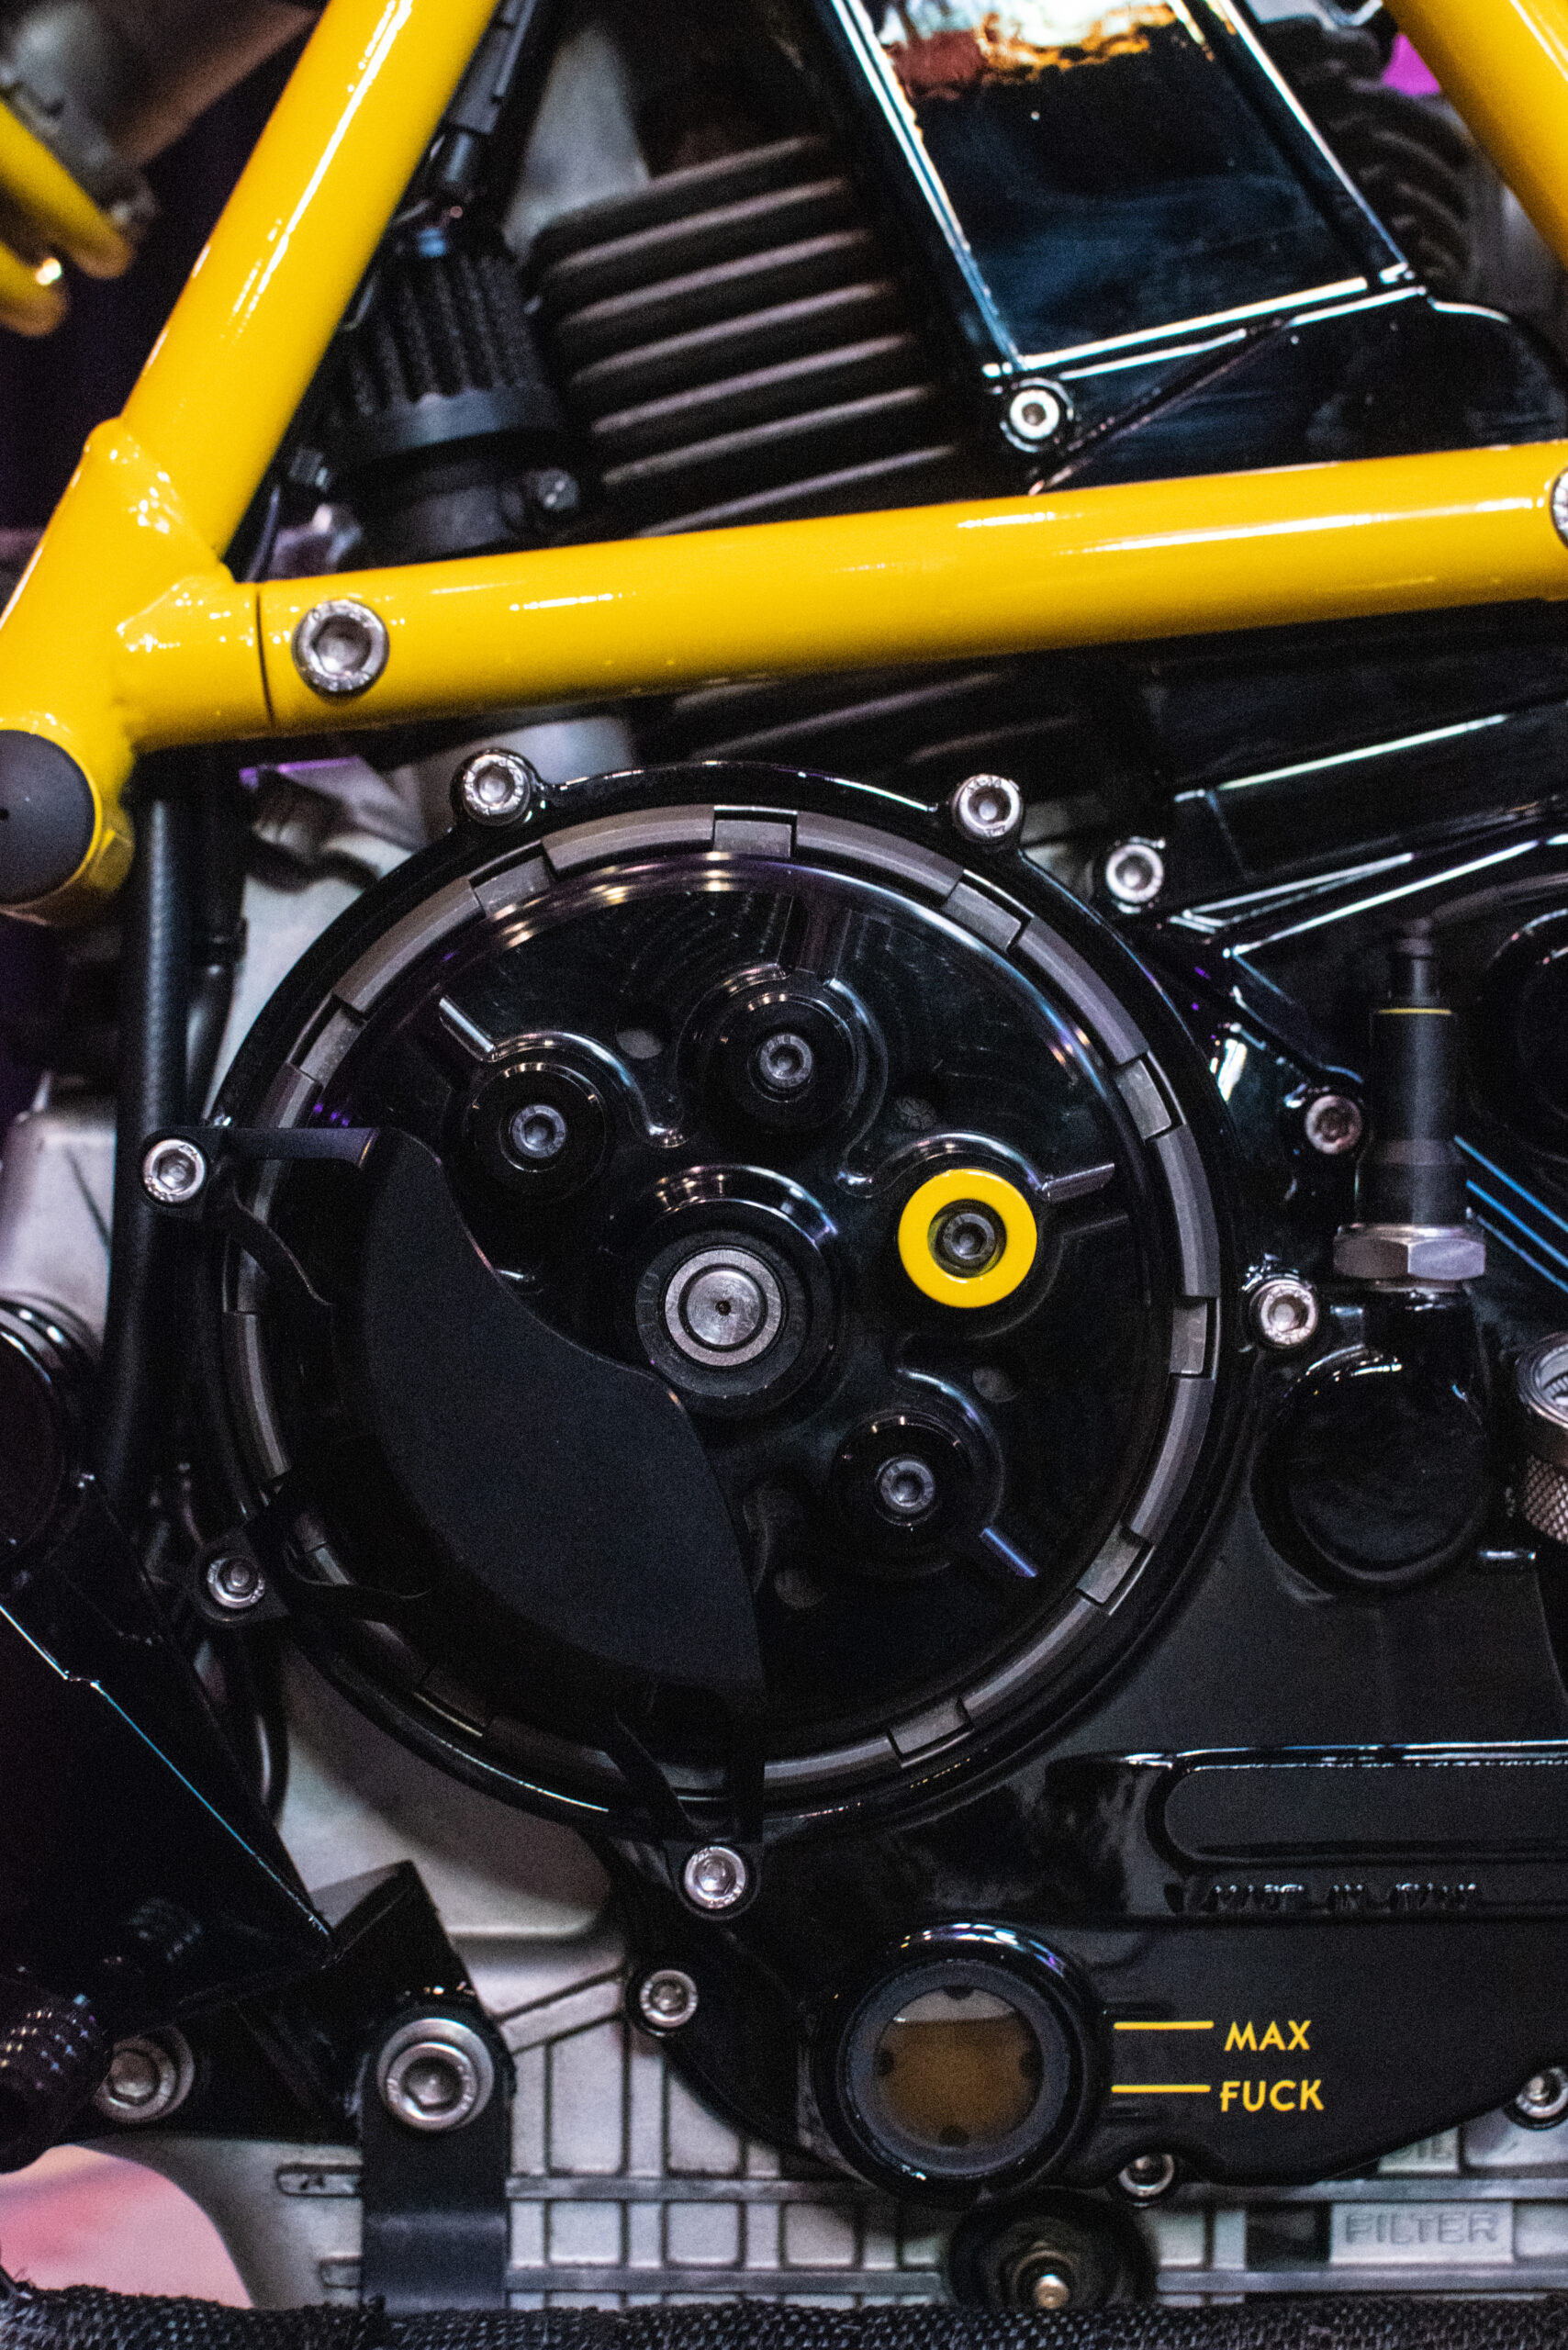
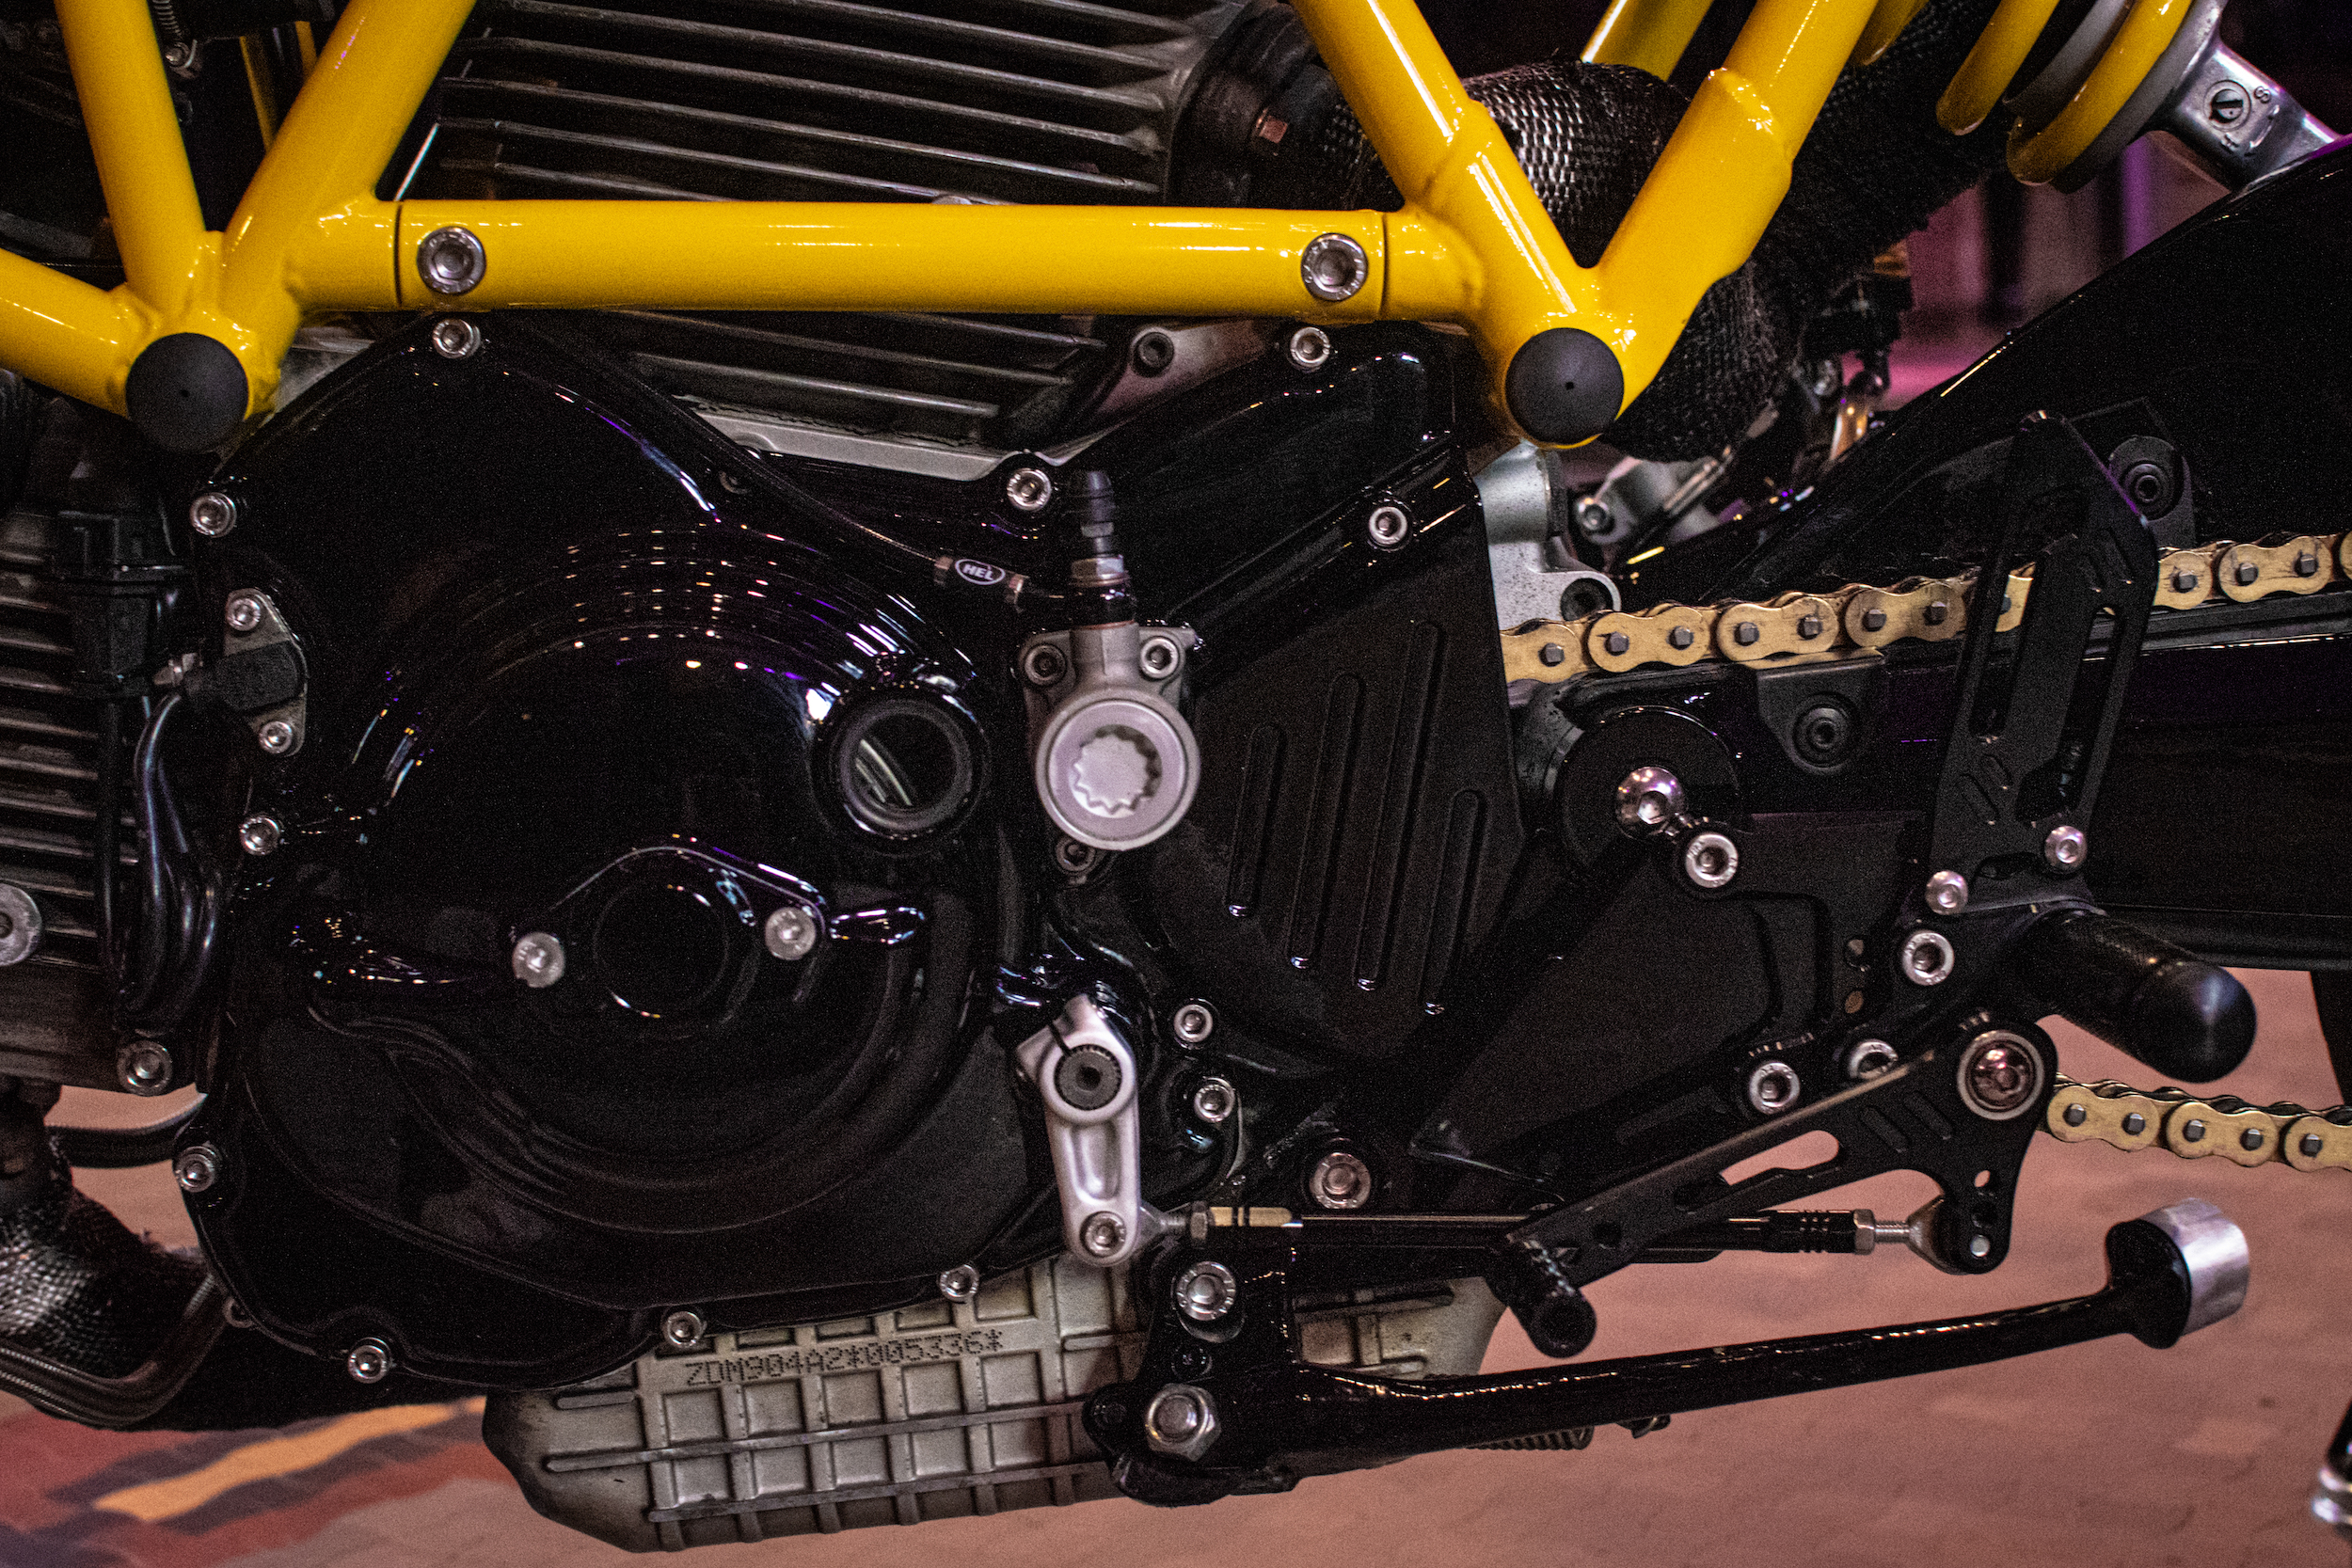
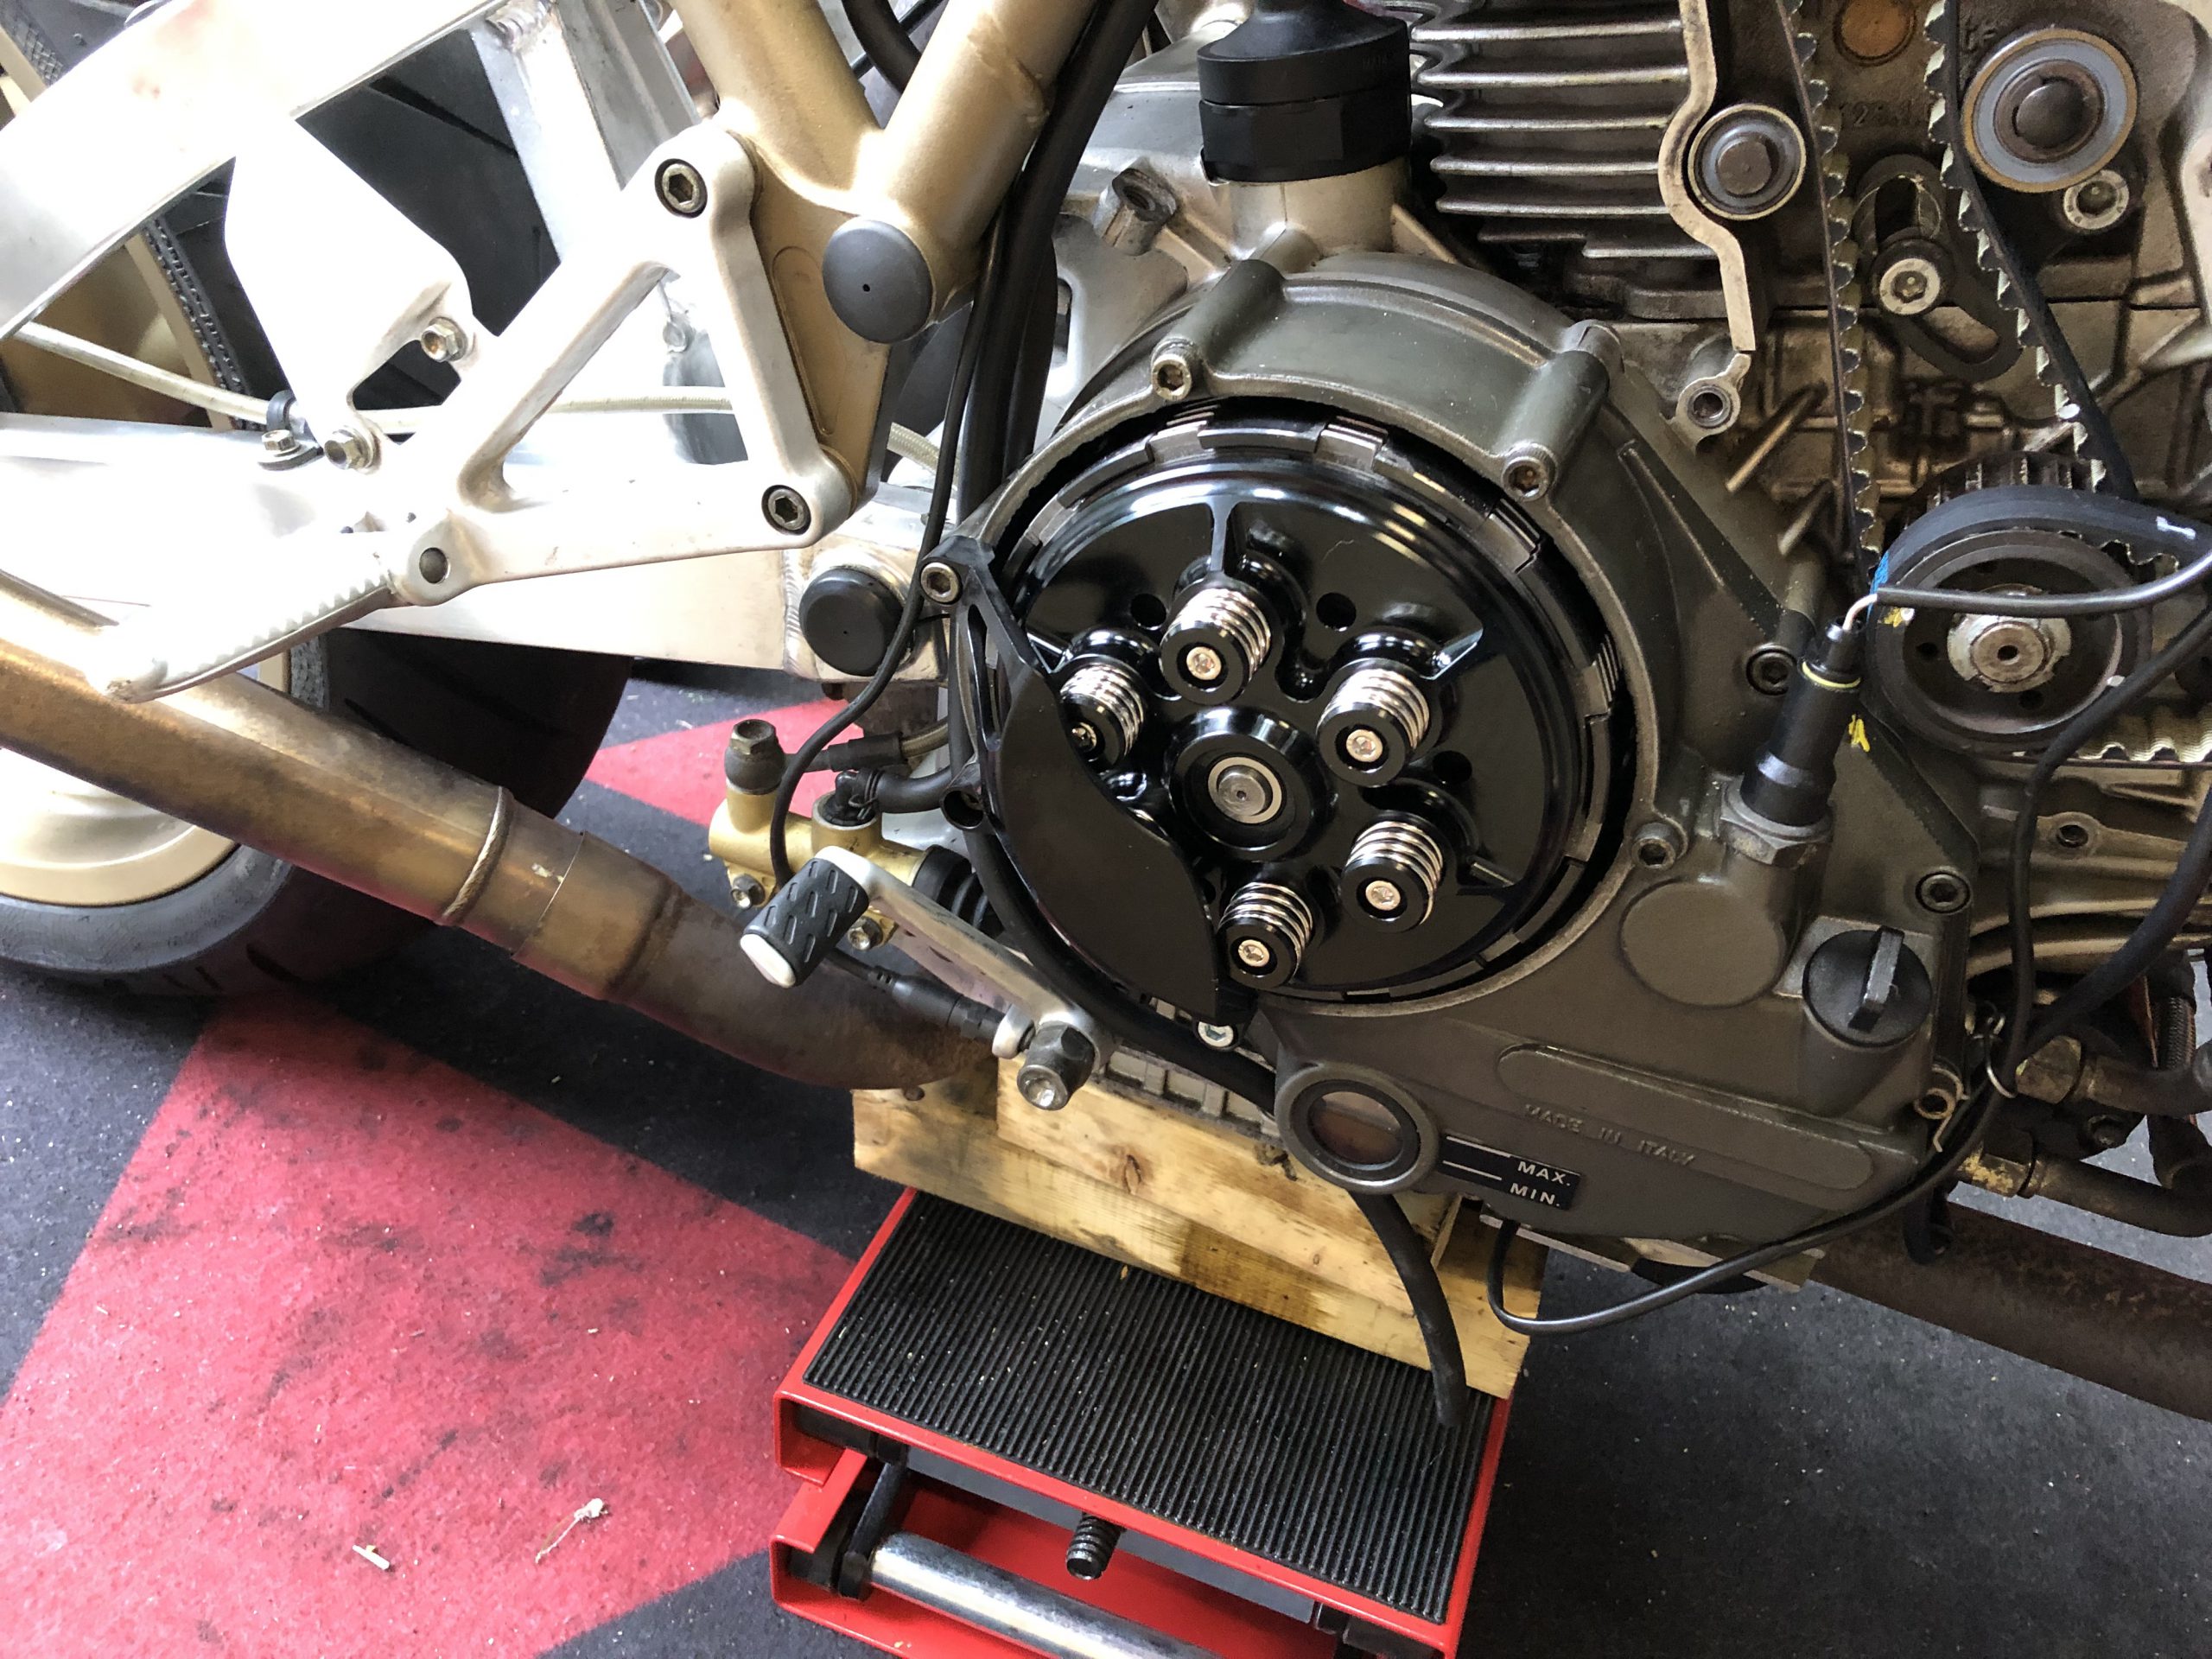
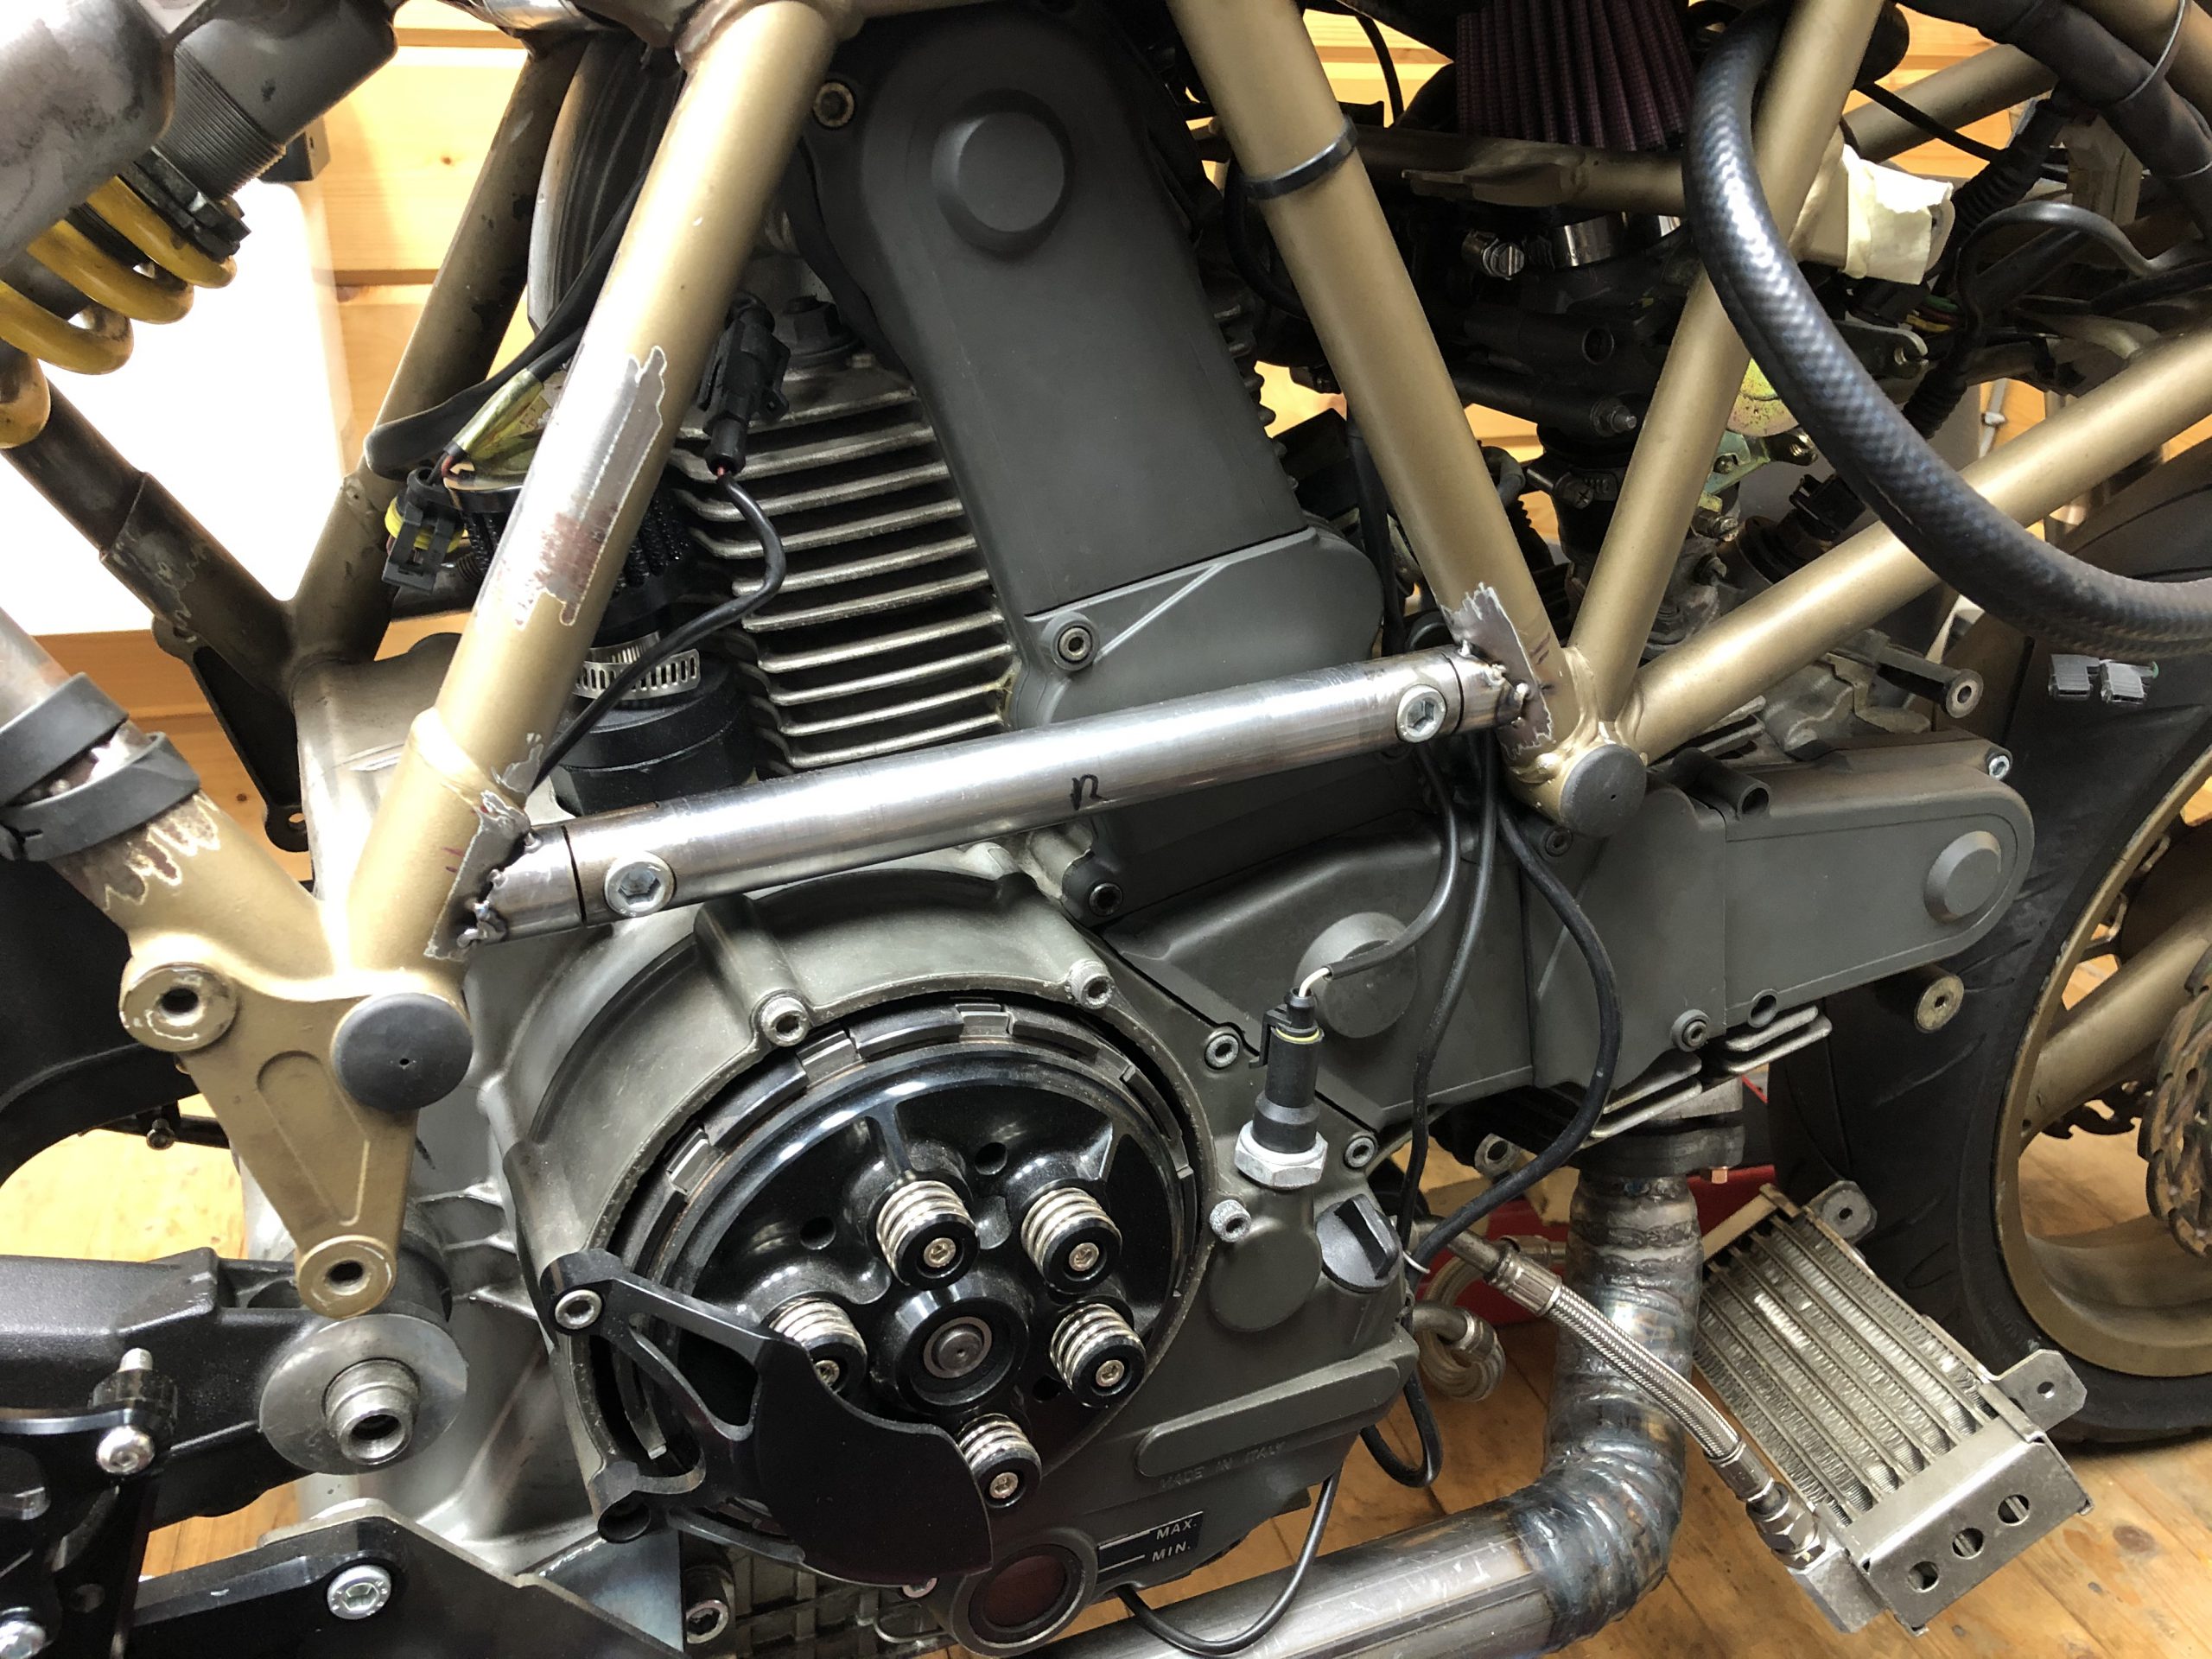
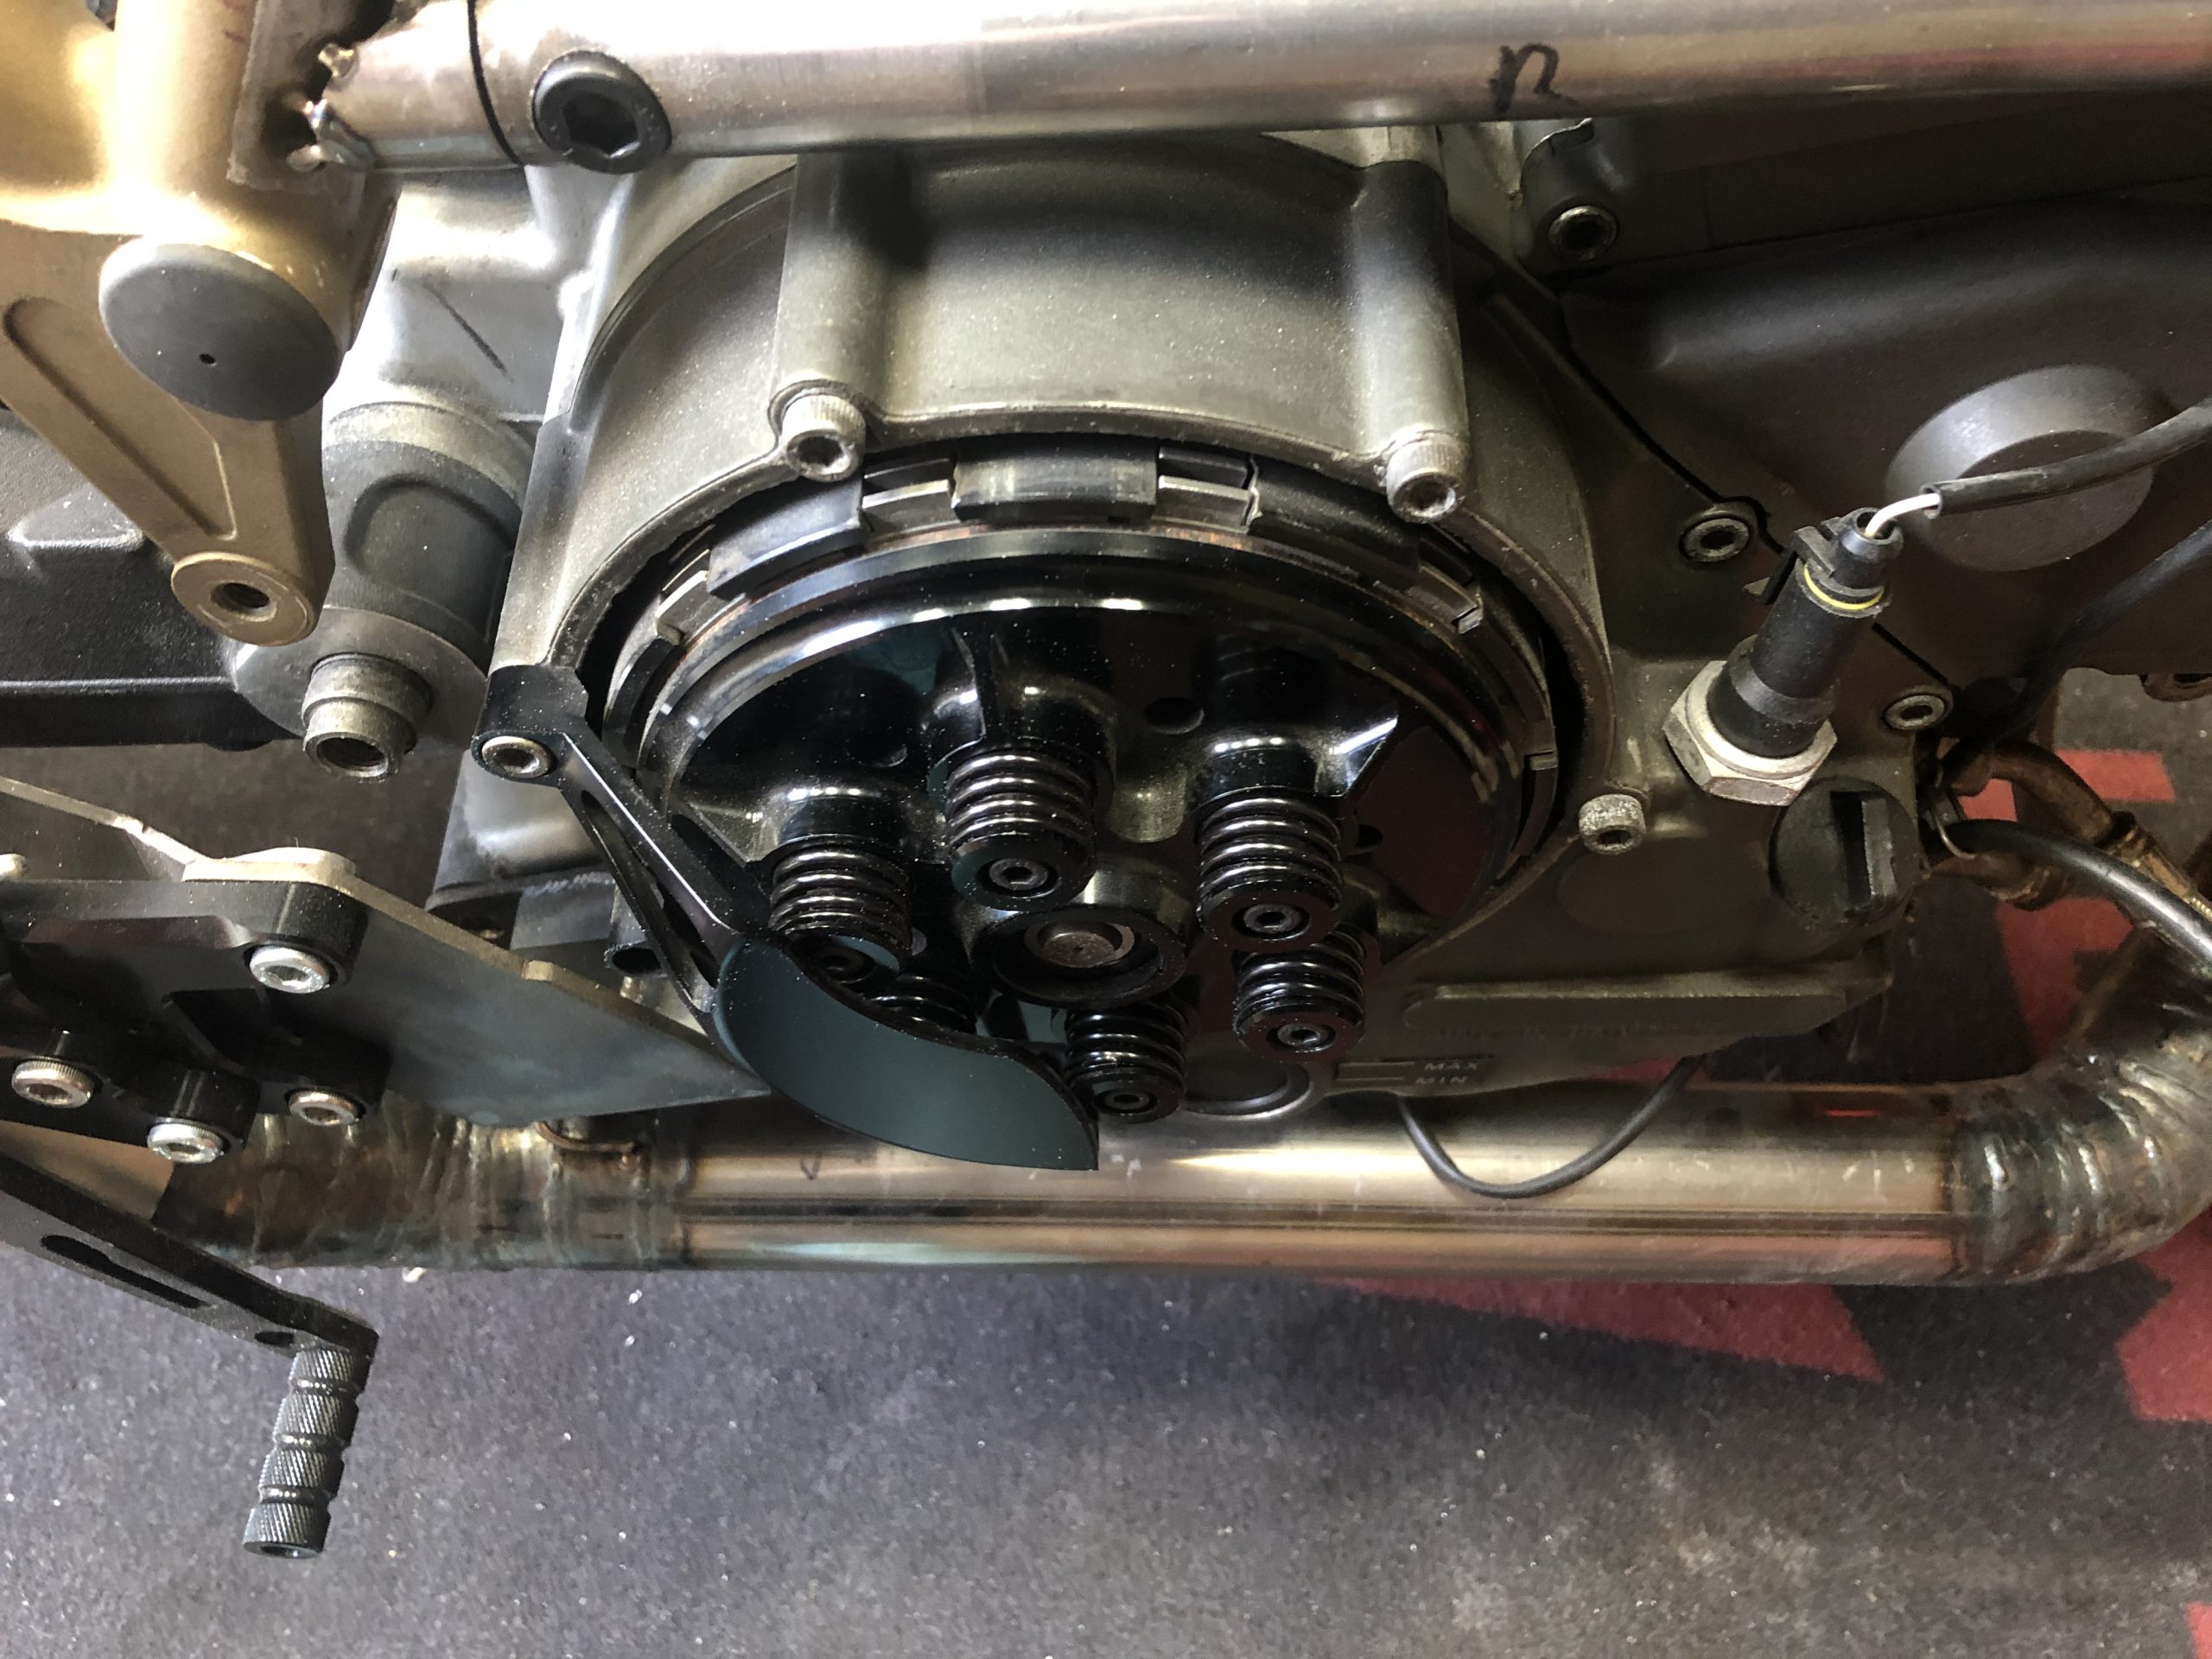
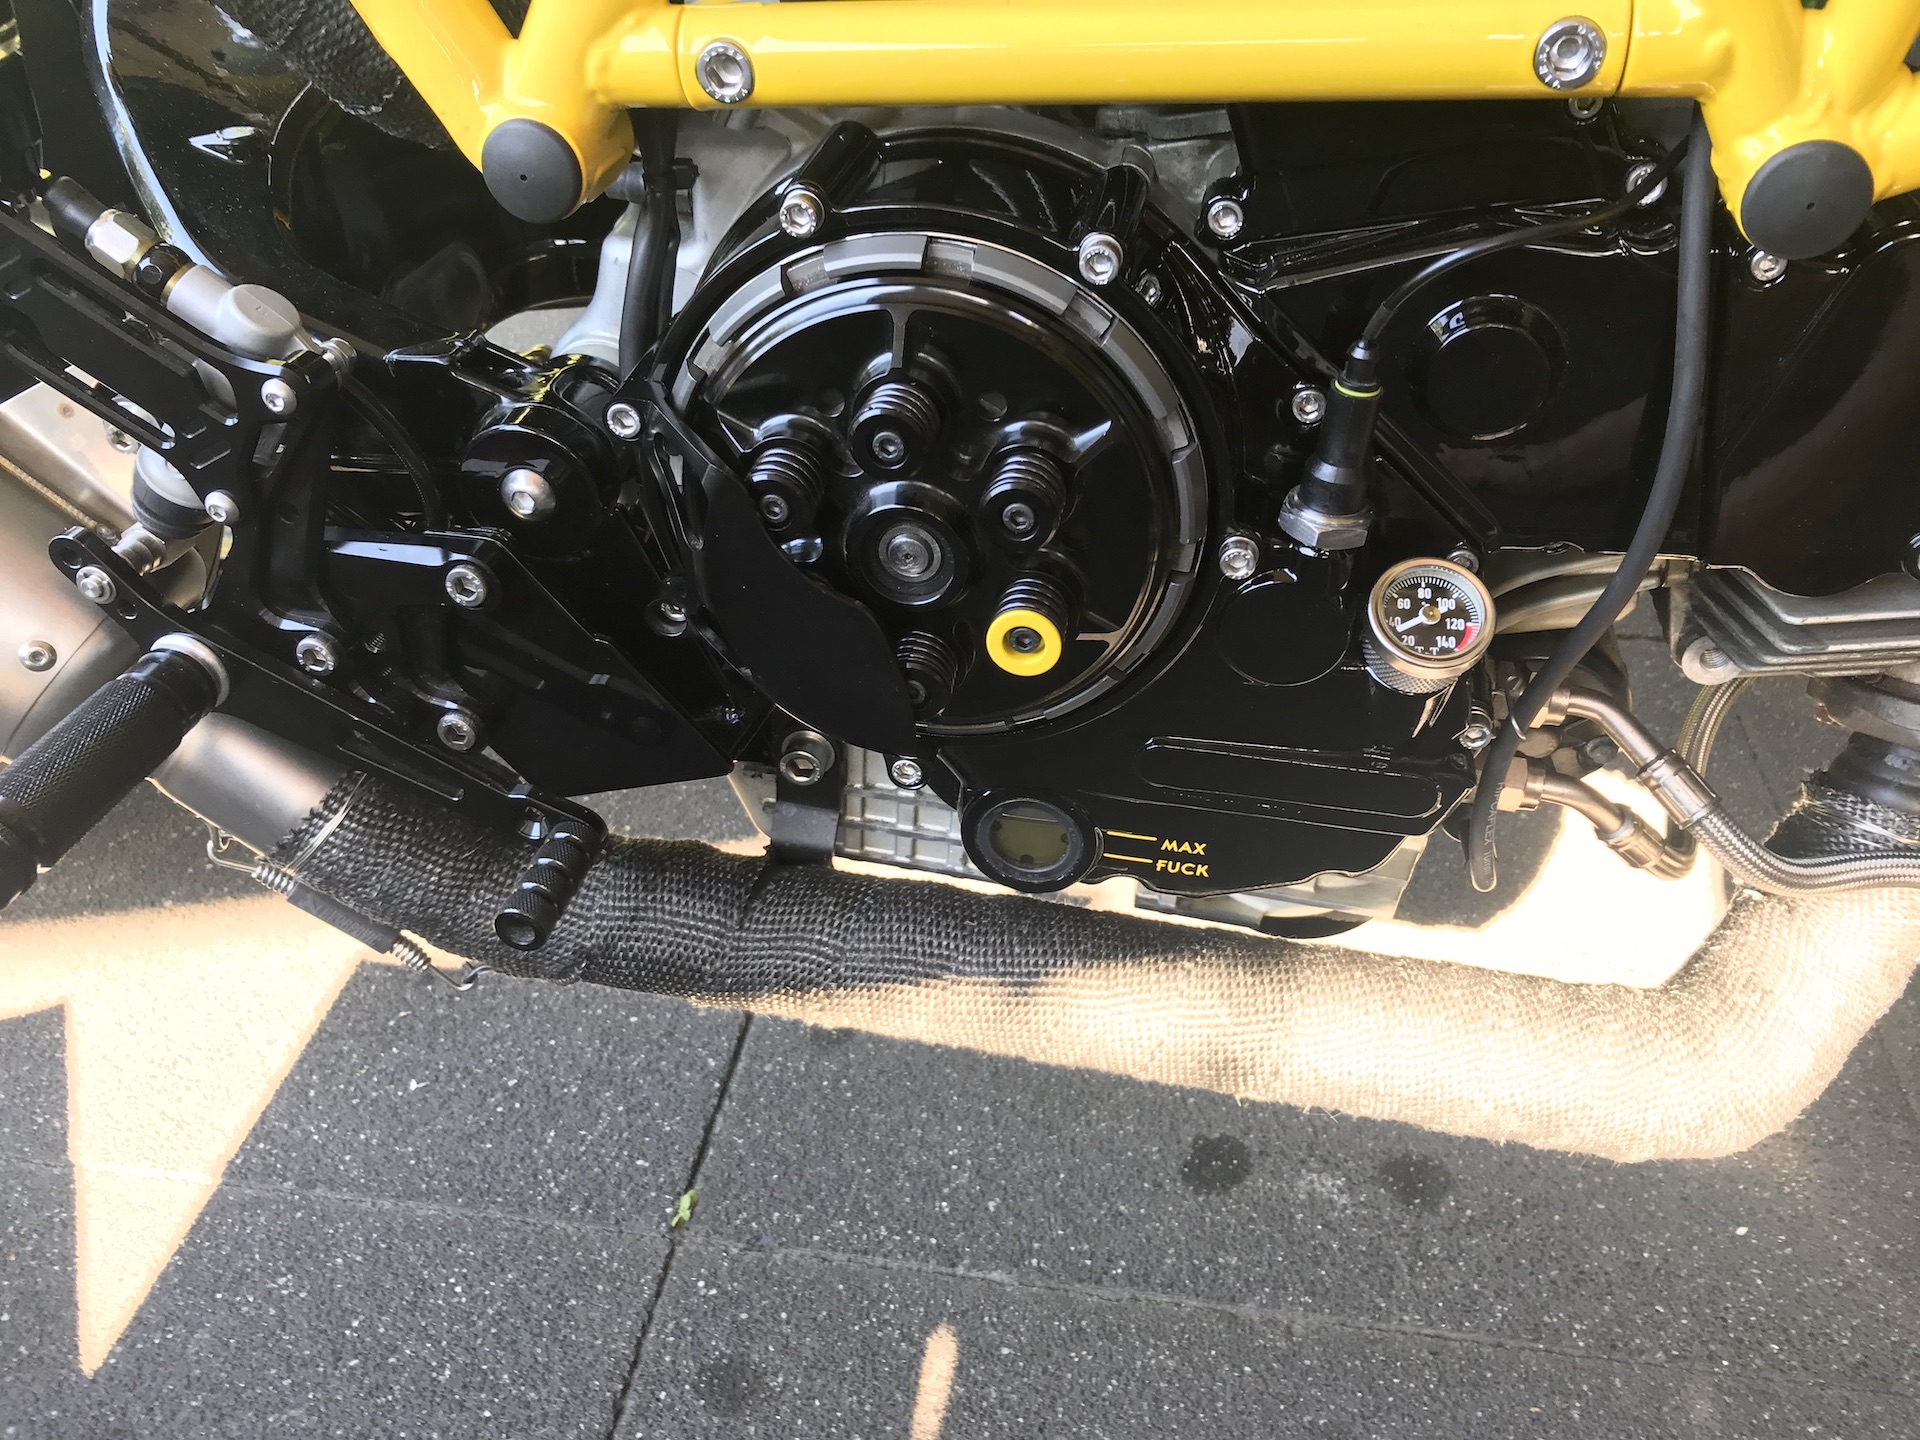
BLACKED OUT CLUTCH
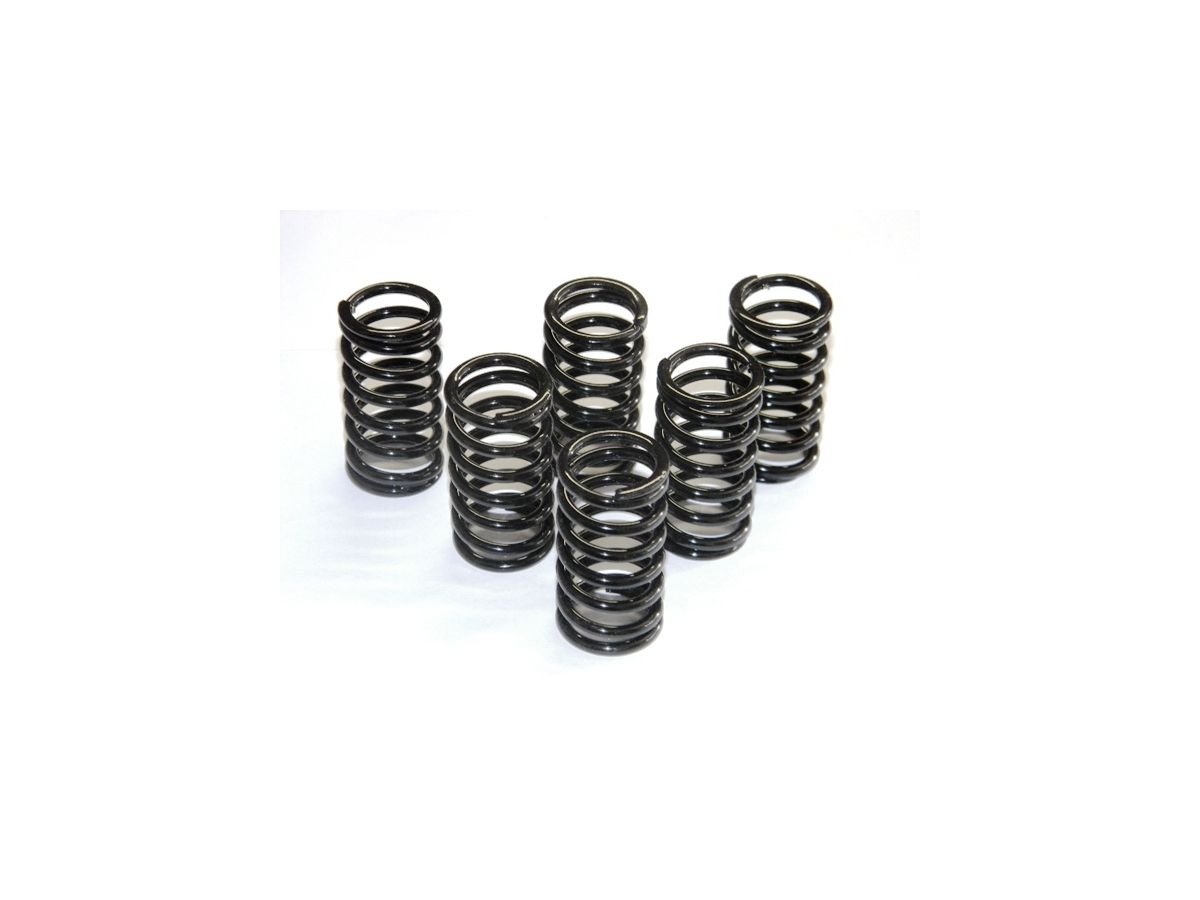
Since we are going for a black and yellow look i want the clutch to be completely black. Black pressure plate, spring and bolts. Got some Ducabike springs and managed to source black hex bolts.
Clean AF!

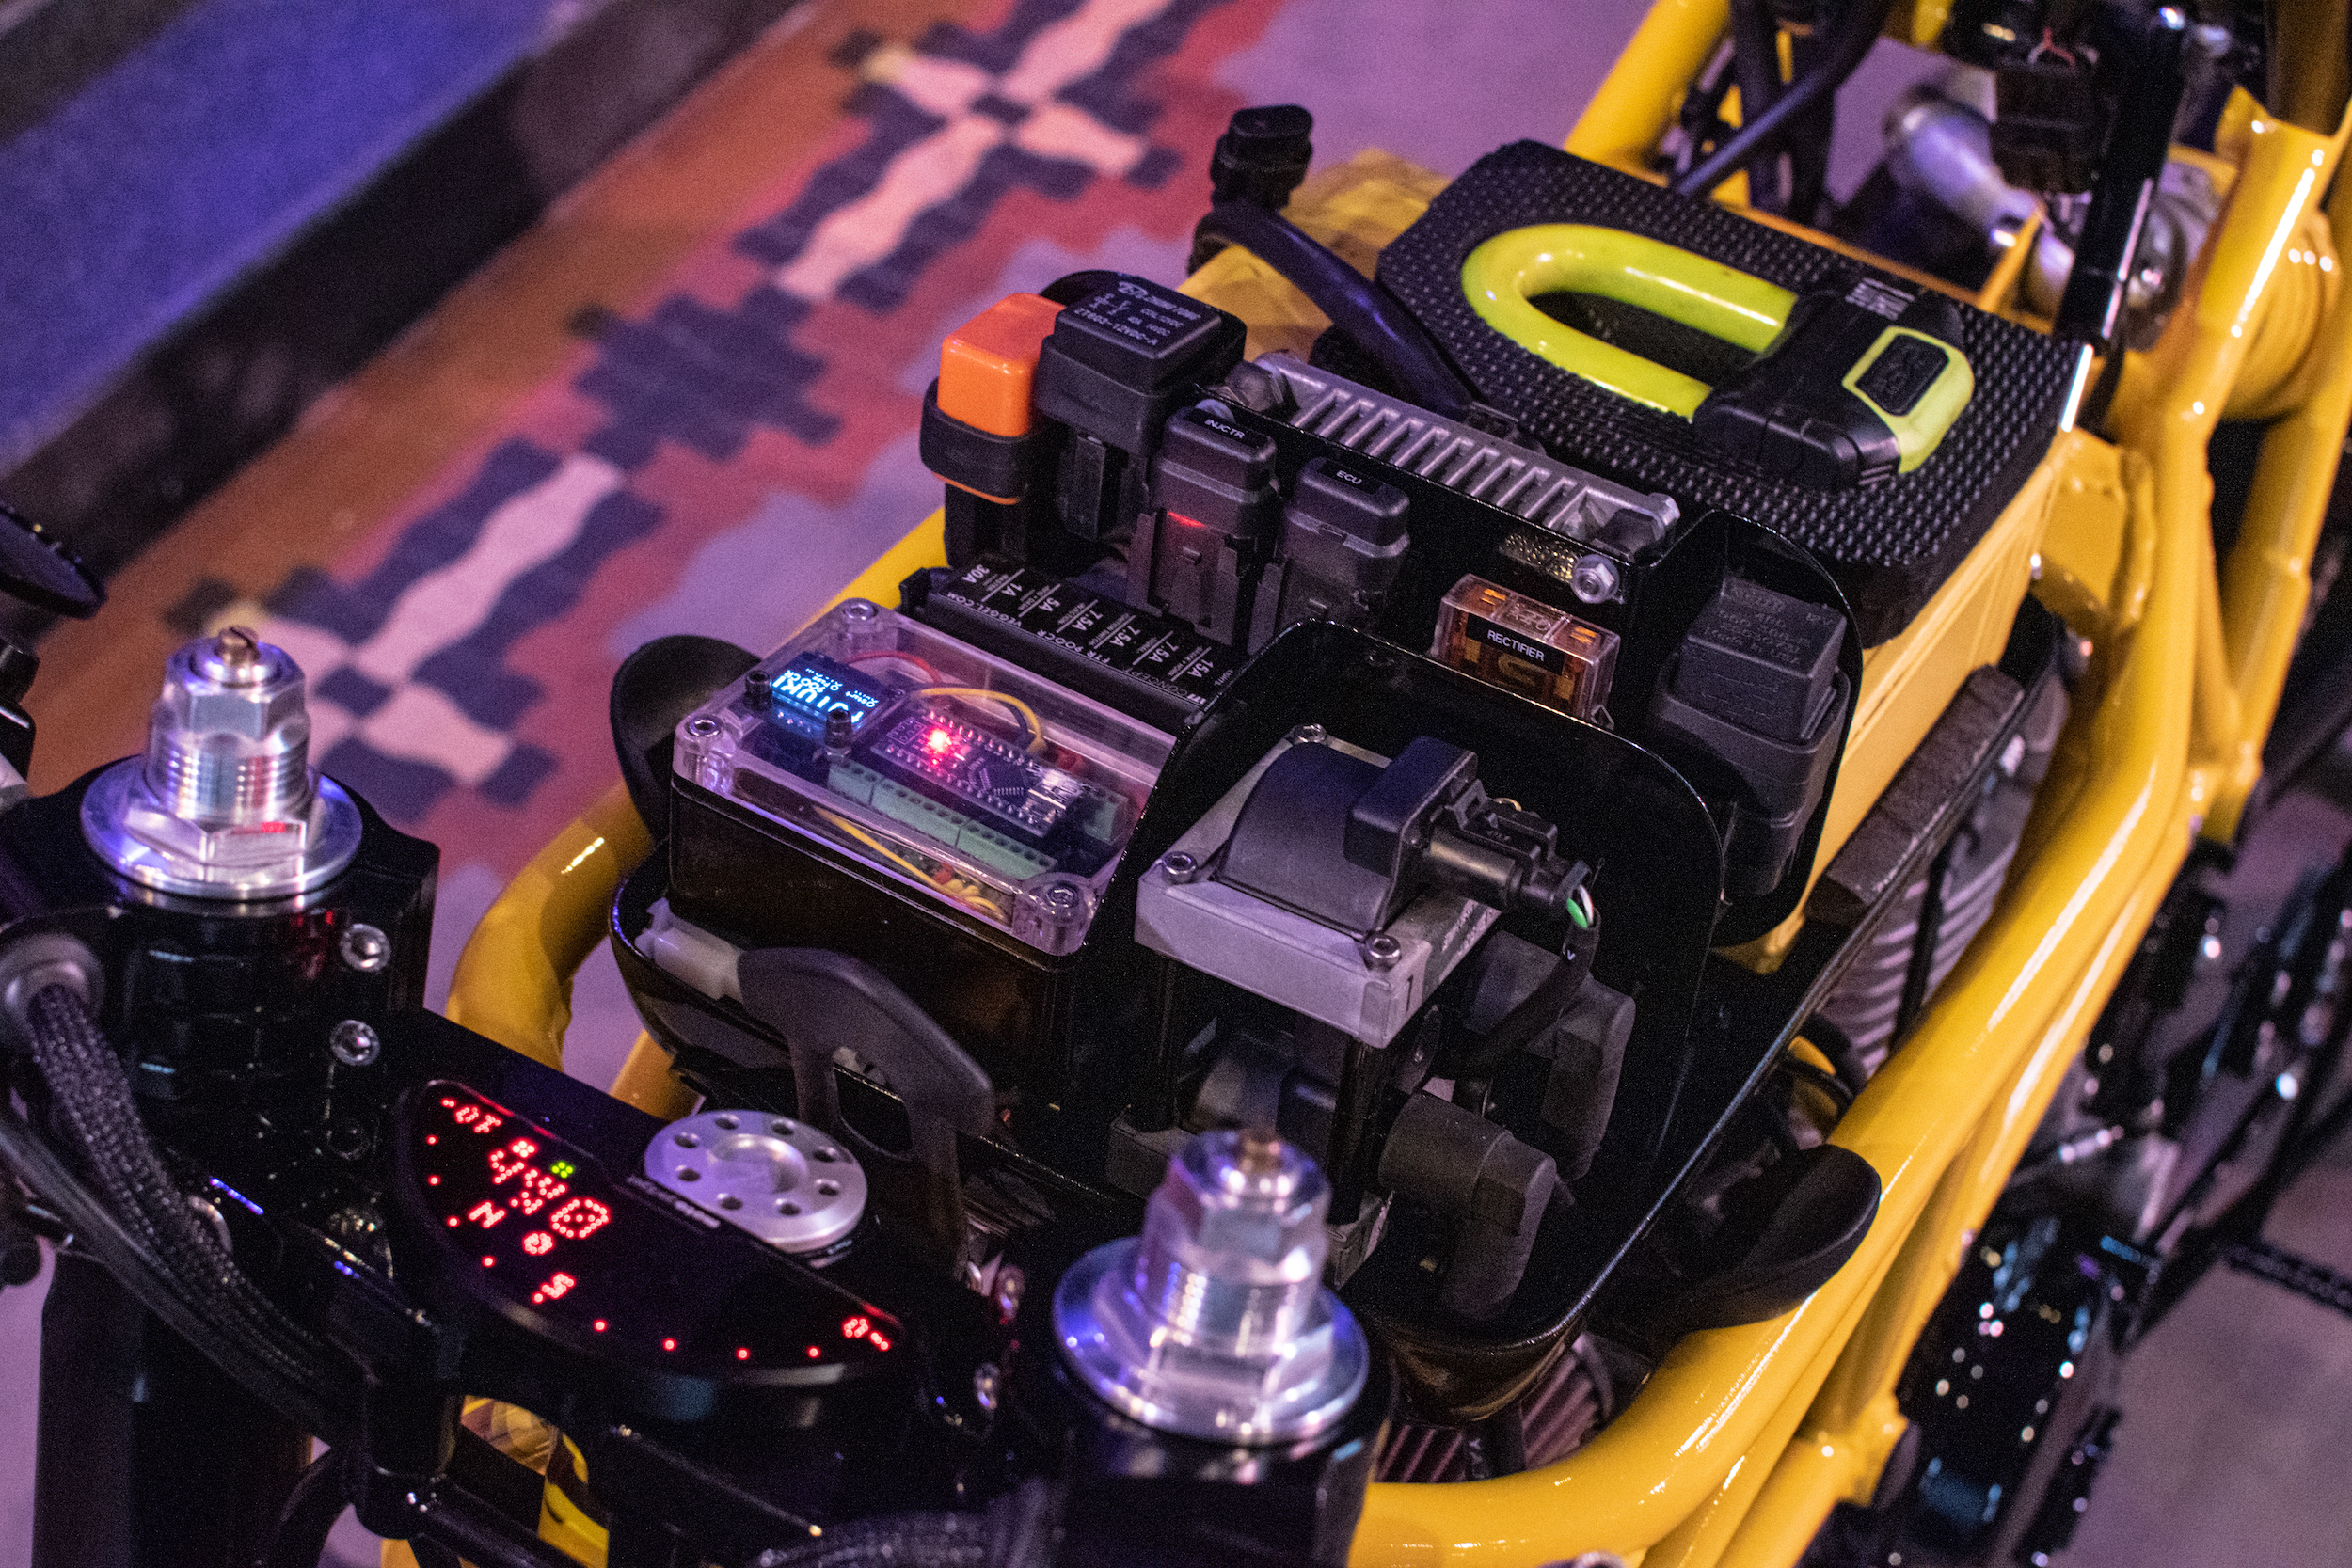
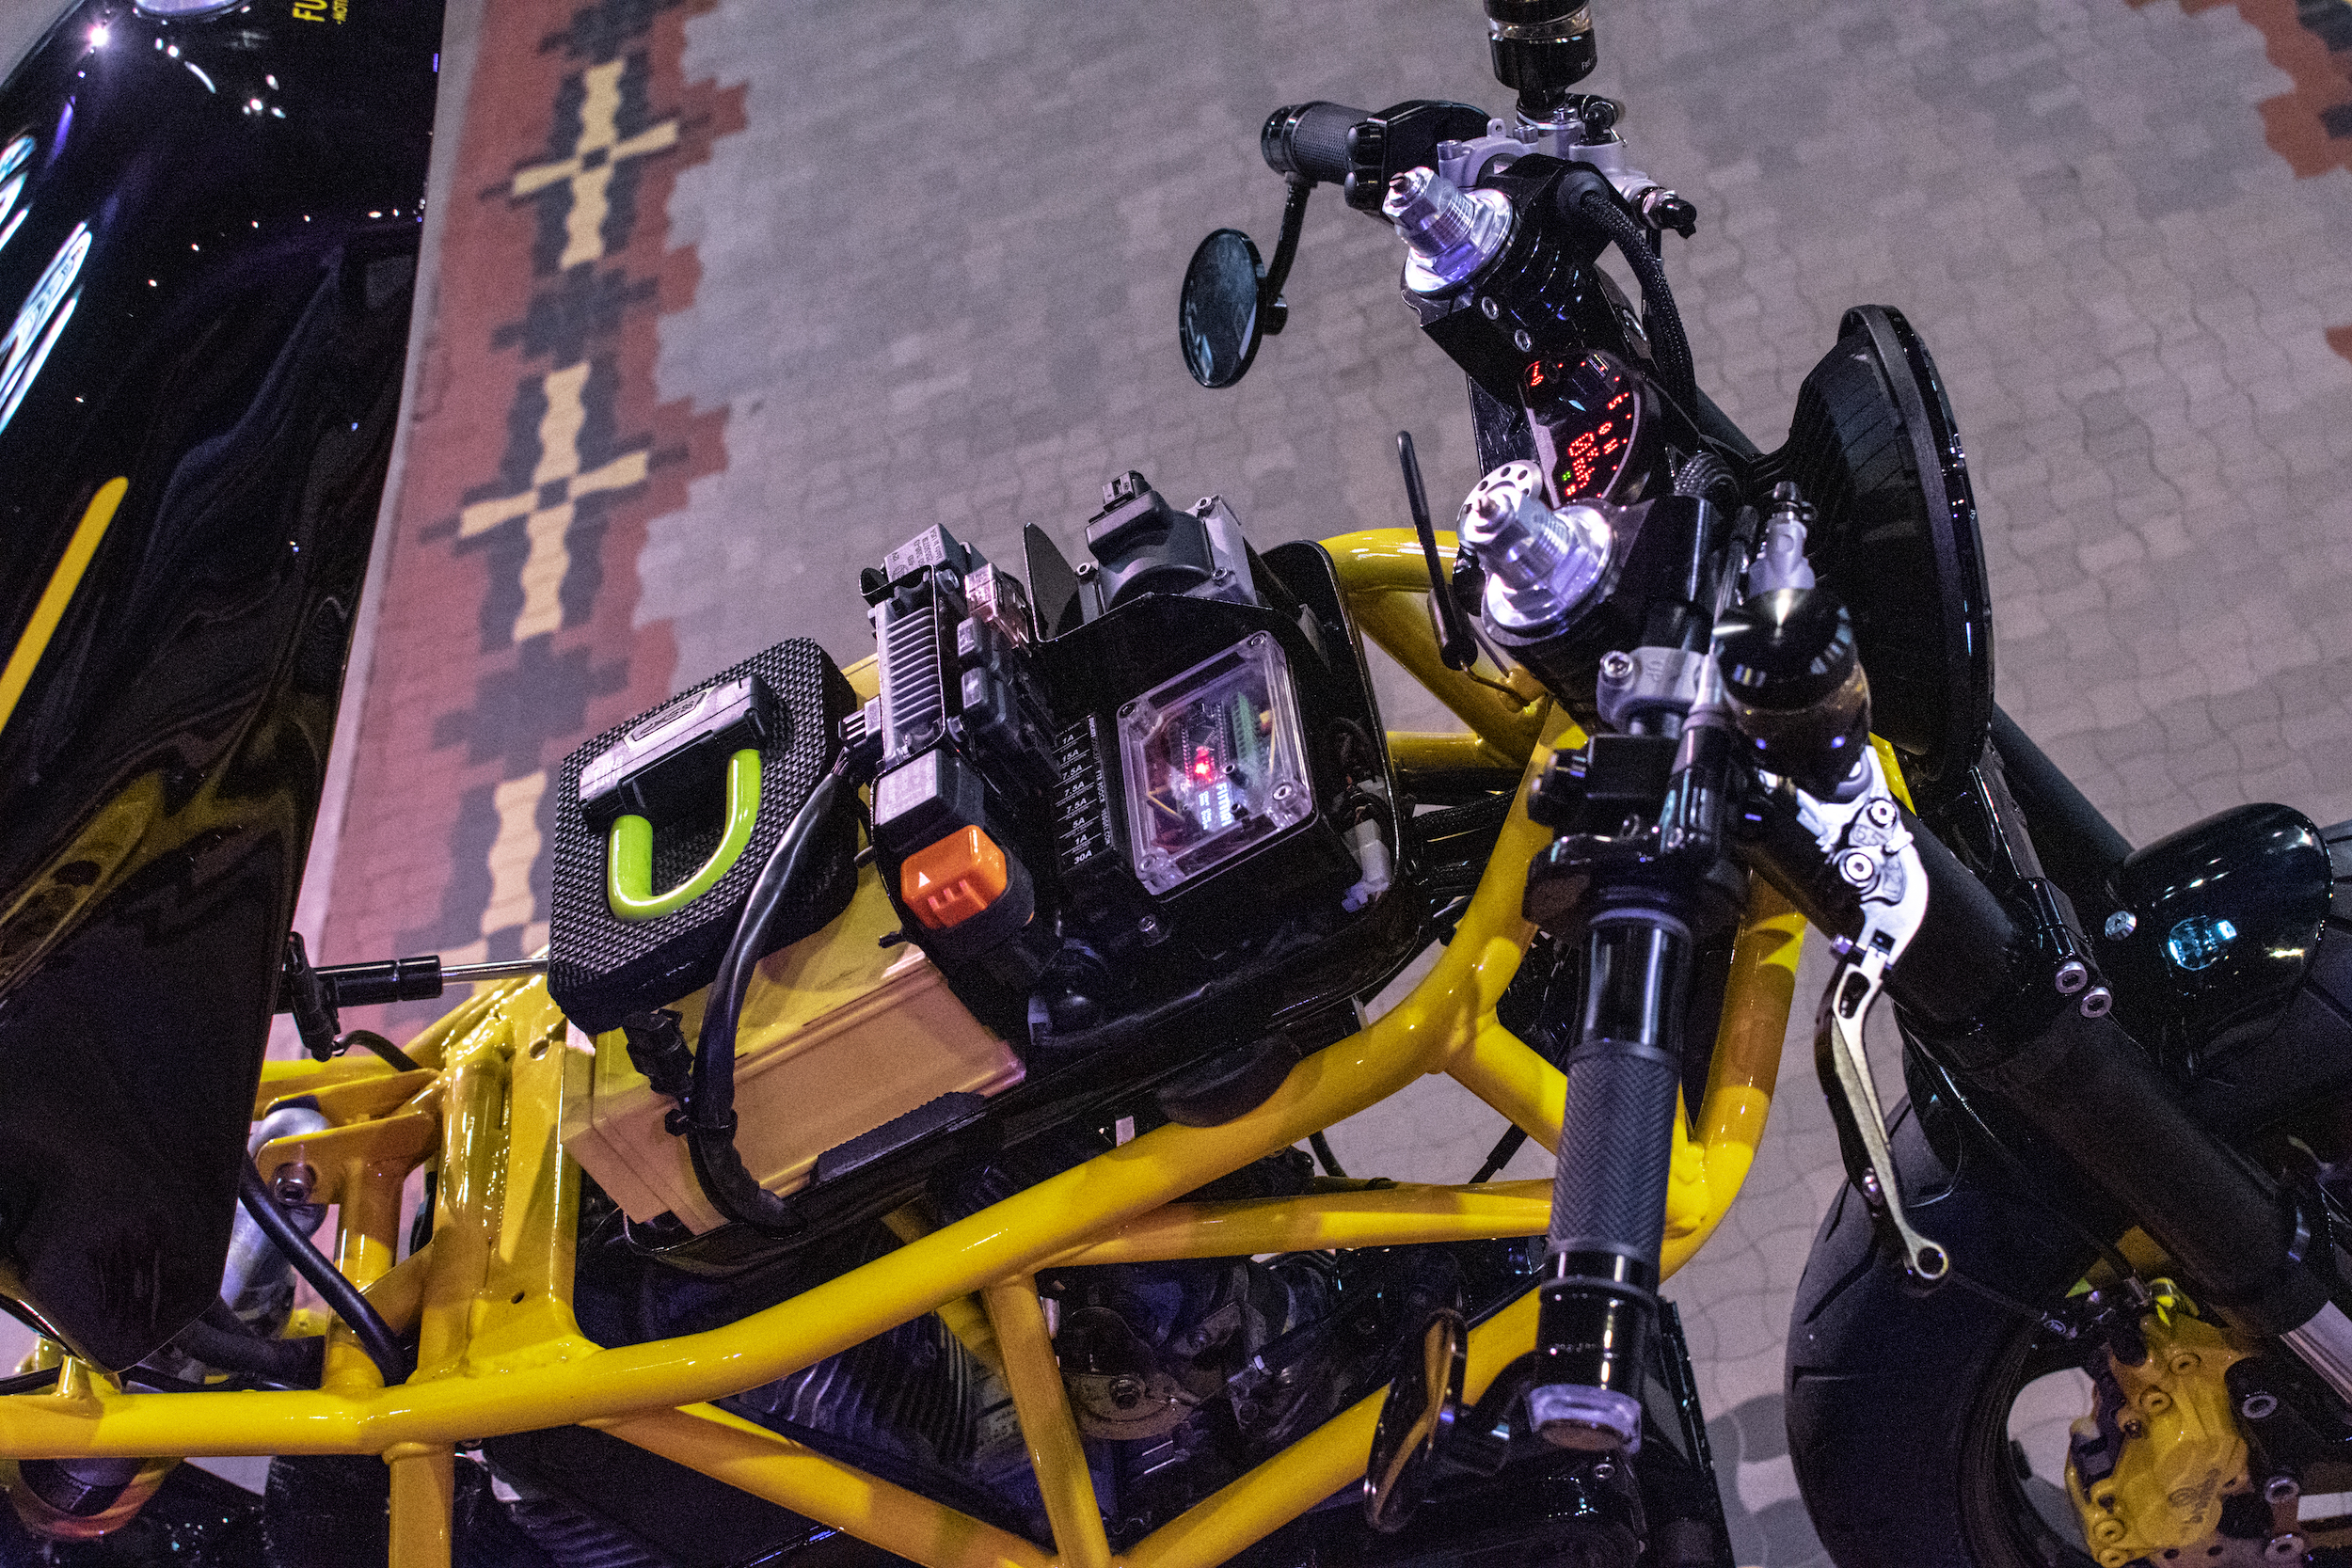
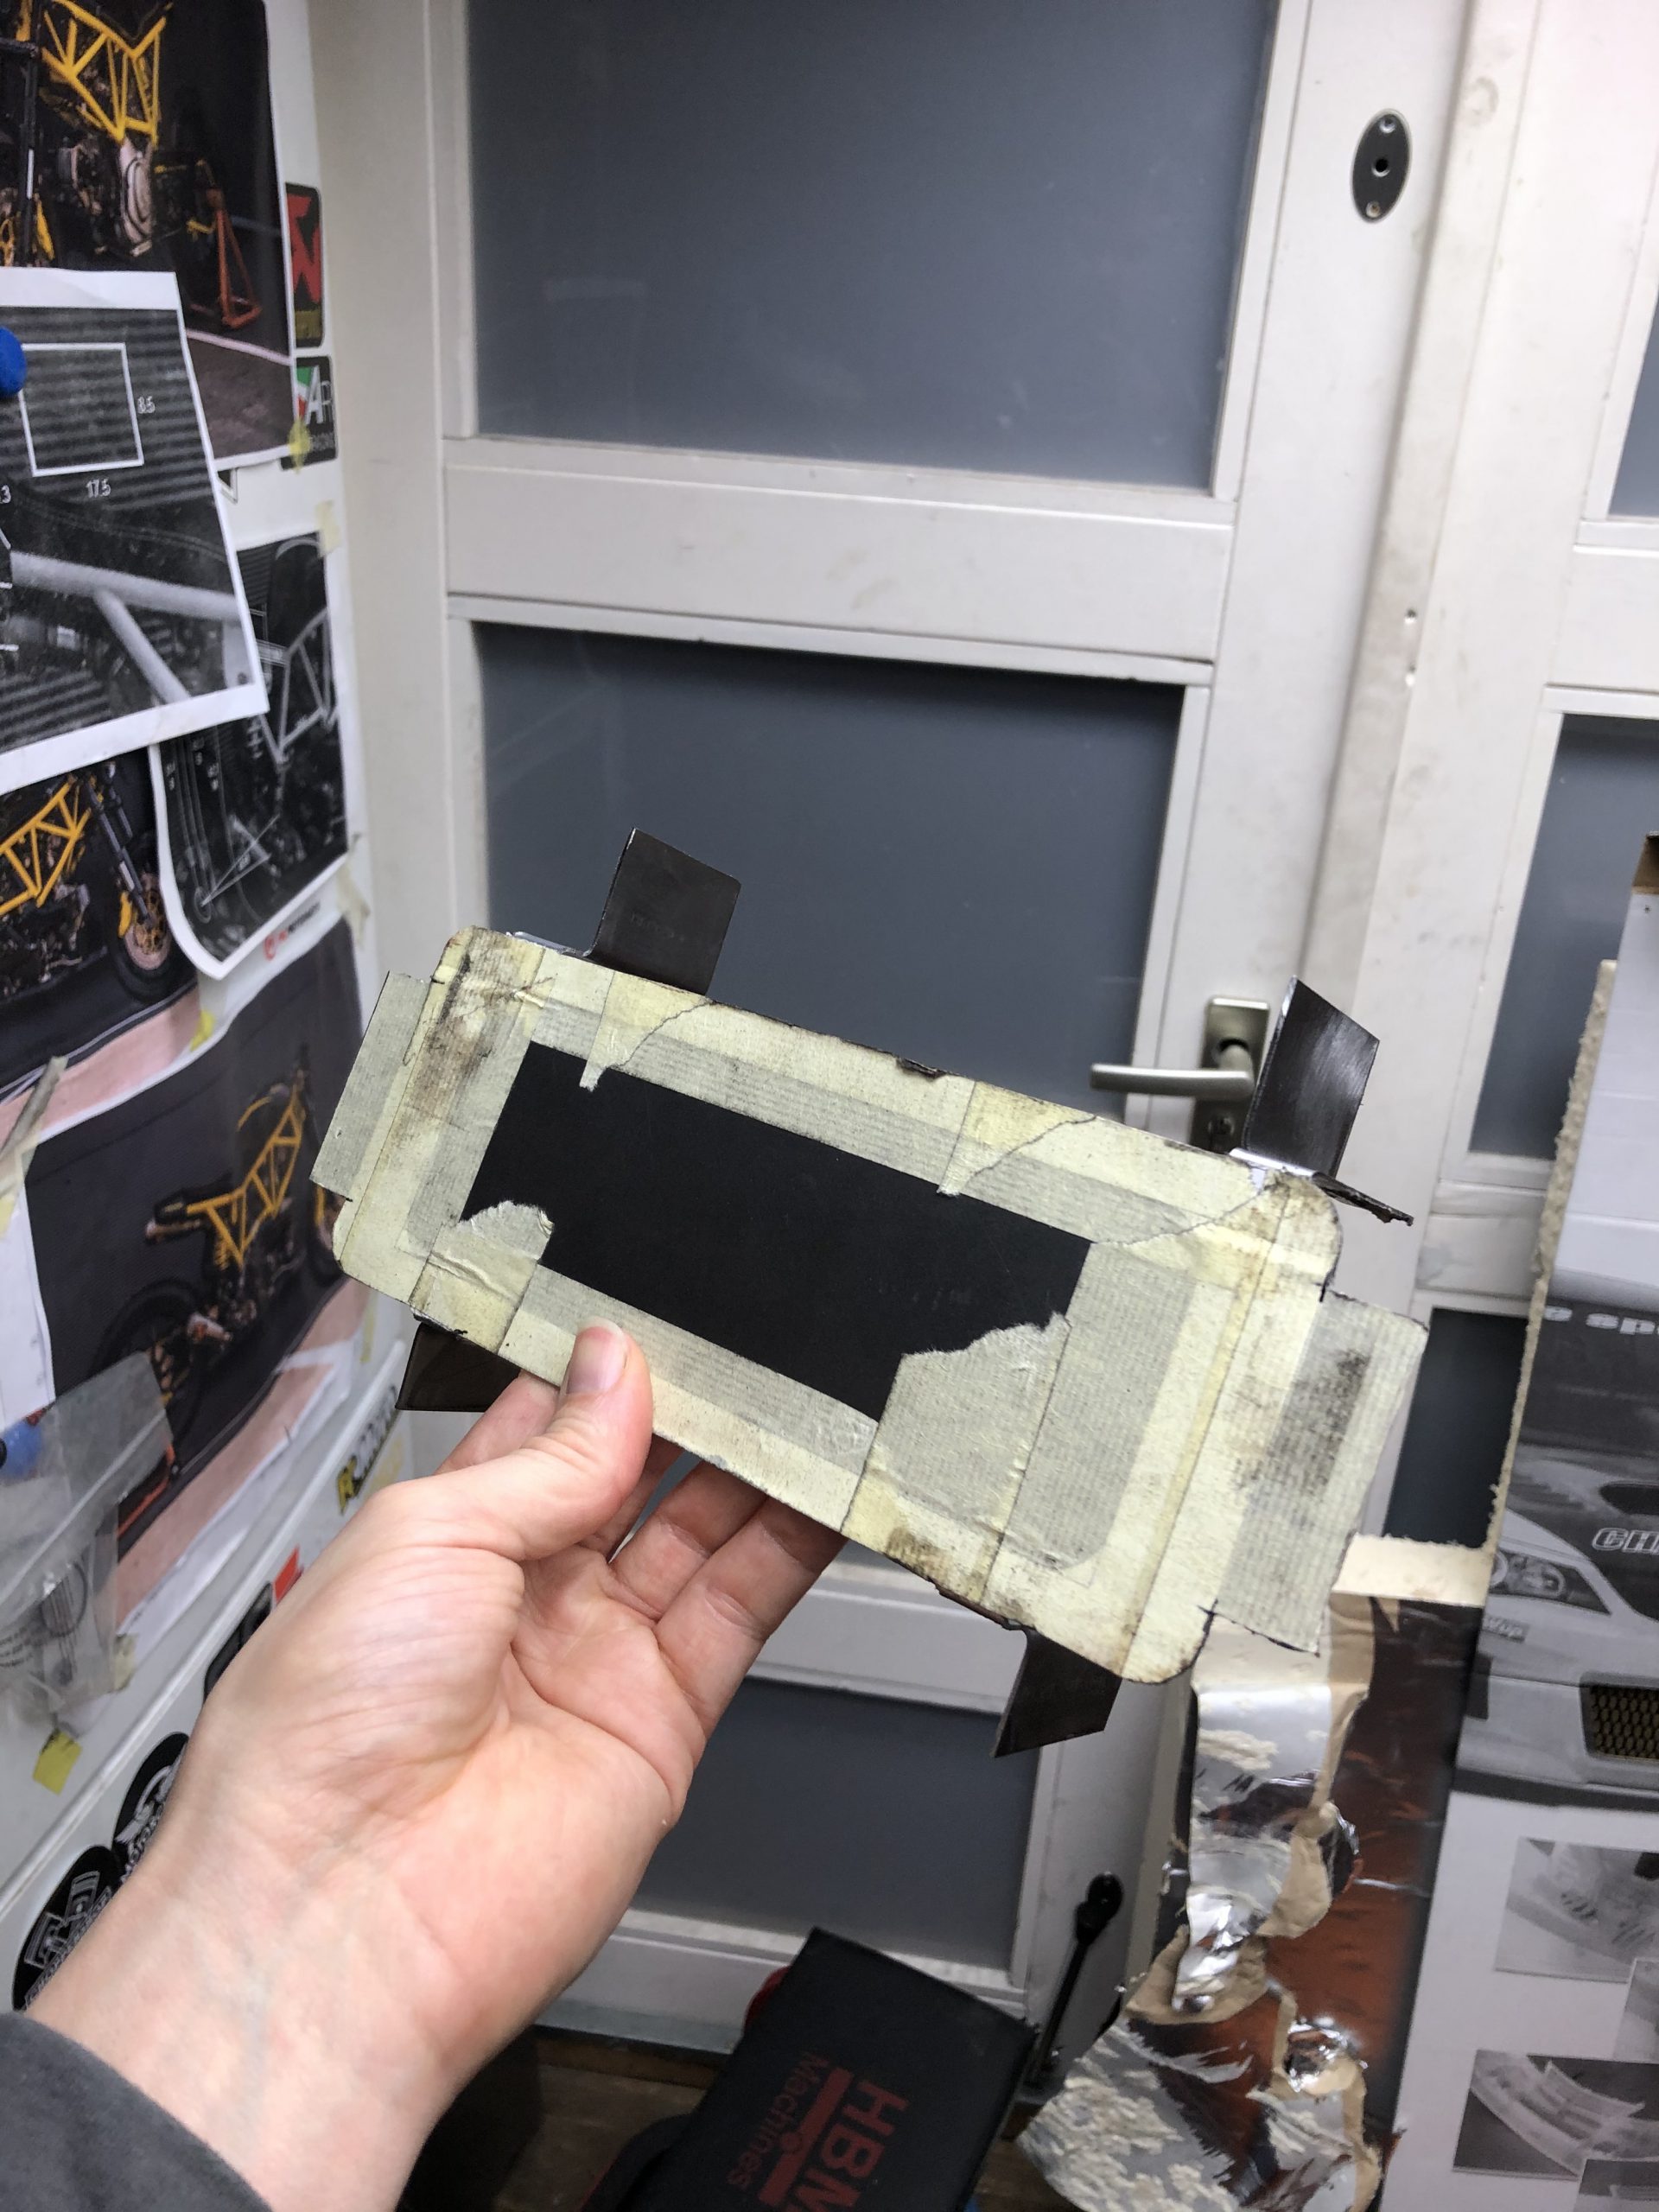
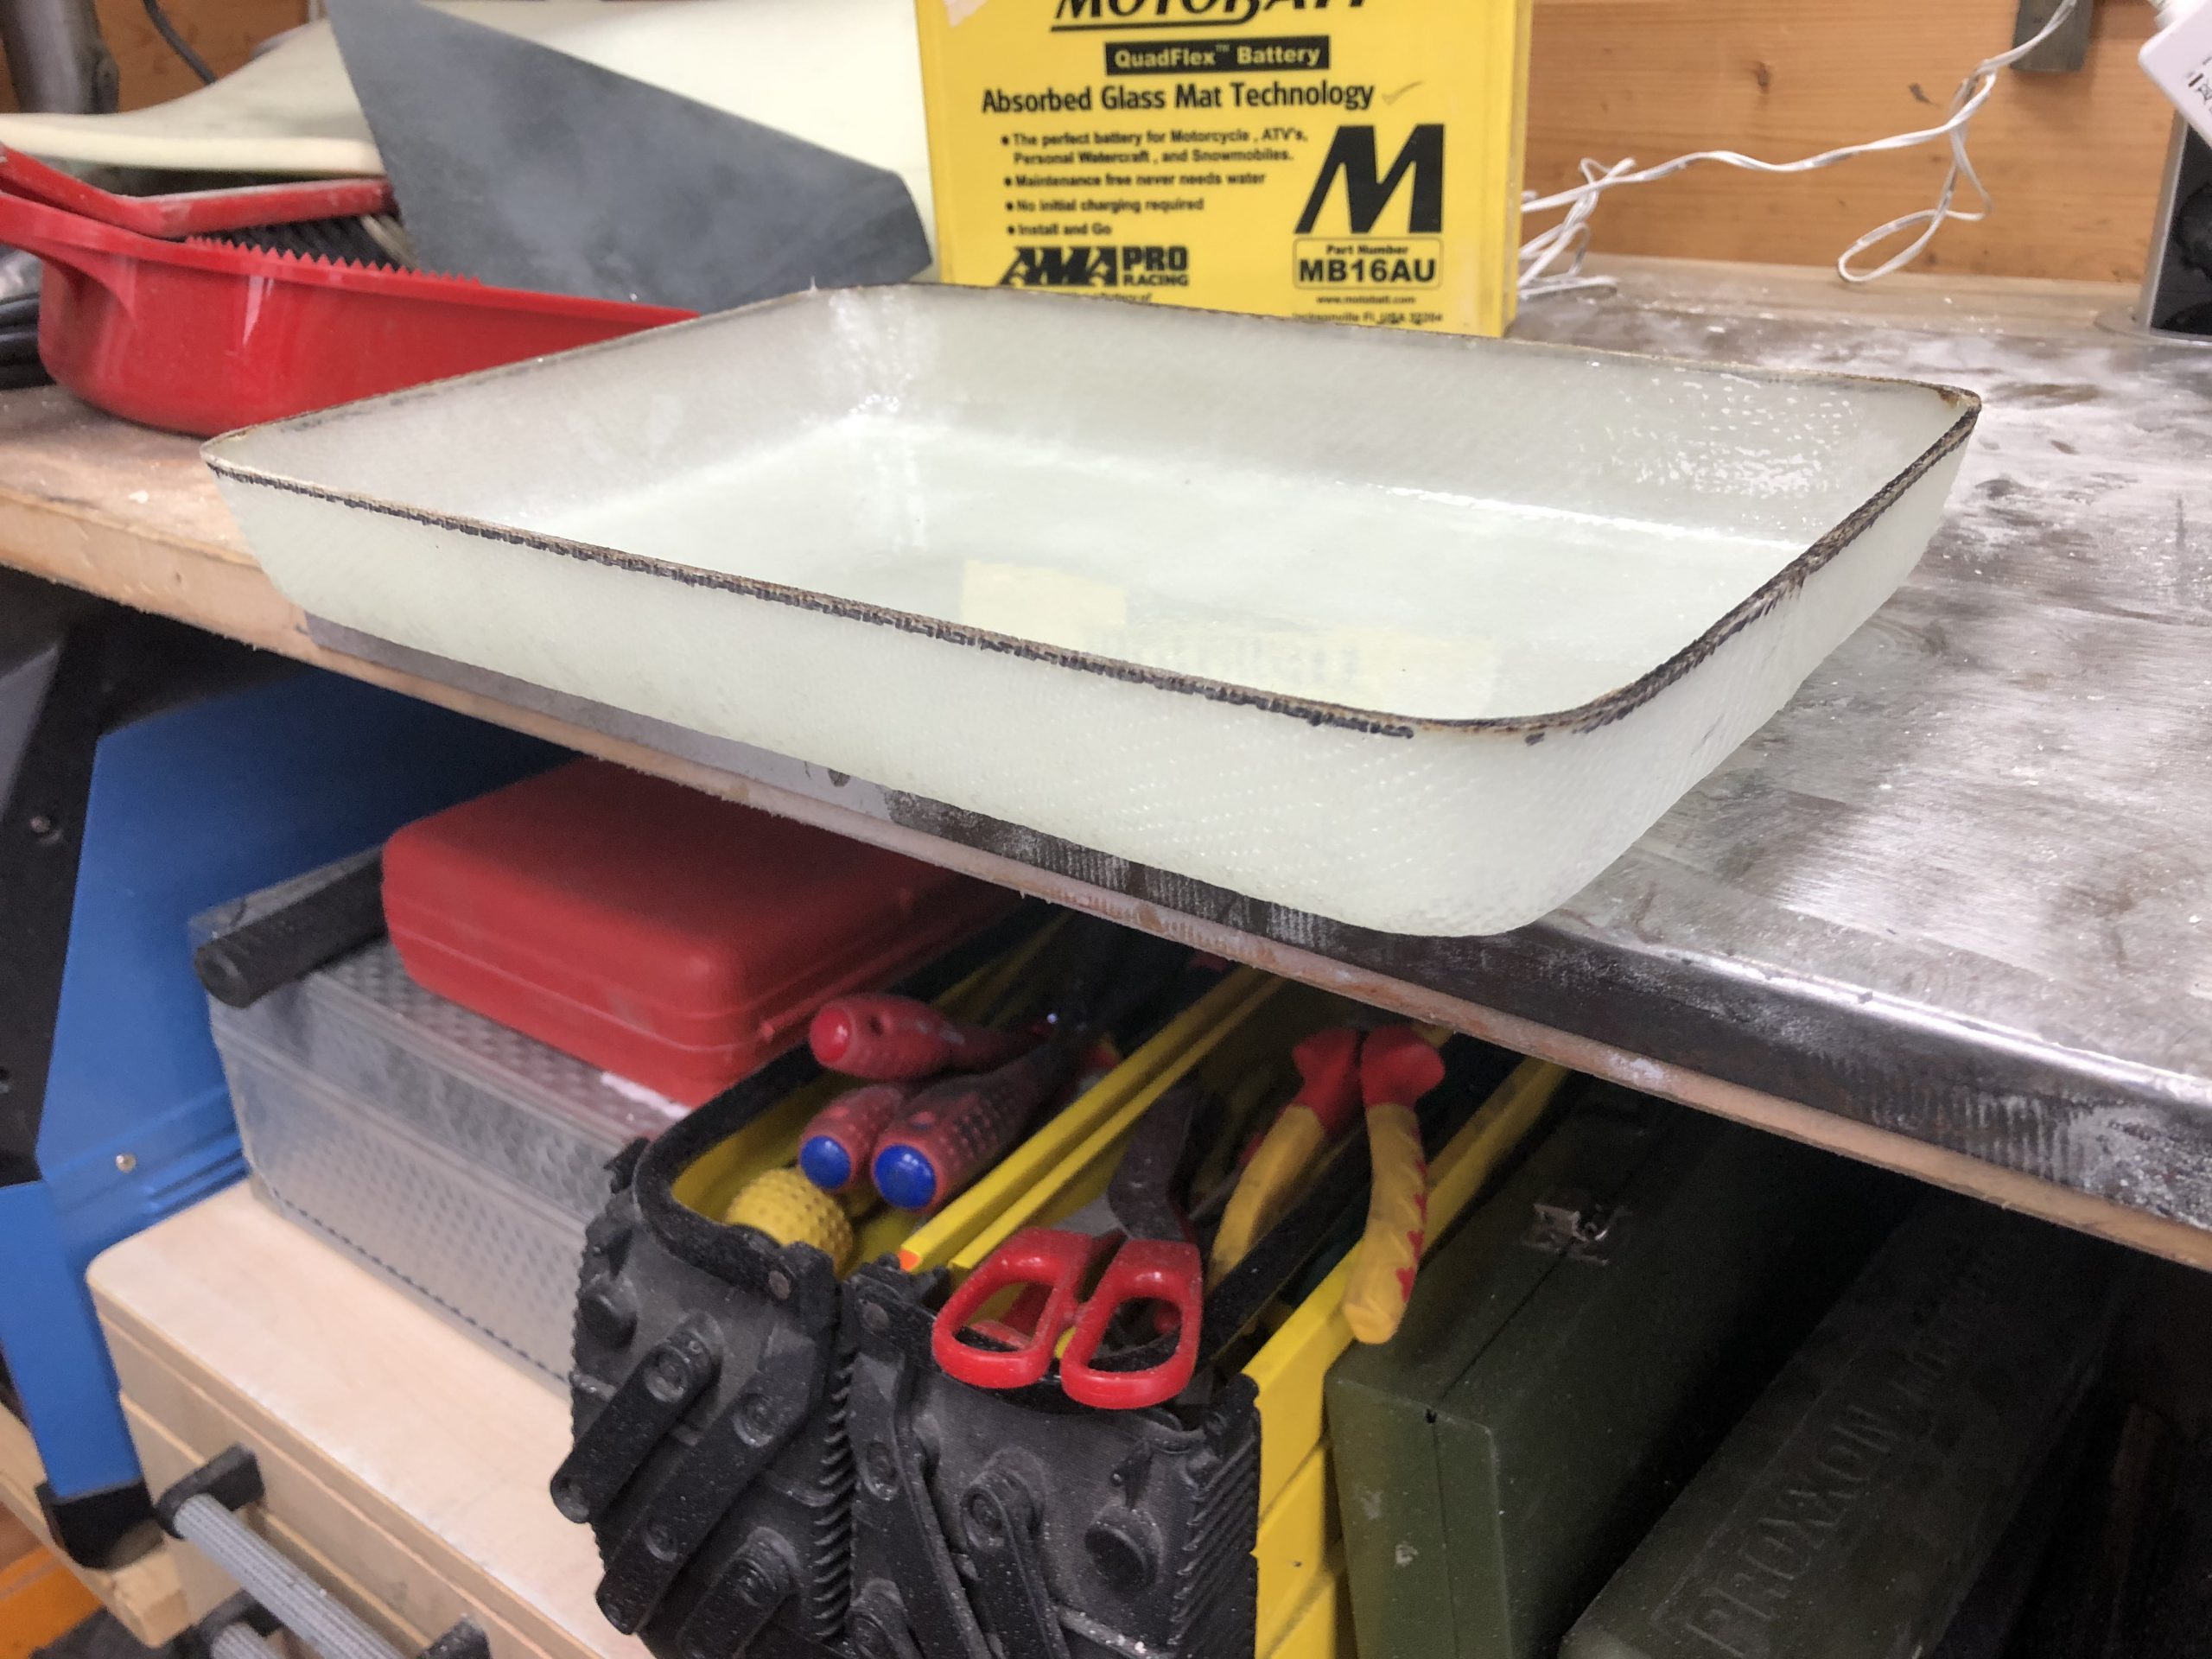
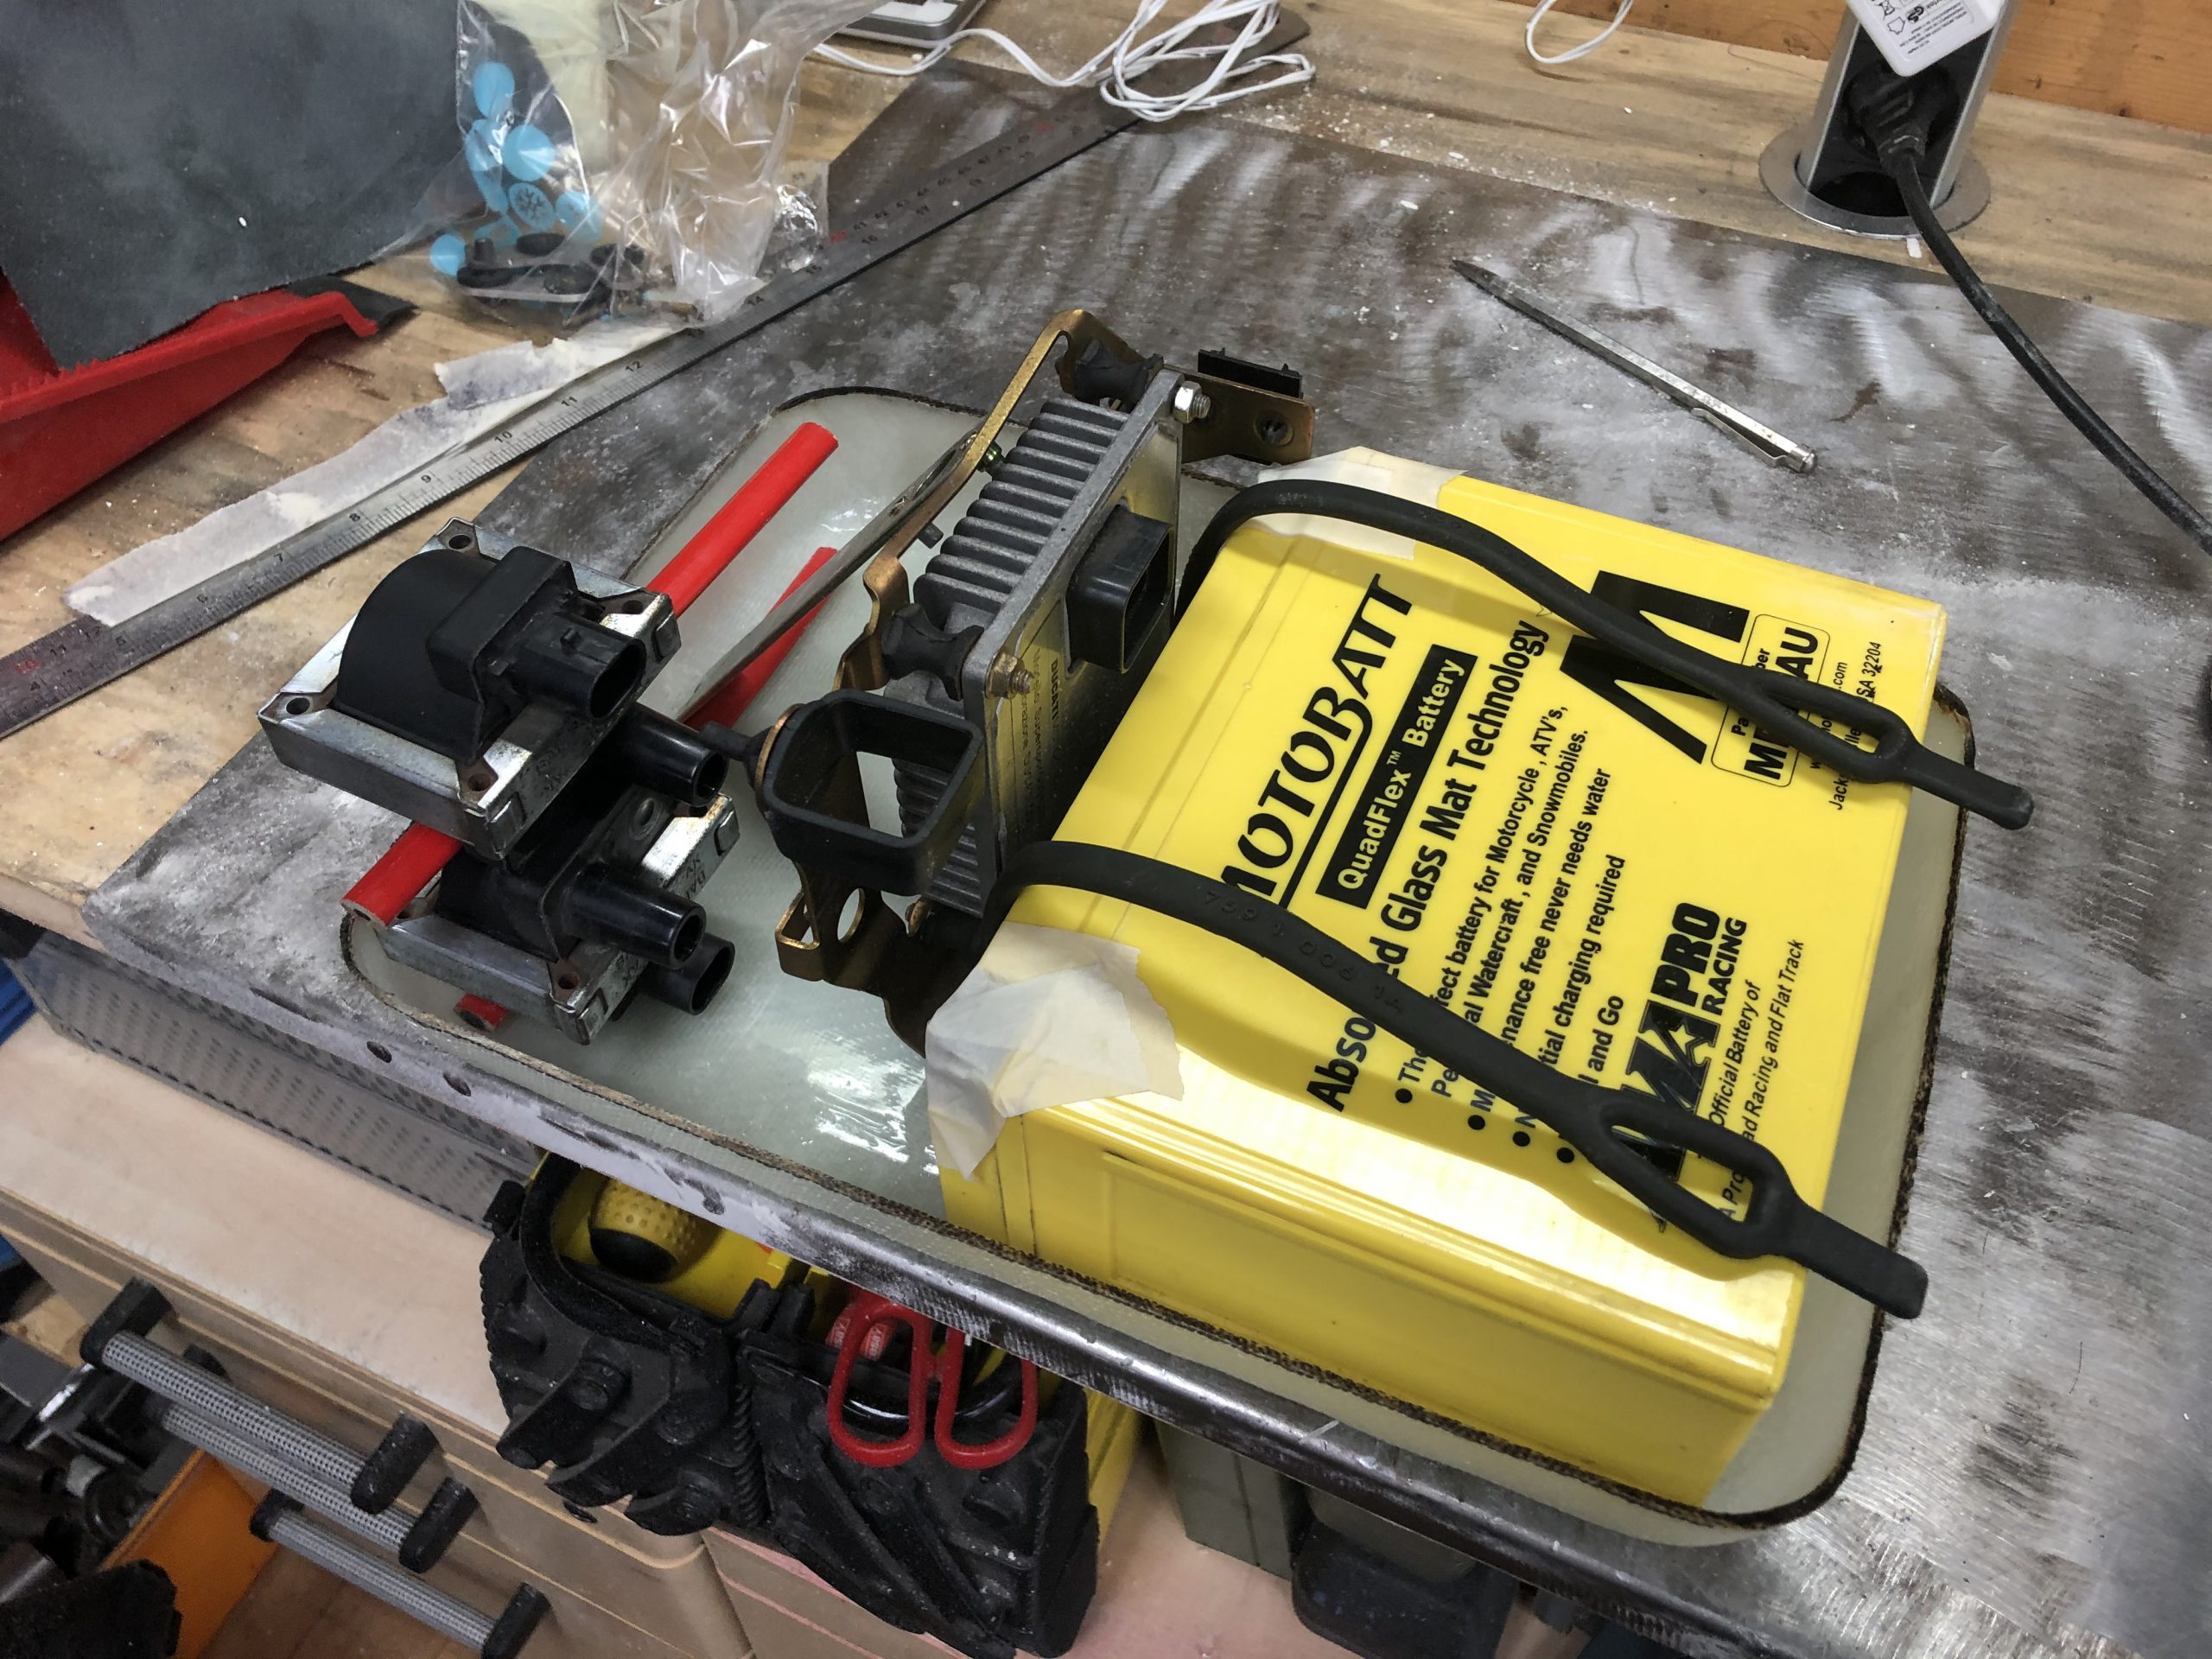
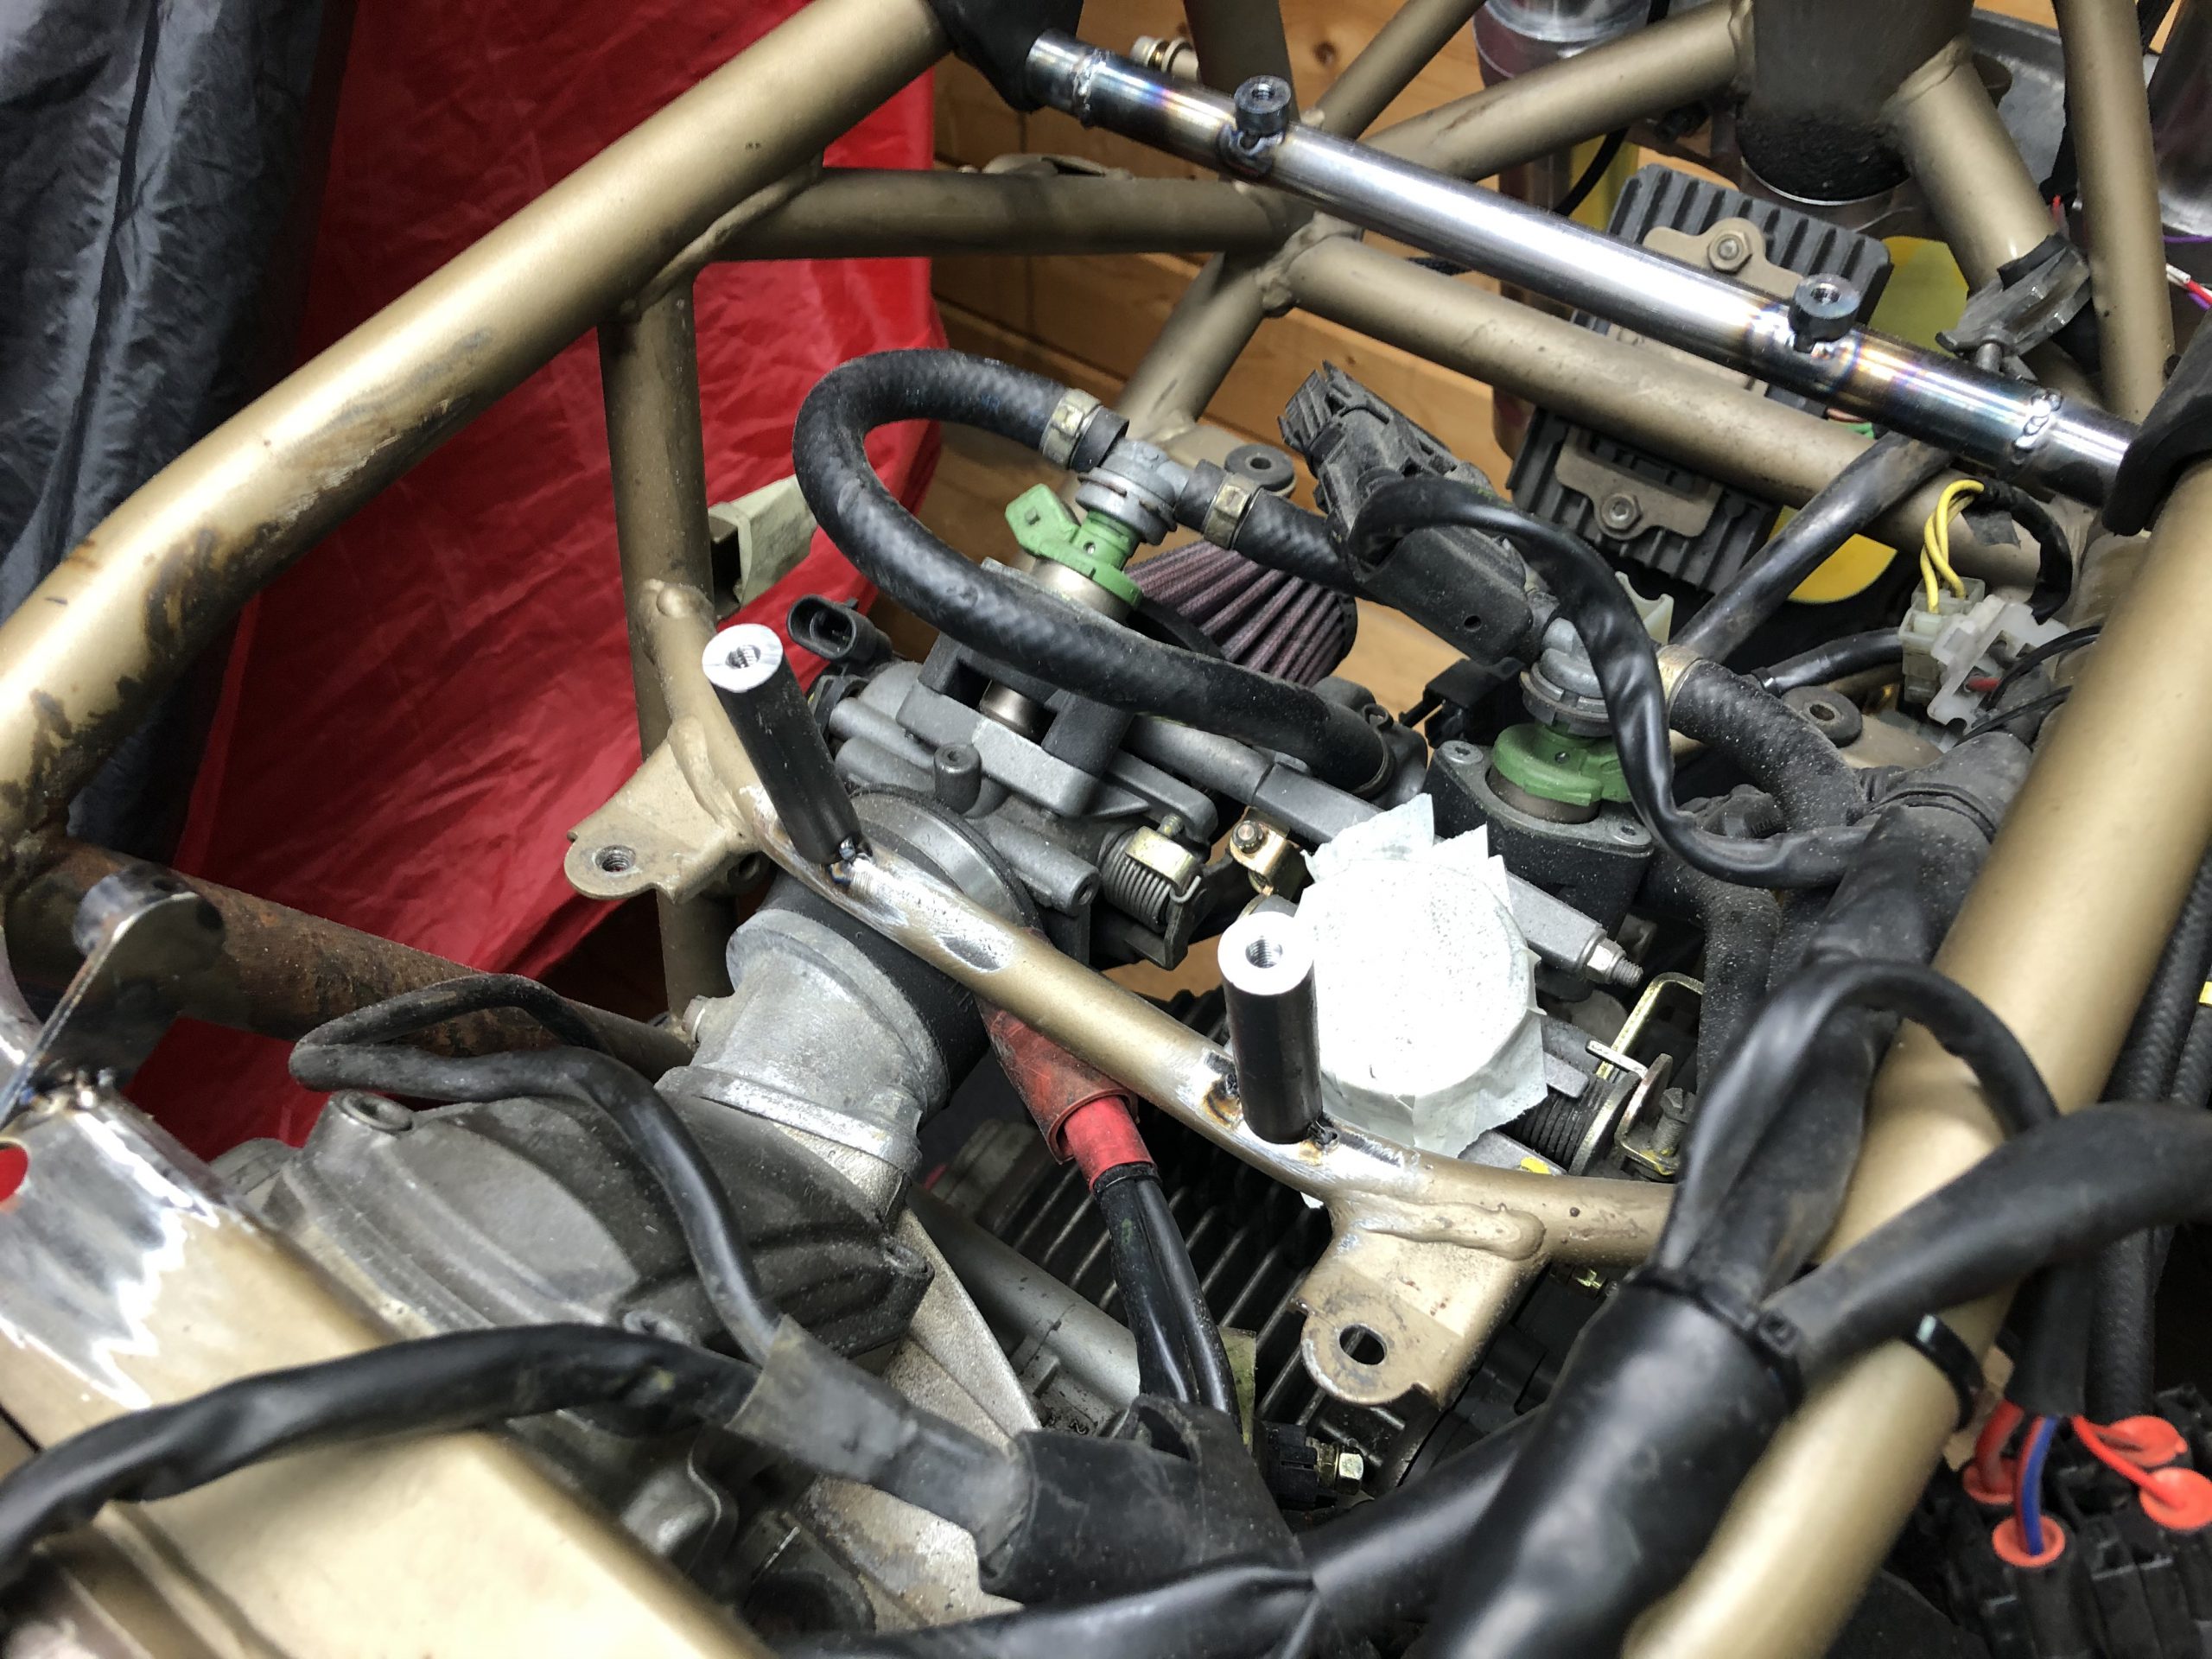
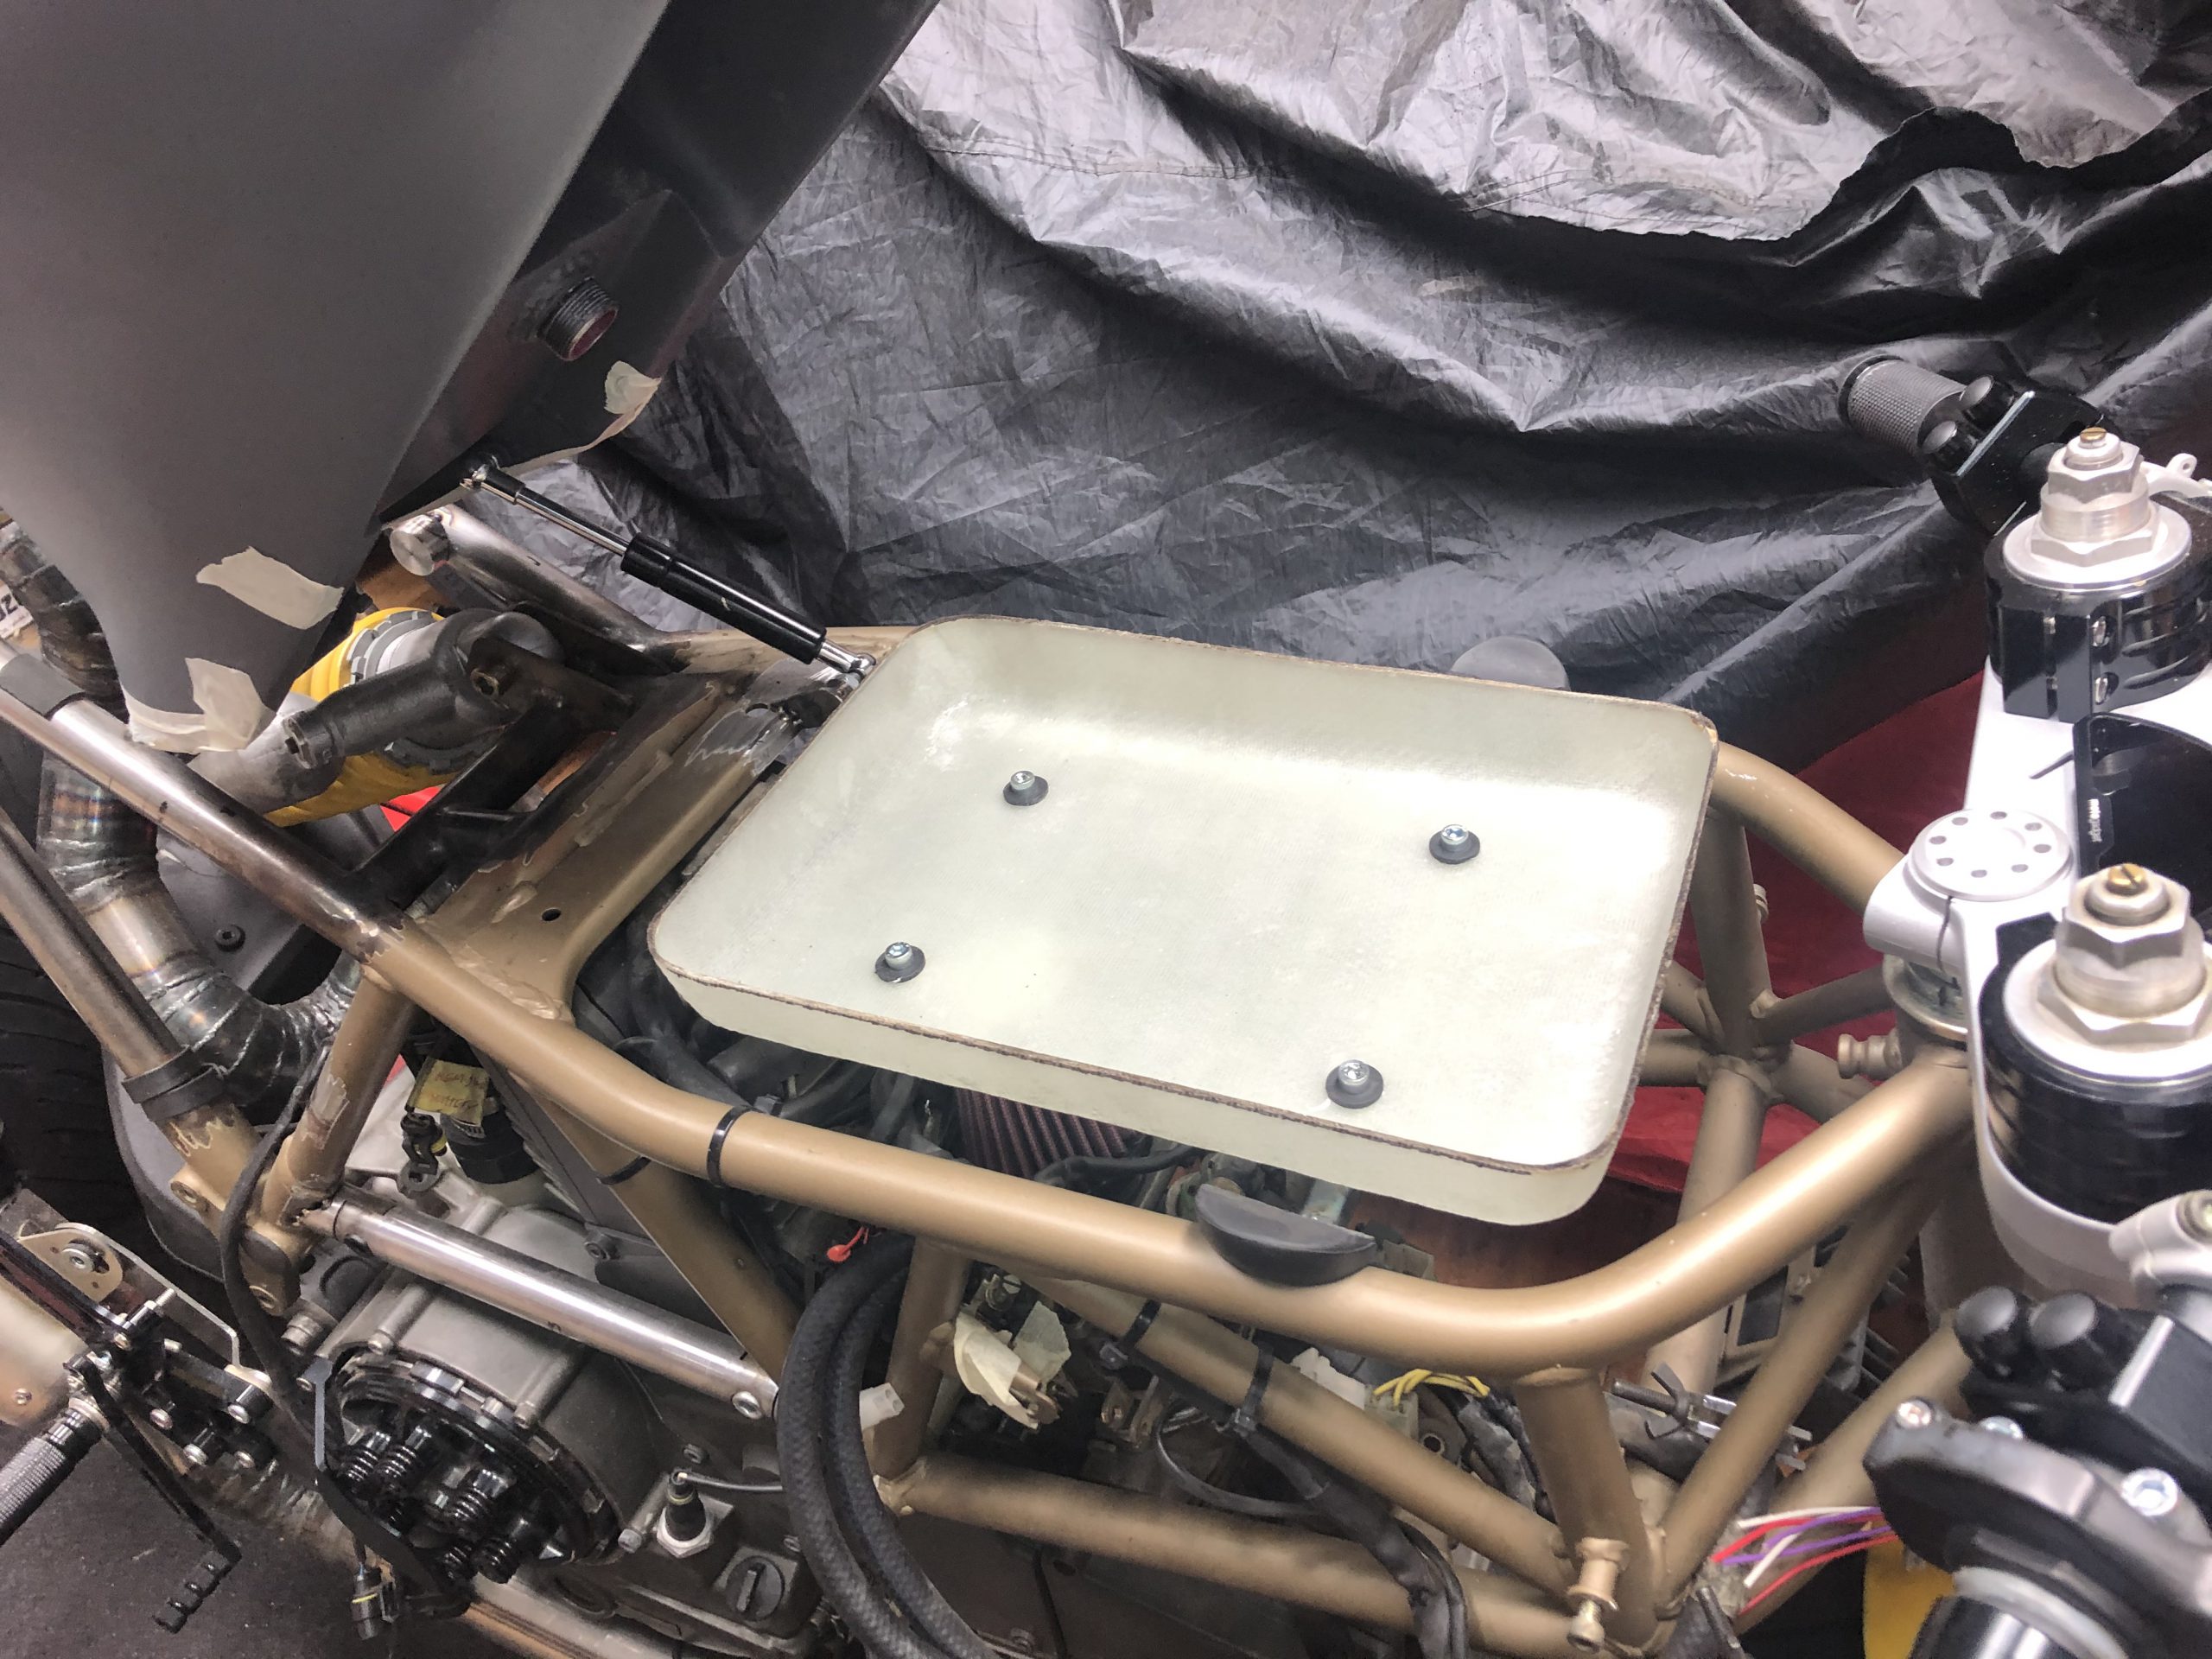
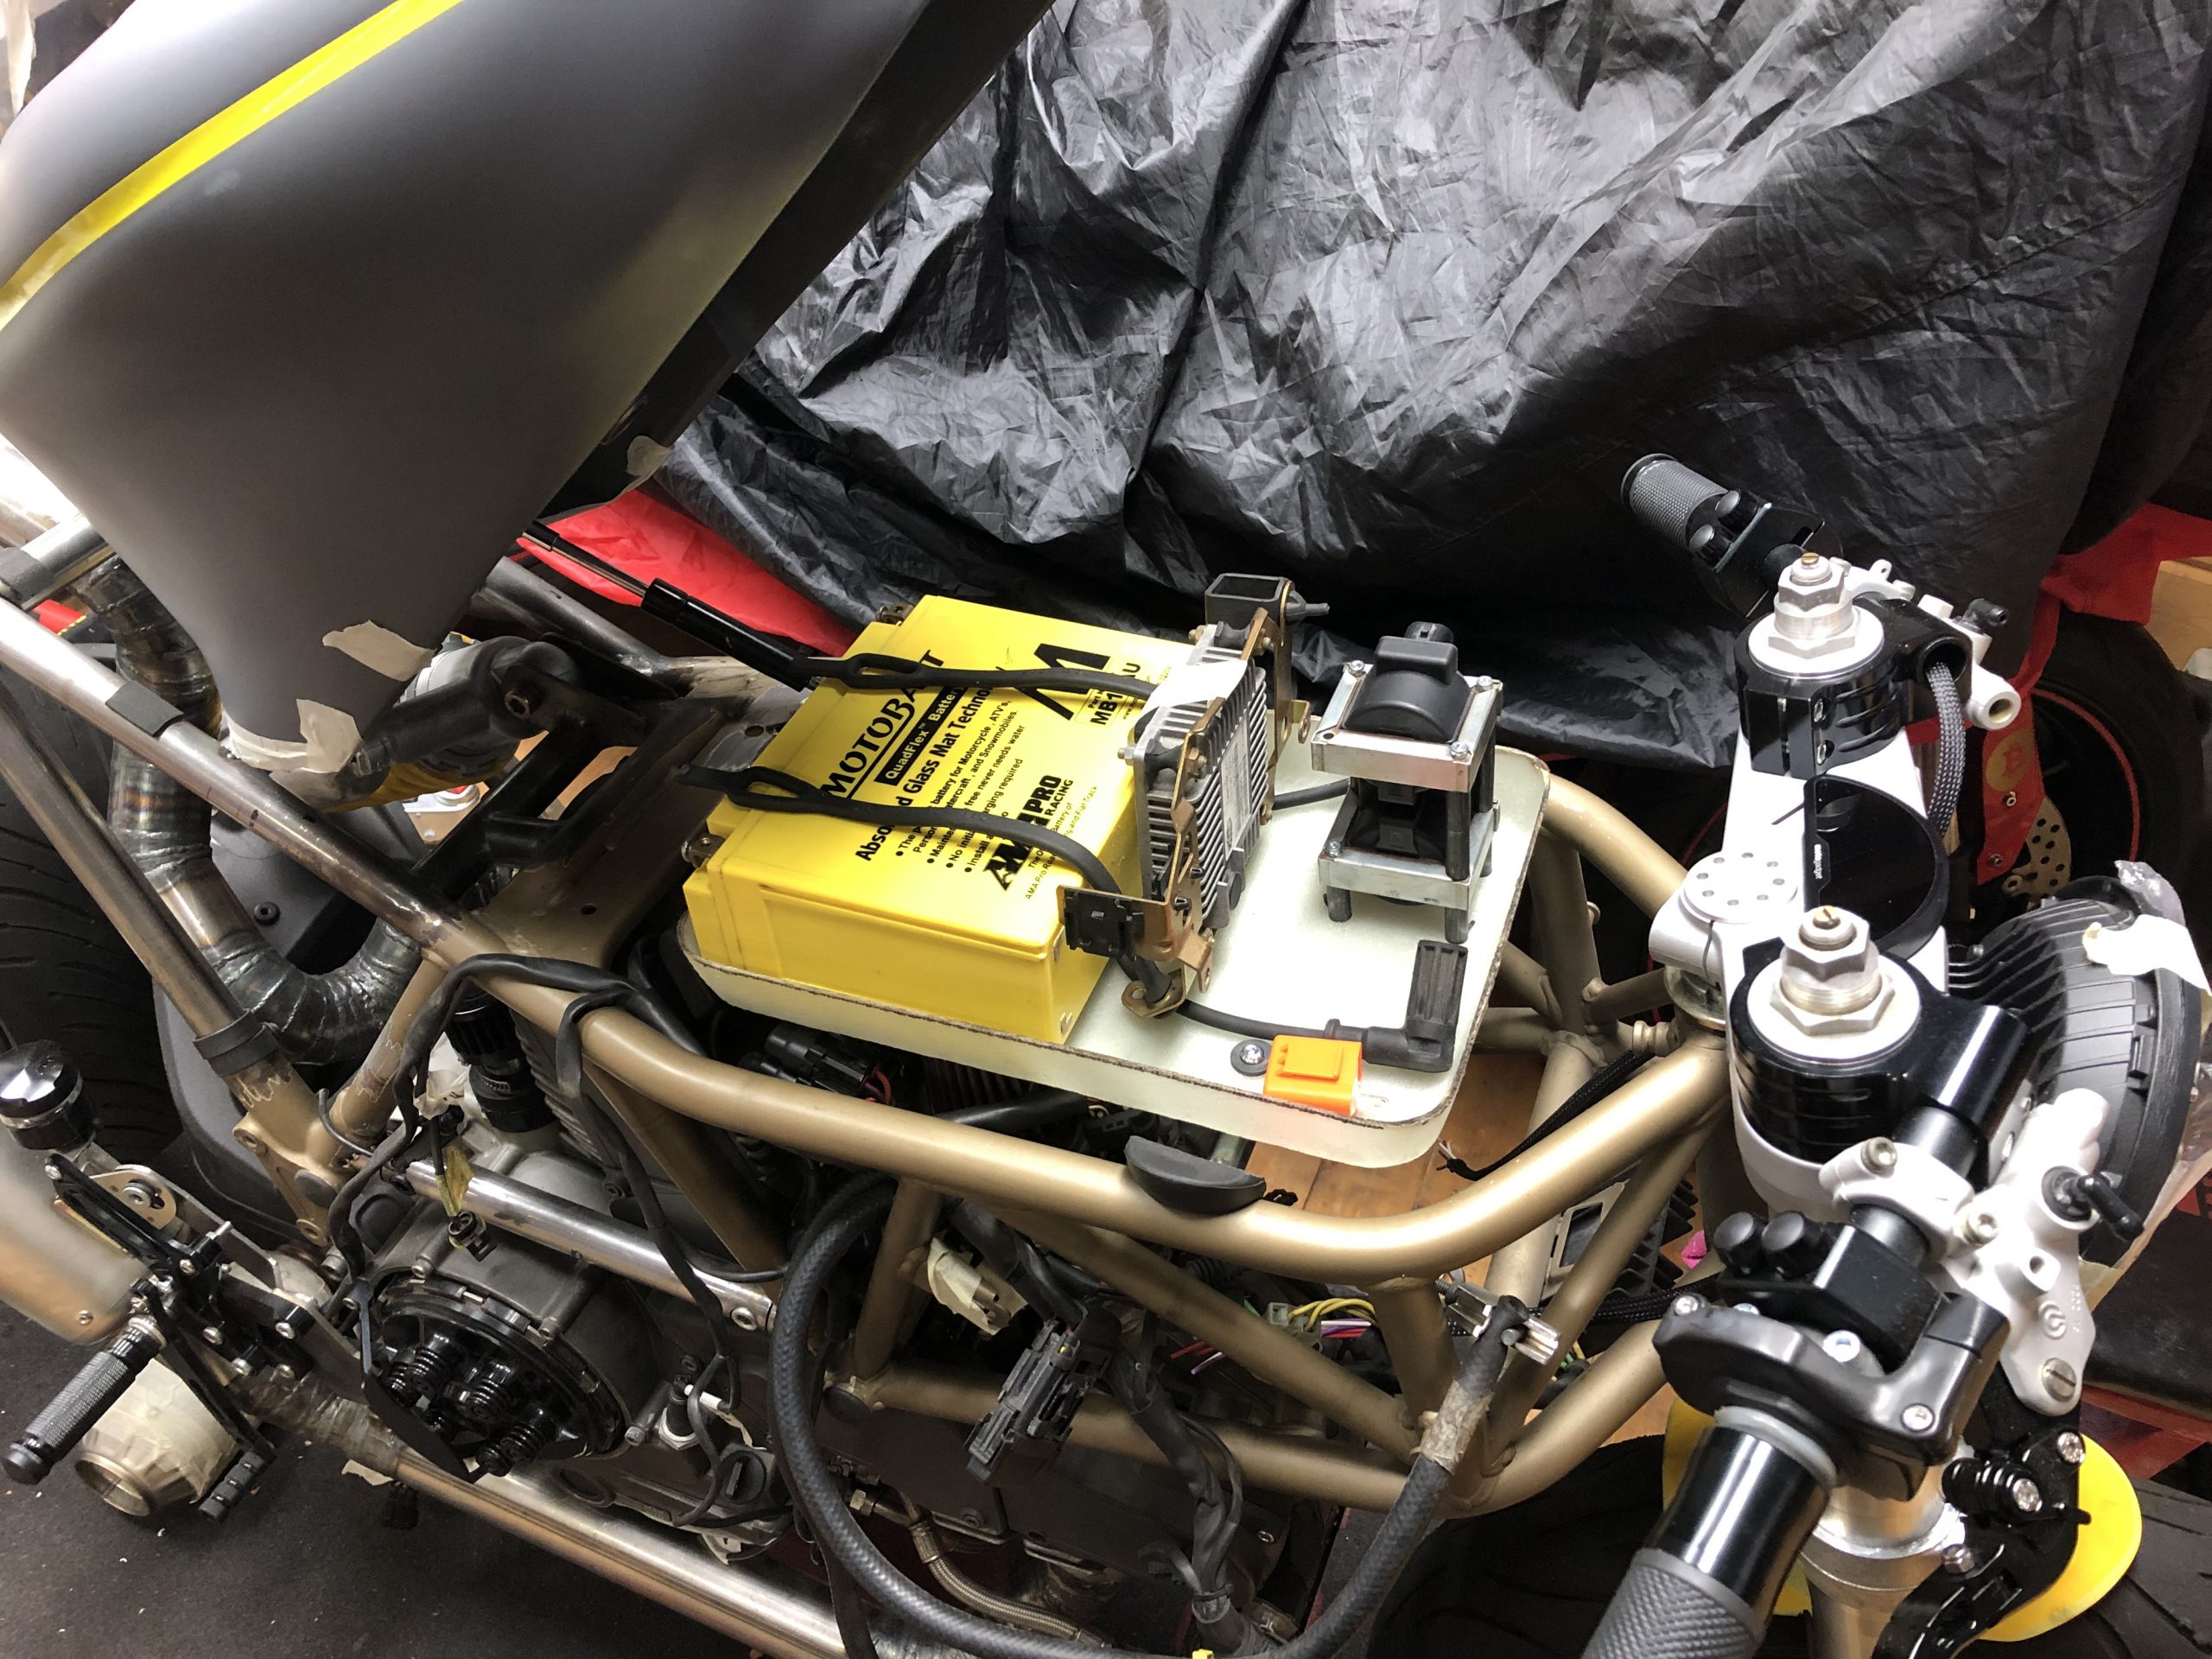
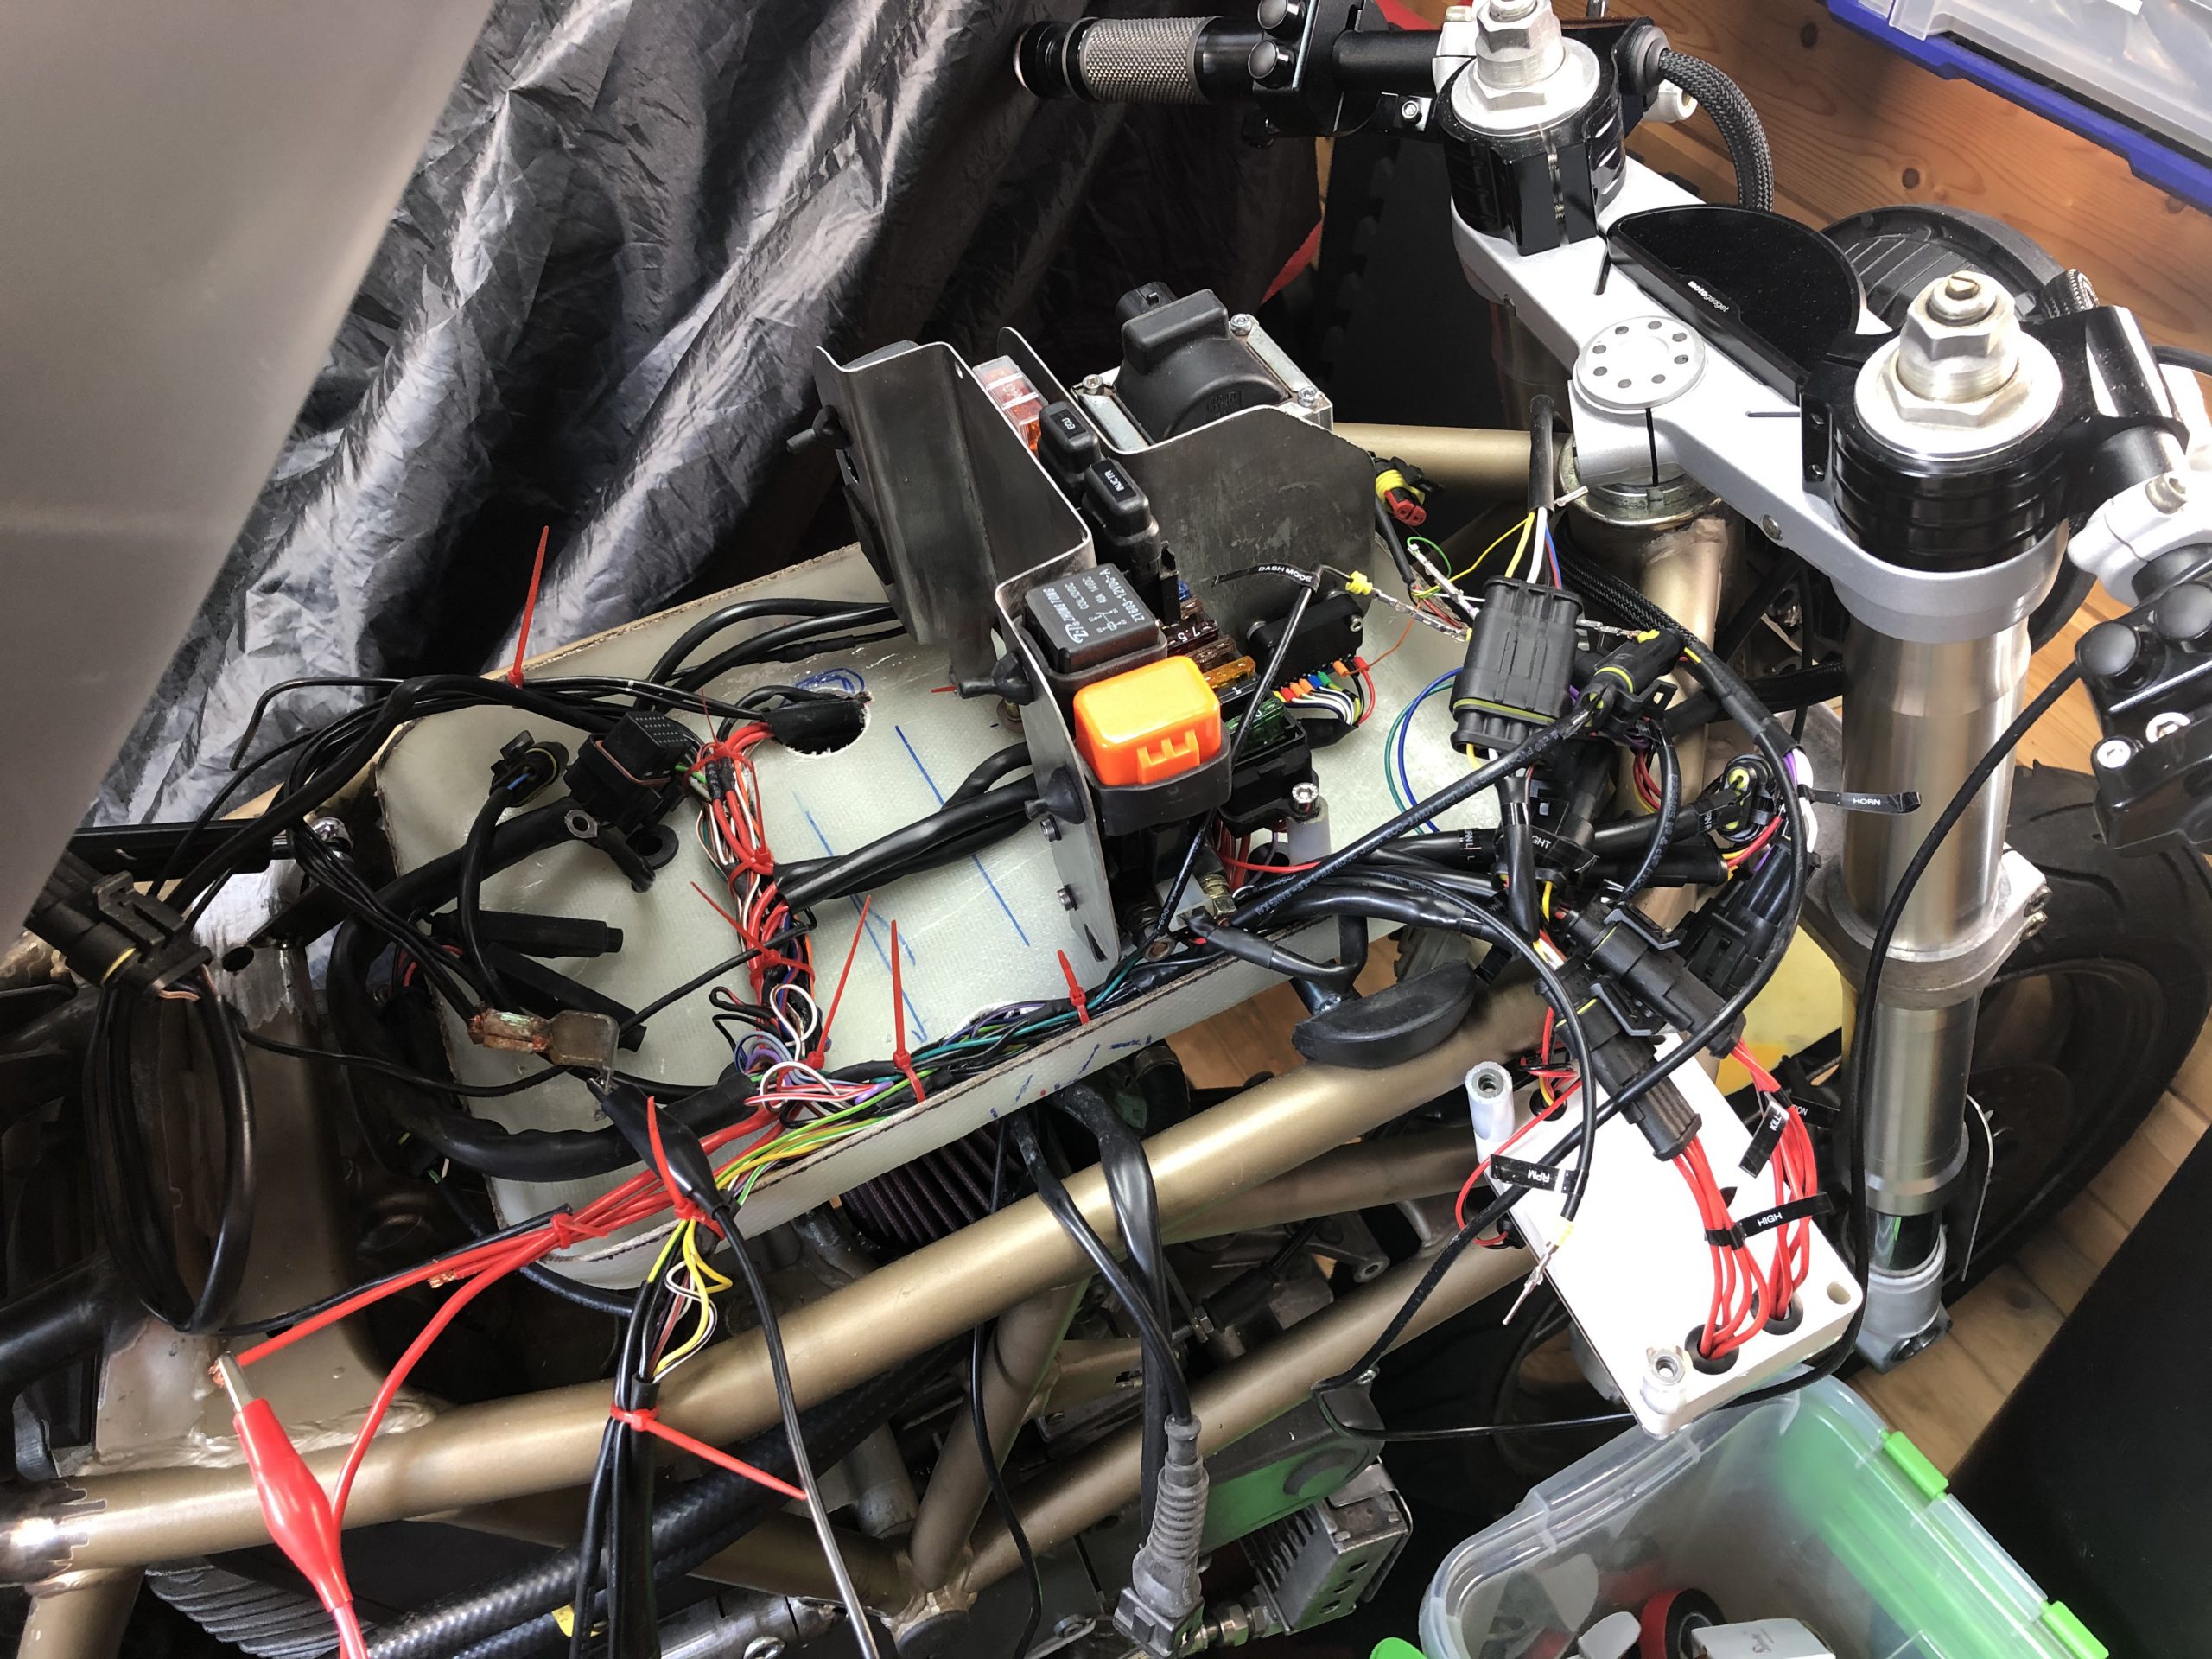
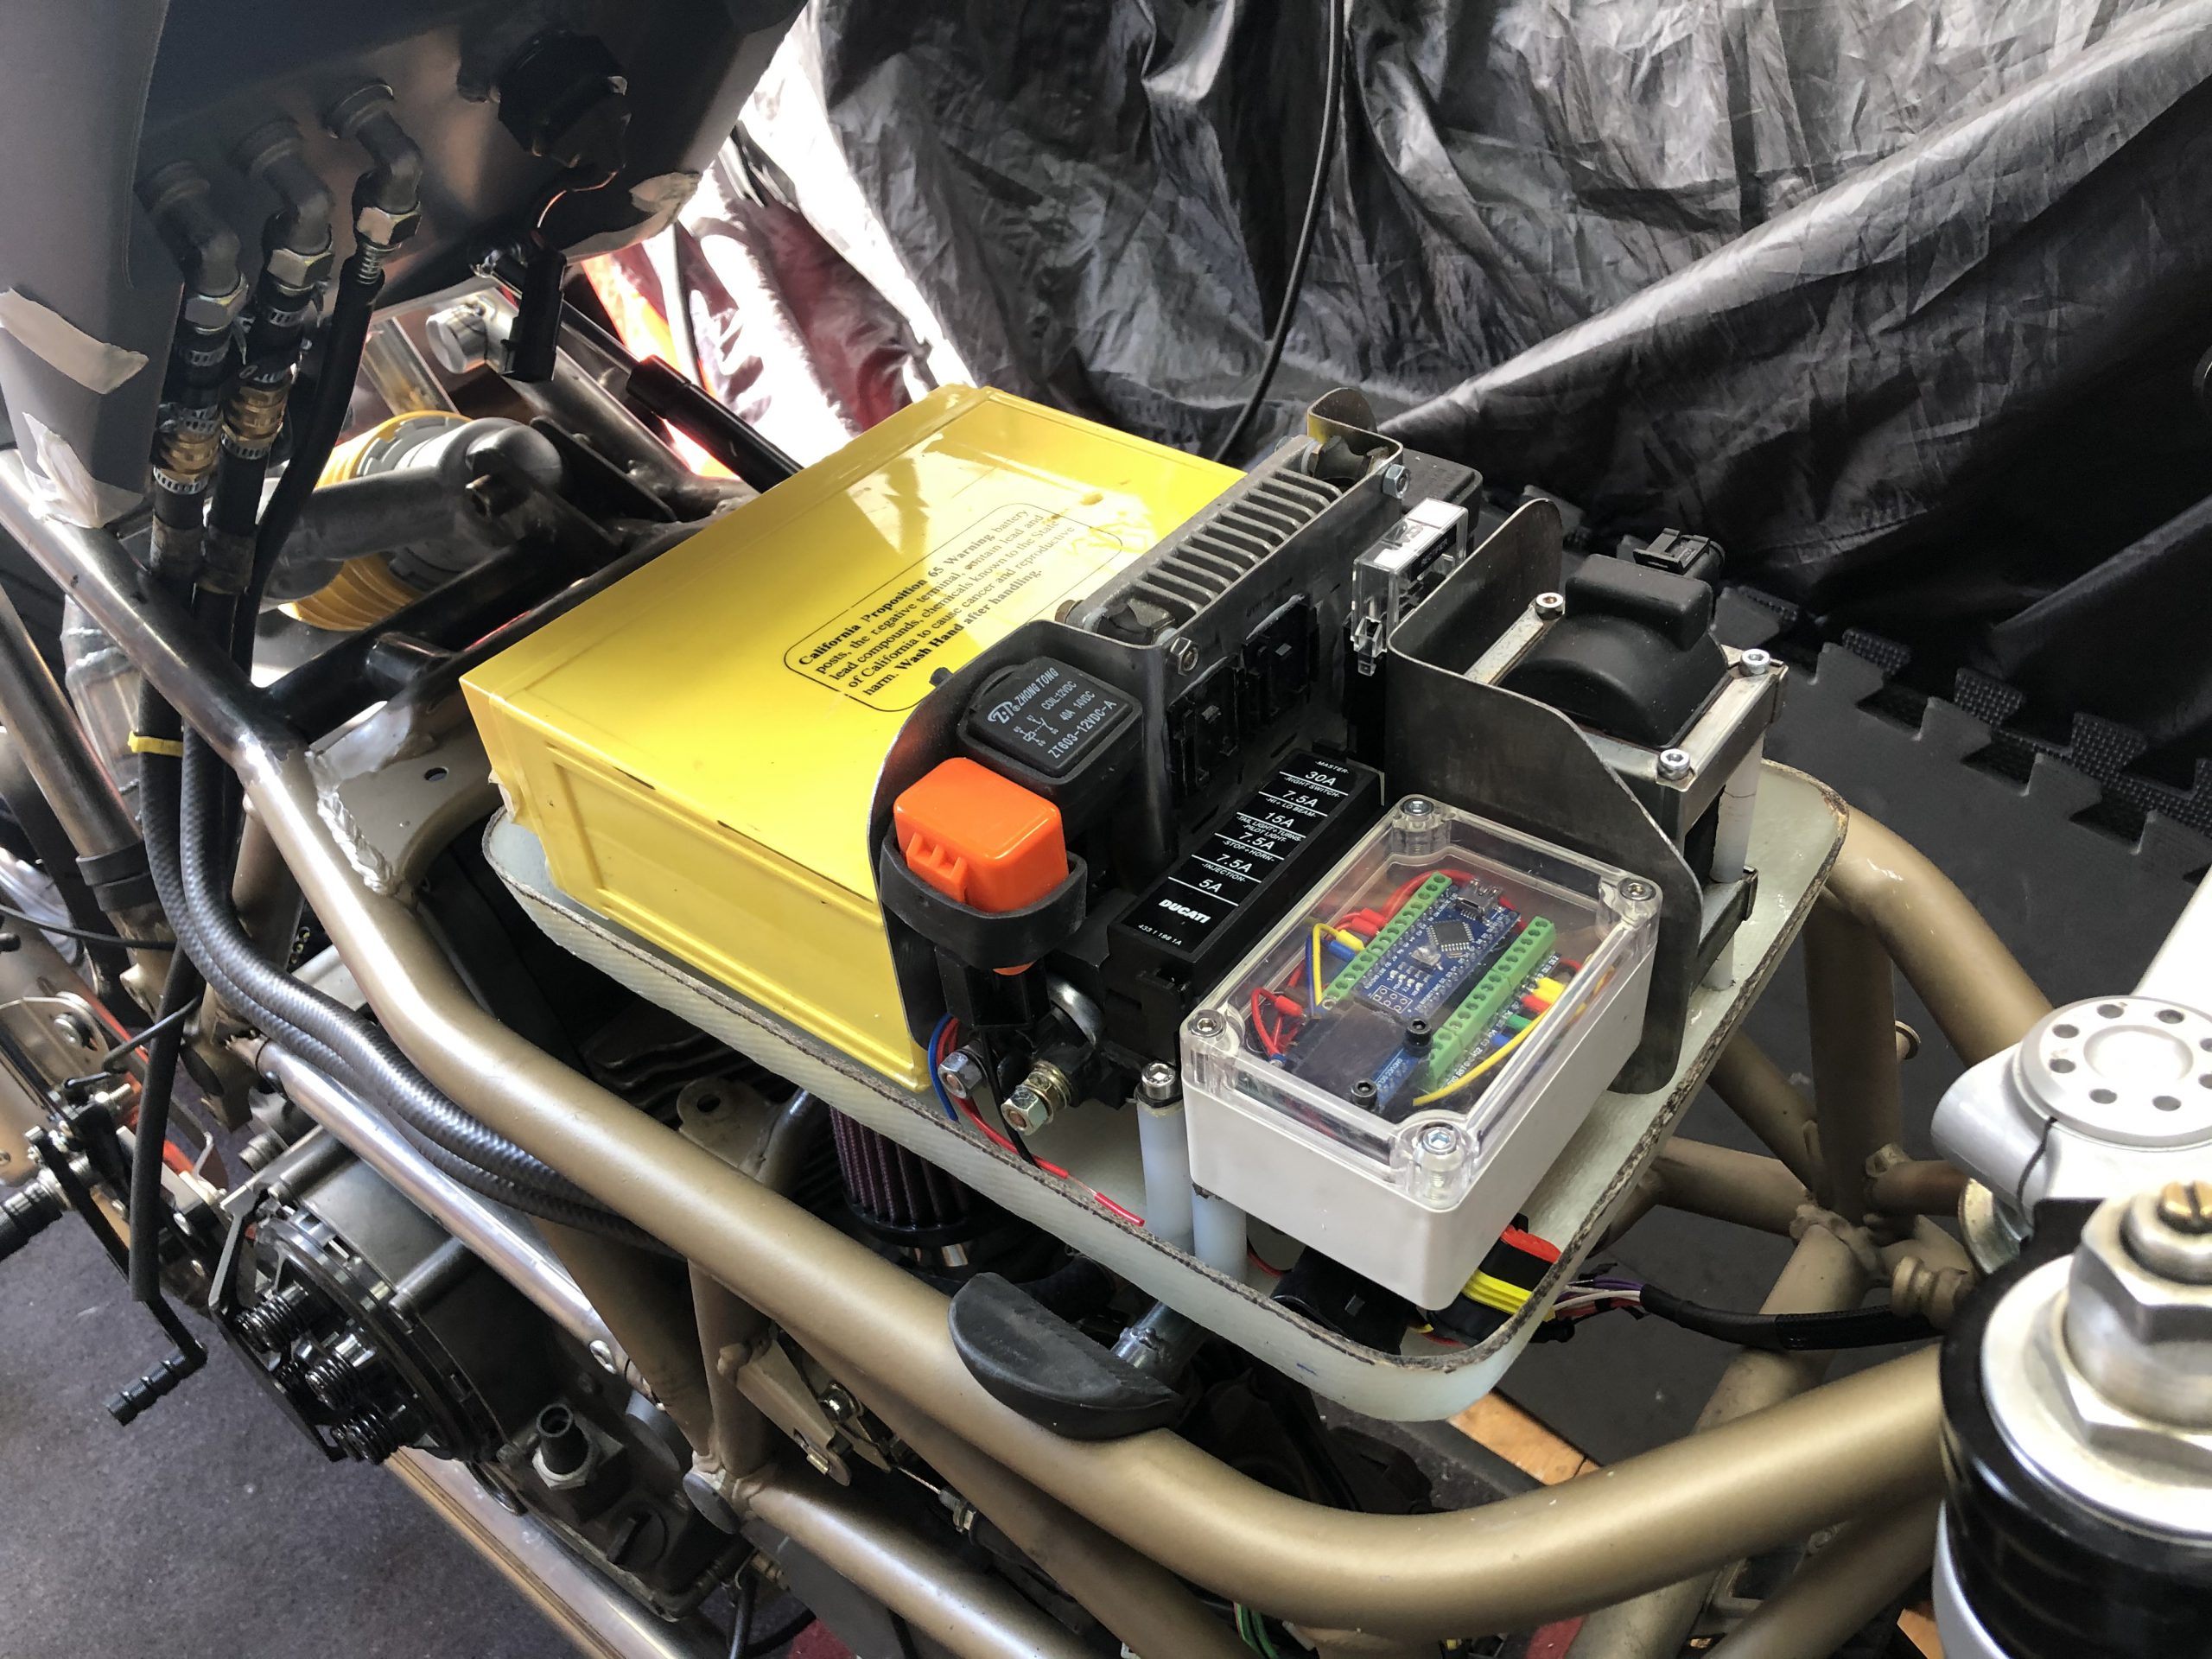
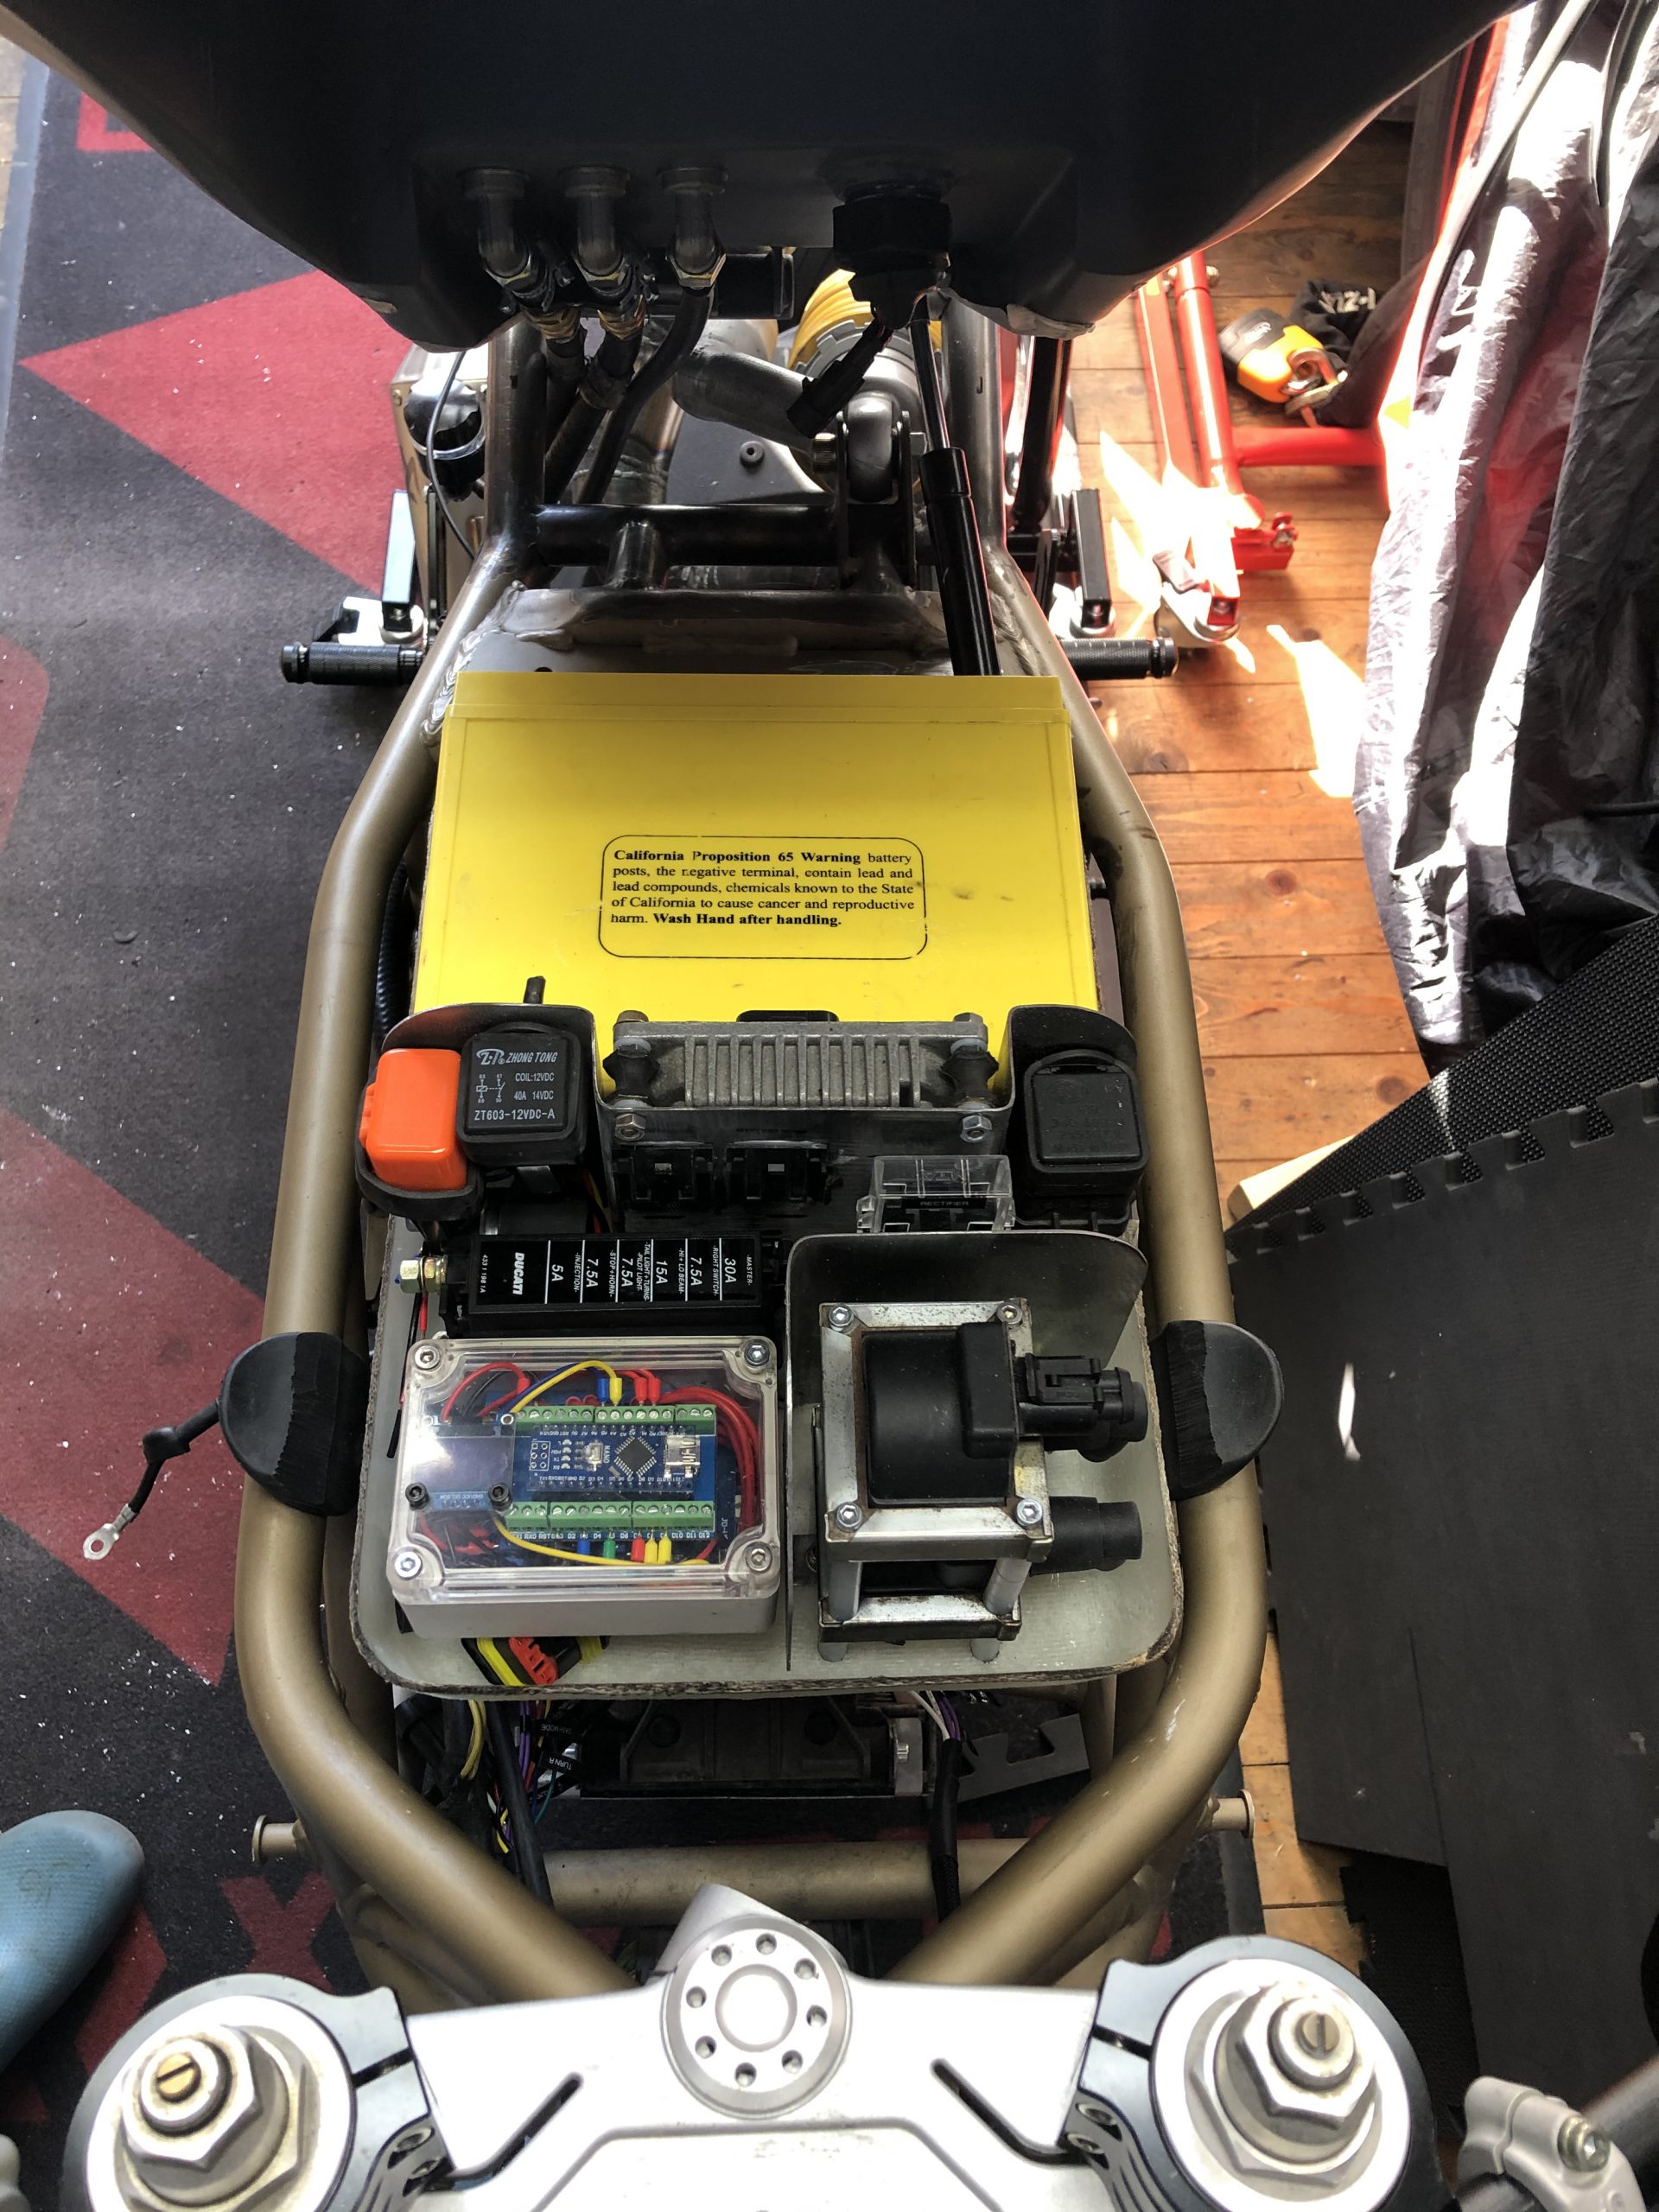
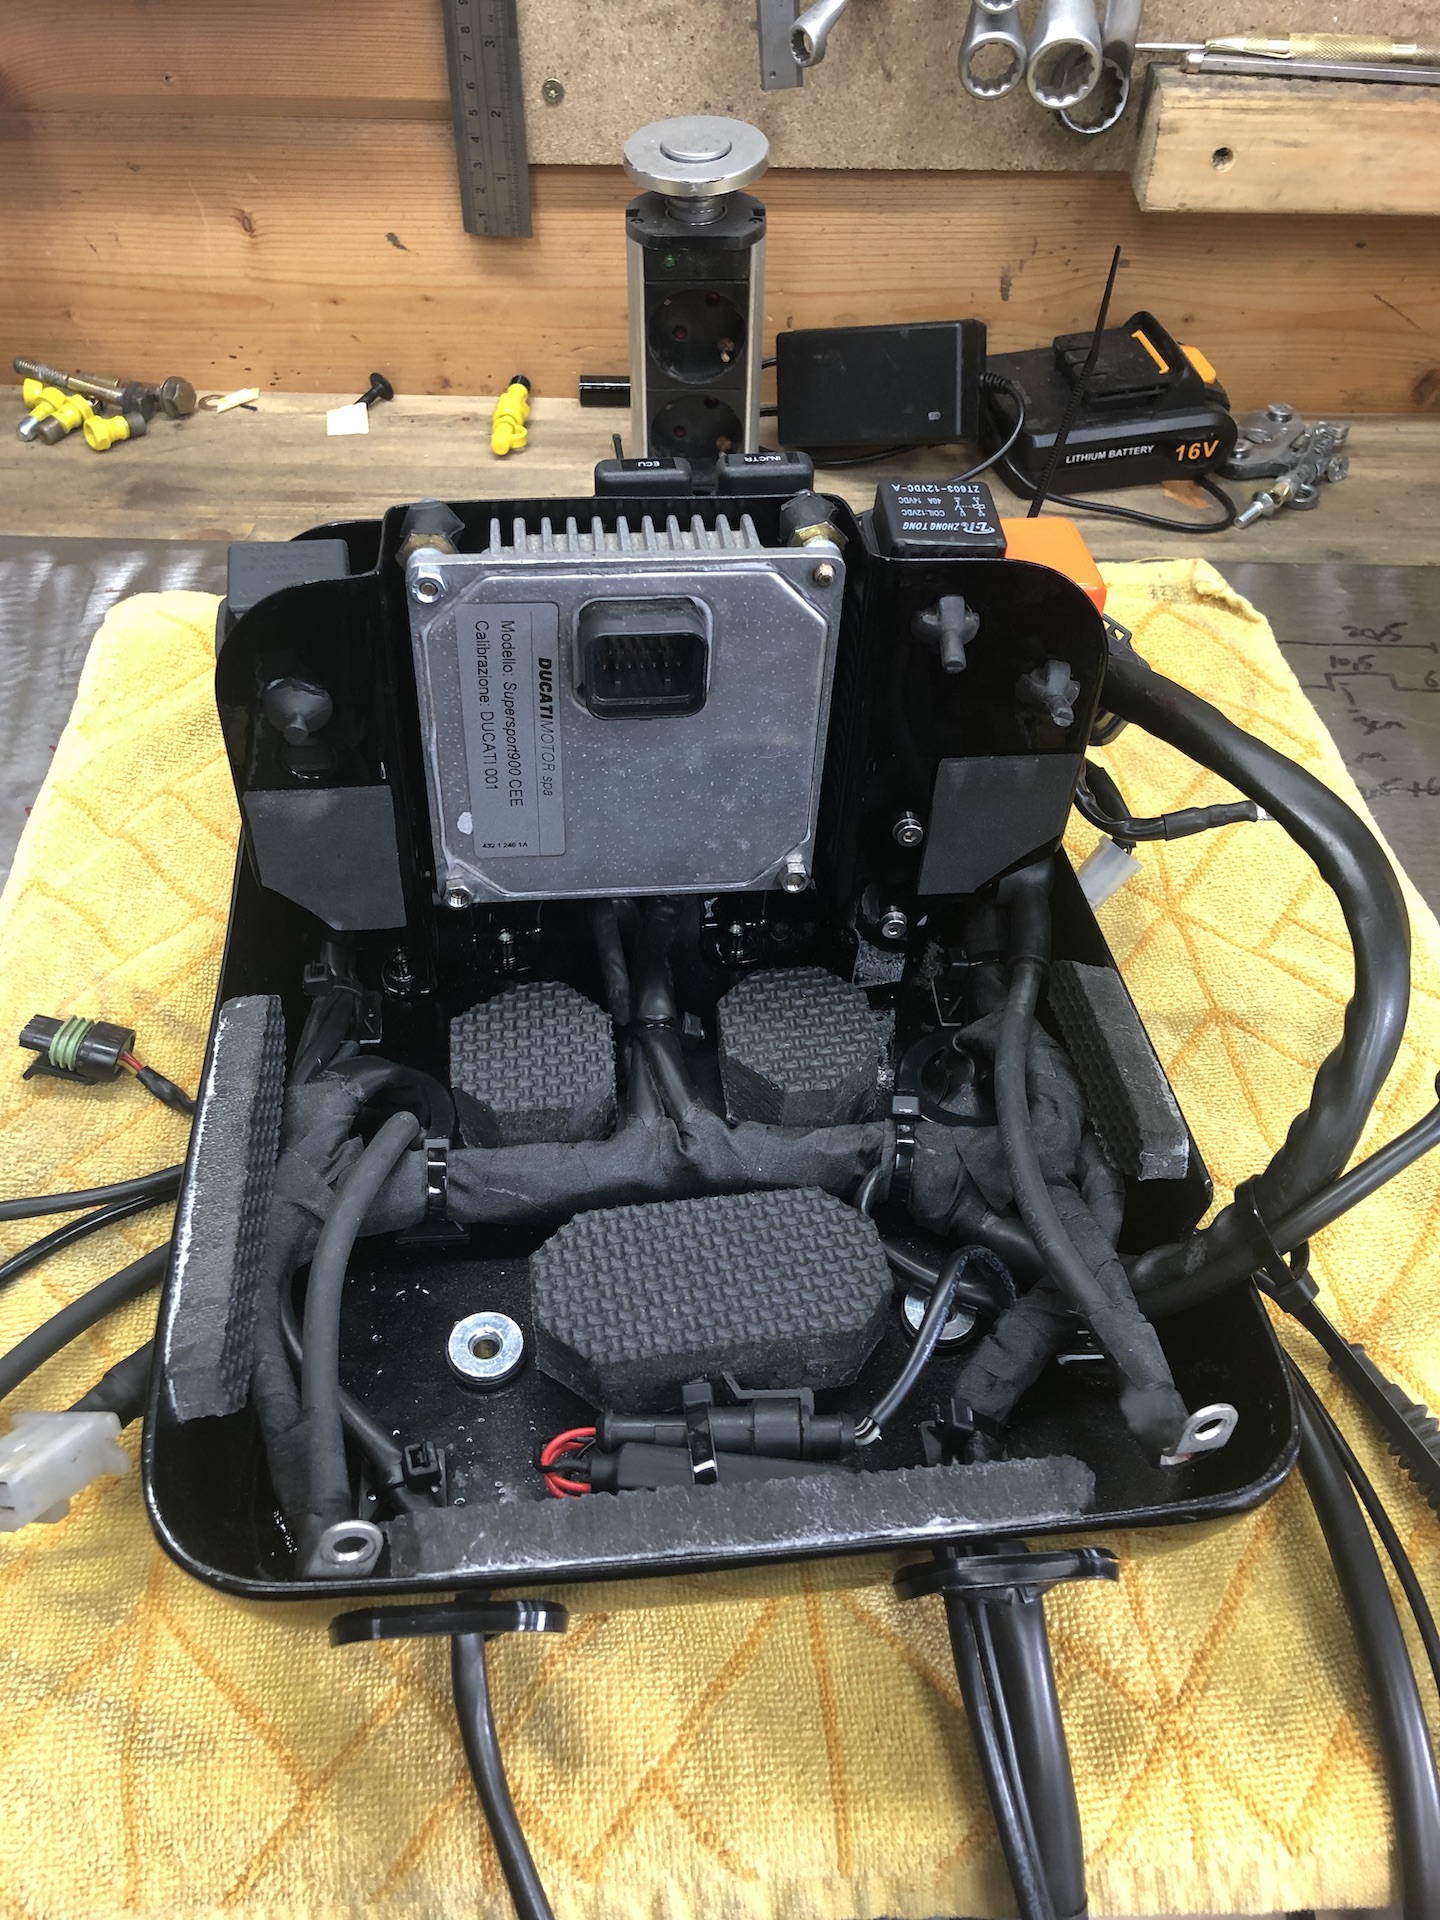
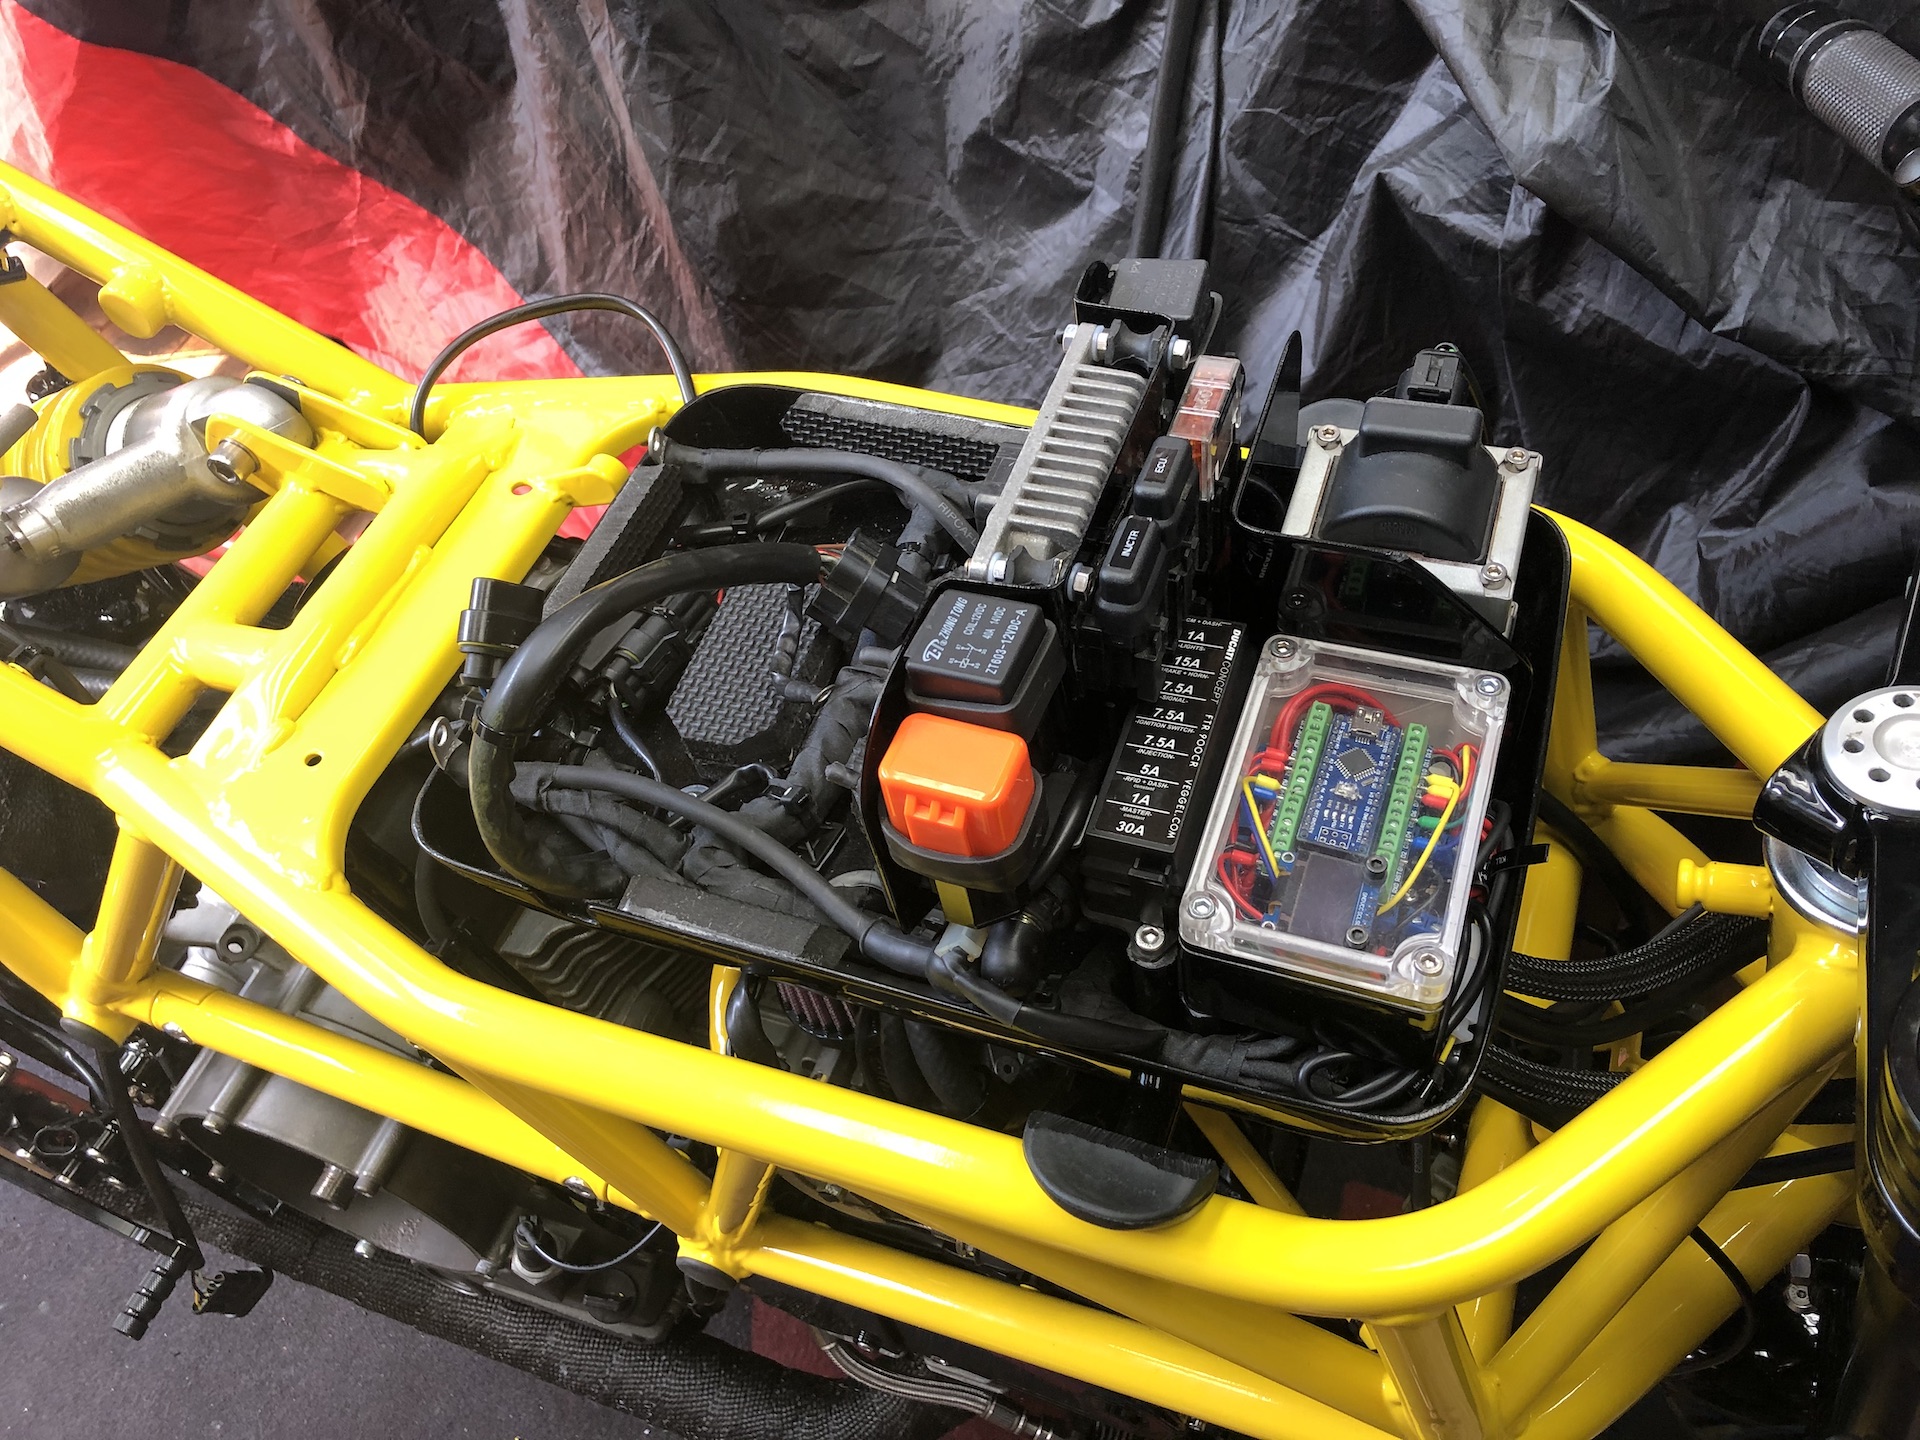
ELECTRONICS TRAY
Build a fiberglass tray that fits under the fuel tank to store the battery and all the electronics. Trying to fit as much stuff in the tray and under the tank to make sure you can see right trough the frame without any cables.

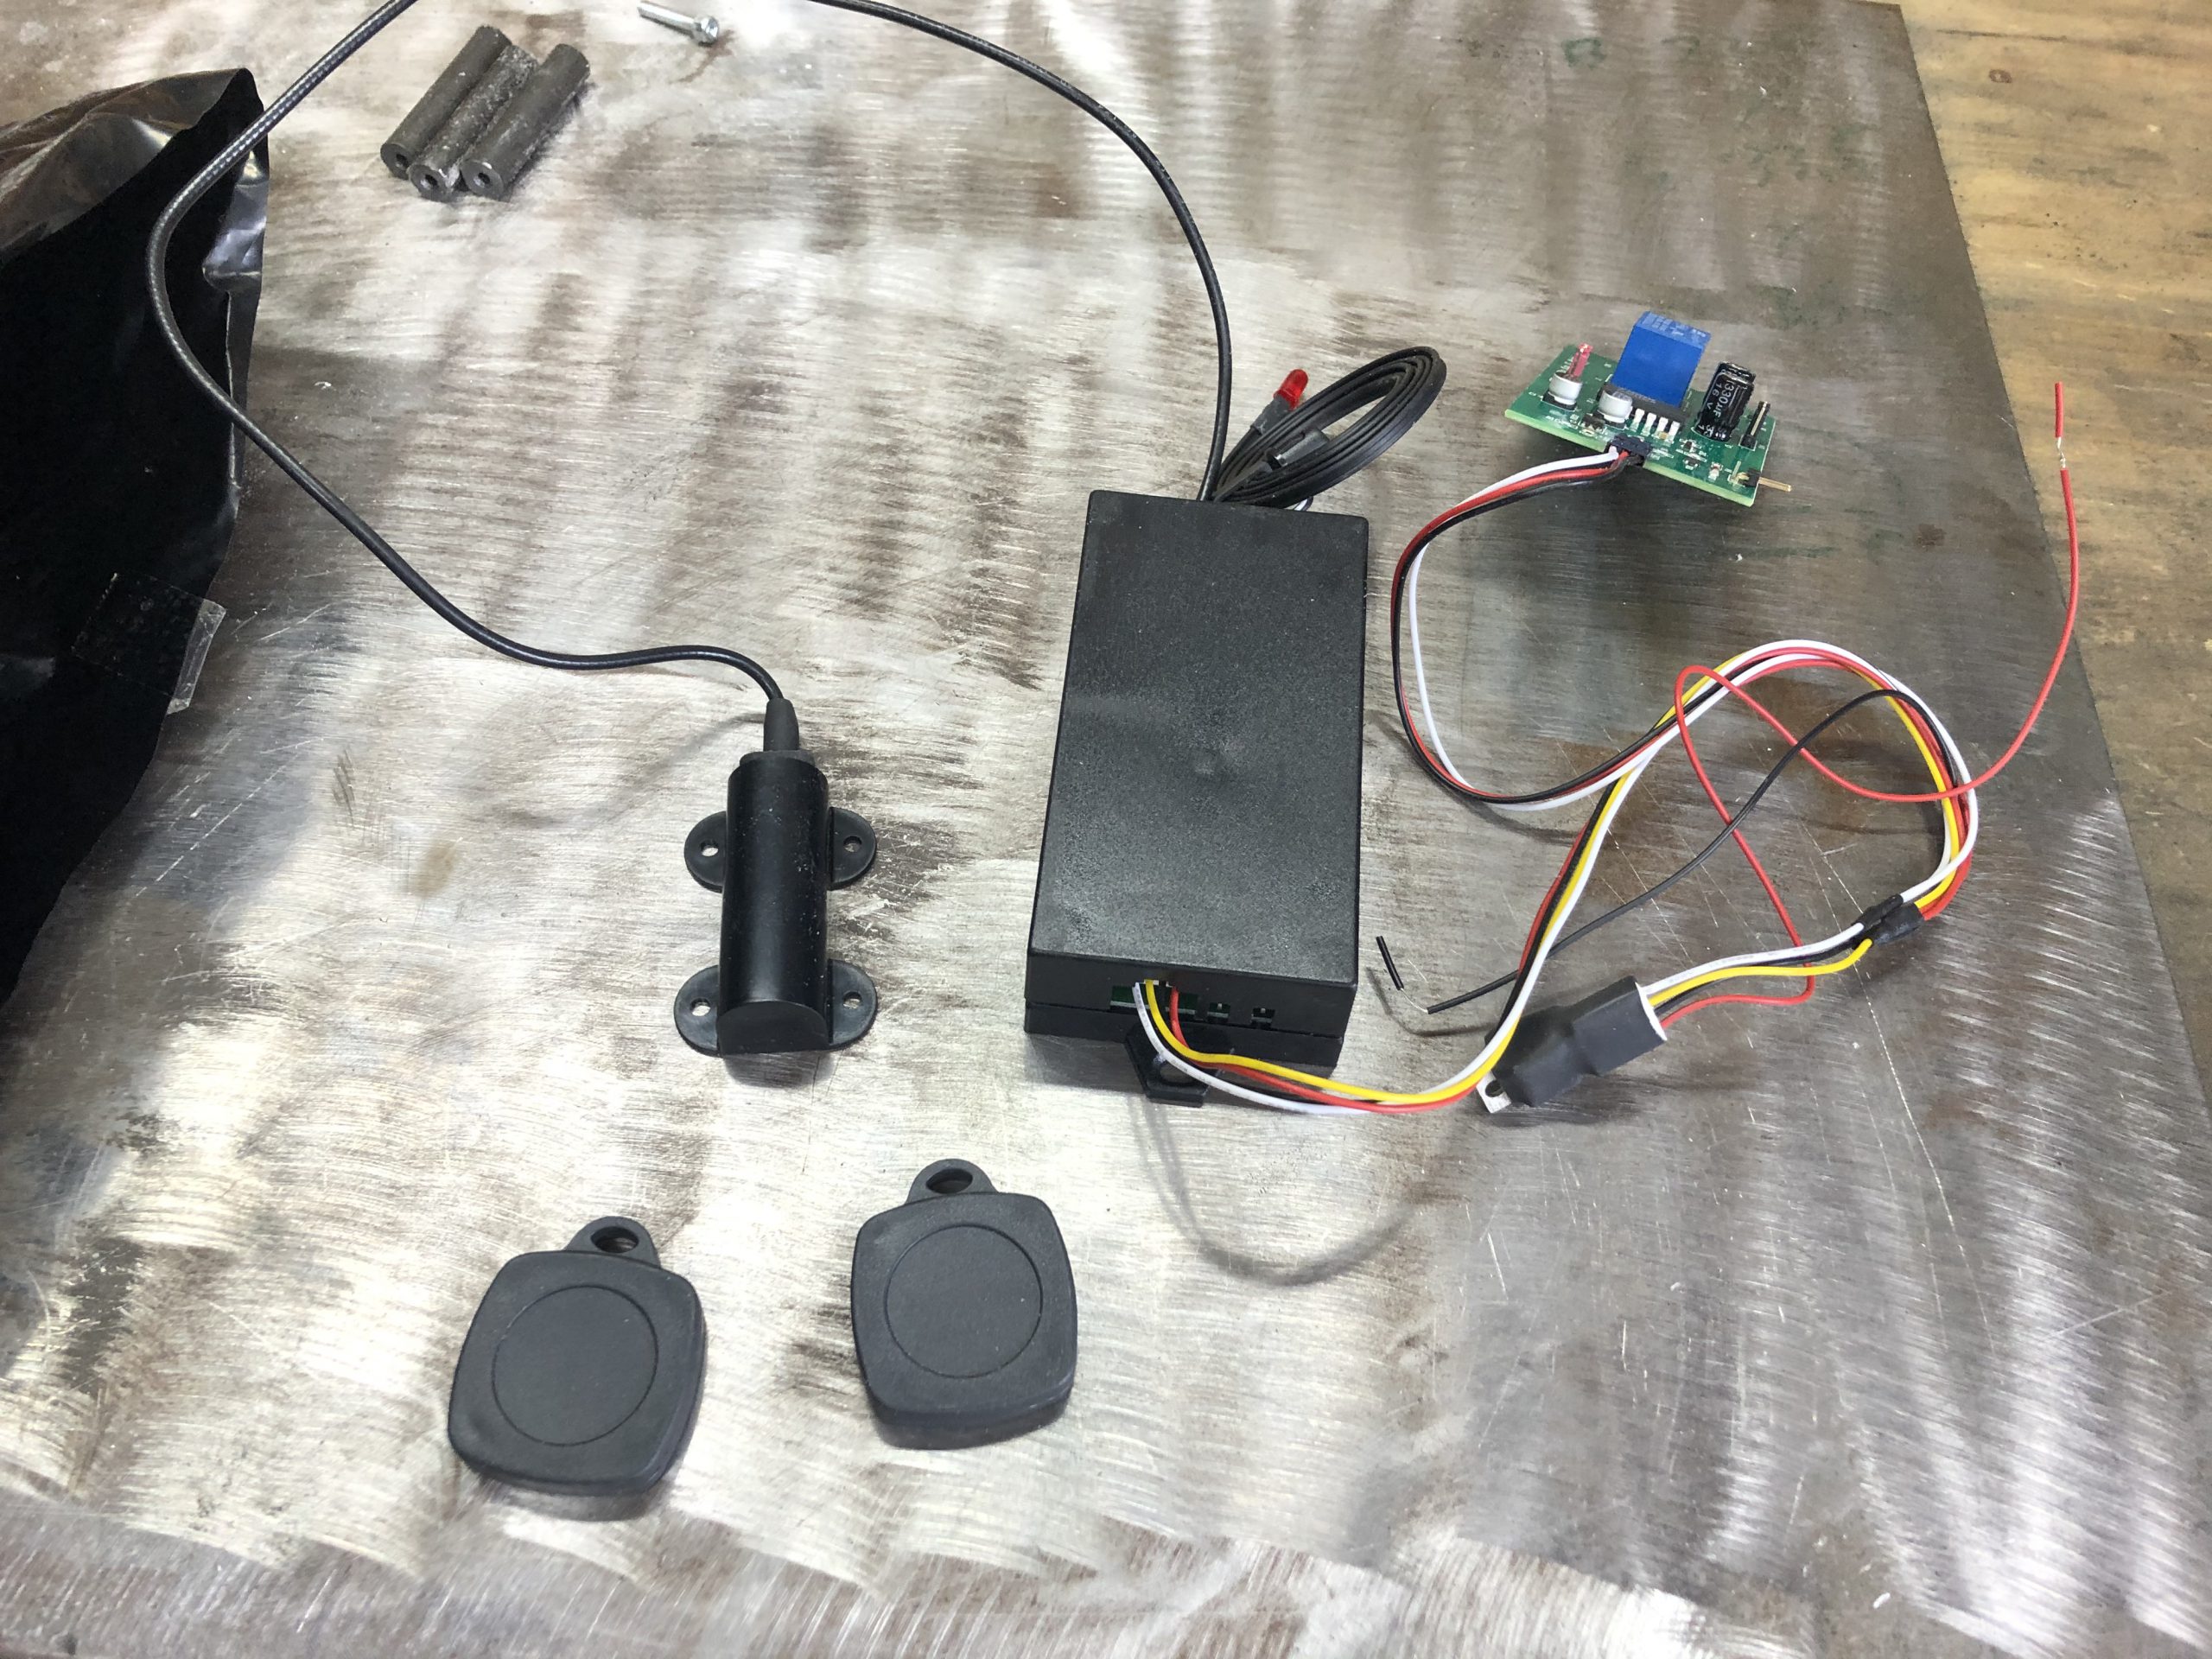
THE JOURNEY TO RFID IGNITION
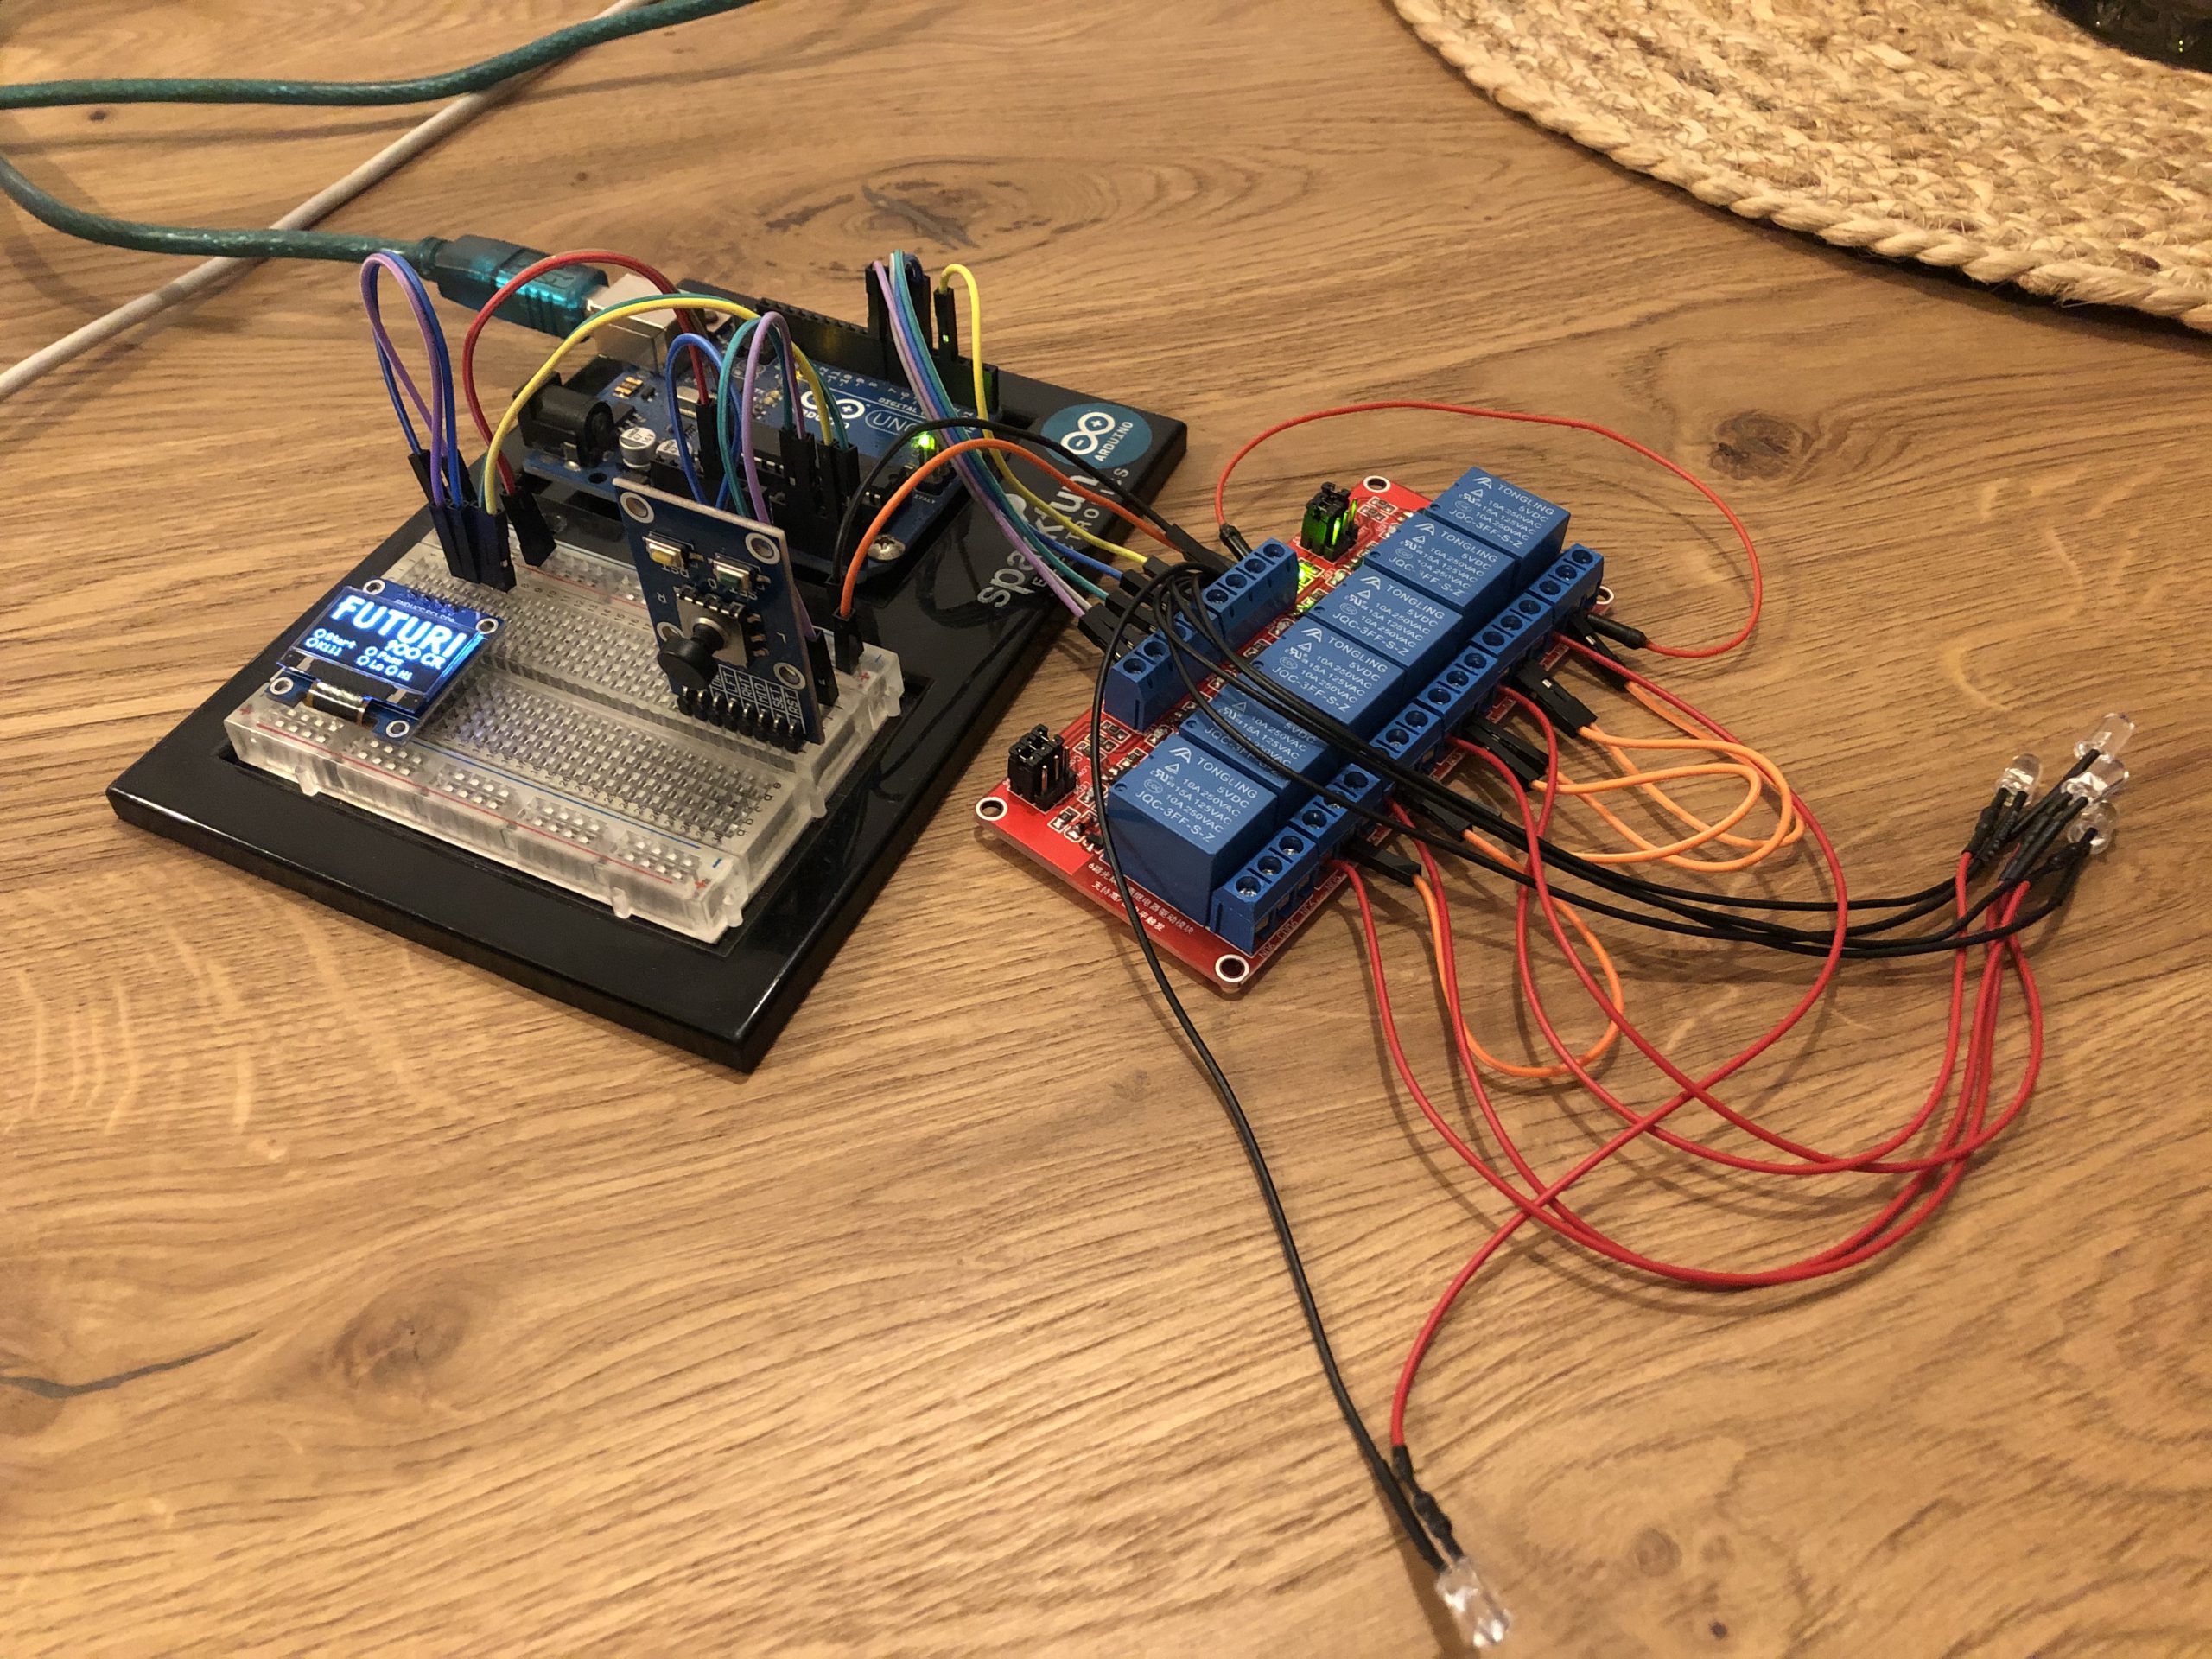
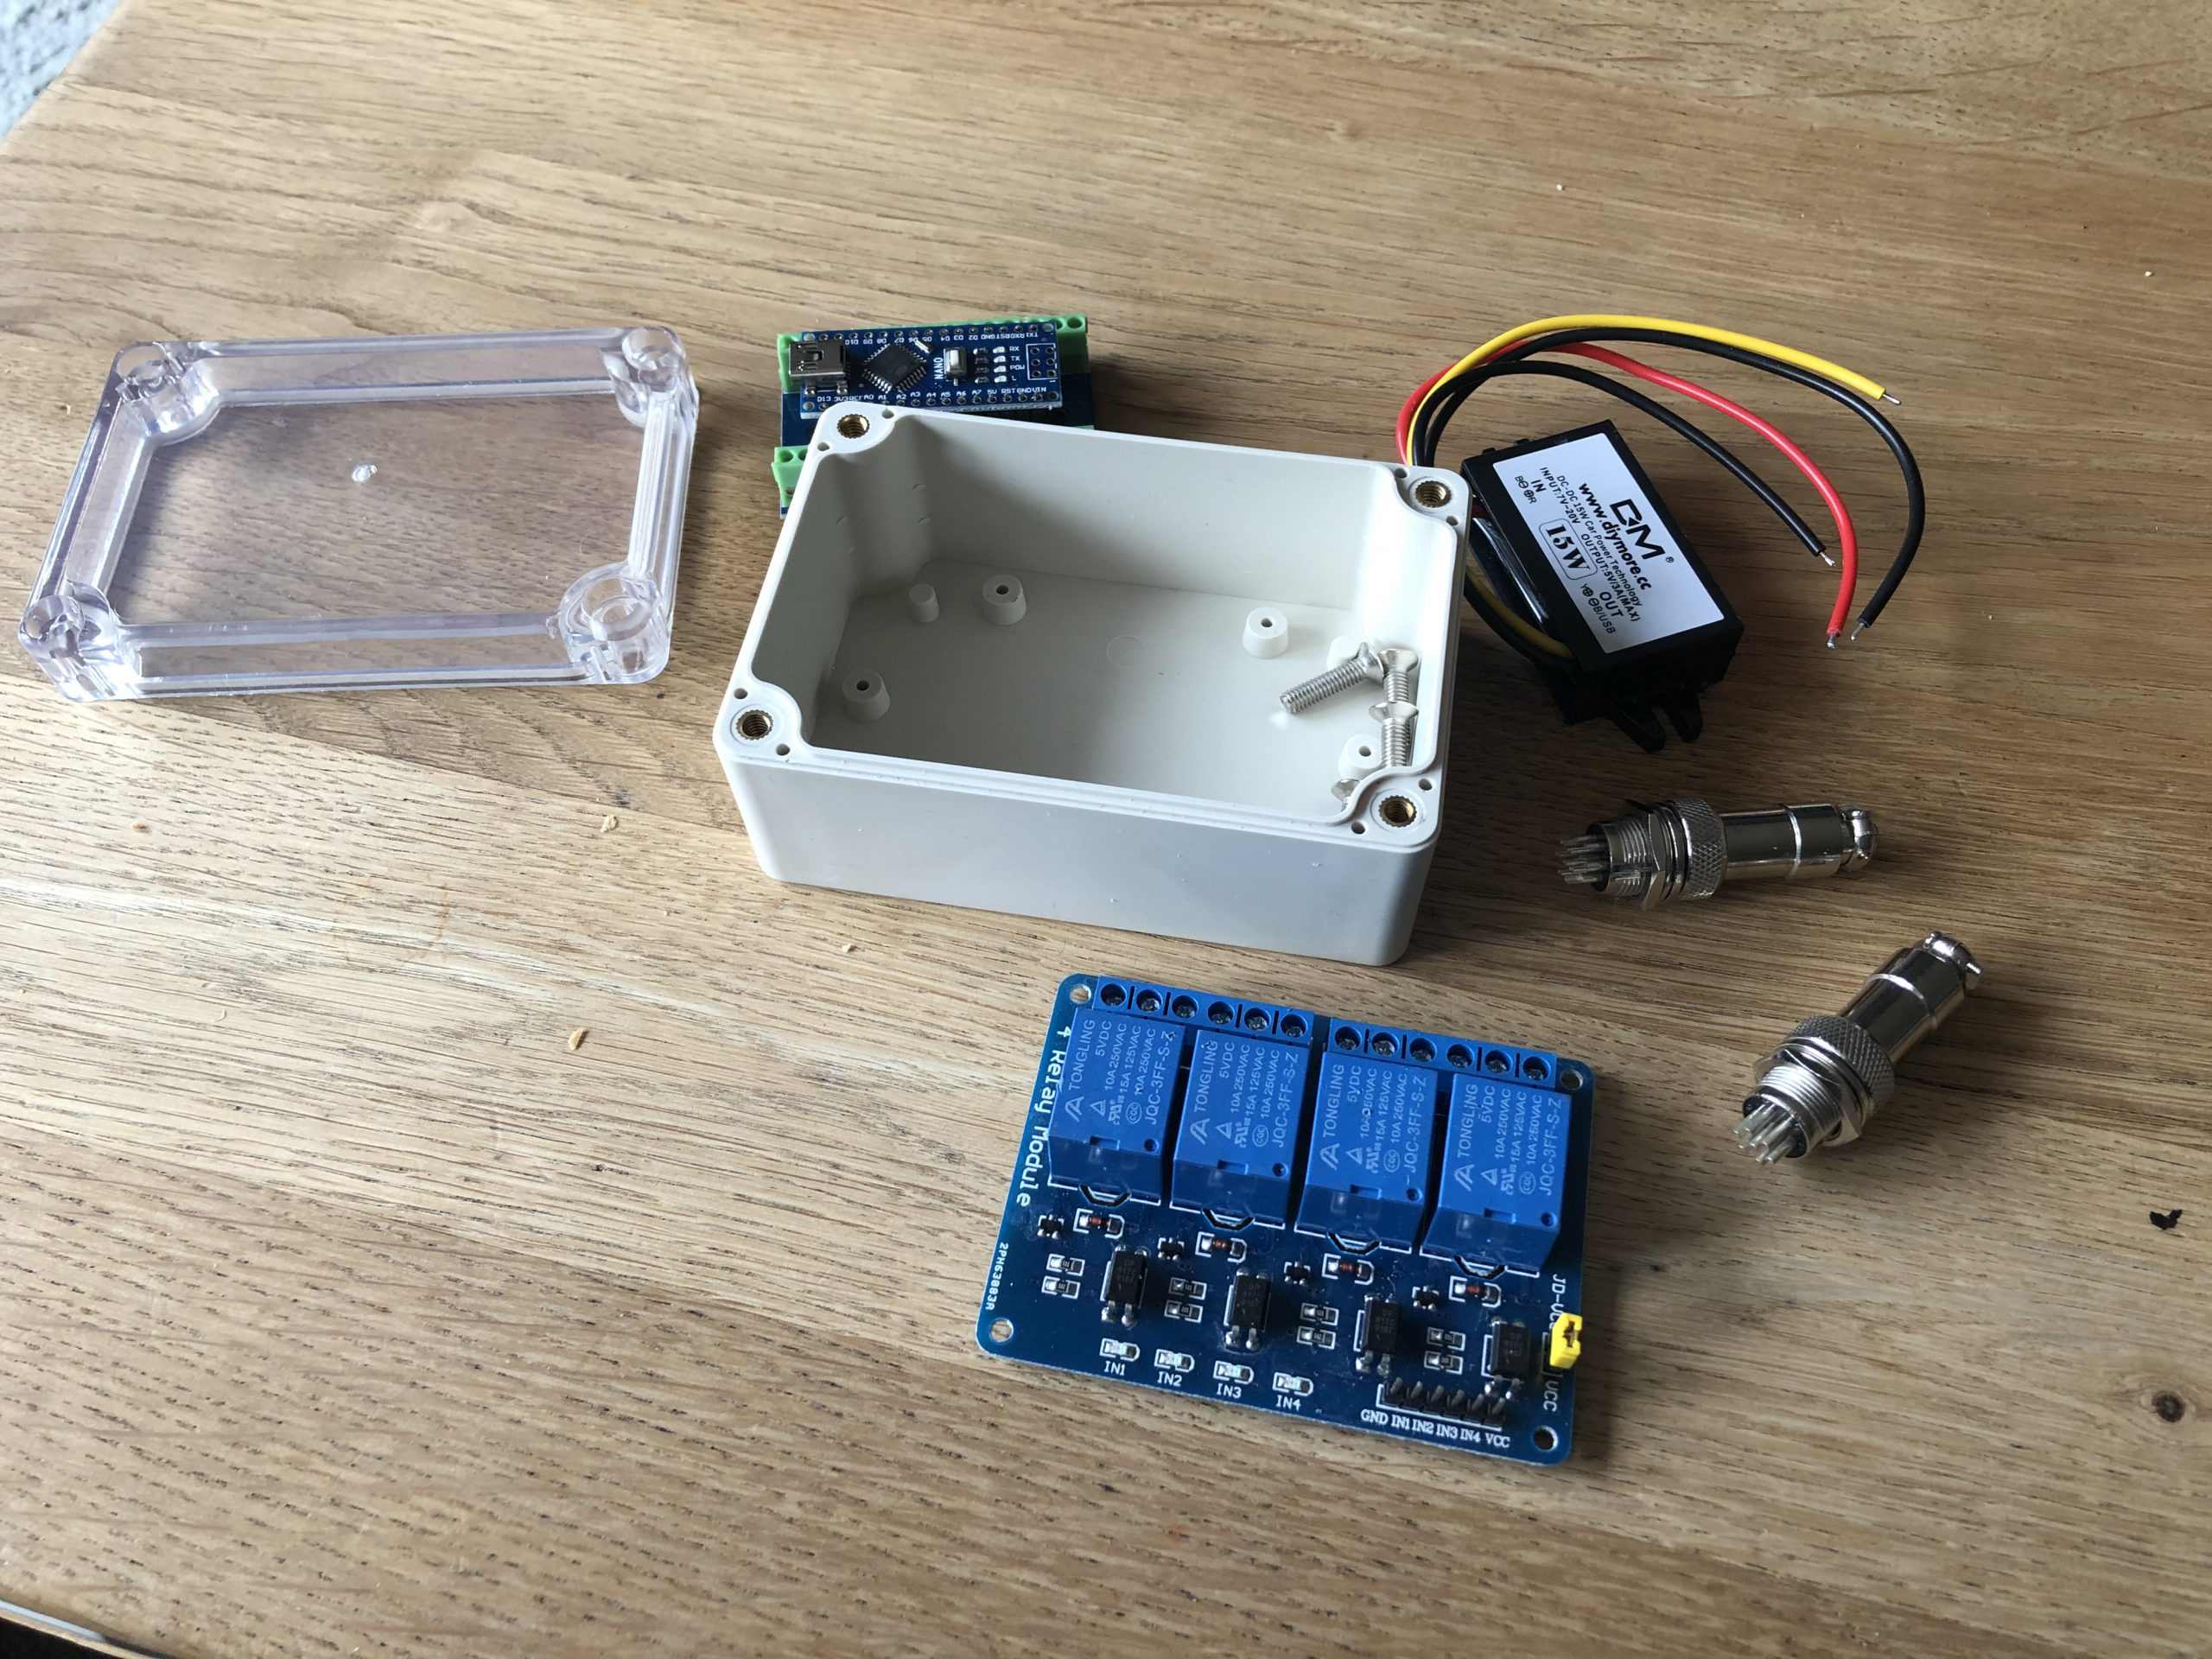
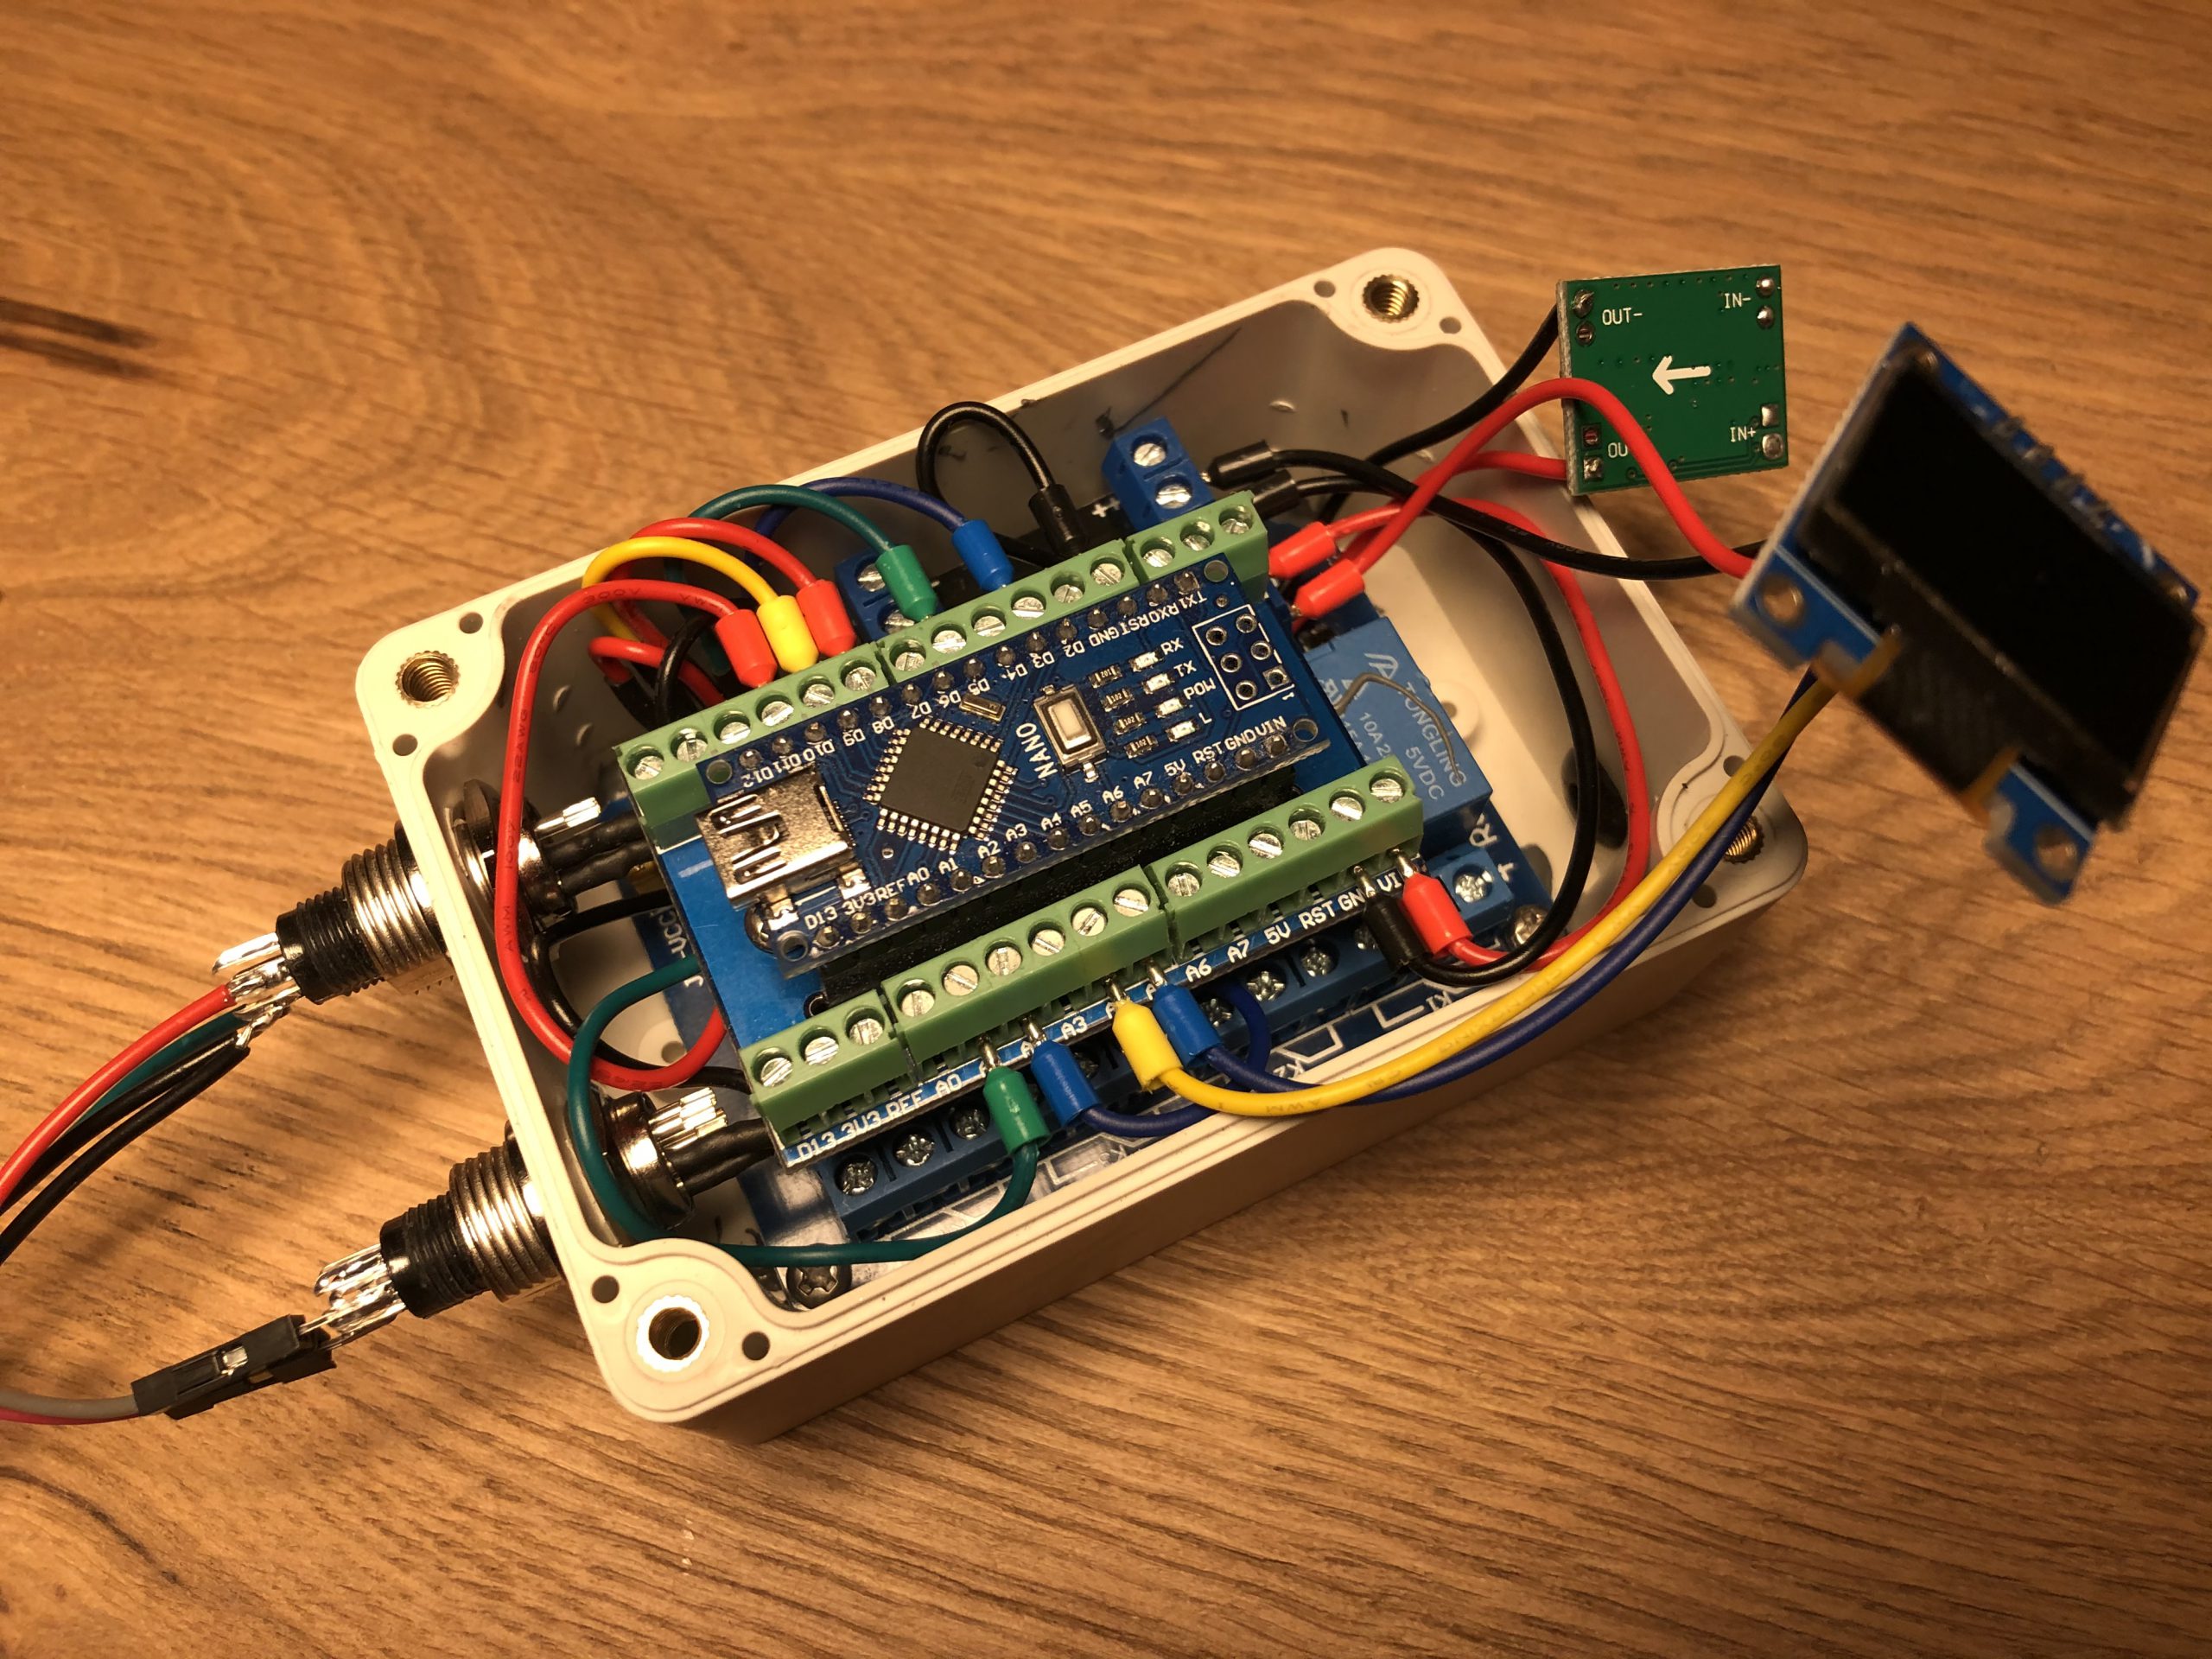
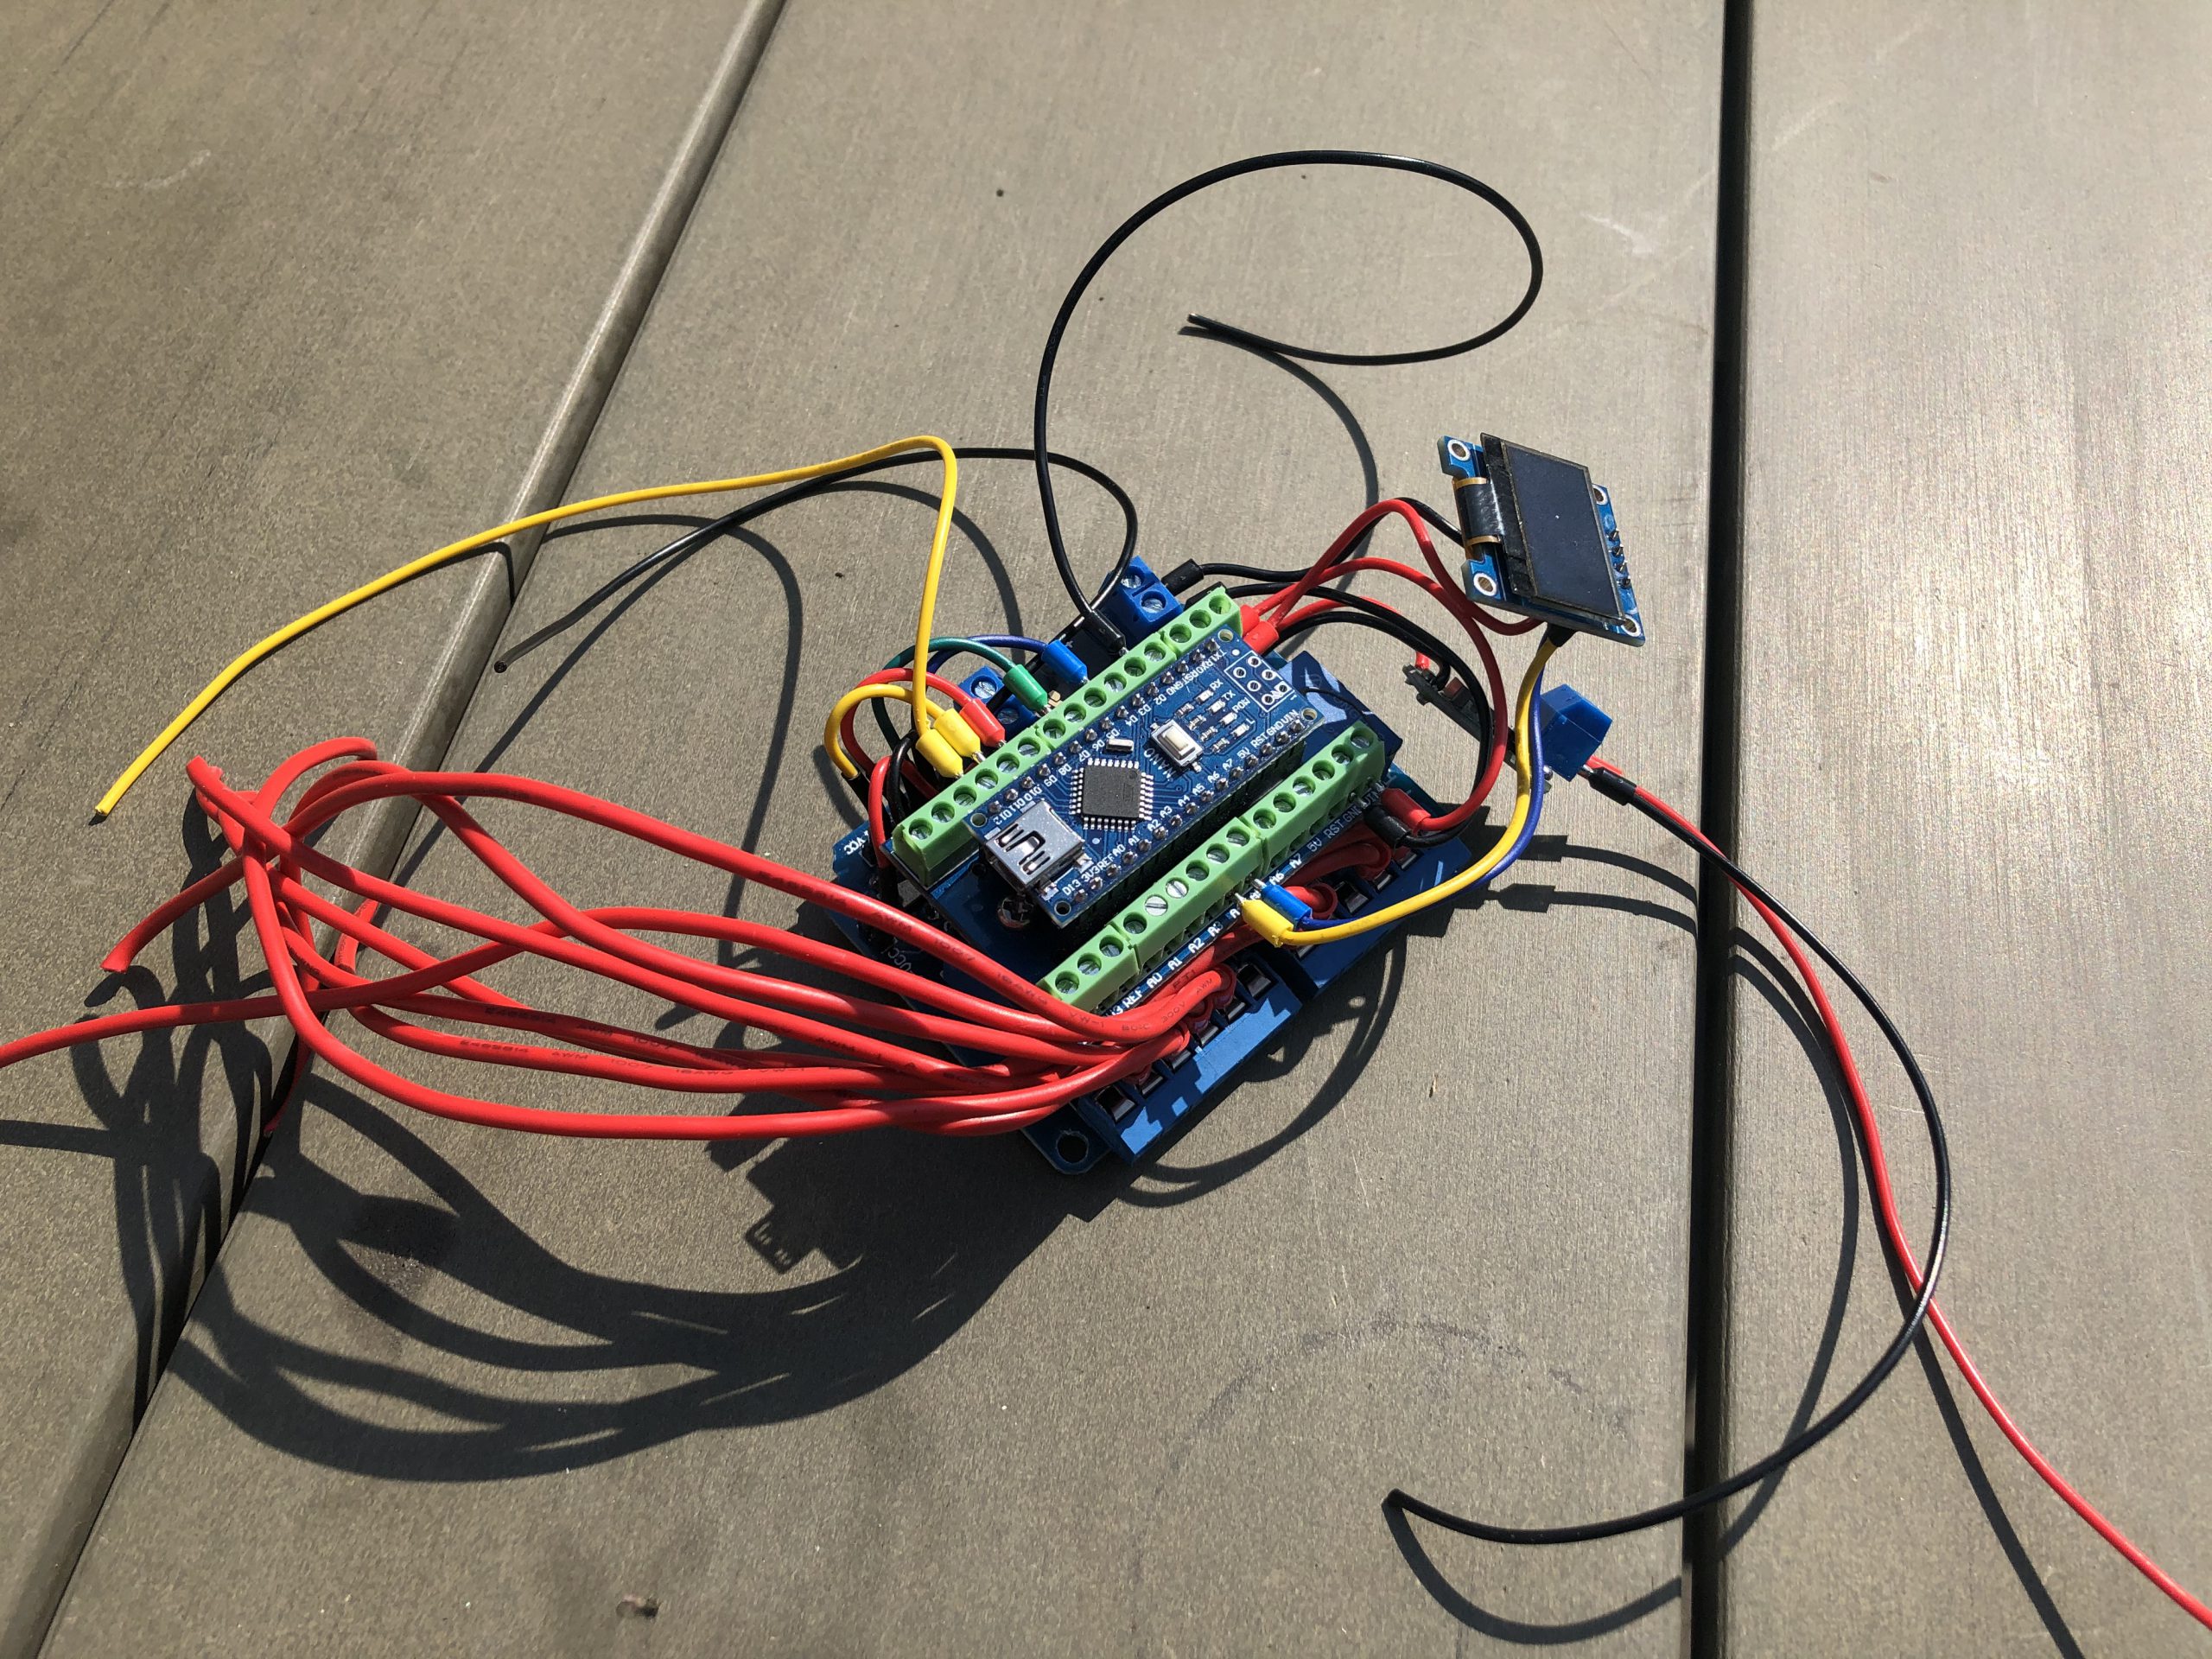
I wanted a keyless ignition solution from the start of the project. Way cleaner! However i didnt want to break my bank at the beginning and looked for cheaper alternatives.
- First off i tried to develop the hard and software myself using Arduino. No-go. Not safe and failproof enough..
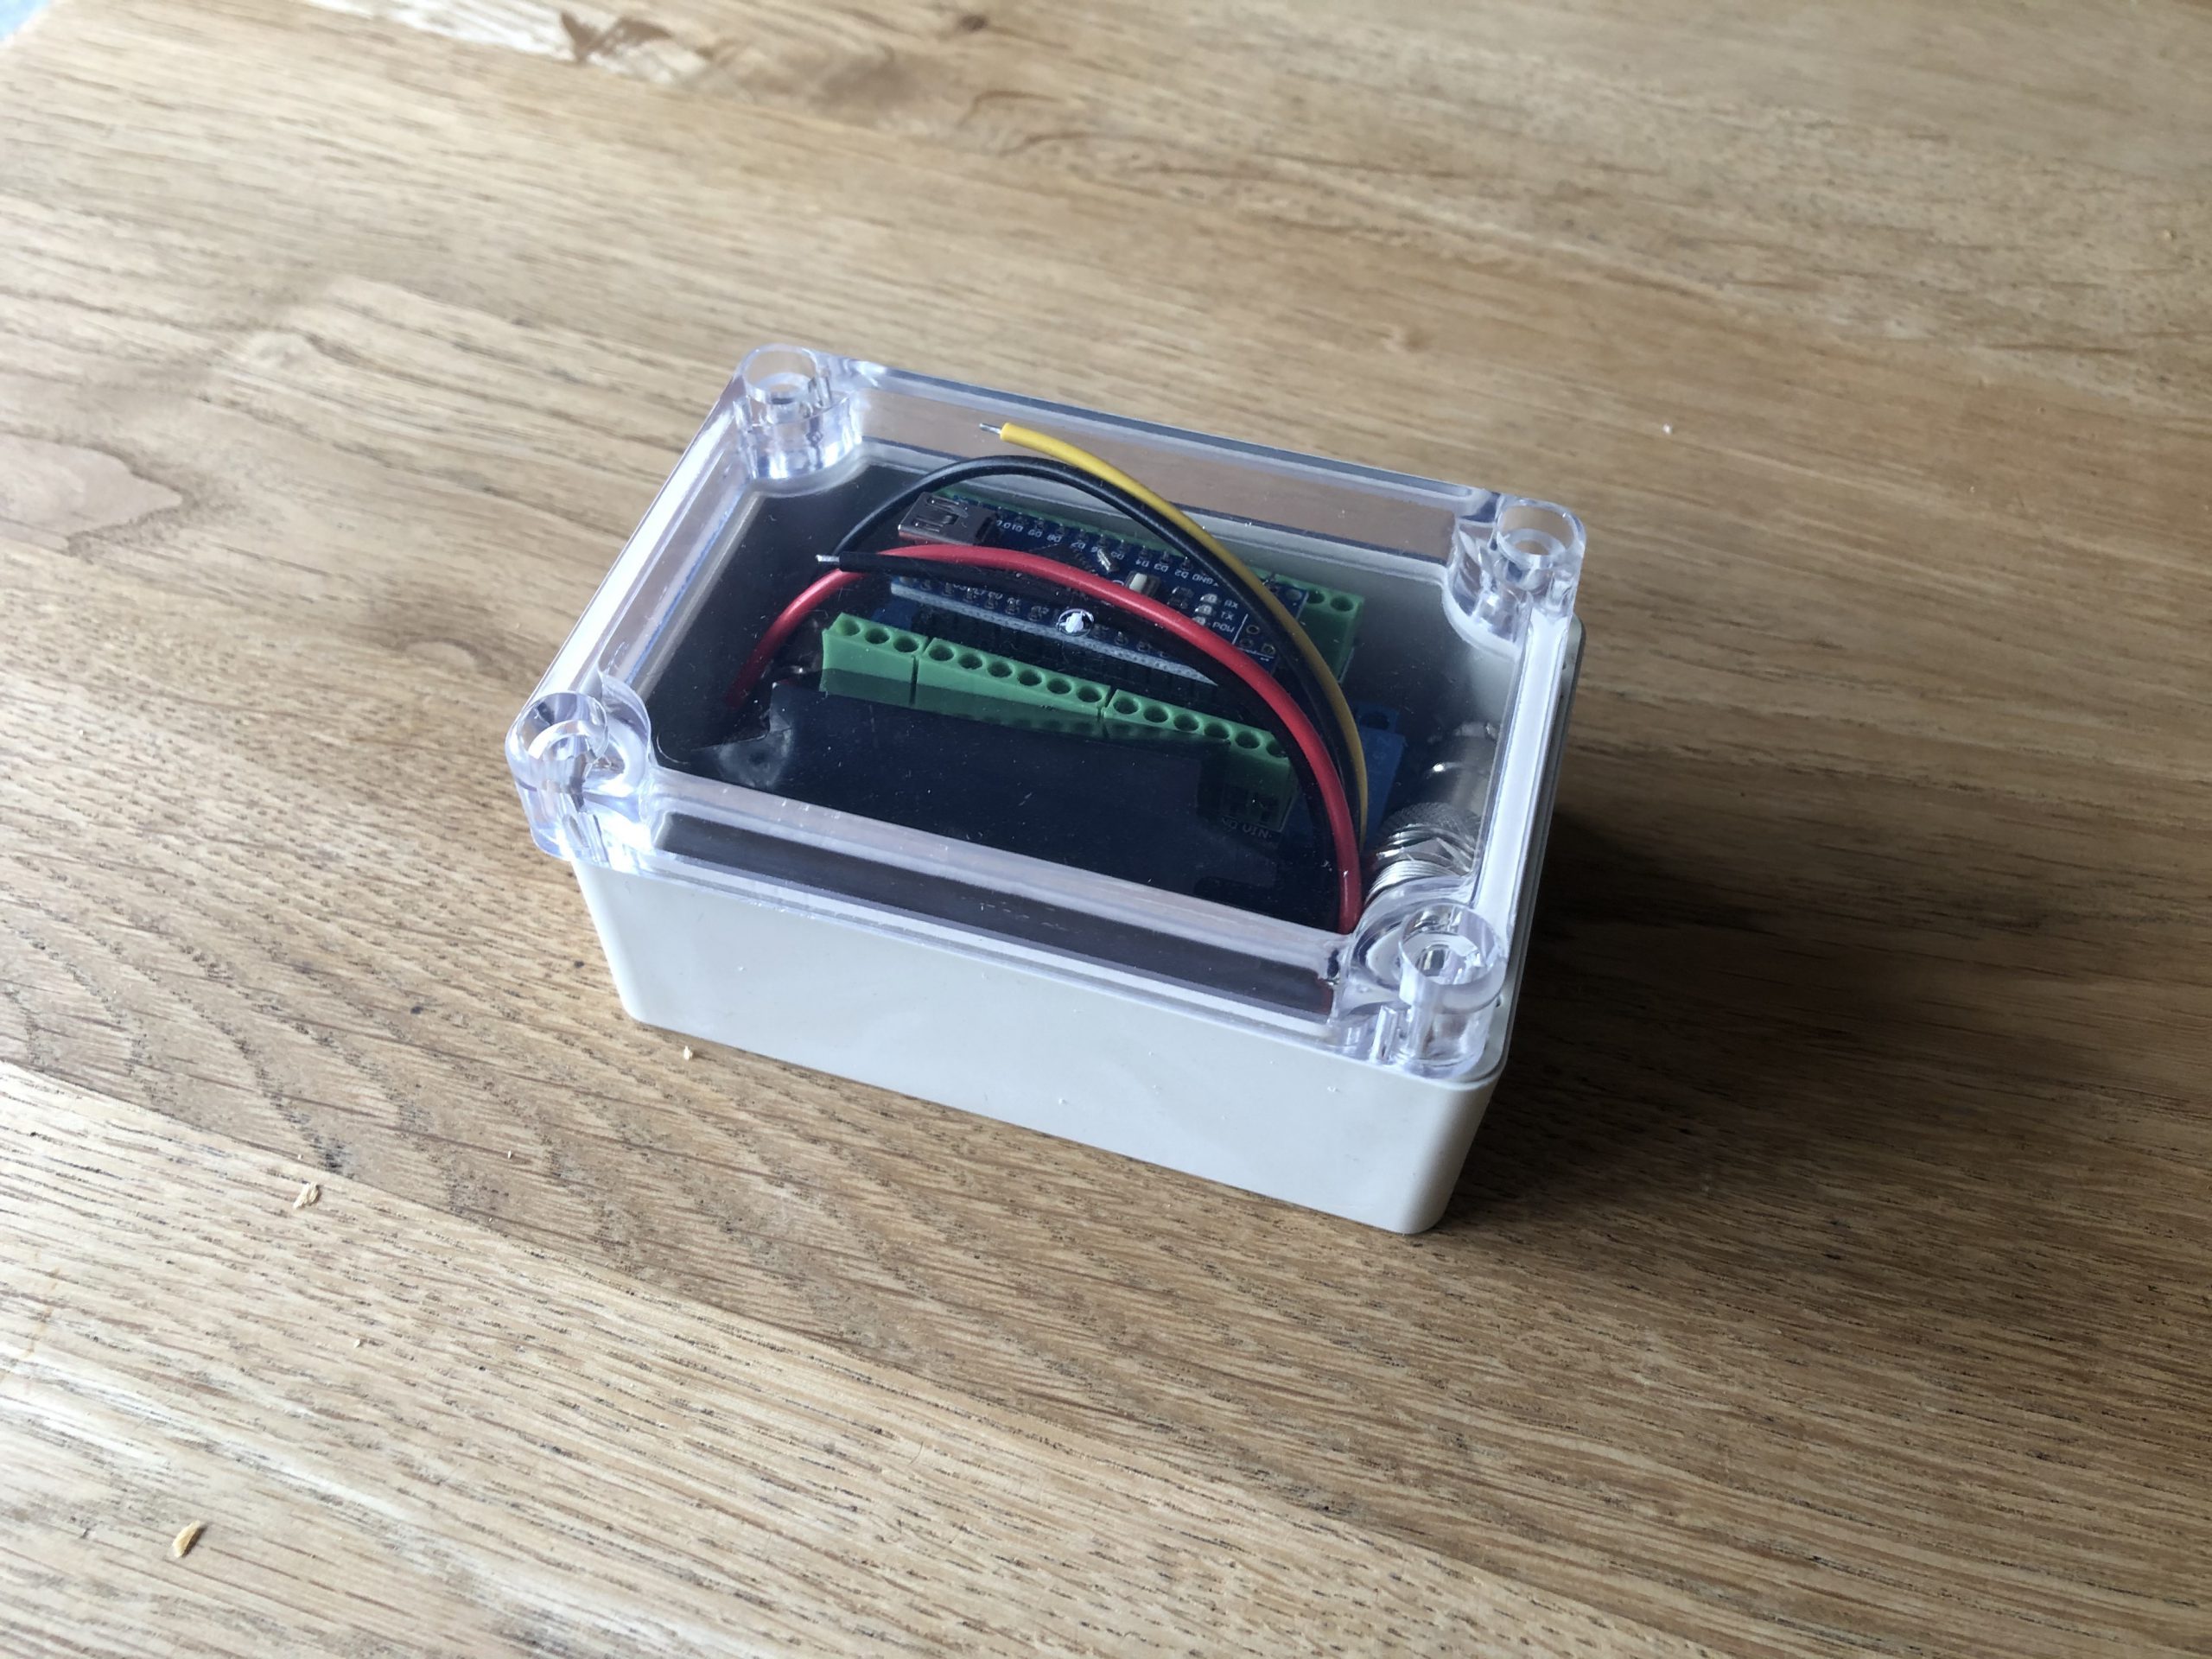
- I found a kit that did exactly the same as the Motogadget solution however in a larger package for a way lower price. After some trial and error it just wasnt the right way to go. Also since i didnt have much space for electronics.
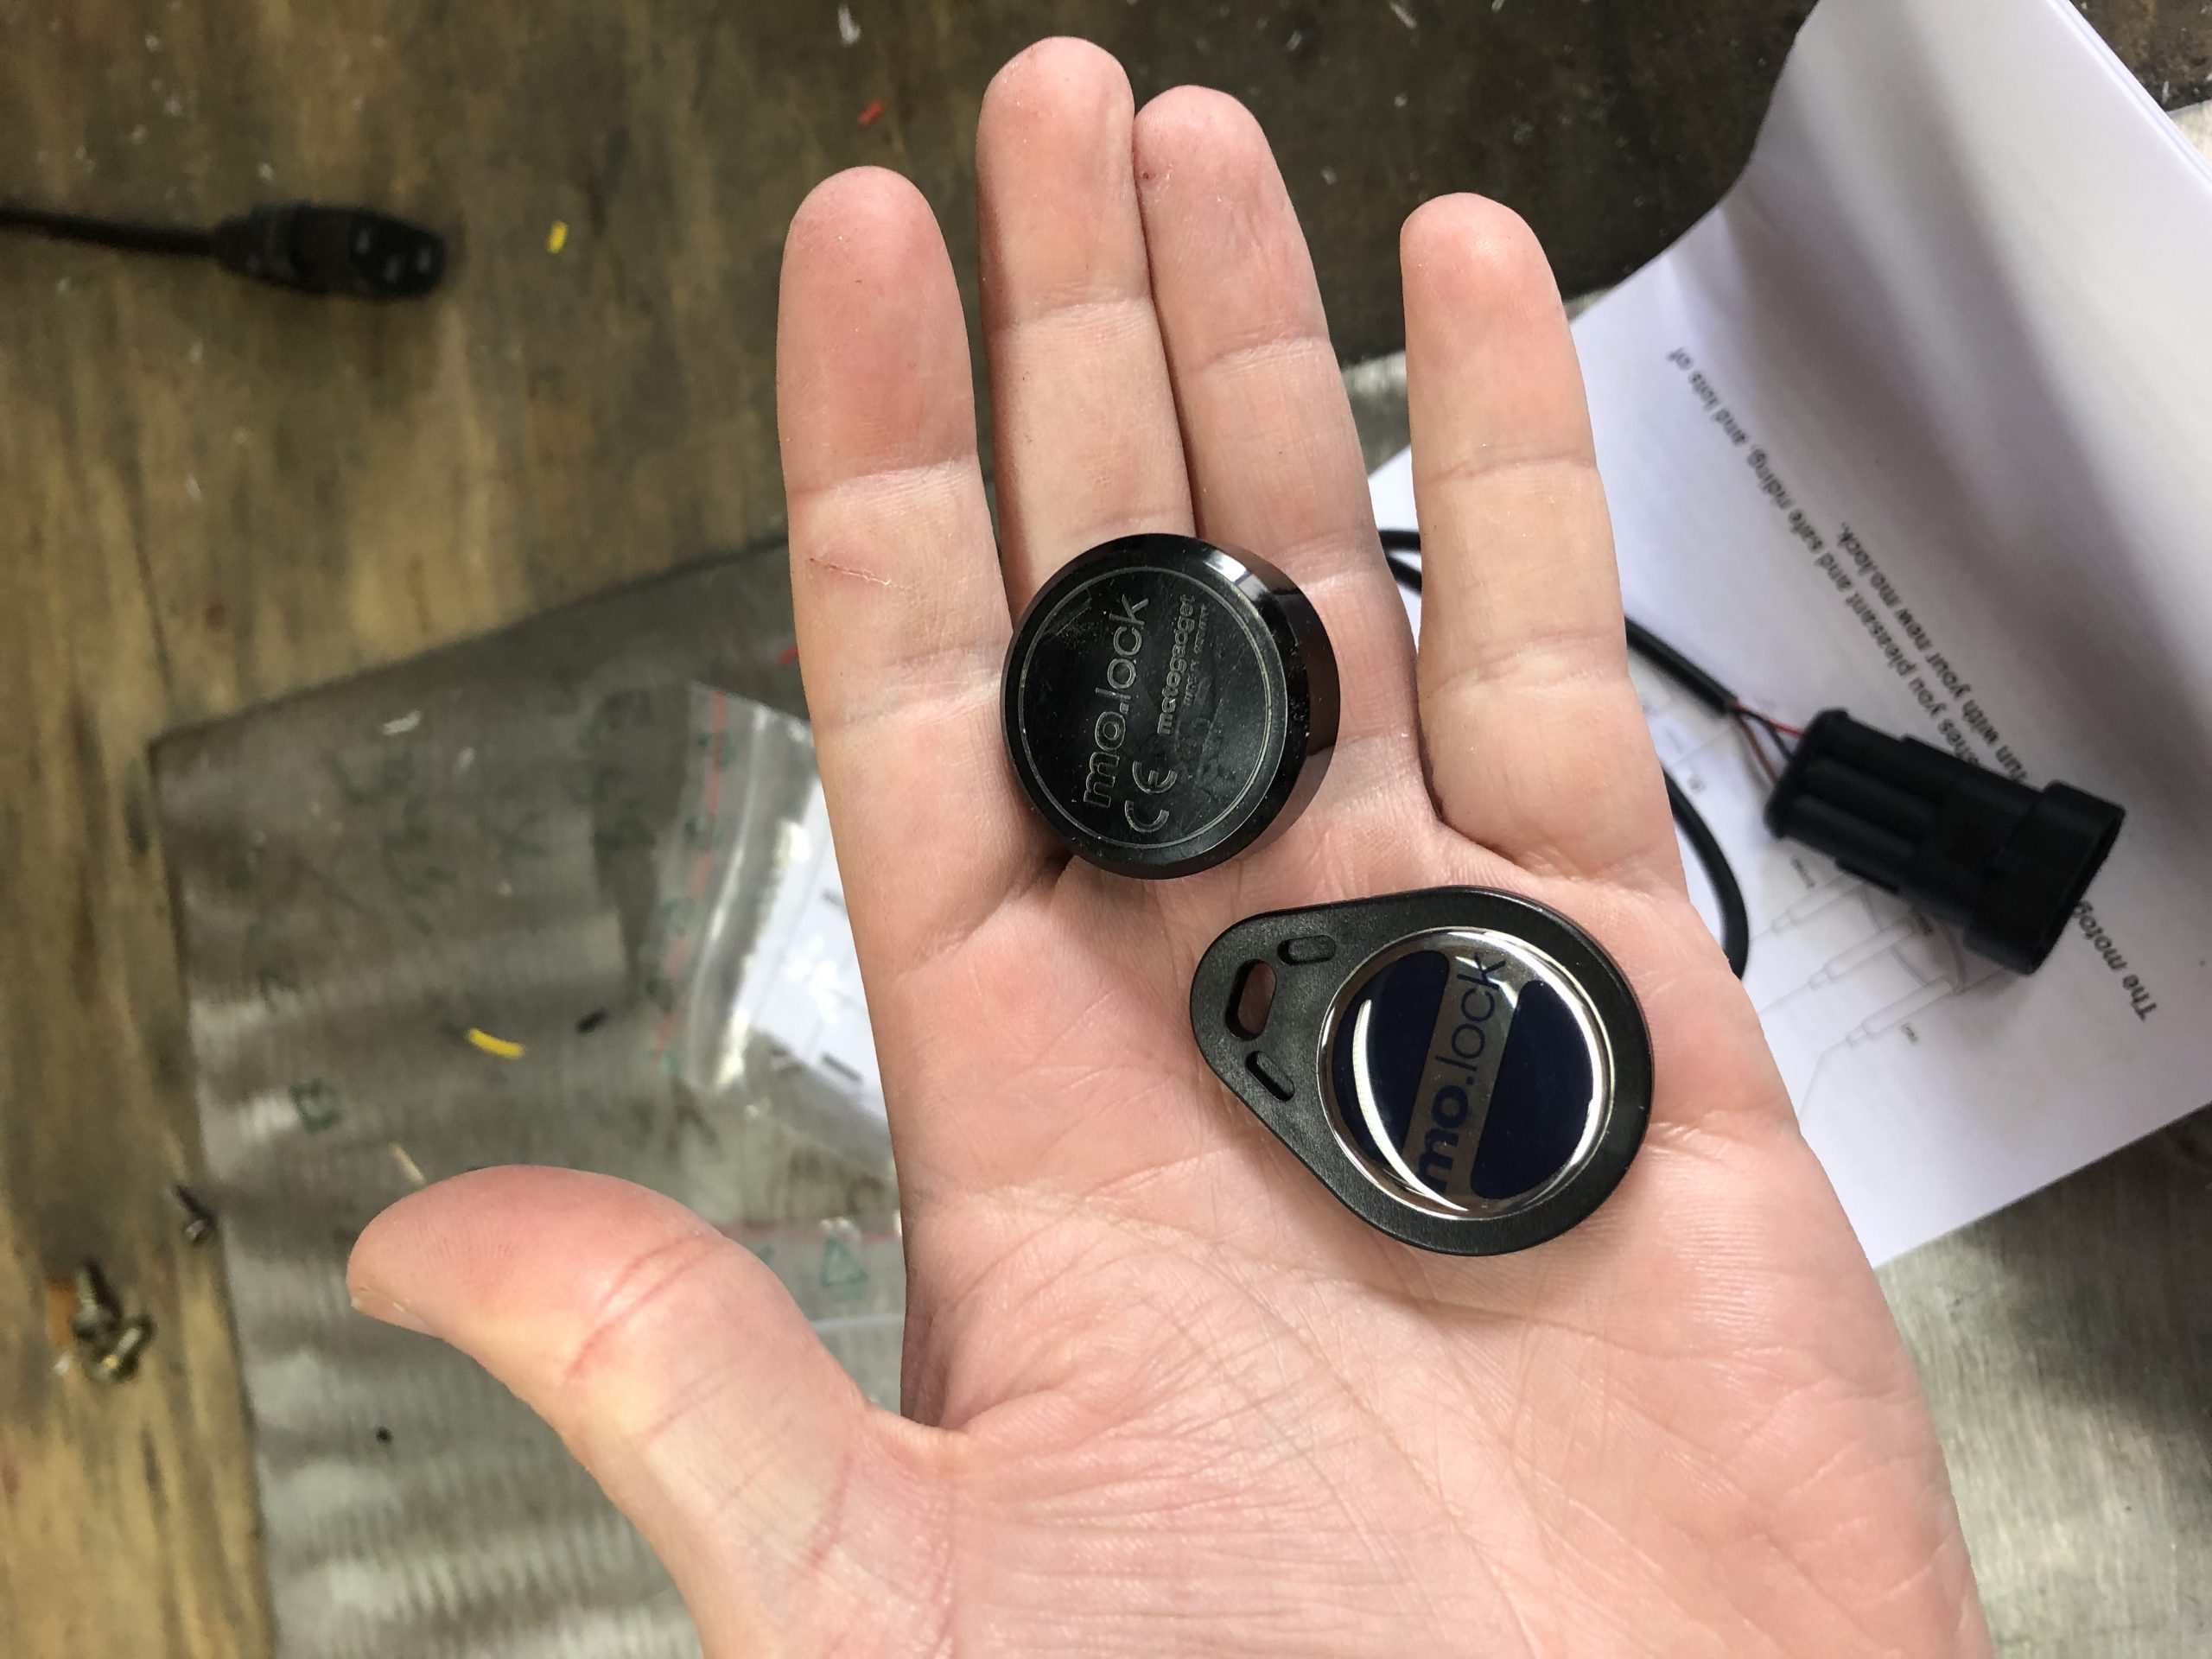
So here we are…. Doing the first tests with a Motogadget kit i bought haha. Holy shit its small!
Going to be fitted within the rear fiberglass fairing.
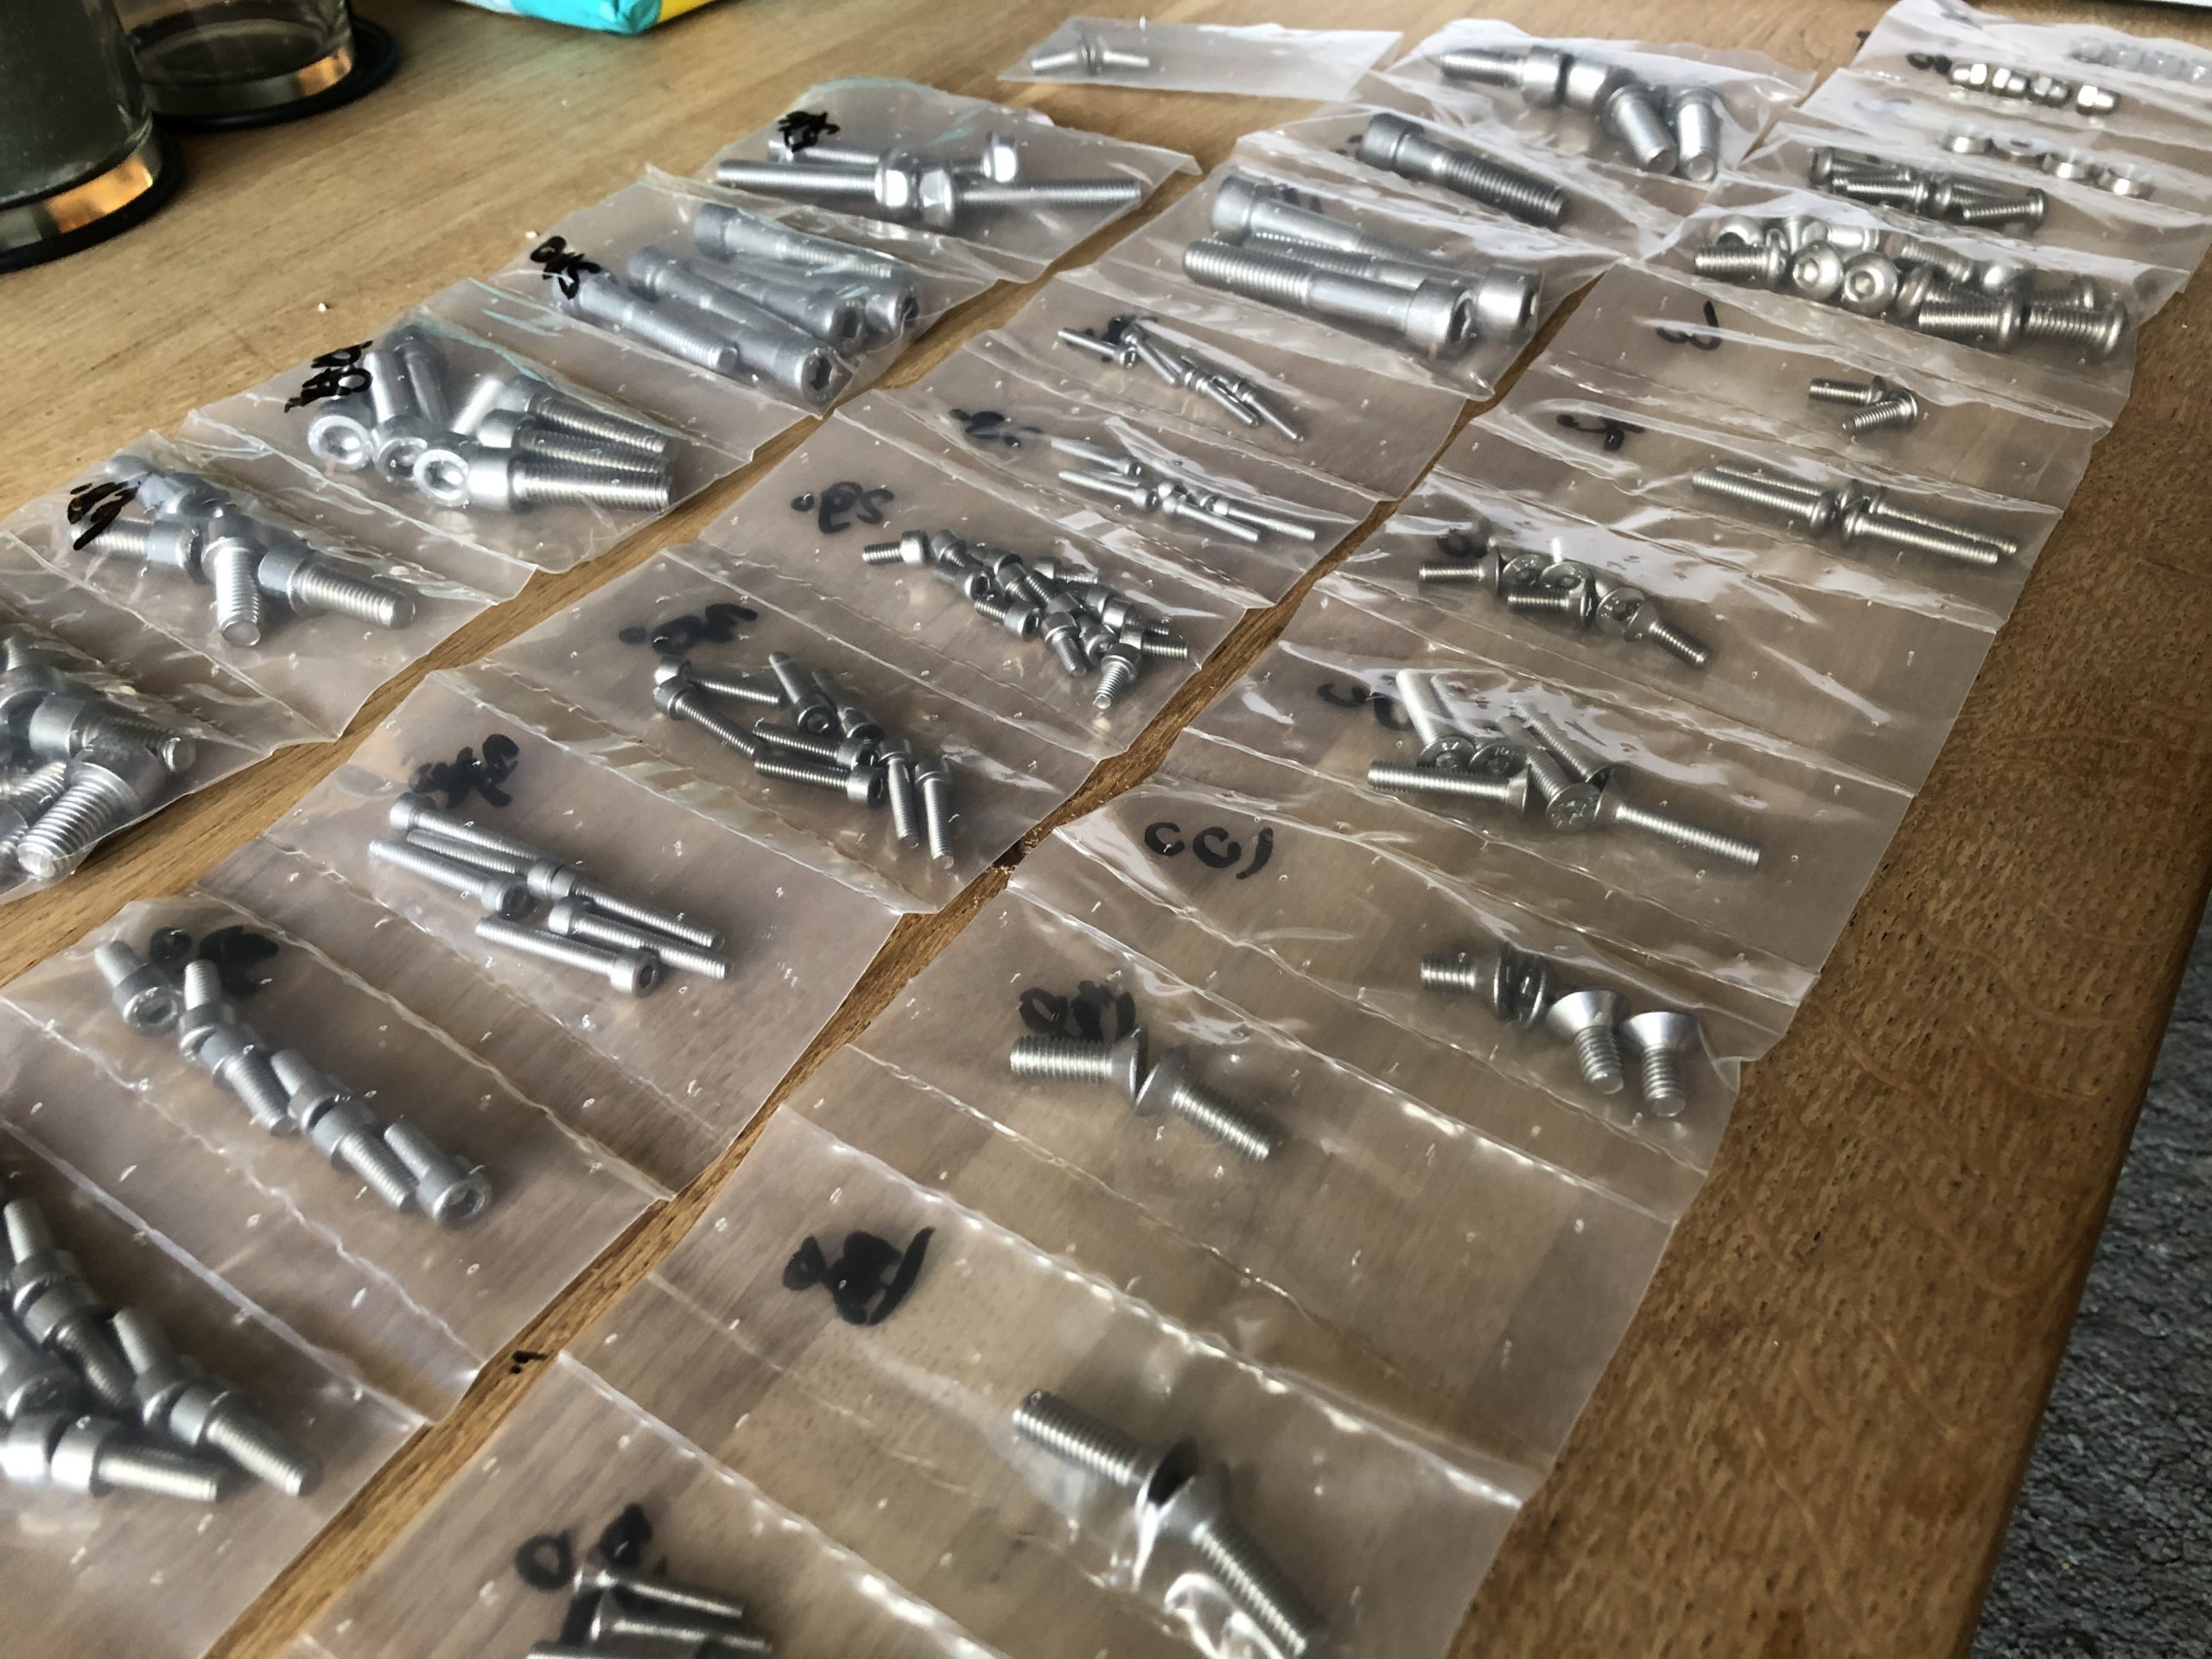
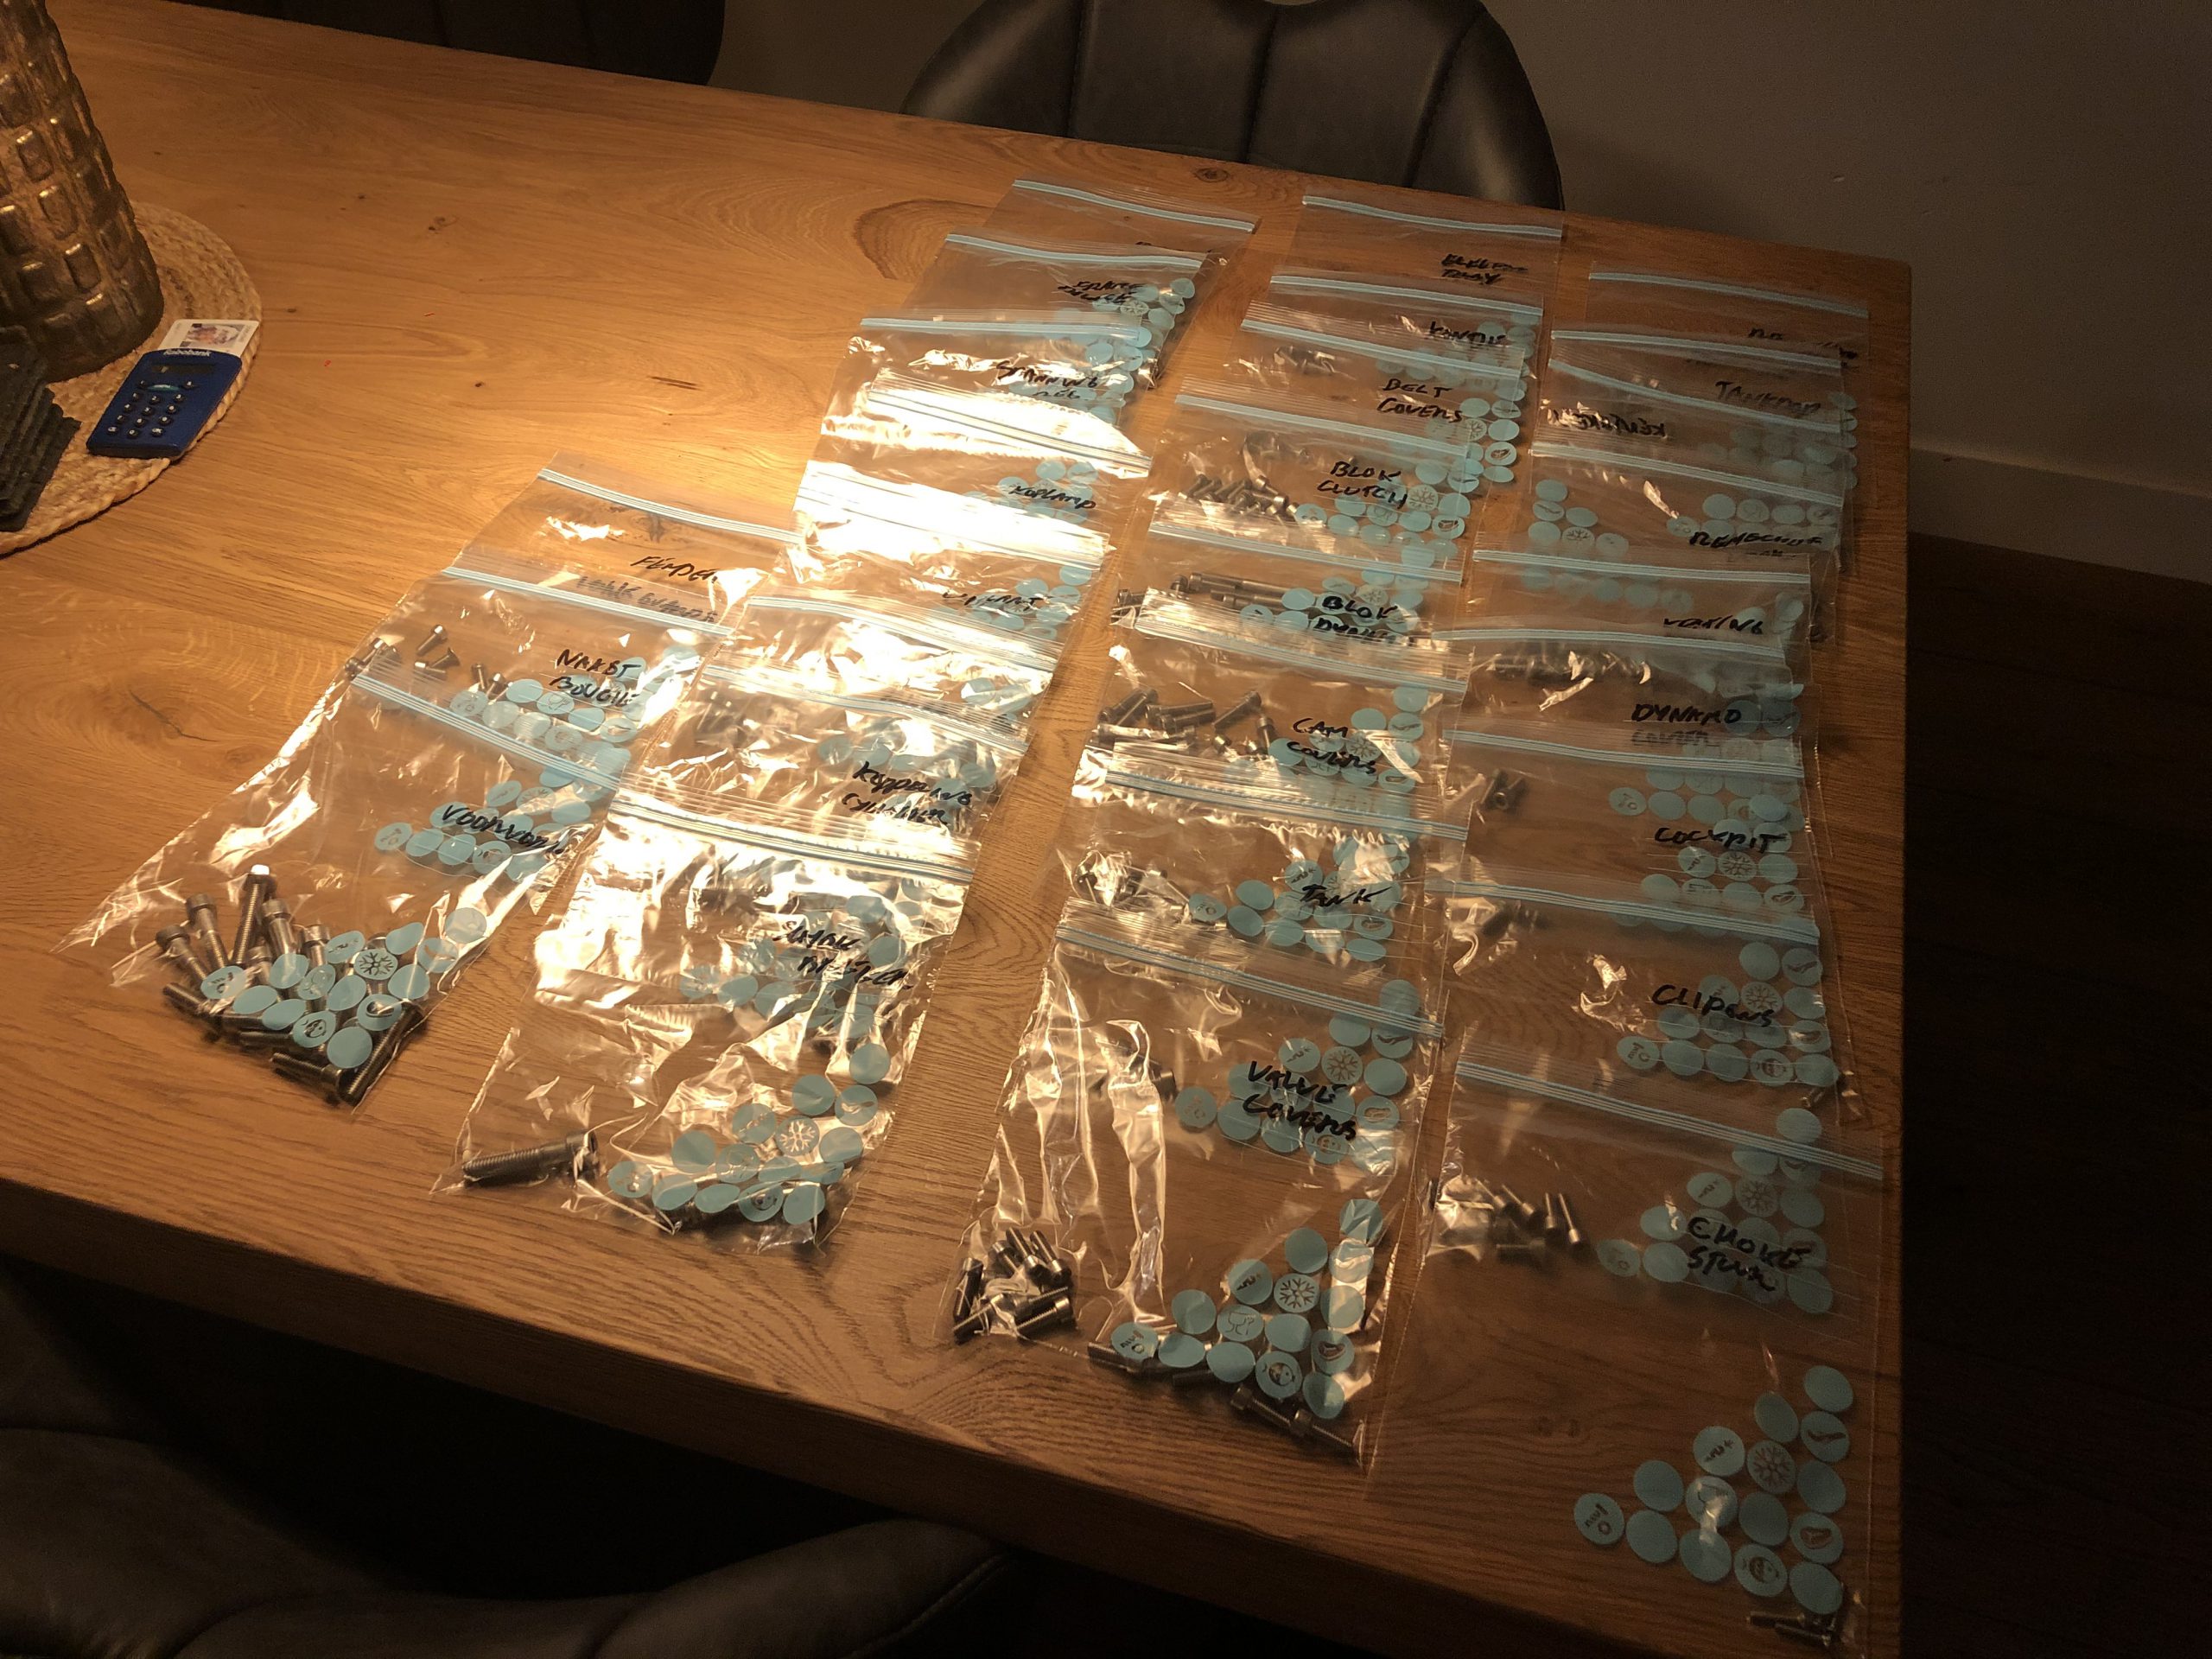
HEX BOLT PORN
The whole bike is going to get new bolts (and some nuts 😉 ). Replacing everything with stainless! Beatifull!


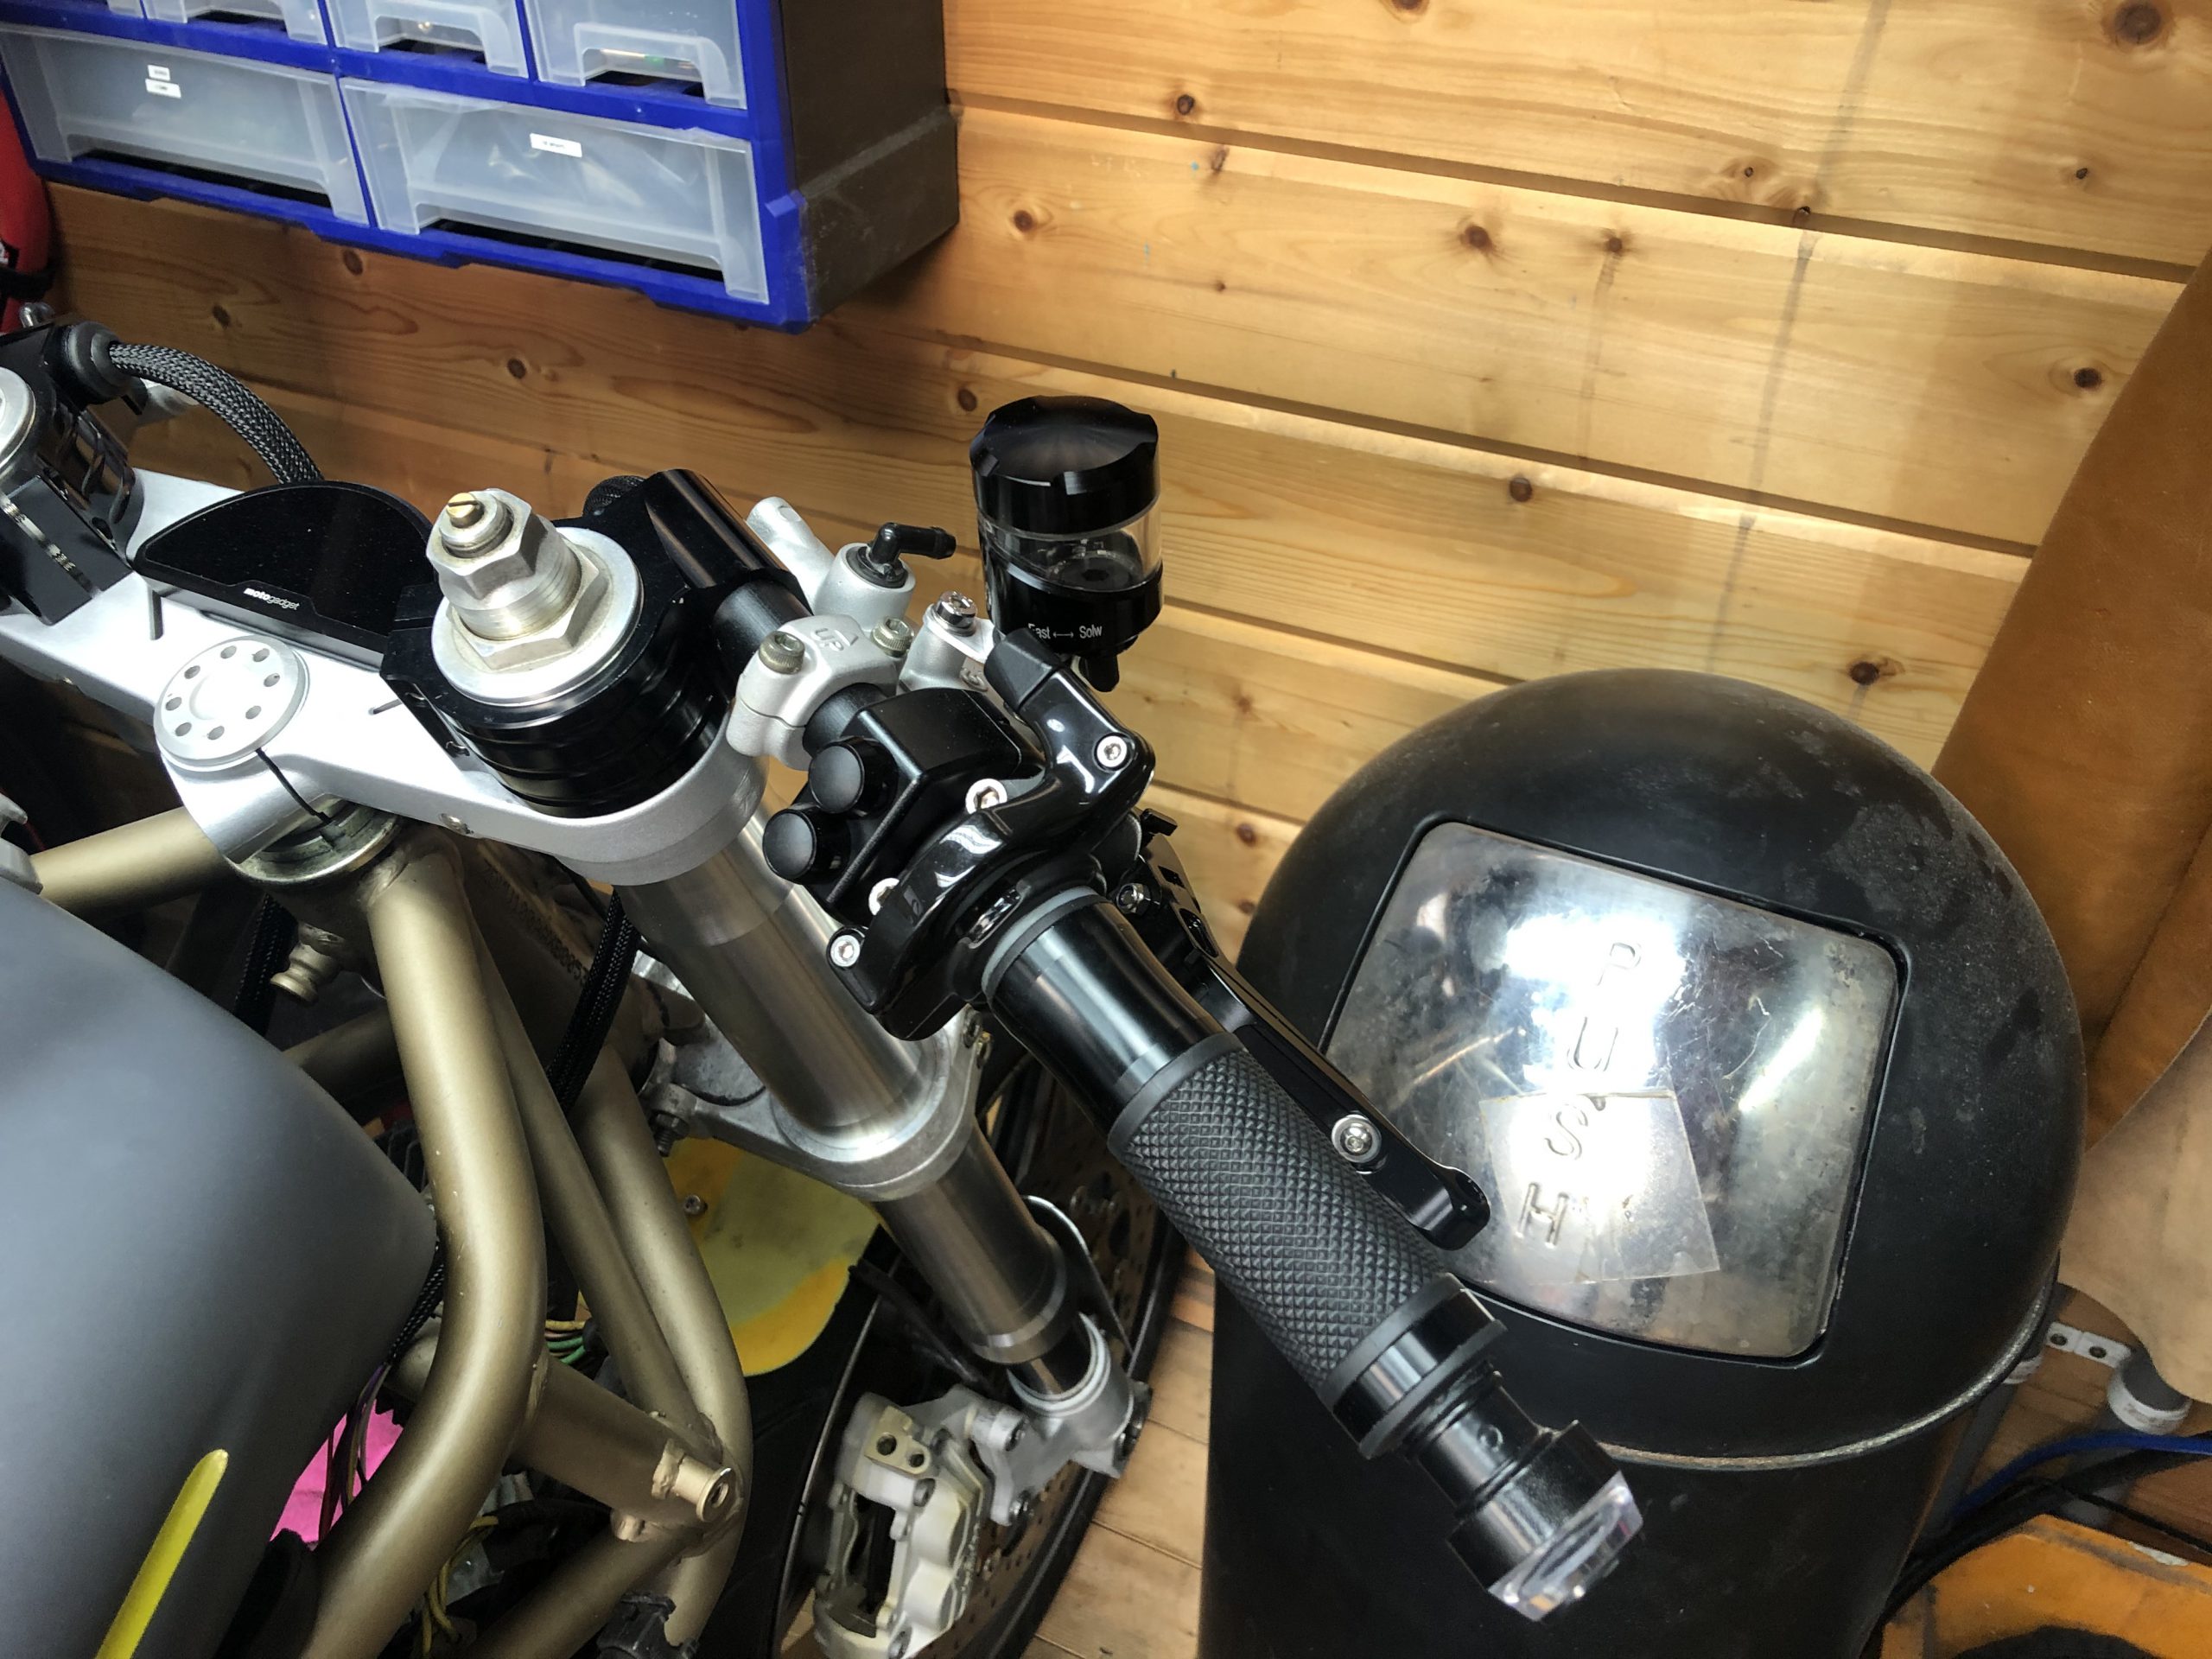
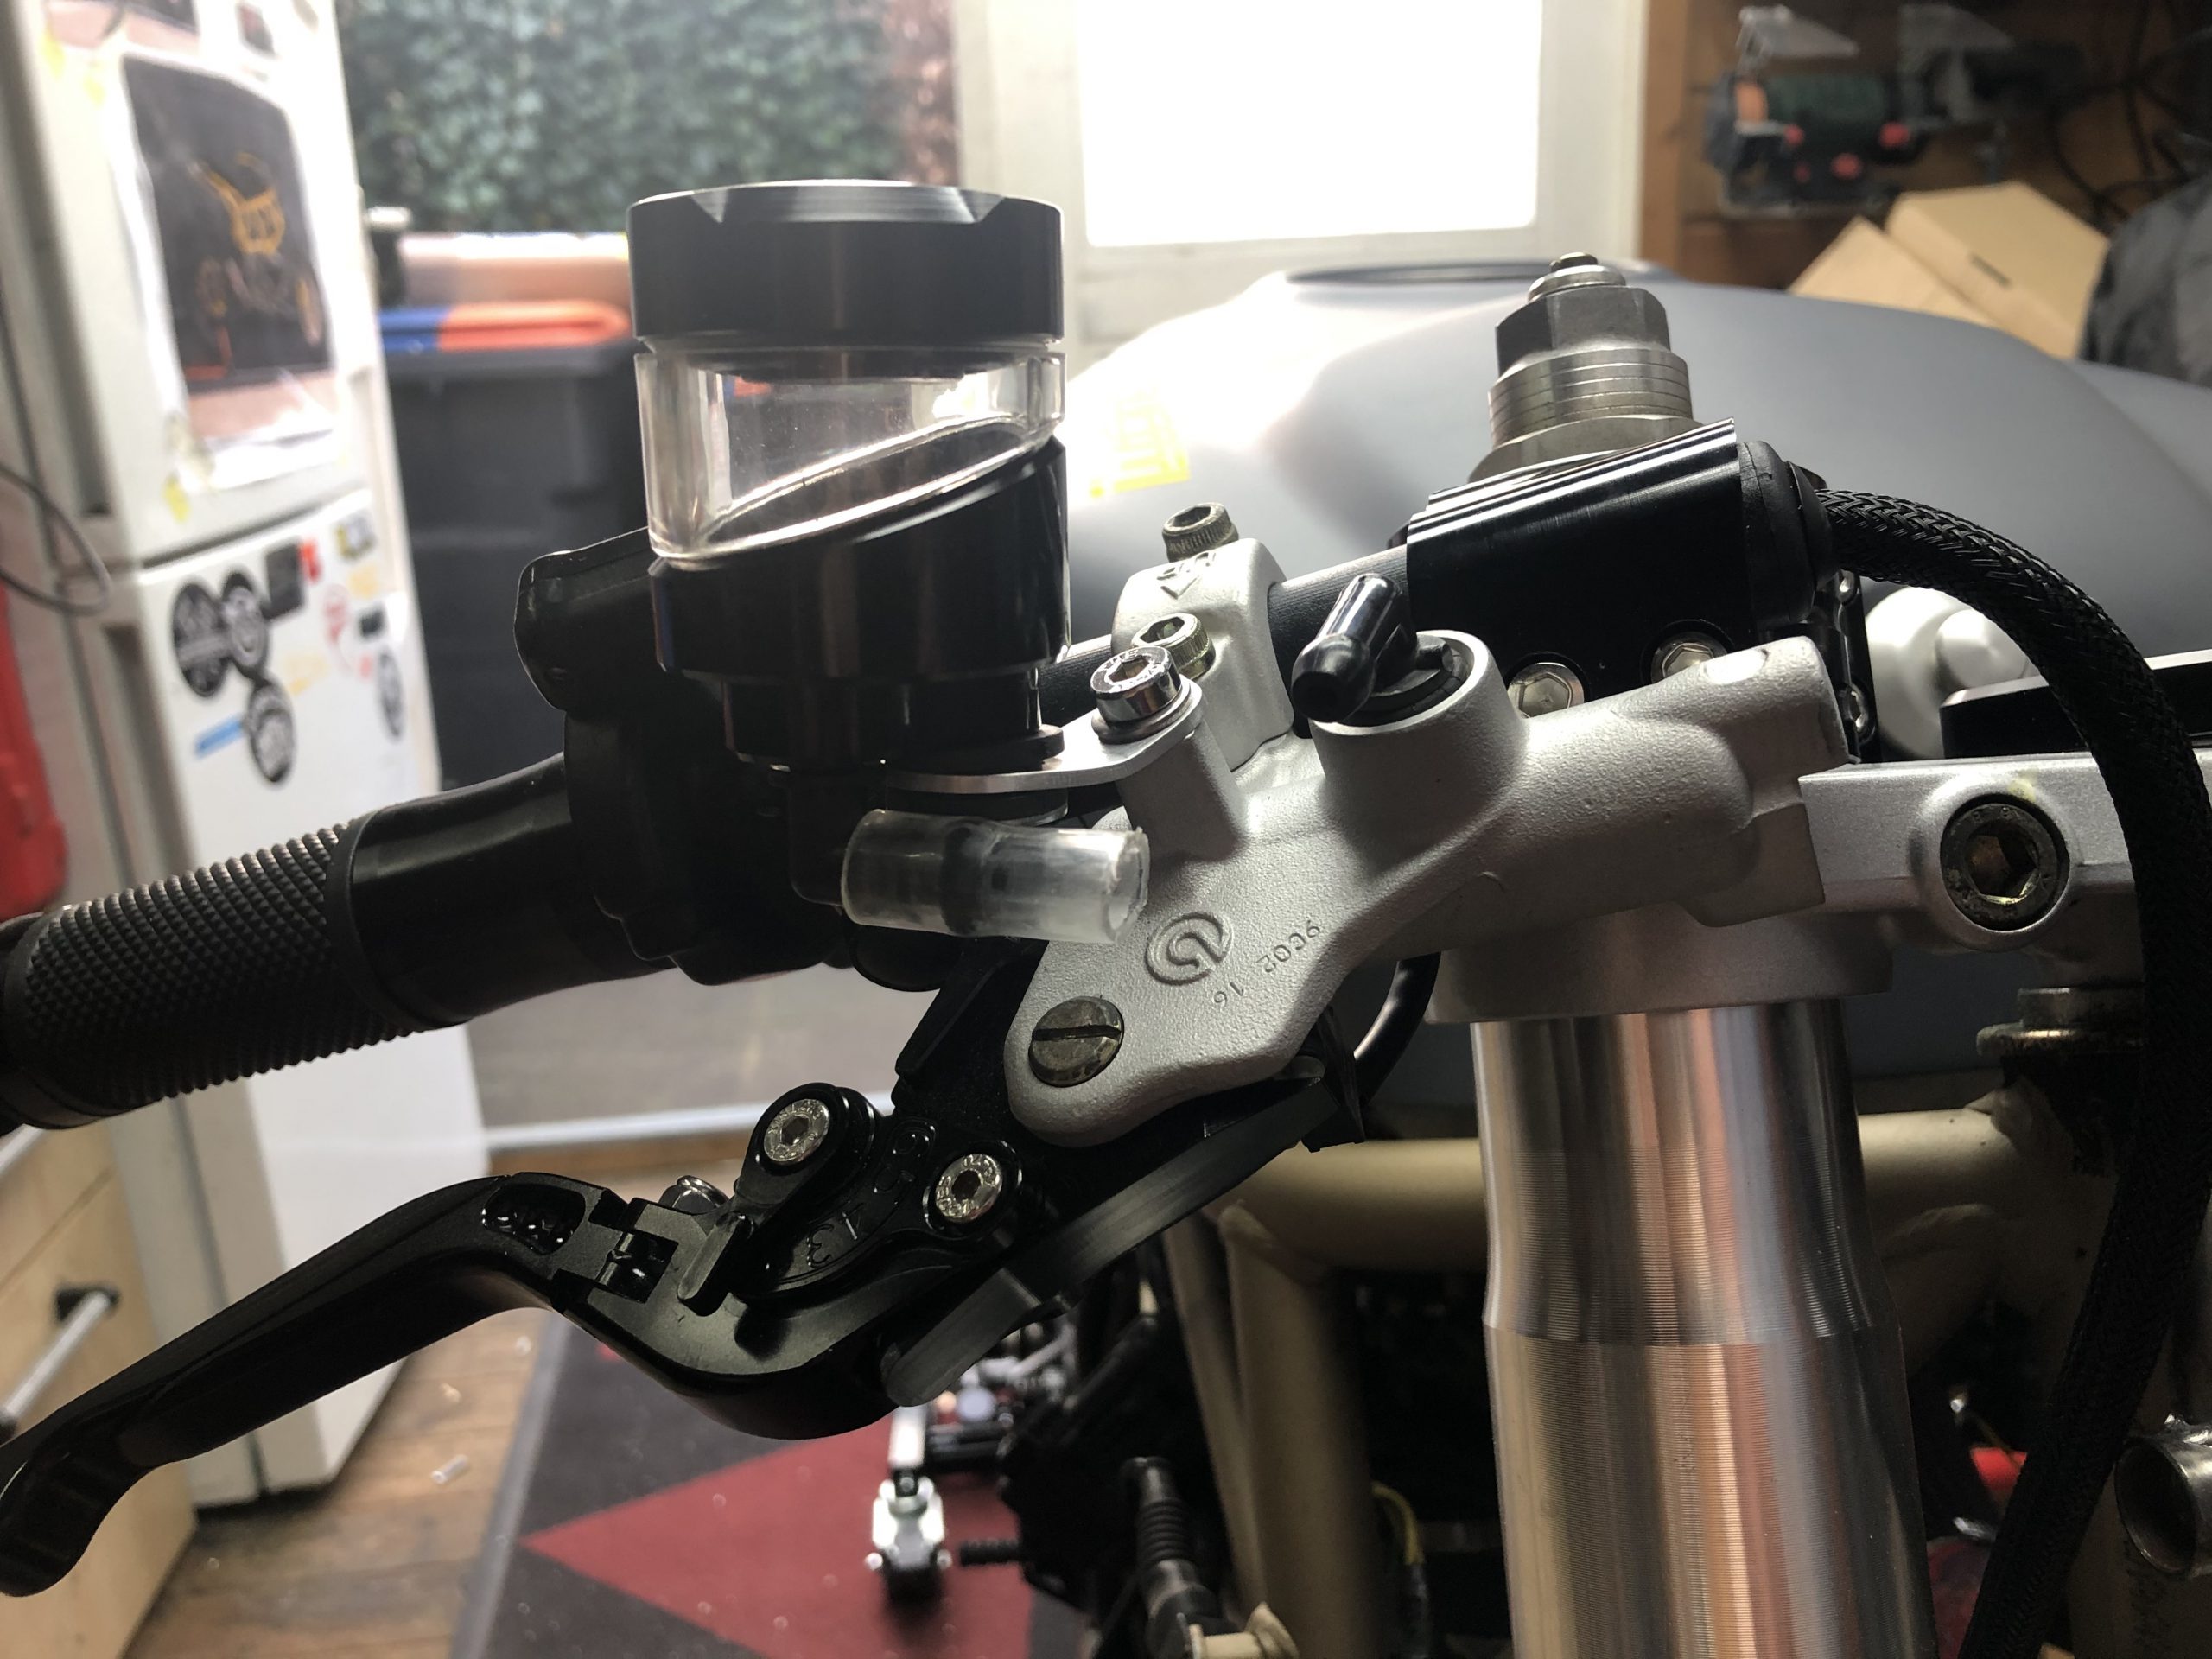
BRAKE RESERVOIR DILEMMA
First off my plan was to go with just clear tygon tubing for brake reservoirs. However it looked like shit… So back to regular brake reservoirs :). Had some trouble finding the correct placement, since i didnt want them to high above the clip ons. Found a good compromise. Might have some trouble with air bubbles rising up in the system and getting stuck in the hose since the reservoir output is lower then the cylinder input. Made some custom aluminium brackets. Lets see in practice if it works :).


FINISHING SMALL JOBS DURING COVID-19
Working from home during the COVID-19 outbreak somehow makes sure i make abit more progress on the project. Guess having no traveltime to work makes a big difference :). Finished a bunch of small jobs that needed be done while waiting for some parts.
- Finished up wiring the license plate holder with turn signals and light.
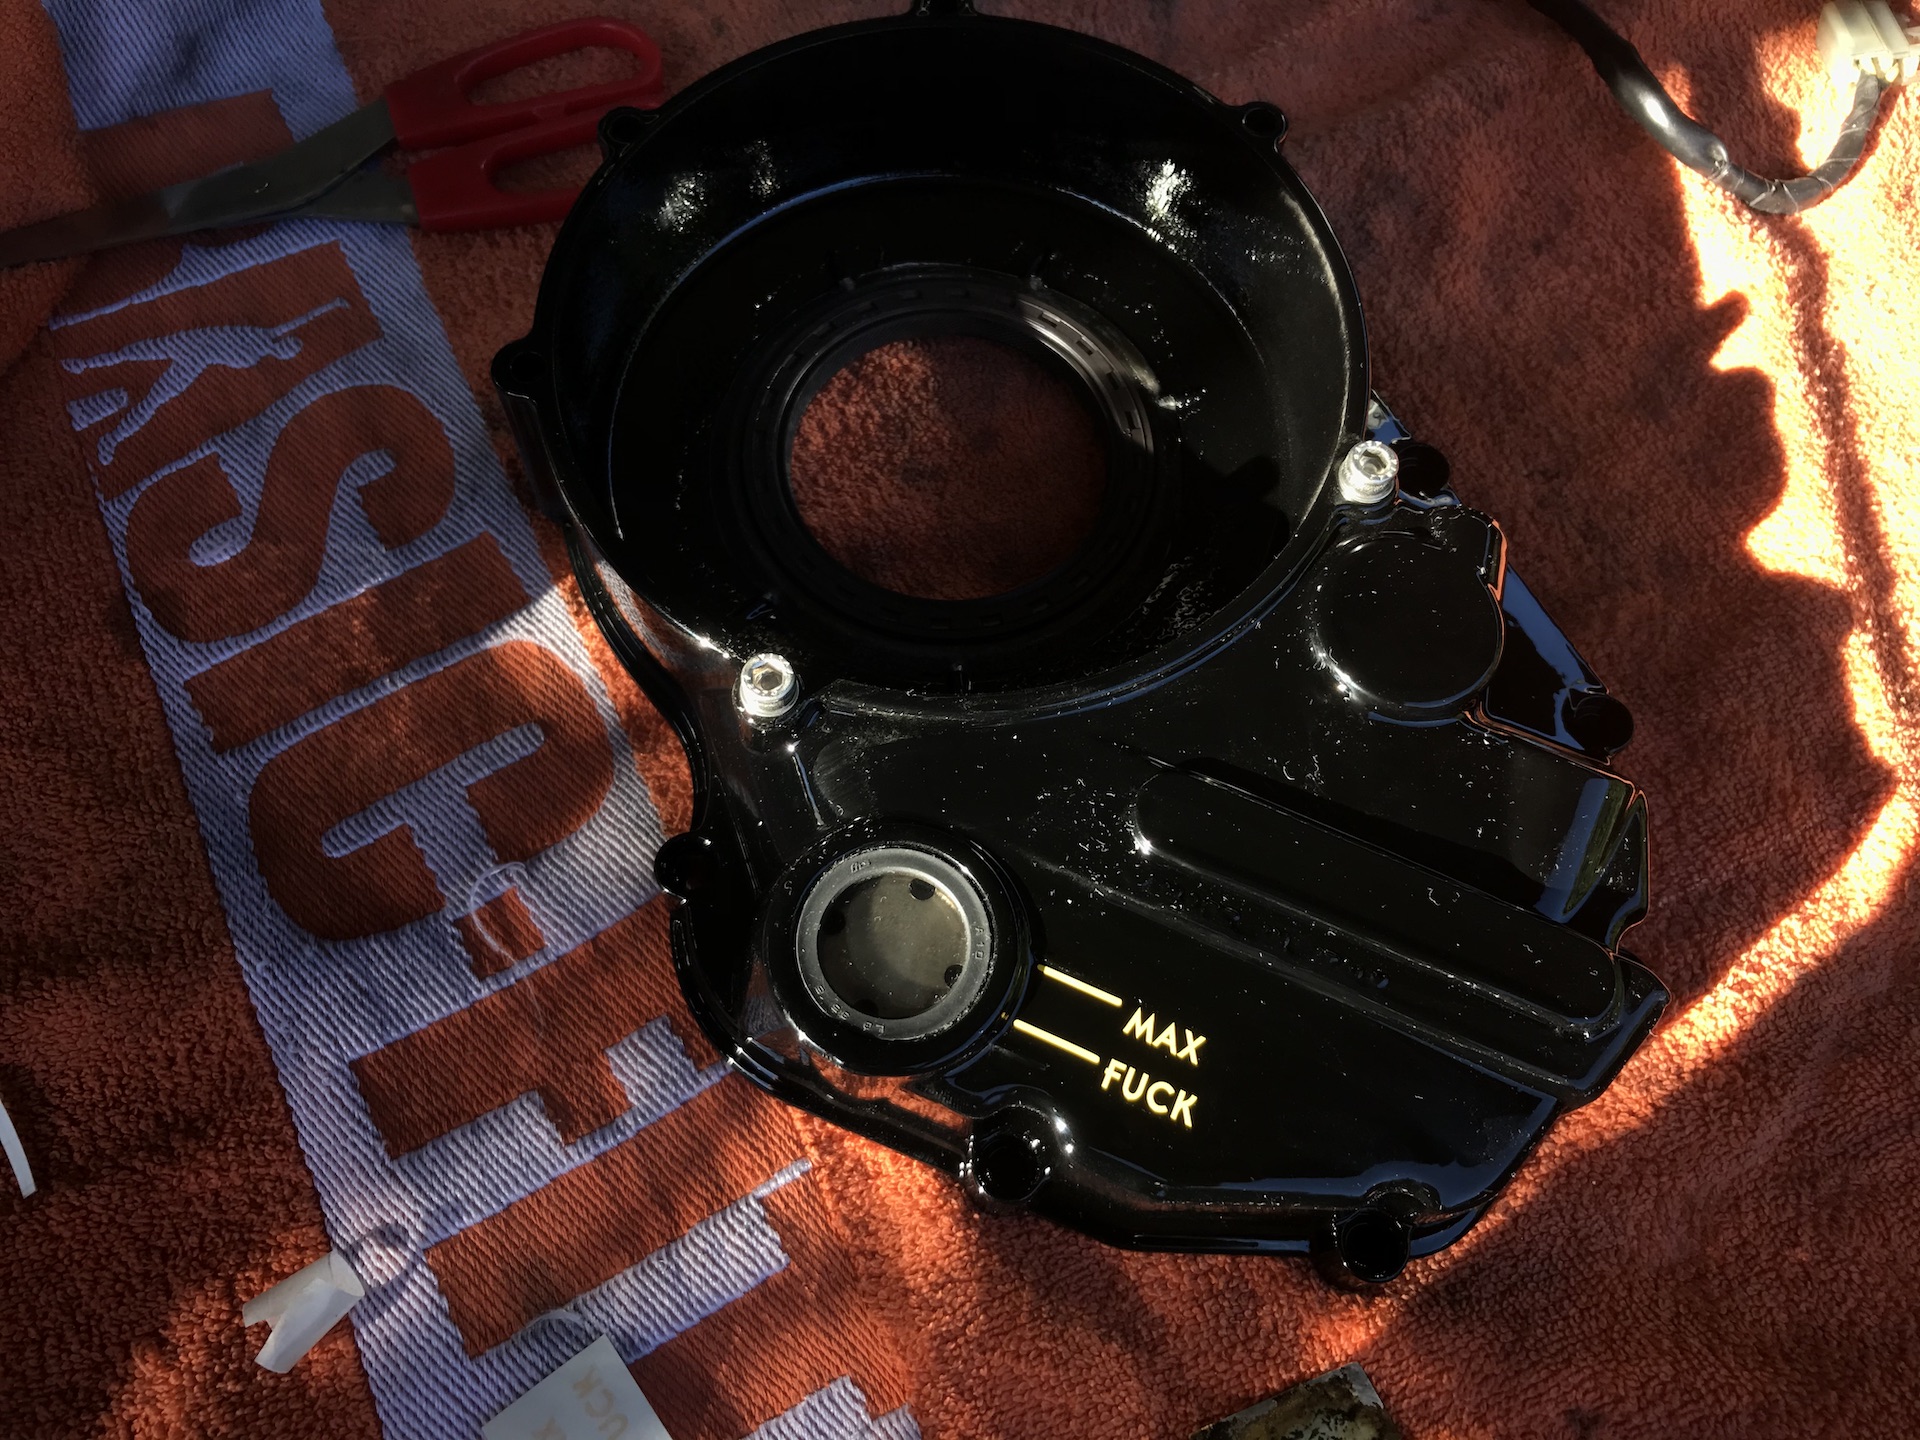
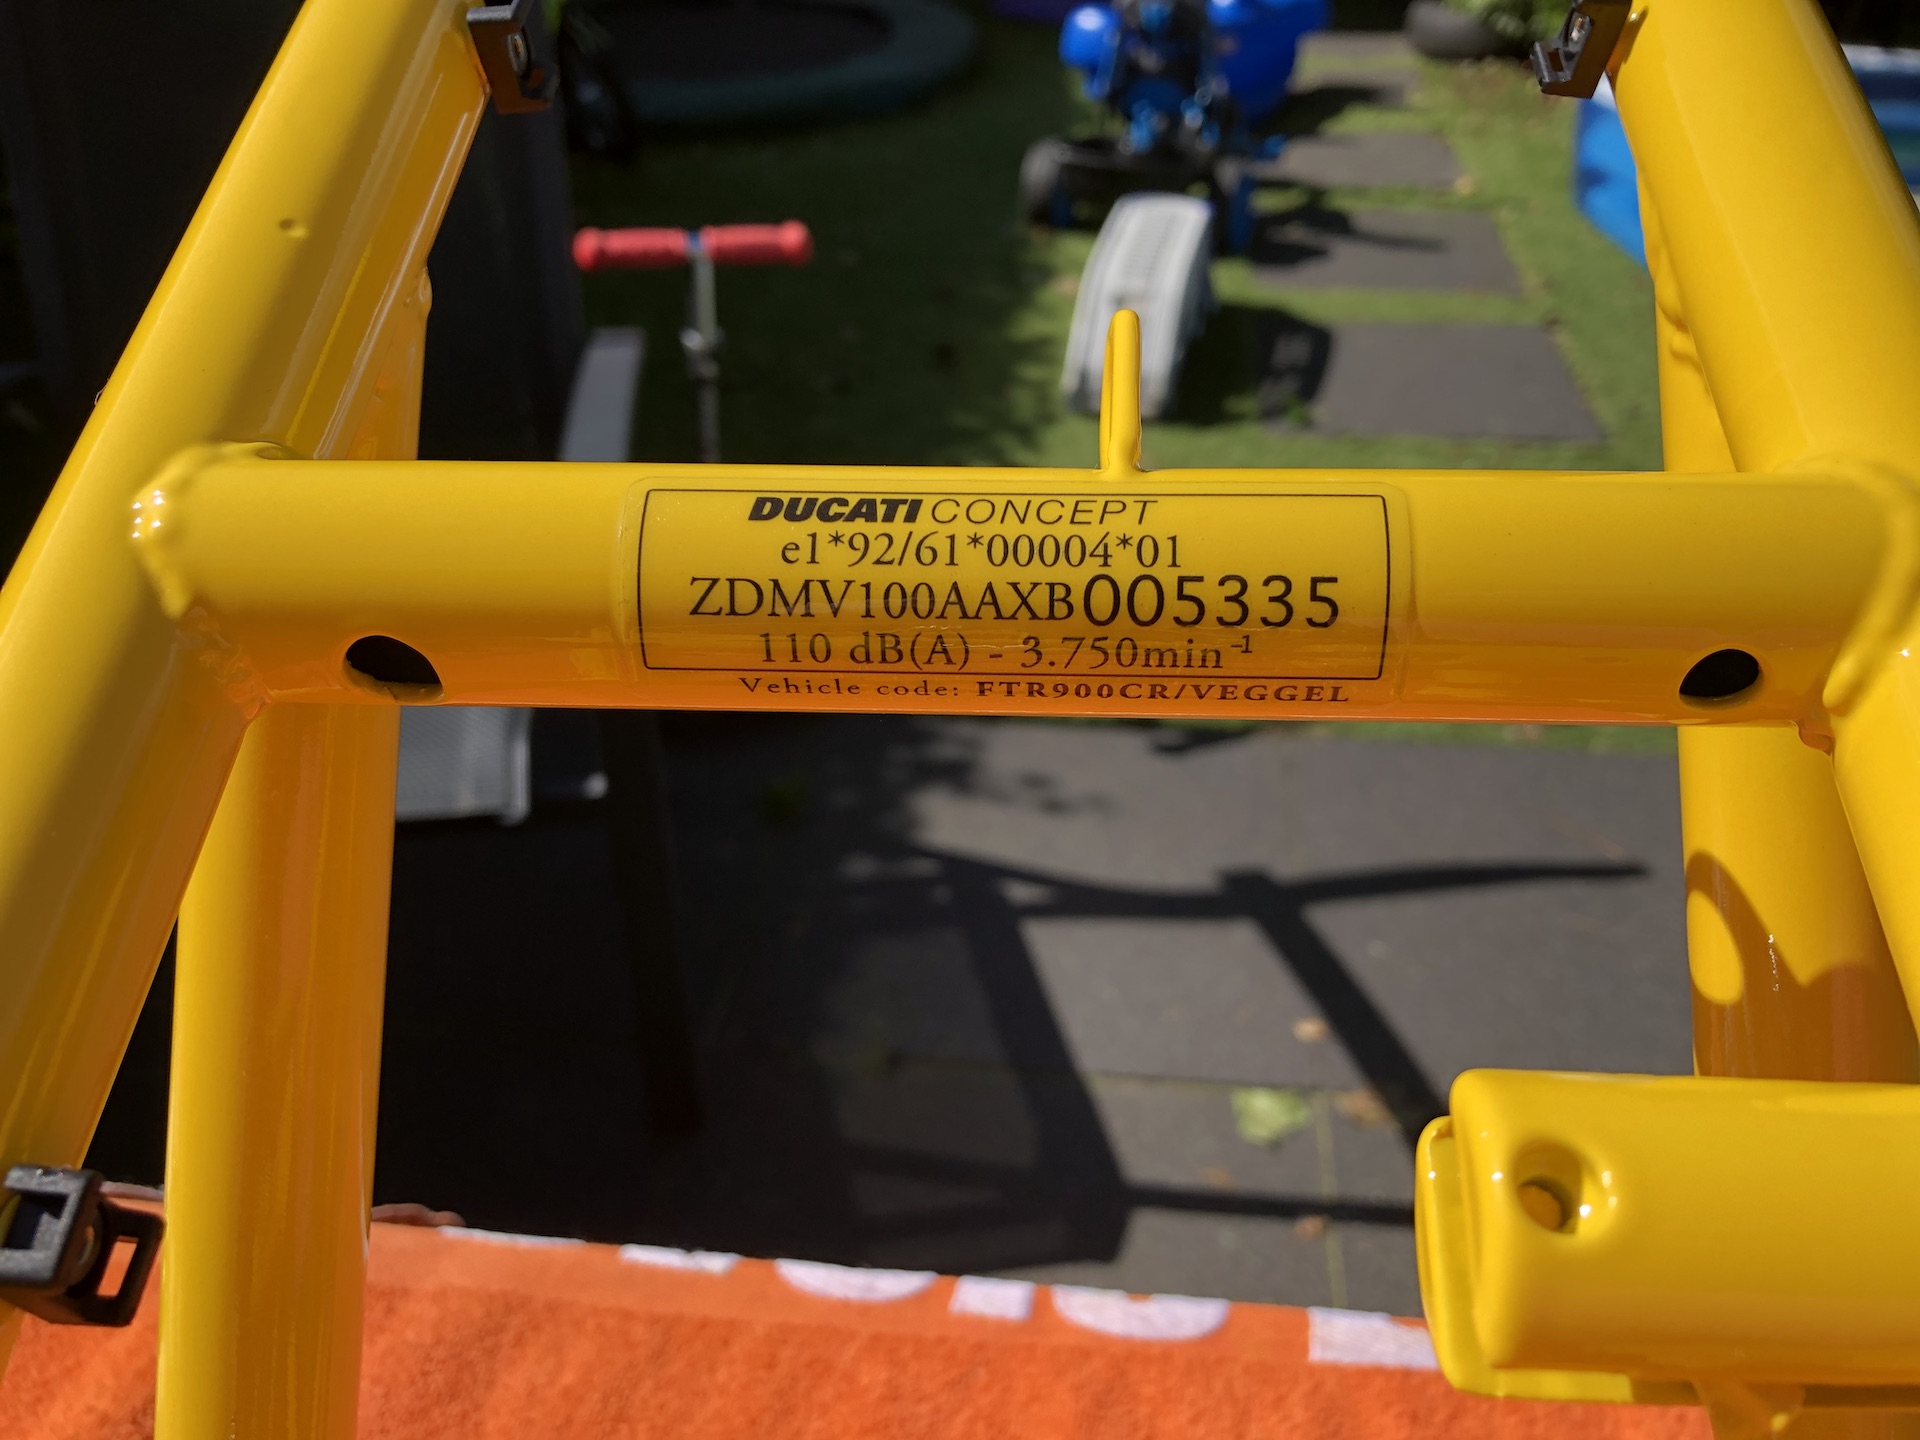
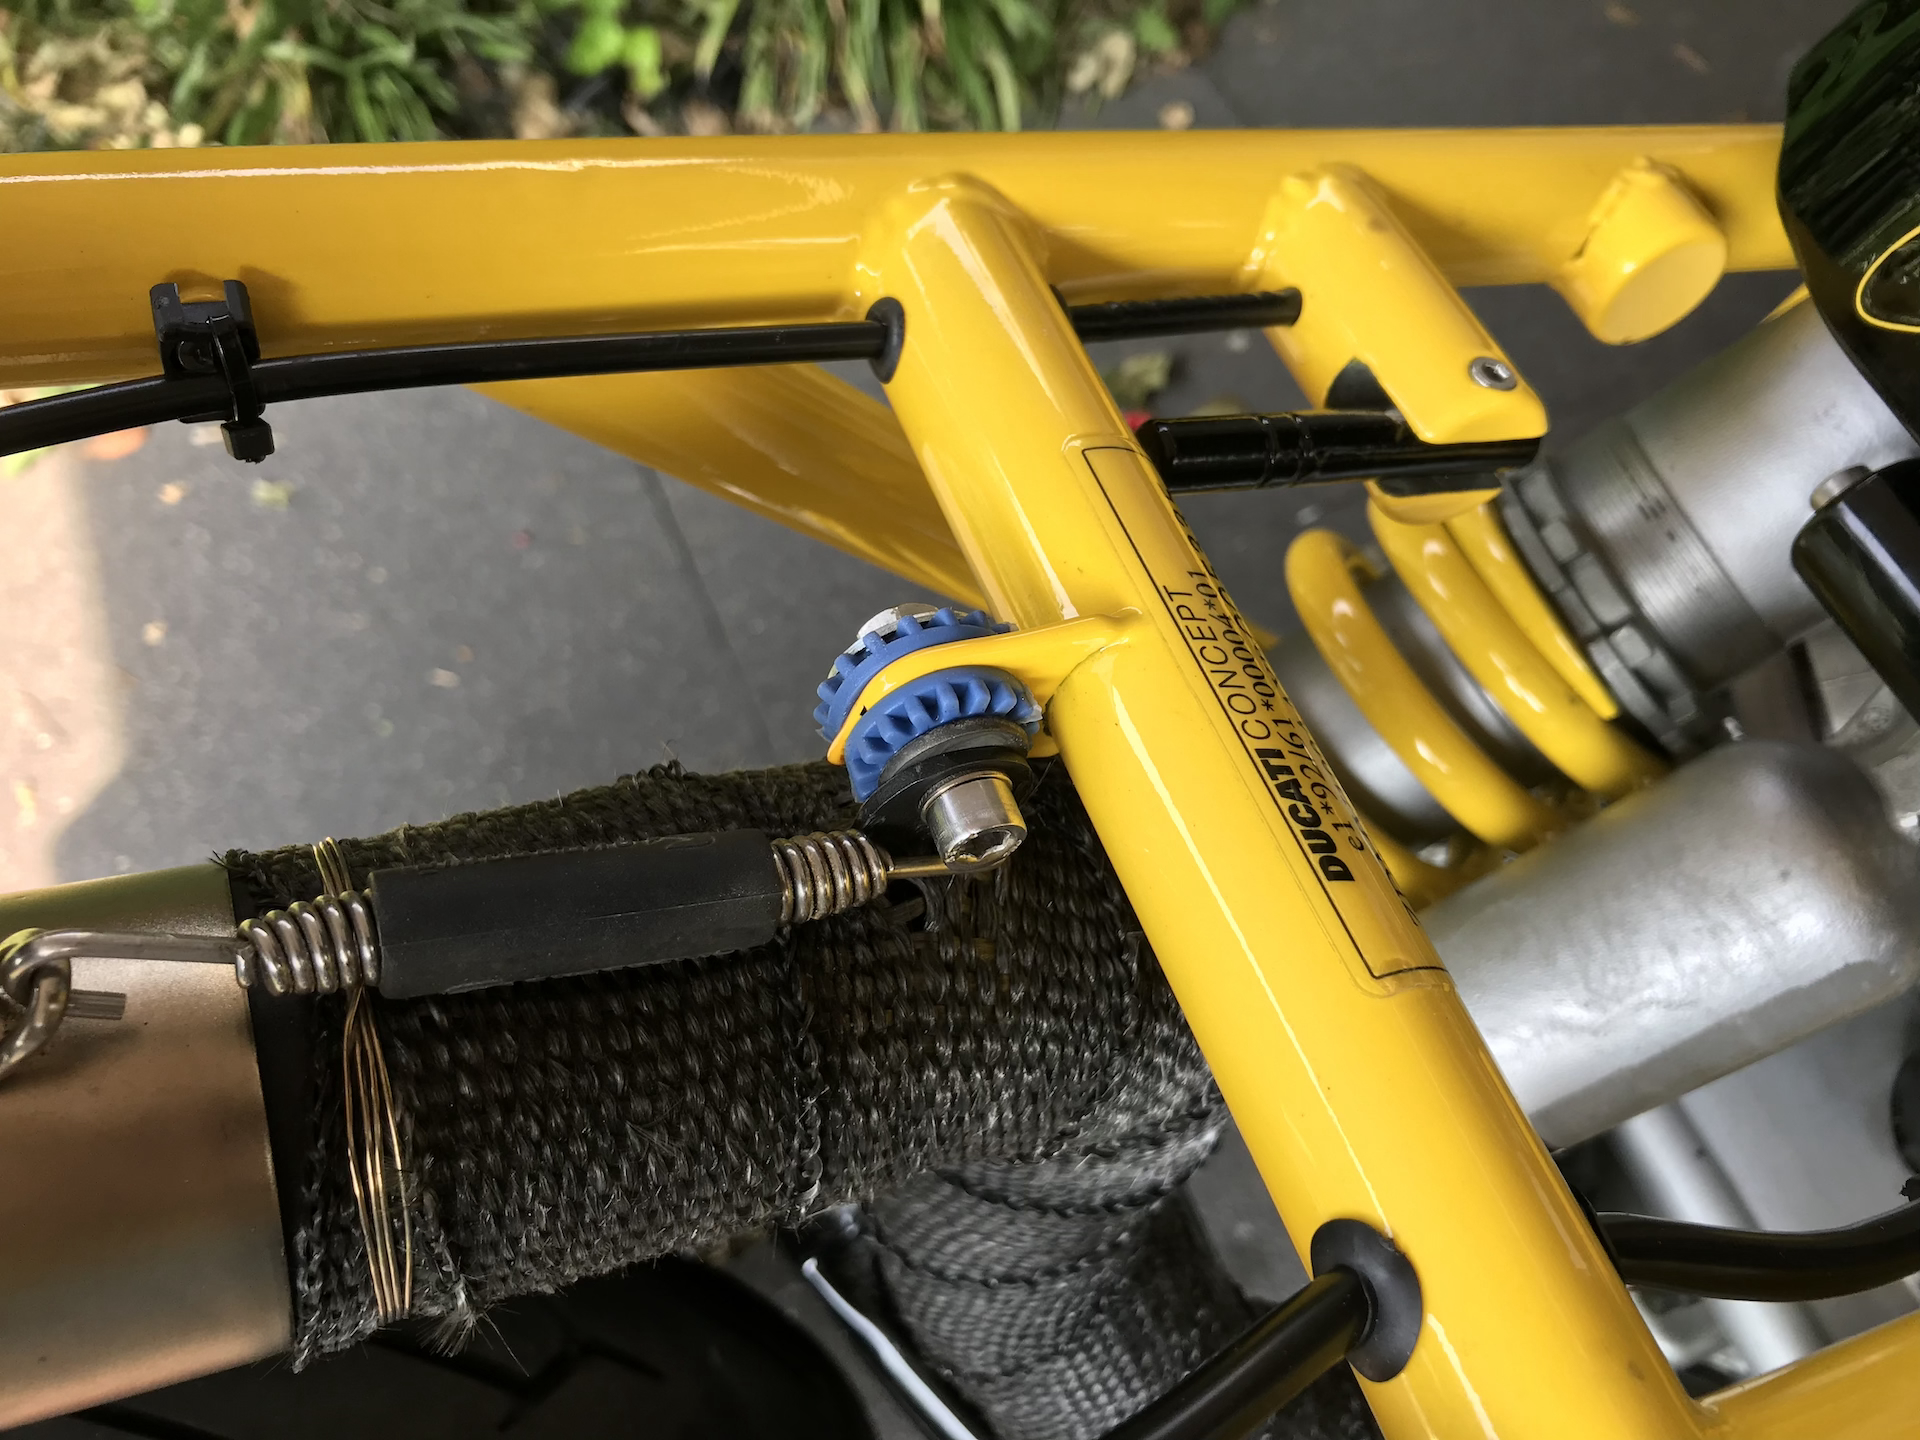
- Ordered and received a custom transparant frame sticker. Going on the yellow subframe. A redesign of the original sticker containing the frame number and maximum amount of decibels. Increased those number abit ;). Also went for a new vehicle code.
- Leak tested the fuel tank with the fittings installed. I need to start the bike up soon to start rewiring the bike.
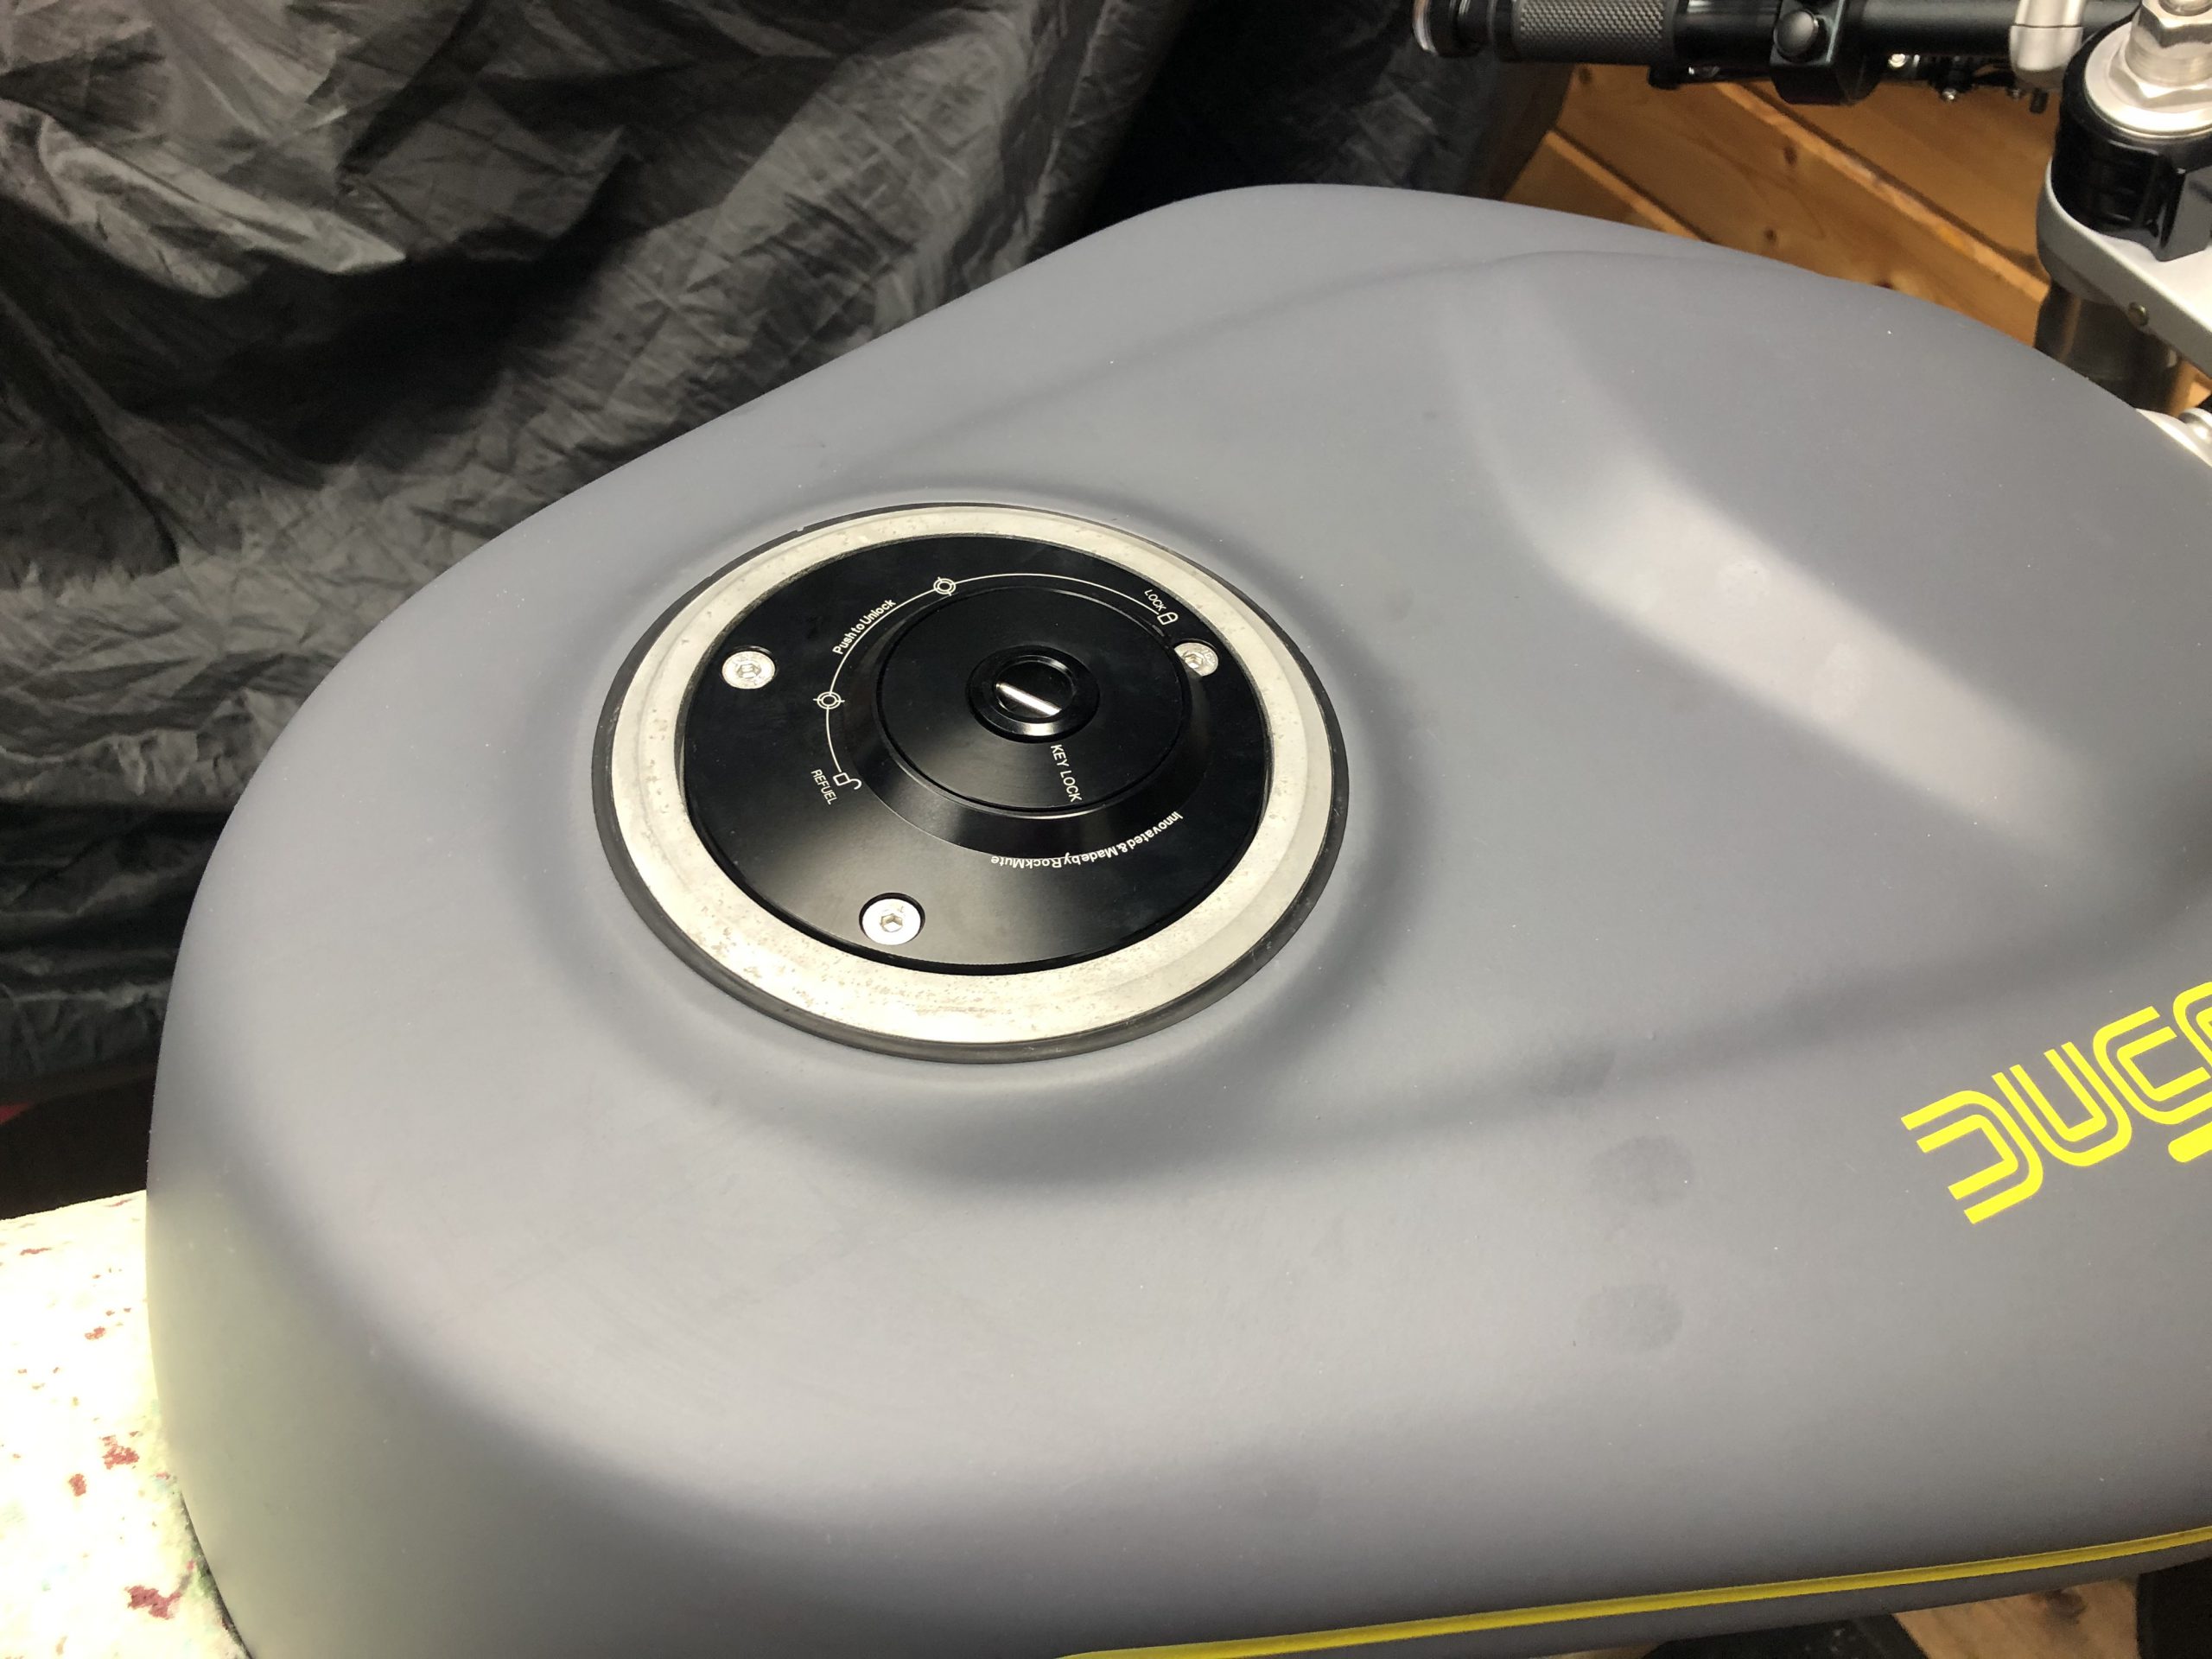
- Installed the new gas cap.
- And allot more small stuff i dont have pictures off….

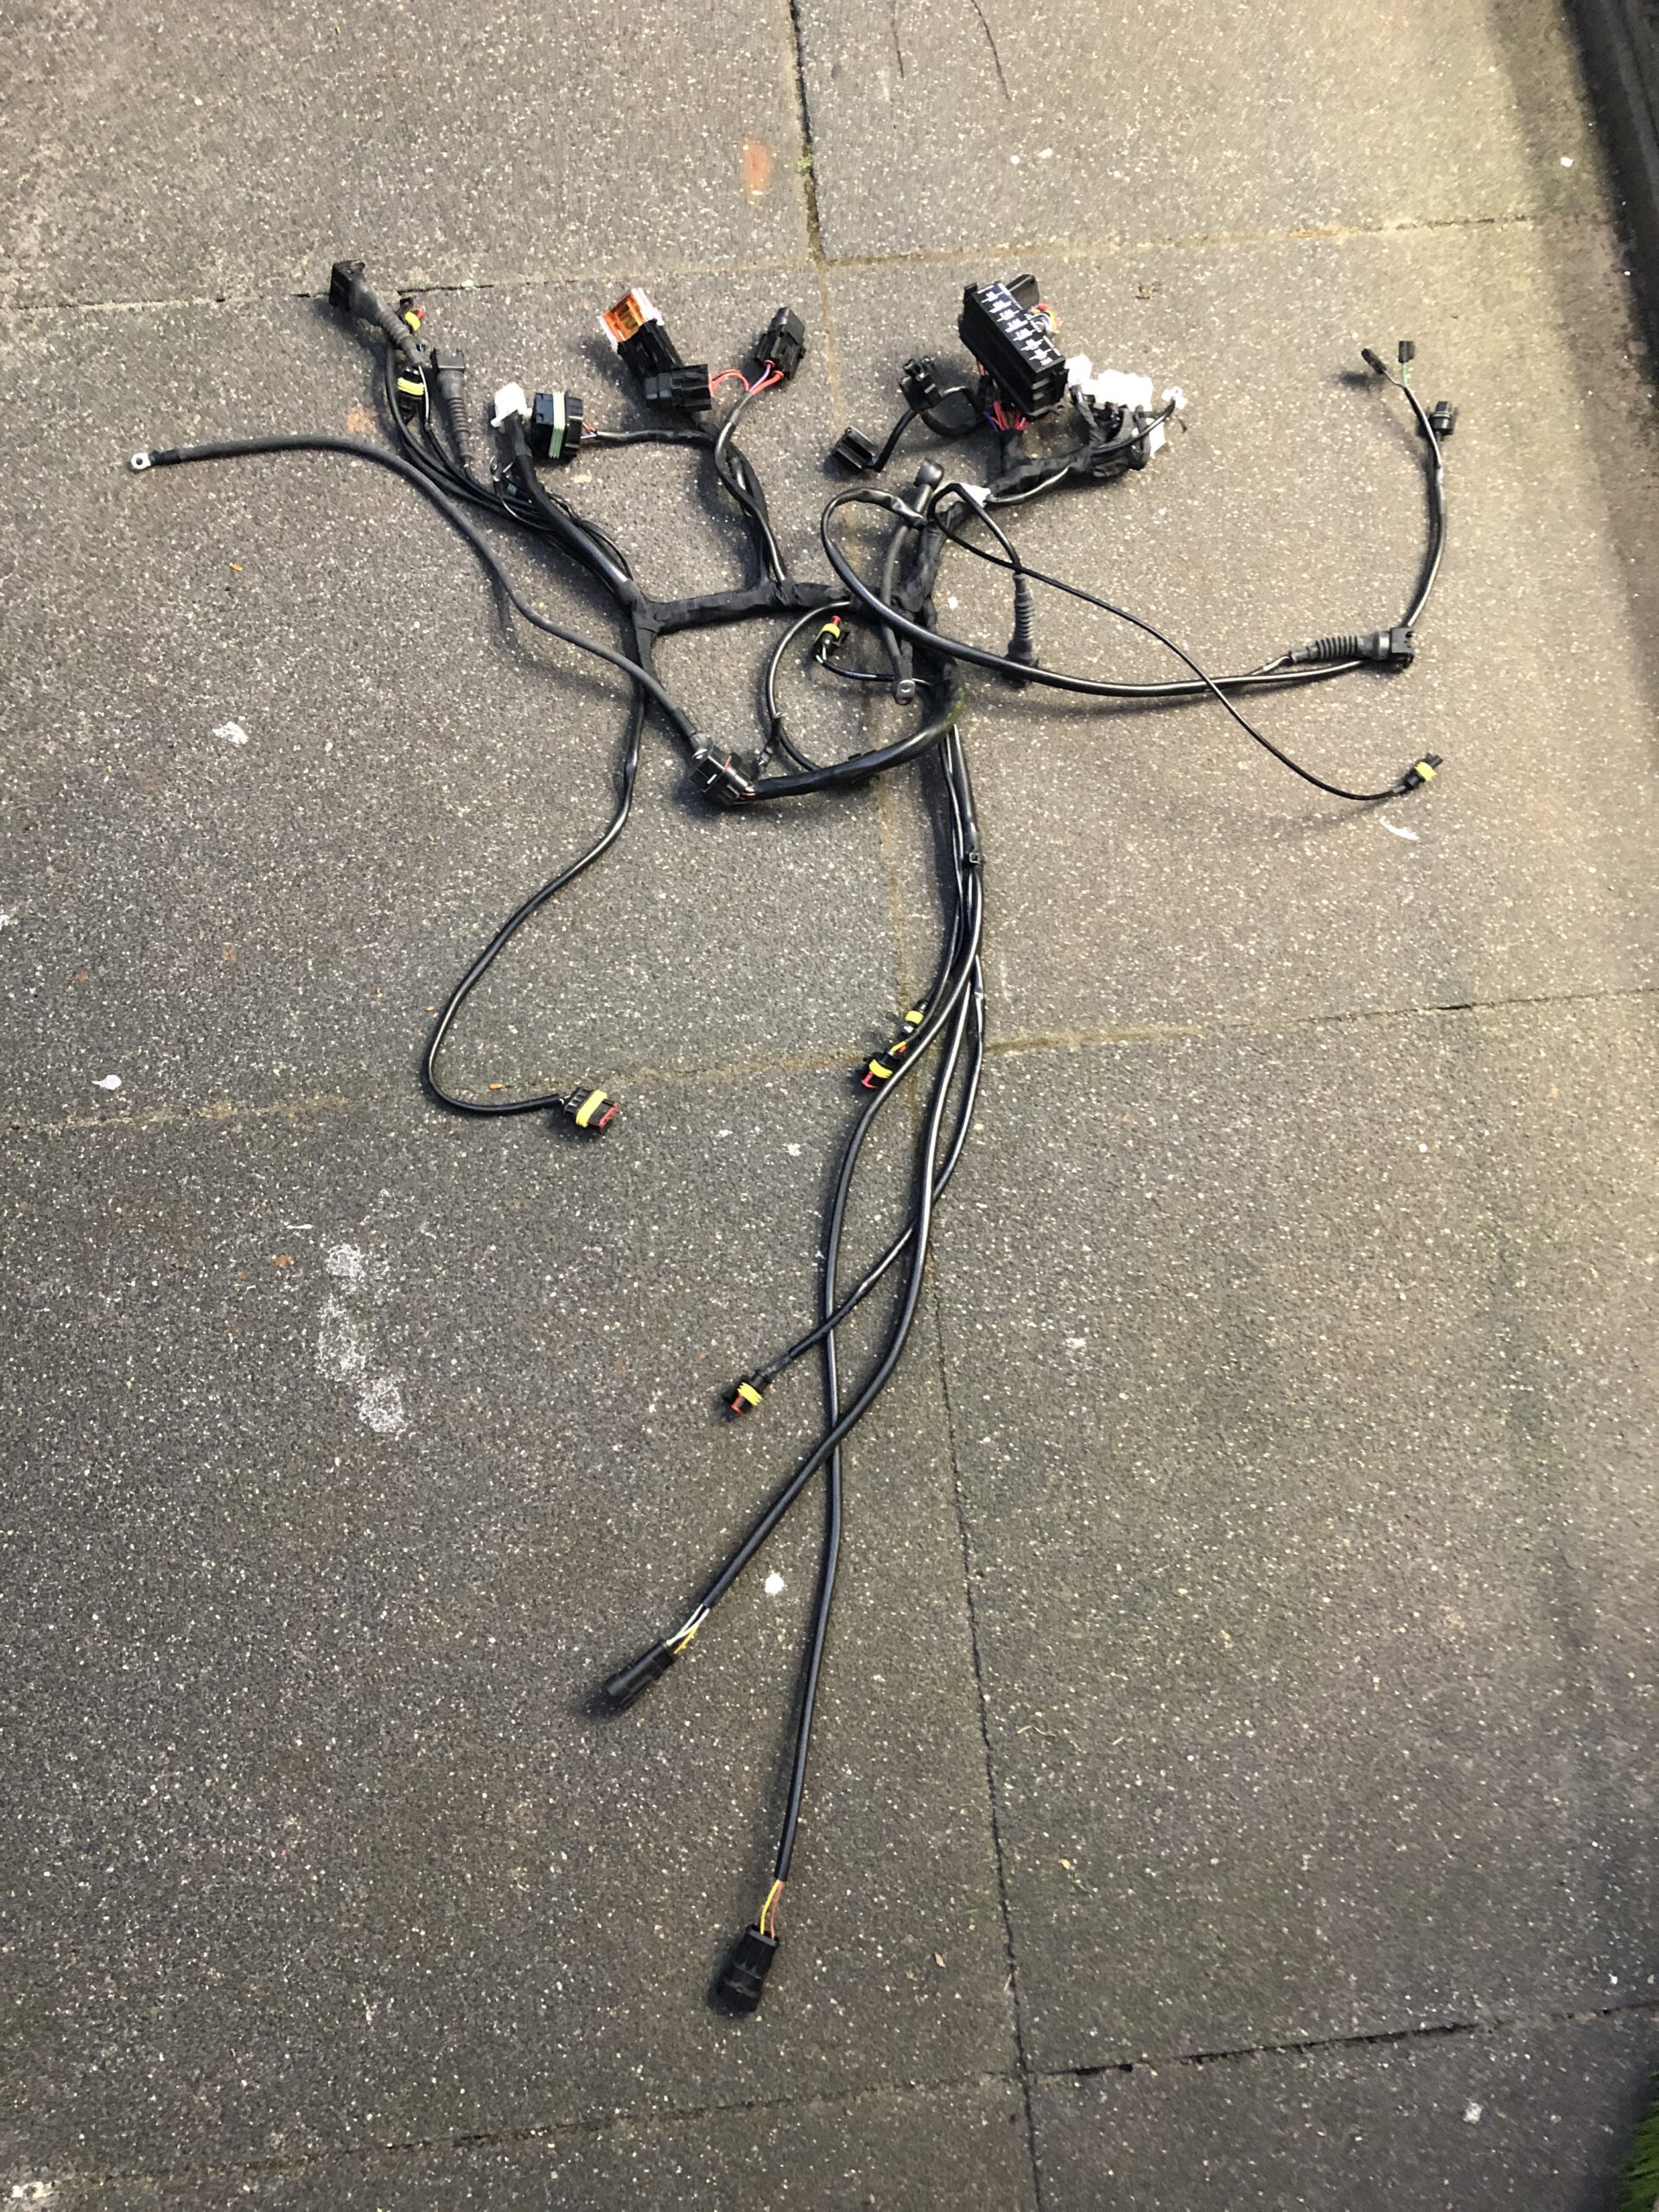
ELECTRONICS MAZE
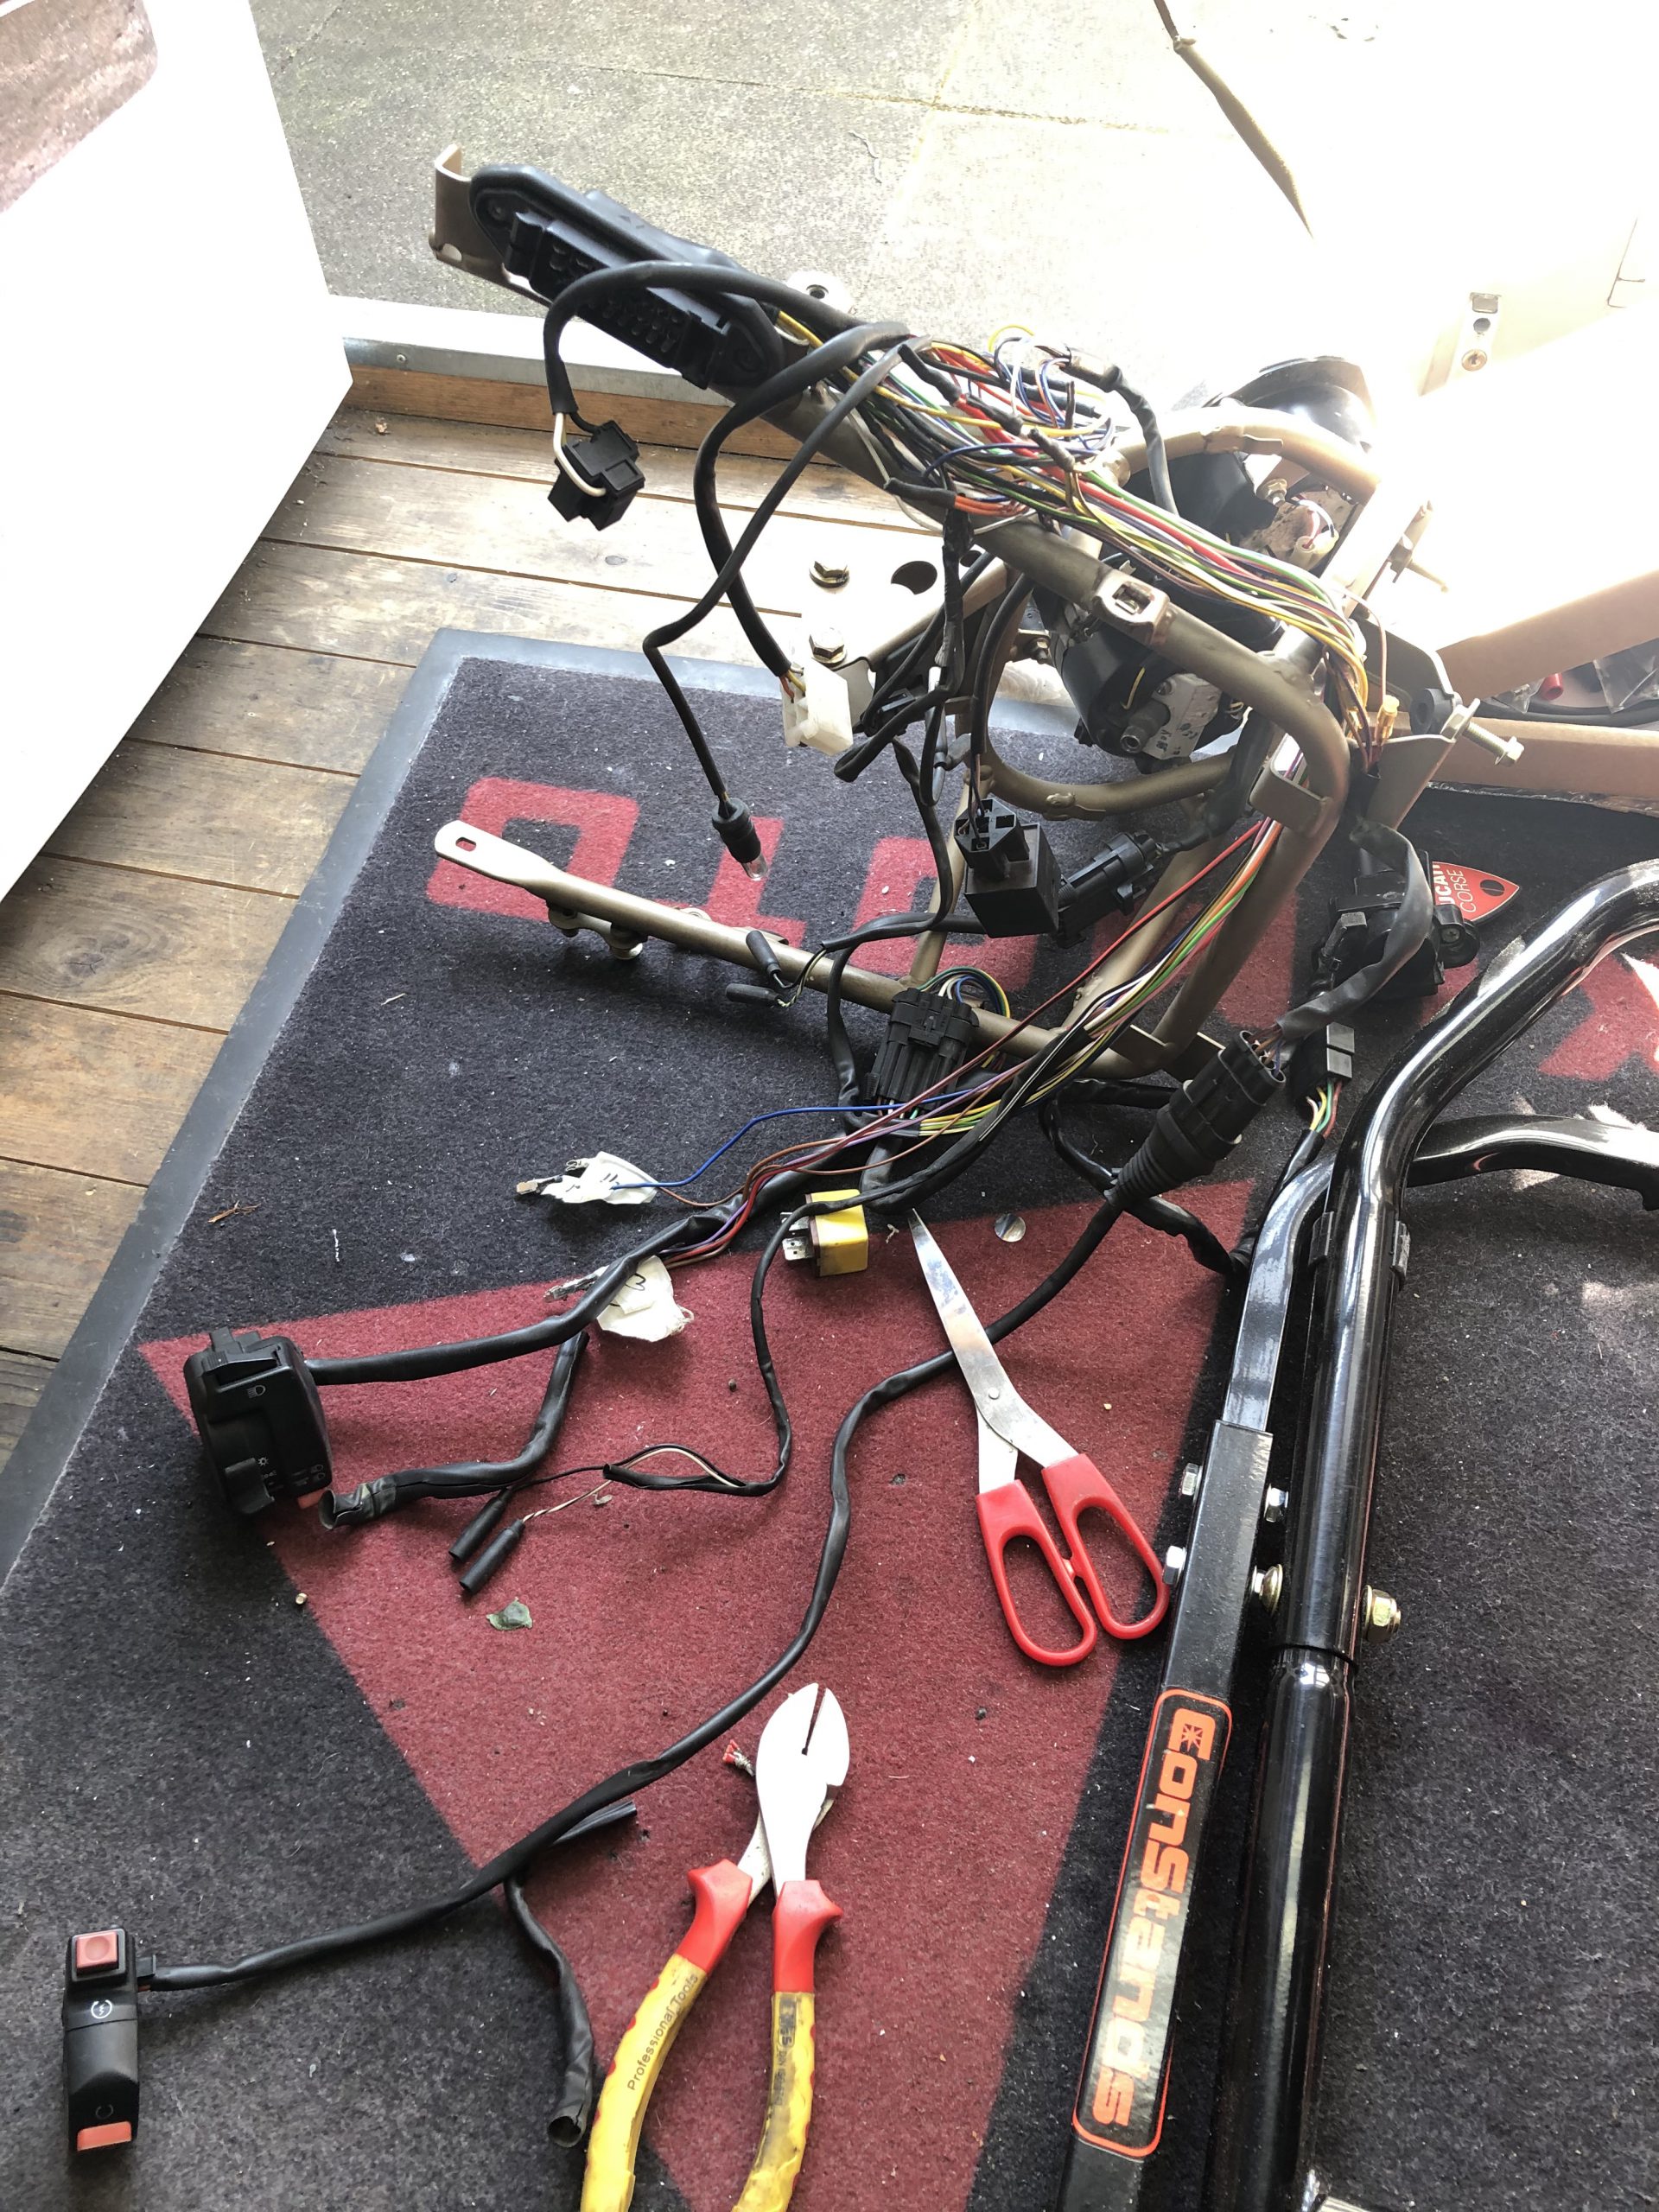
I have got the whole wiring diagram memorized and now its time to start rerouting, cutting, shortening and extending wires :). Building a whole custom wiring loom that mostly is not going to be visible.
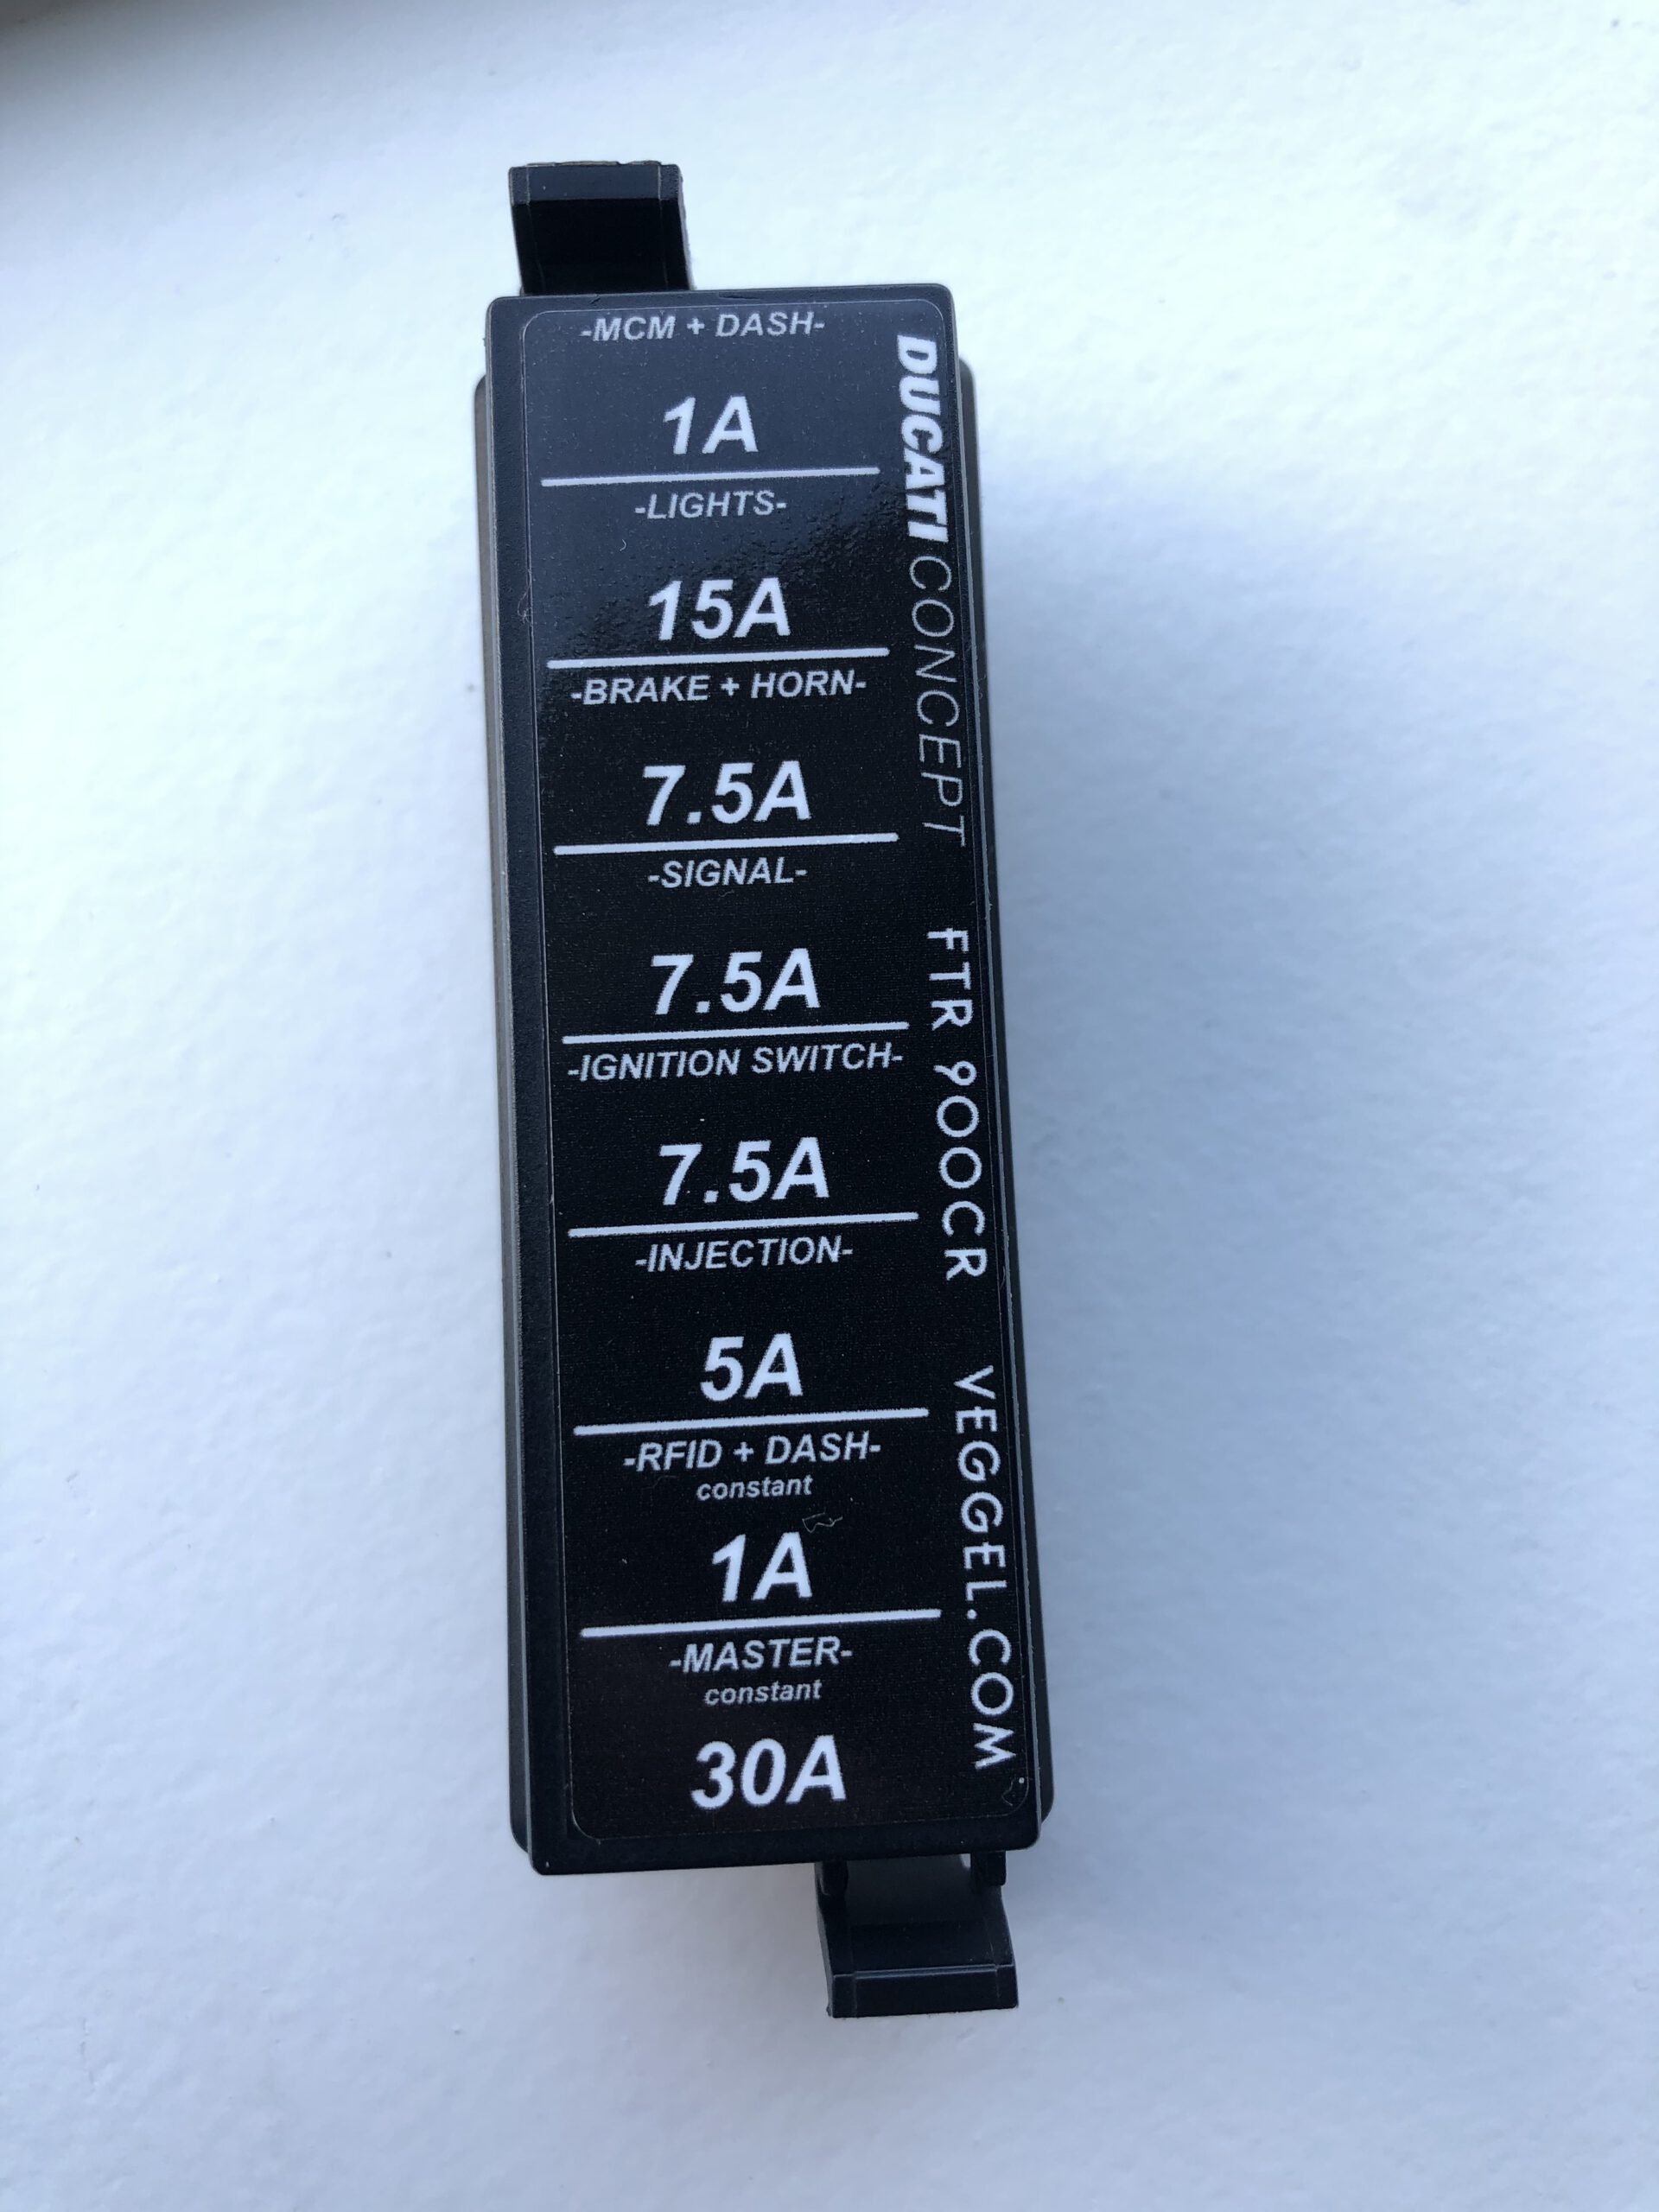
Also again a custom sticker. The fuse box has a new layout and extra fuses so a new sticker was needed :).


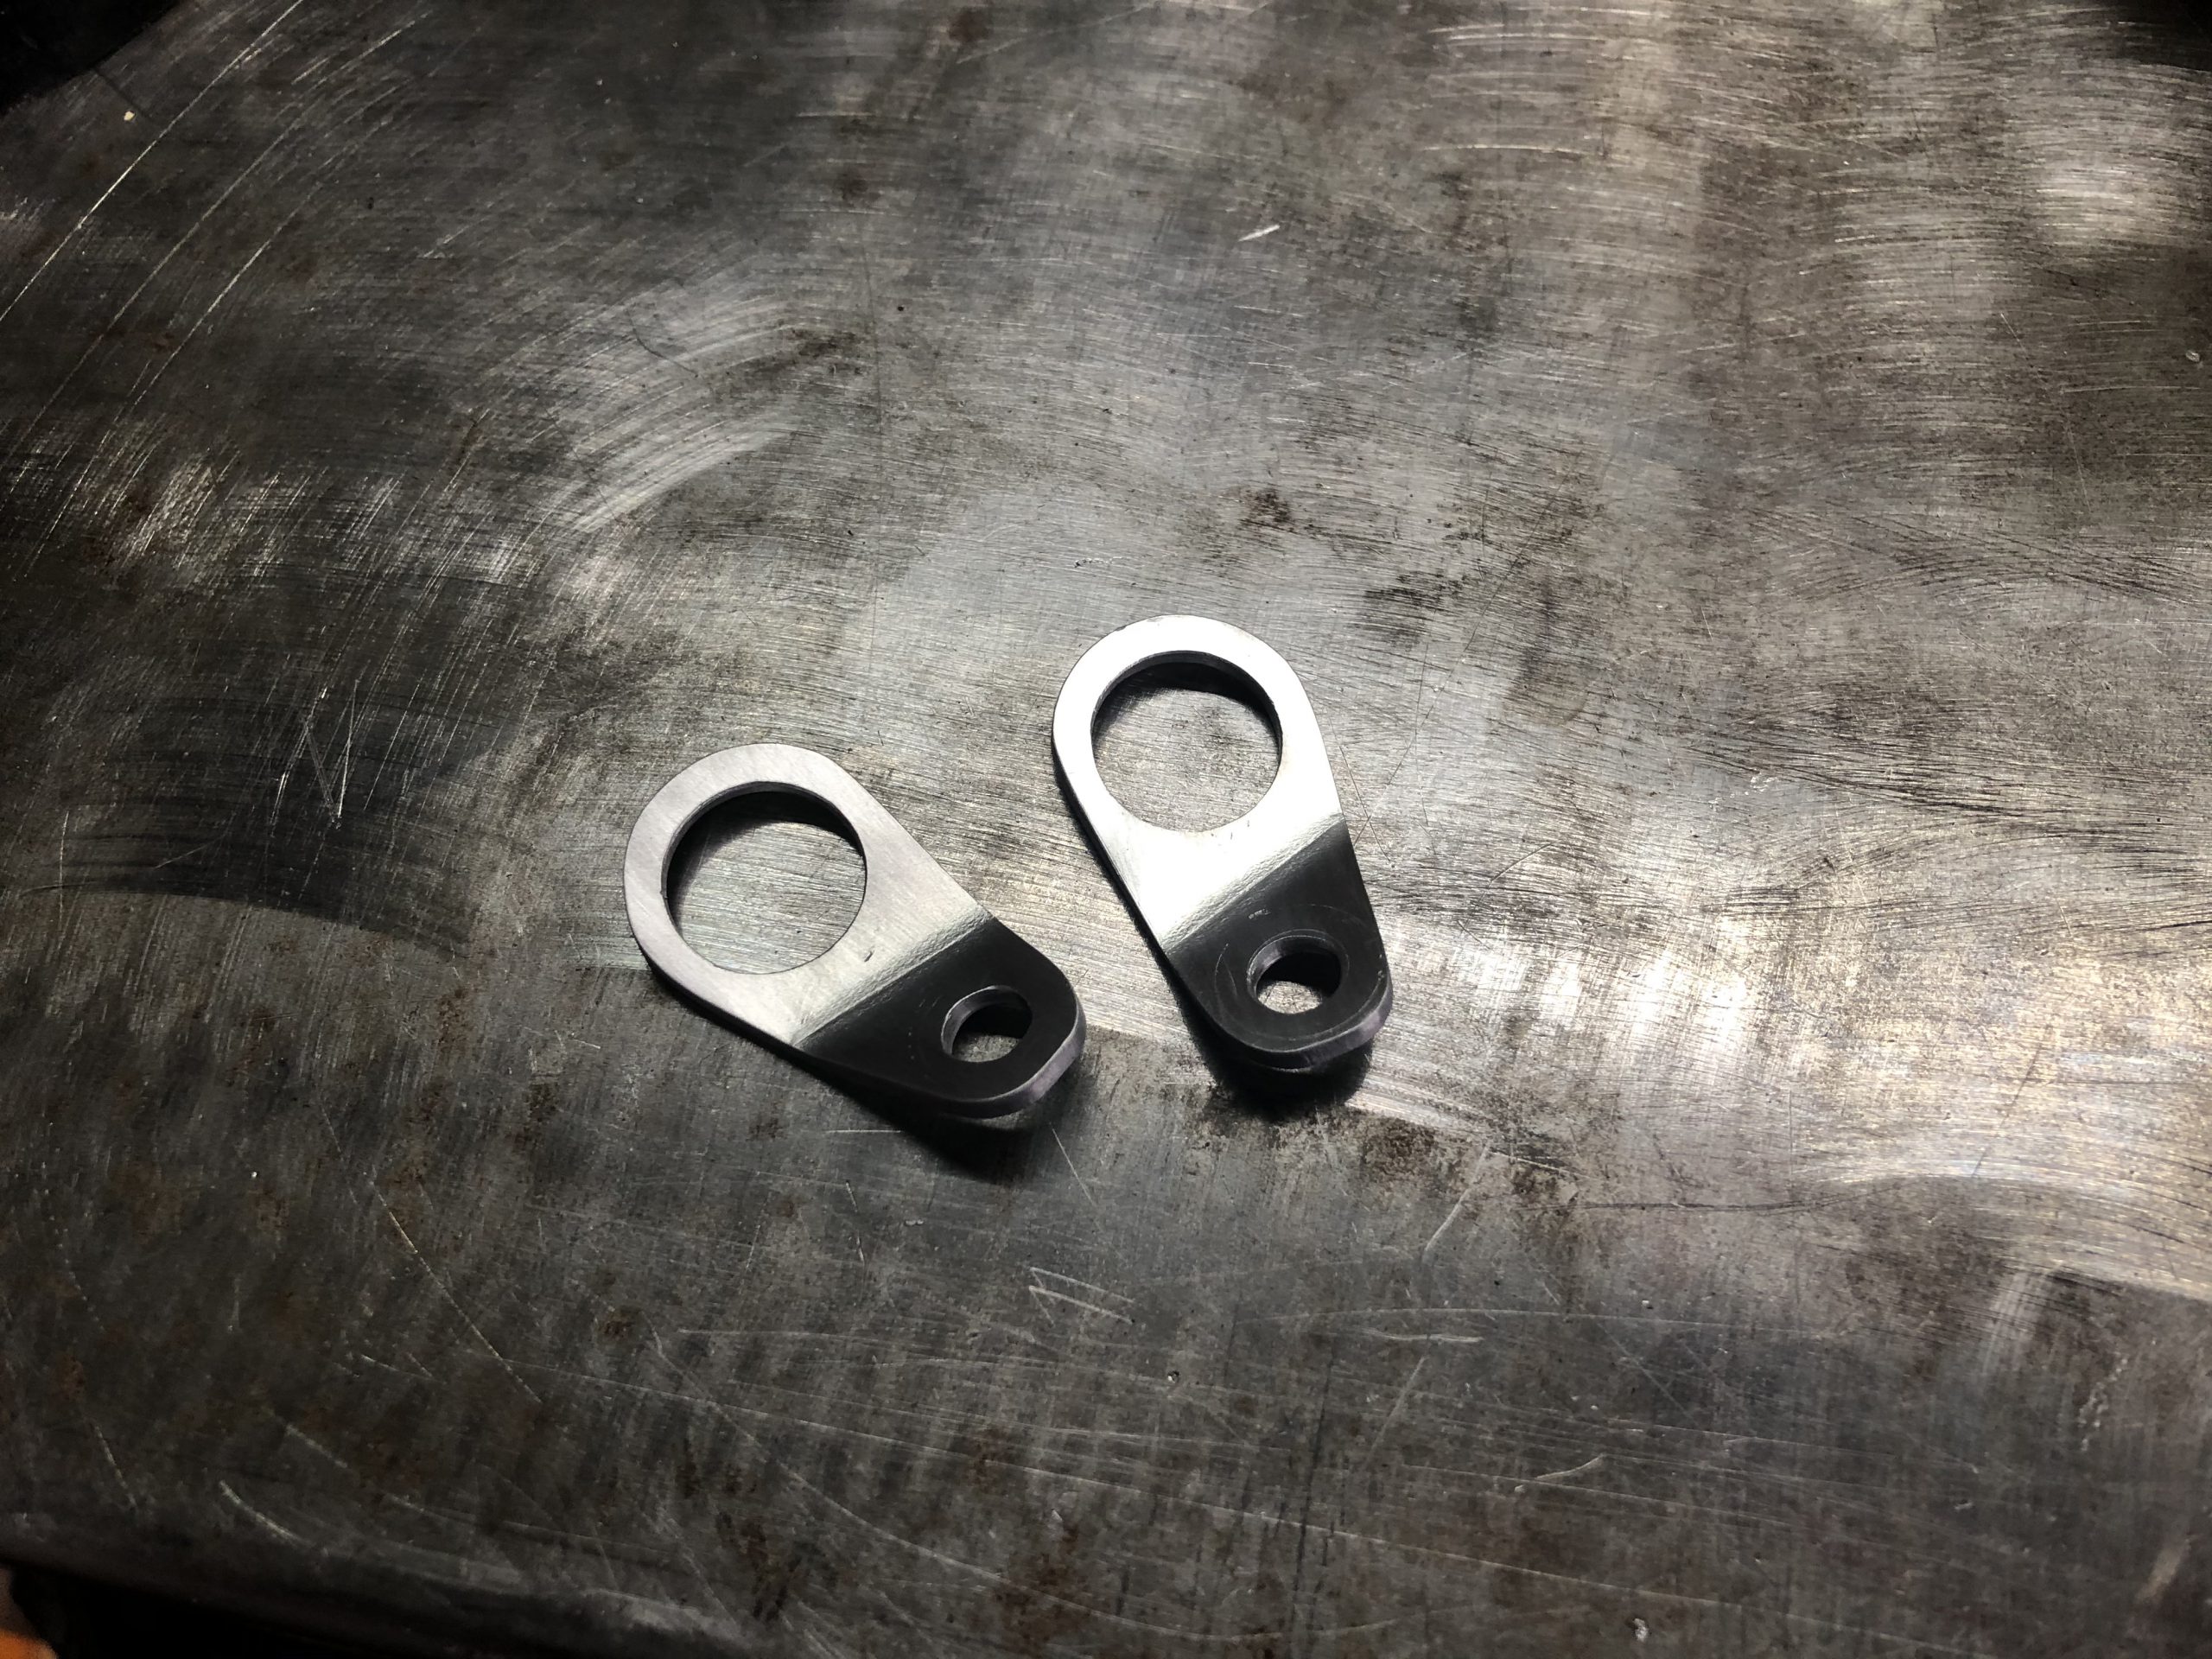
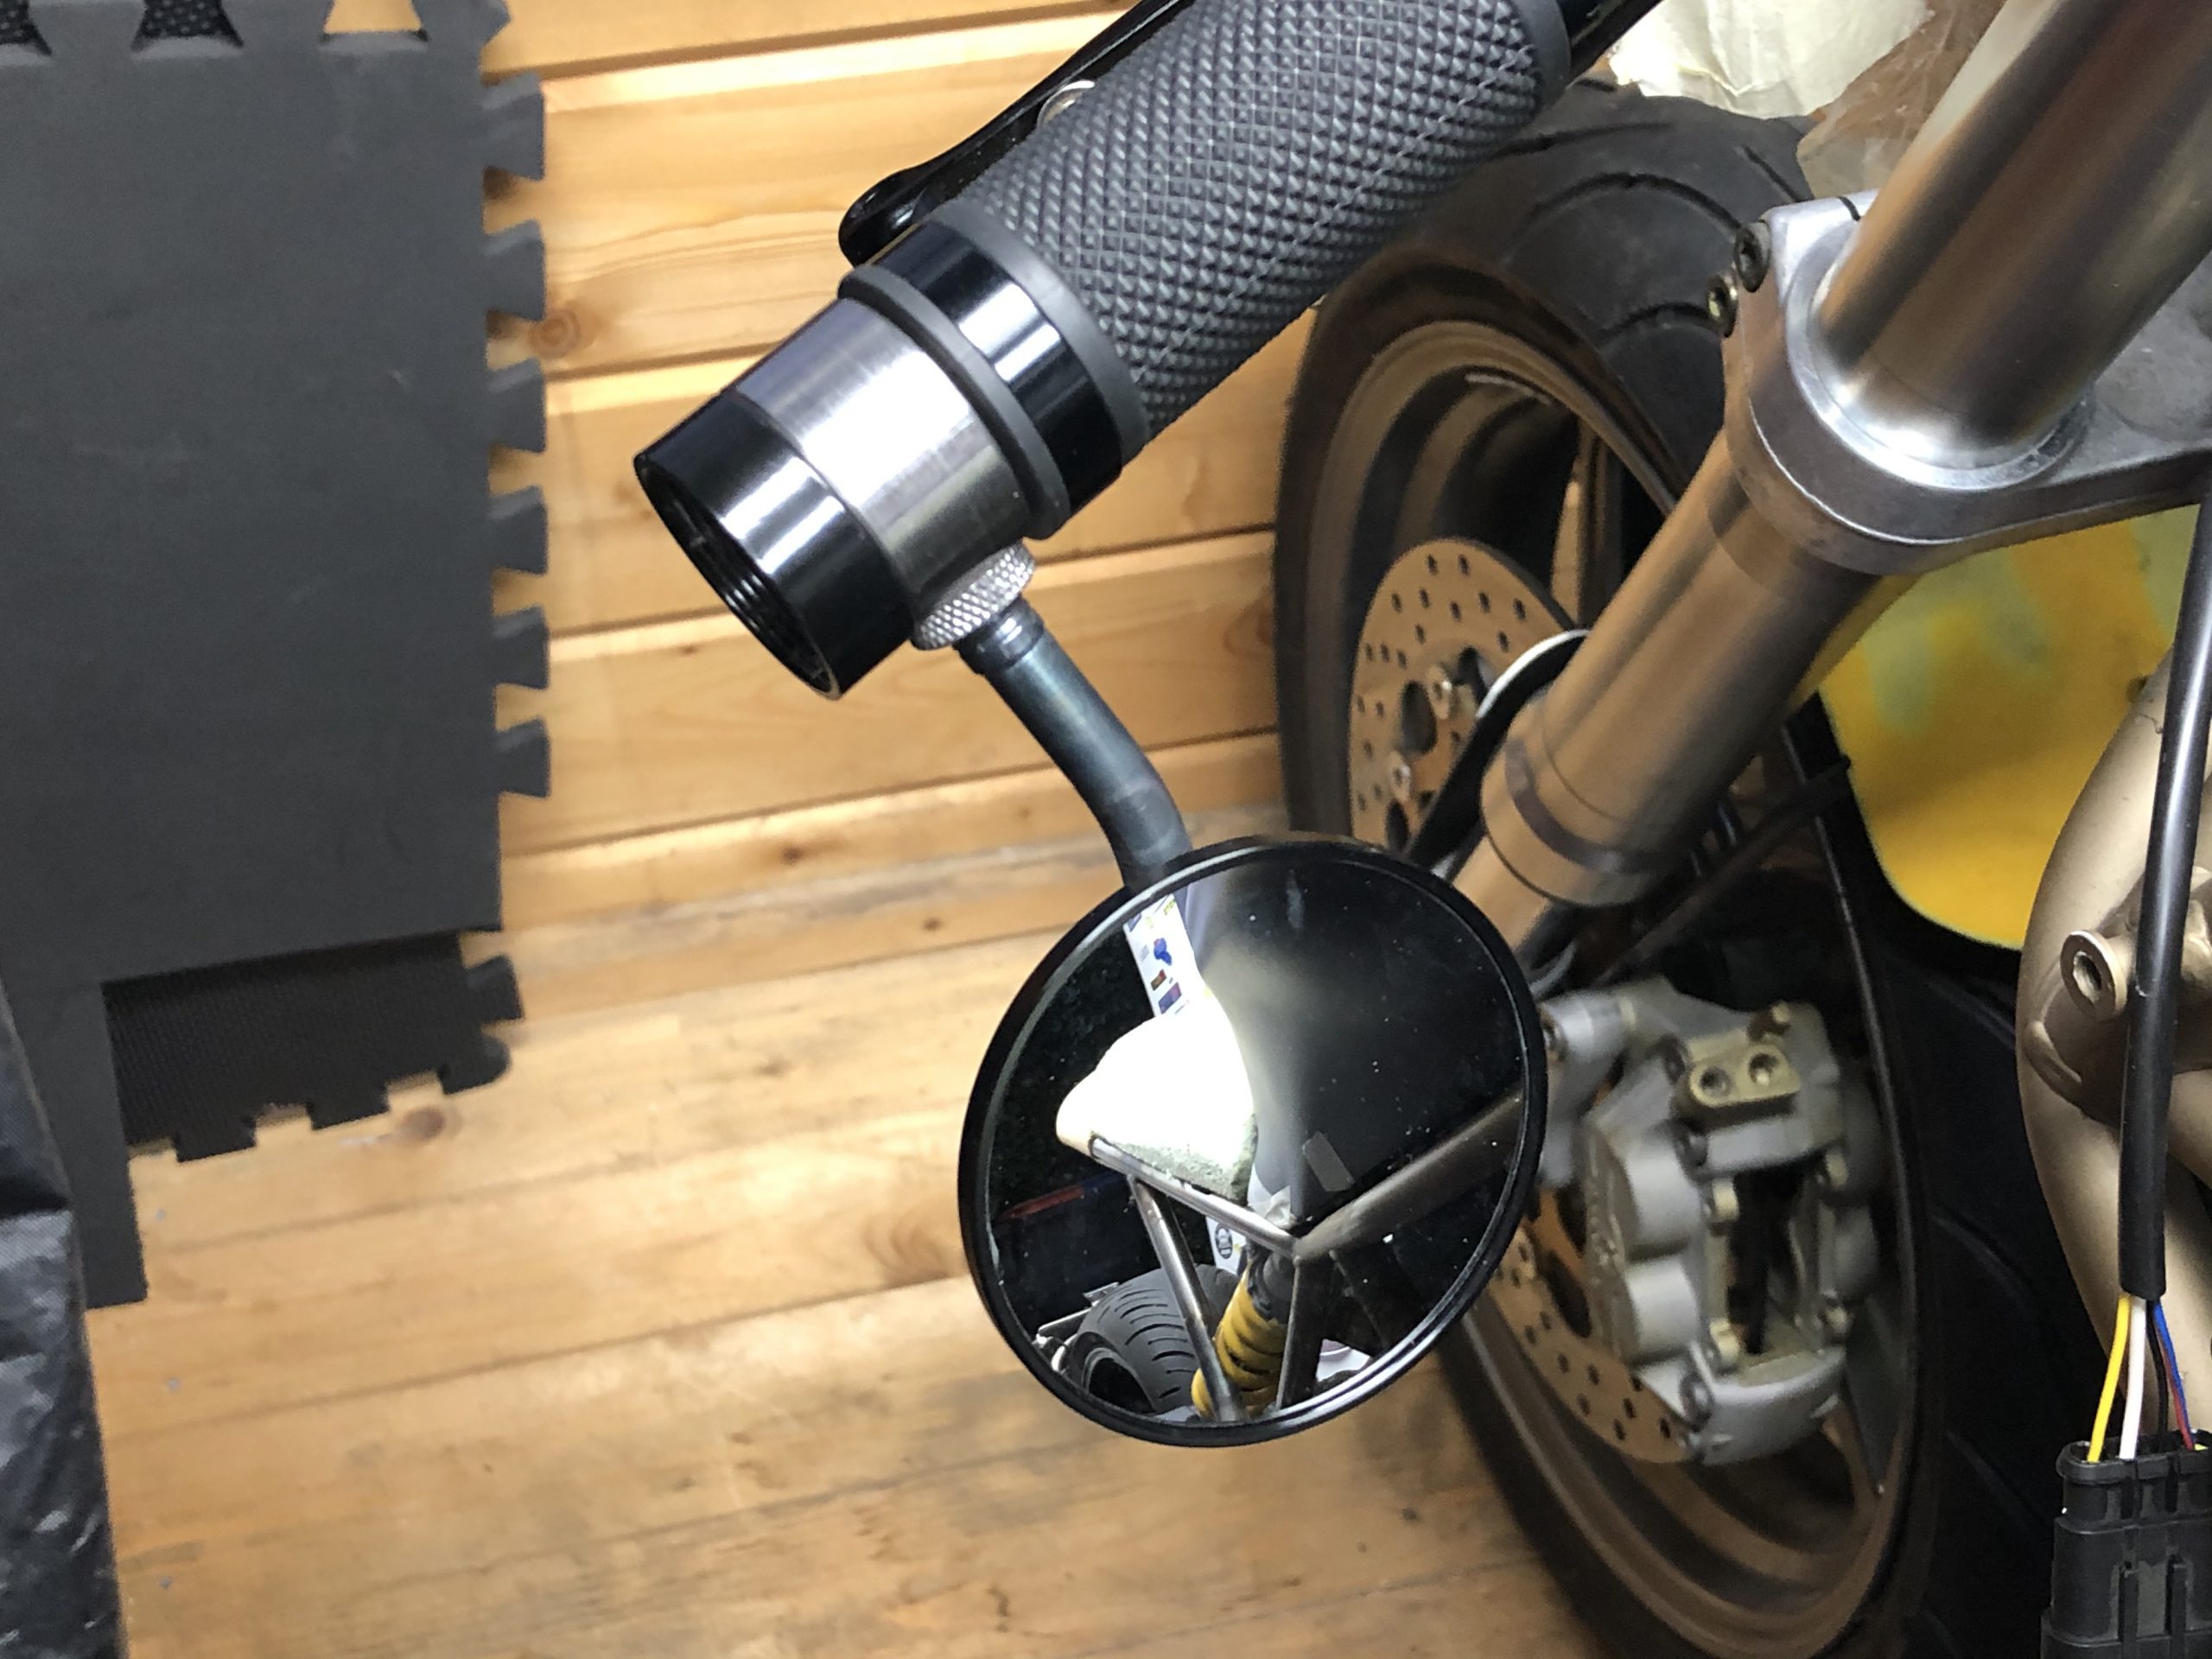
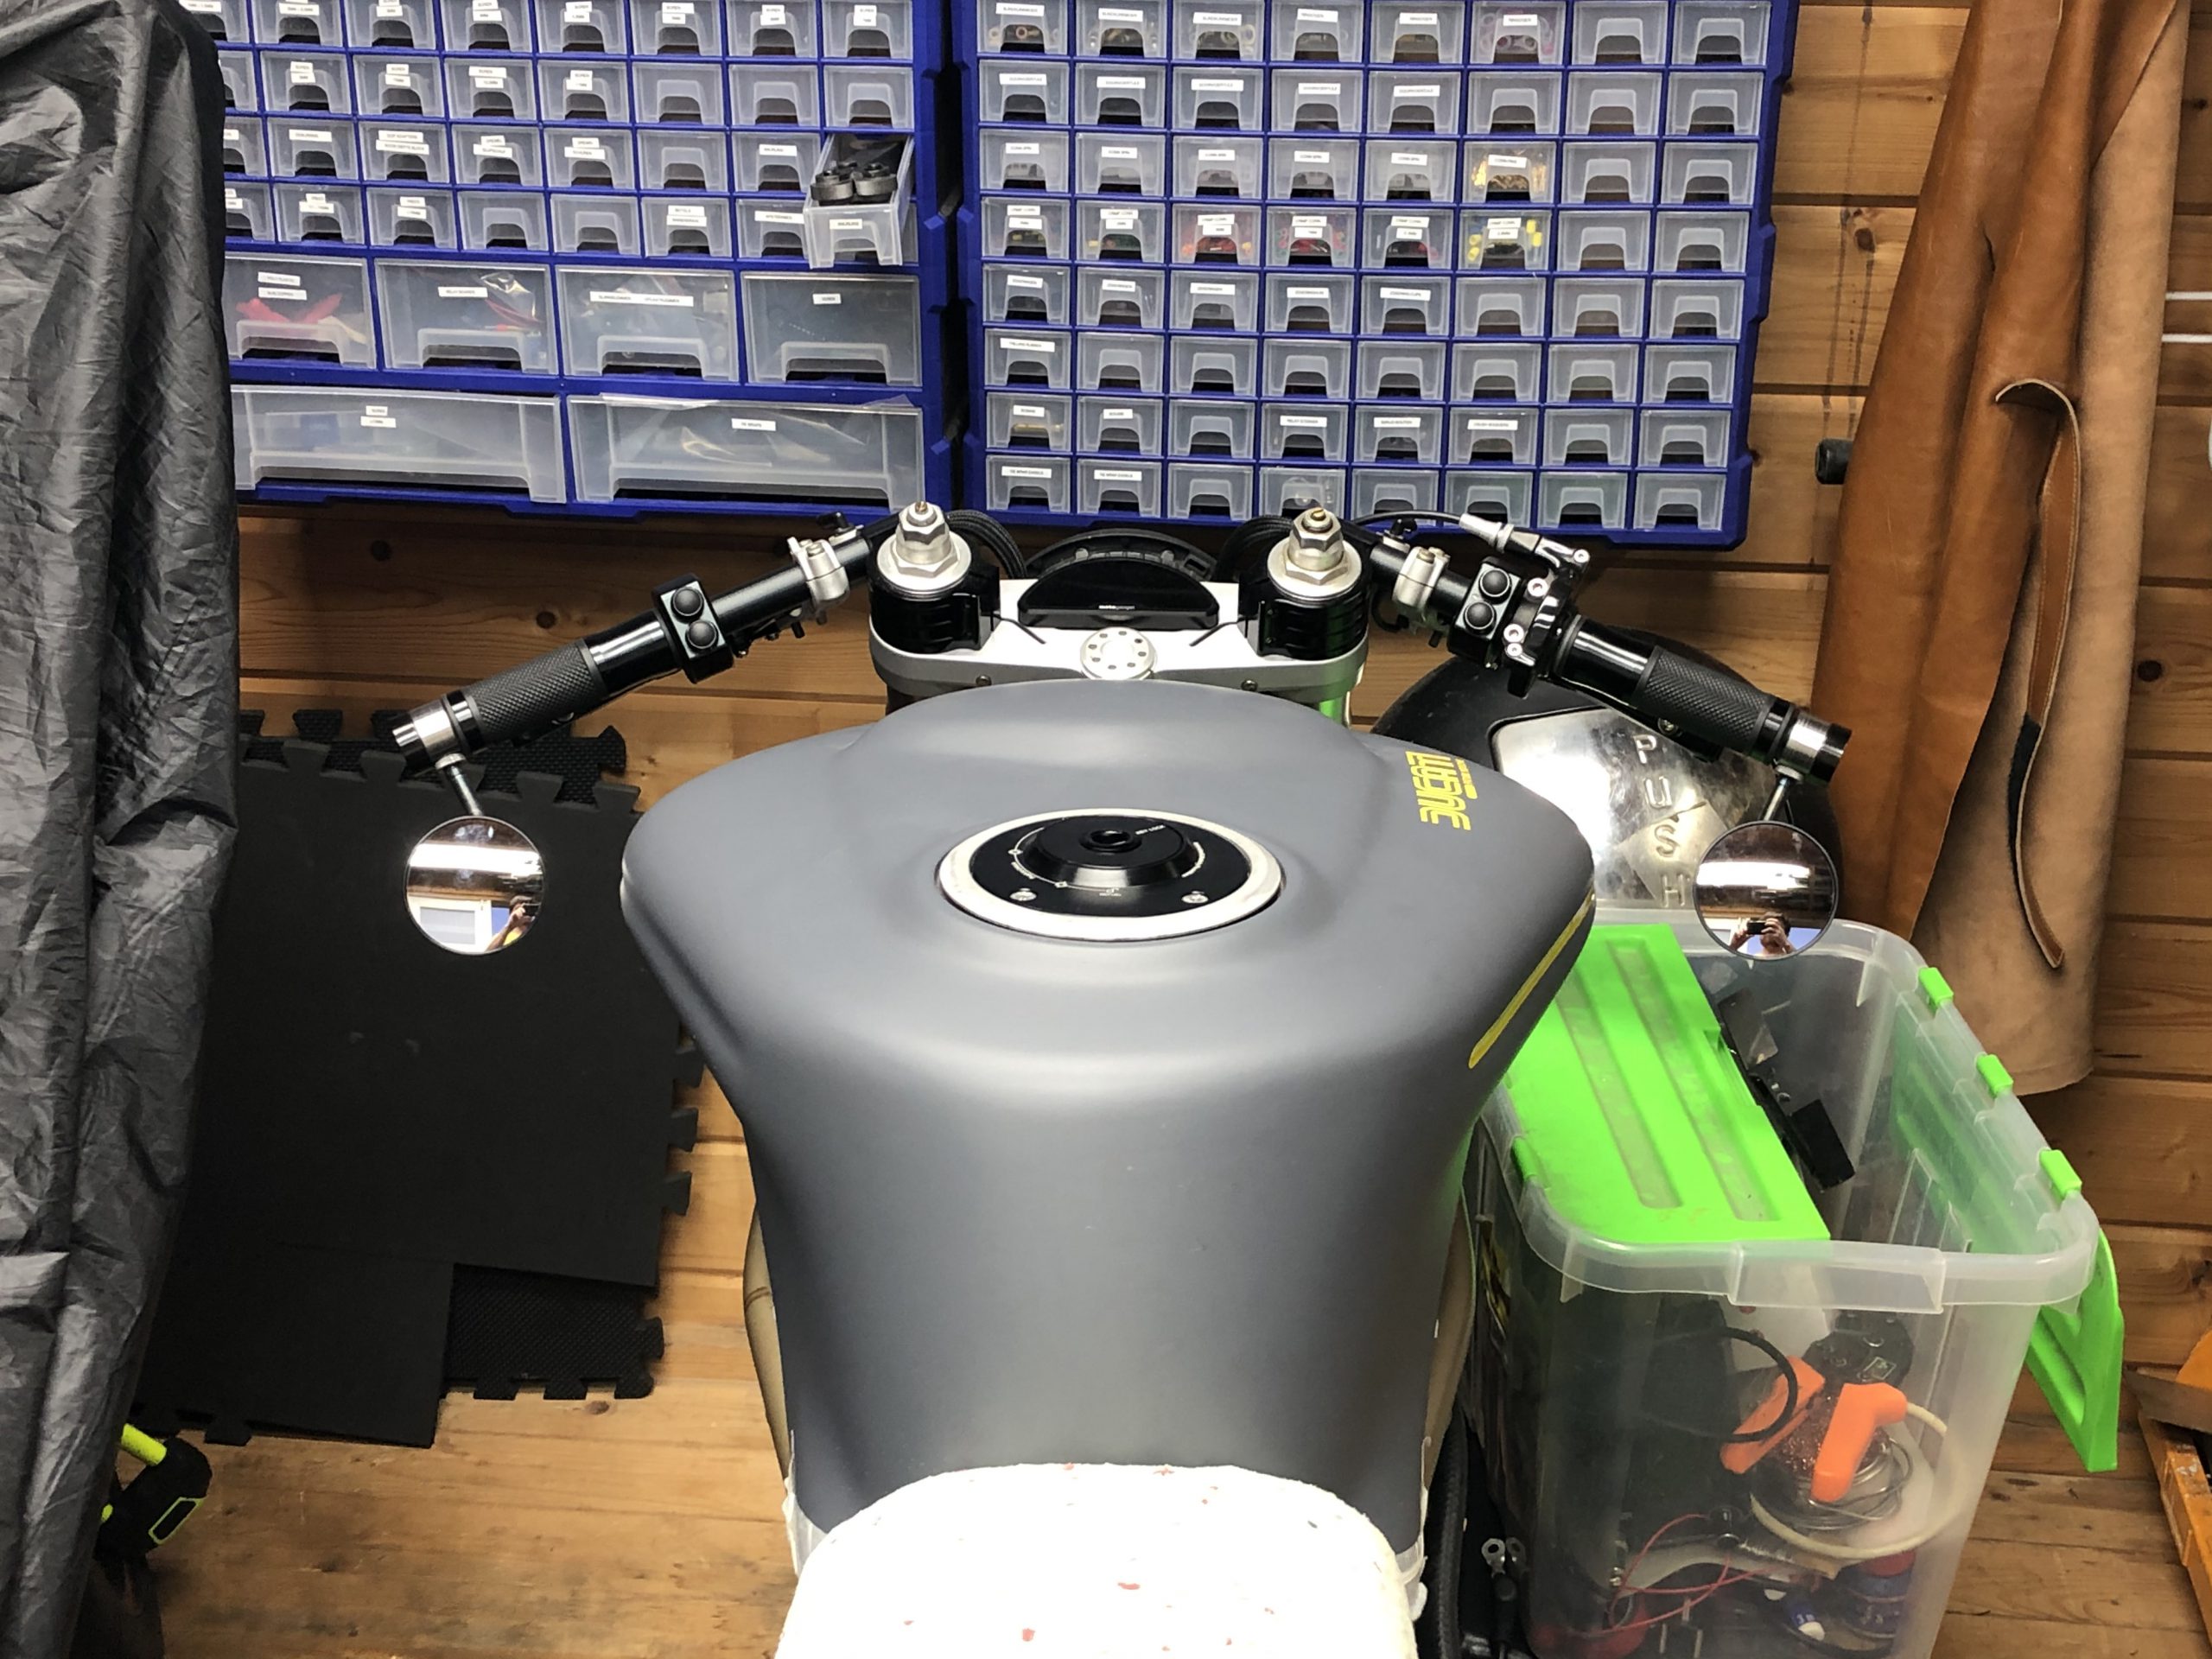
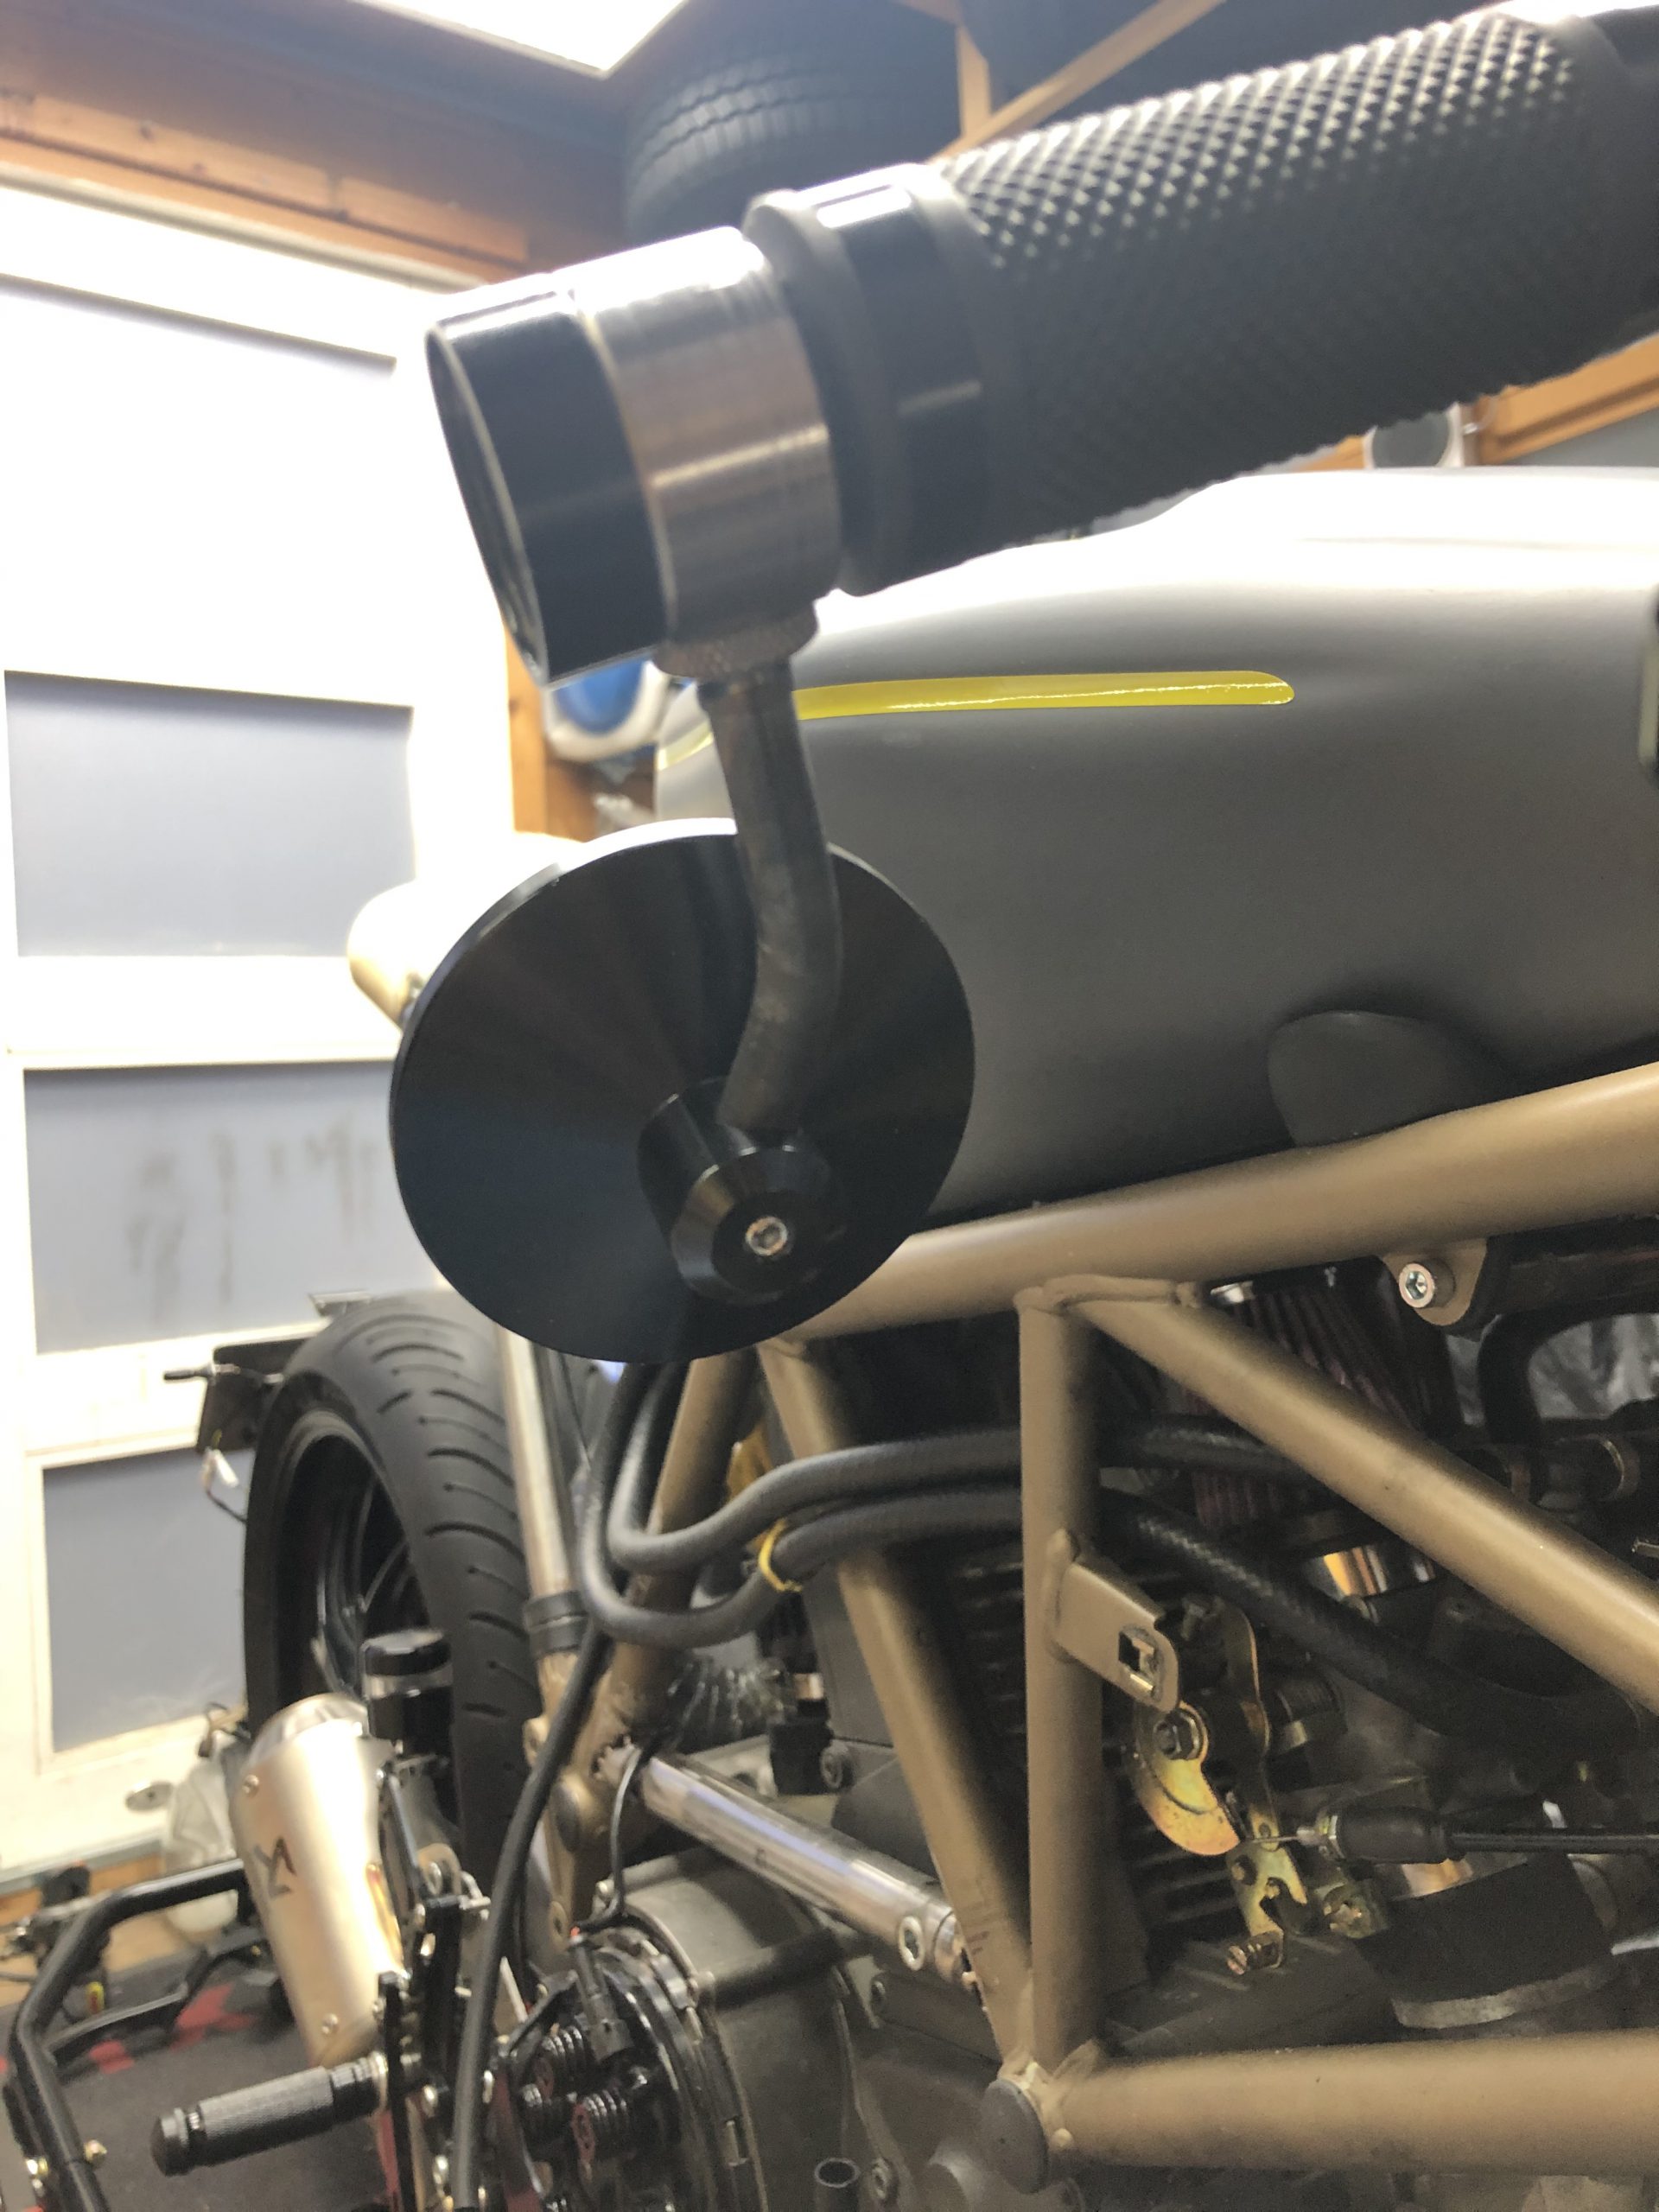
BAR END MIRRORS
Custom made brackets/mounting solution for the mirrors. Needed a custom solution so I could also fit the bar end turn signals. Off course going to be coated black.
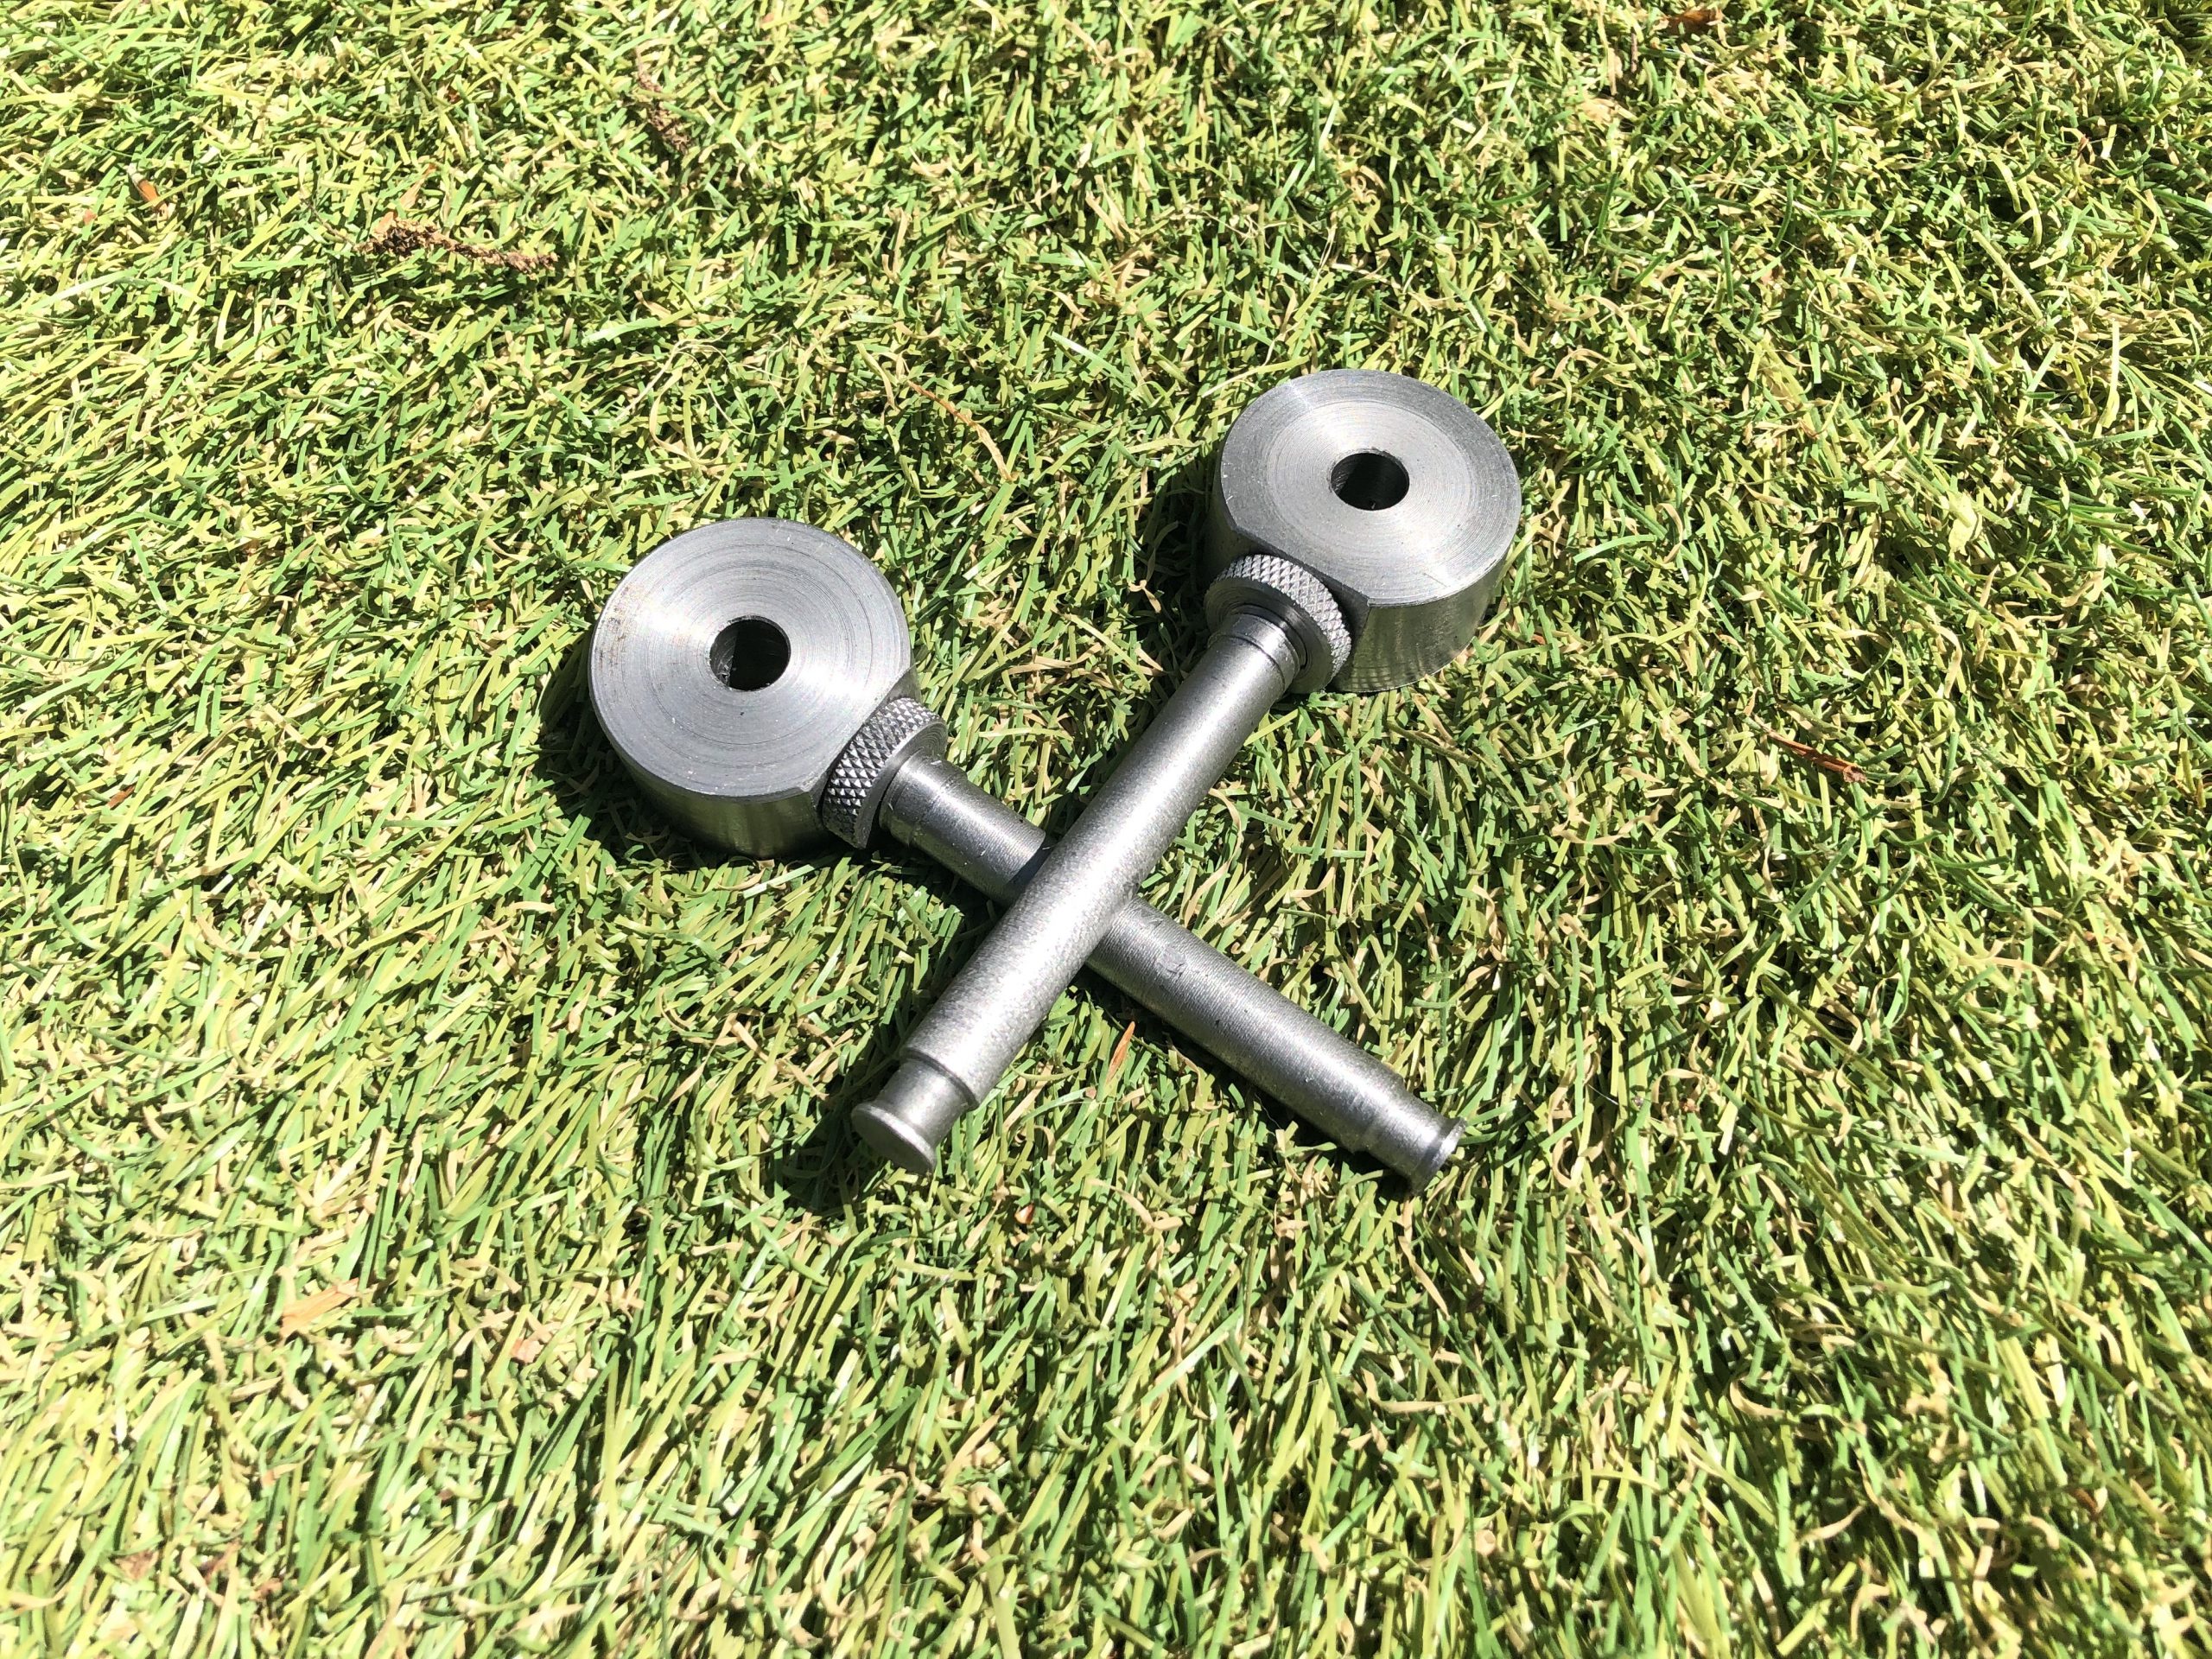

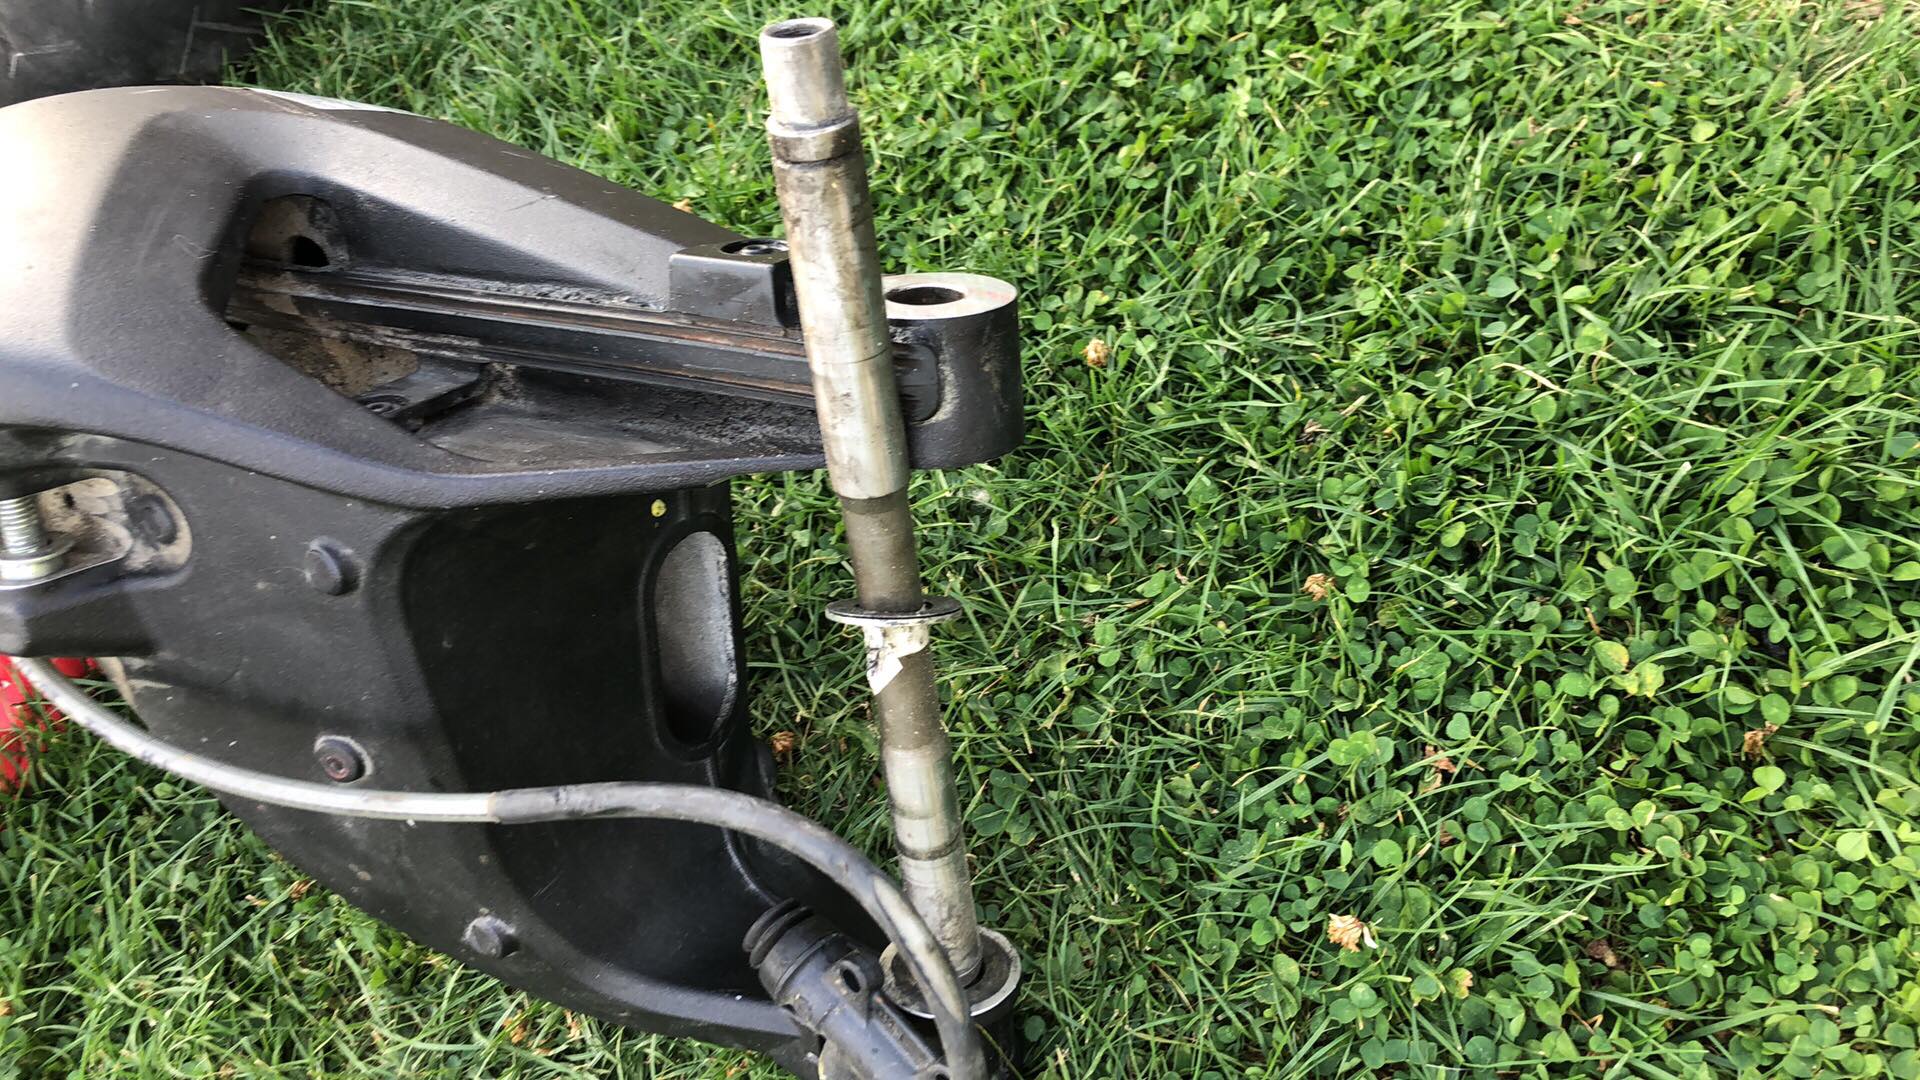
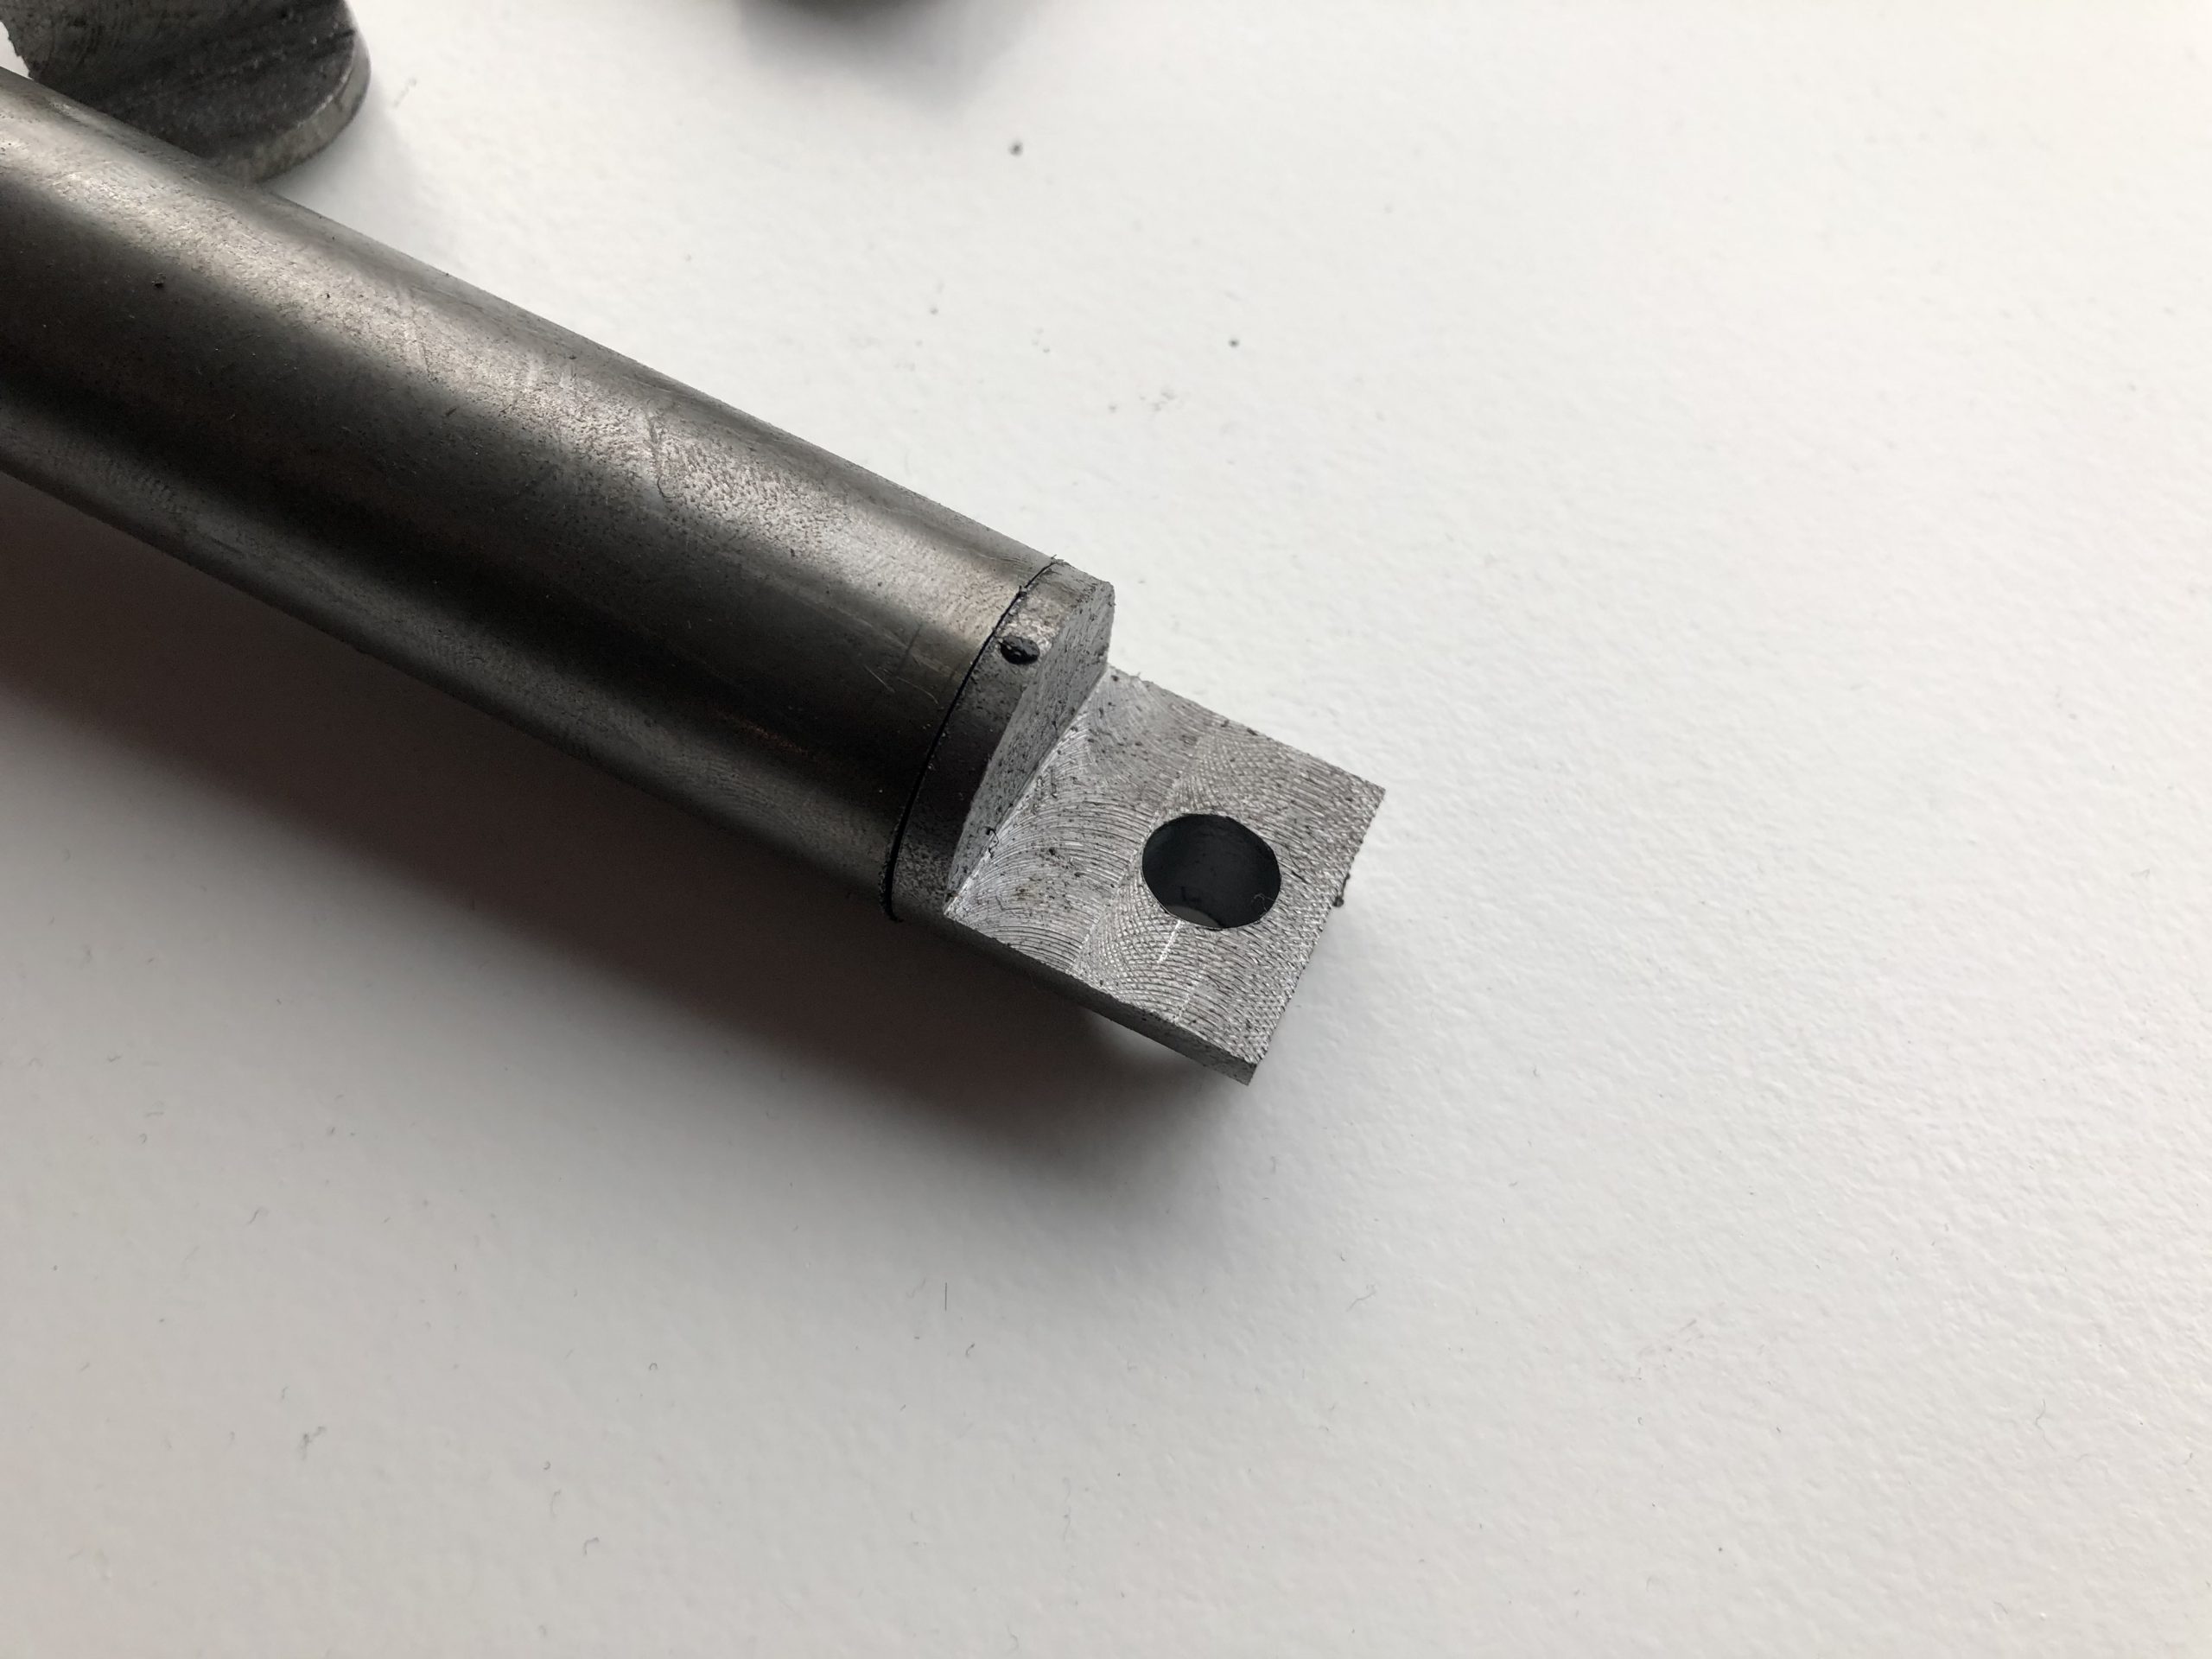
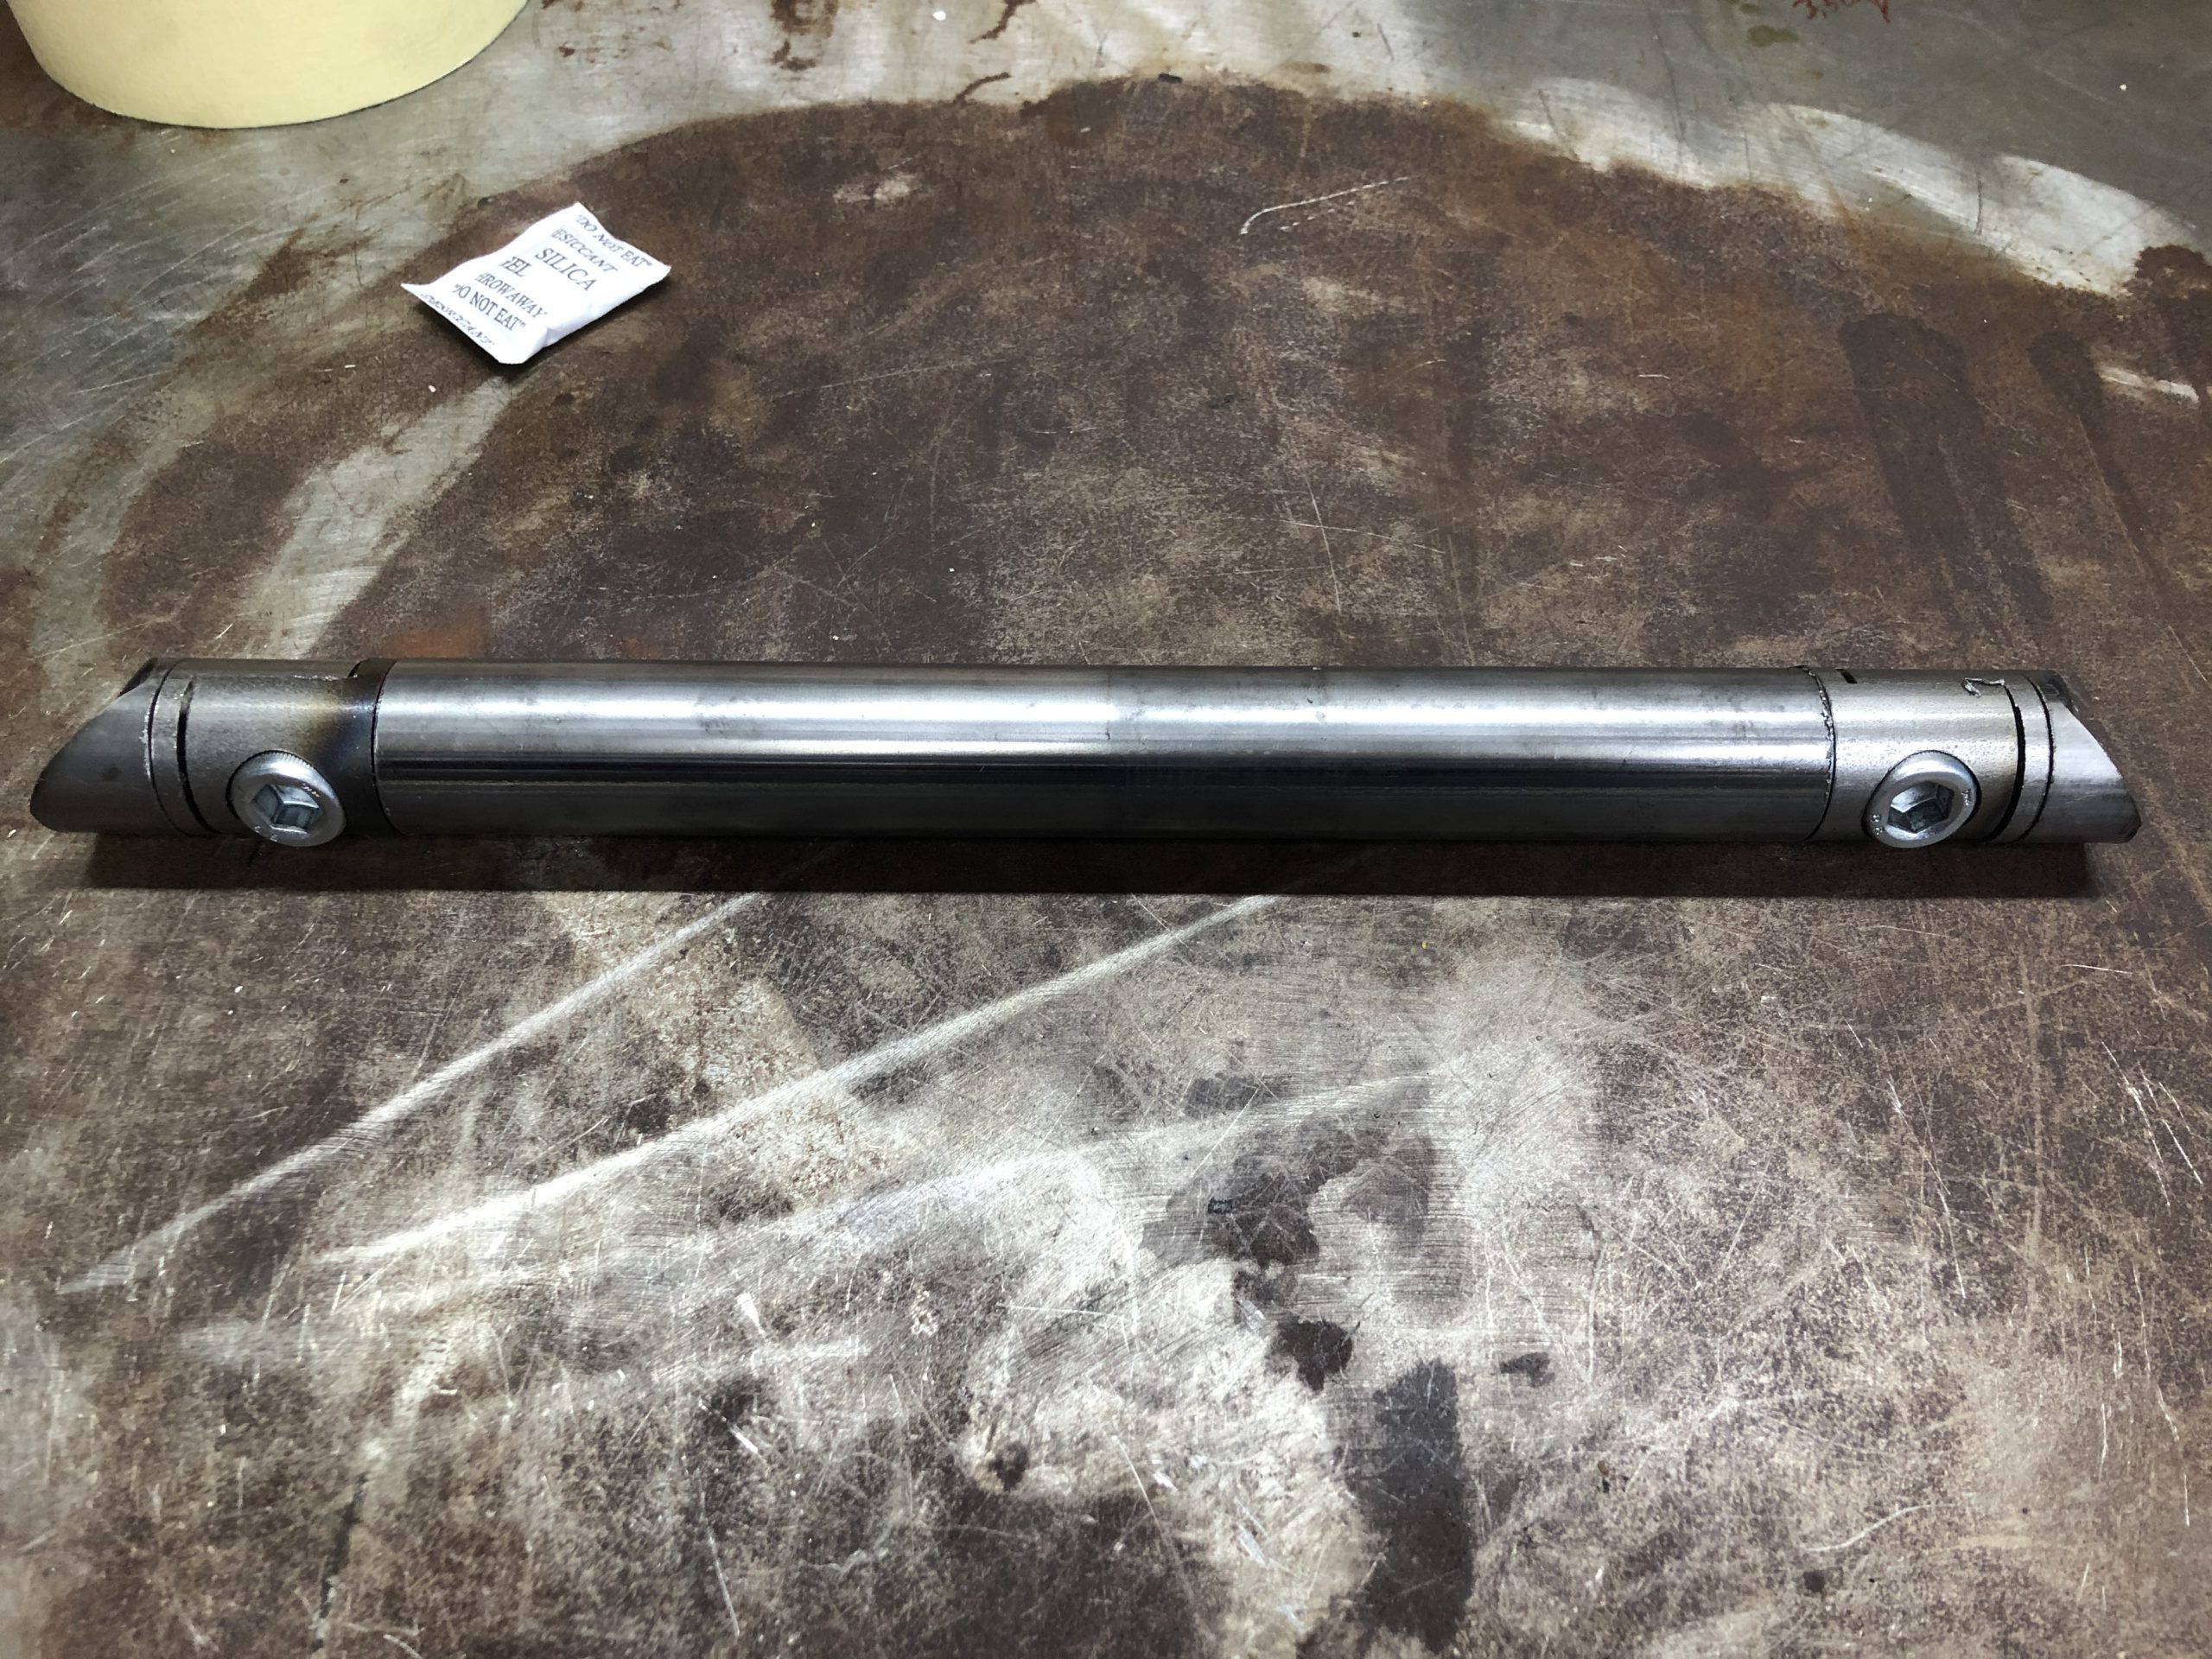
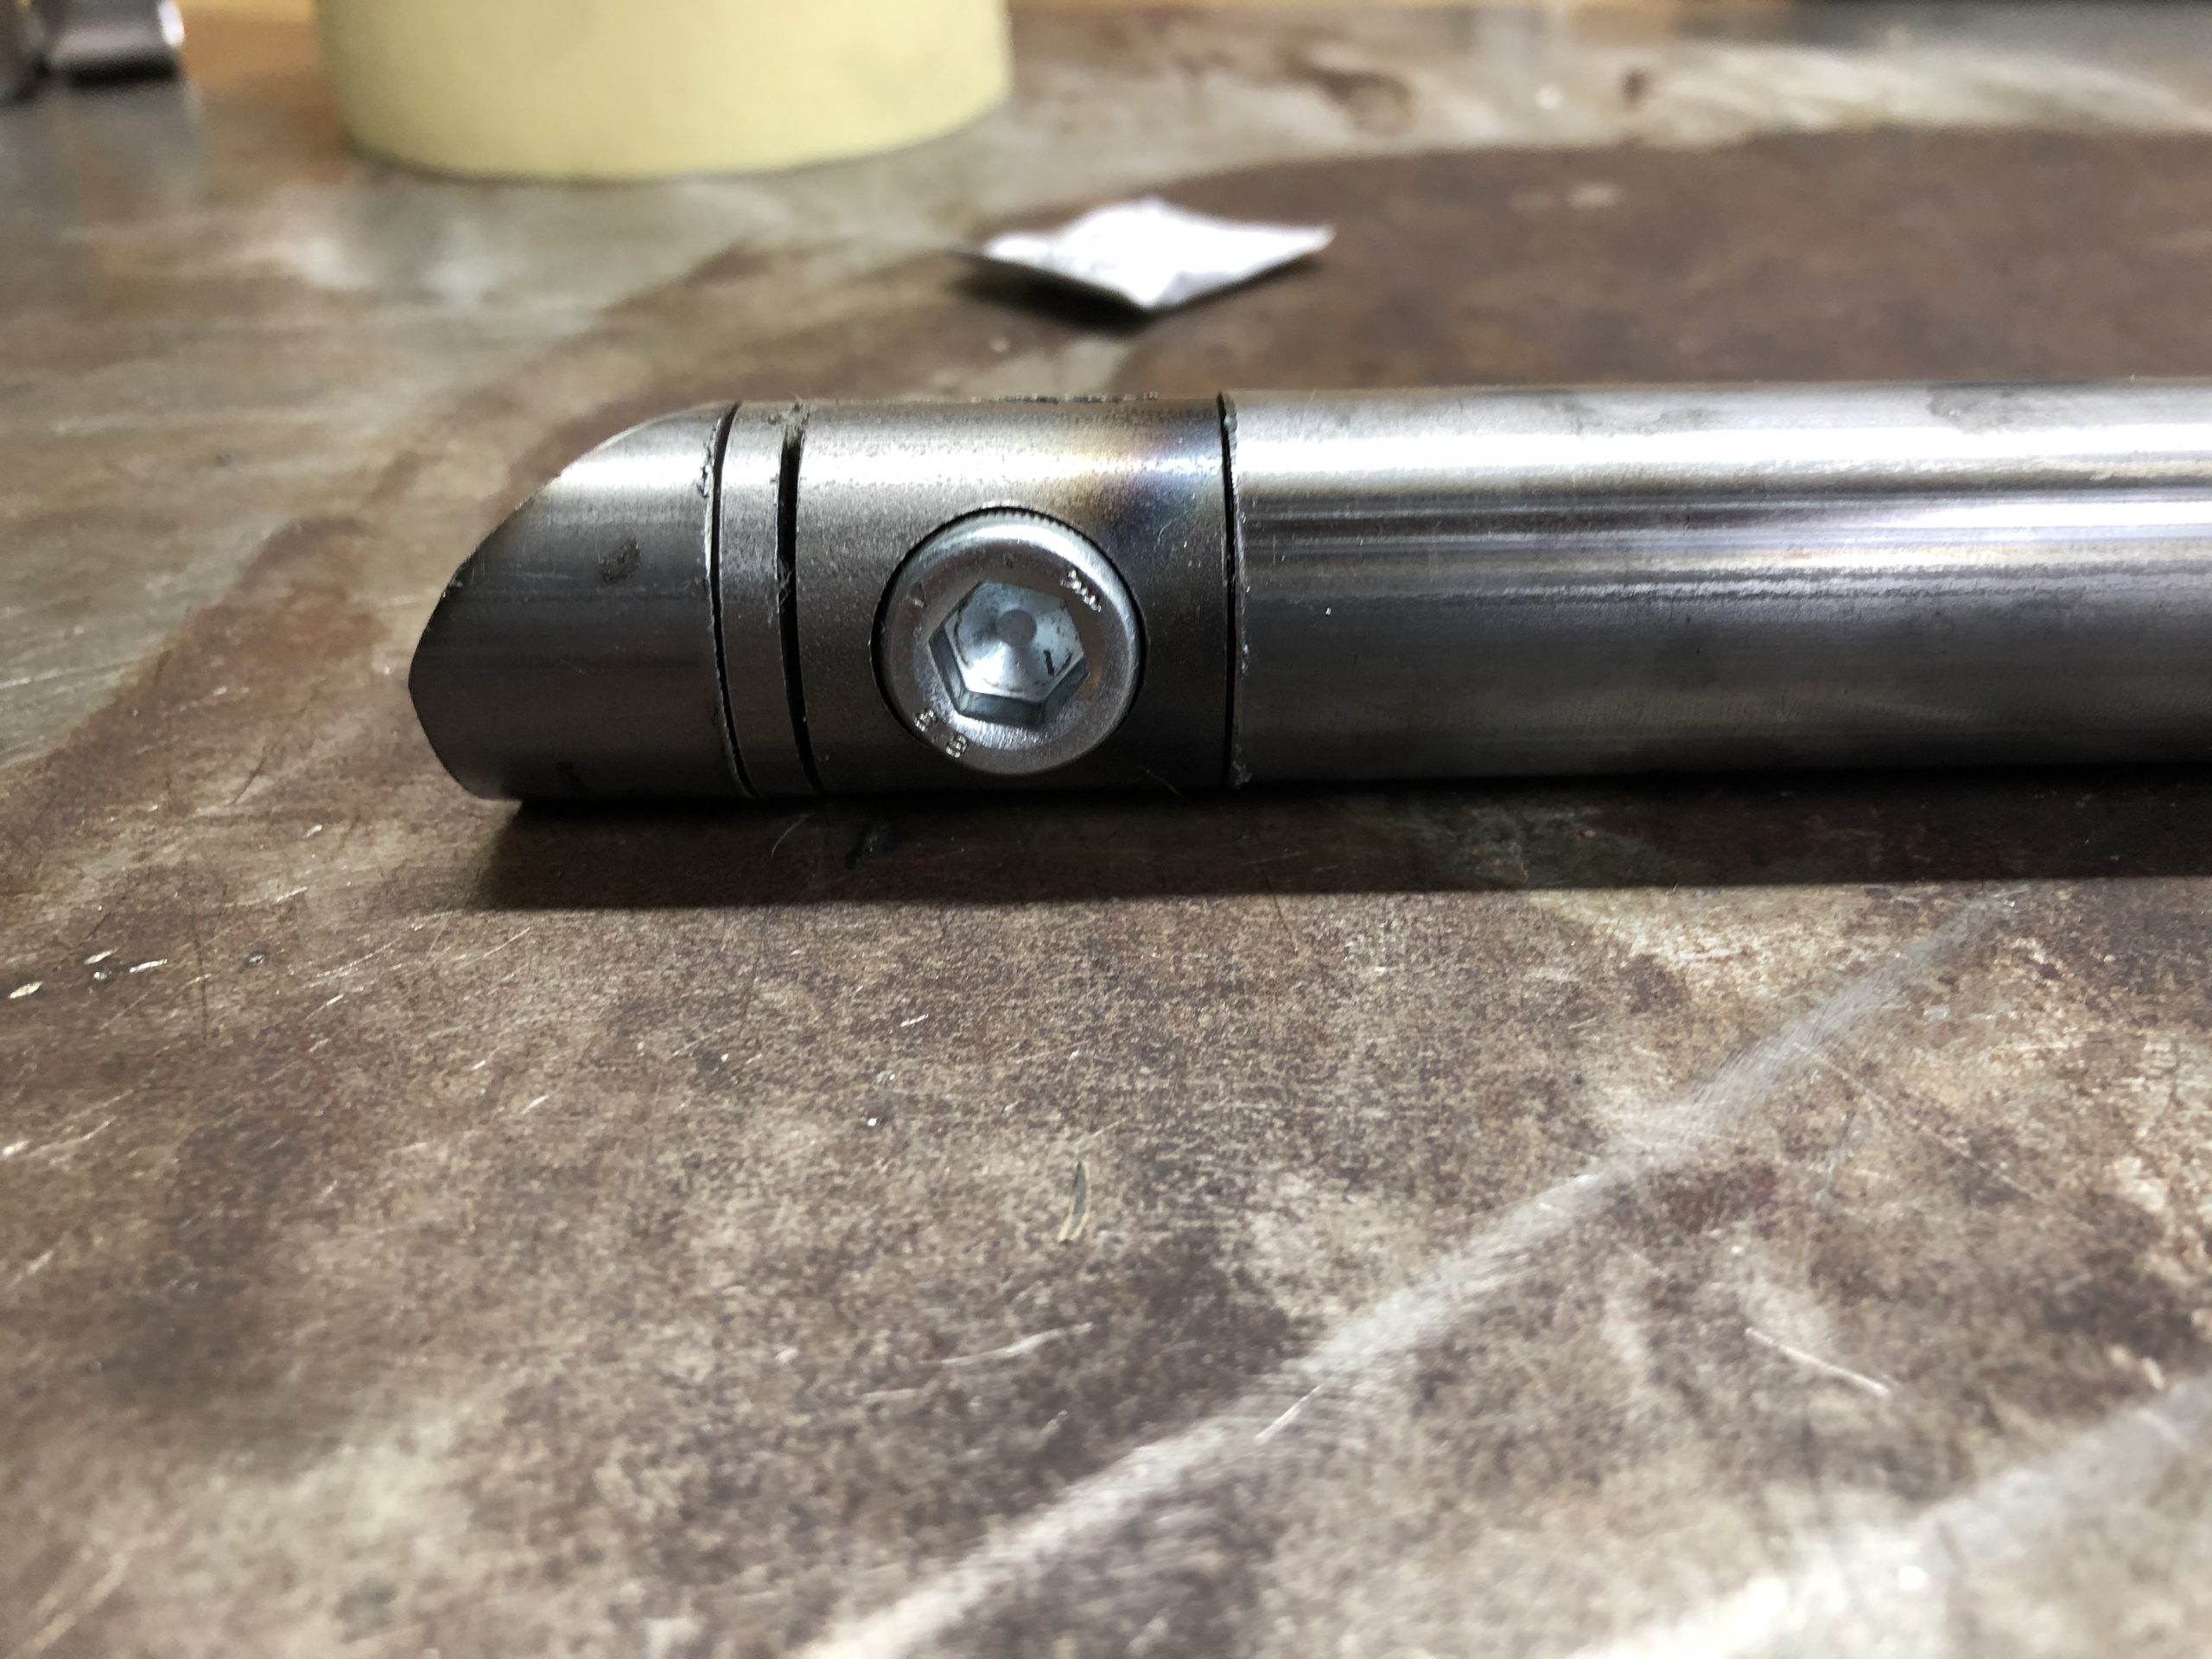
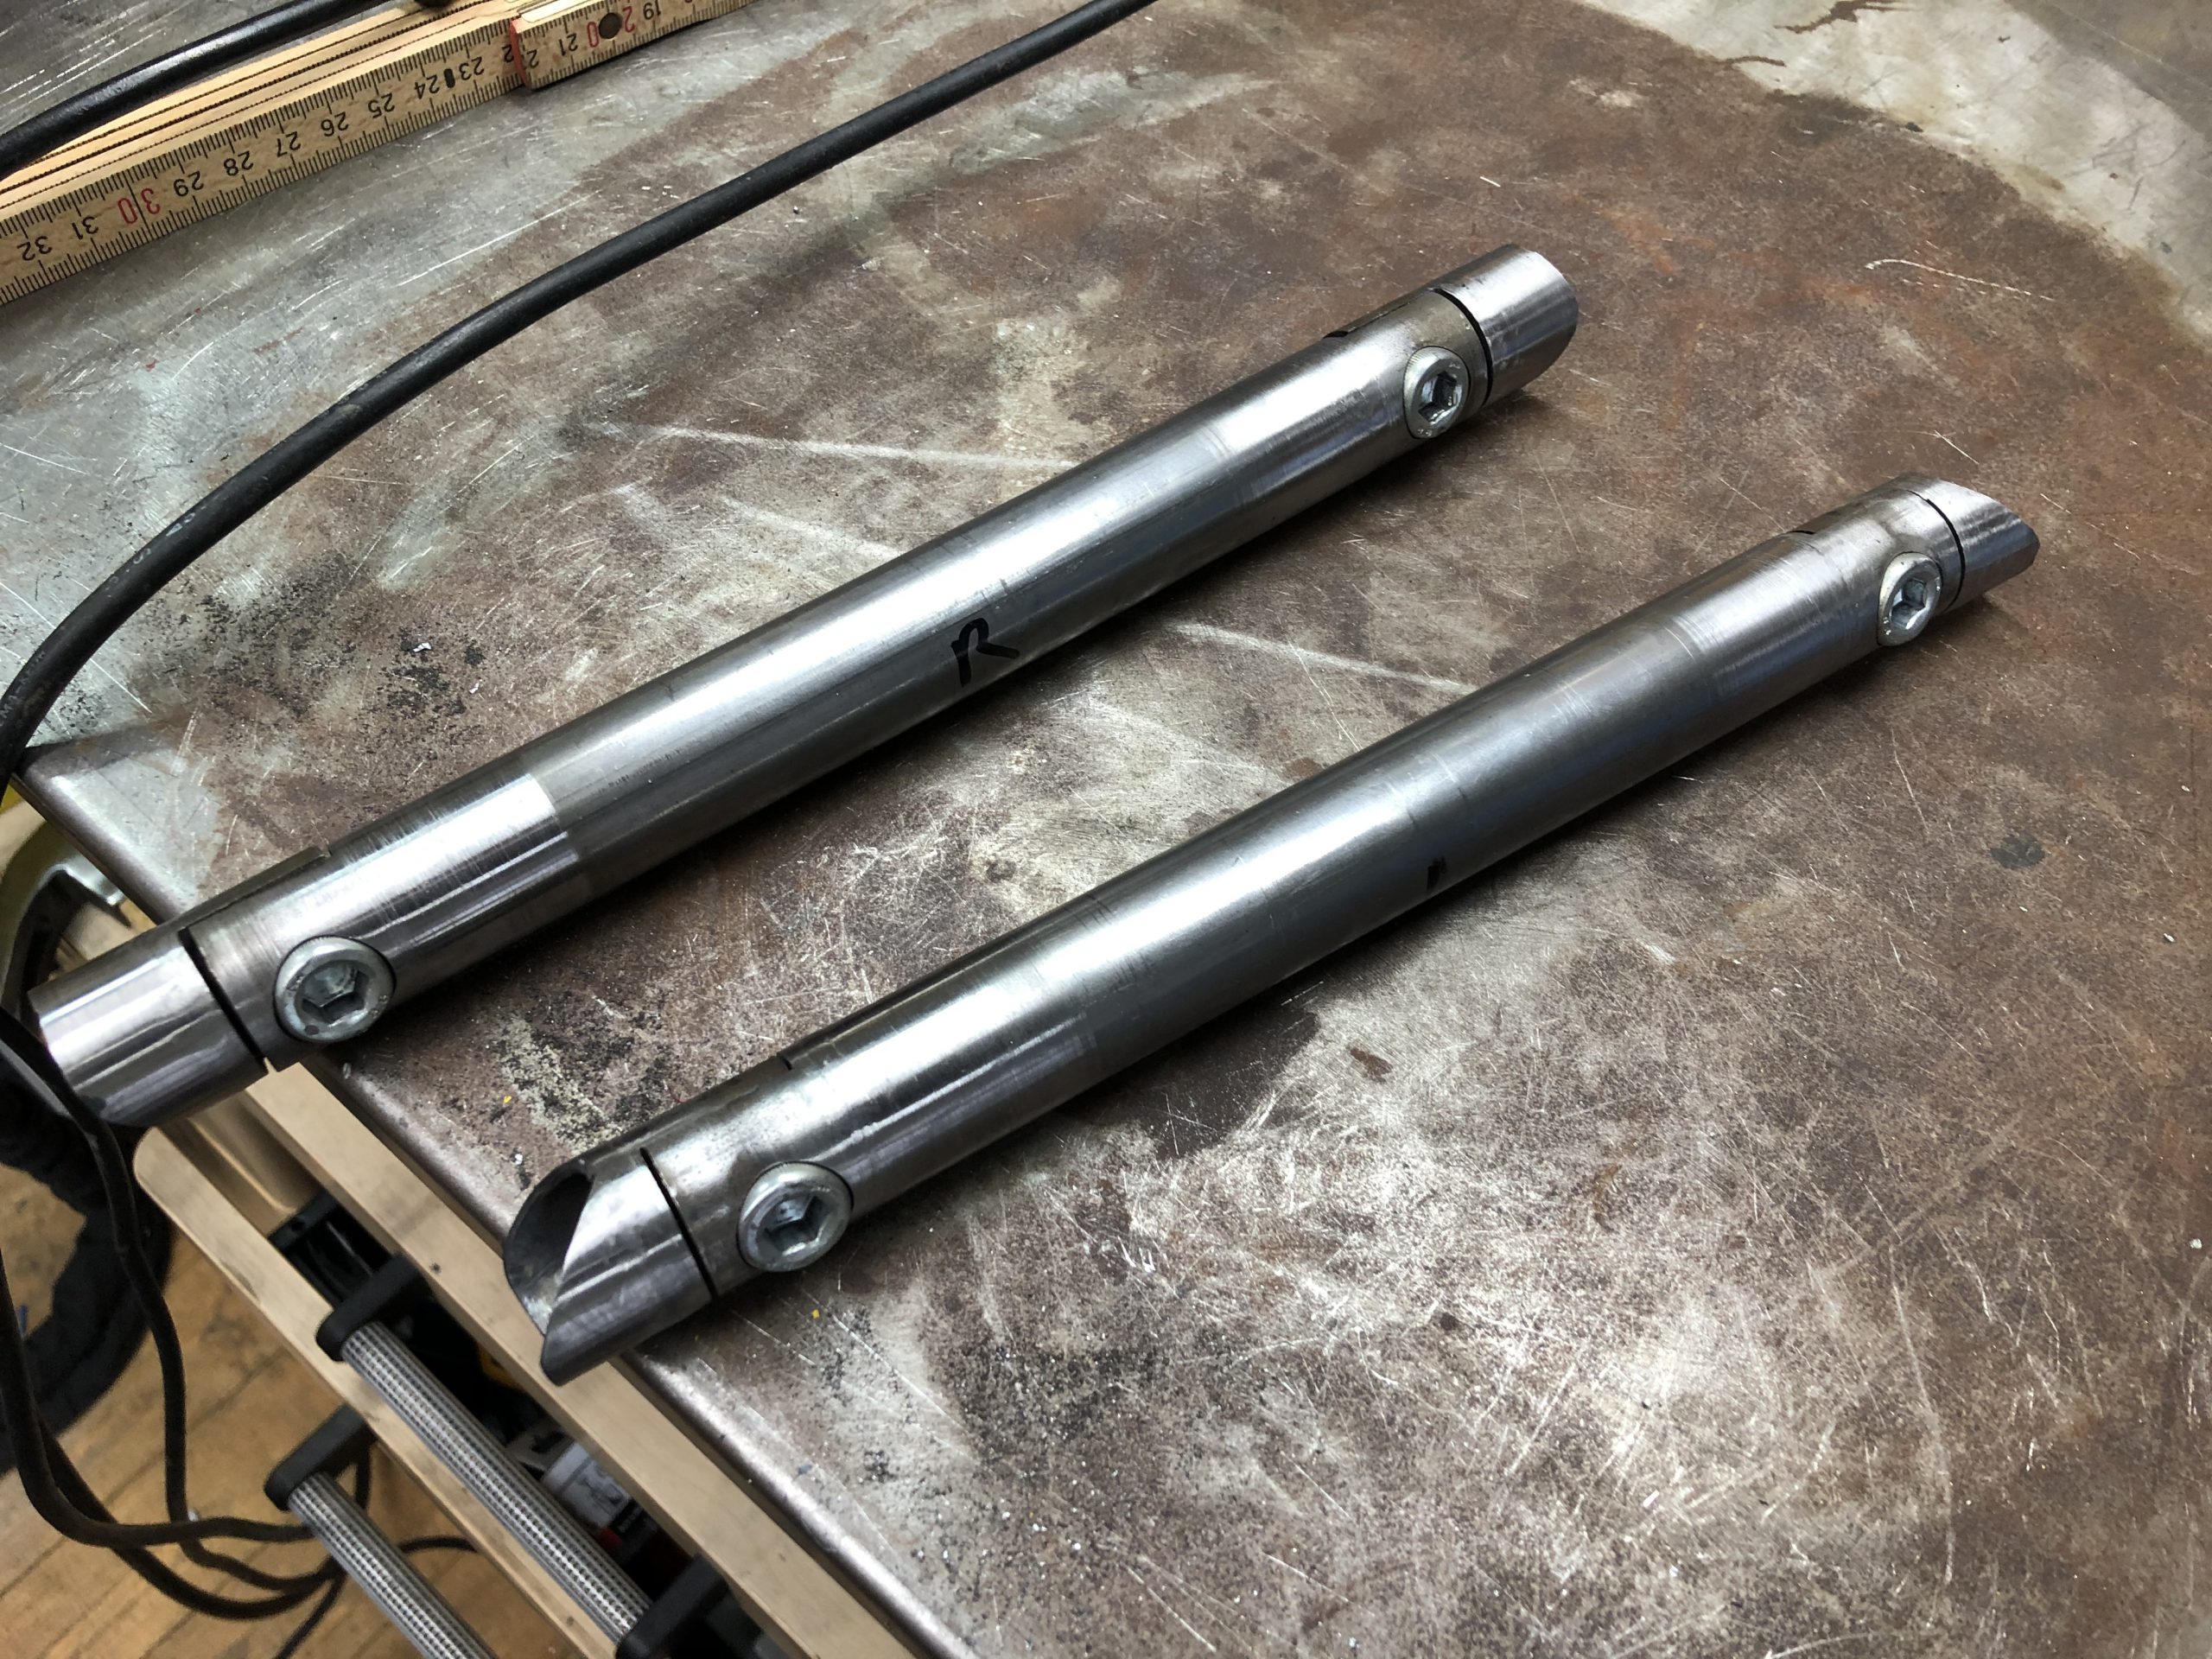
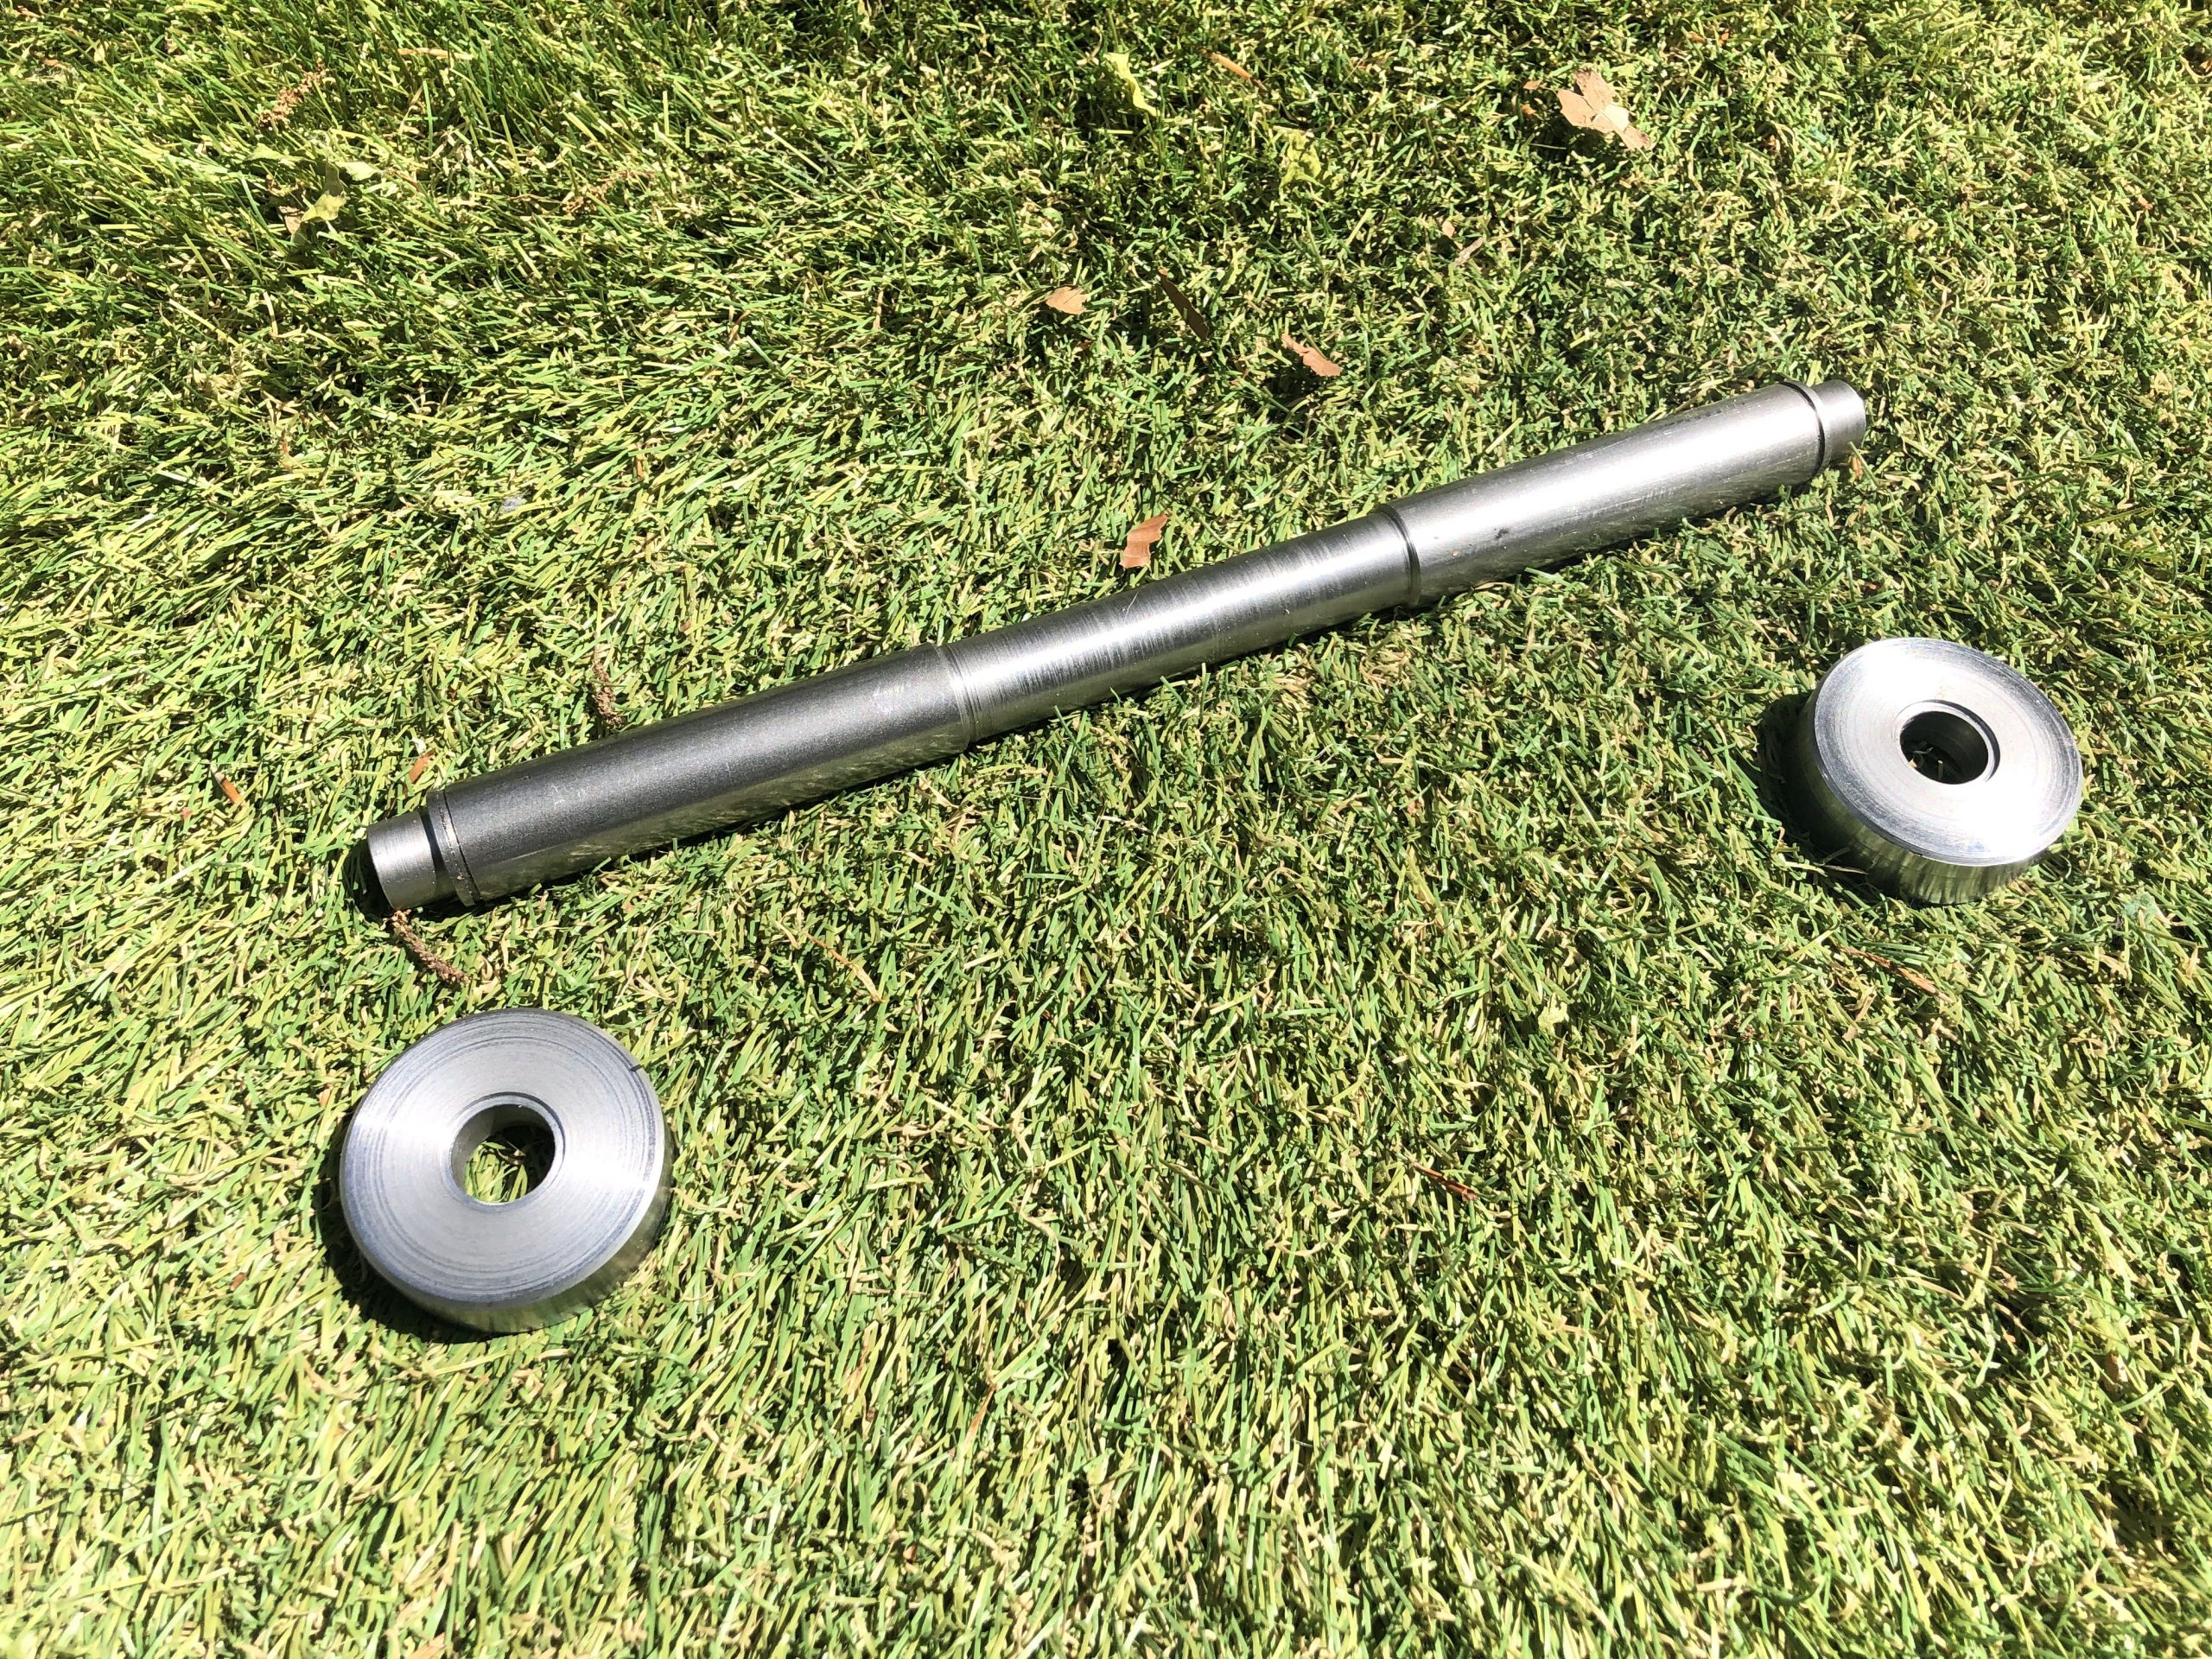
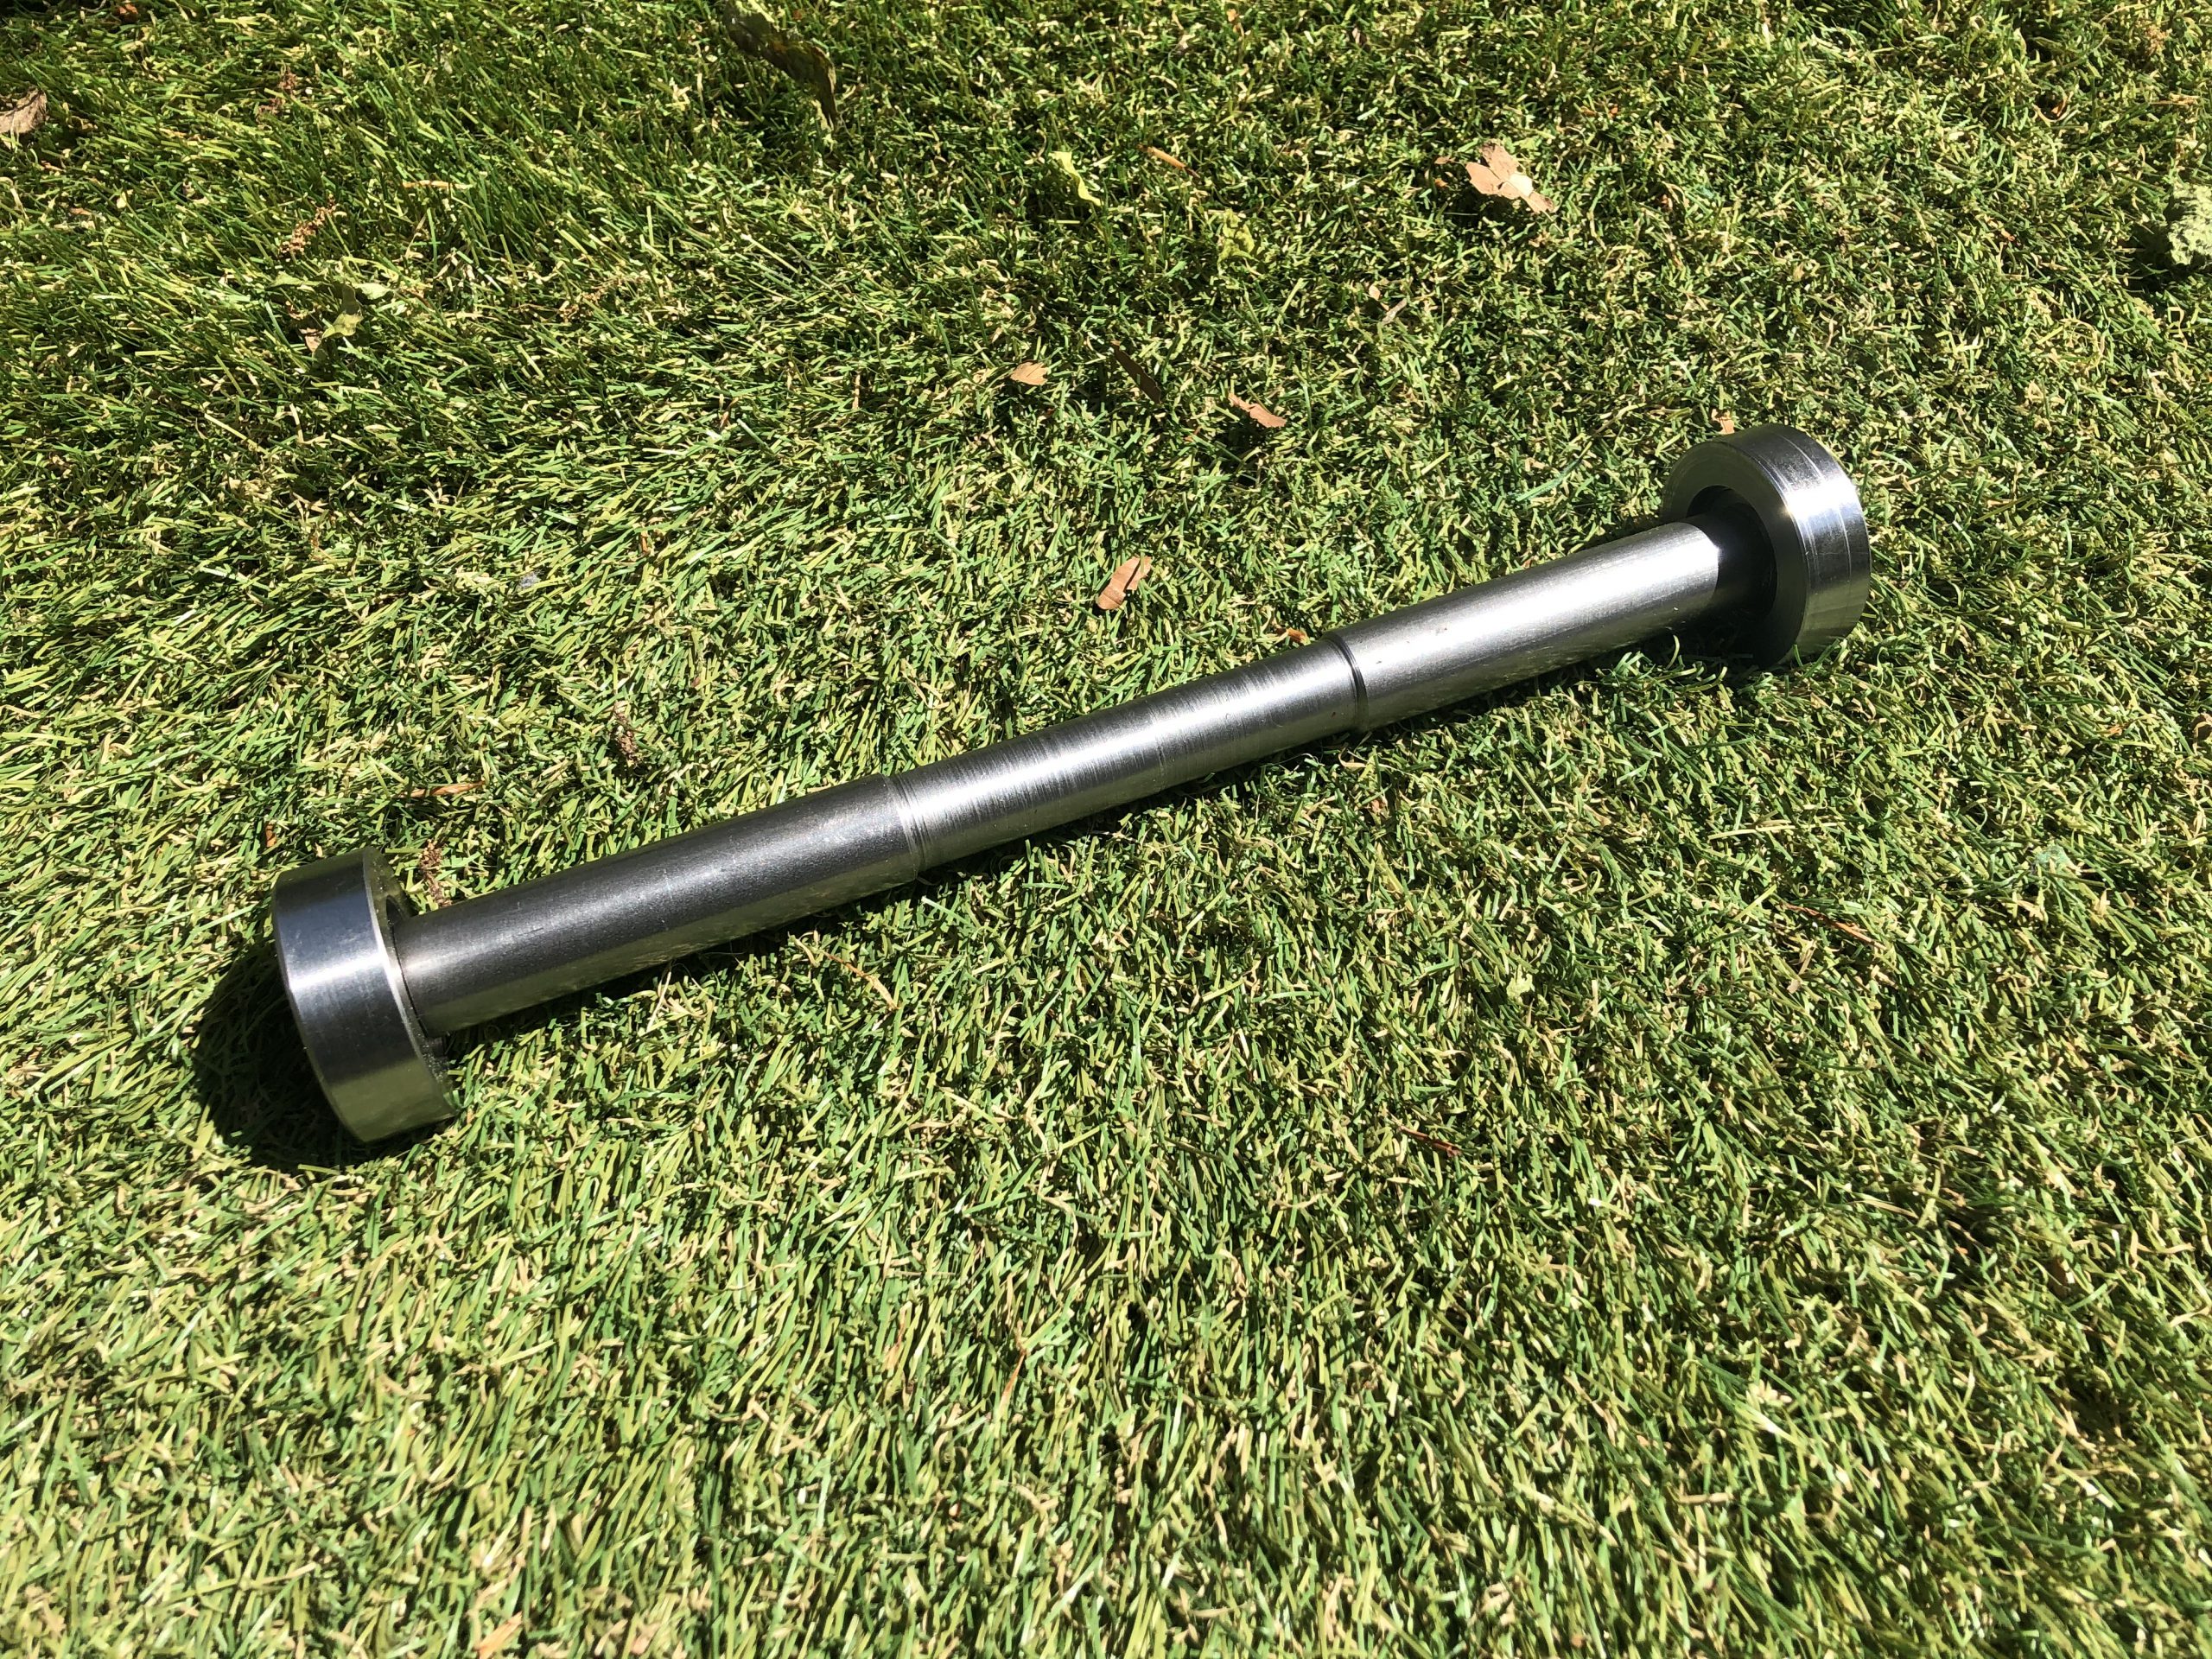
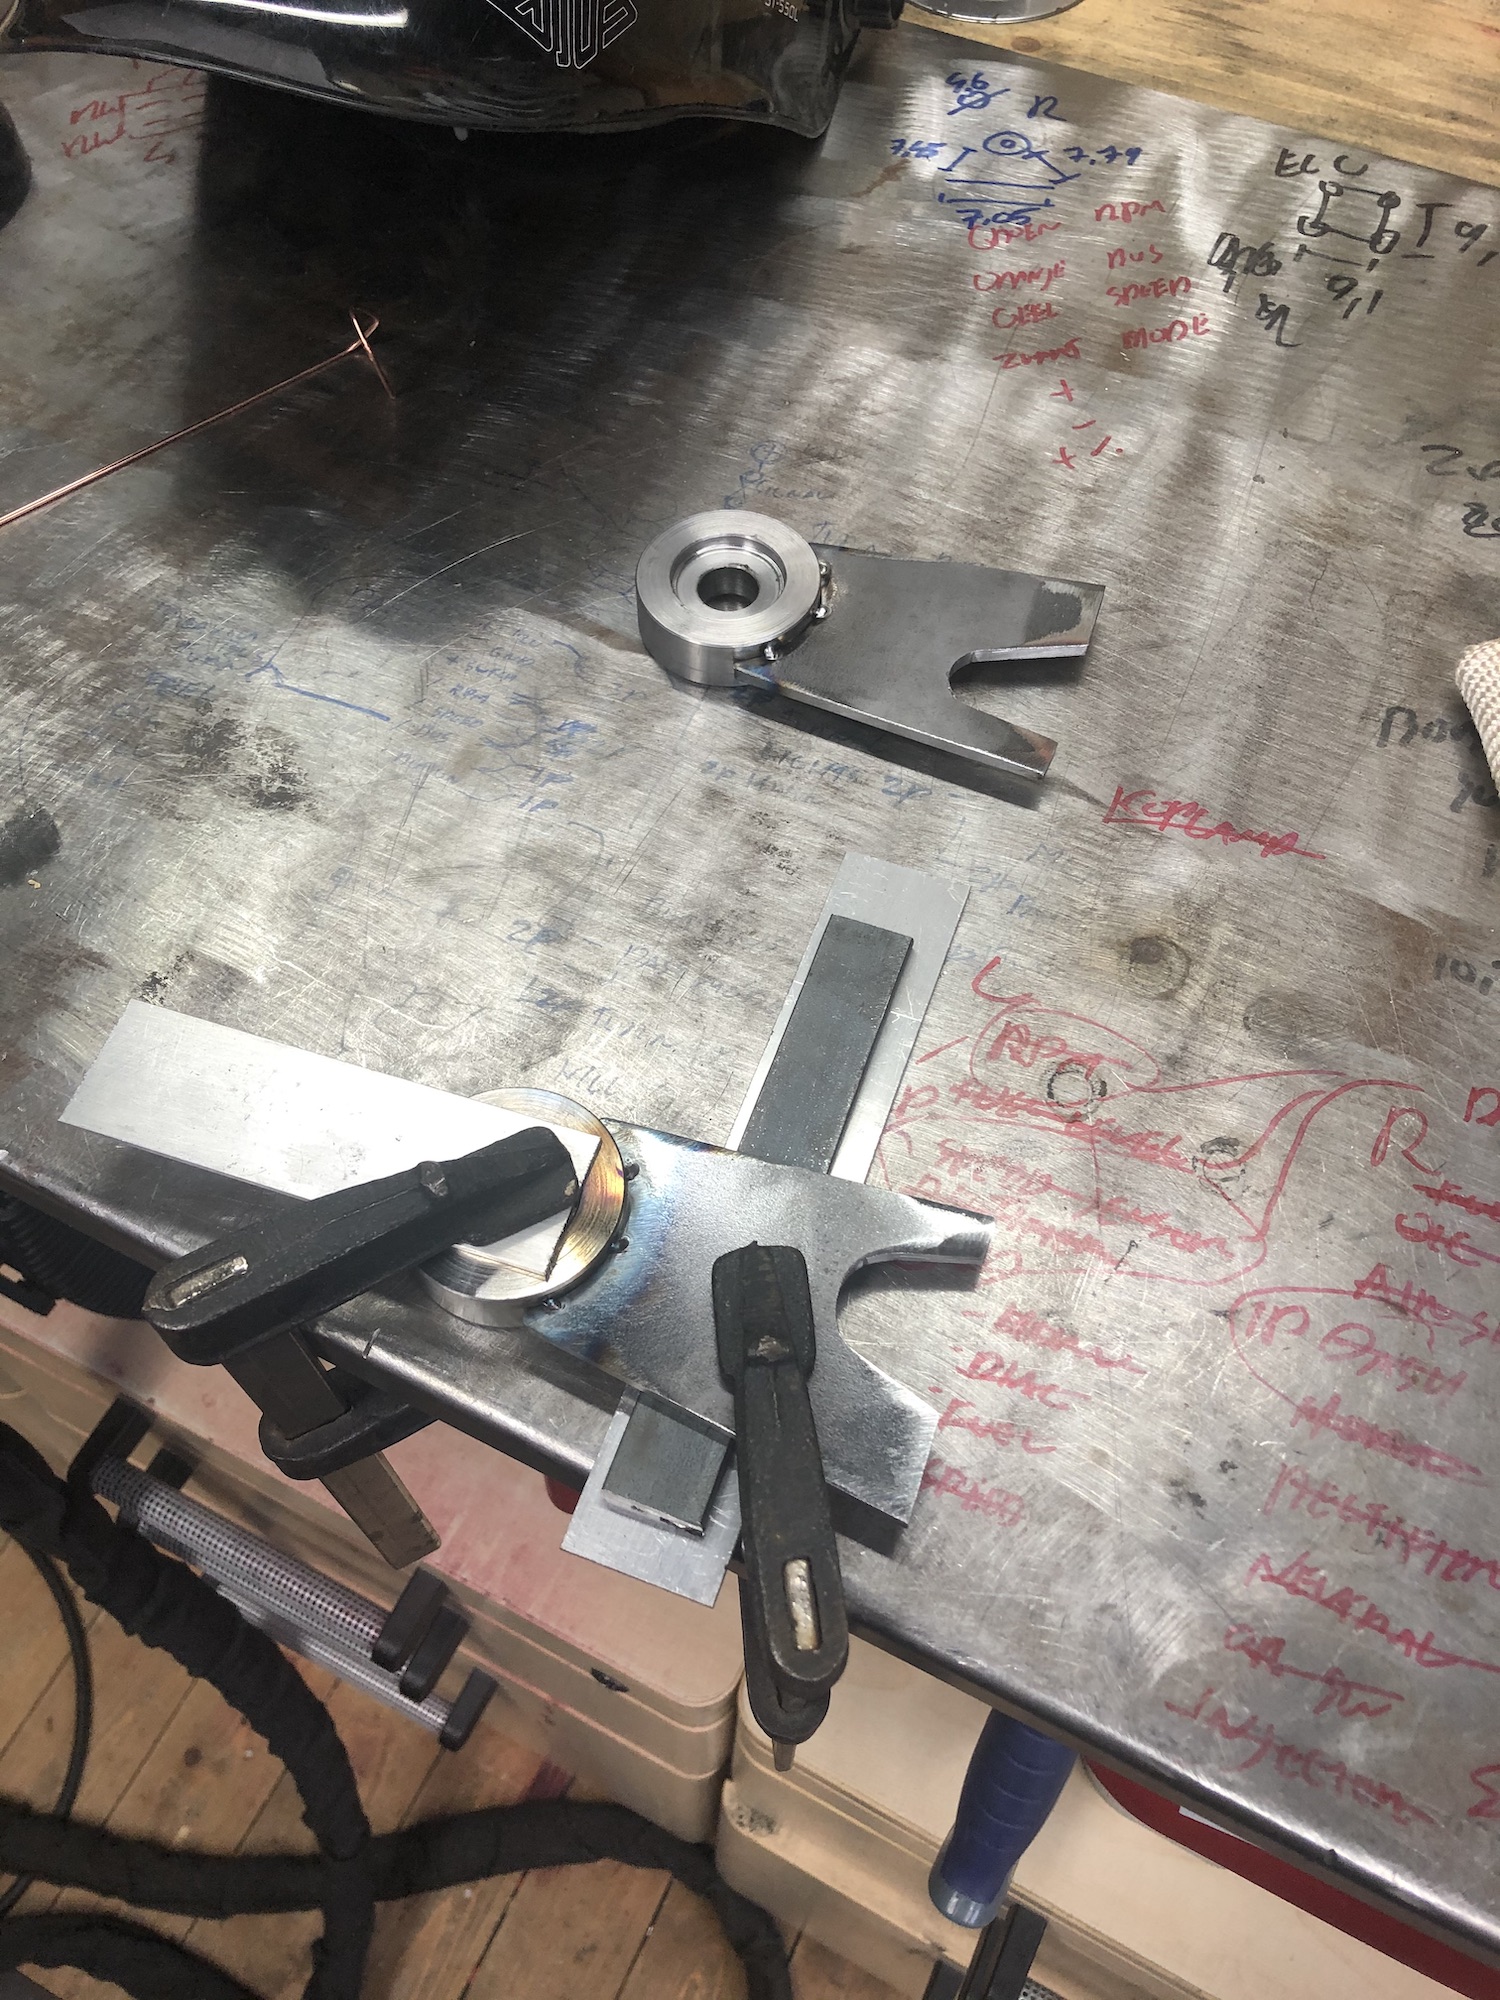
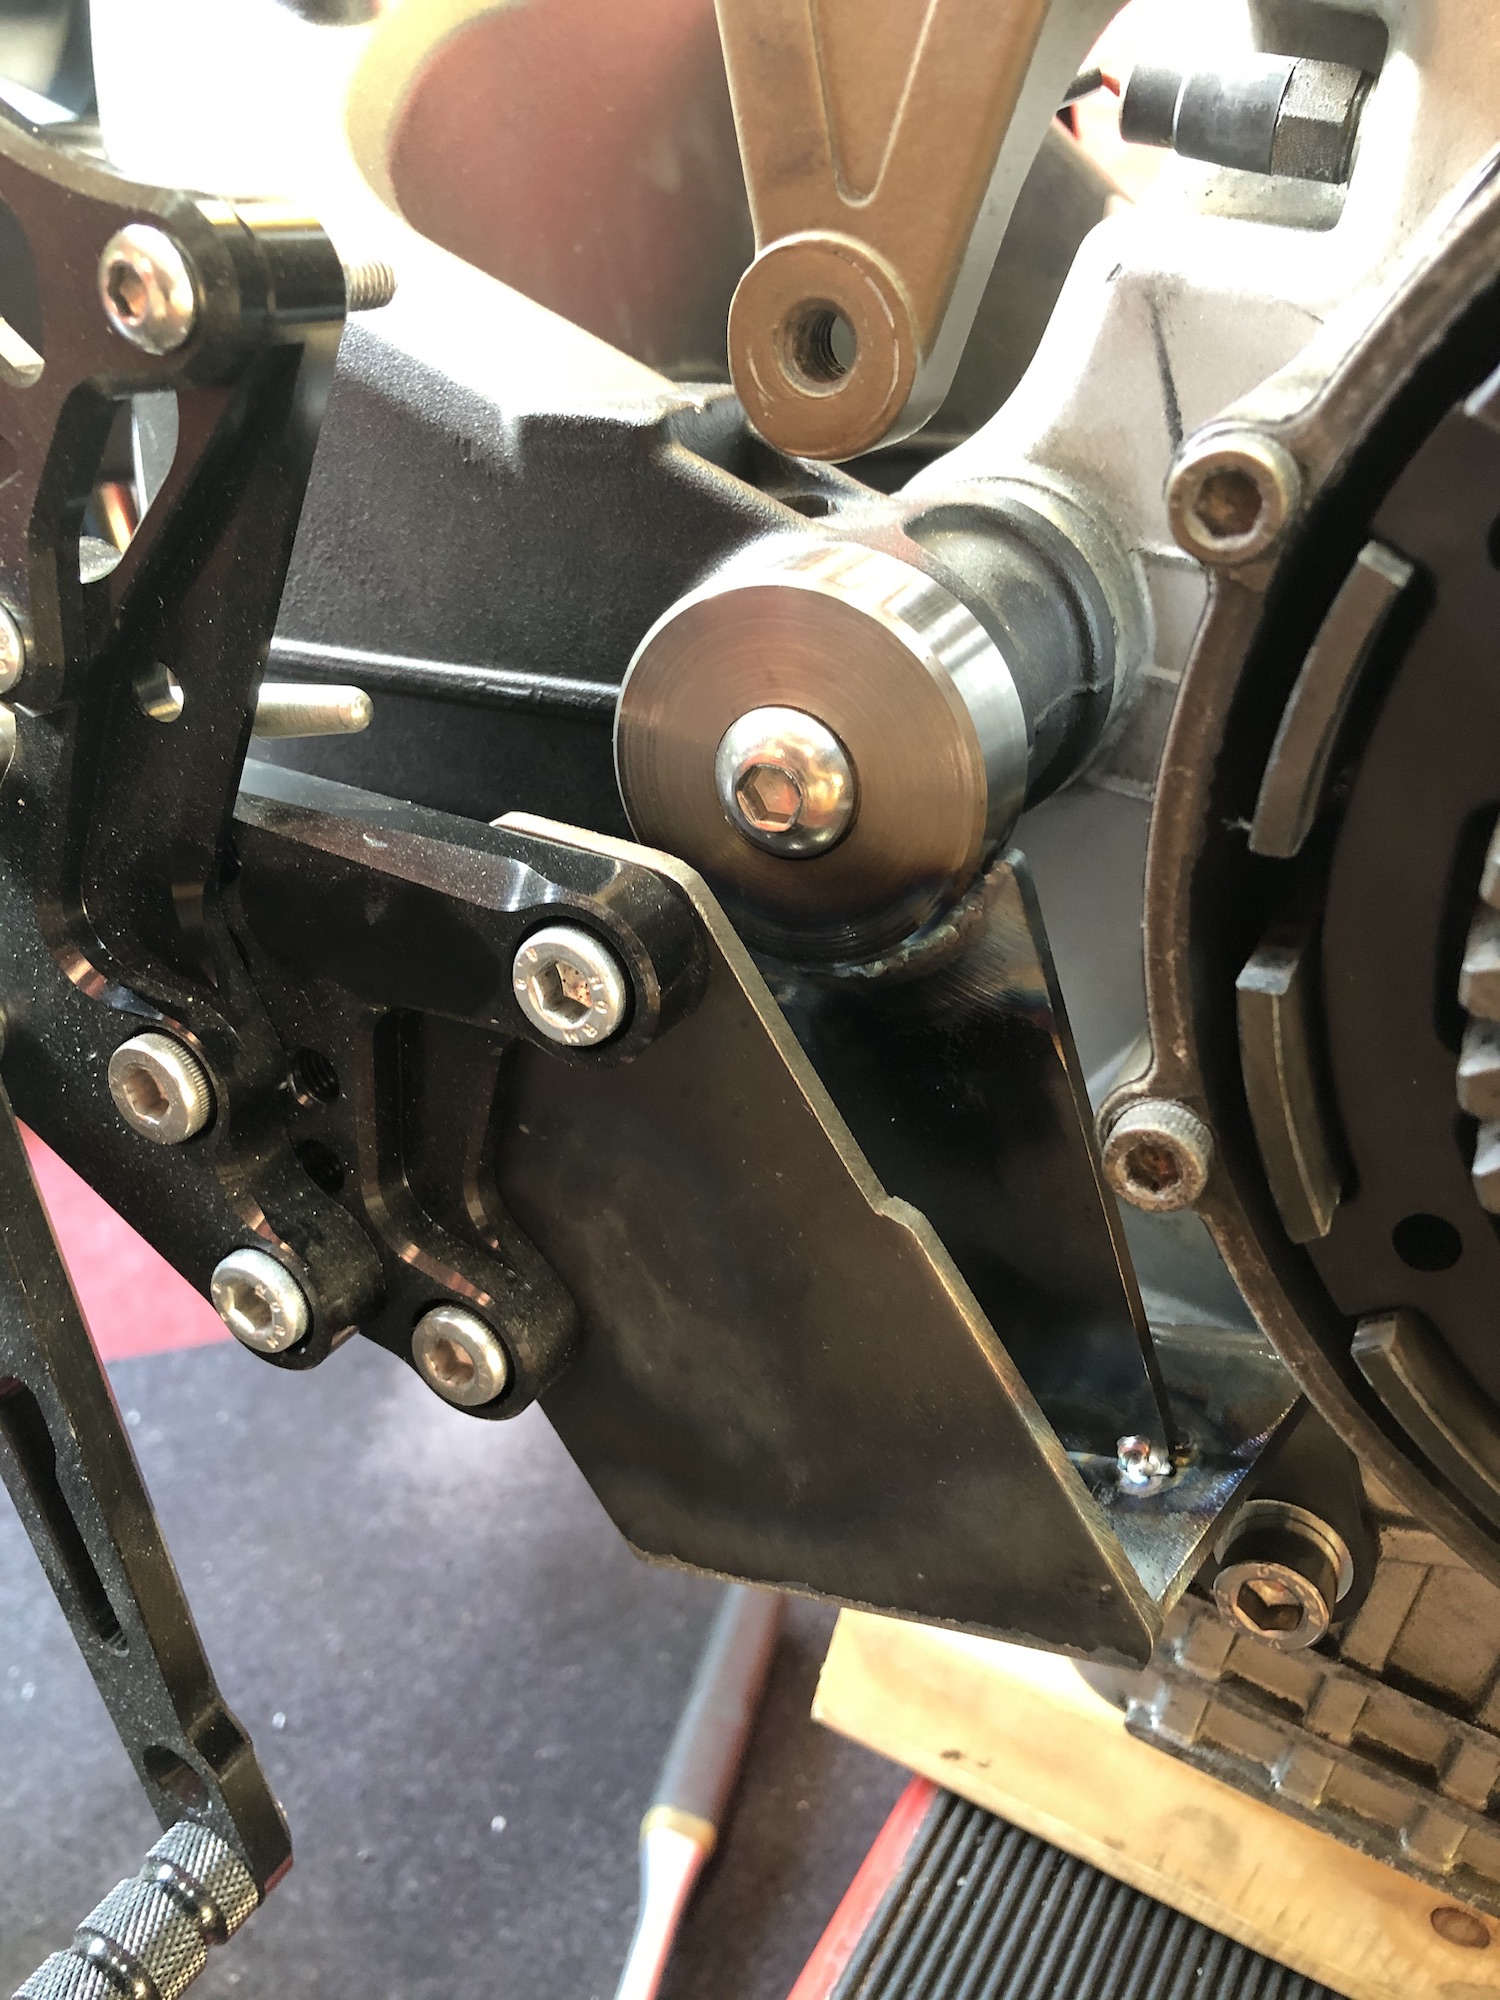
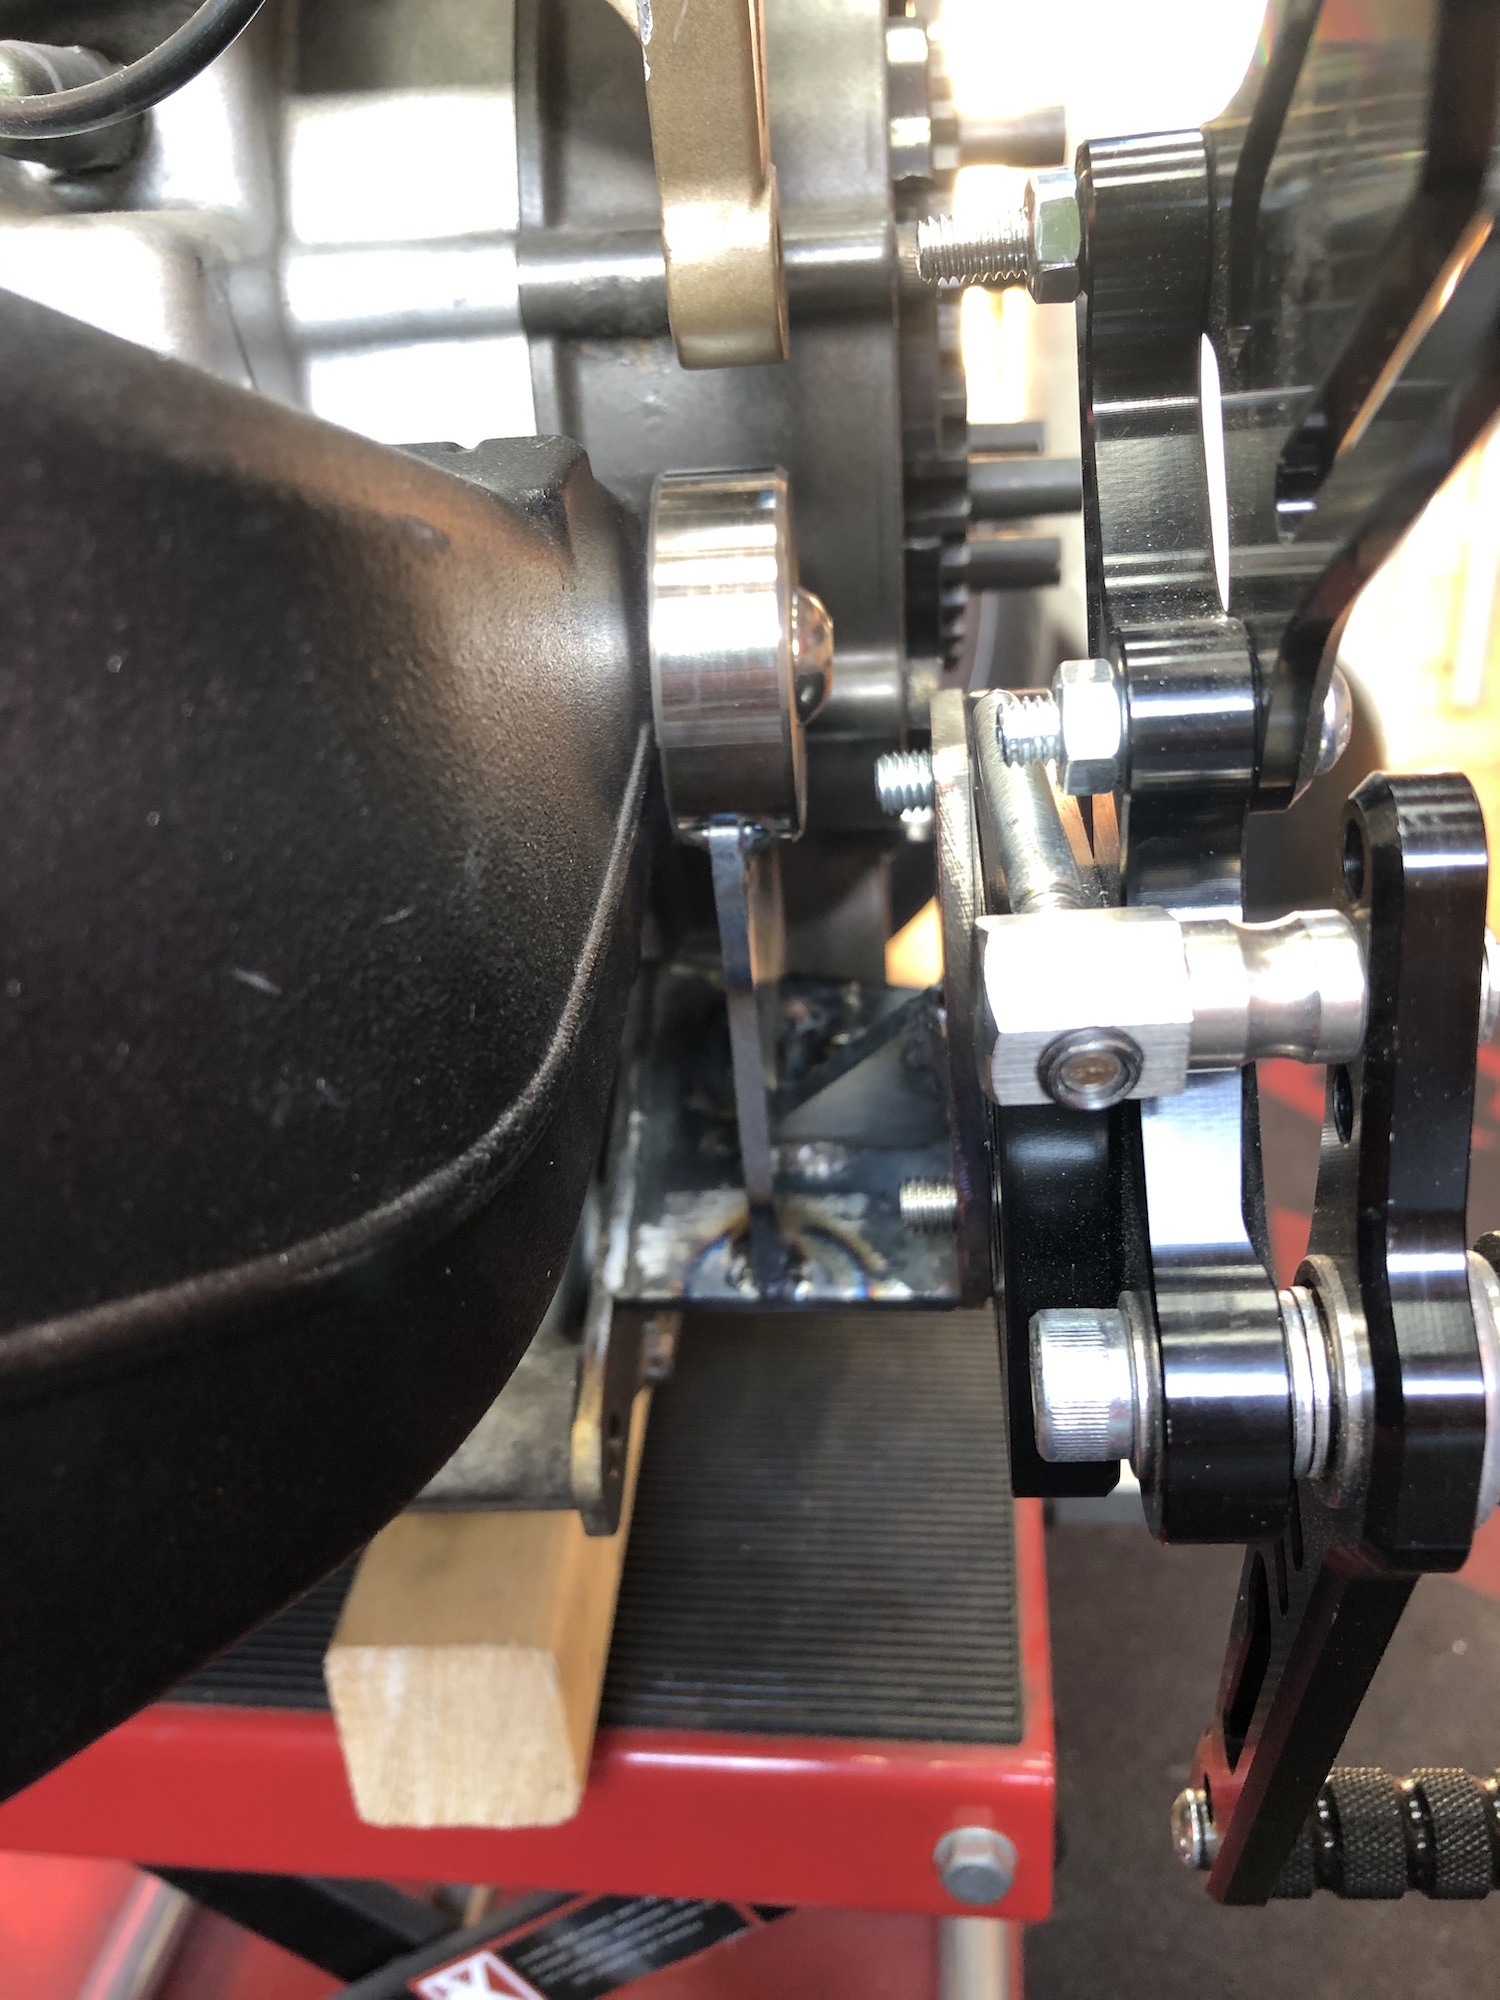
CUSTOM SSSA AXLE + BRACING
Made a completely new SSSA axle. Because of the SSSA it needs bracing at the end of the axle so the engine block wont crack. I don’t want a standard solution mounting to the frame and the regular axle just doesn’t work for me. It’s going to be mounted just like a Monster 6969/796 to the foot pegs bracket, just not with the bulky ugly brackets .


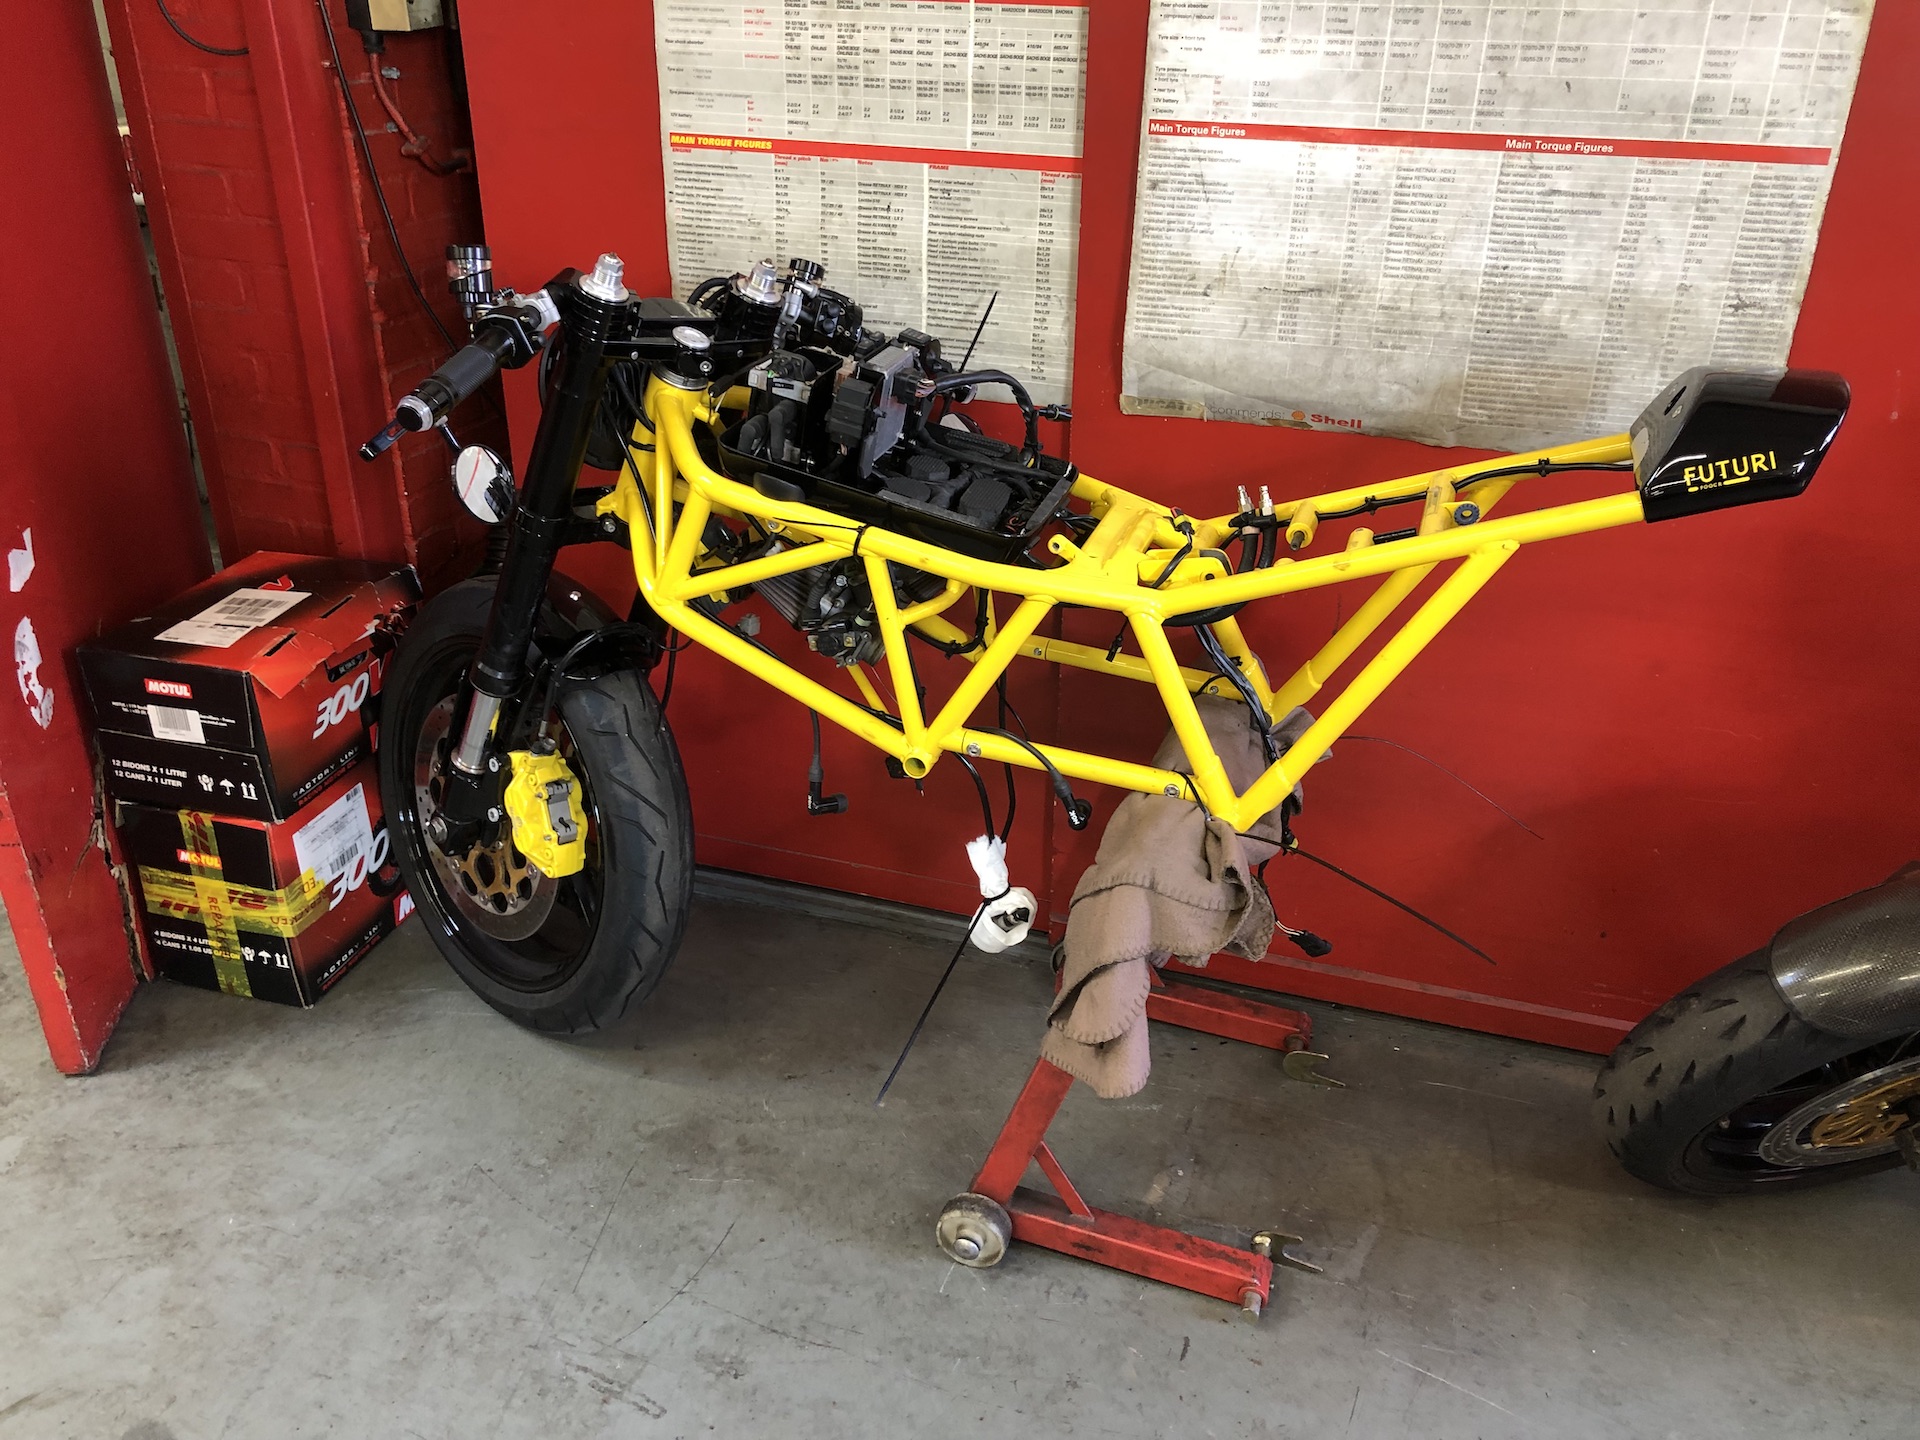
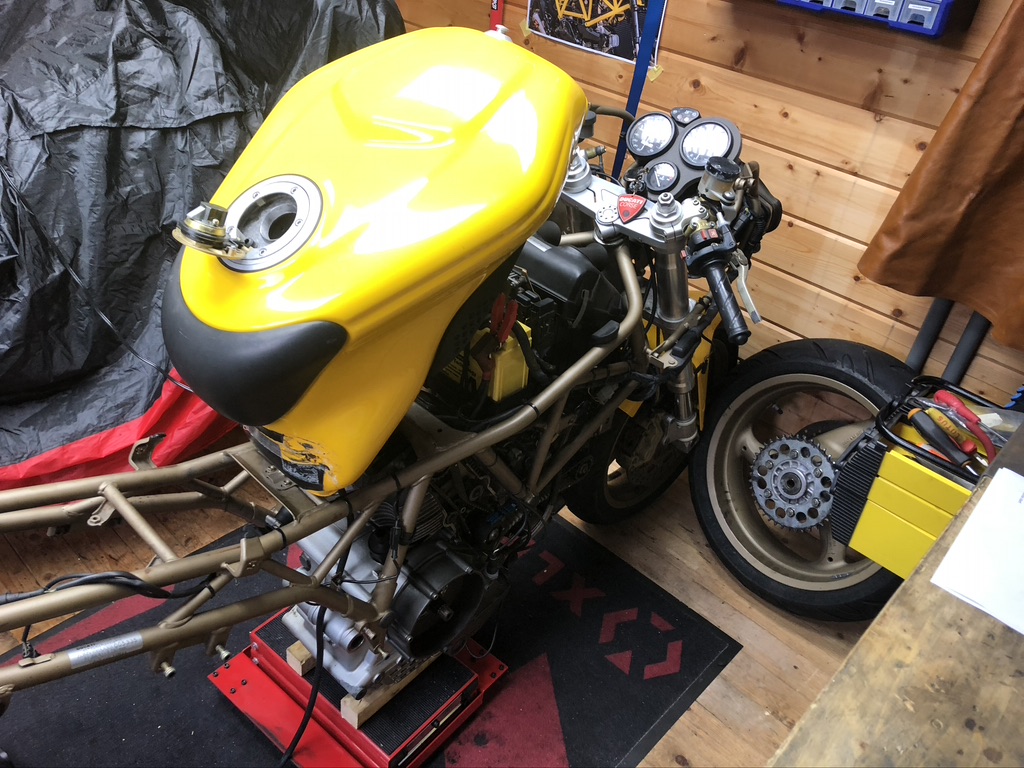
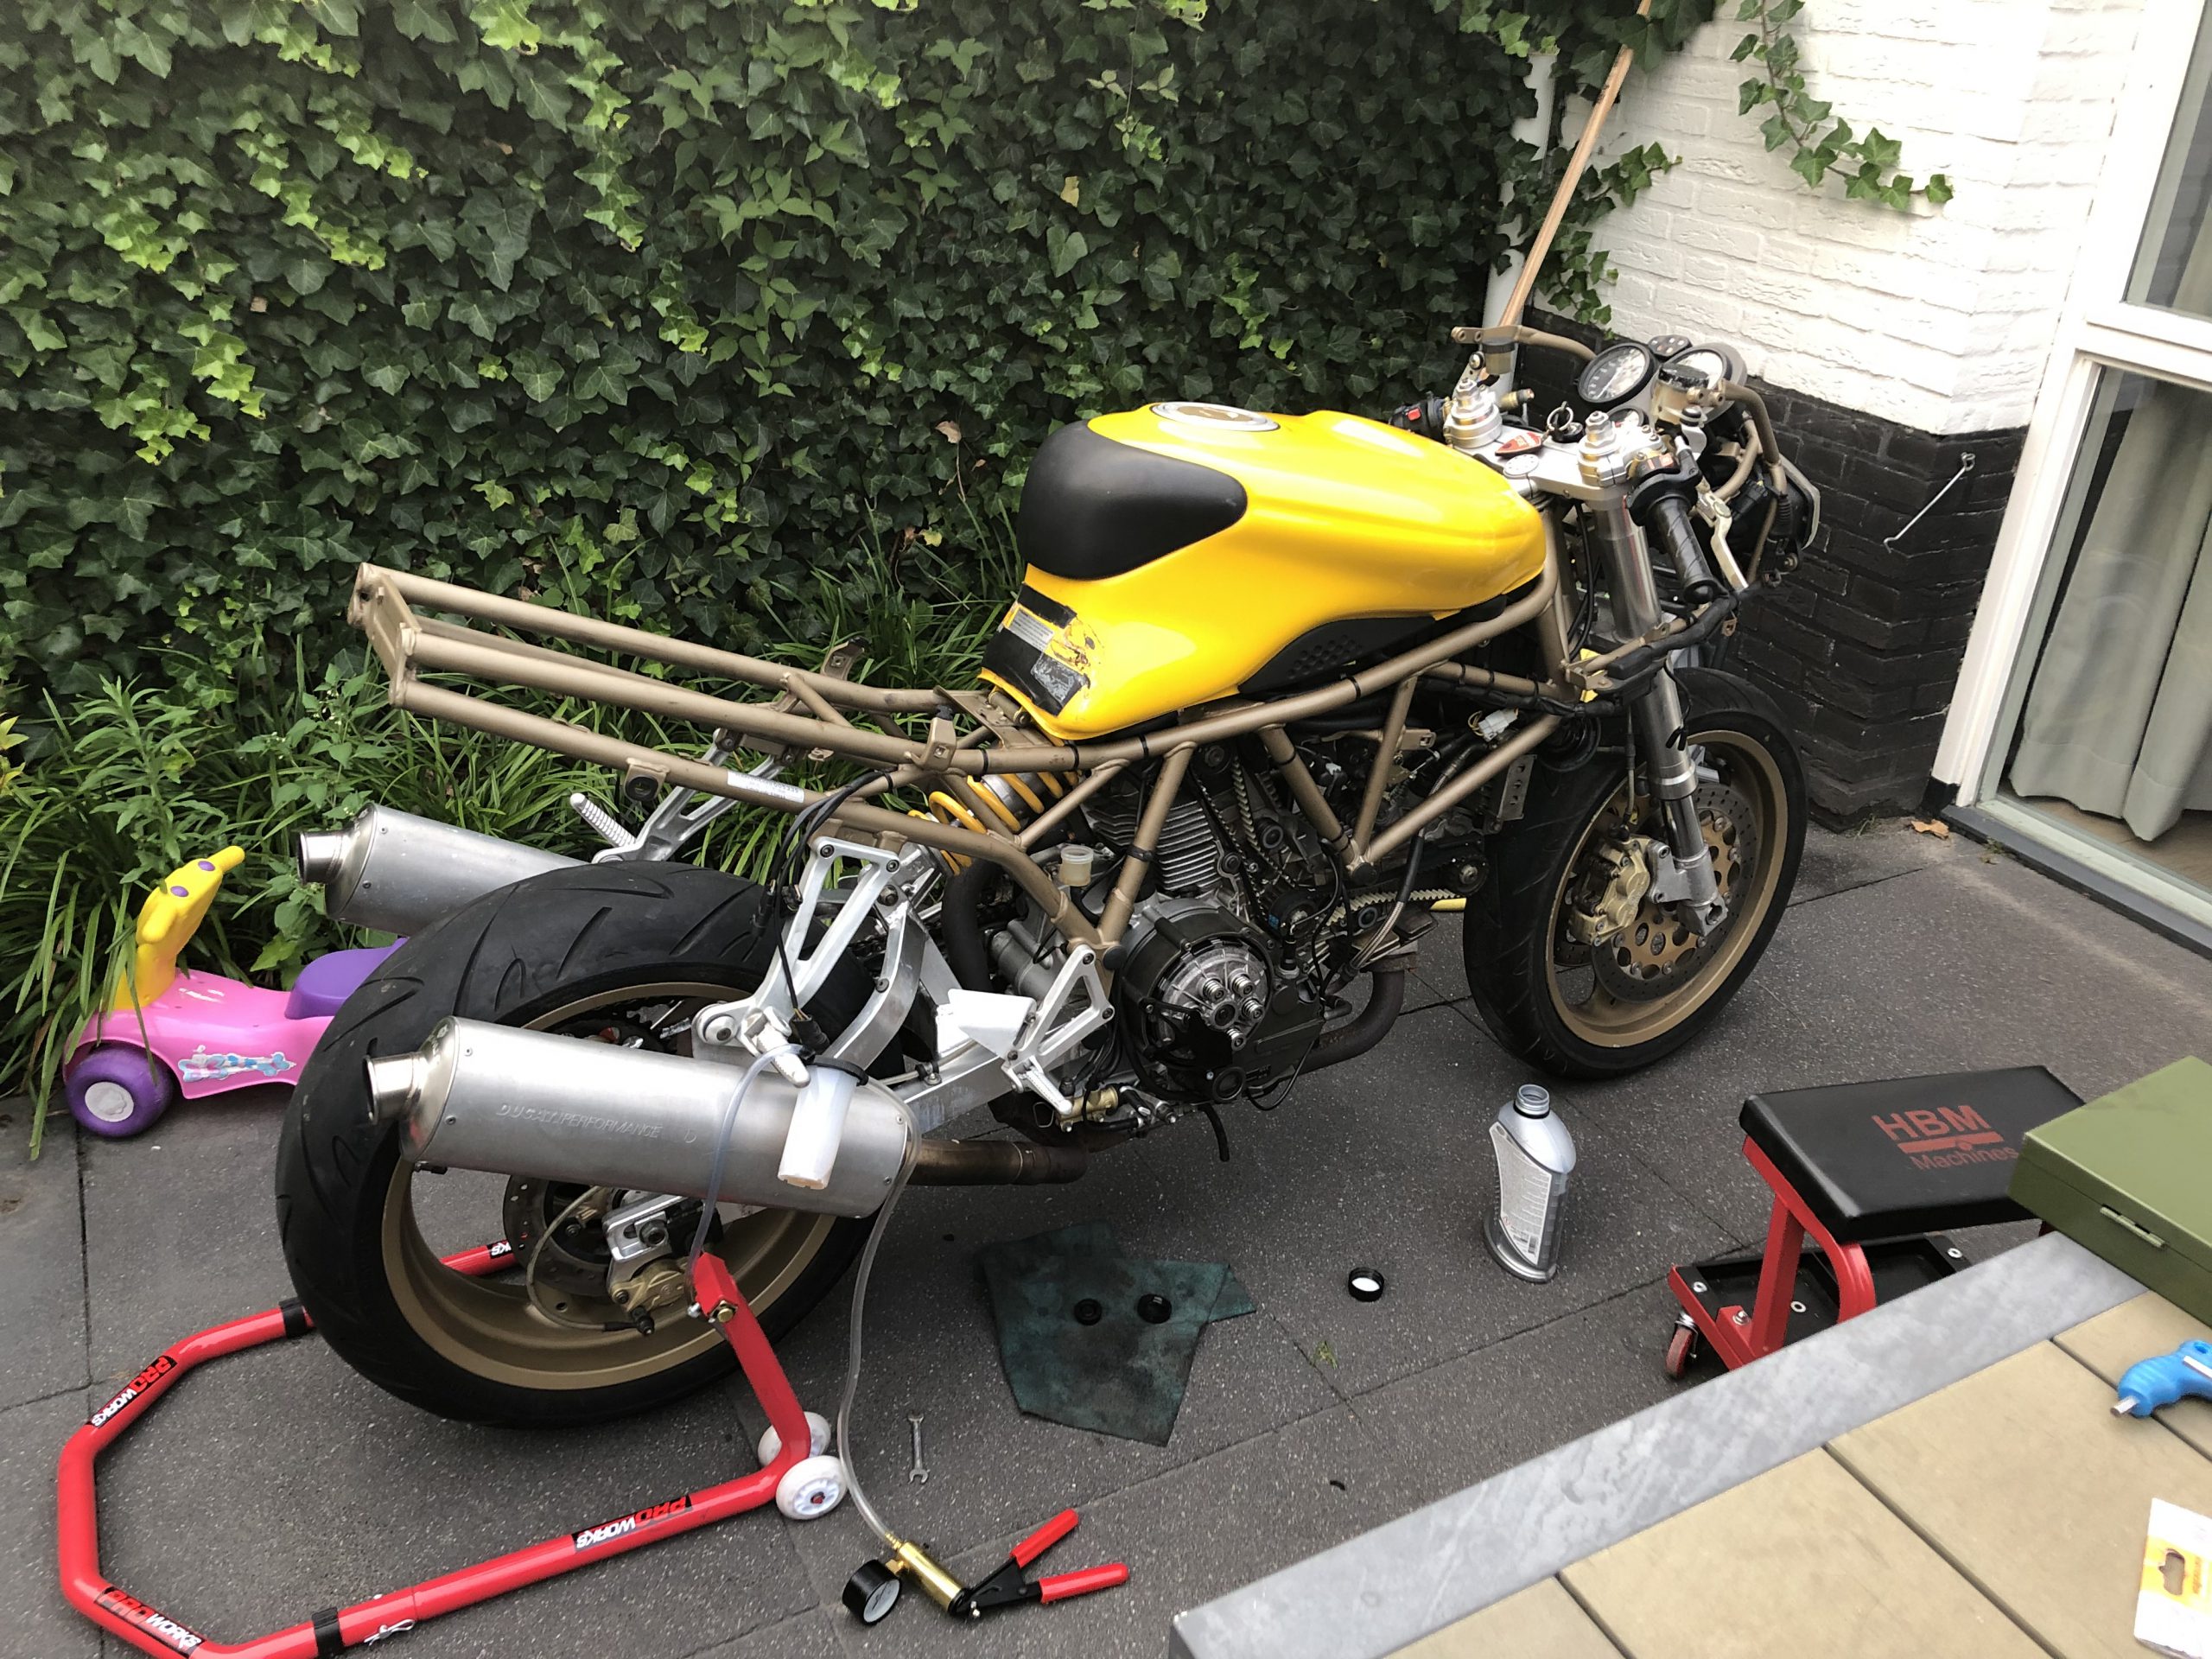
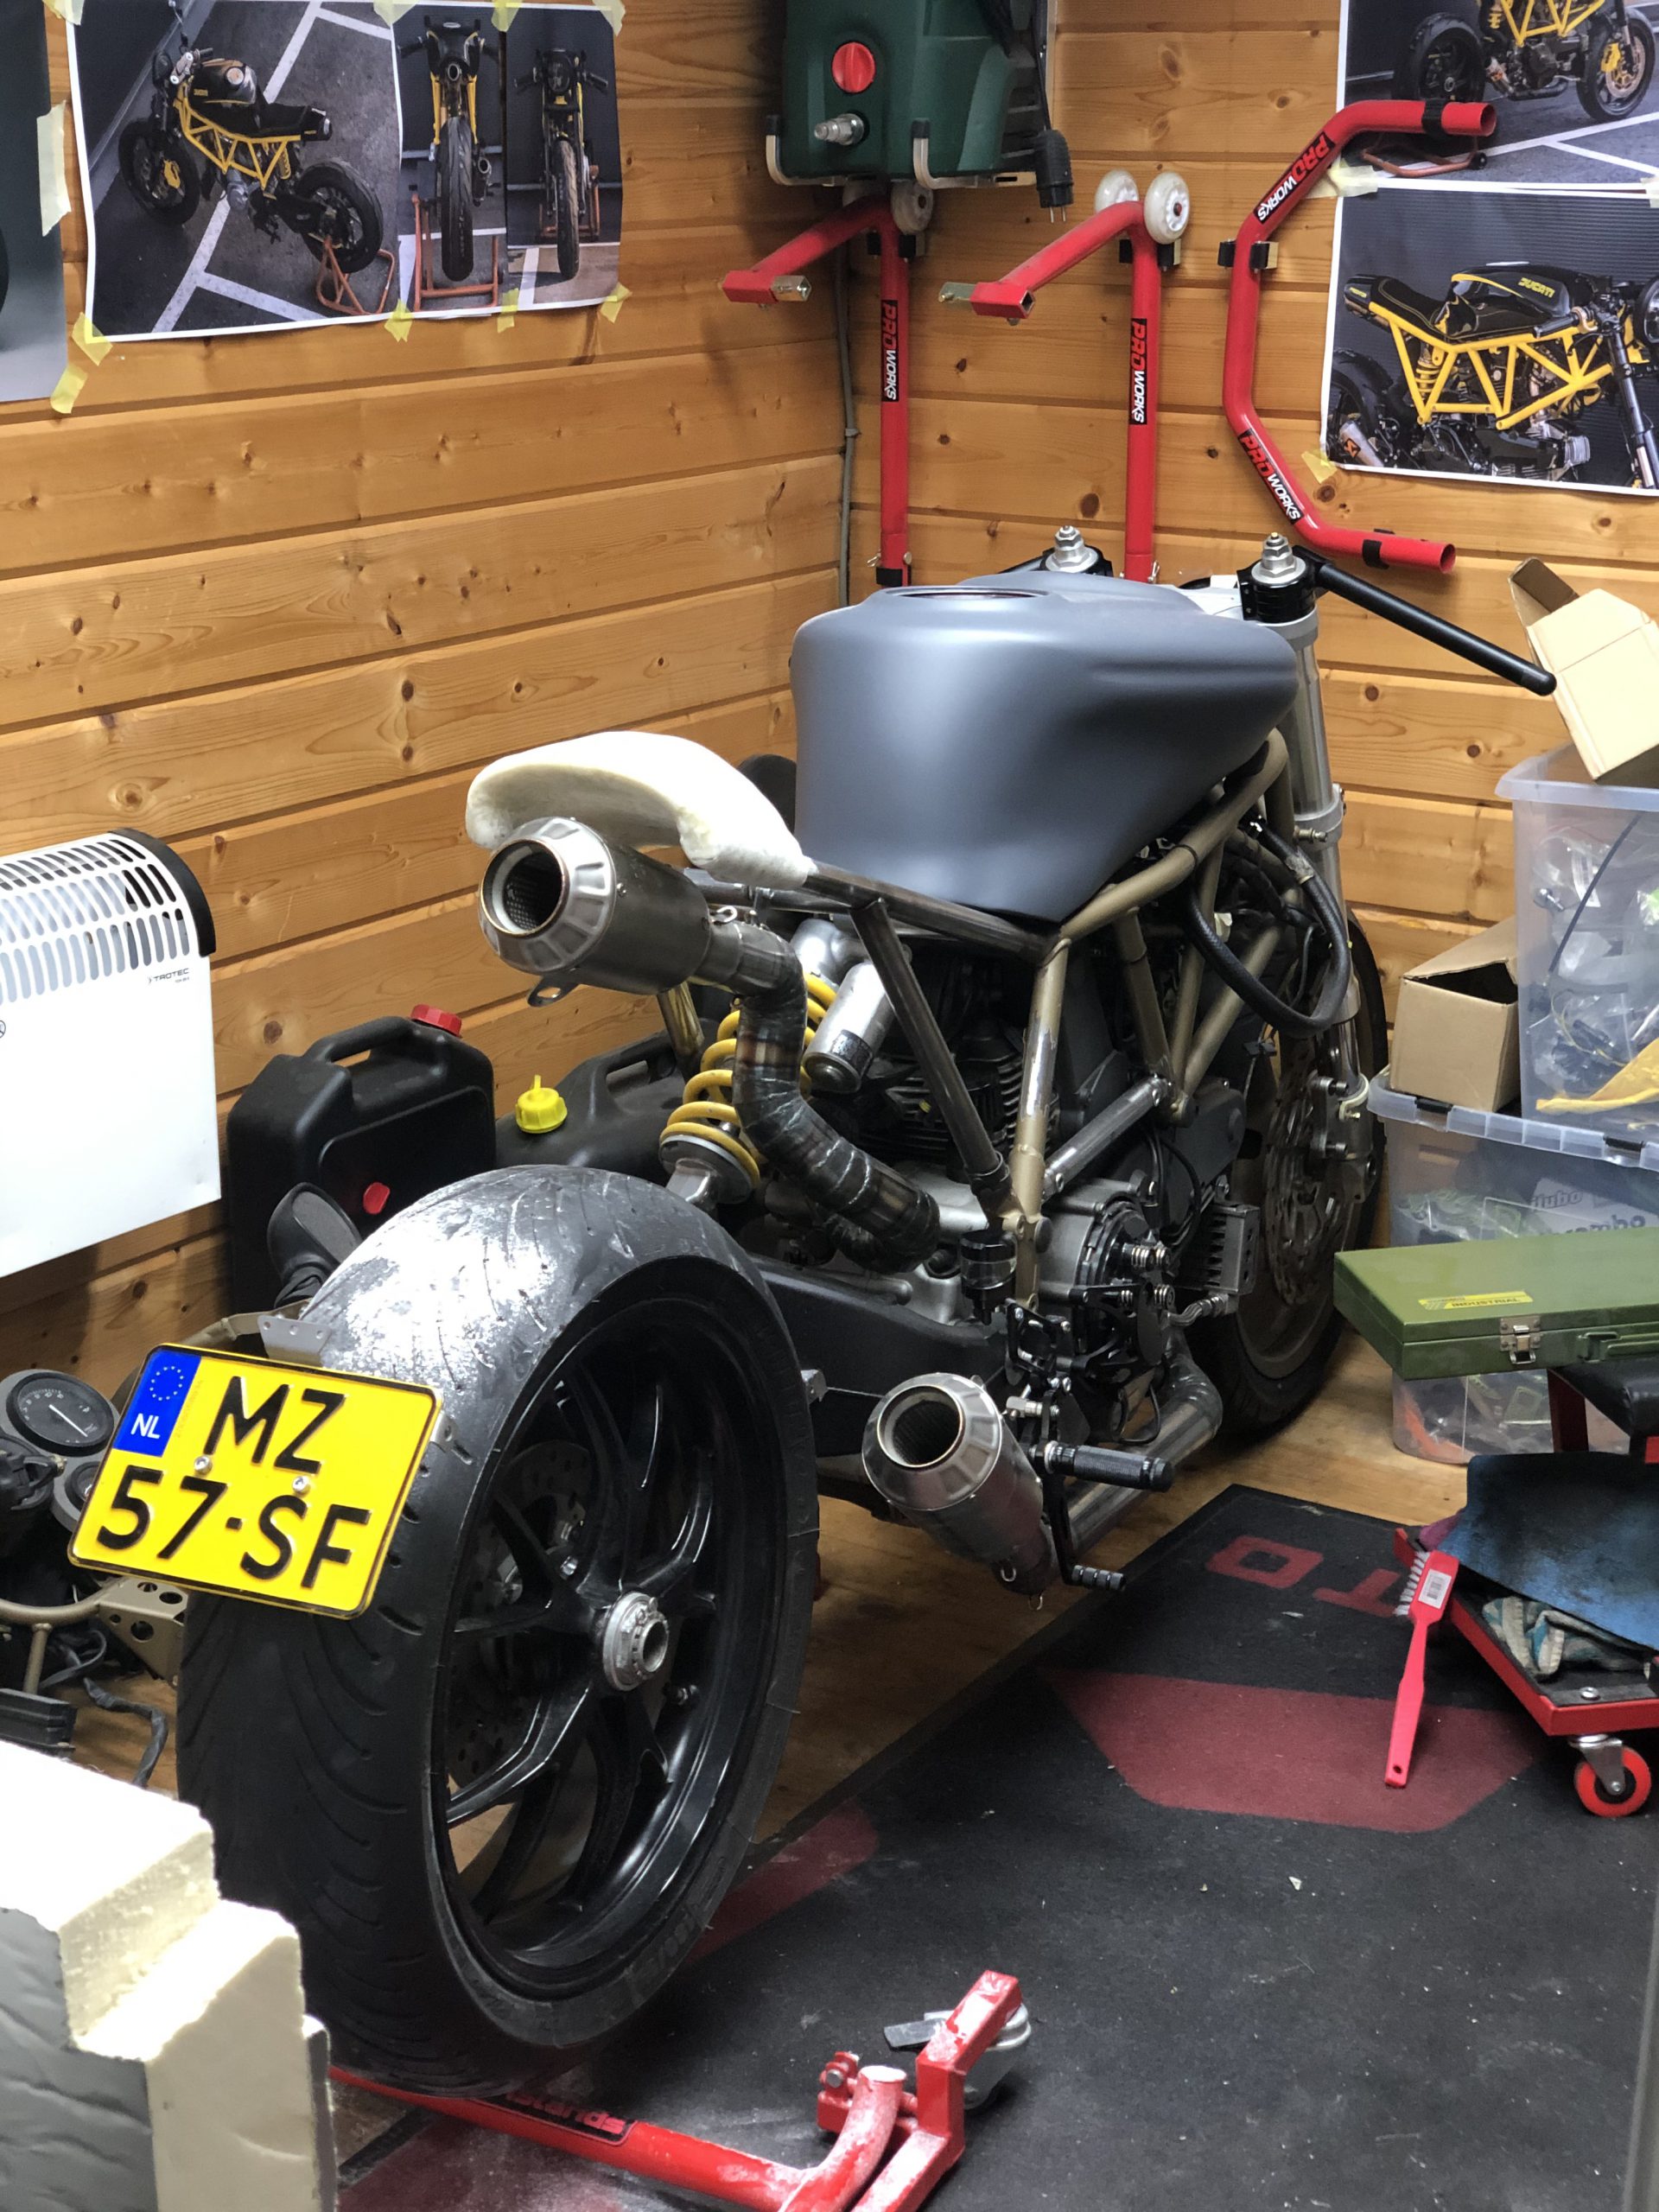
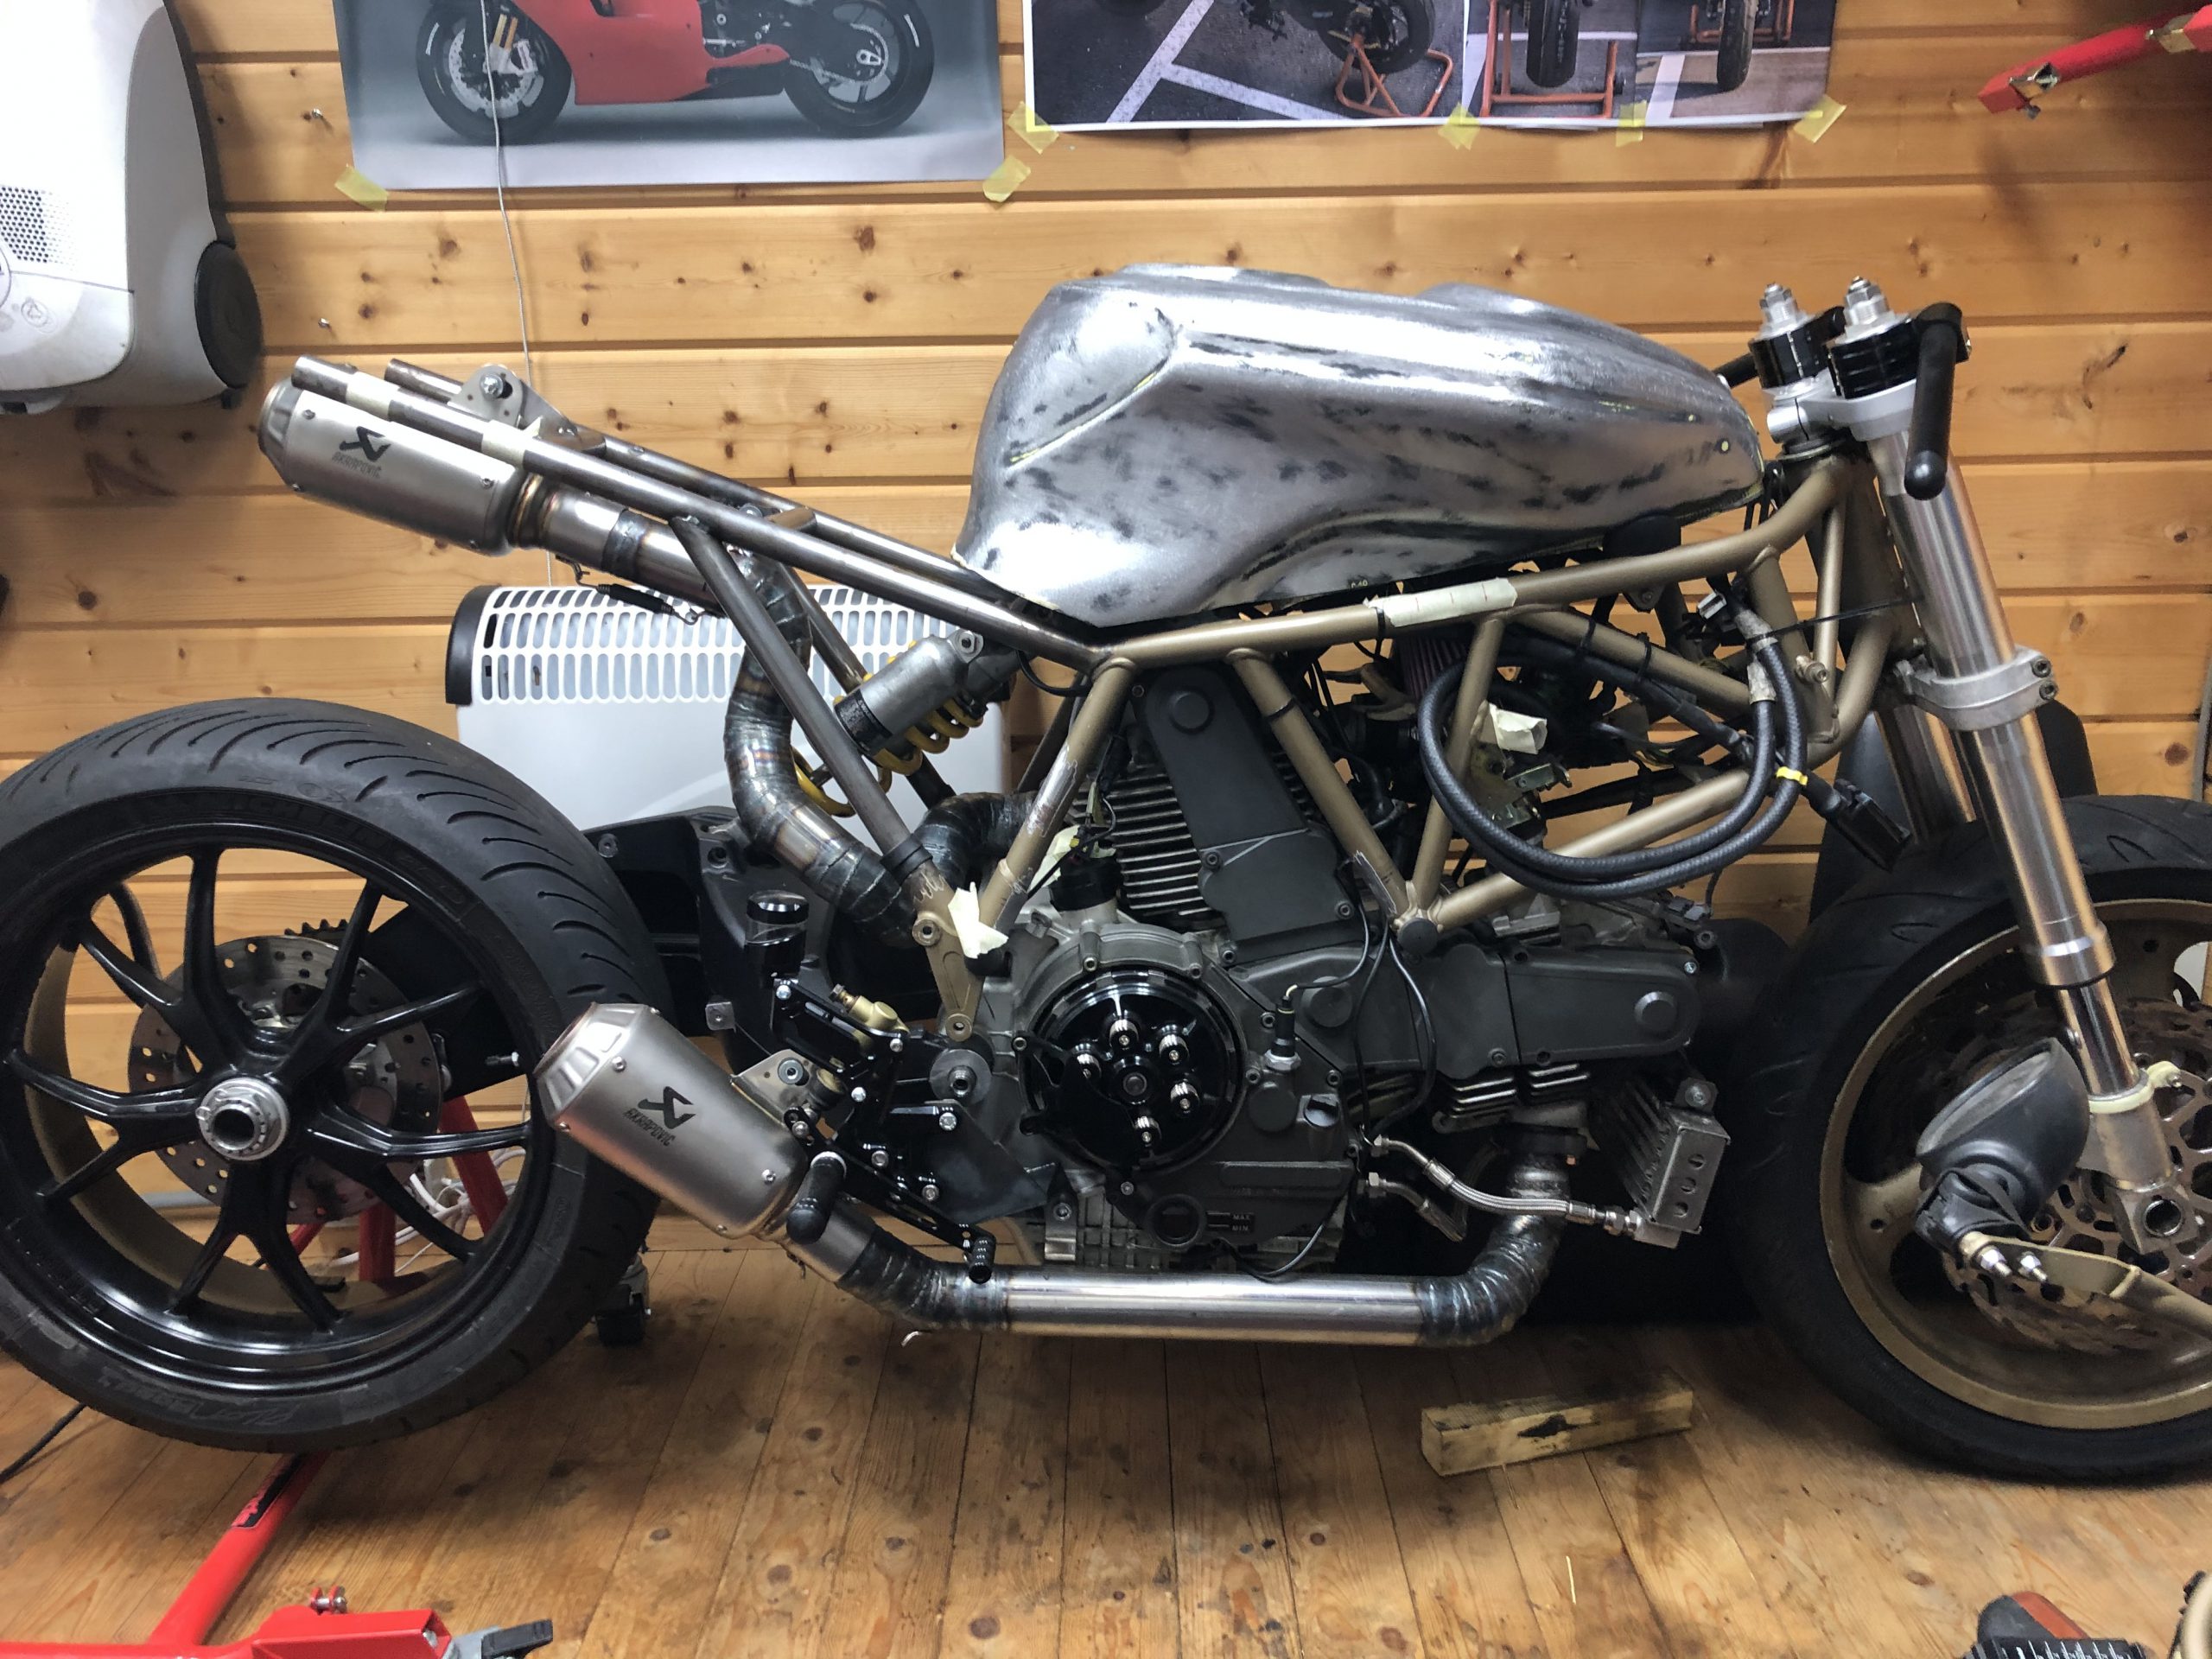
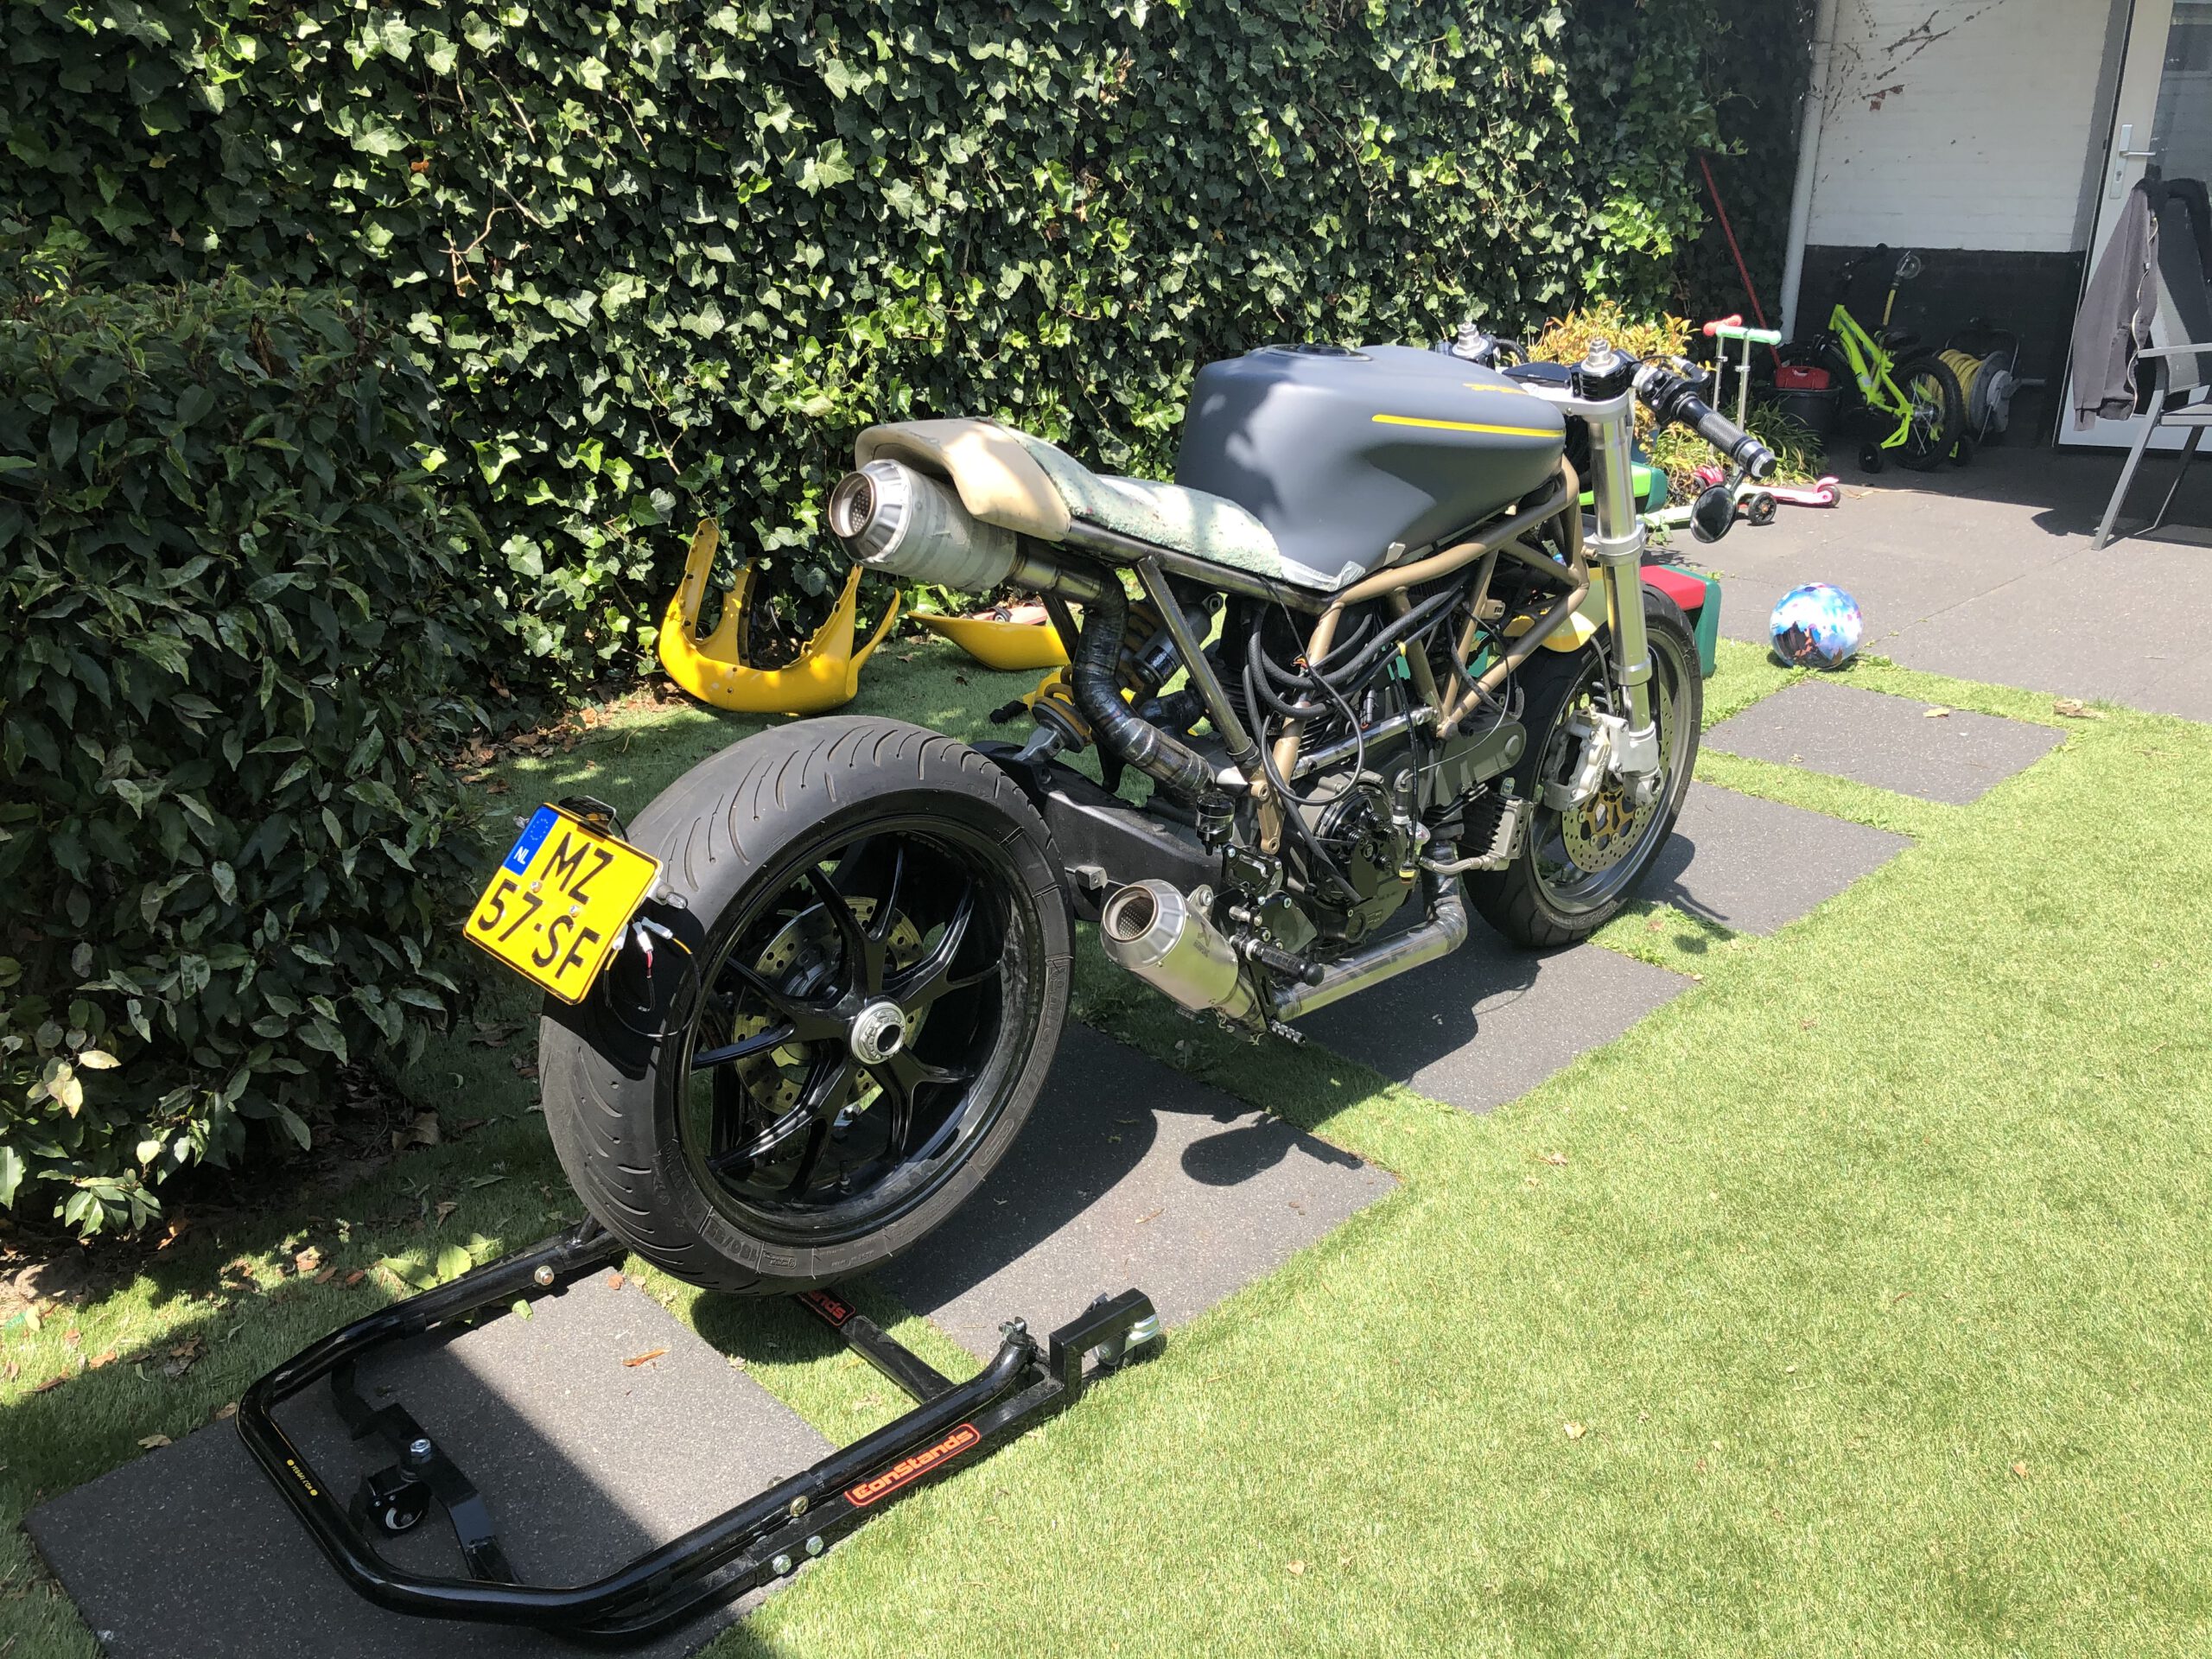
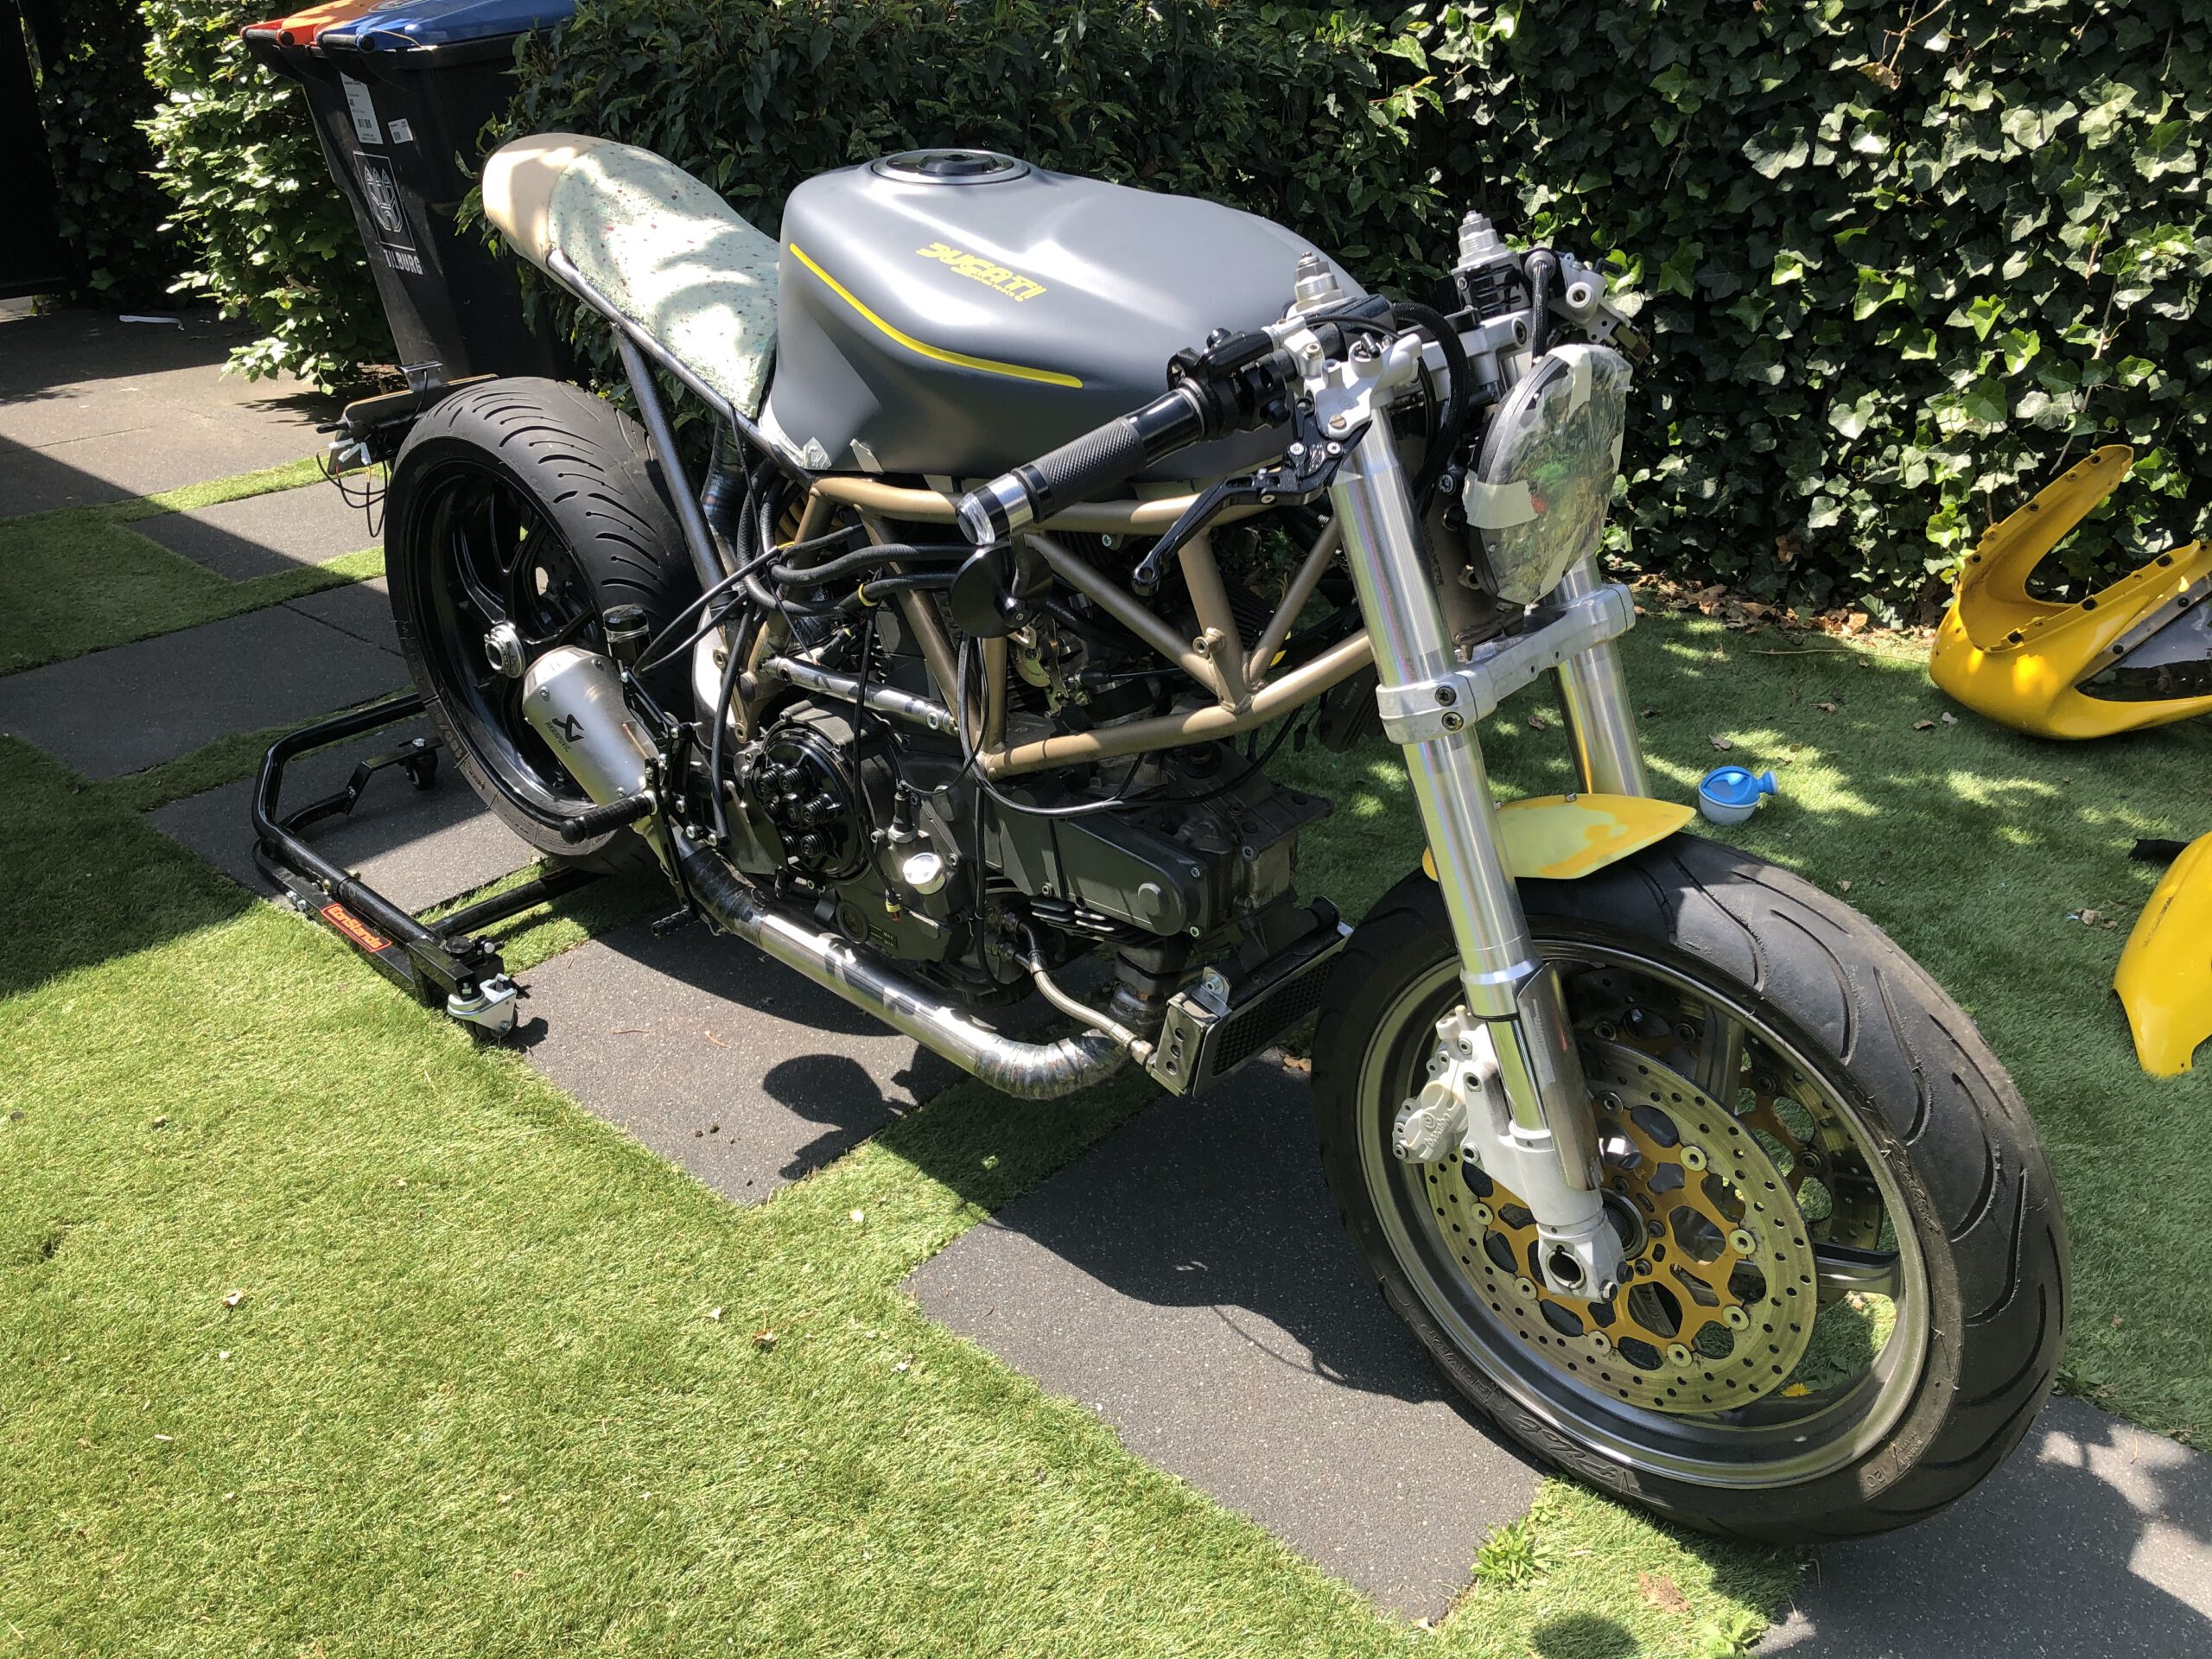
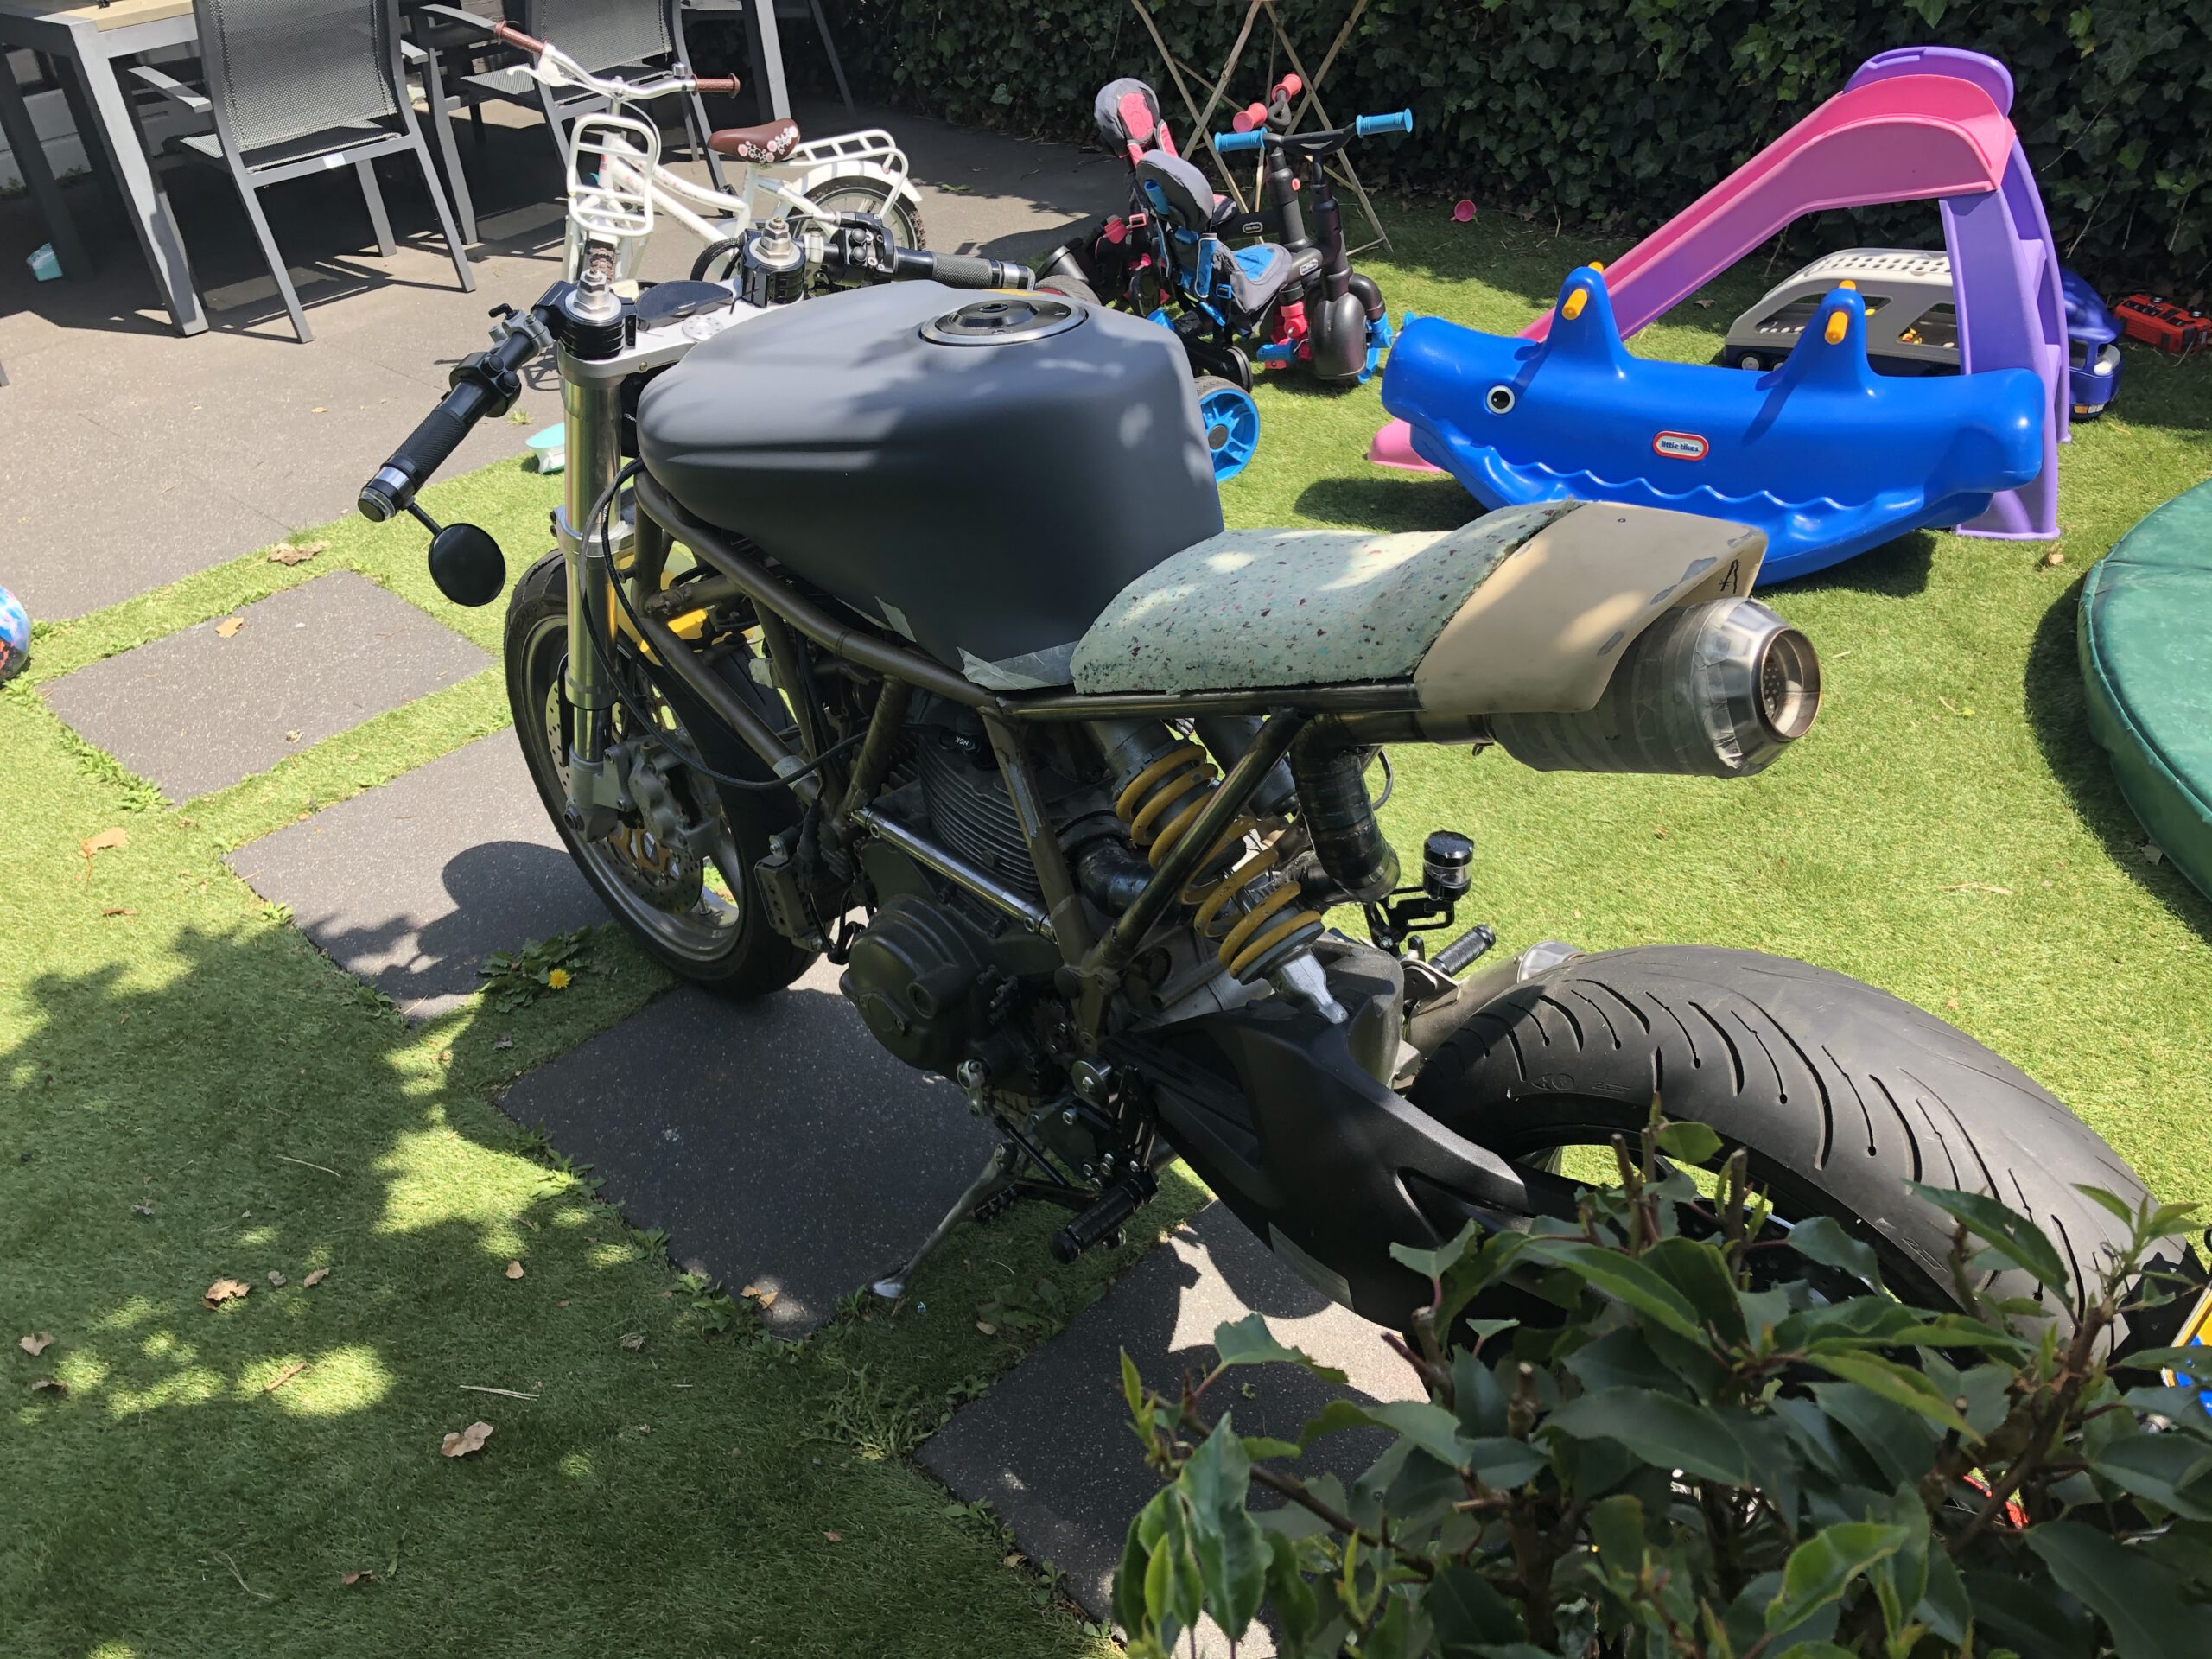
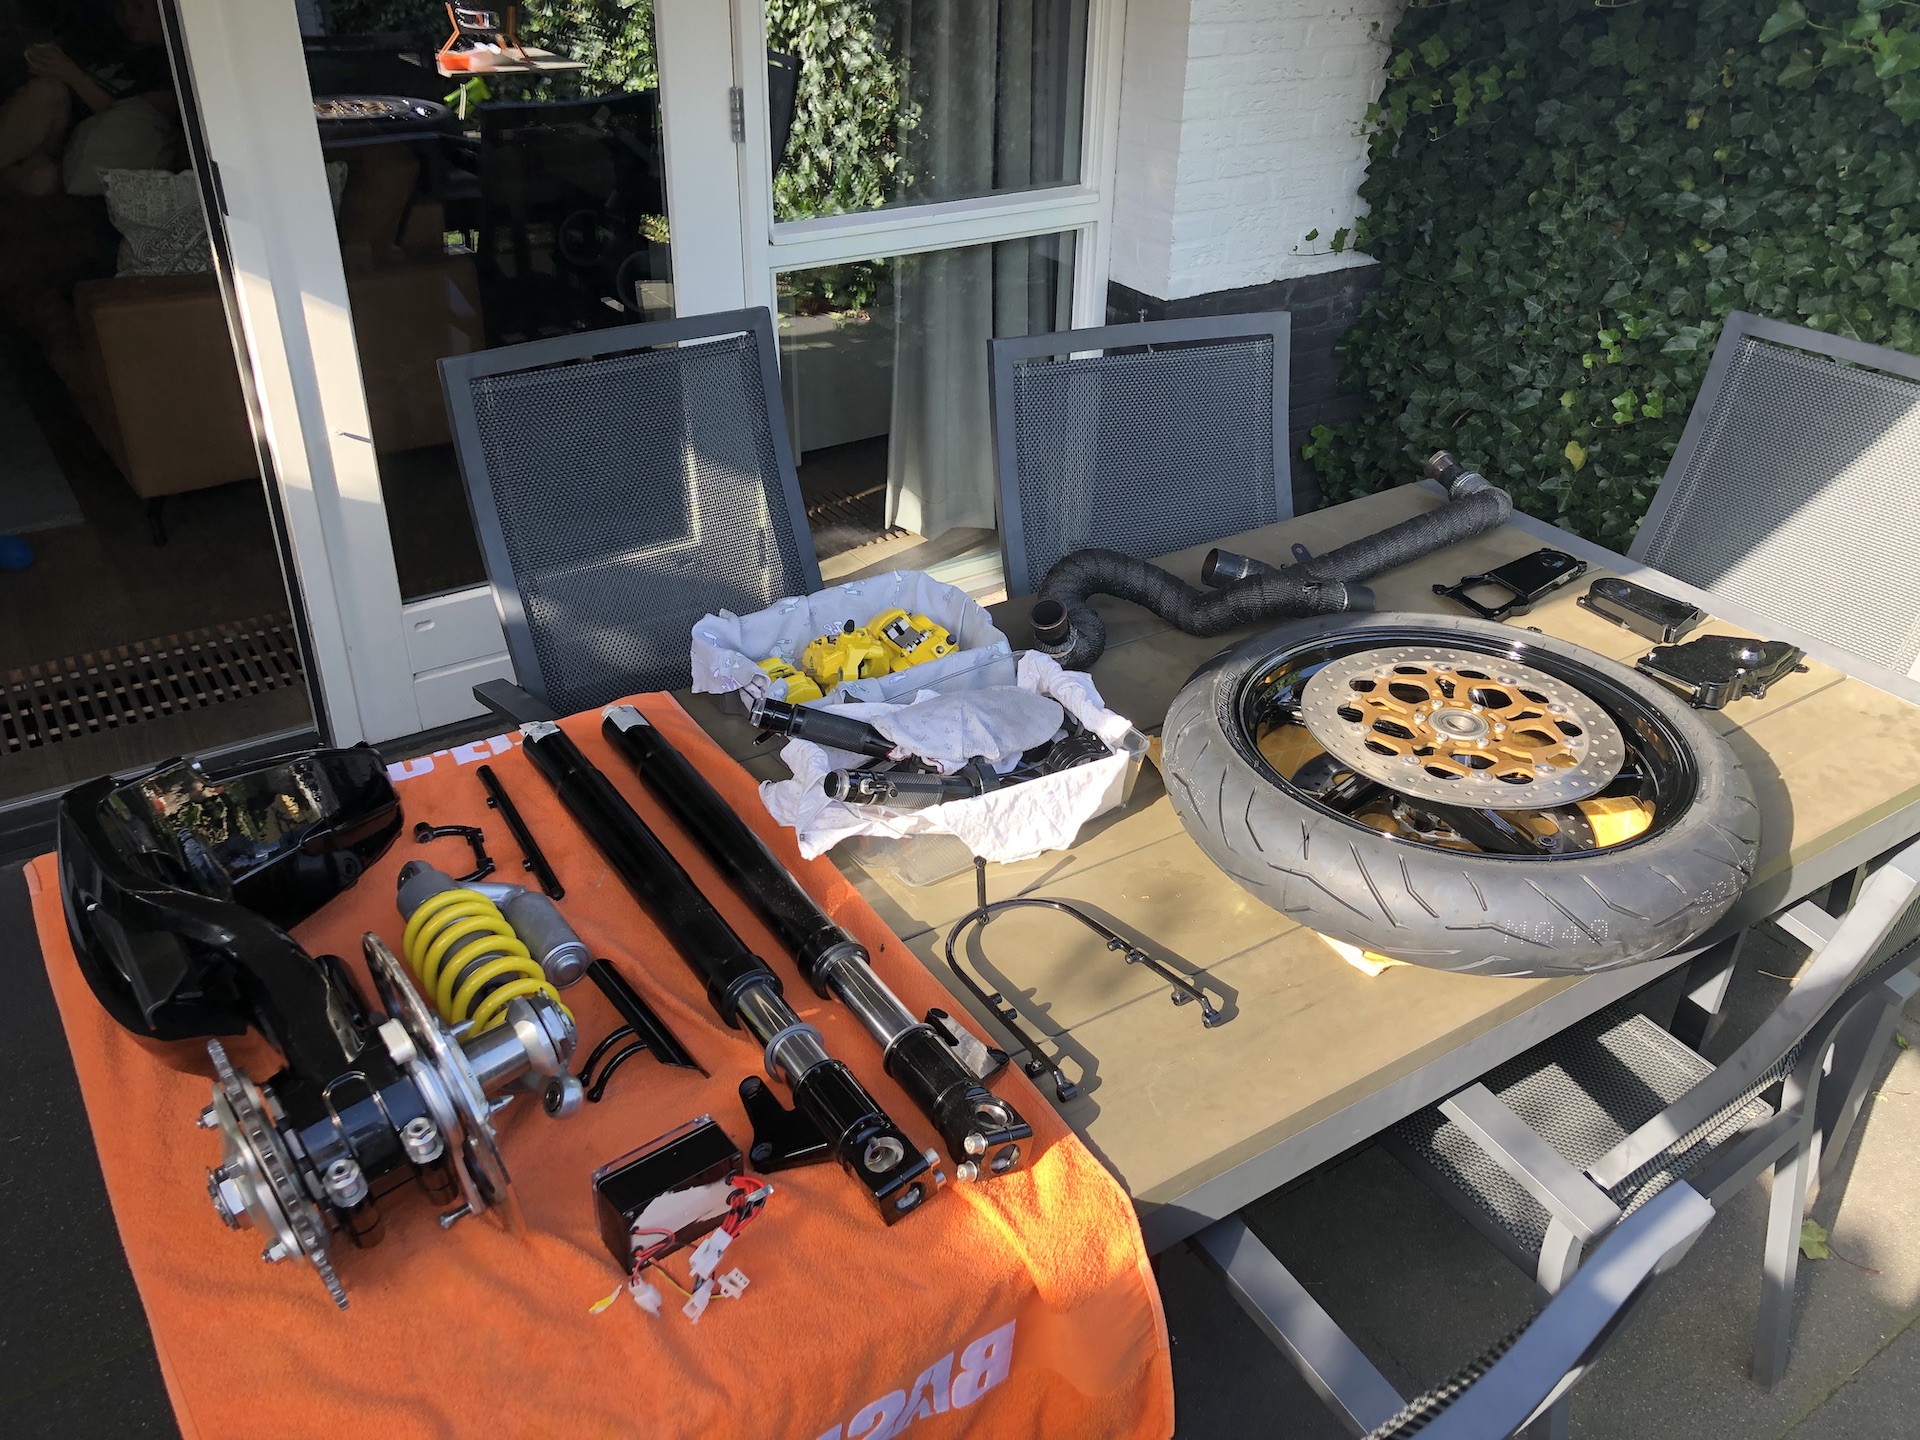
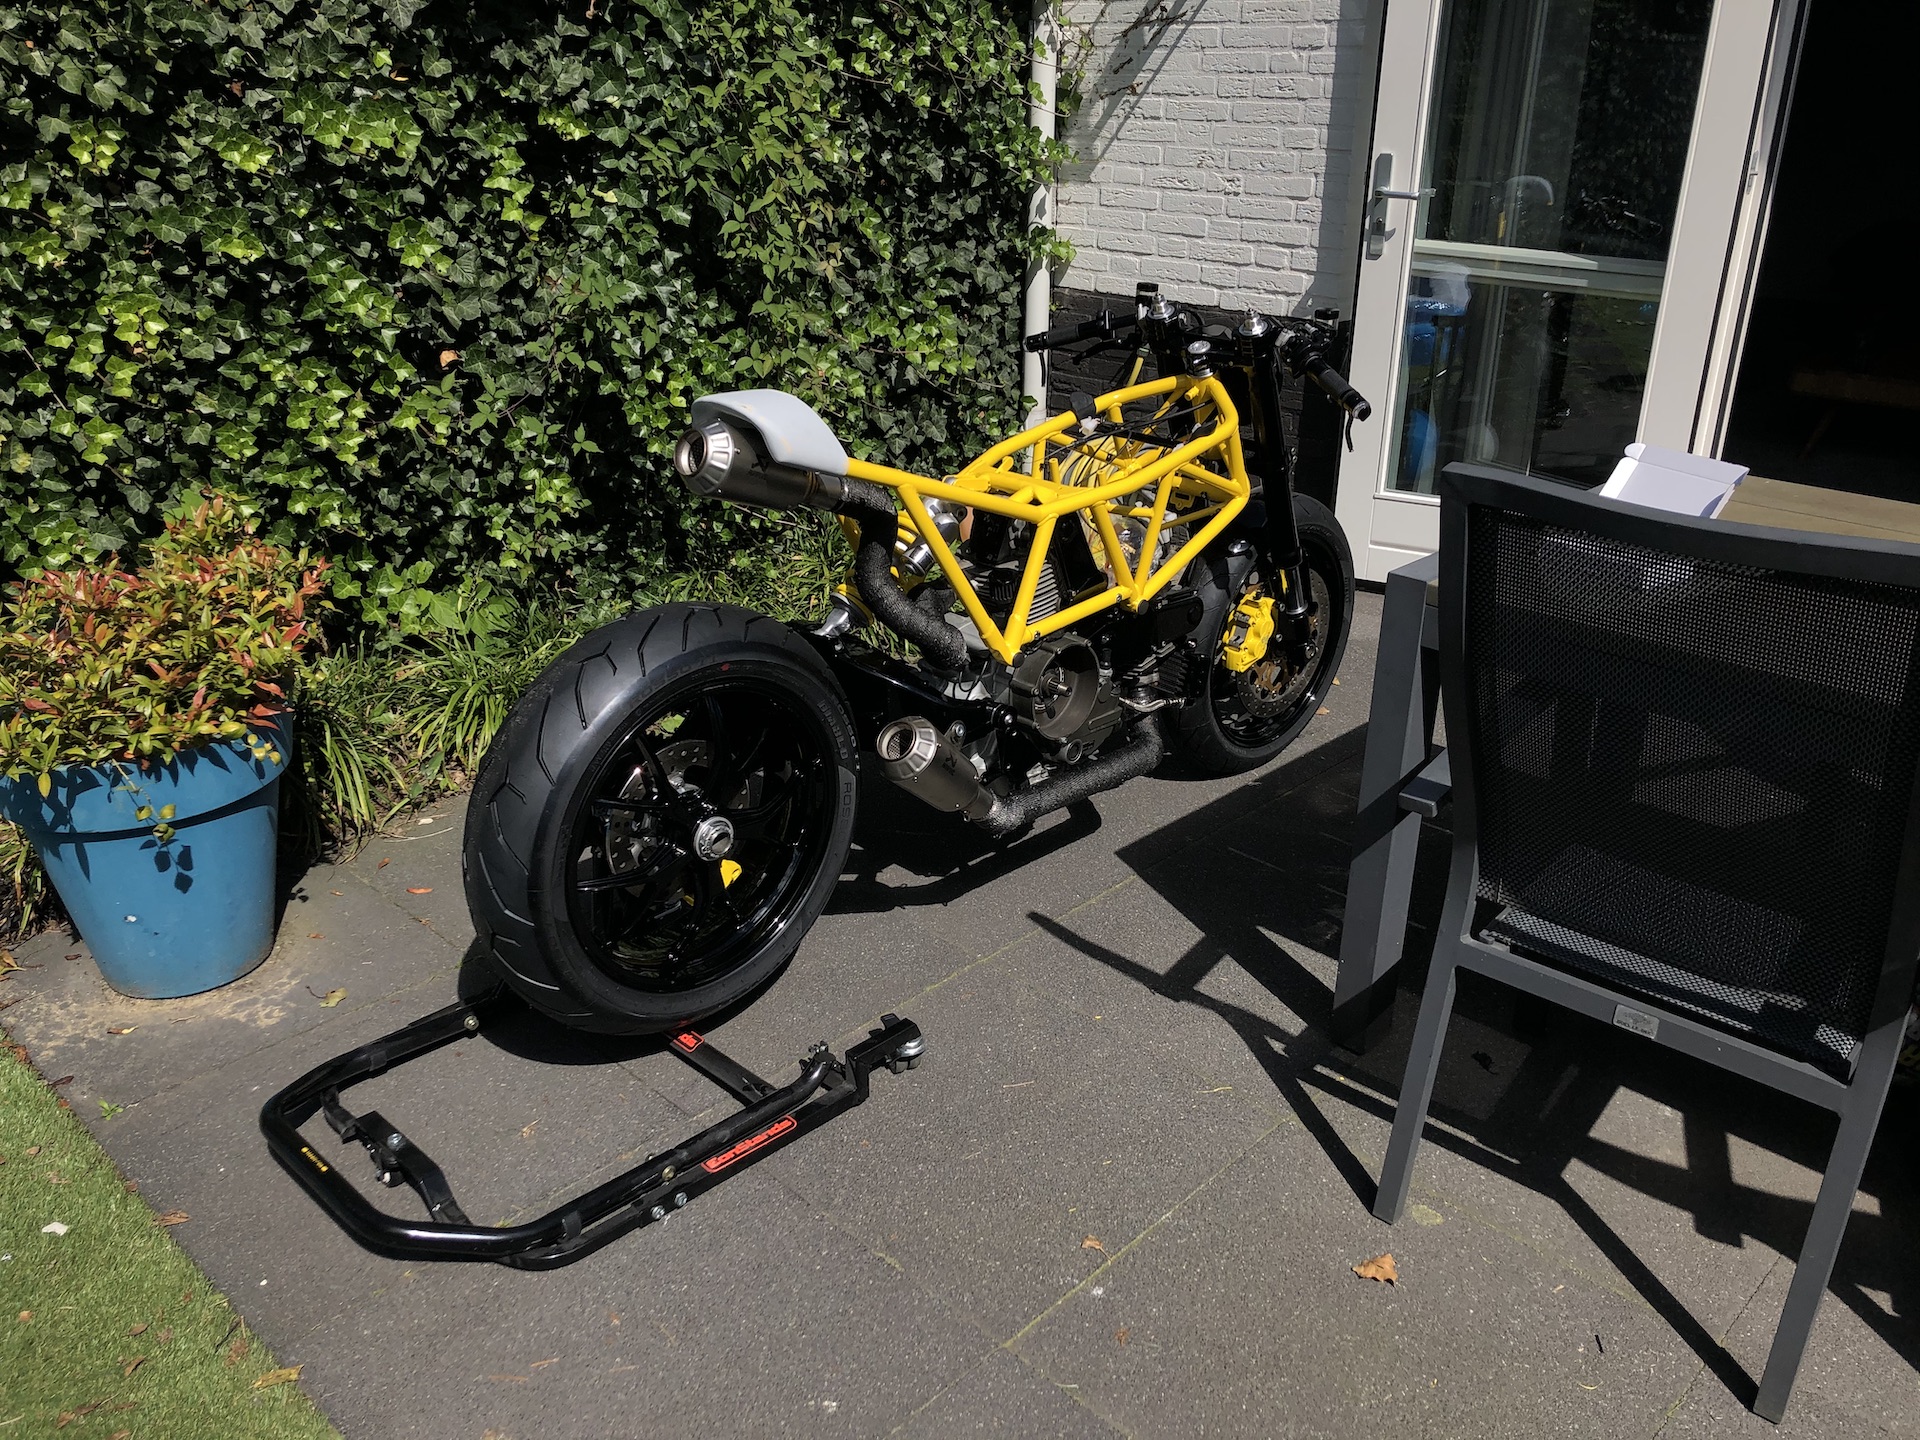
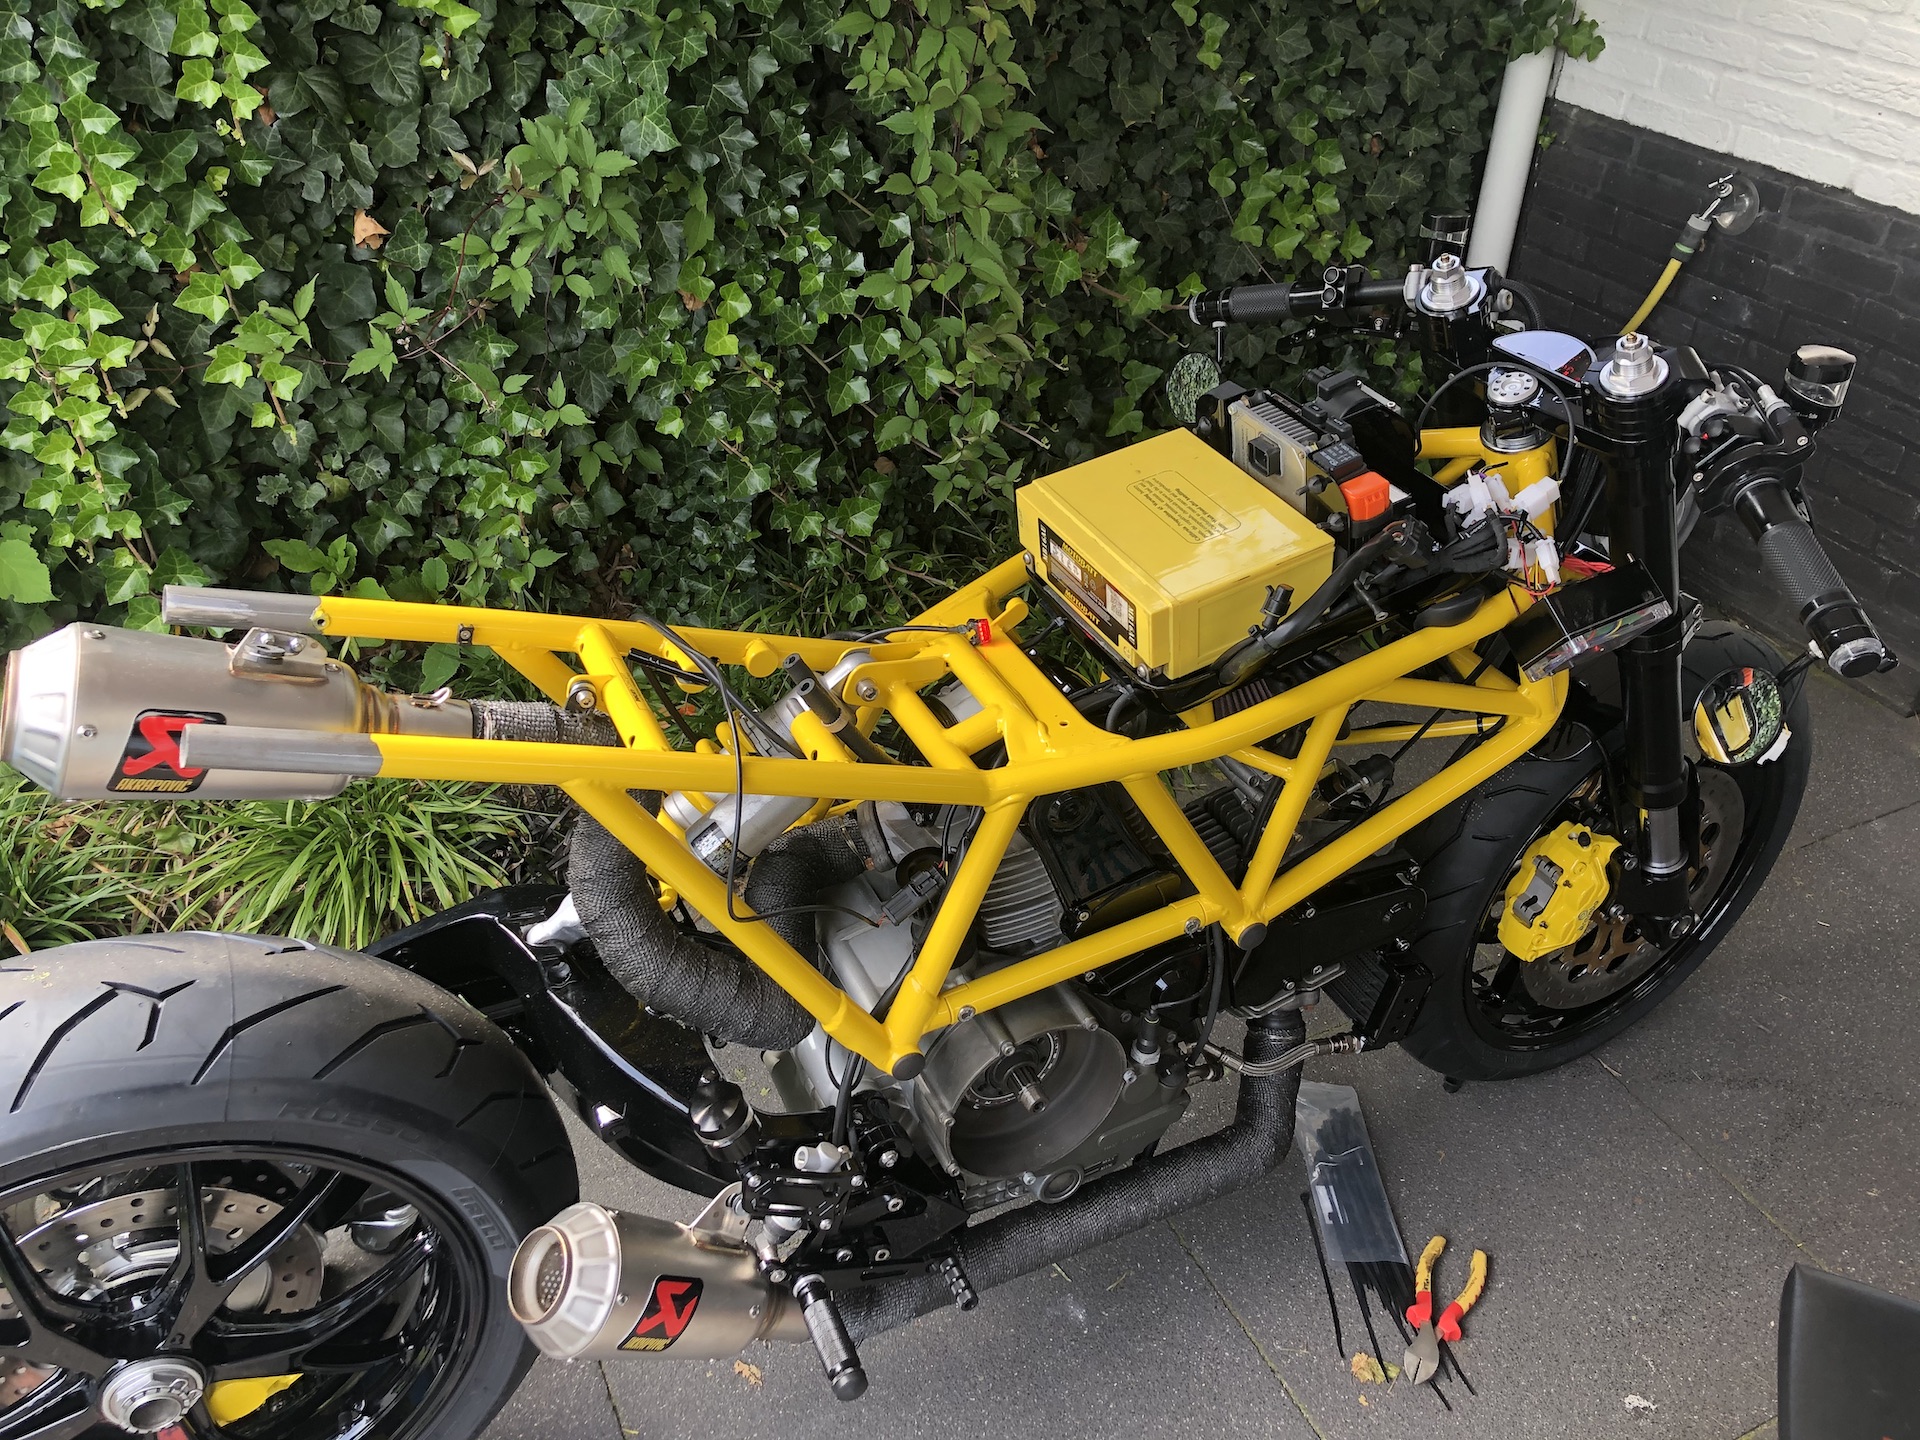
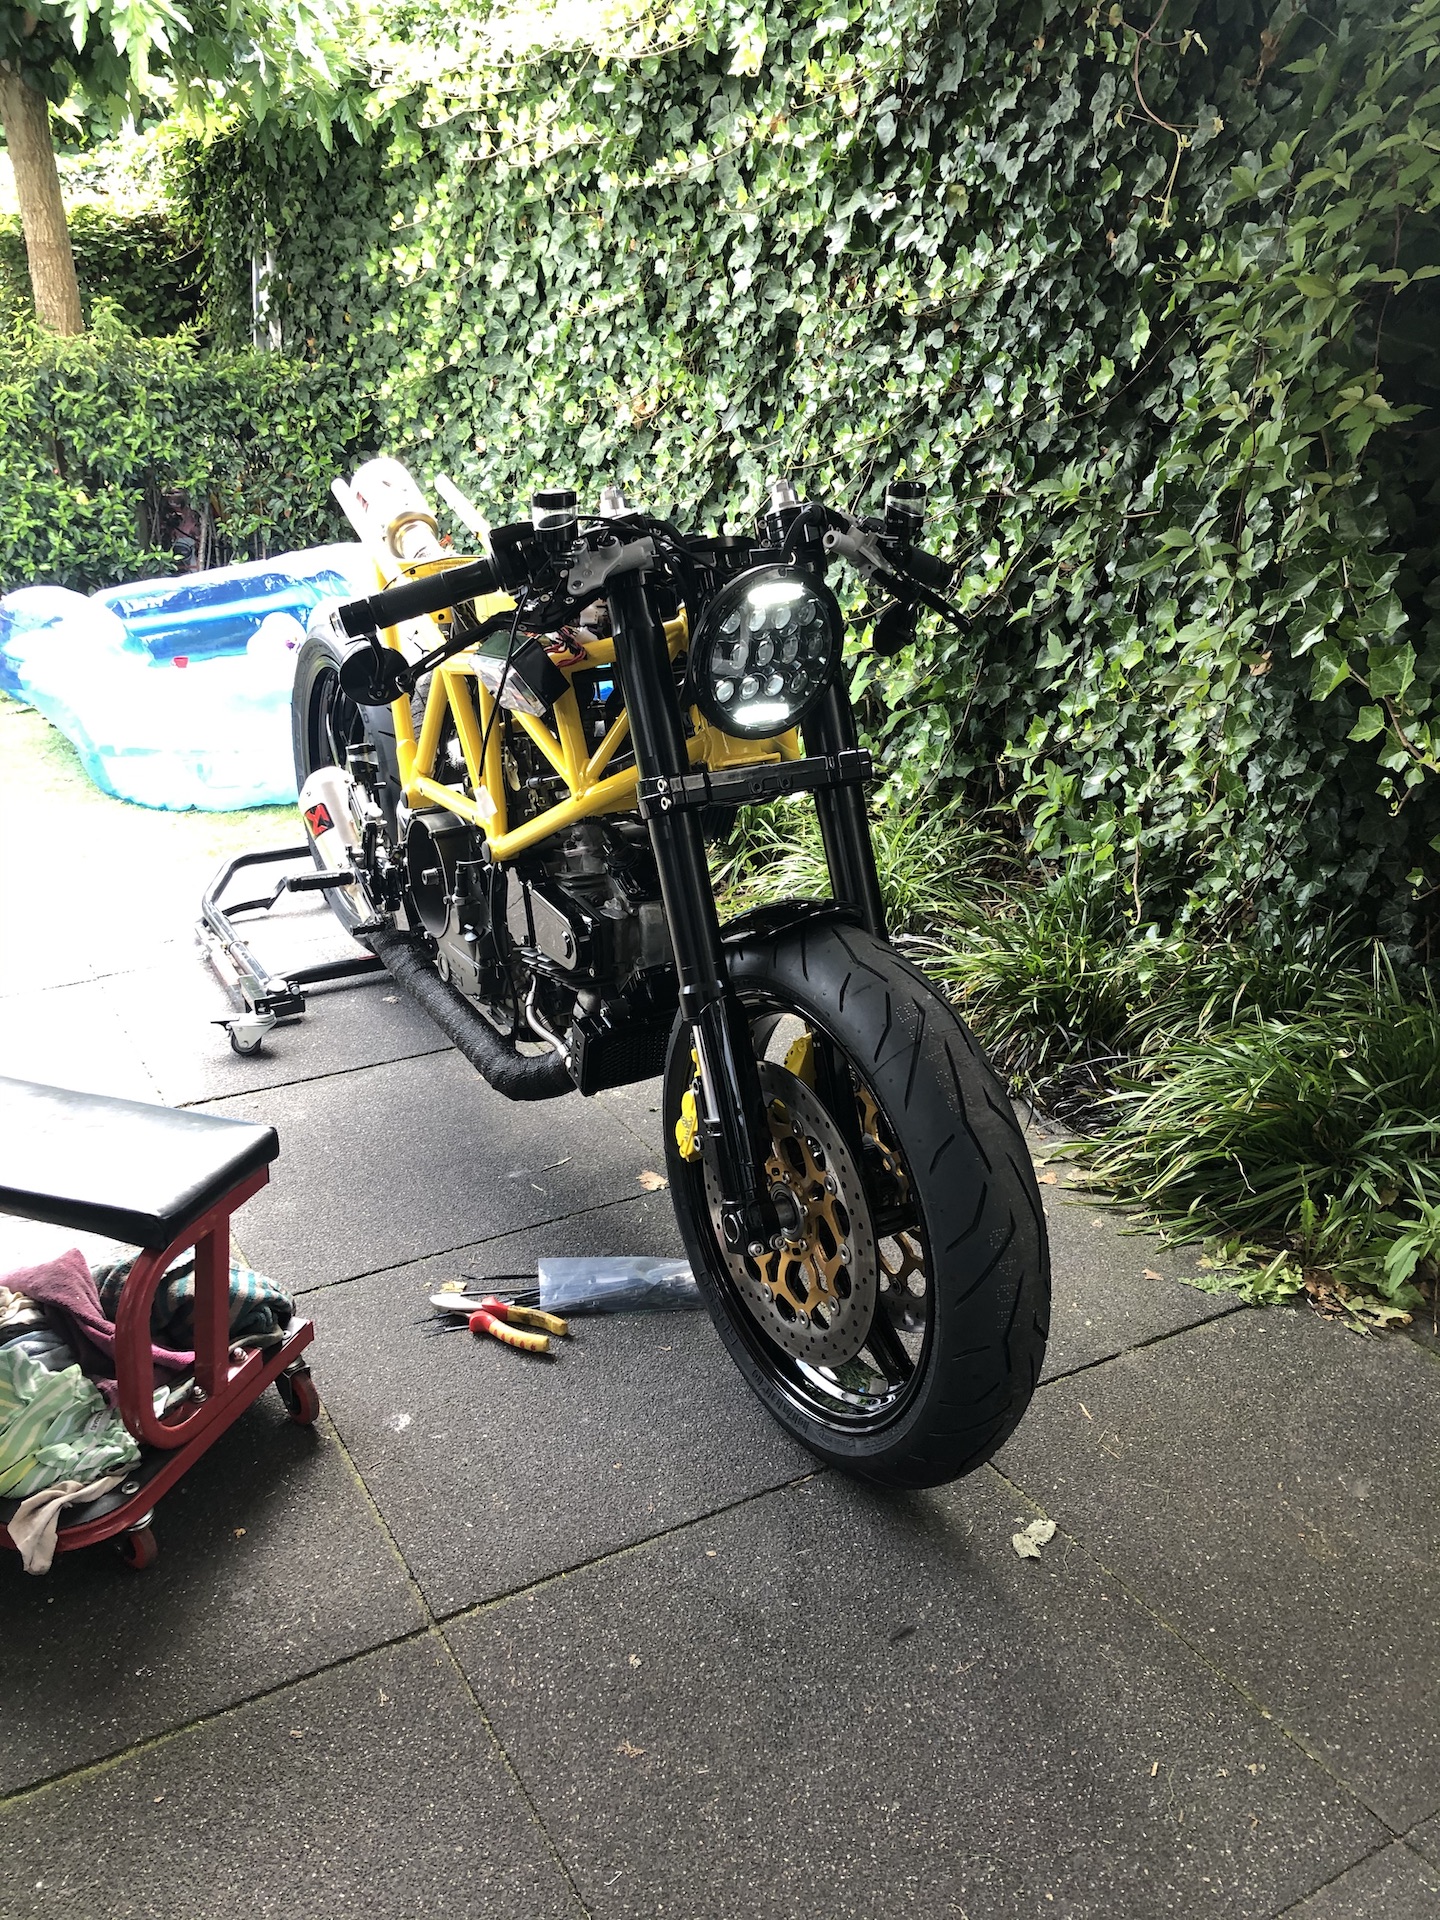
CHECKING THE LINES + TESTRUN
Just checking the lines of the bike out of the shed in the sun. Testing the new custom wiring loom before i start taking everything apart again.

F*CK IM AN IDIOT…
Lesson learned. Dont stand your tank againt a fridge and knock it over… Tank dented, but all fixed again :).

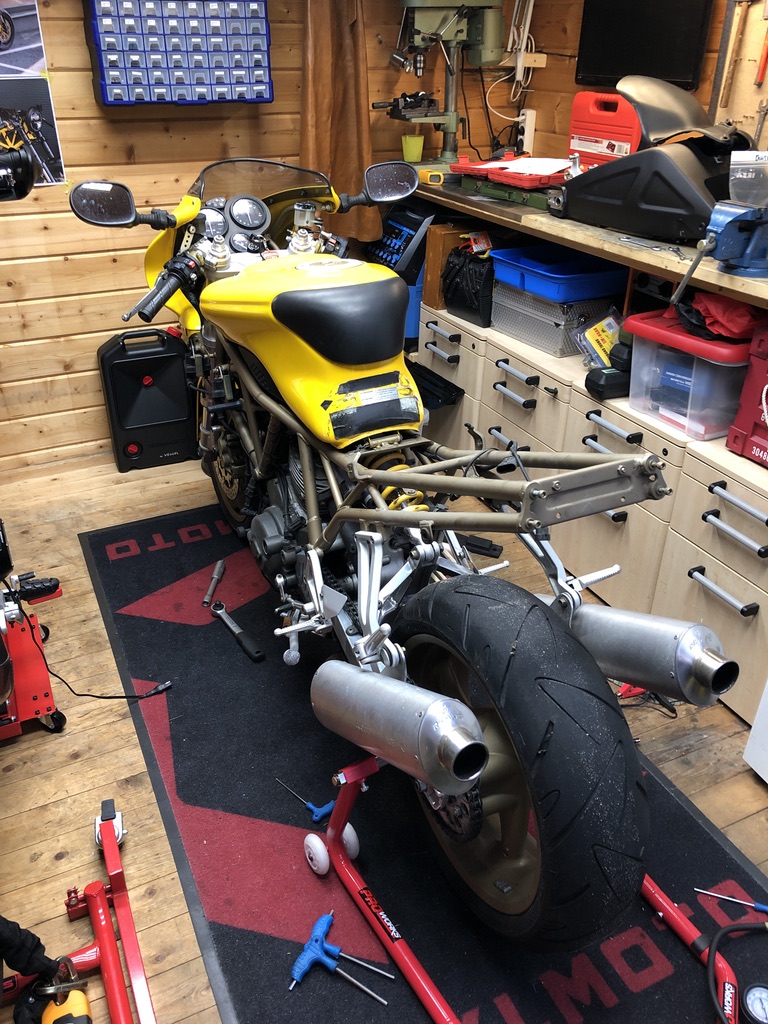
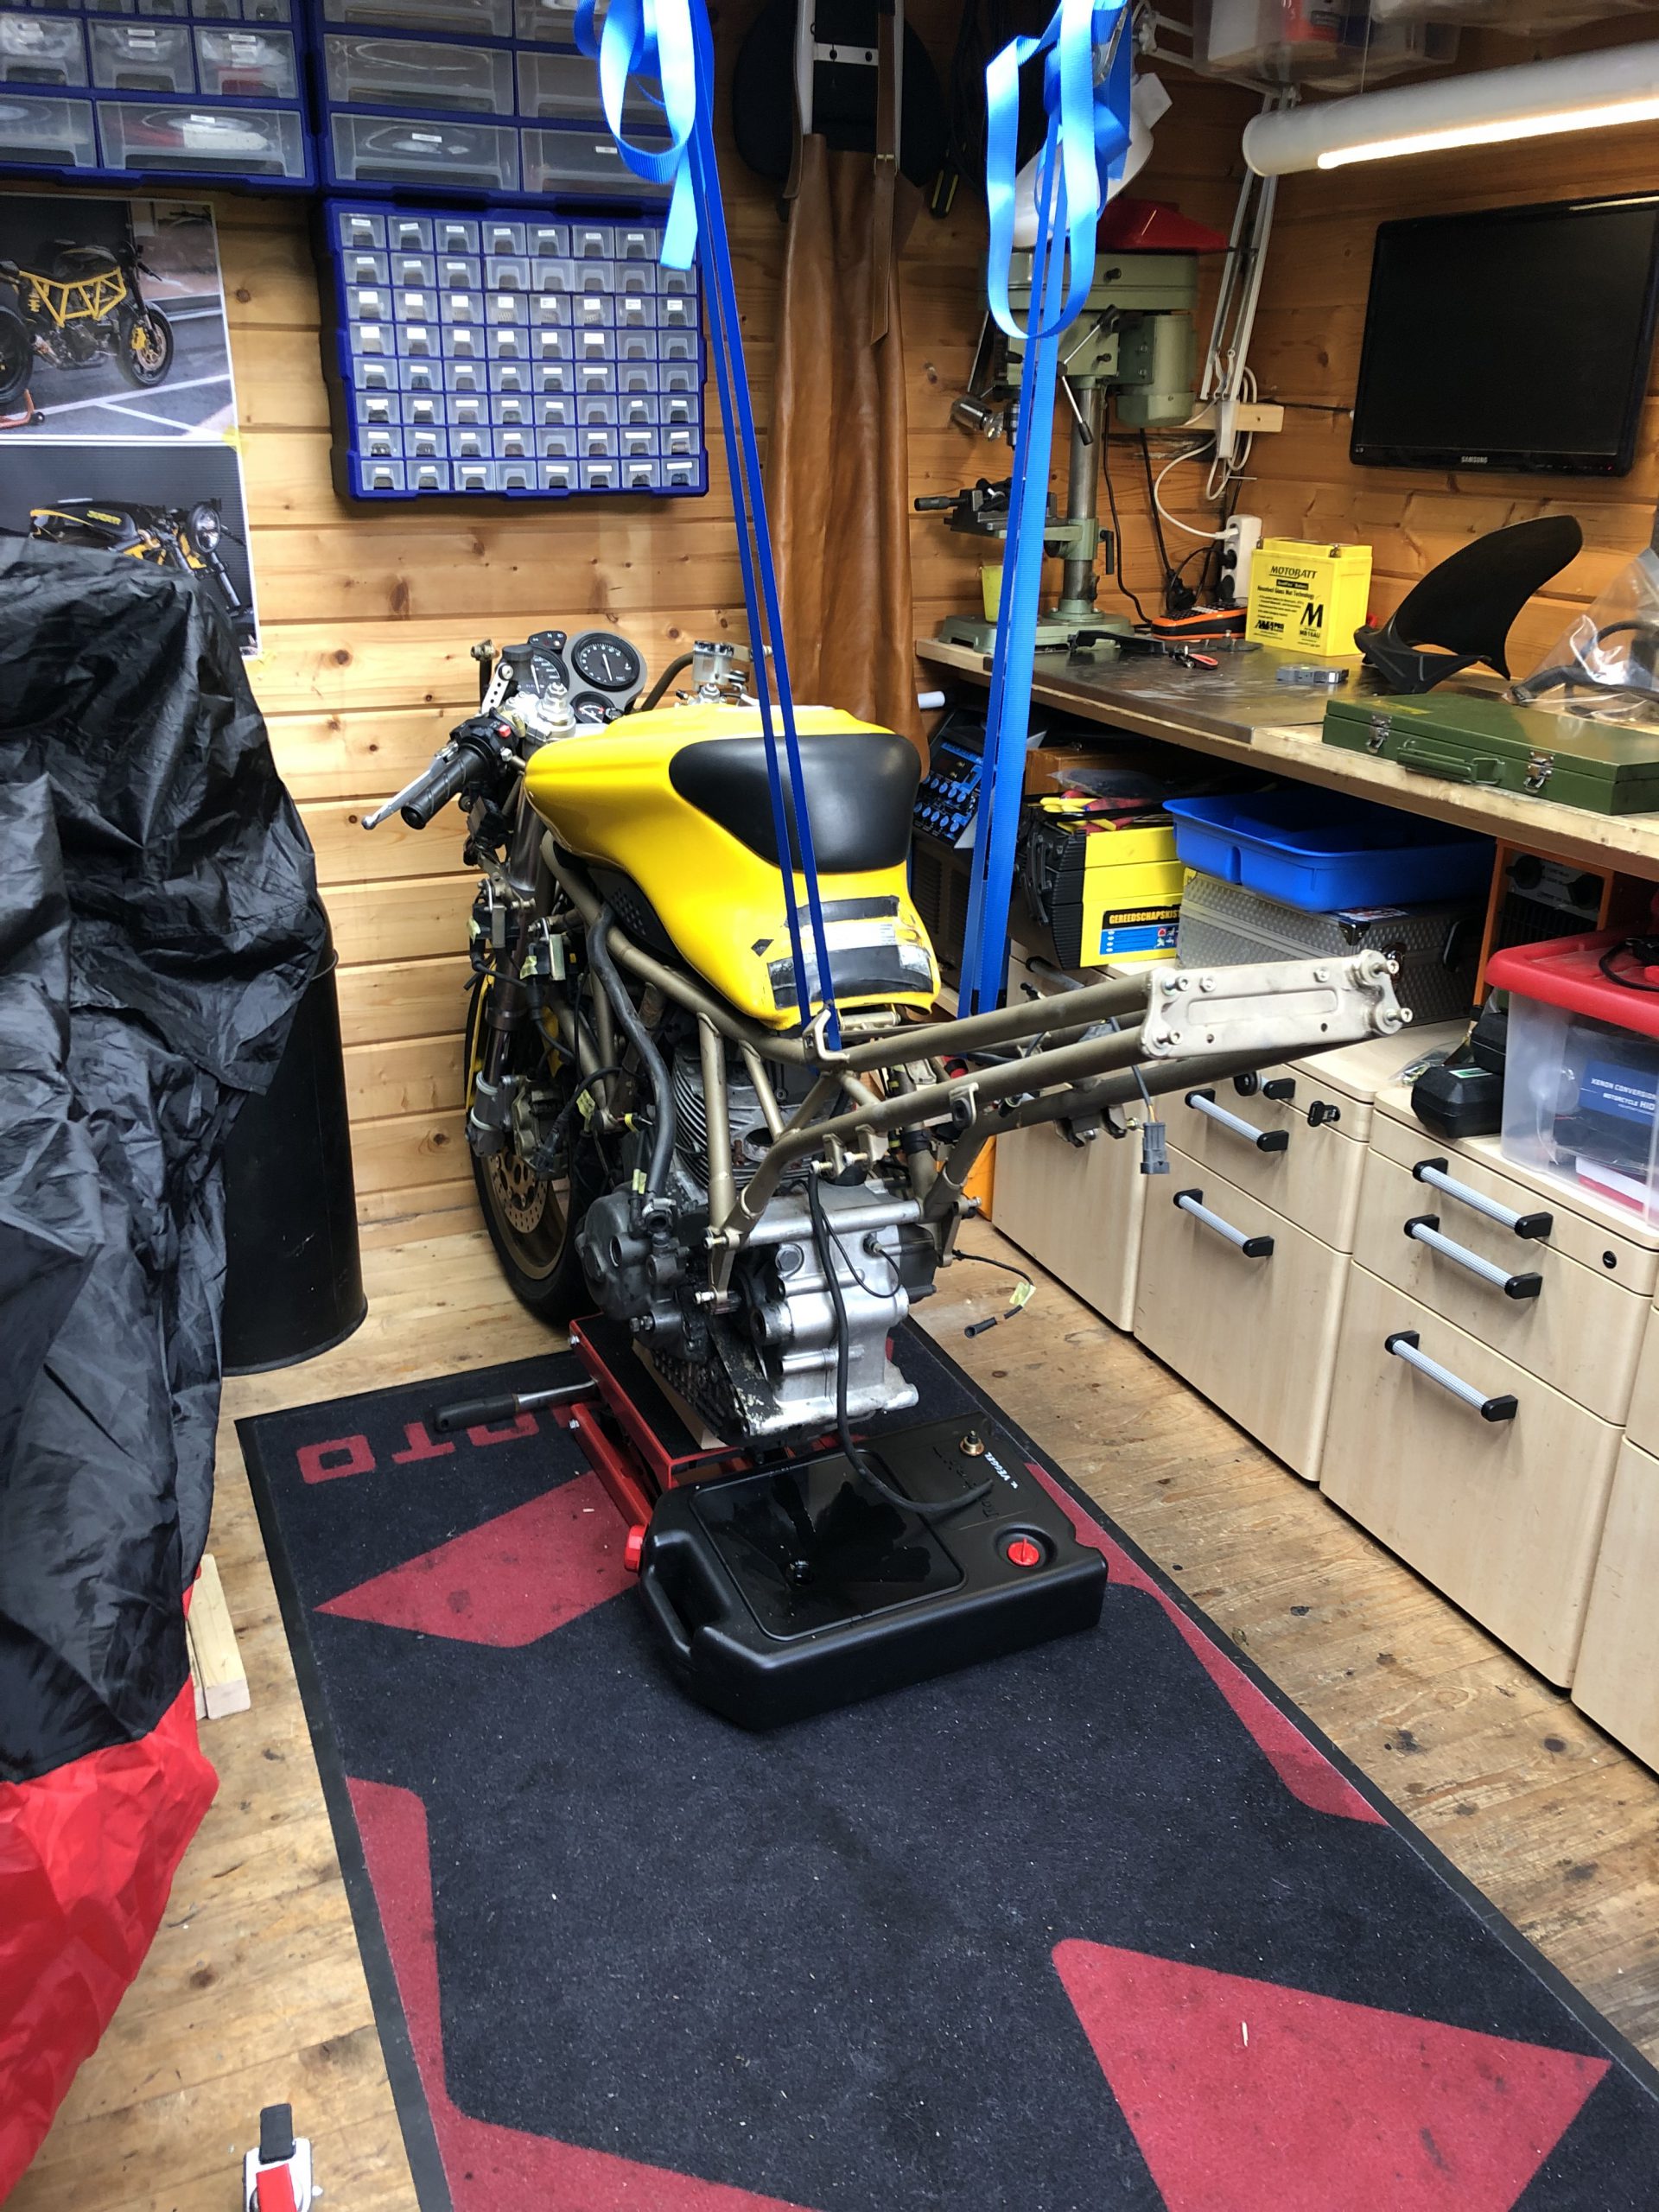
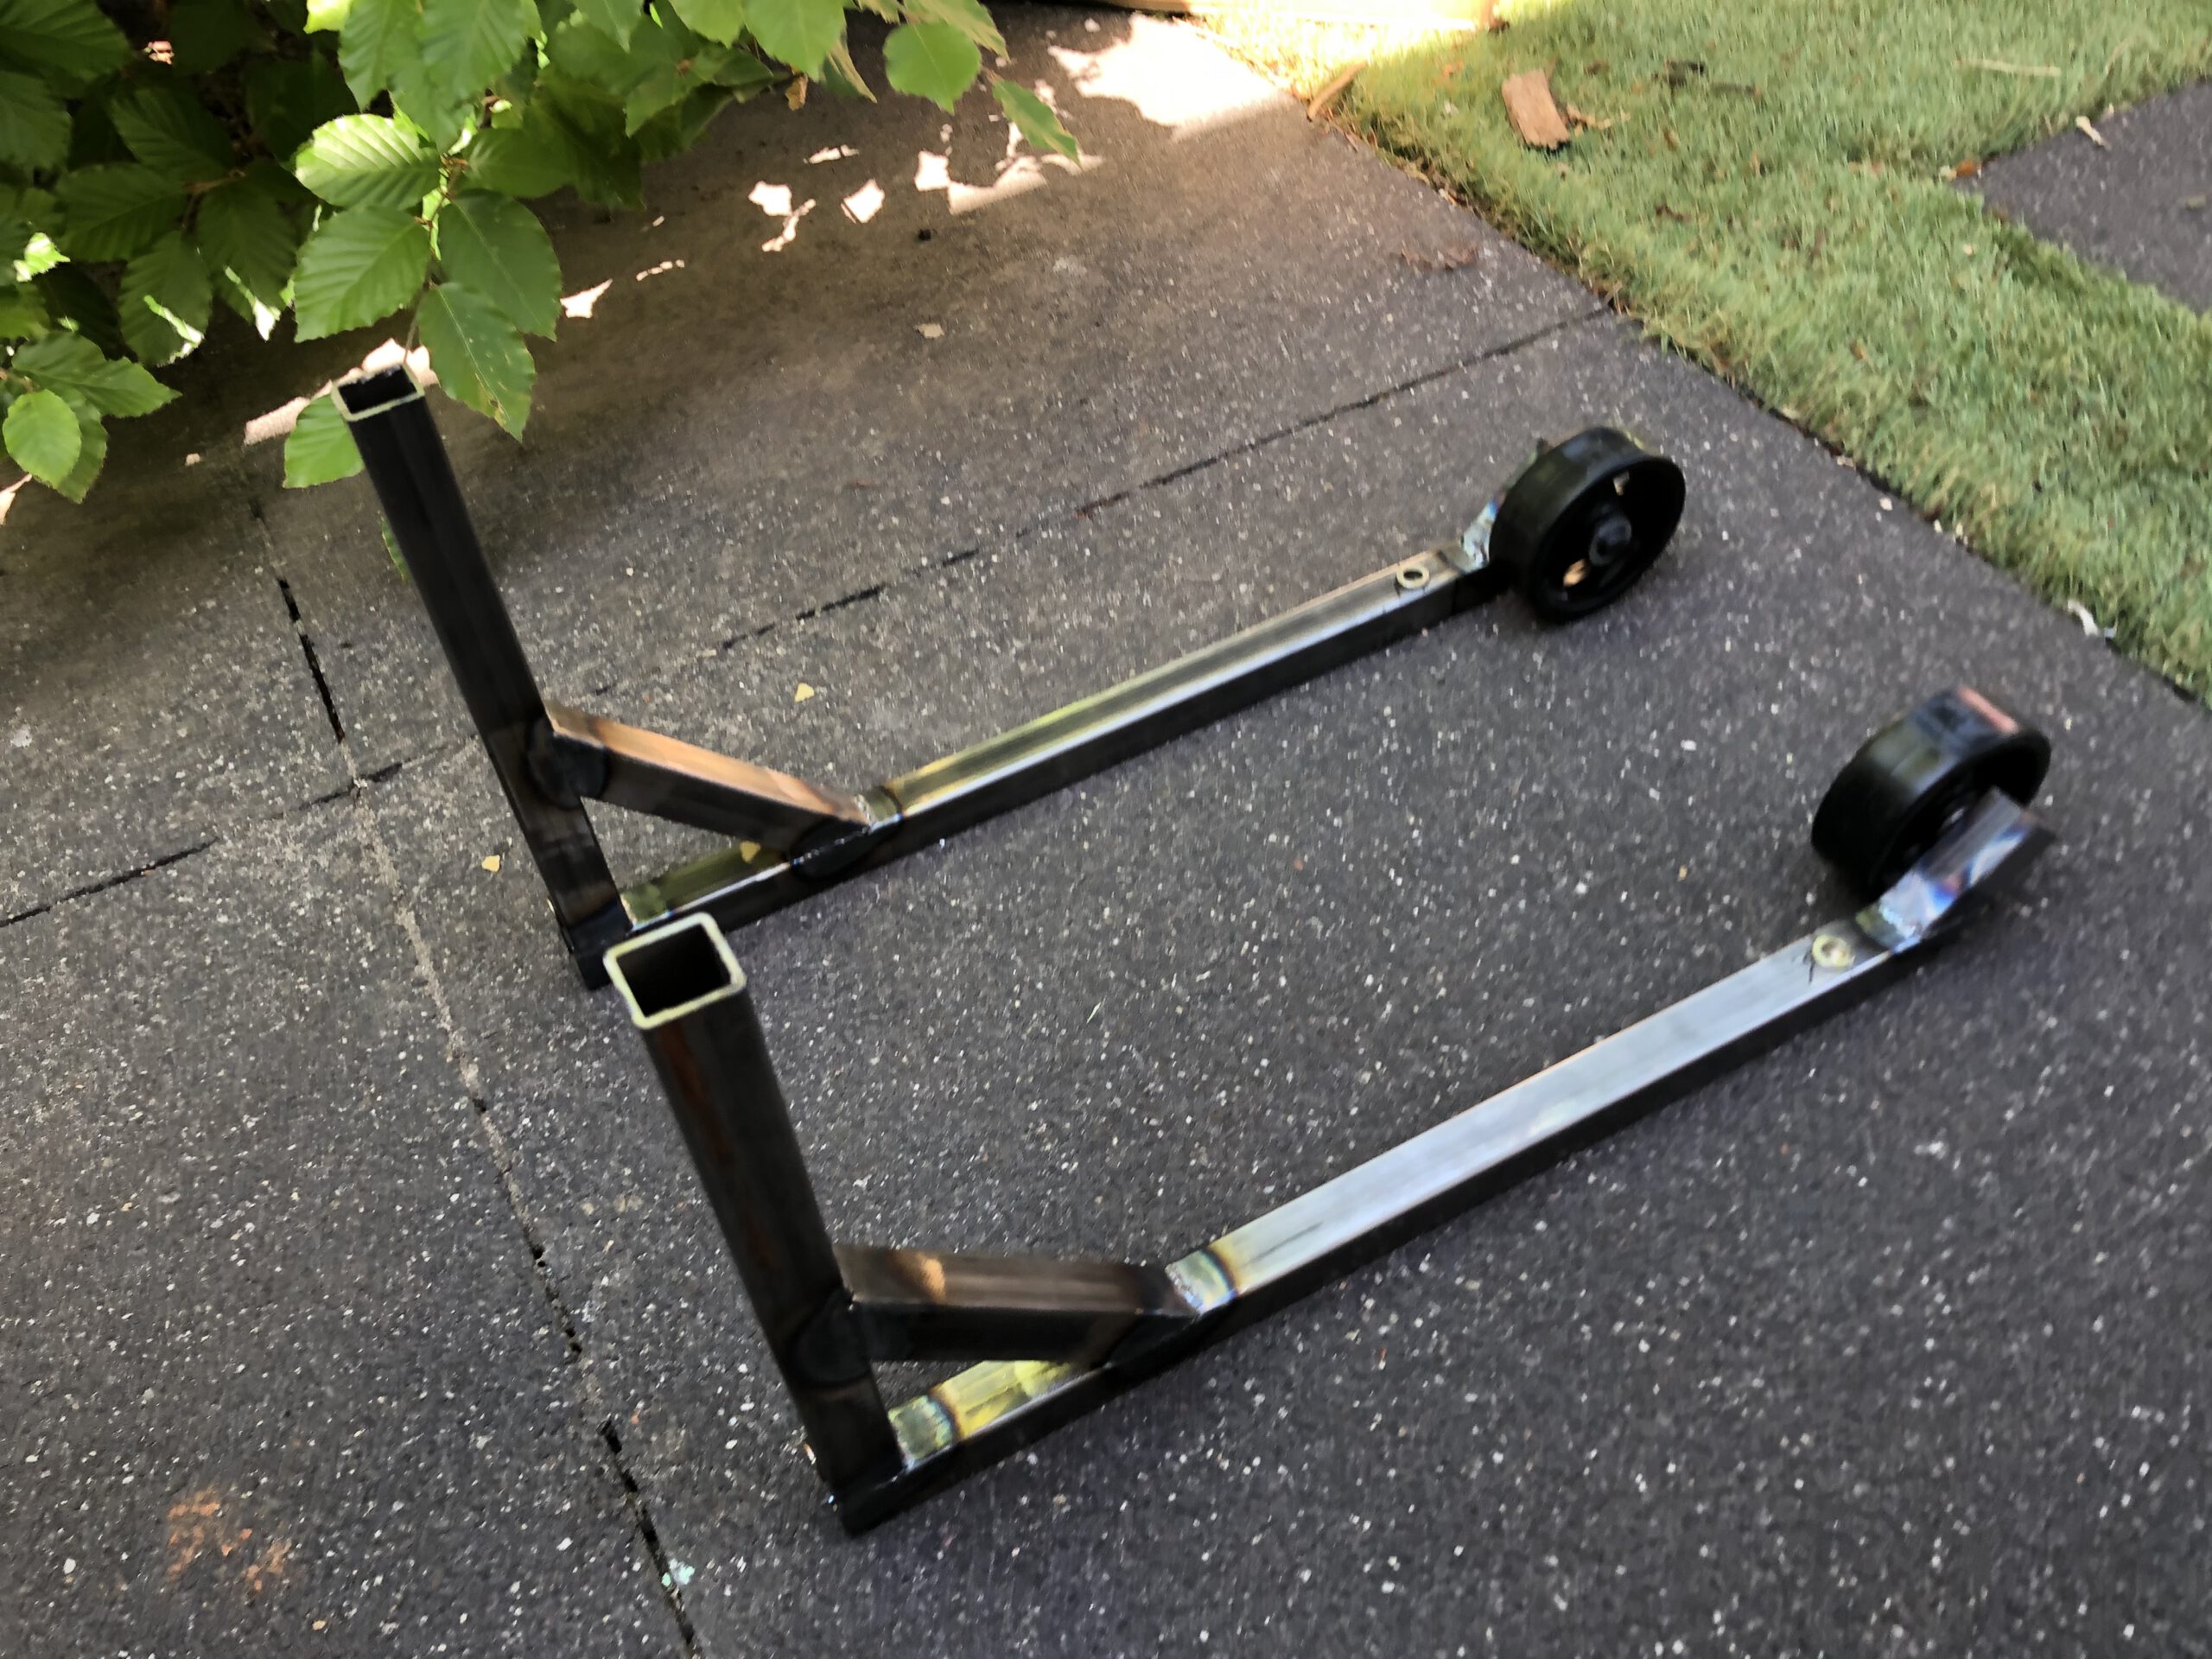
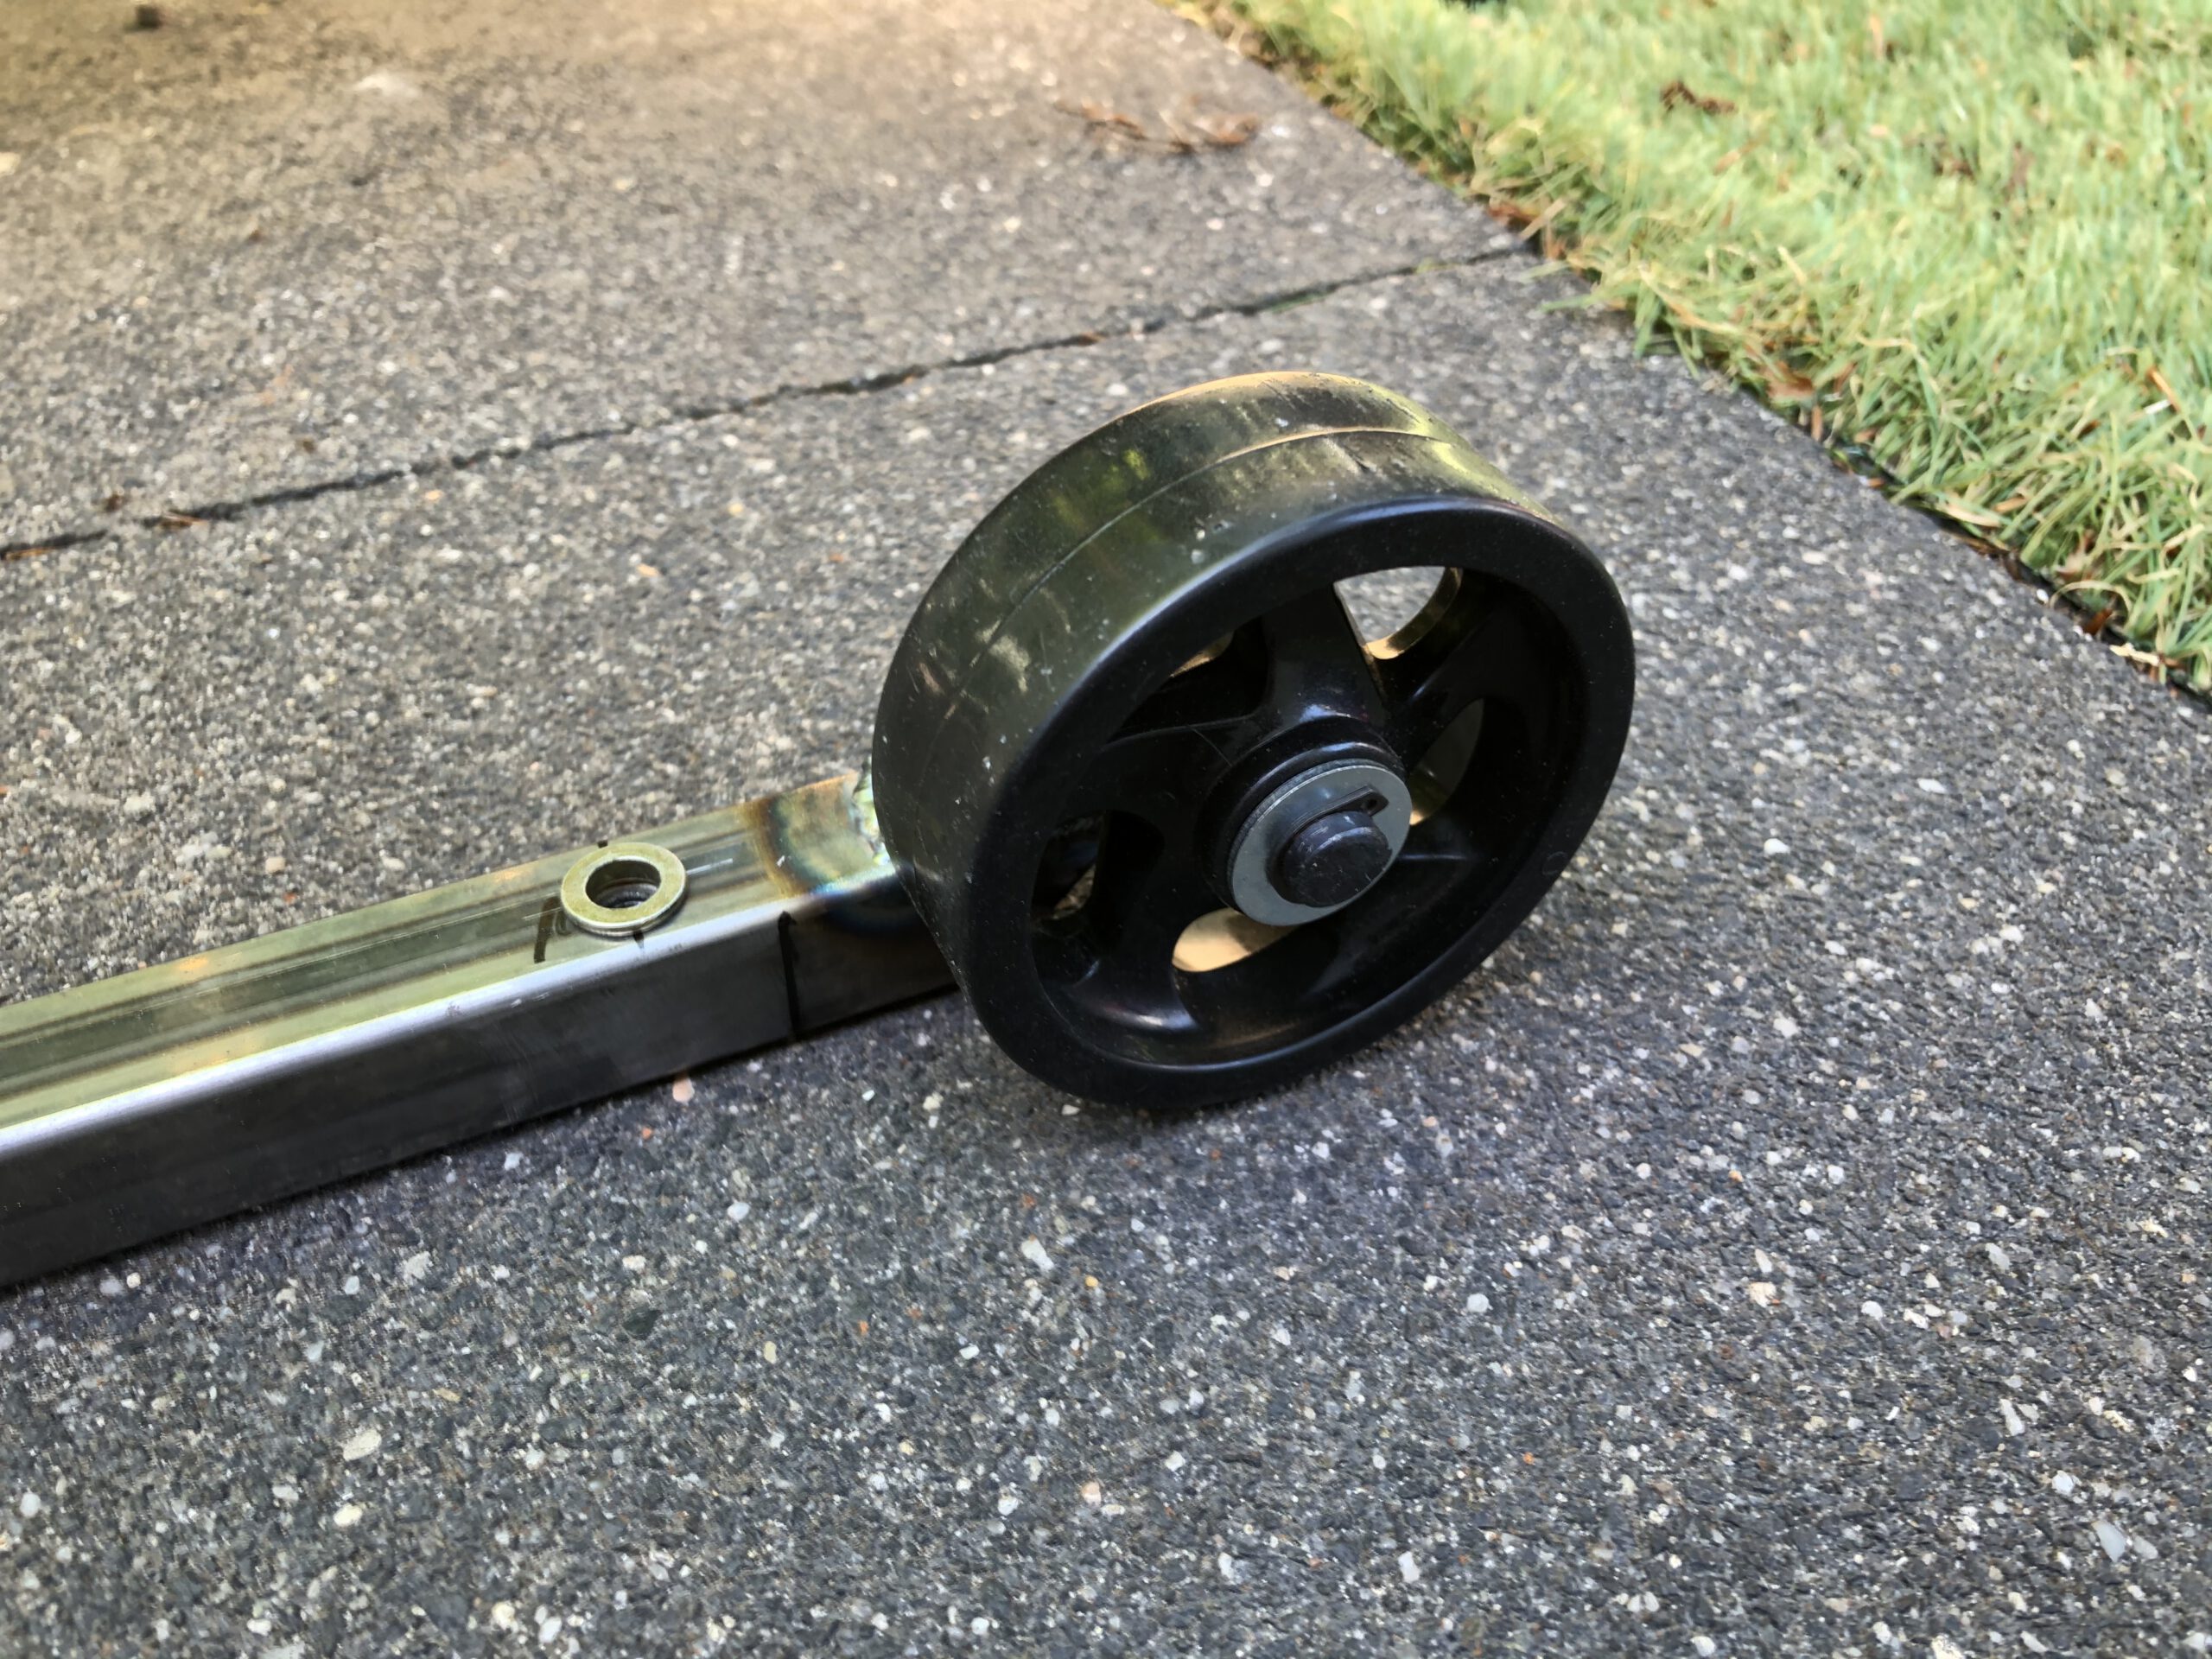
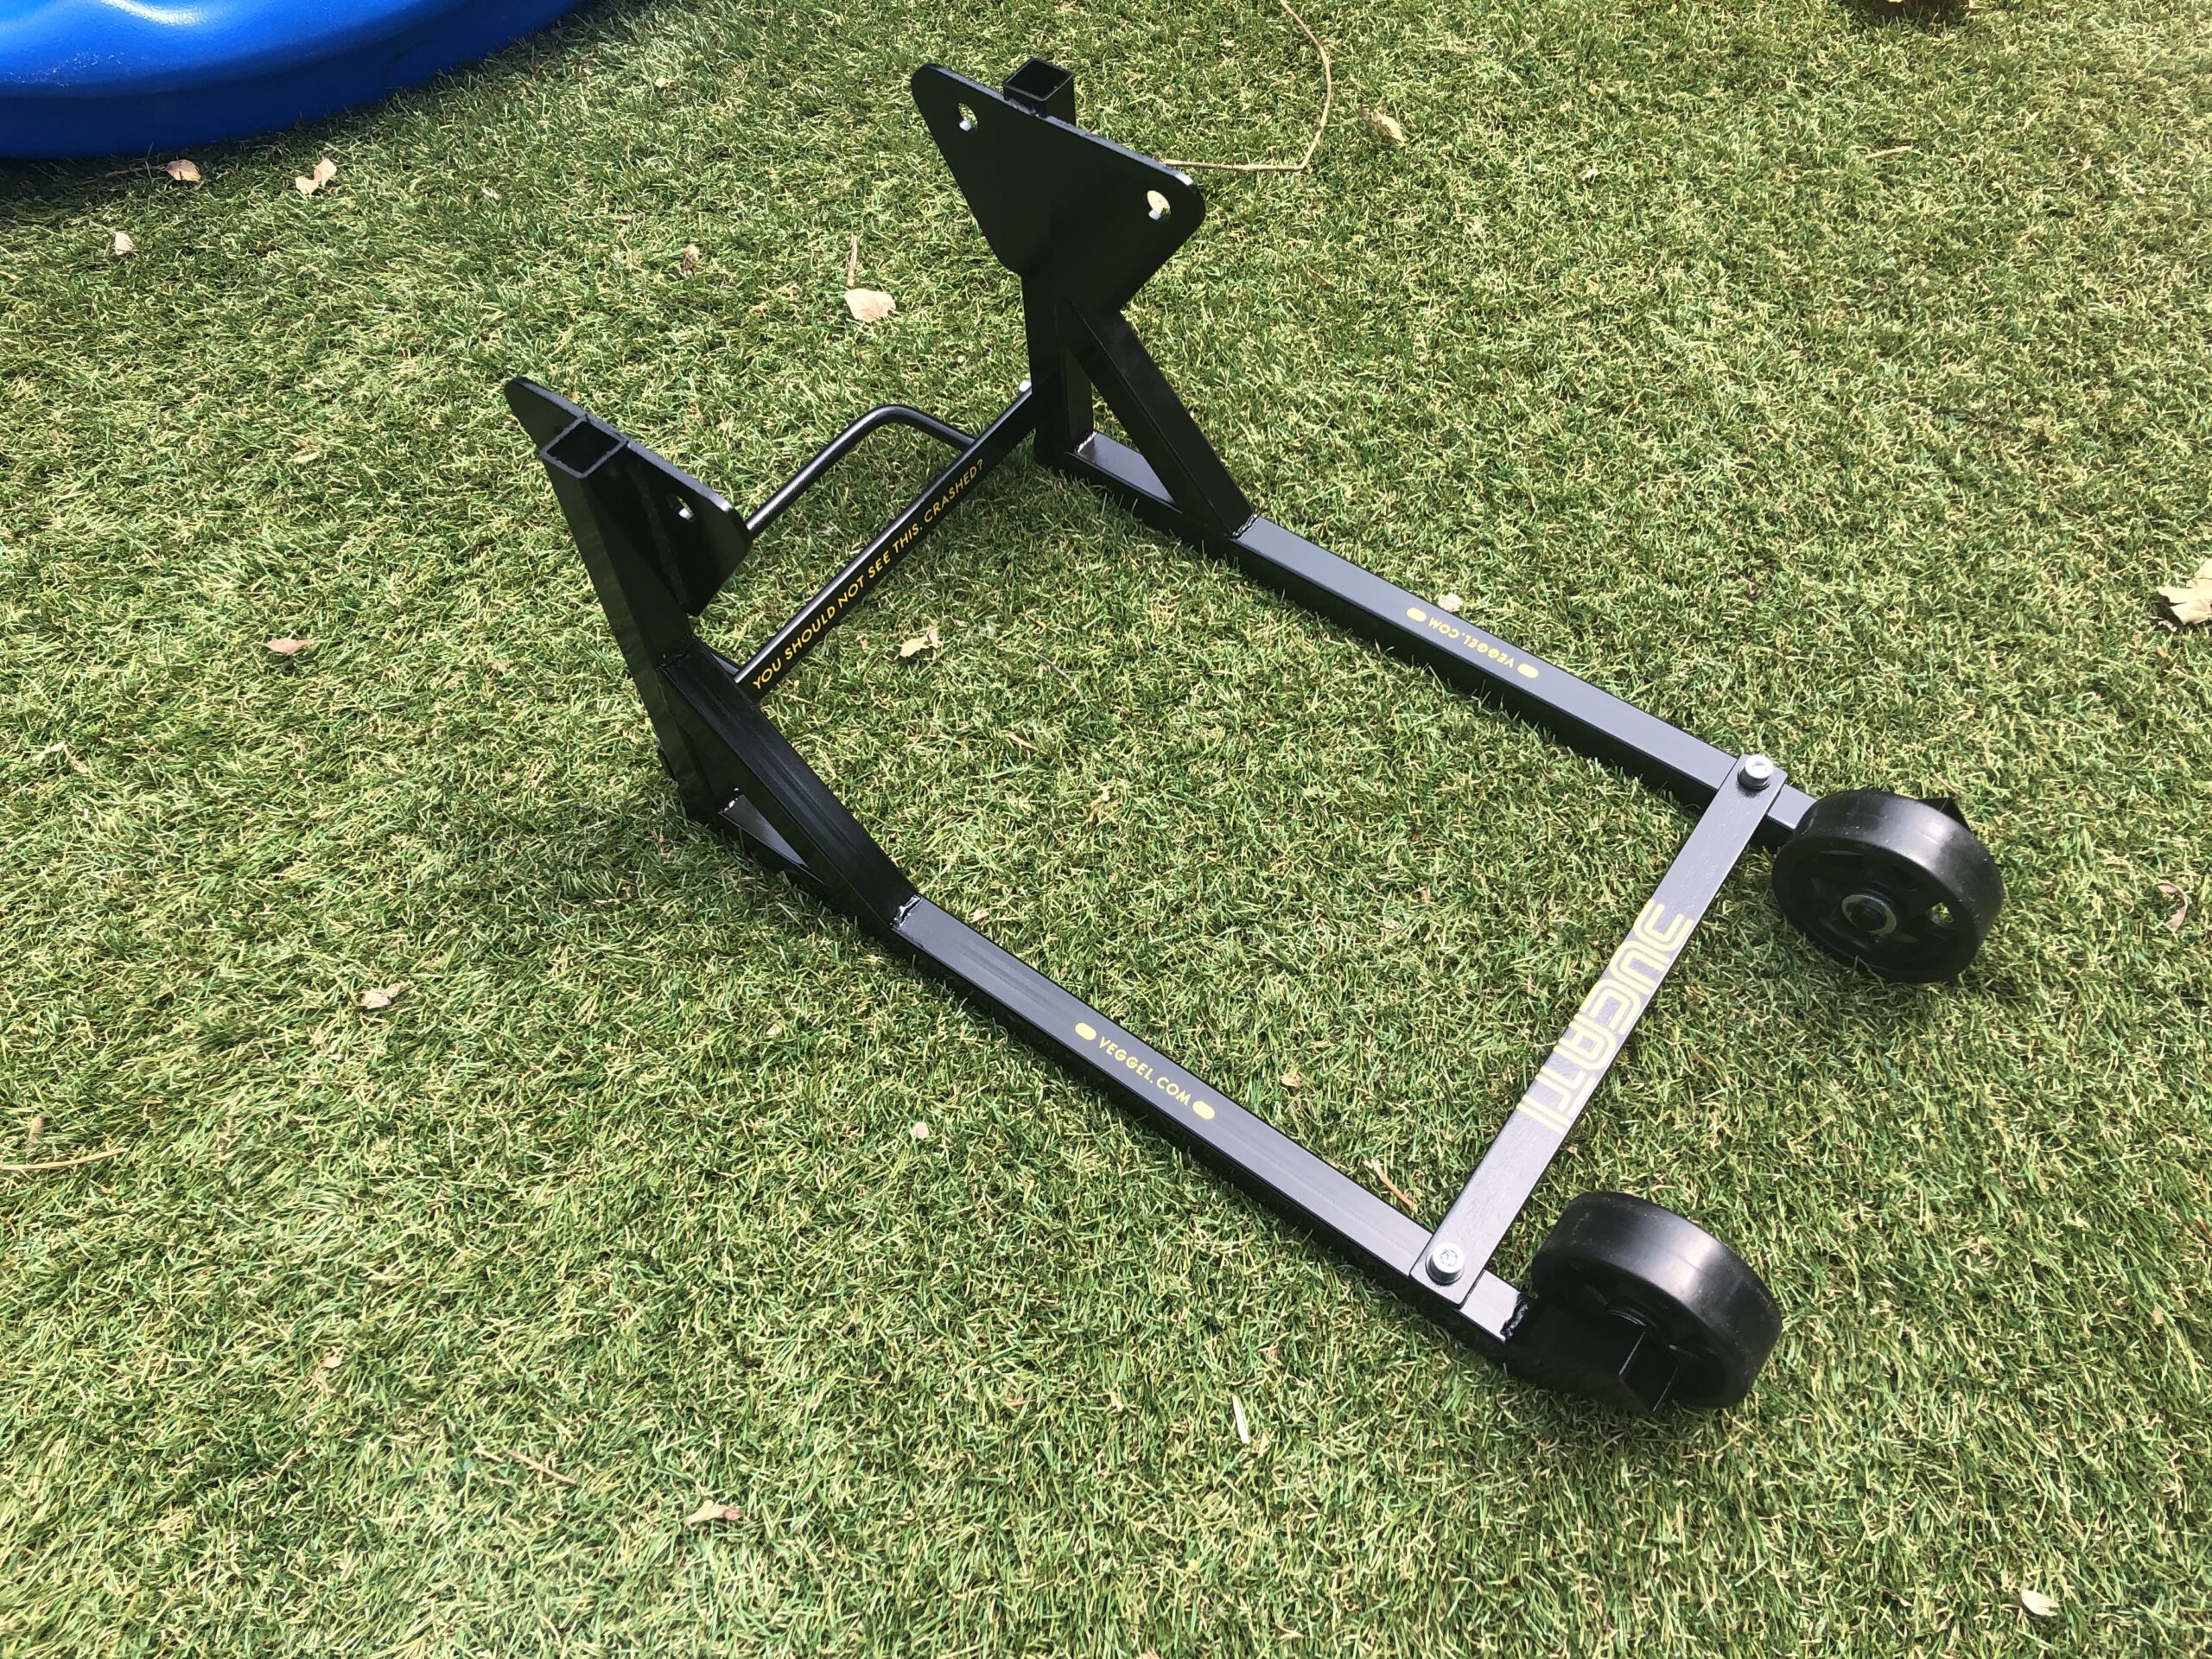
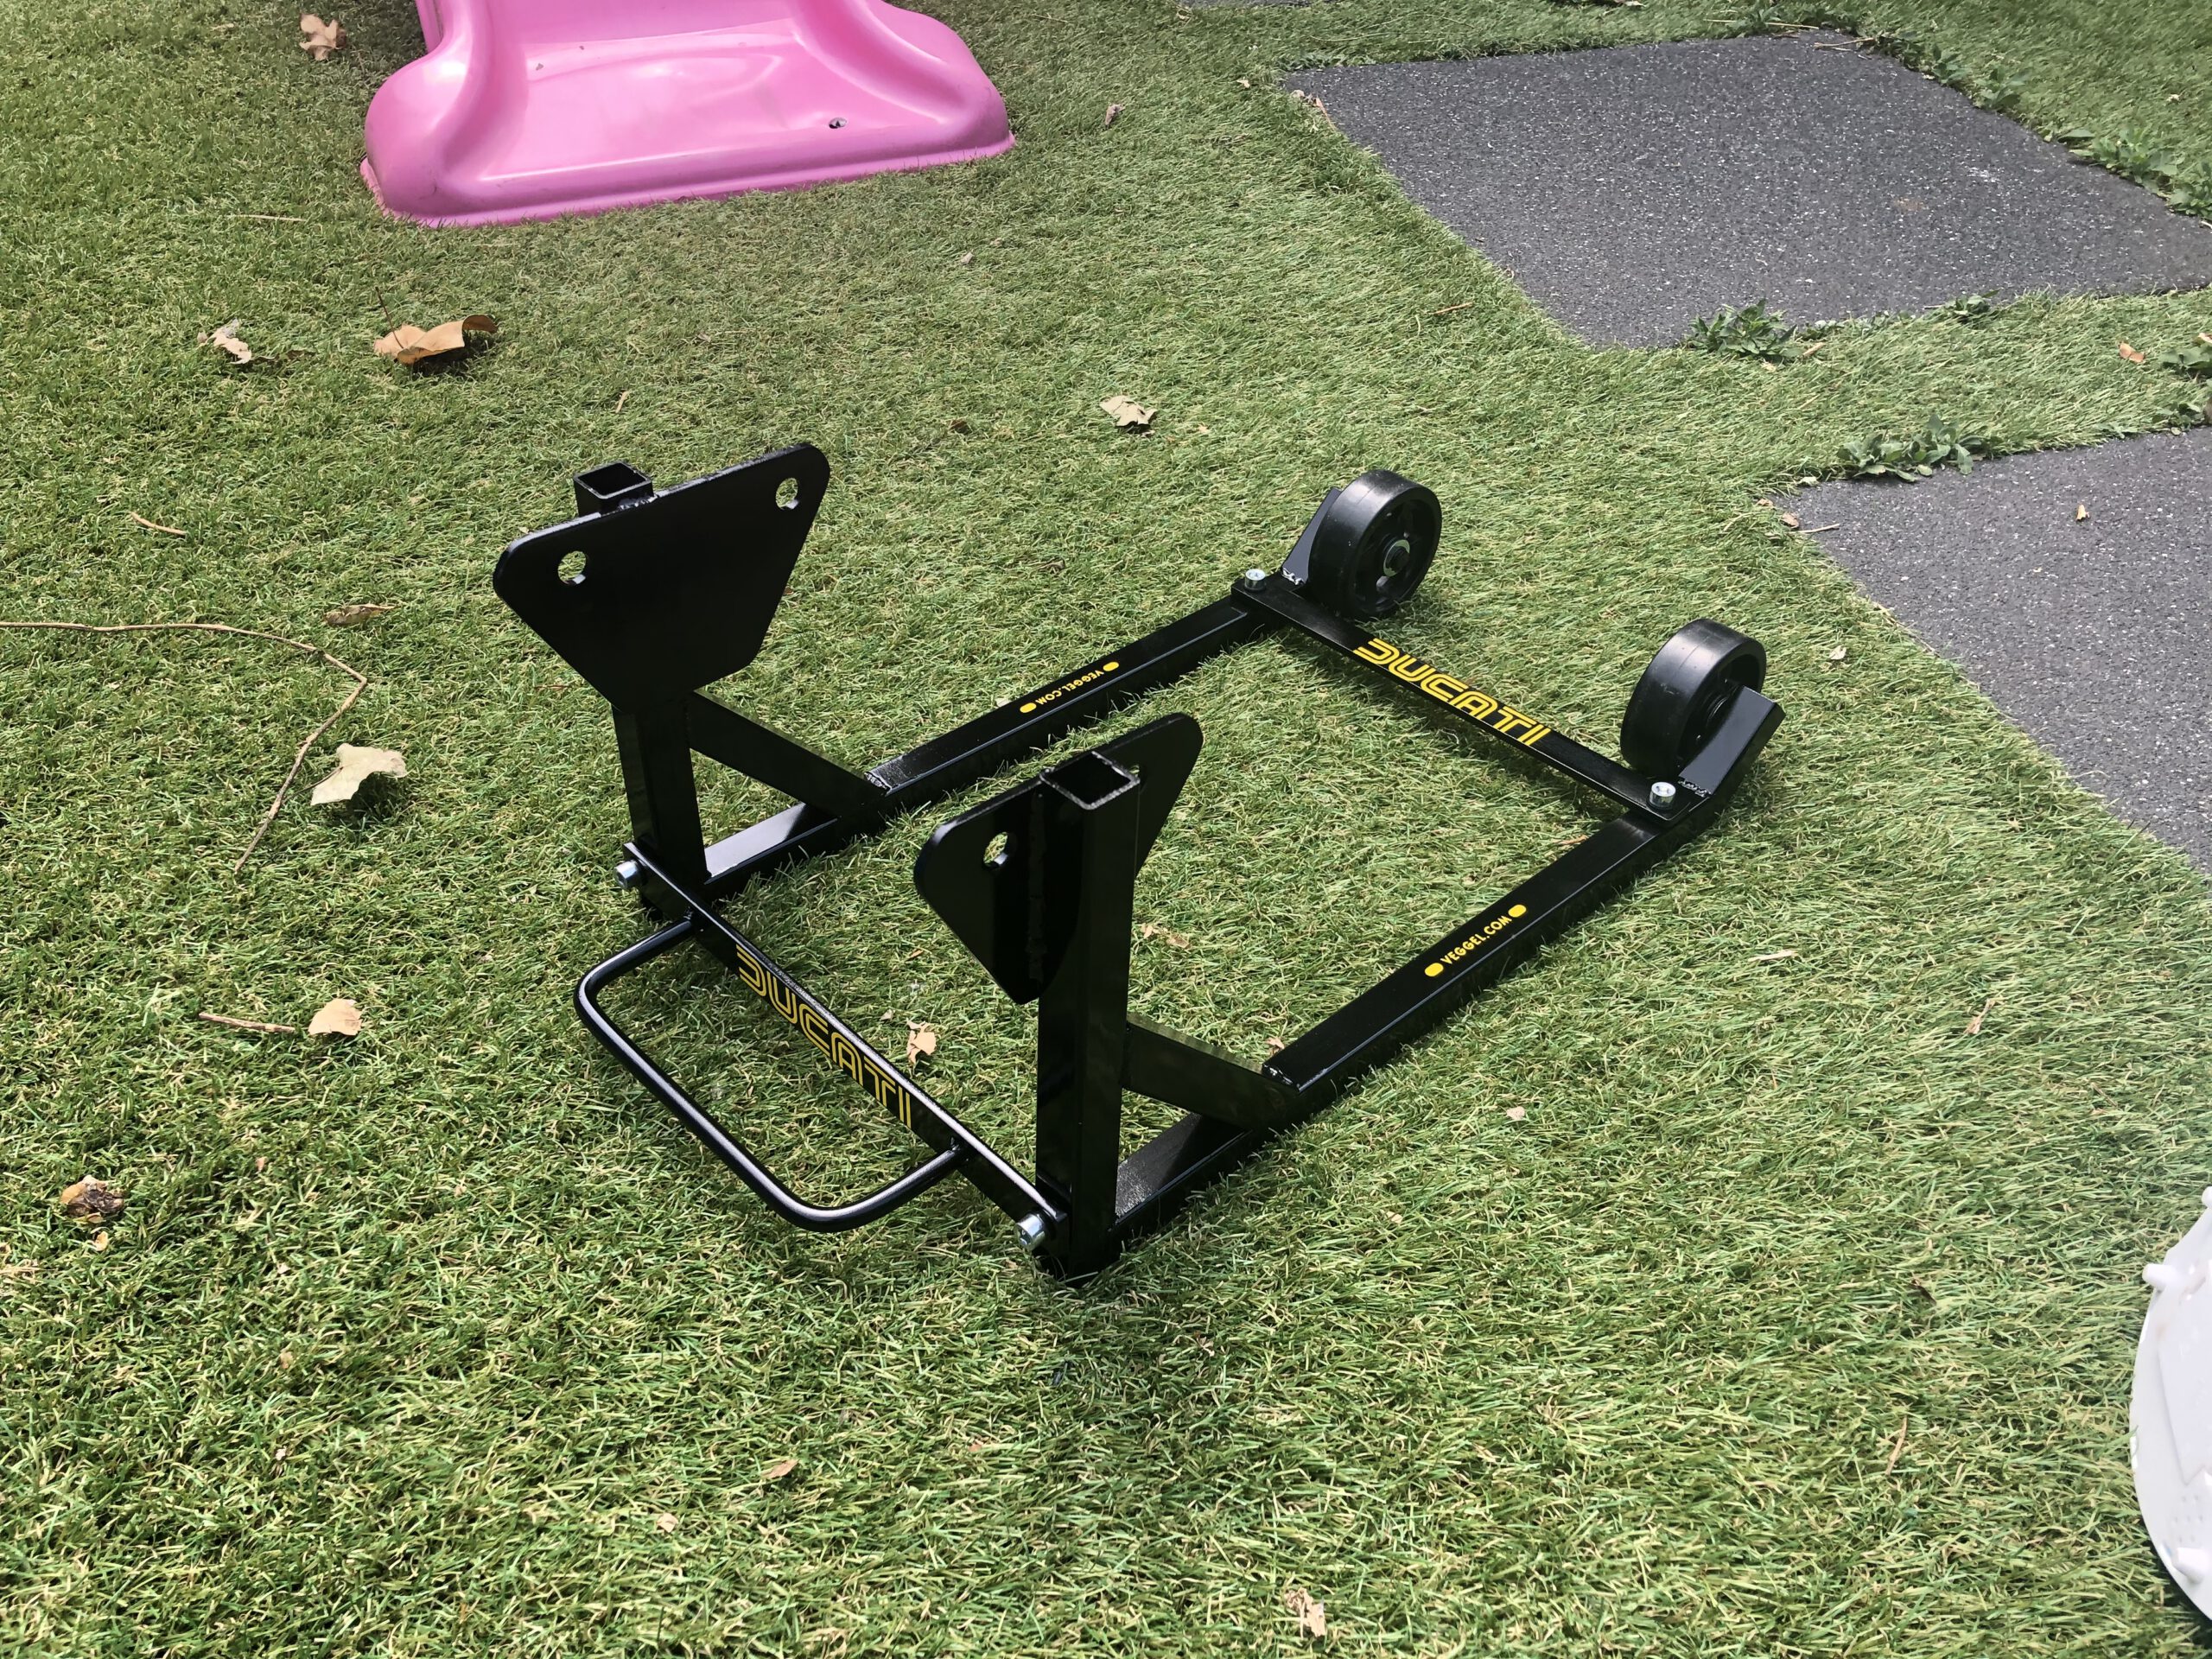
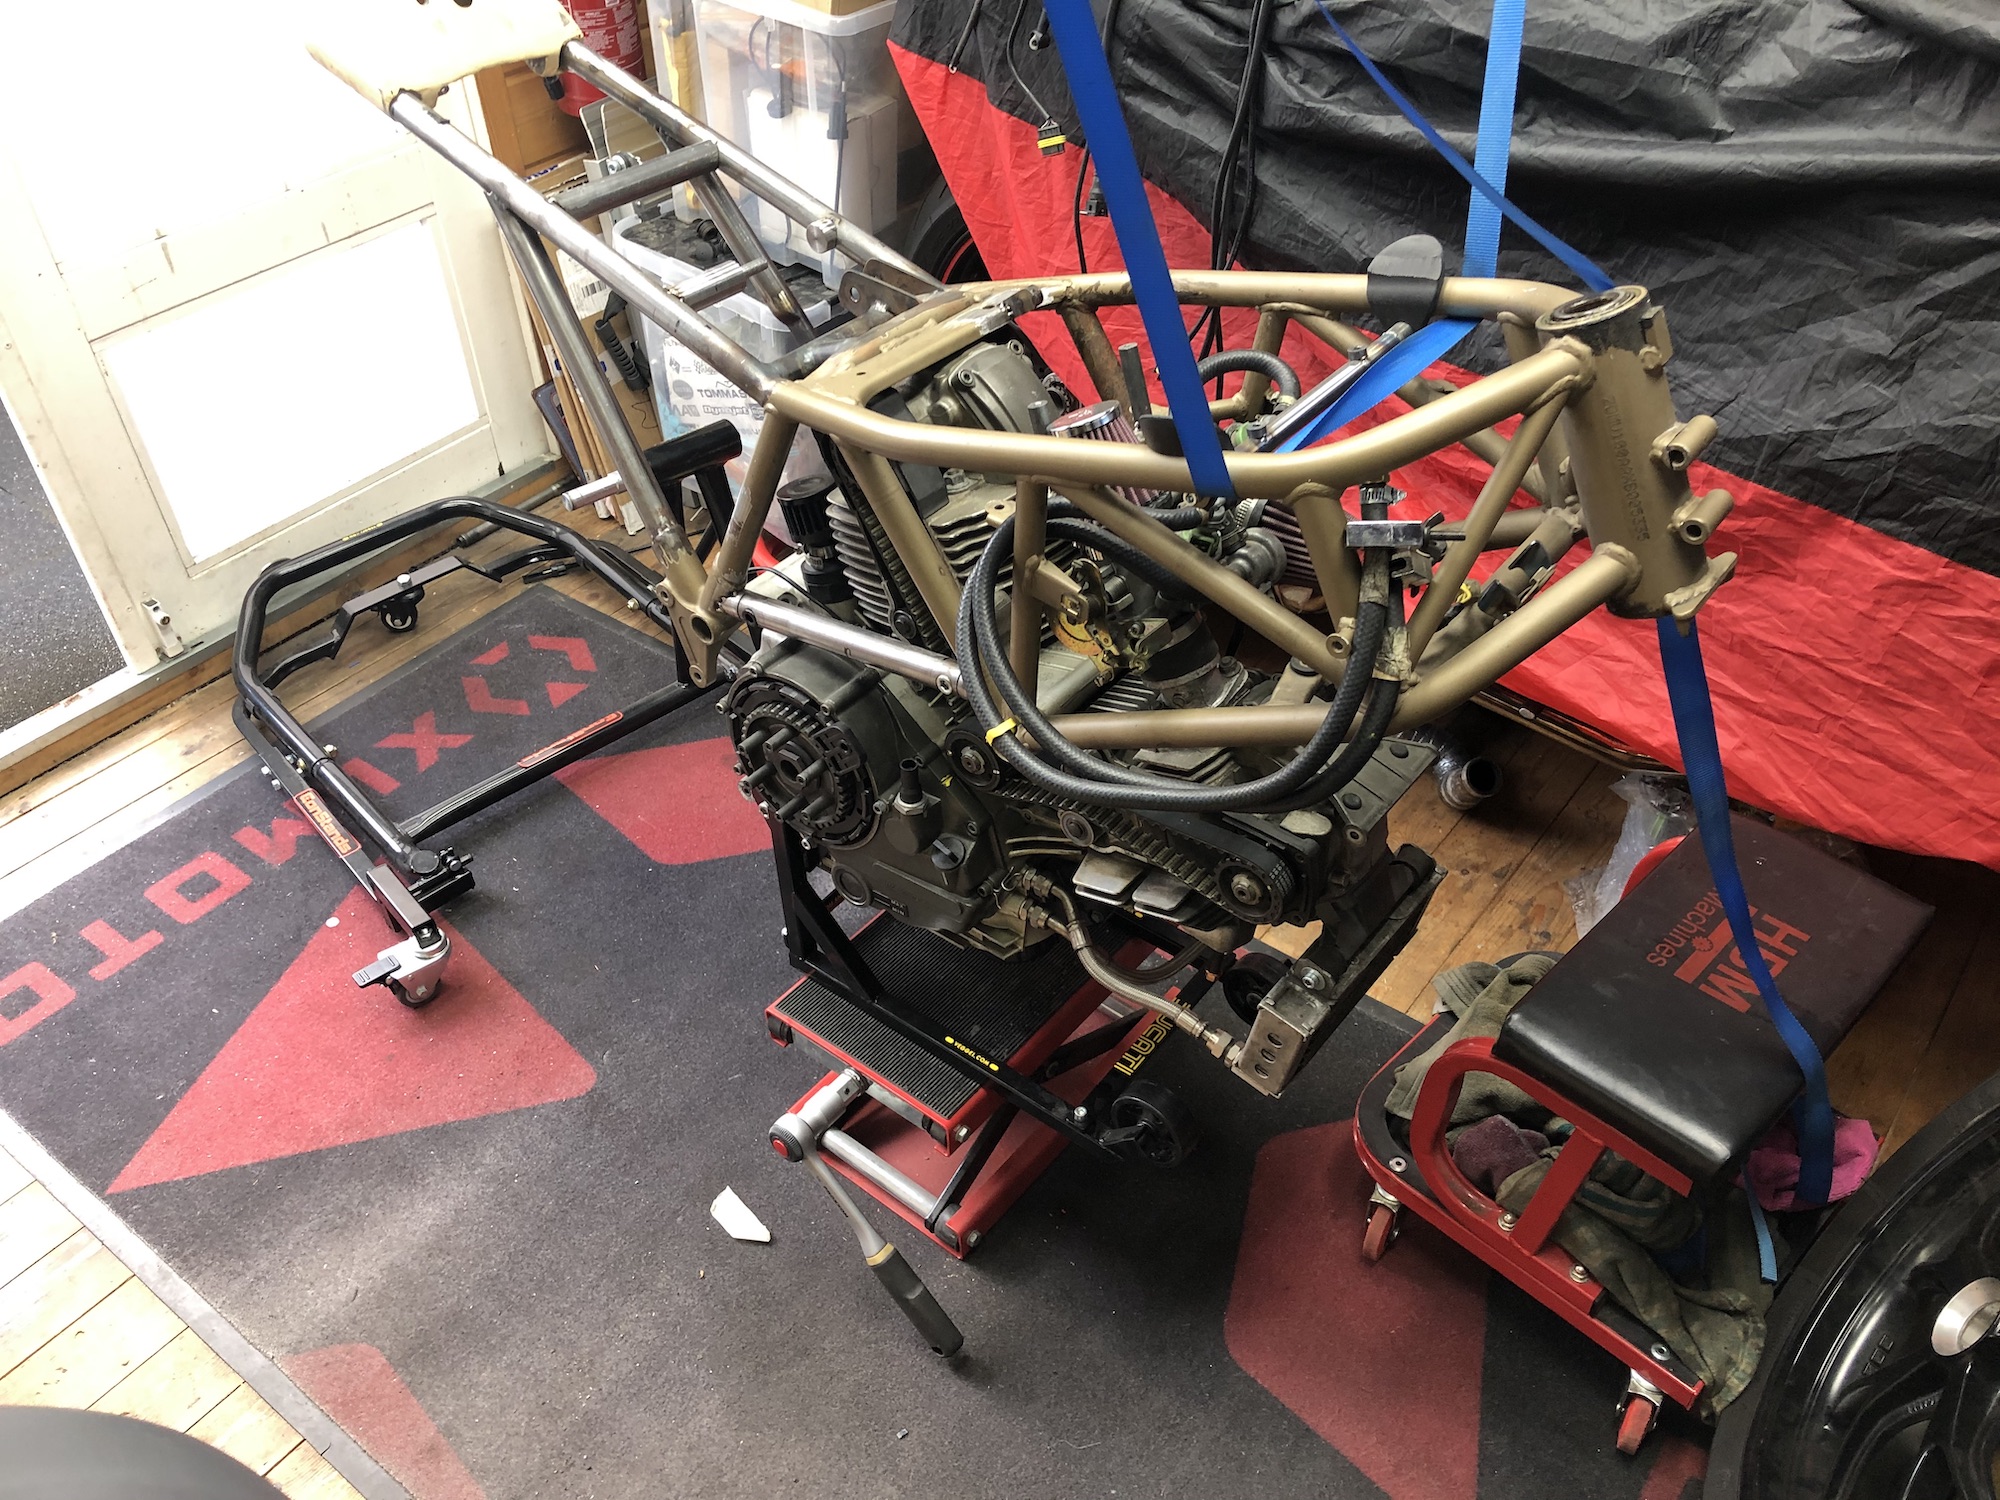
ENGINE BLOCK MULTI MOVER 4000
I needed a solution for the engine block to move around/work on while it is out of the frame. So here we have it, a DIY engine block mount. Allows me to move it around, and wont fall over.
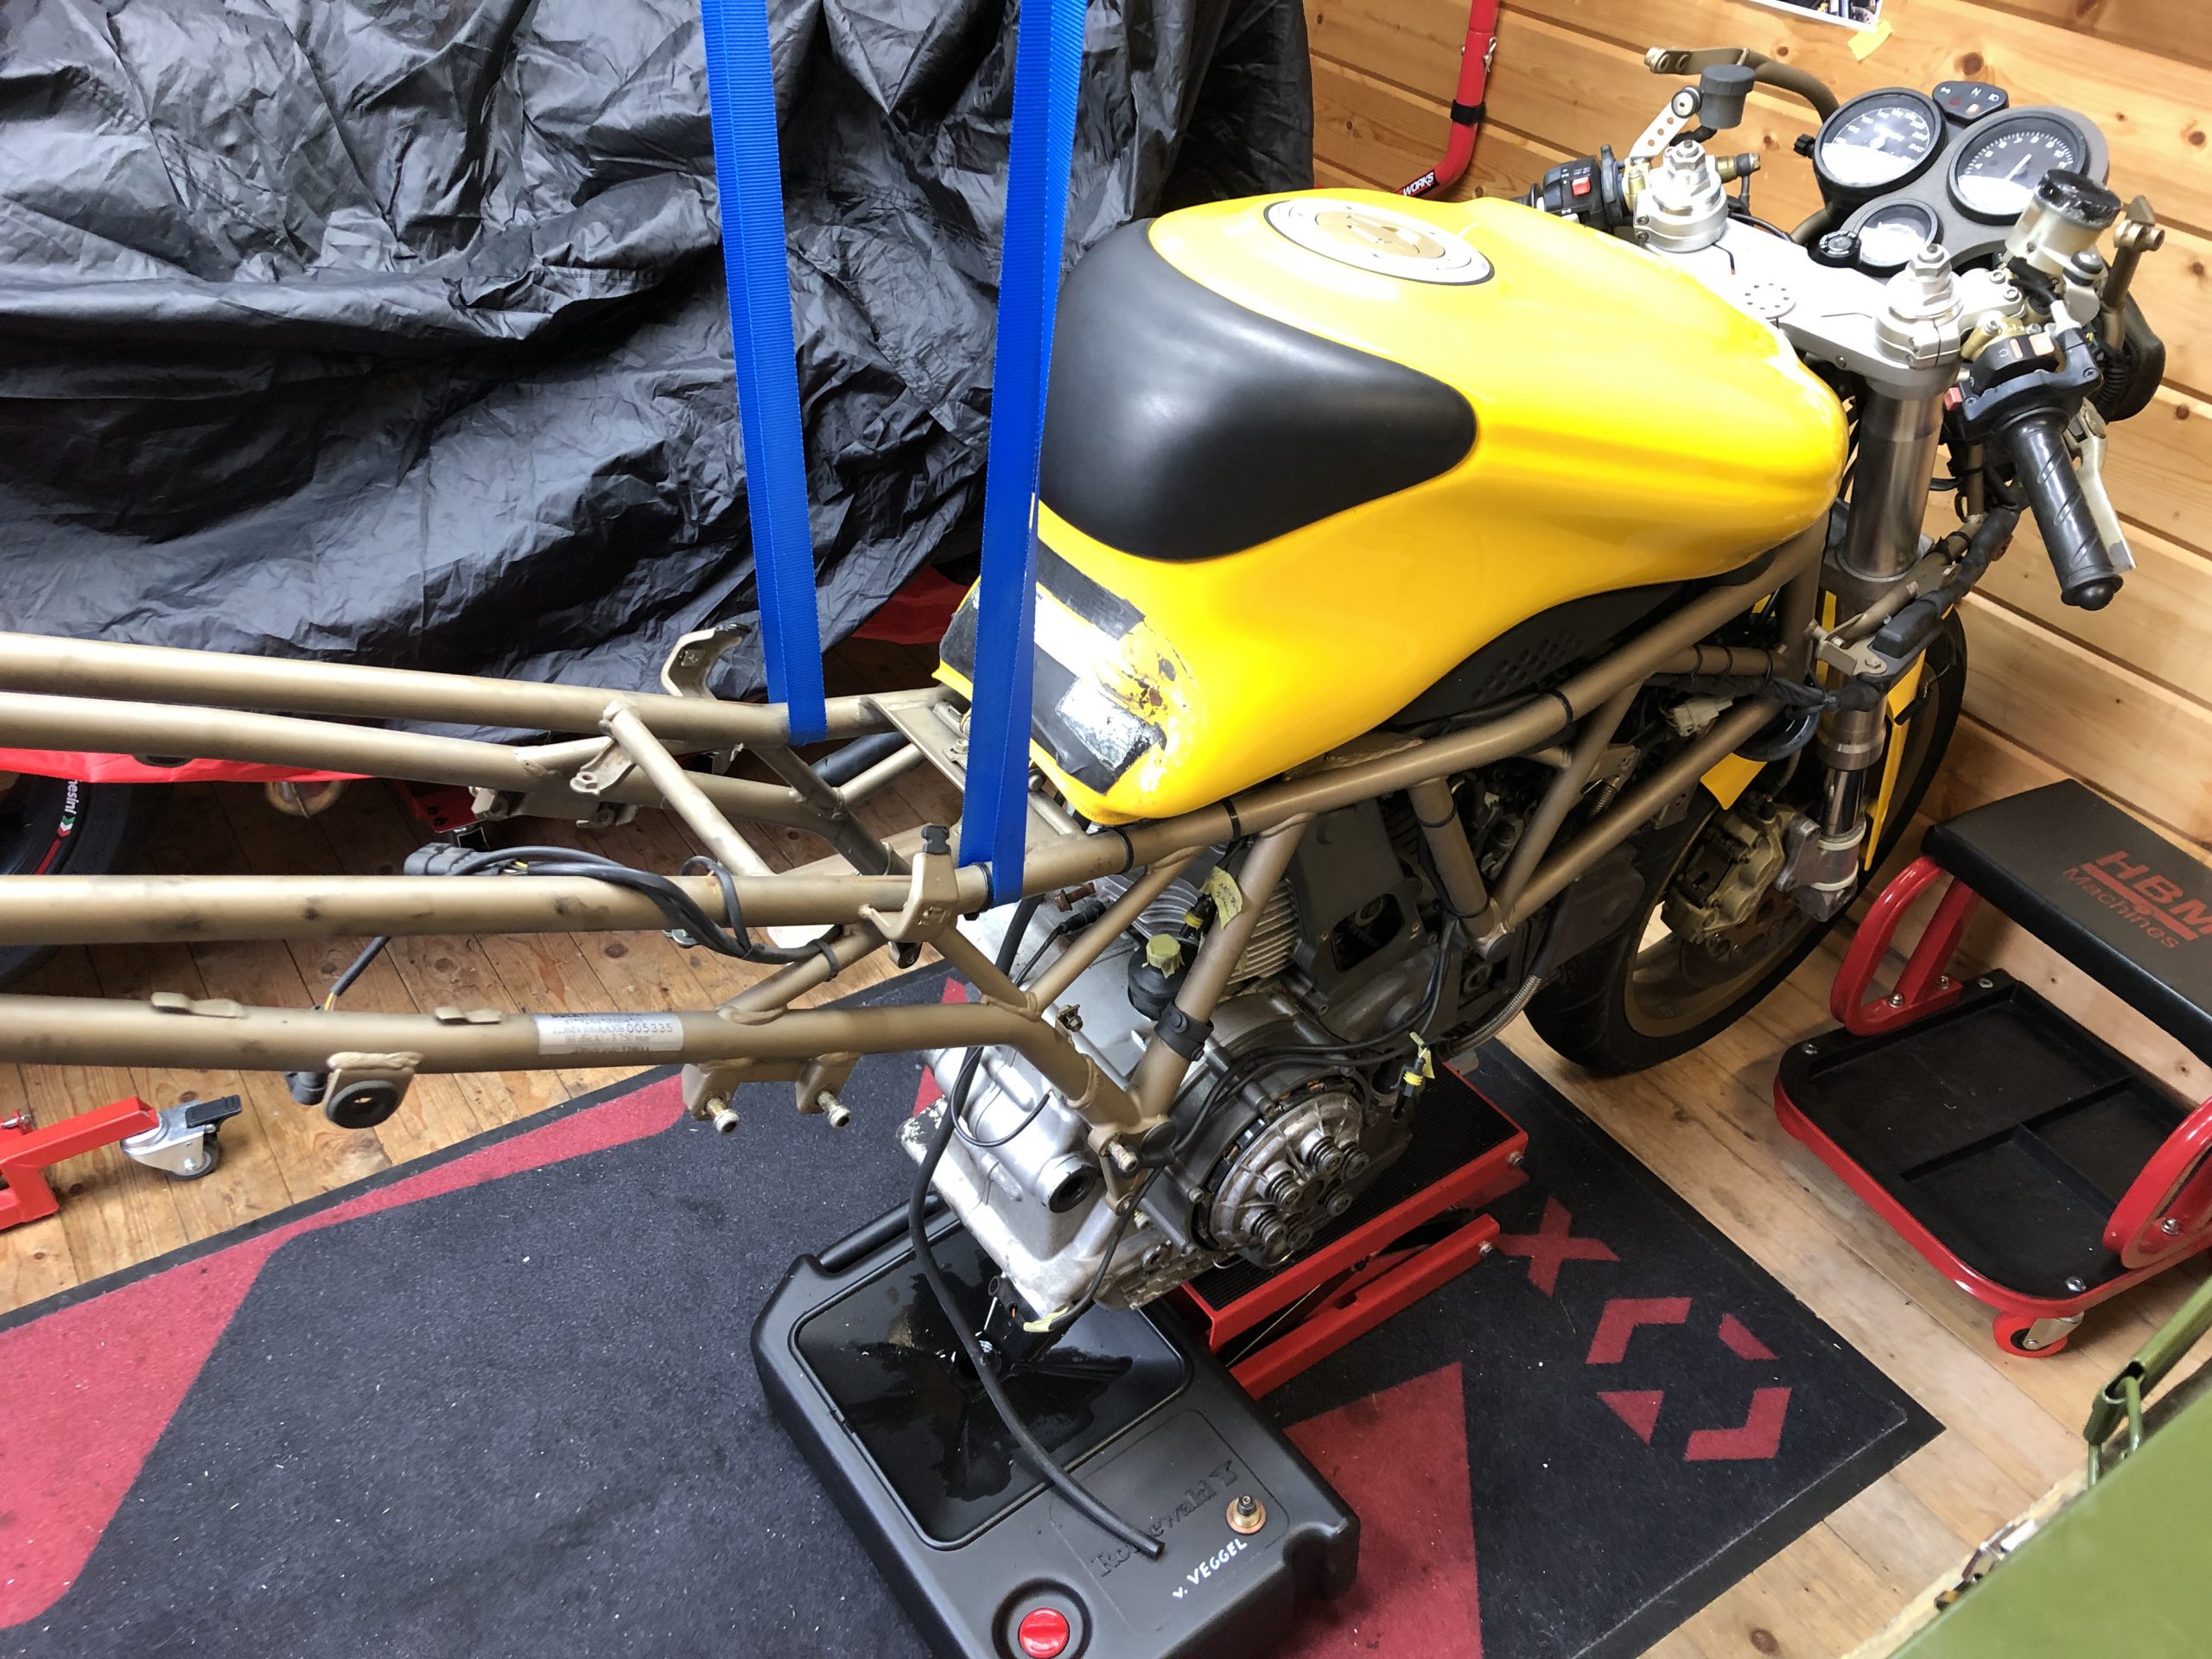
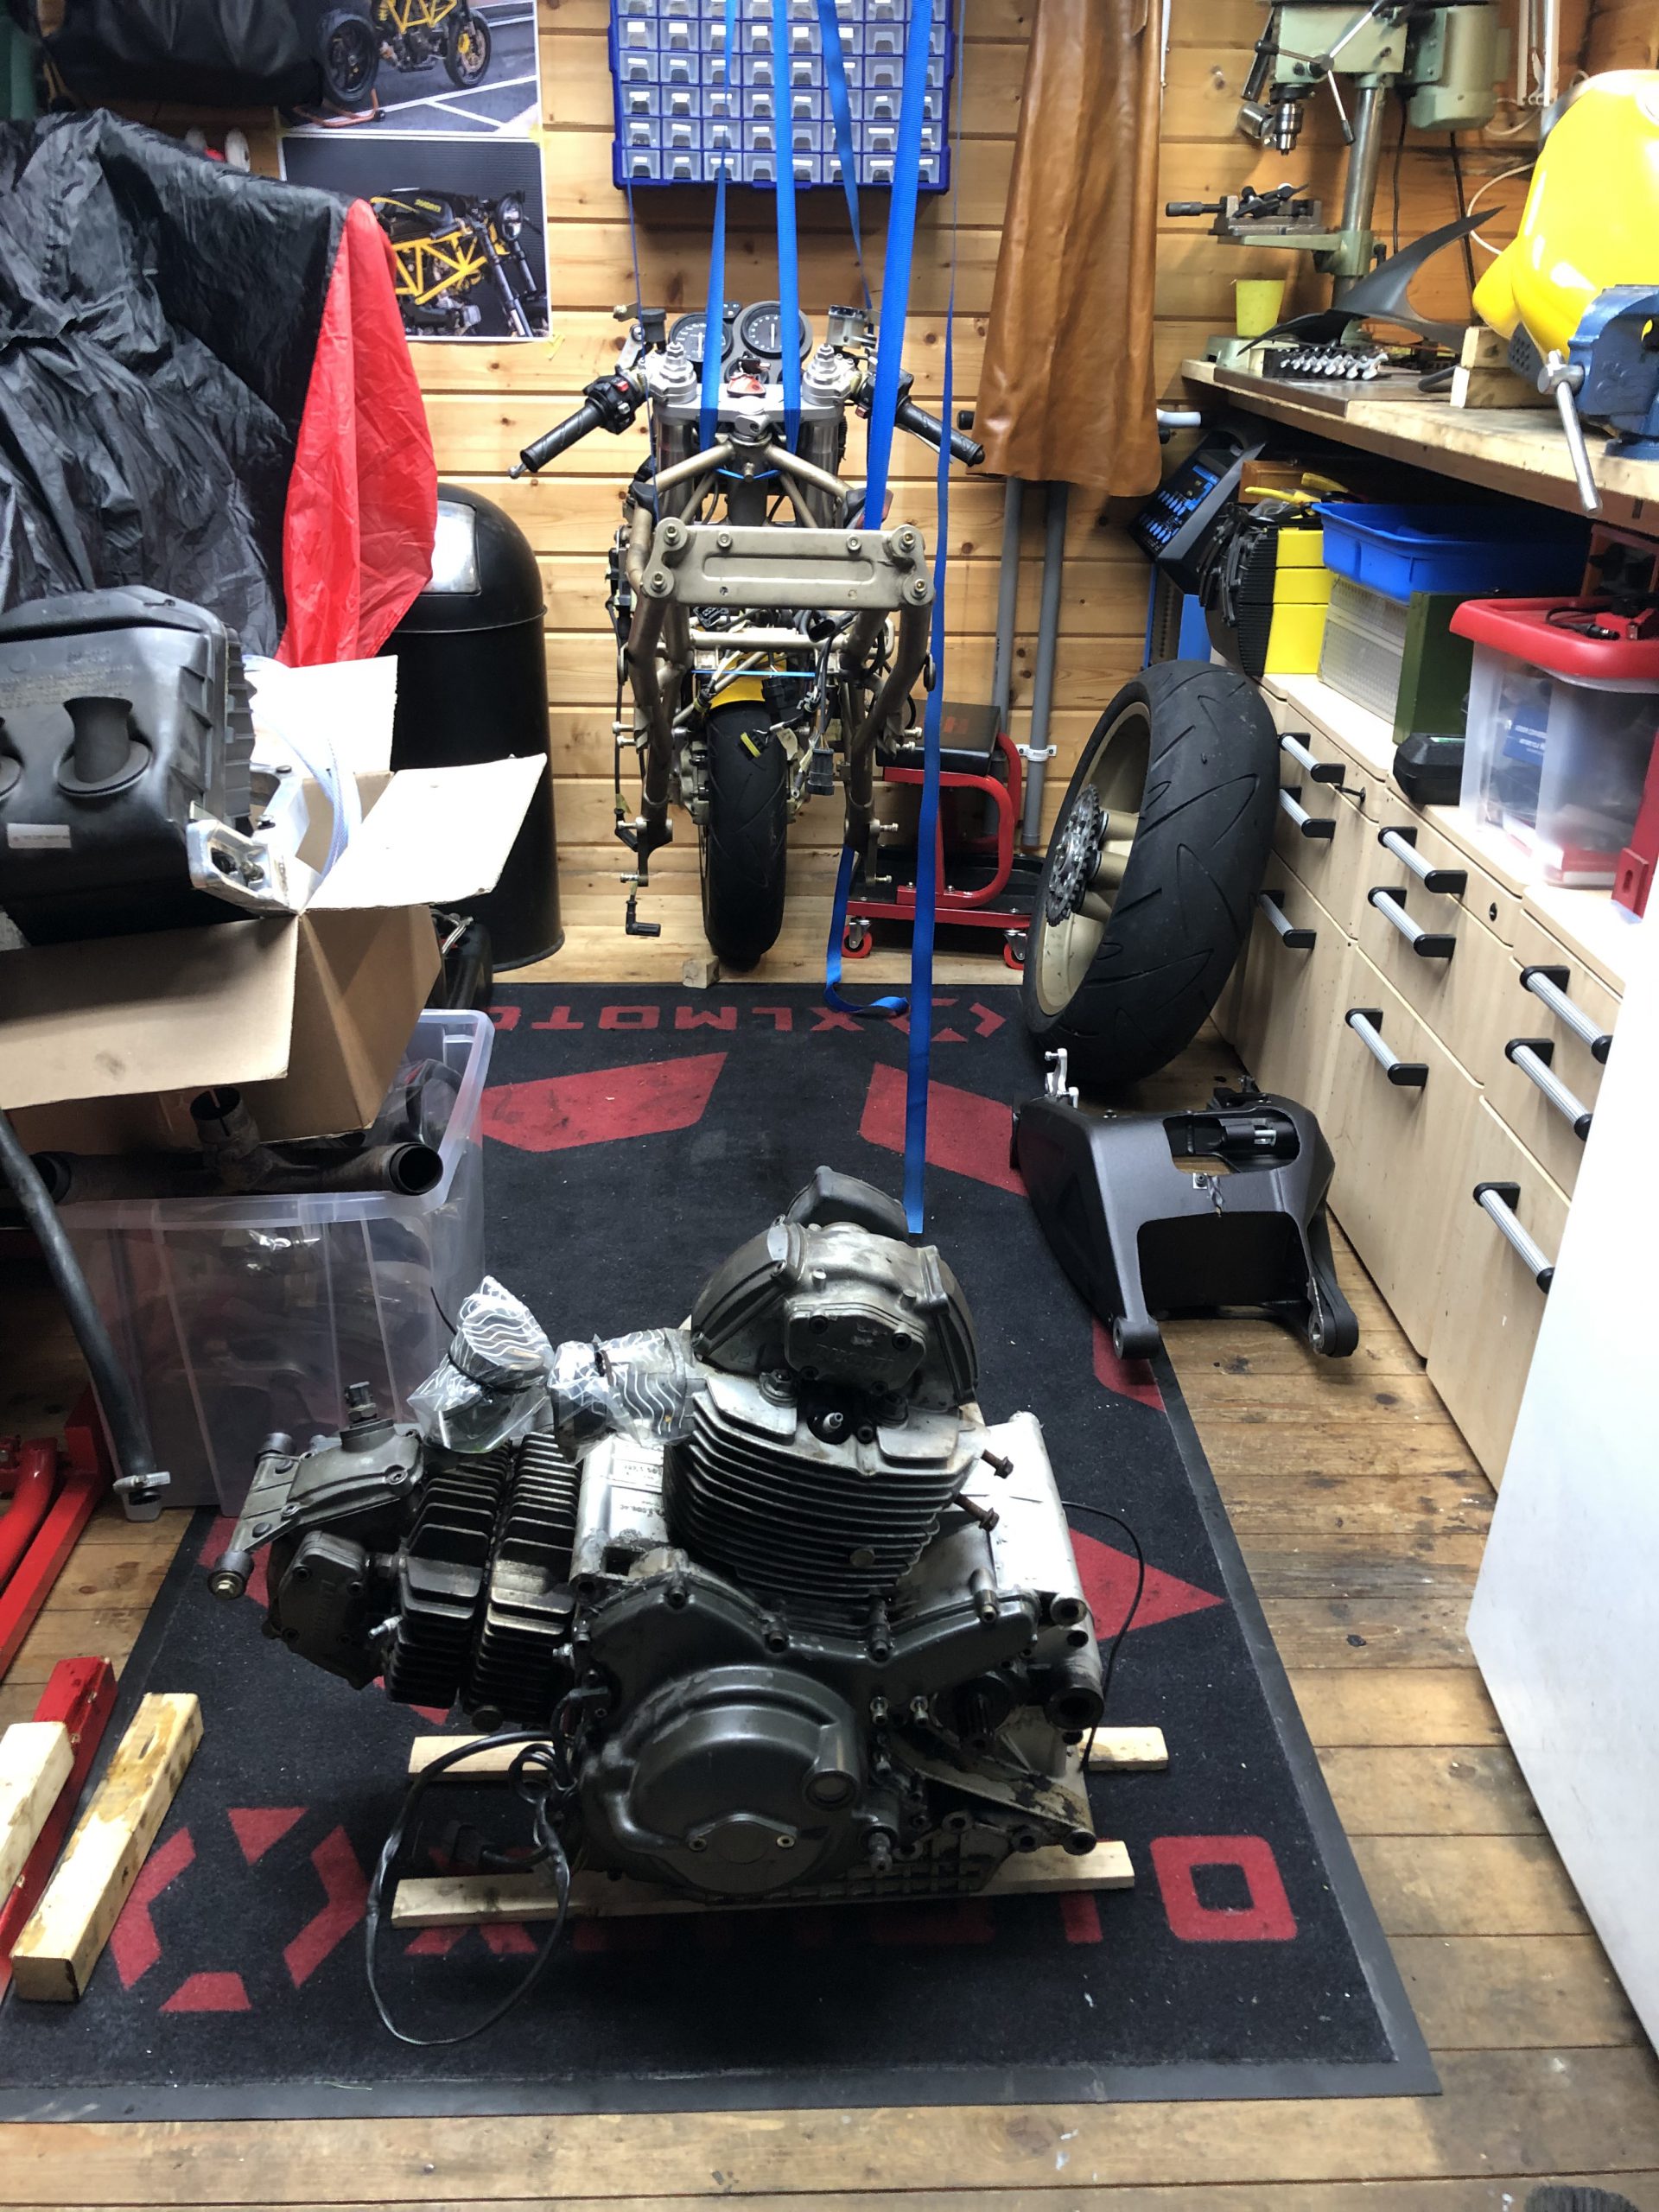
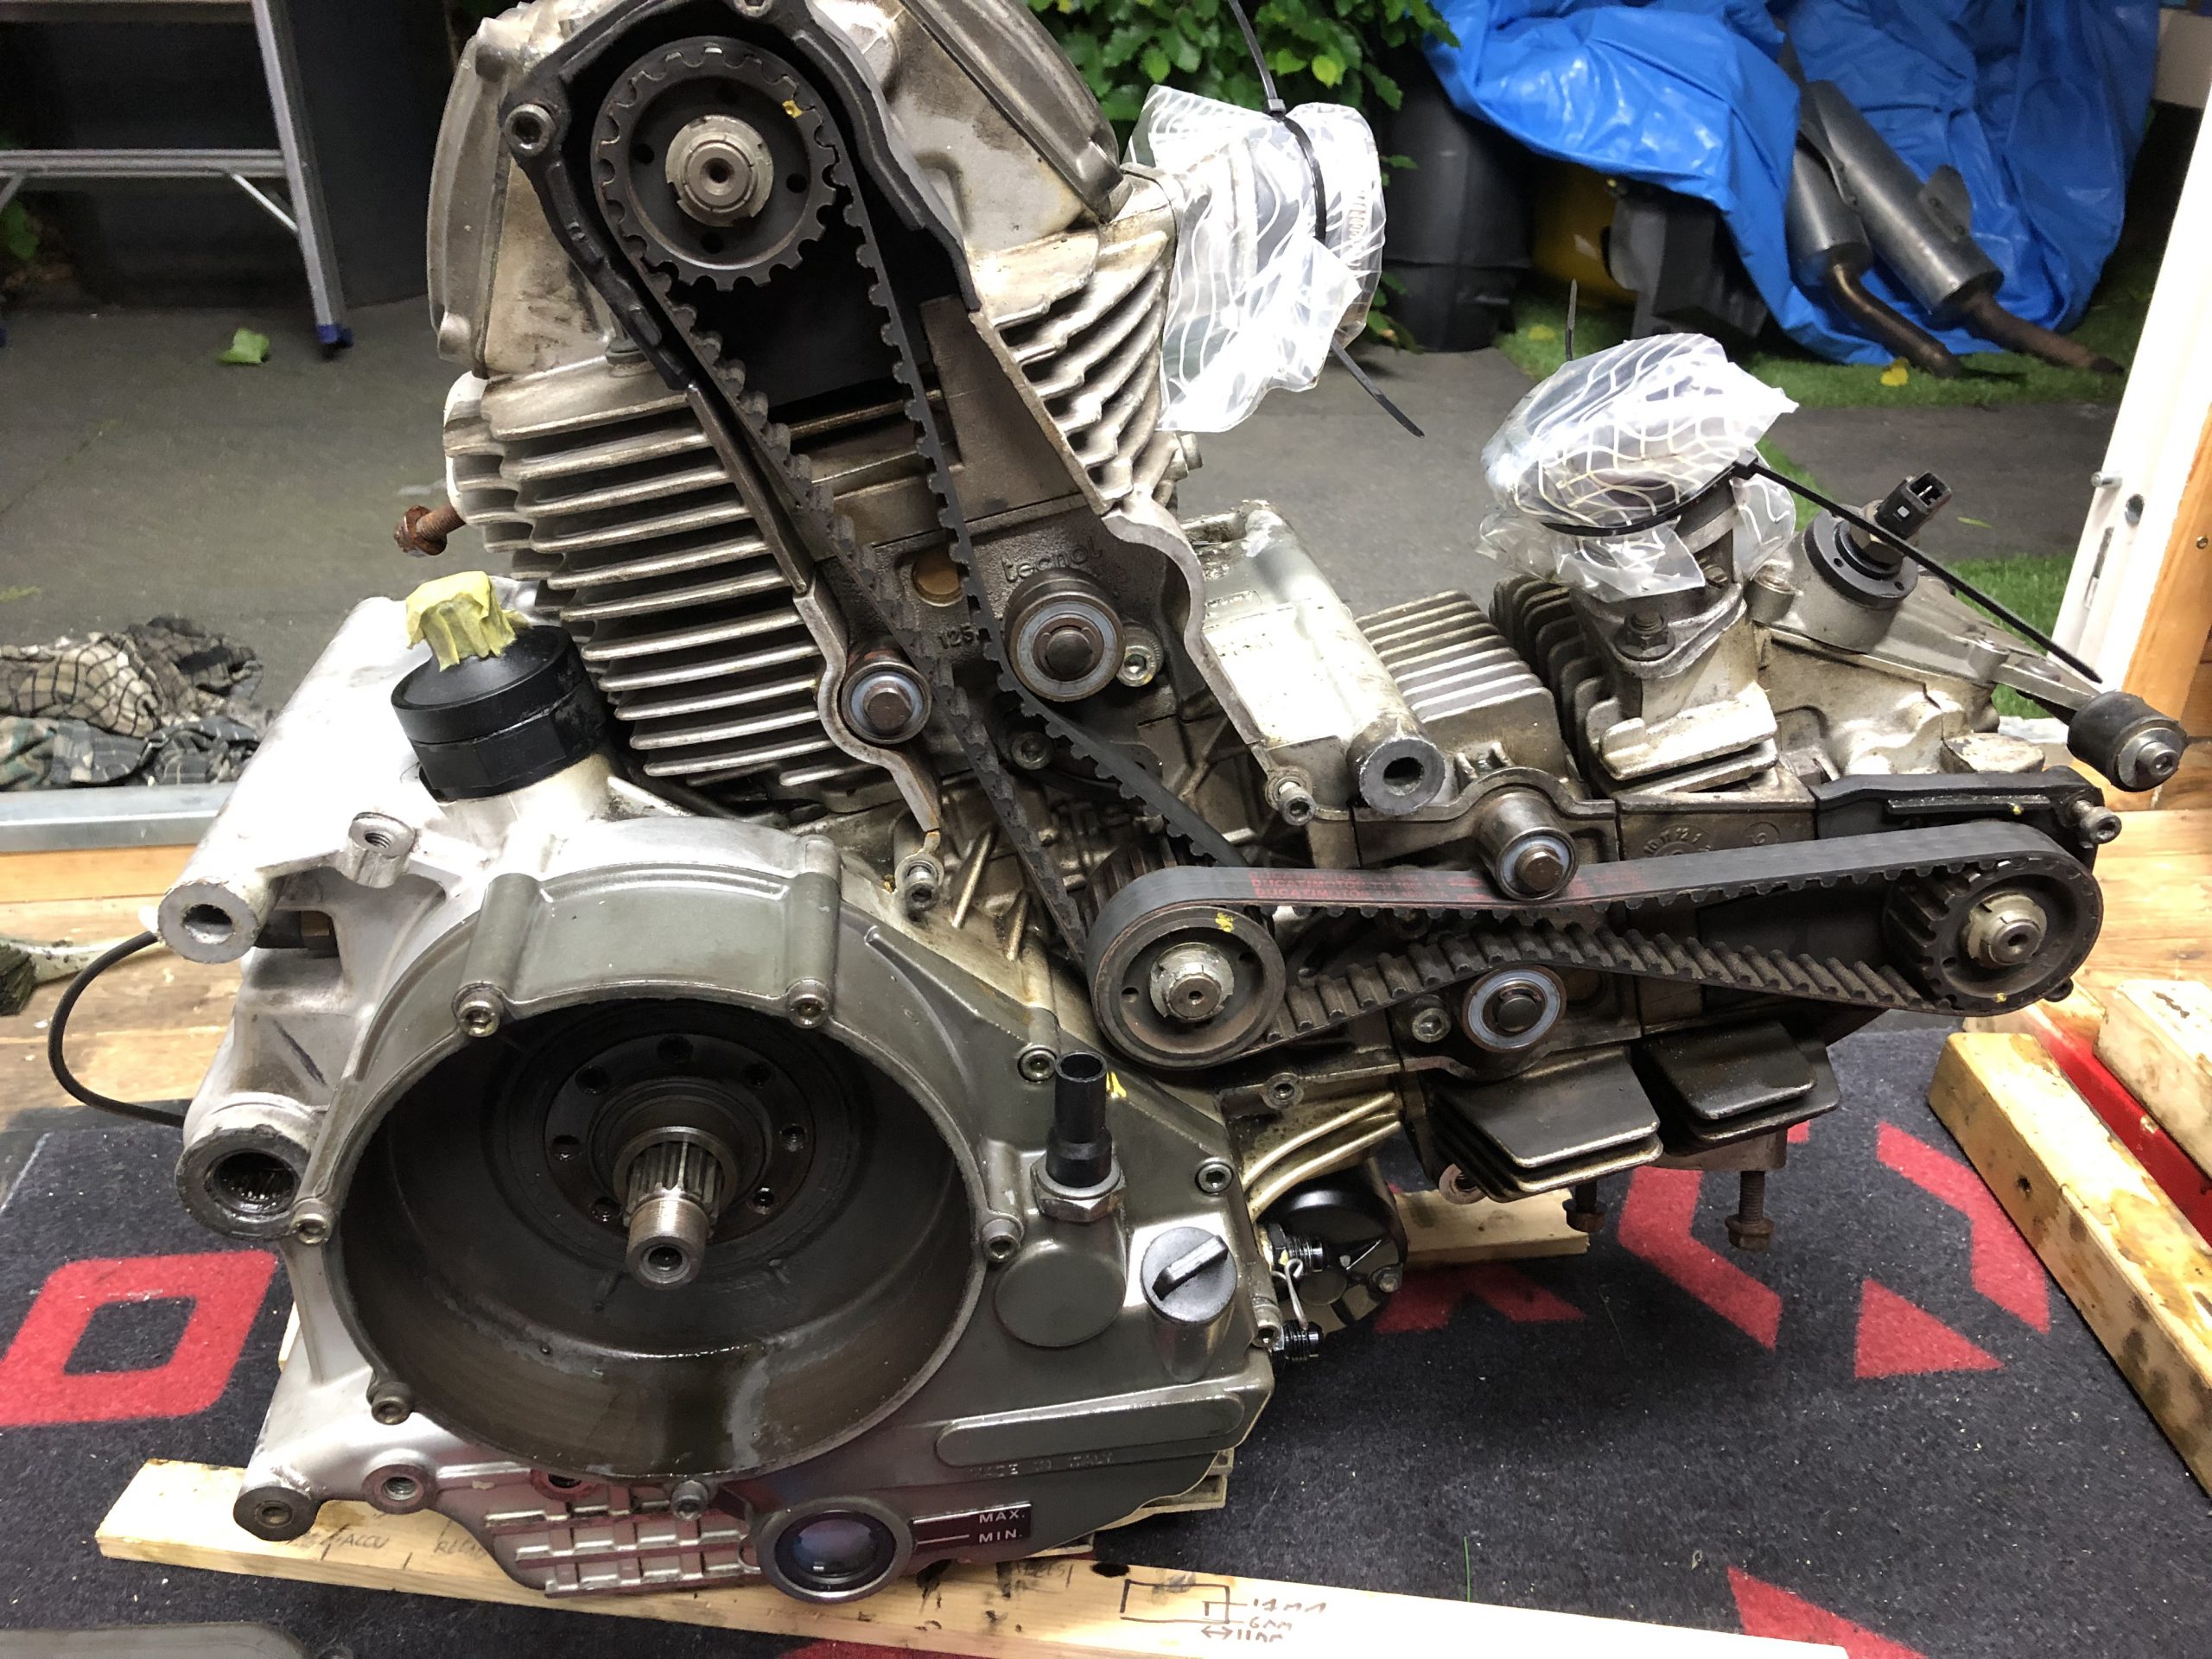
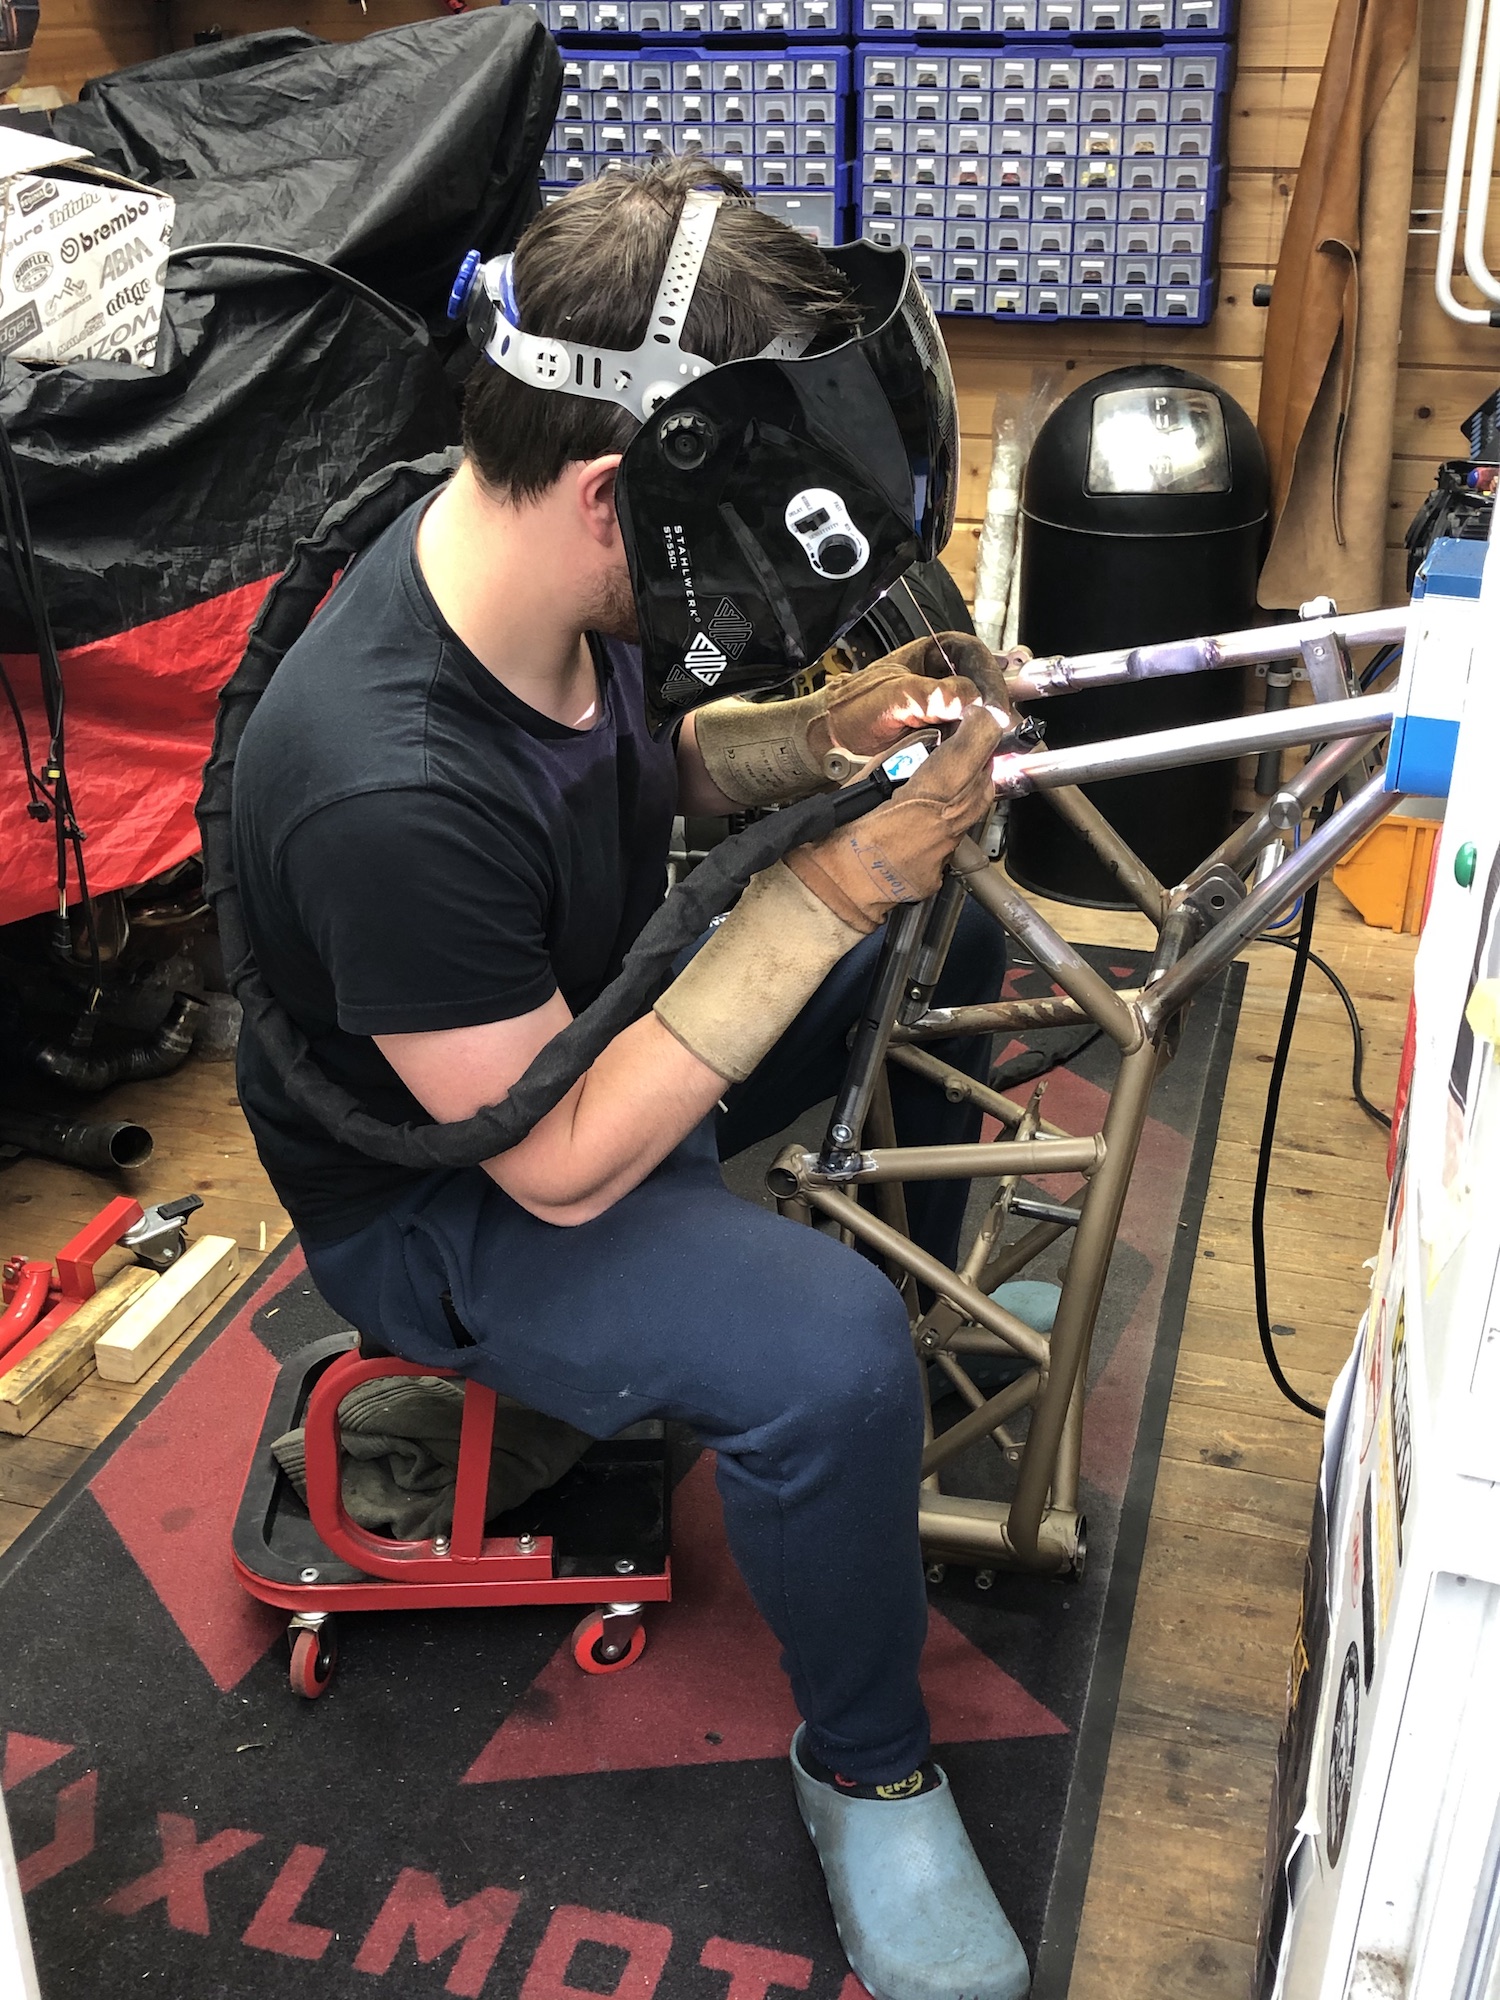
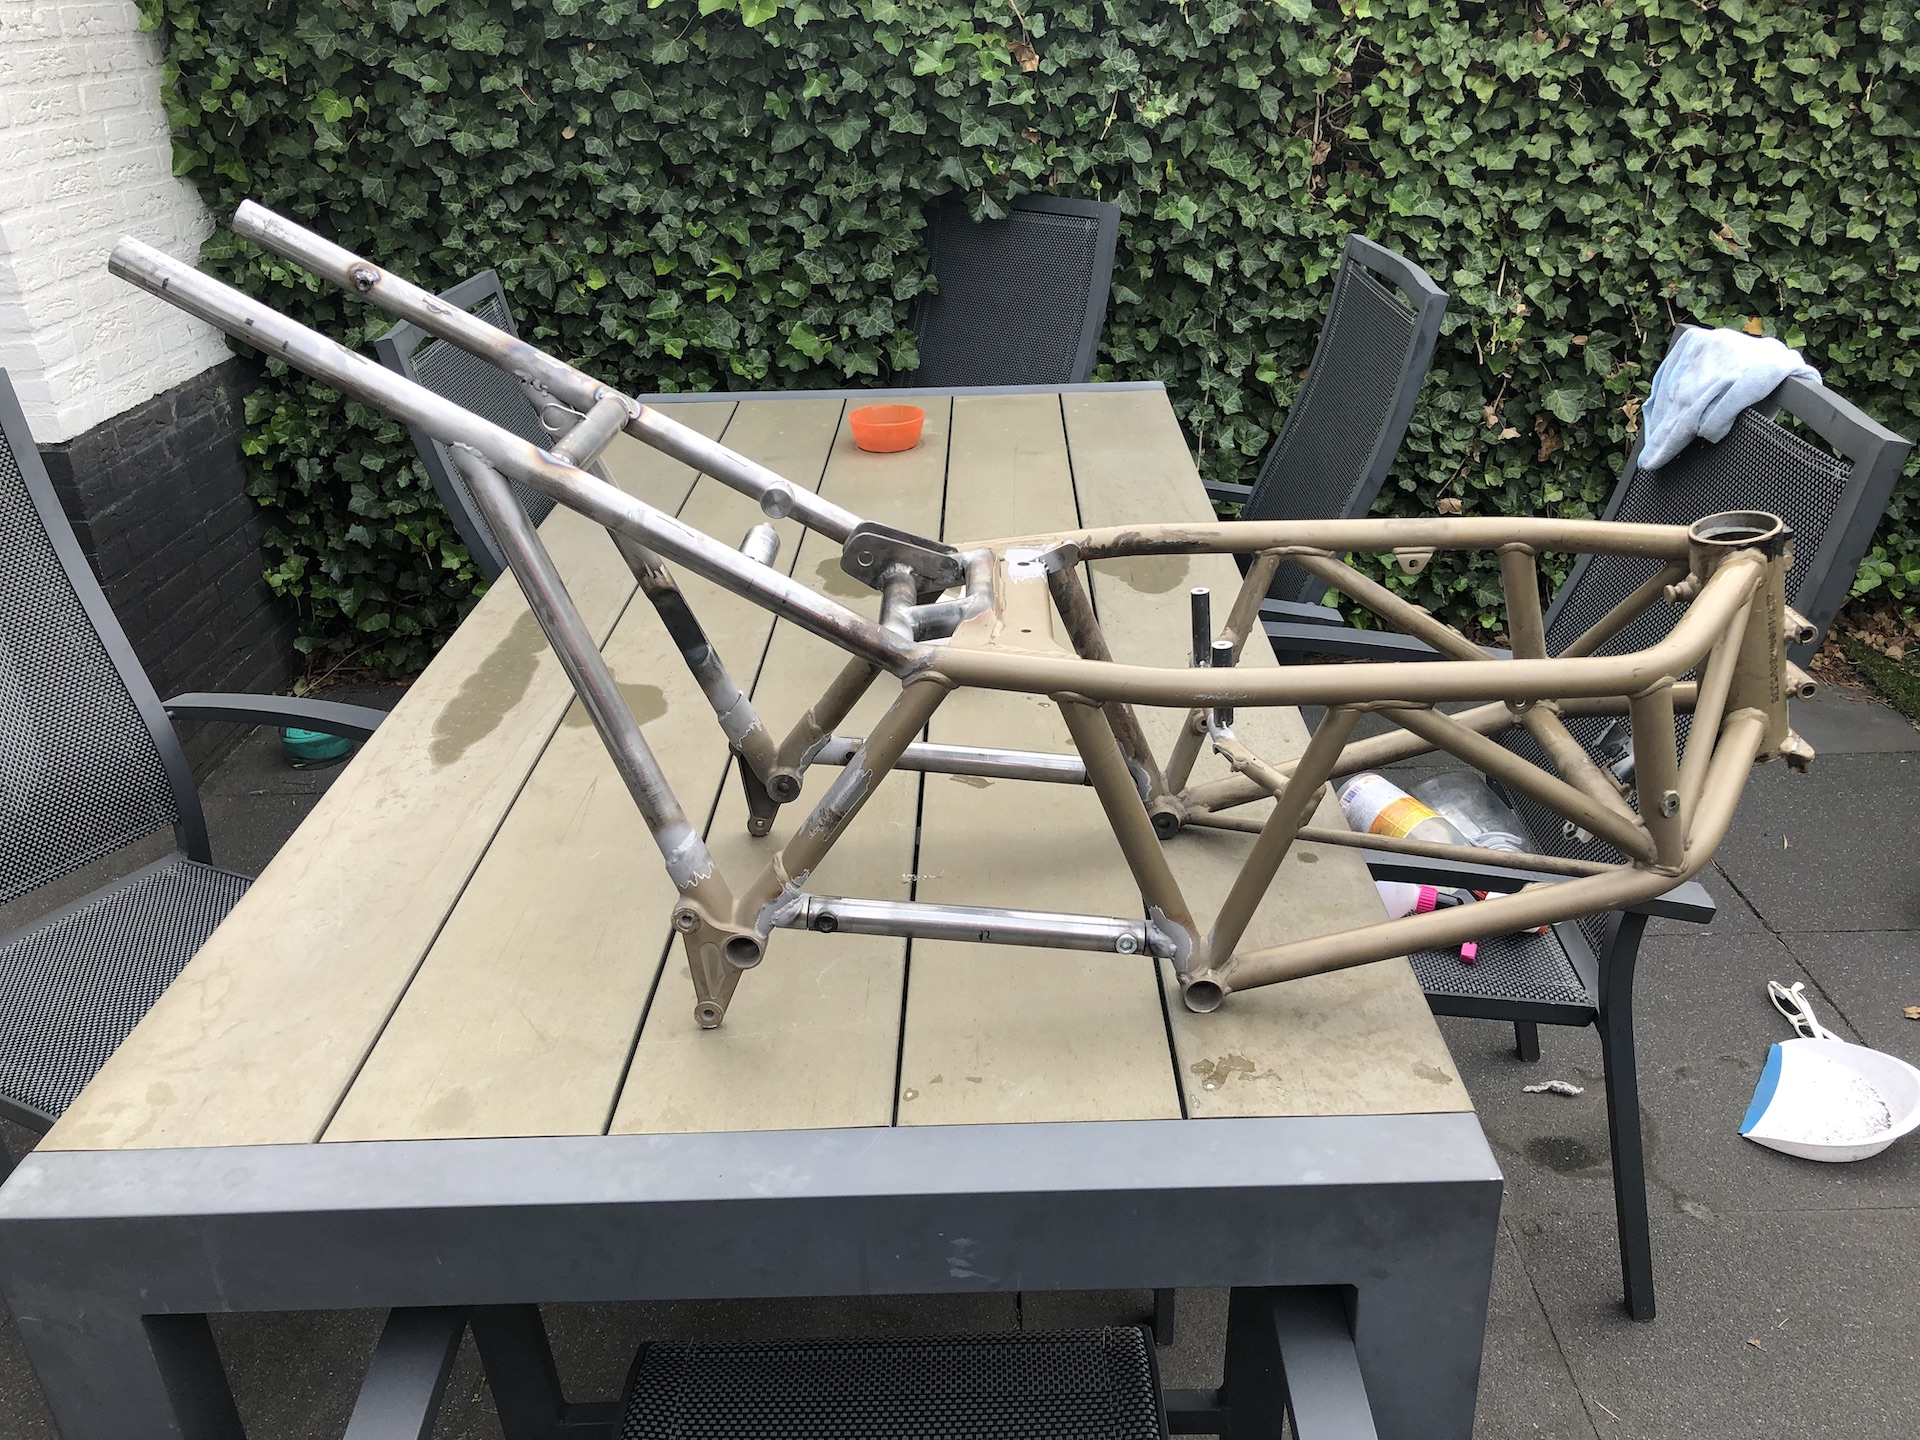
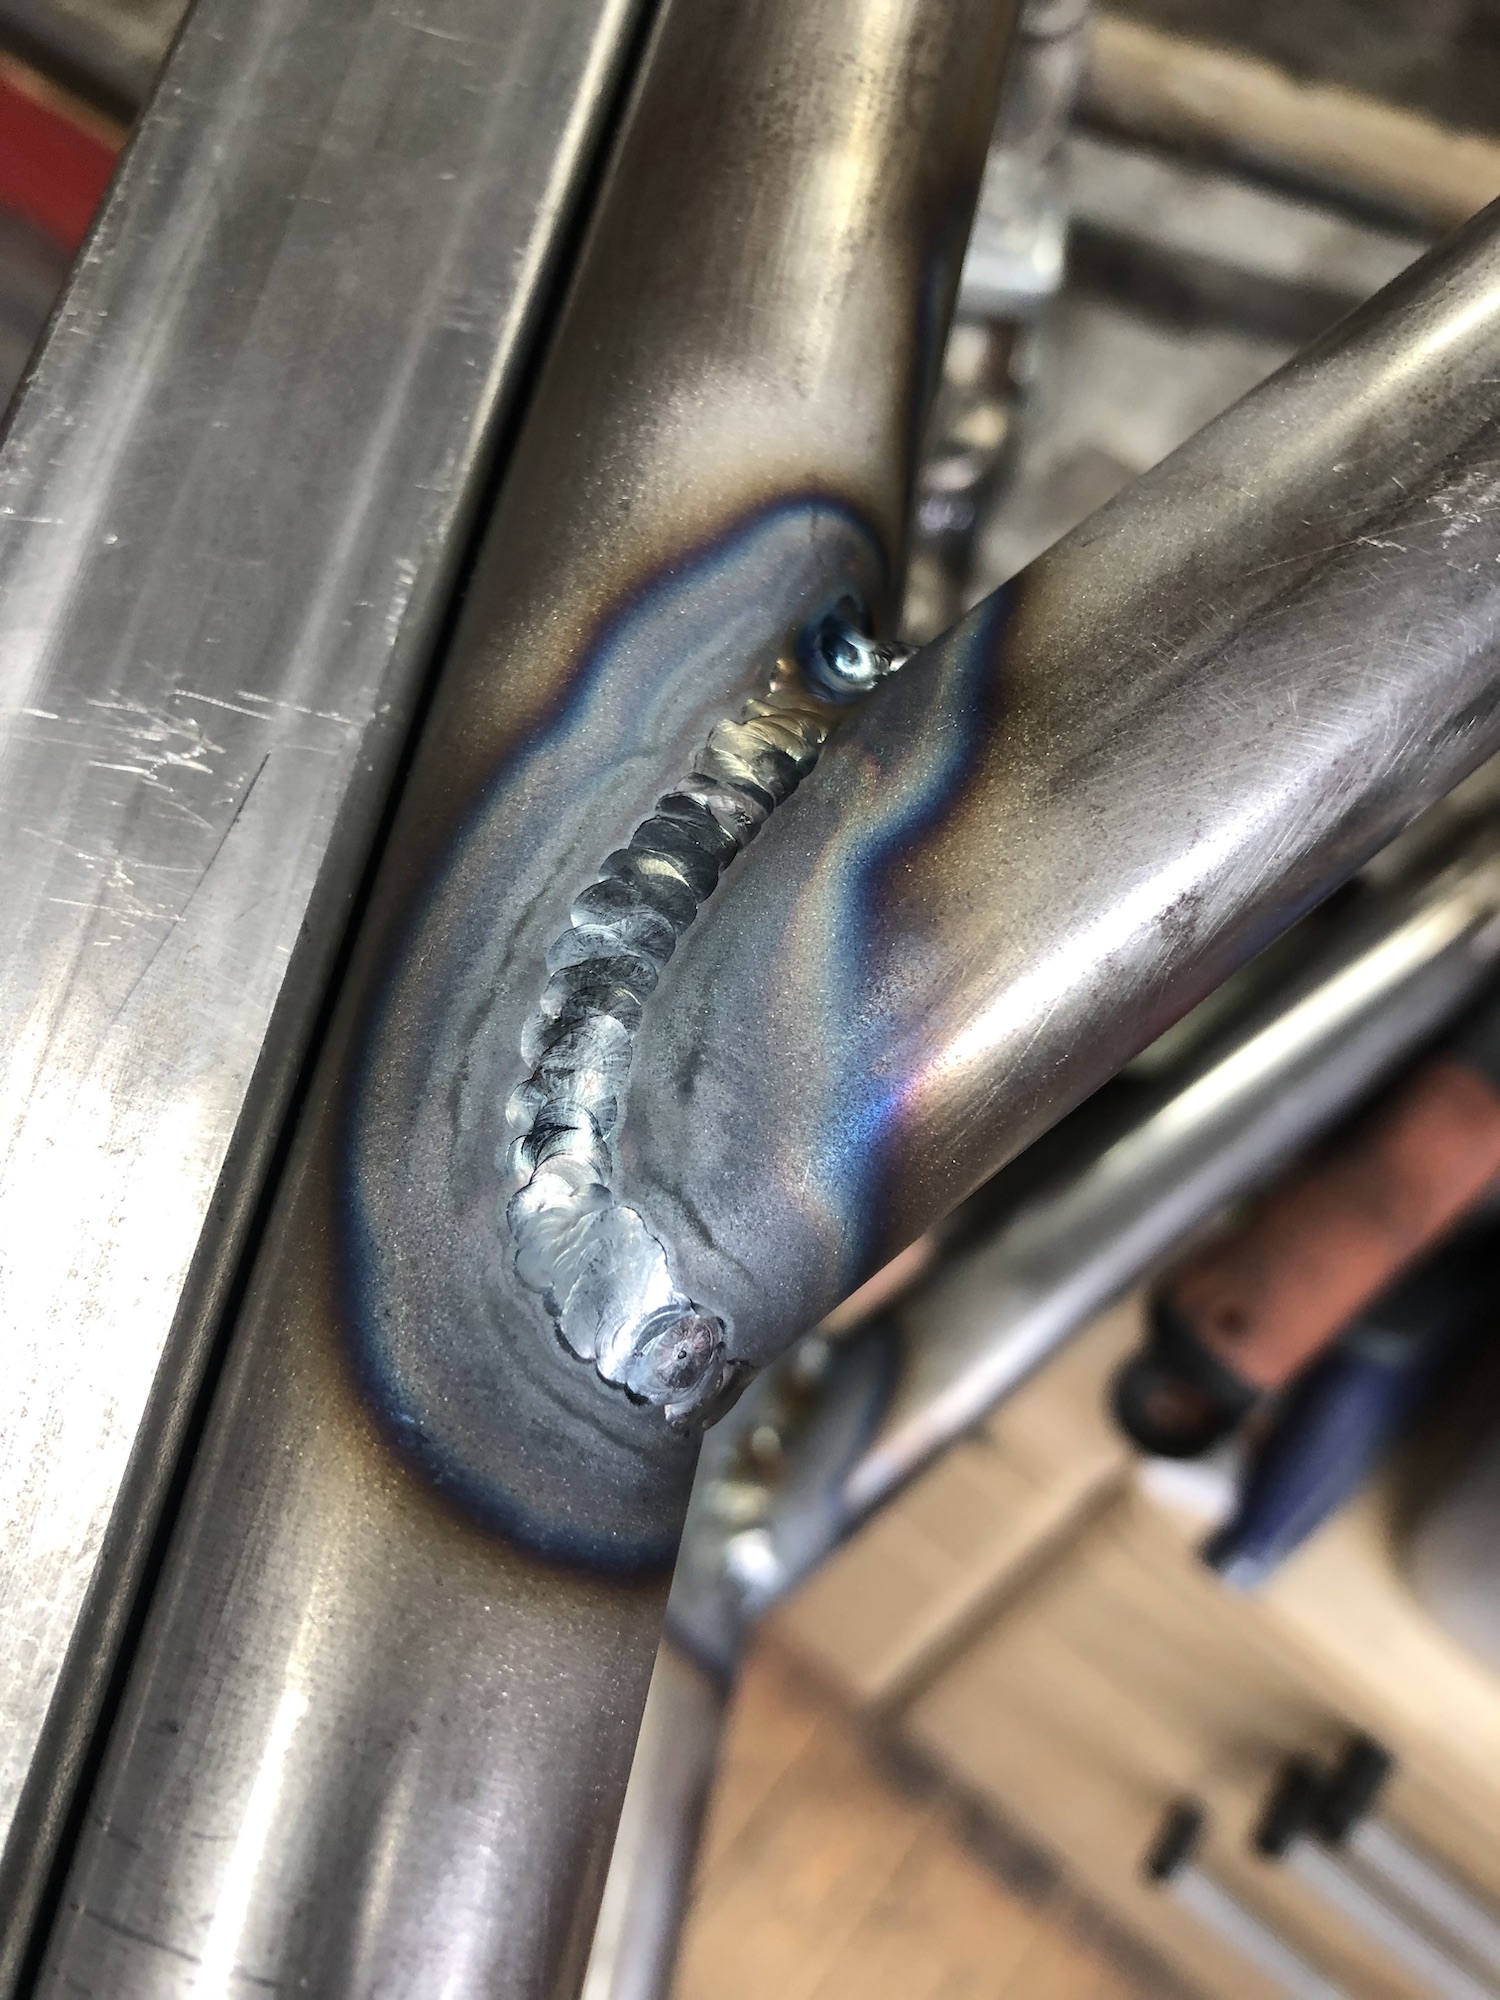
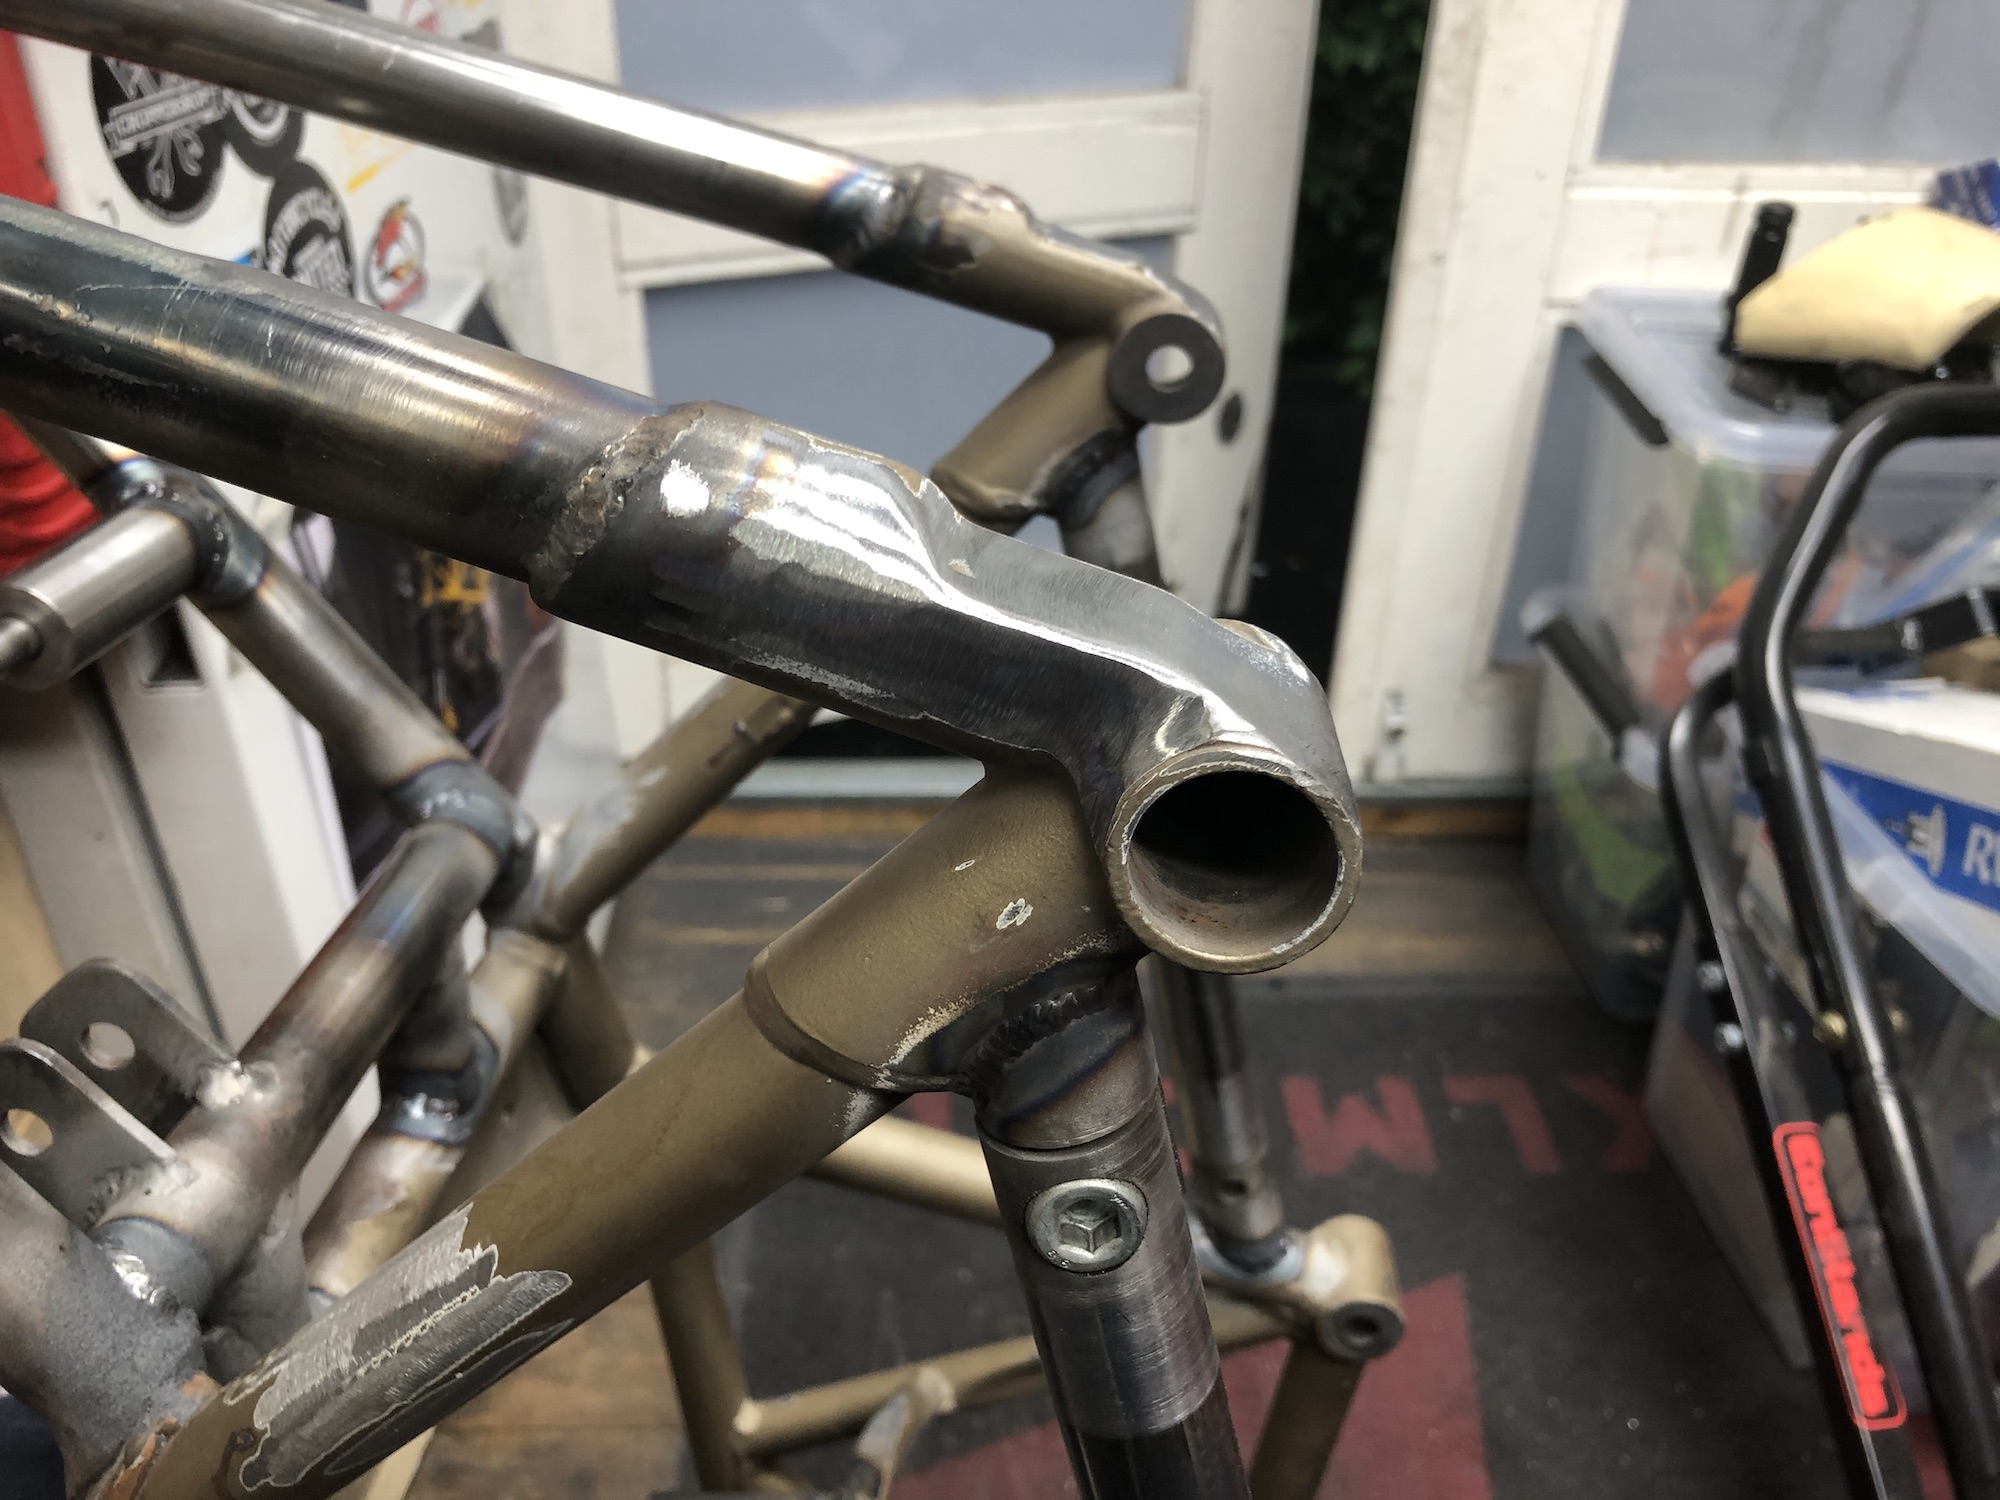
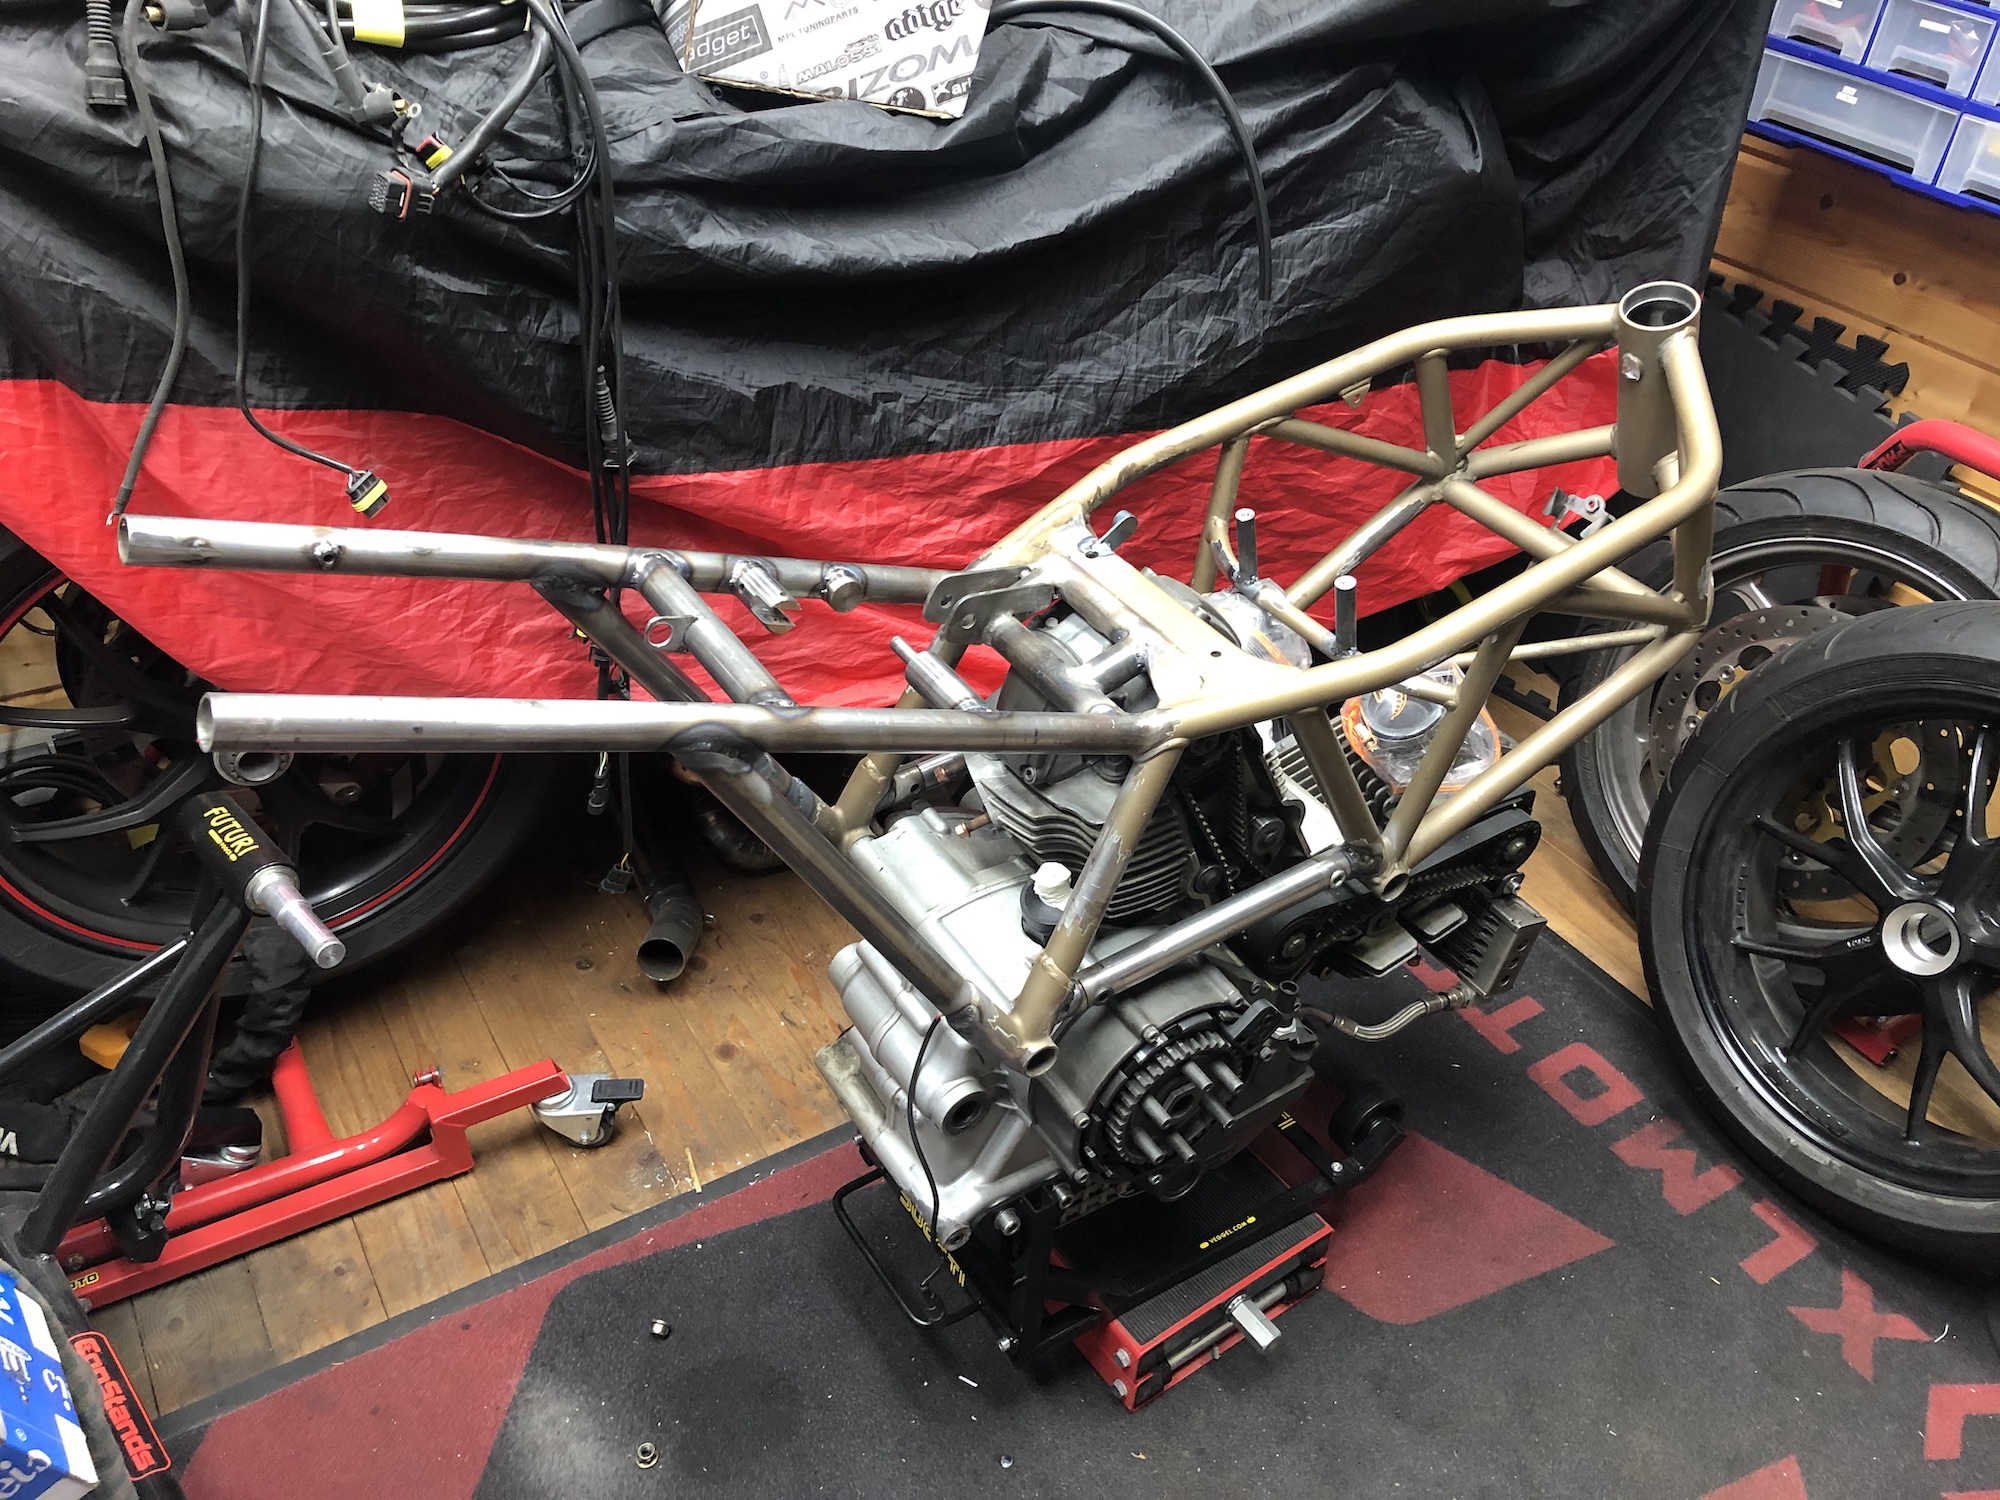
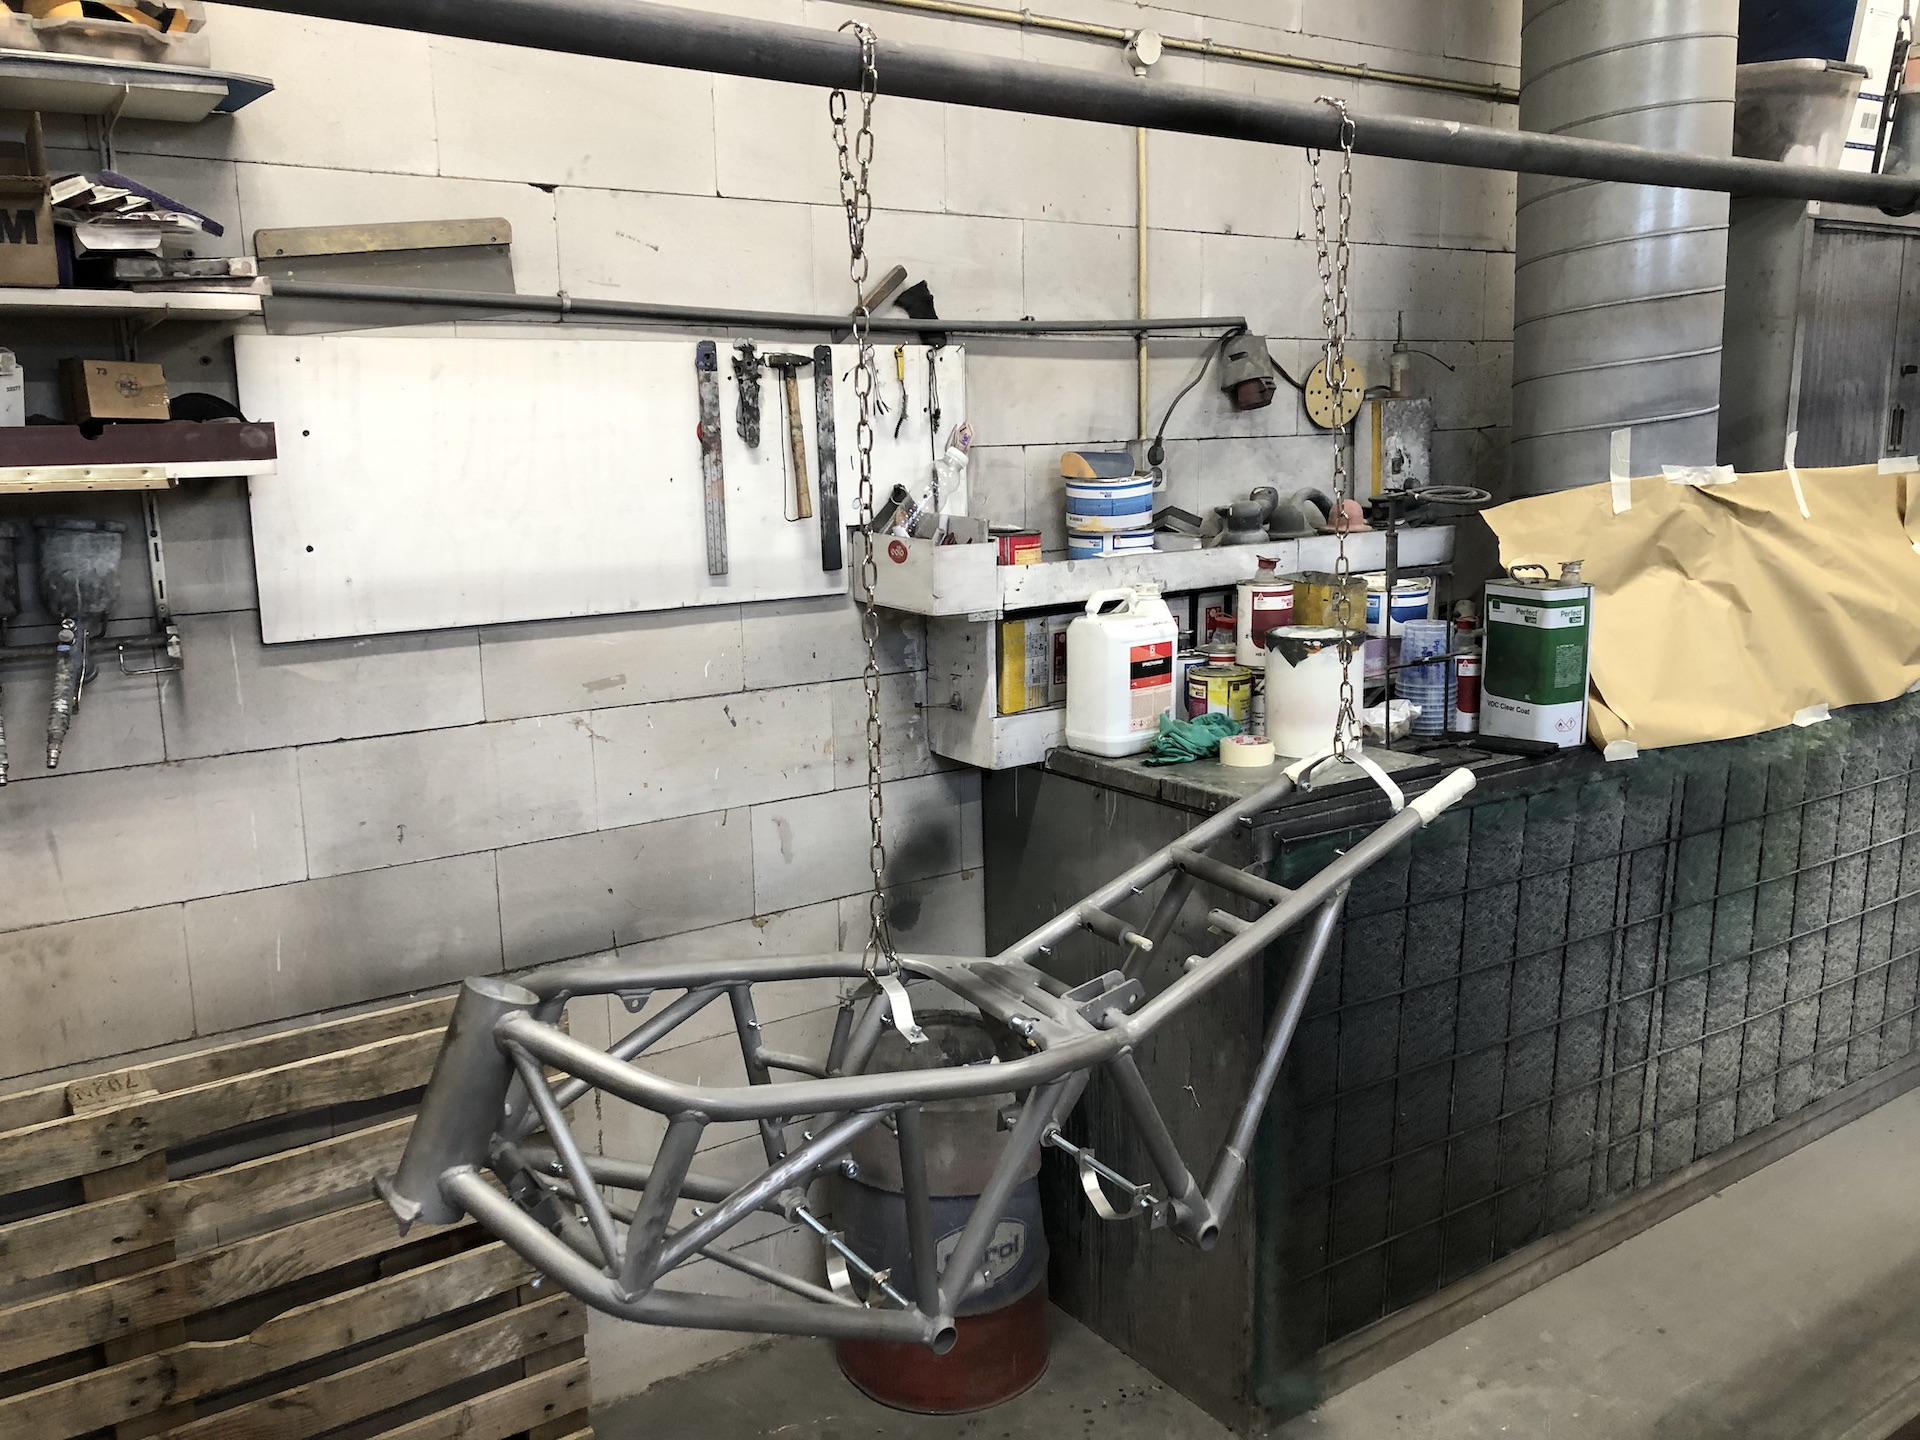
FINAL DISASSEMBLY
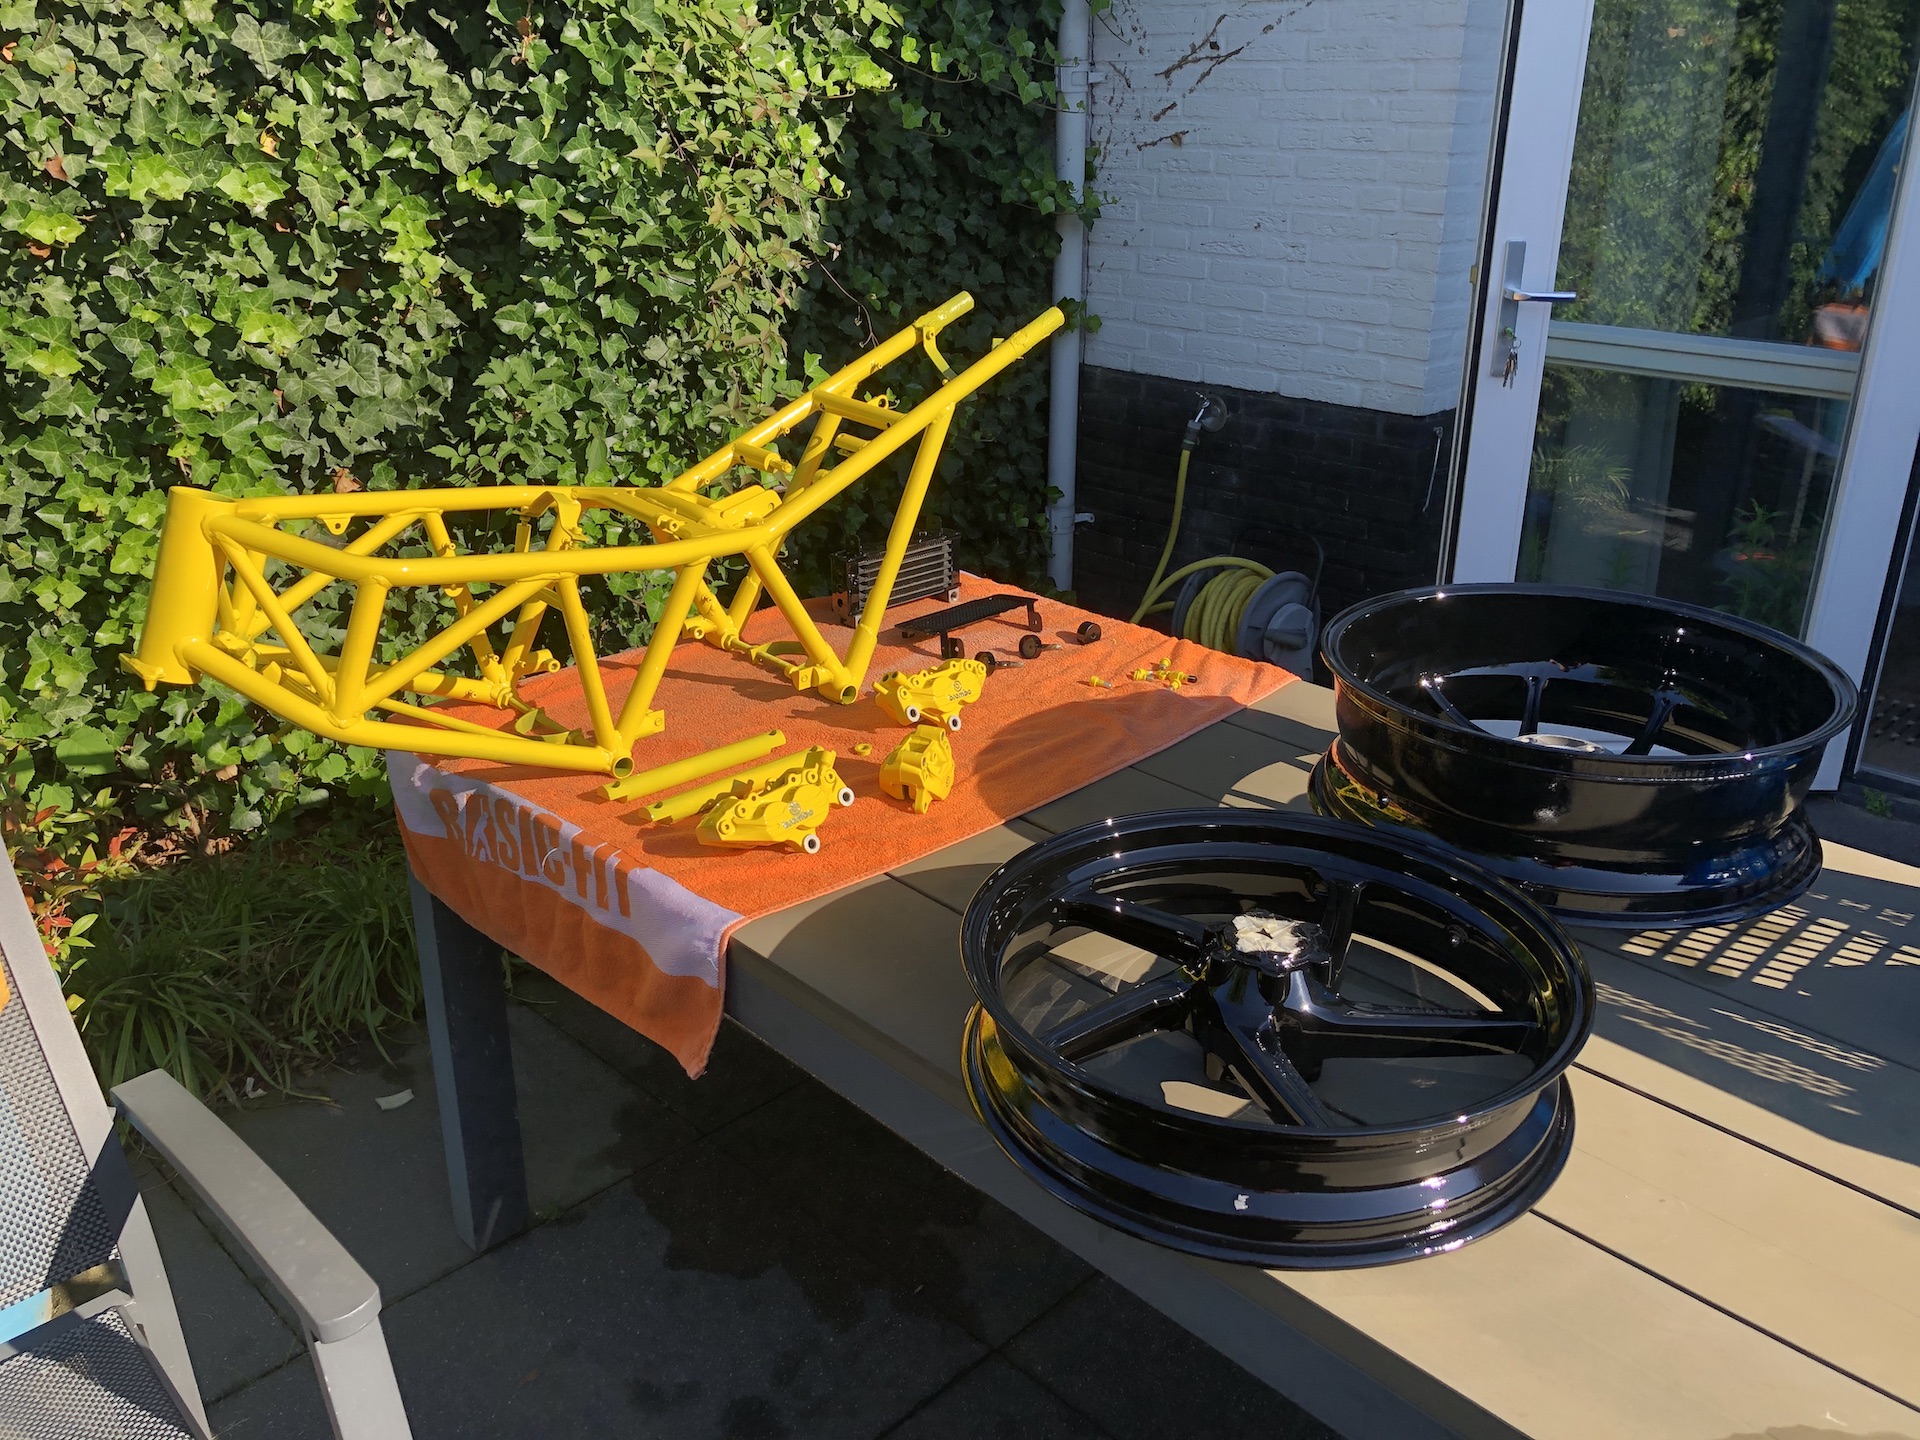
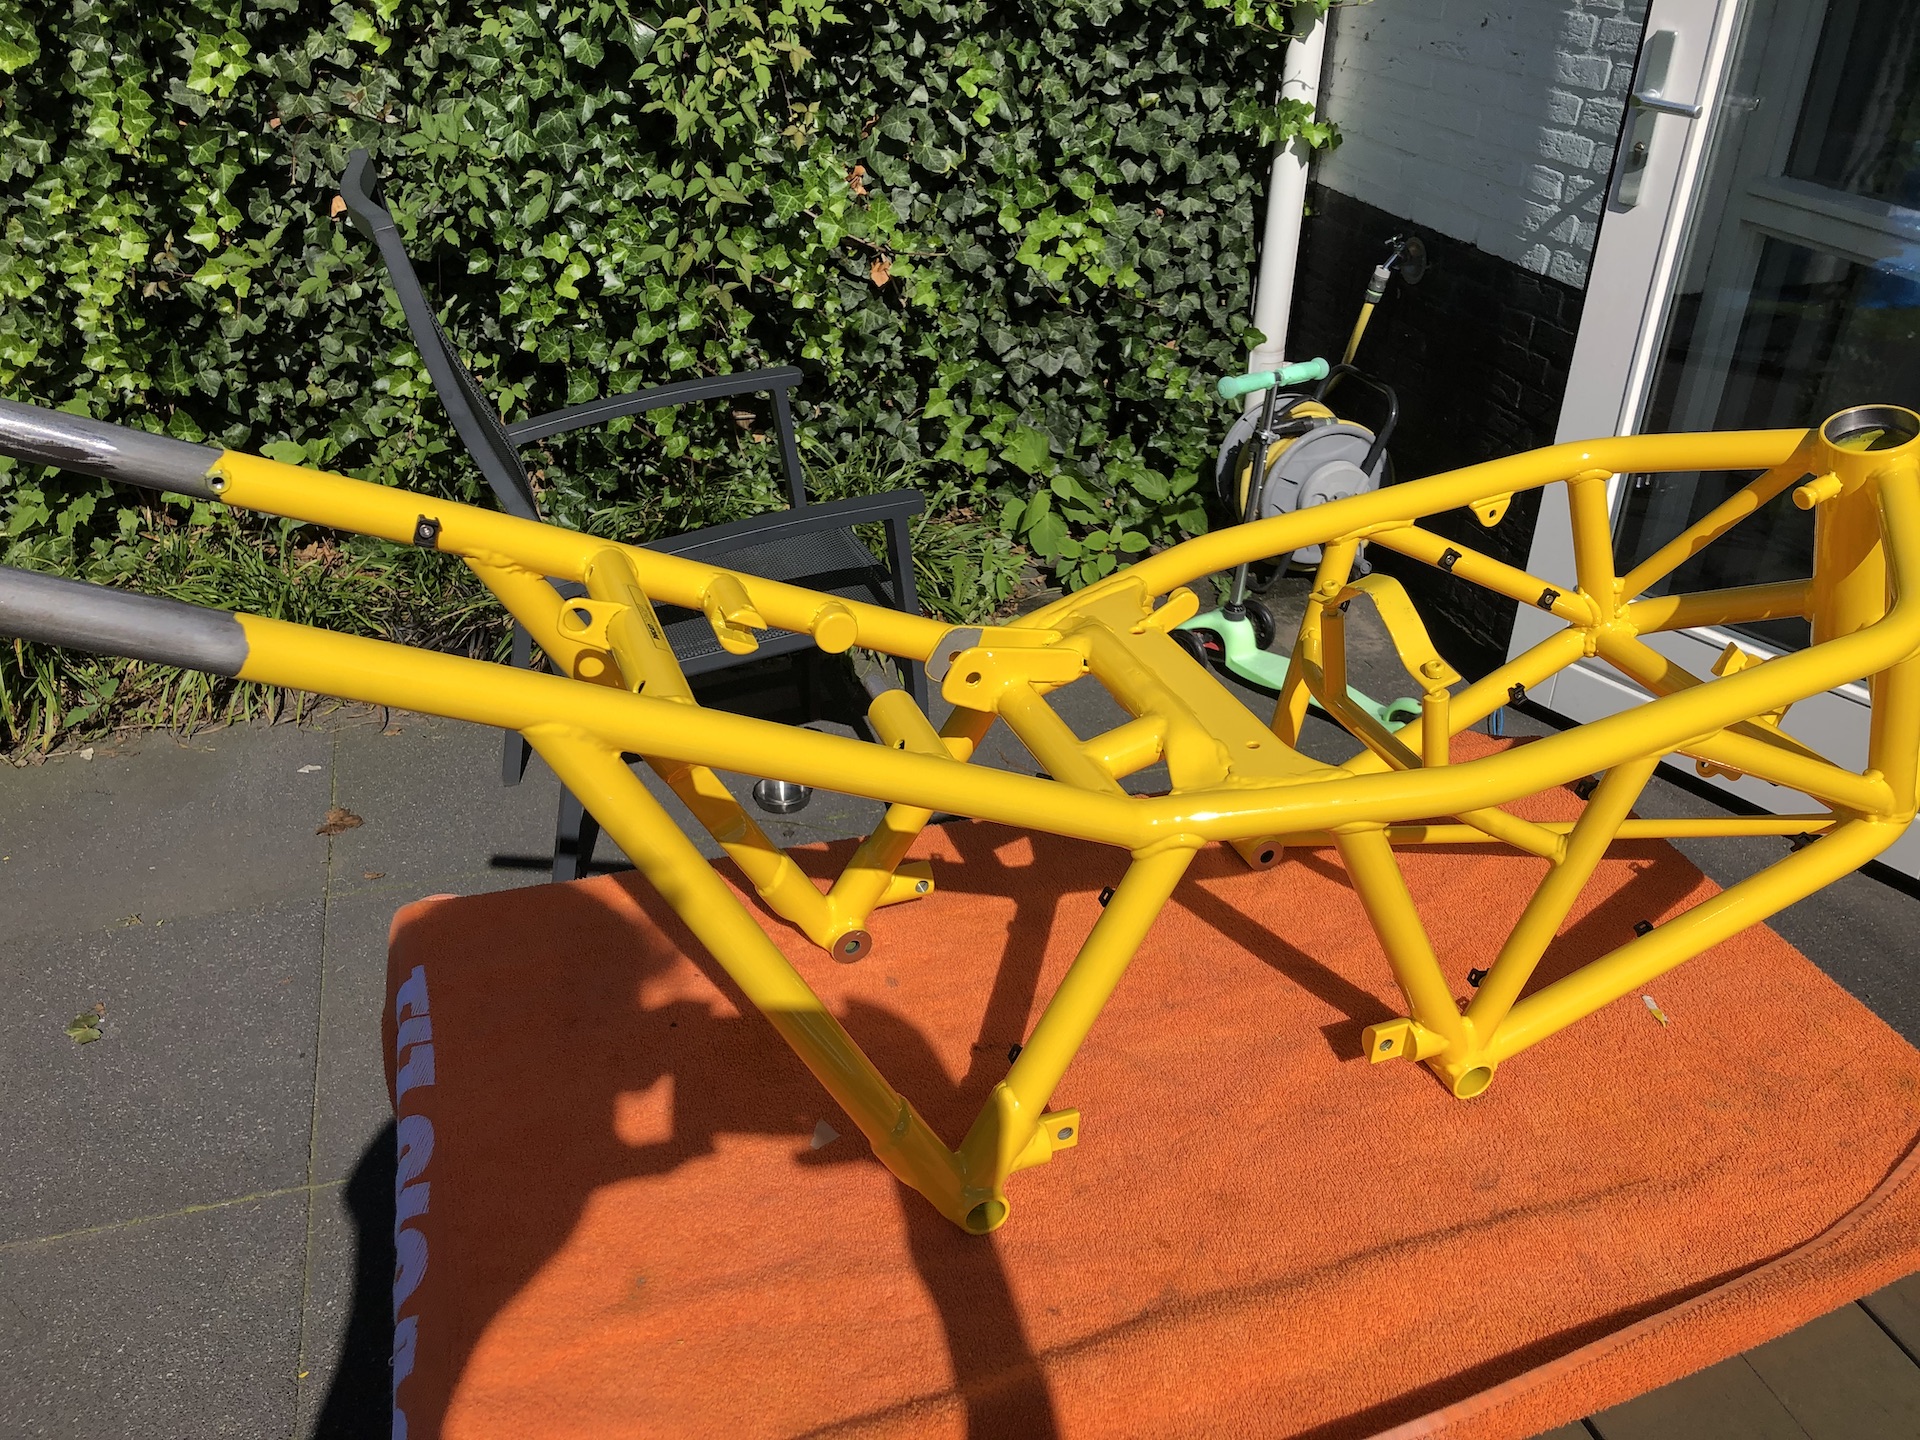
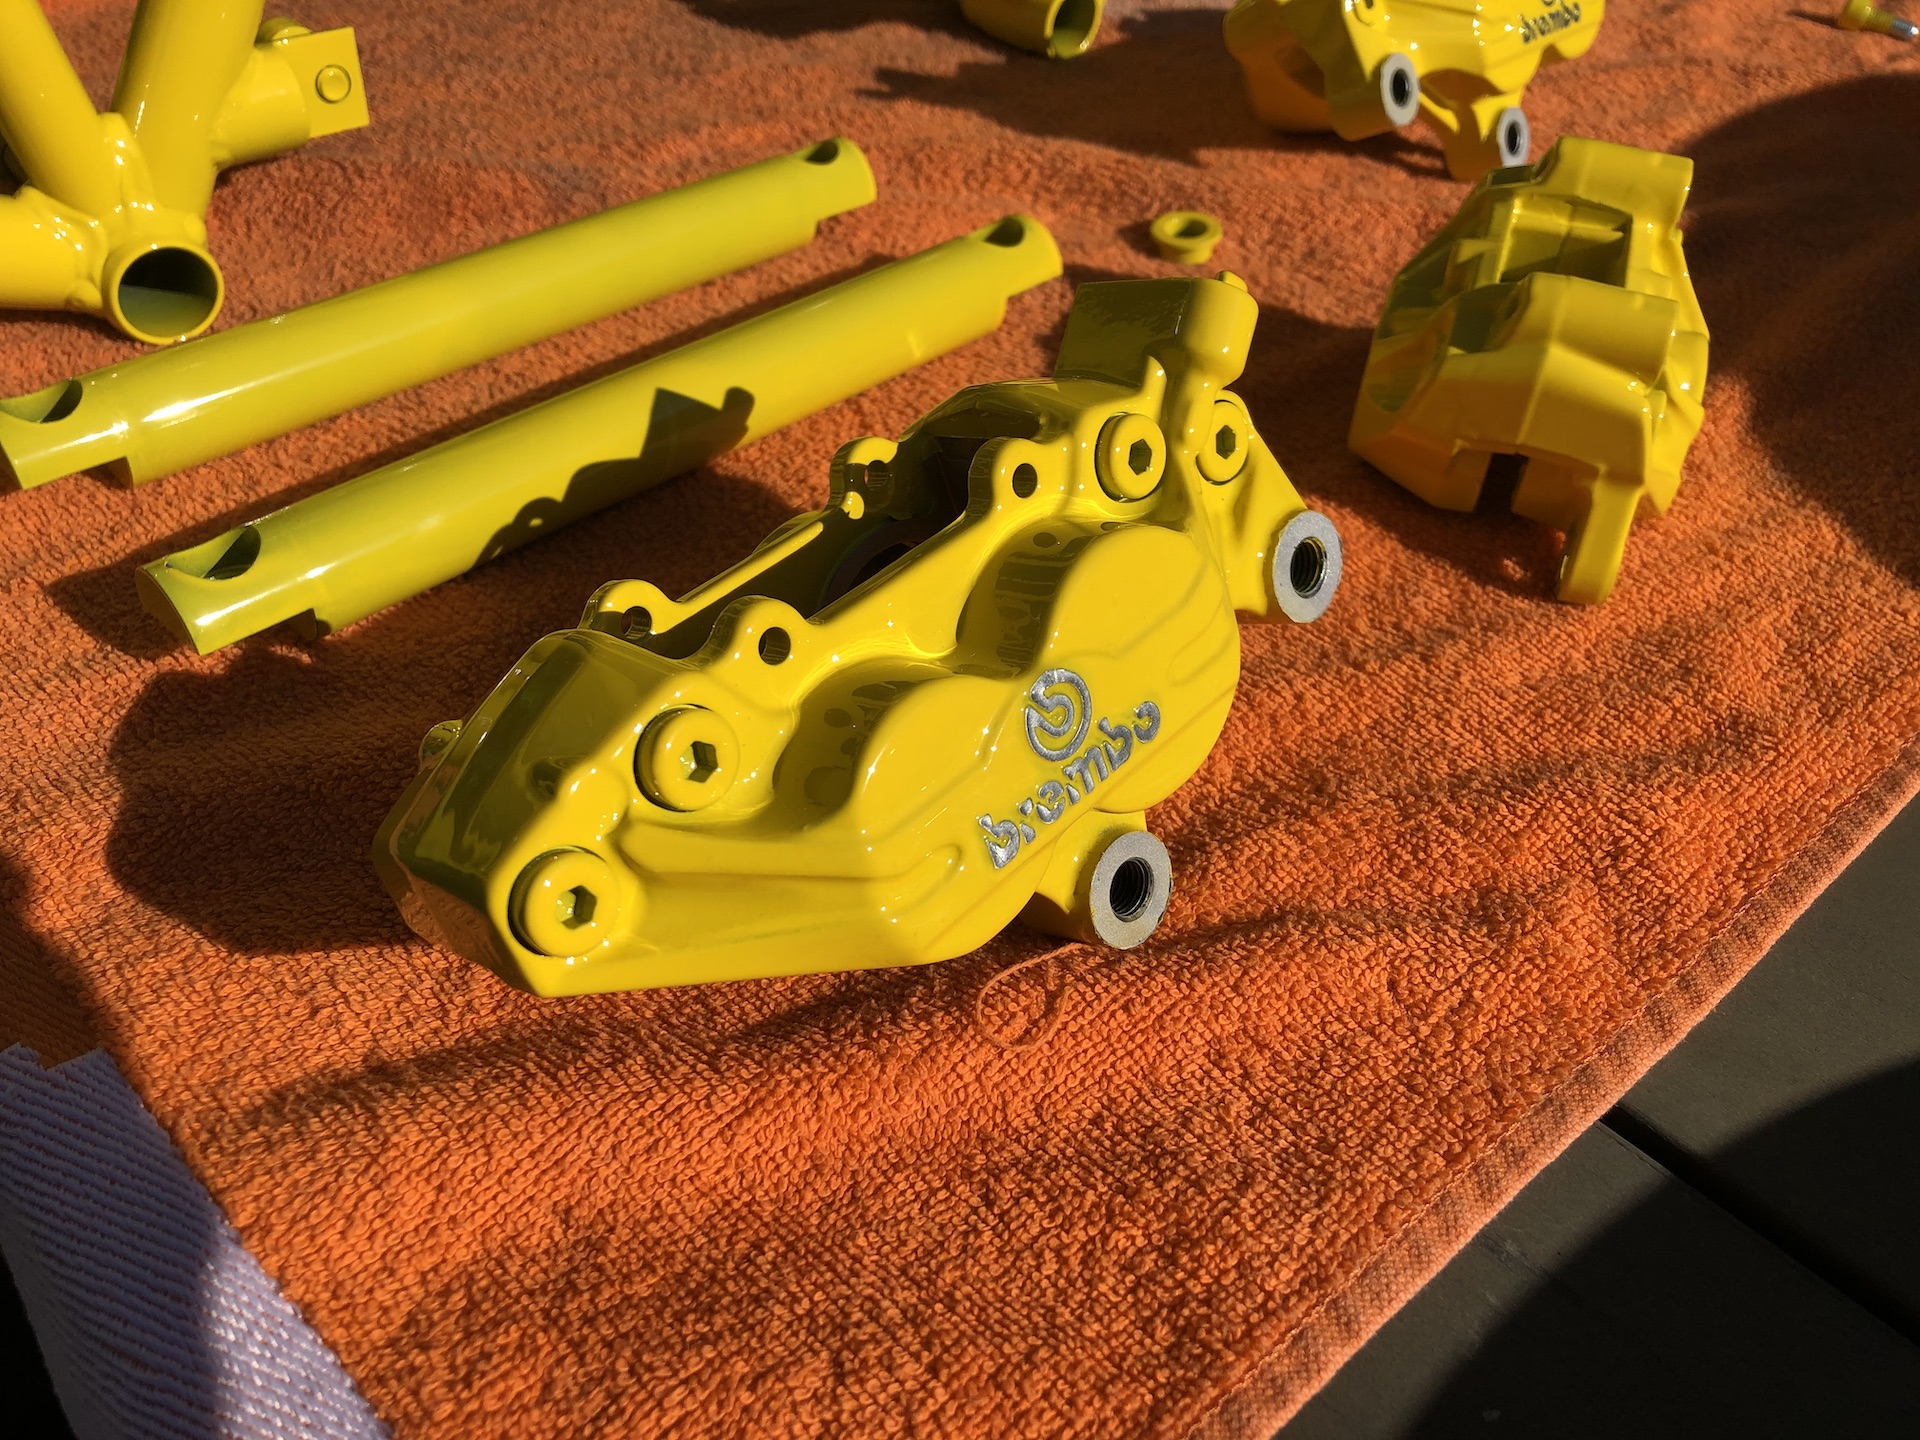
All the grinding and building new stuff is done! So its time to make sure this bike gets finished. Dismantling everything to weld up the frame. After that the frame and swingarm are going to get sand blasted to get them ready for paint. And after that all the small bits/parts are going to be cleaned and painted. At the same time also going to start work on the engine covers and the engine itself to get everything nice and clean :).

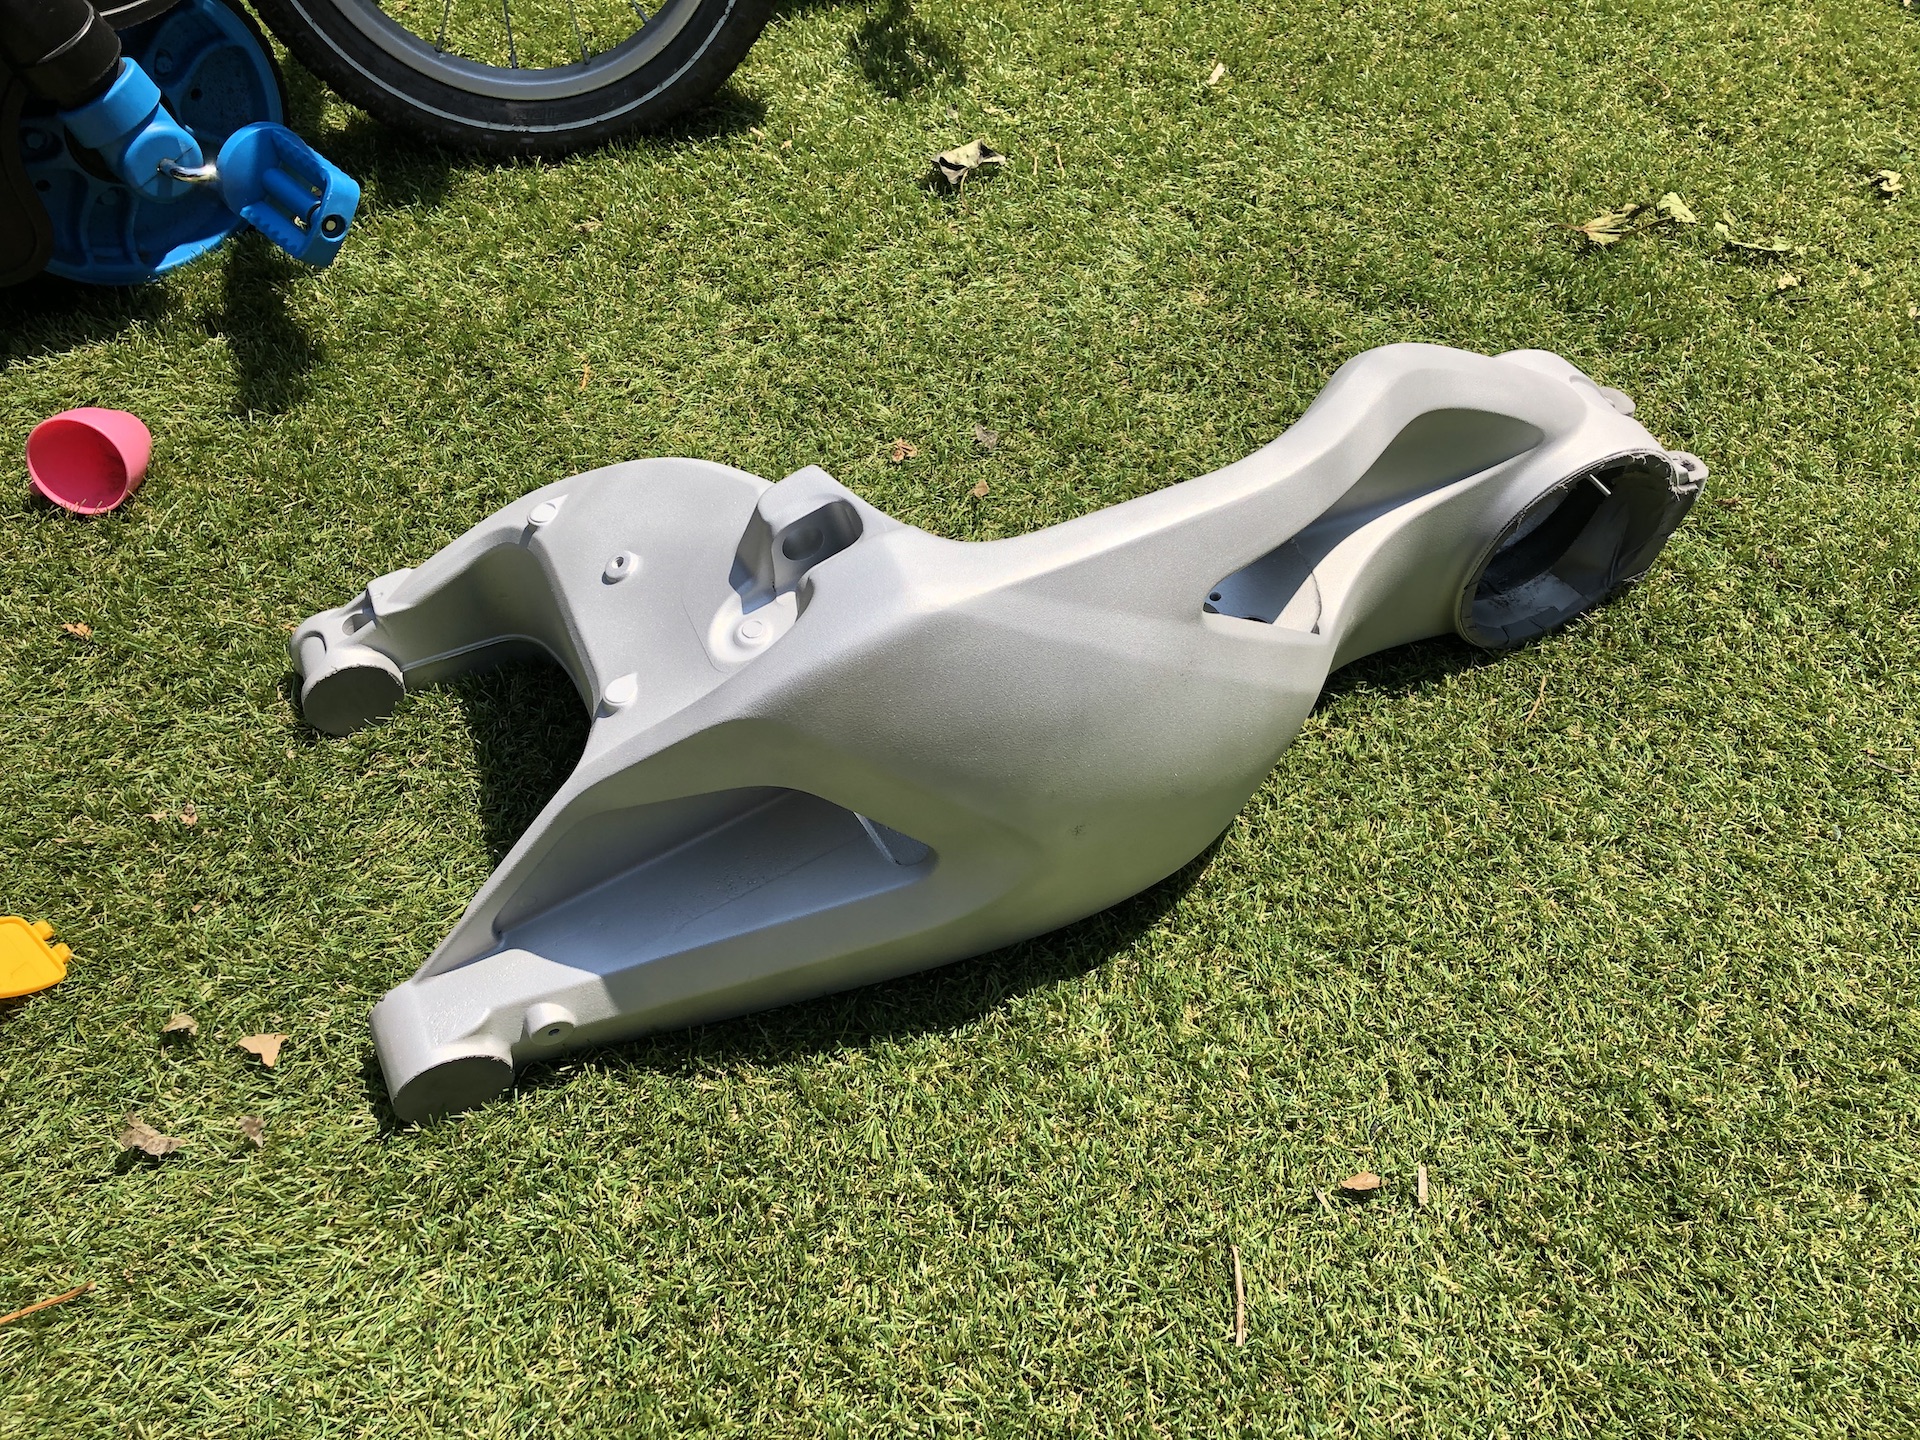
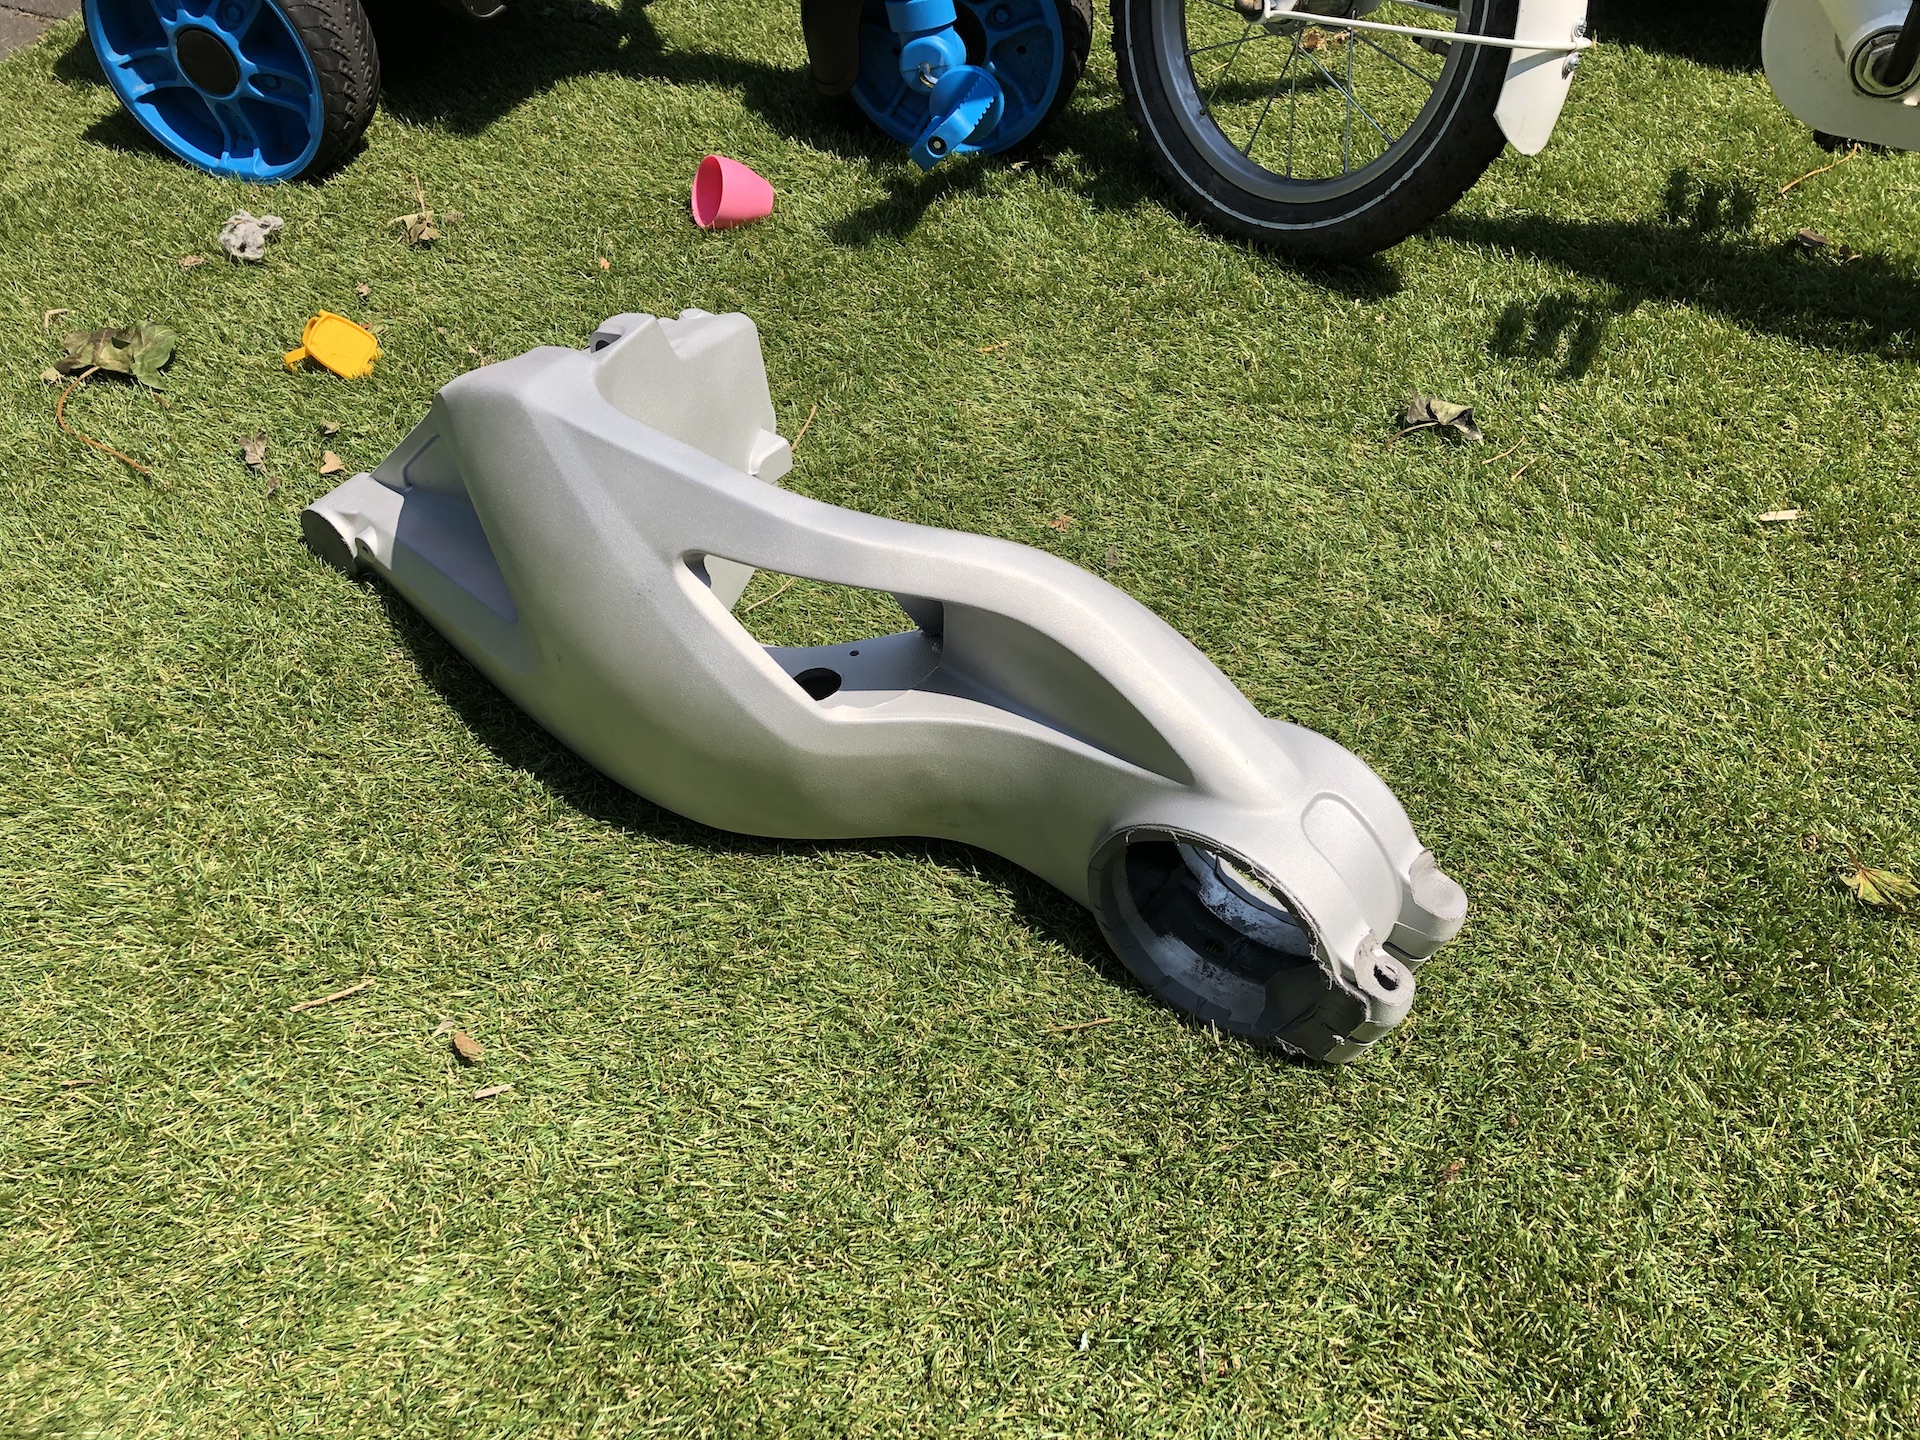
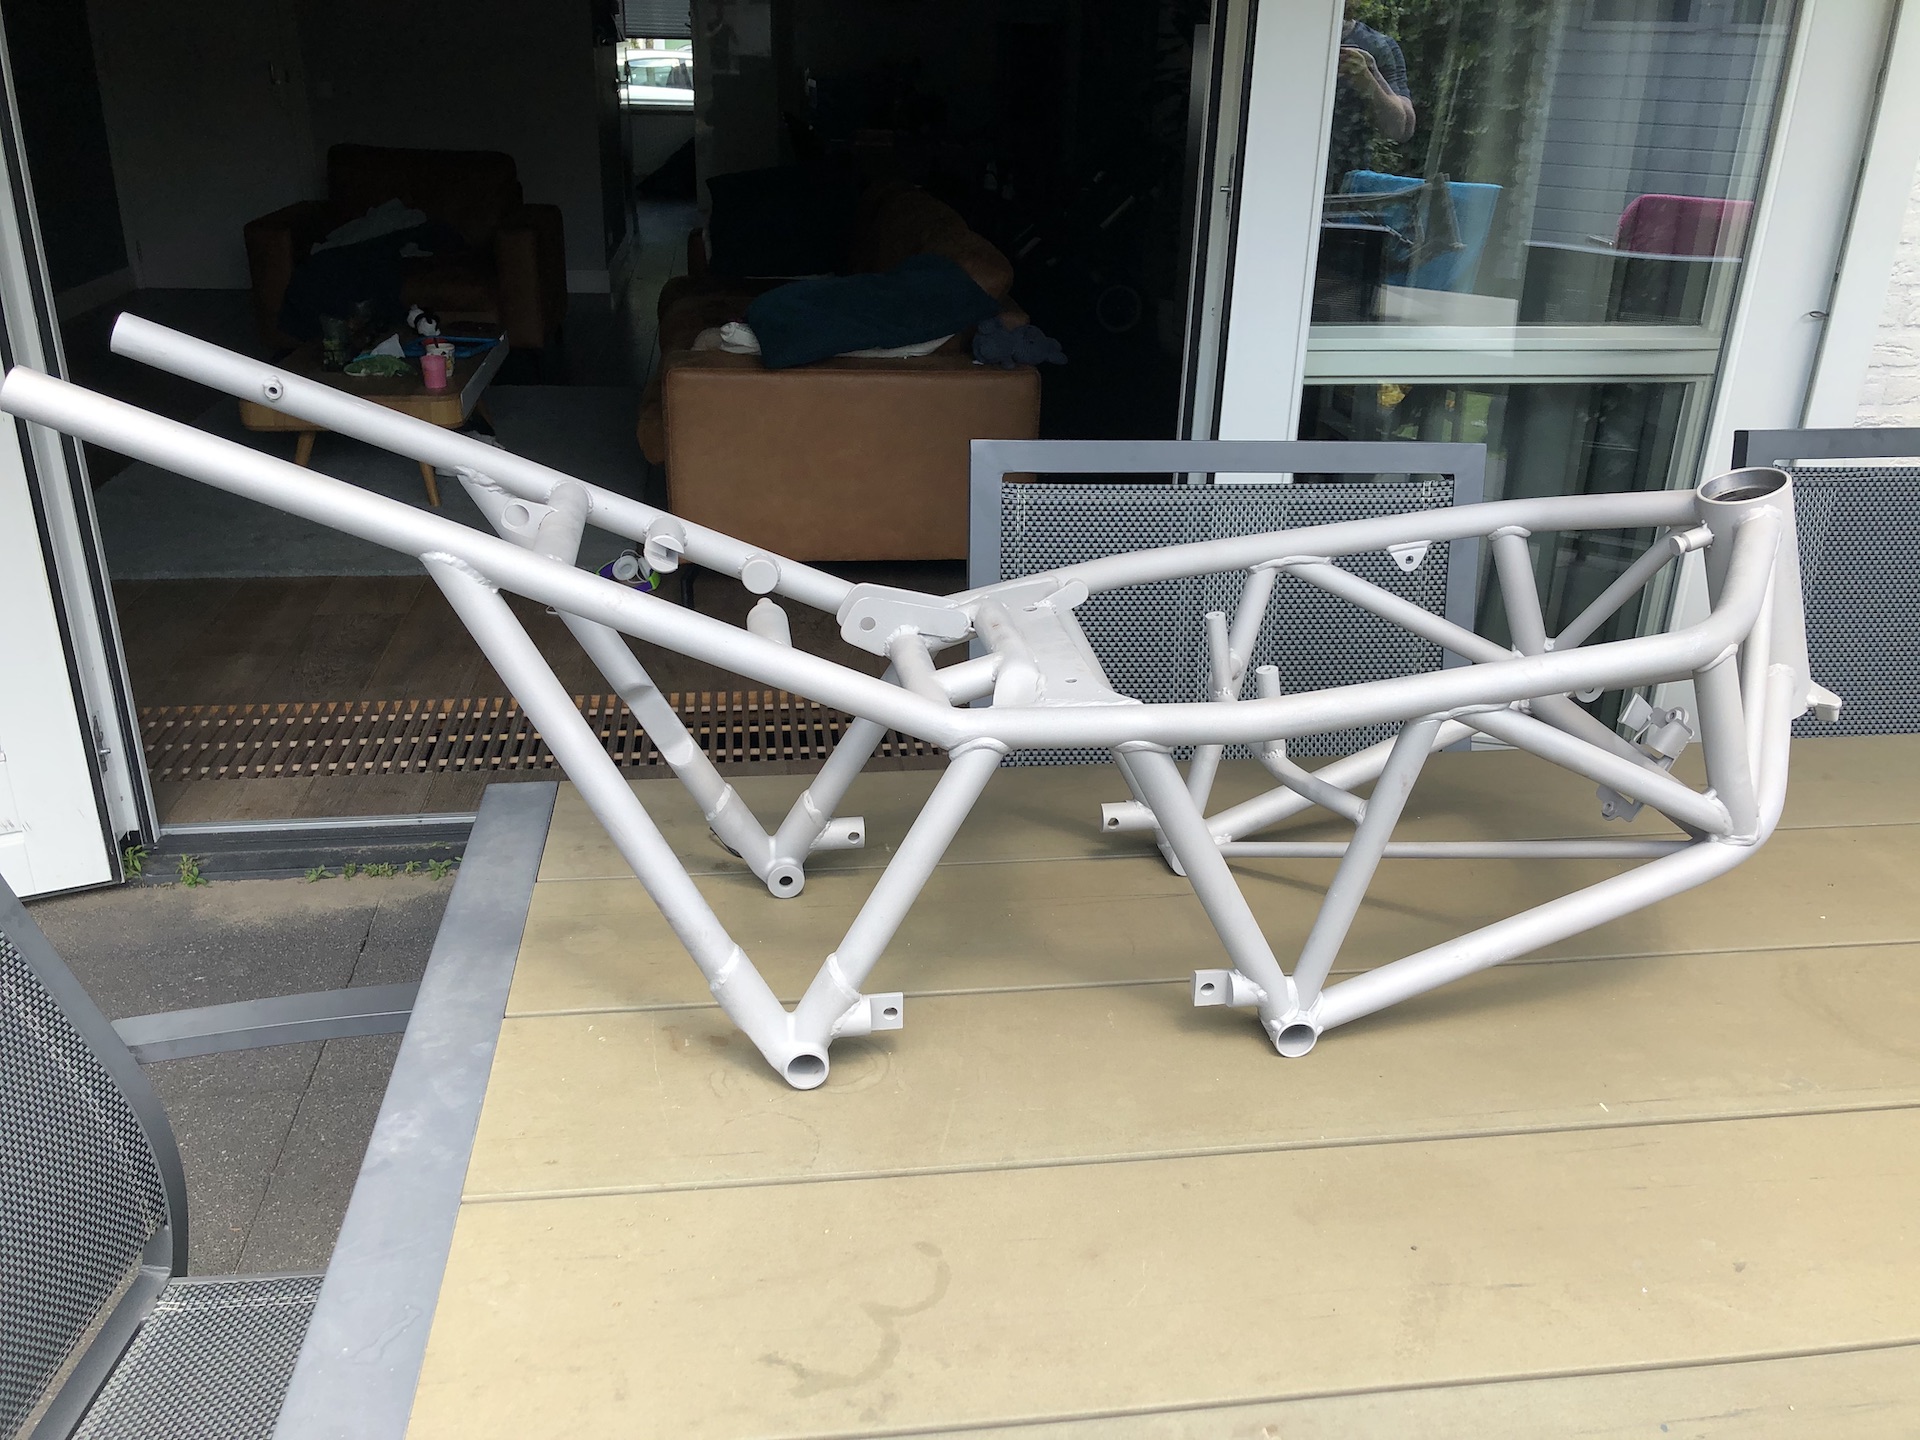

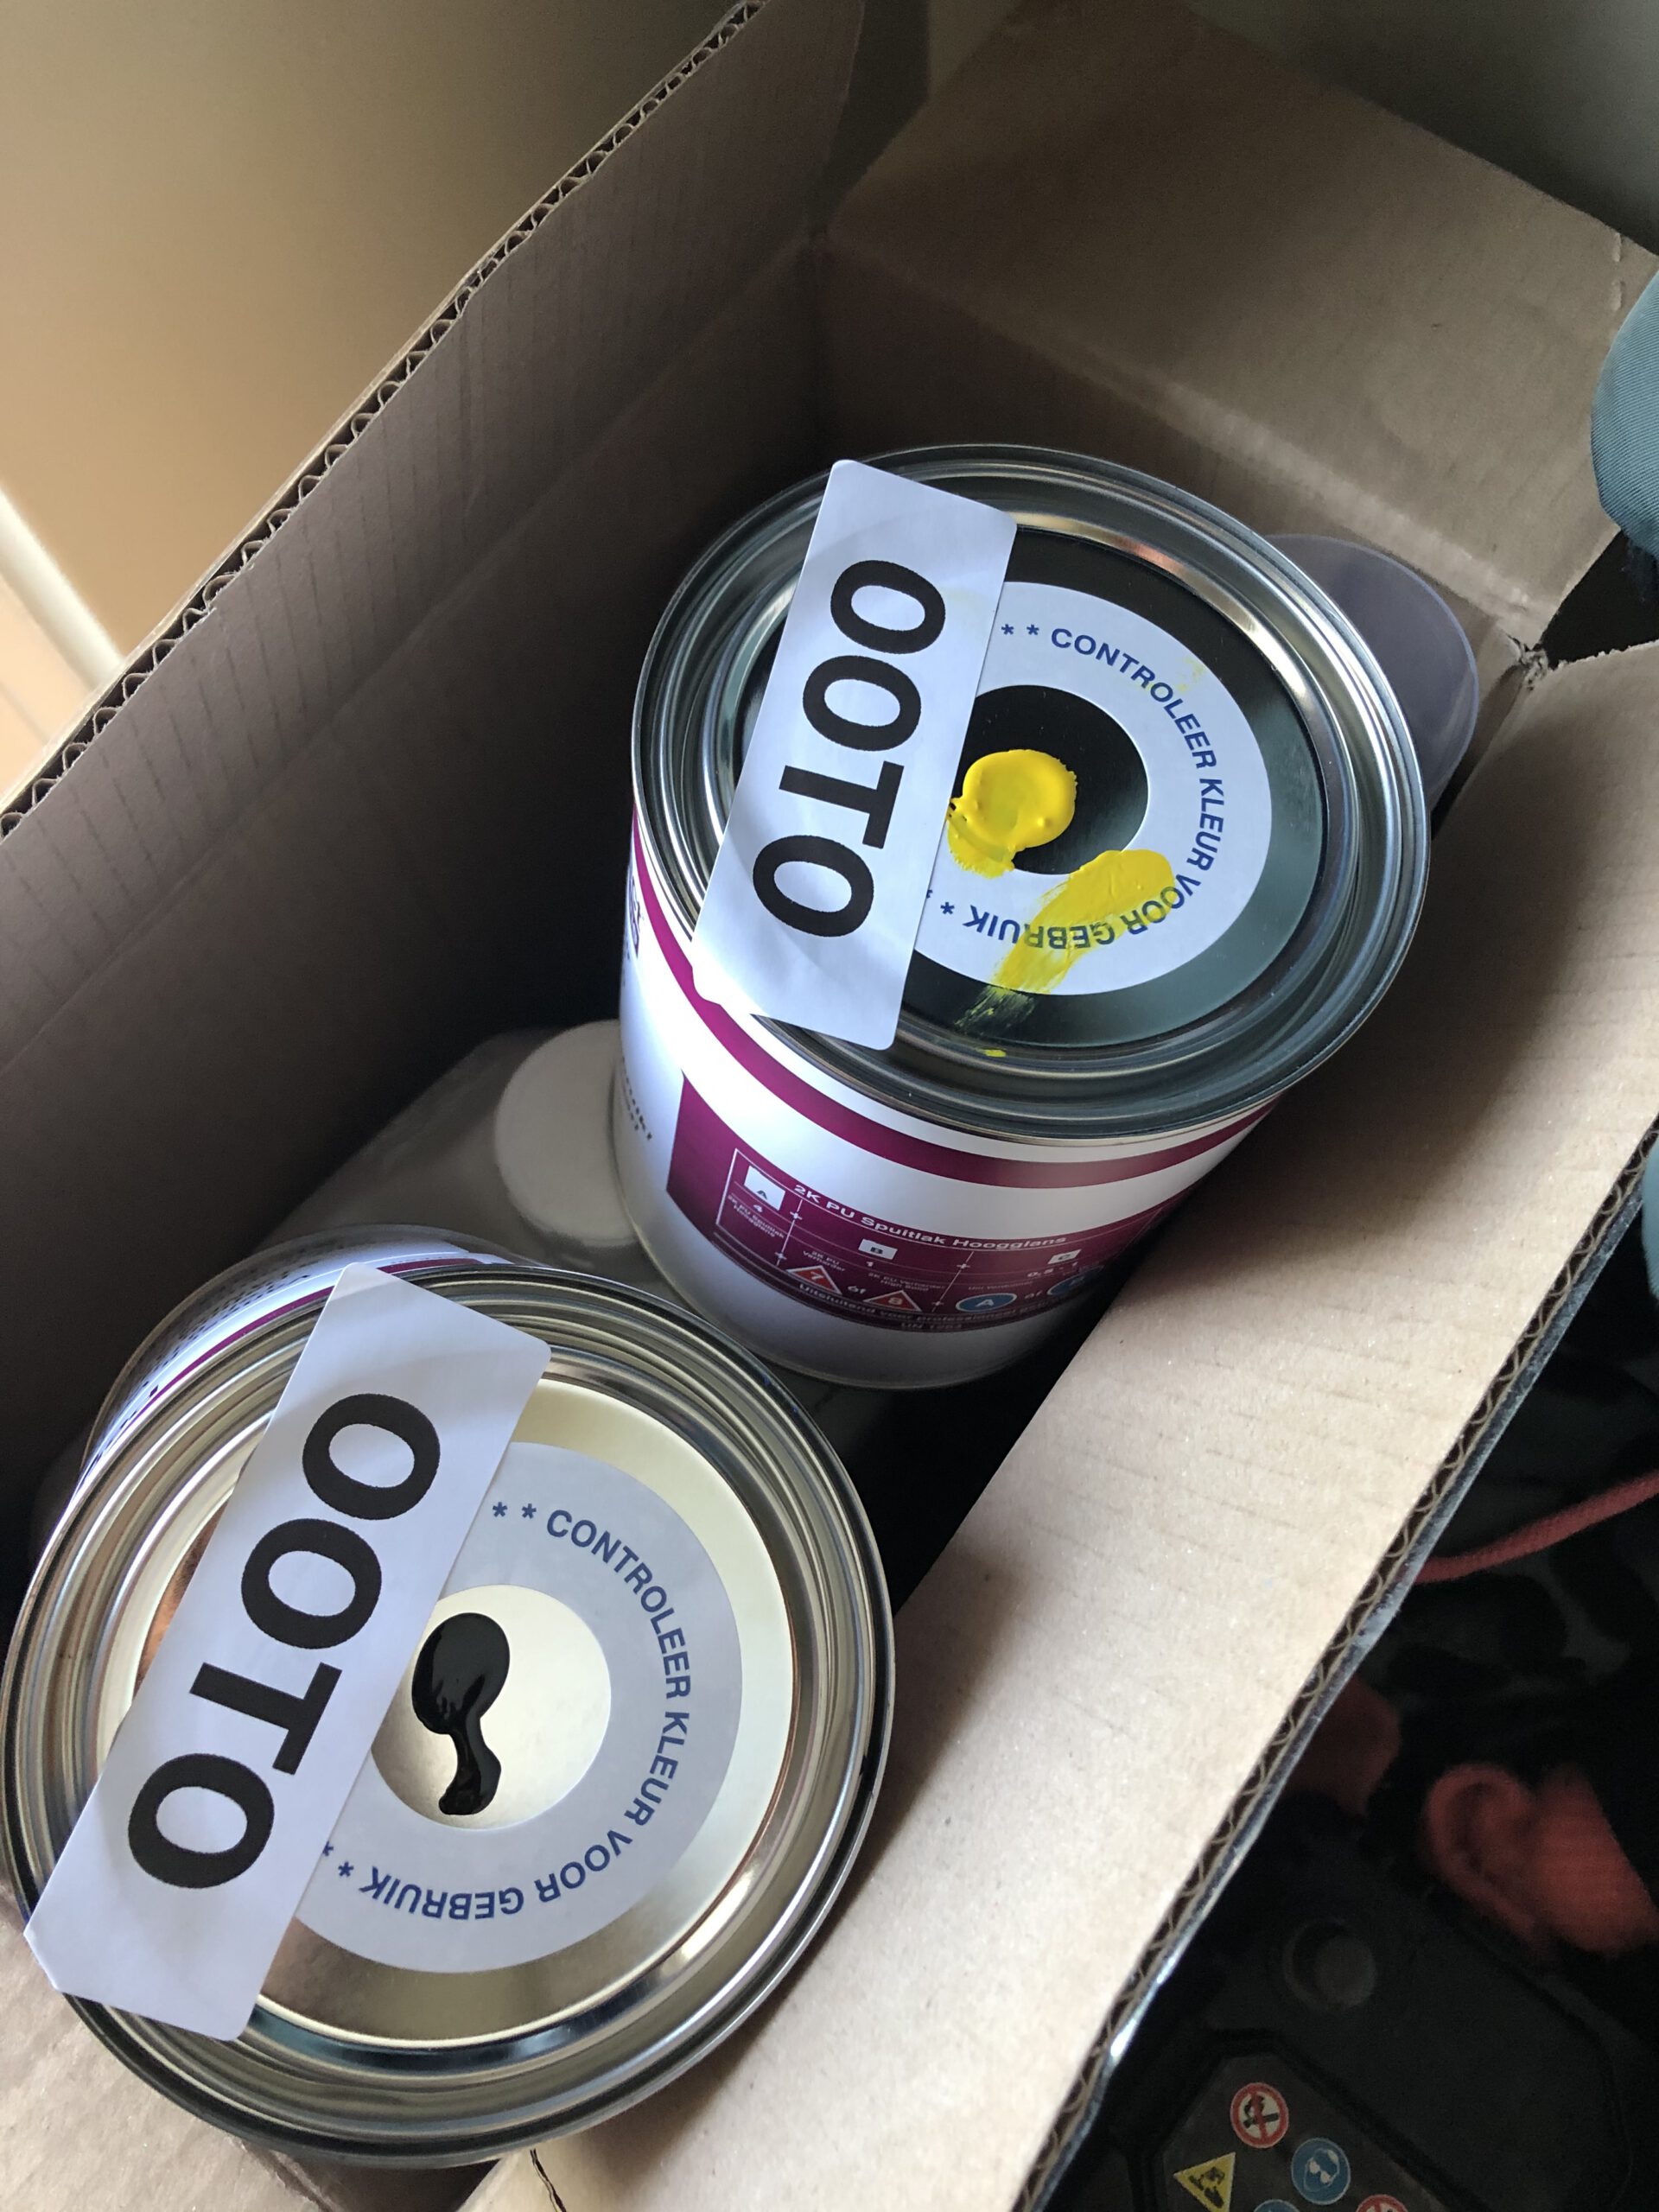
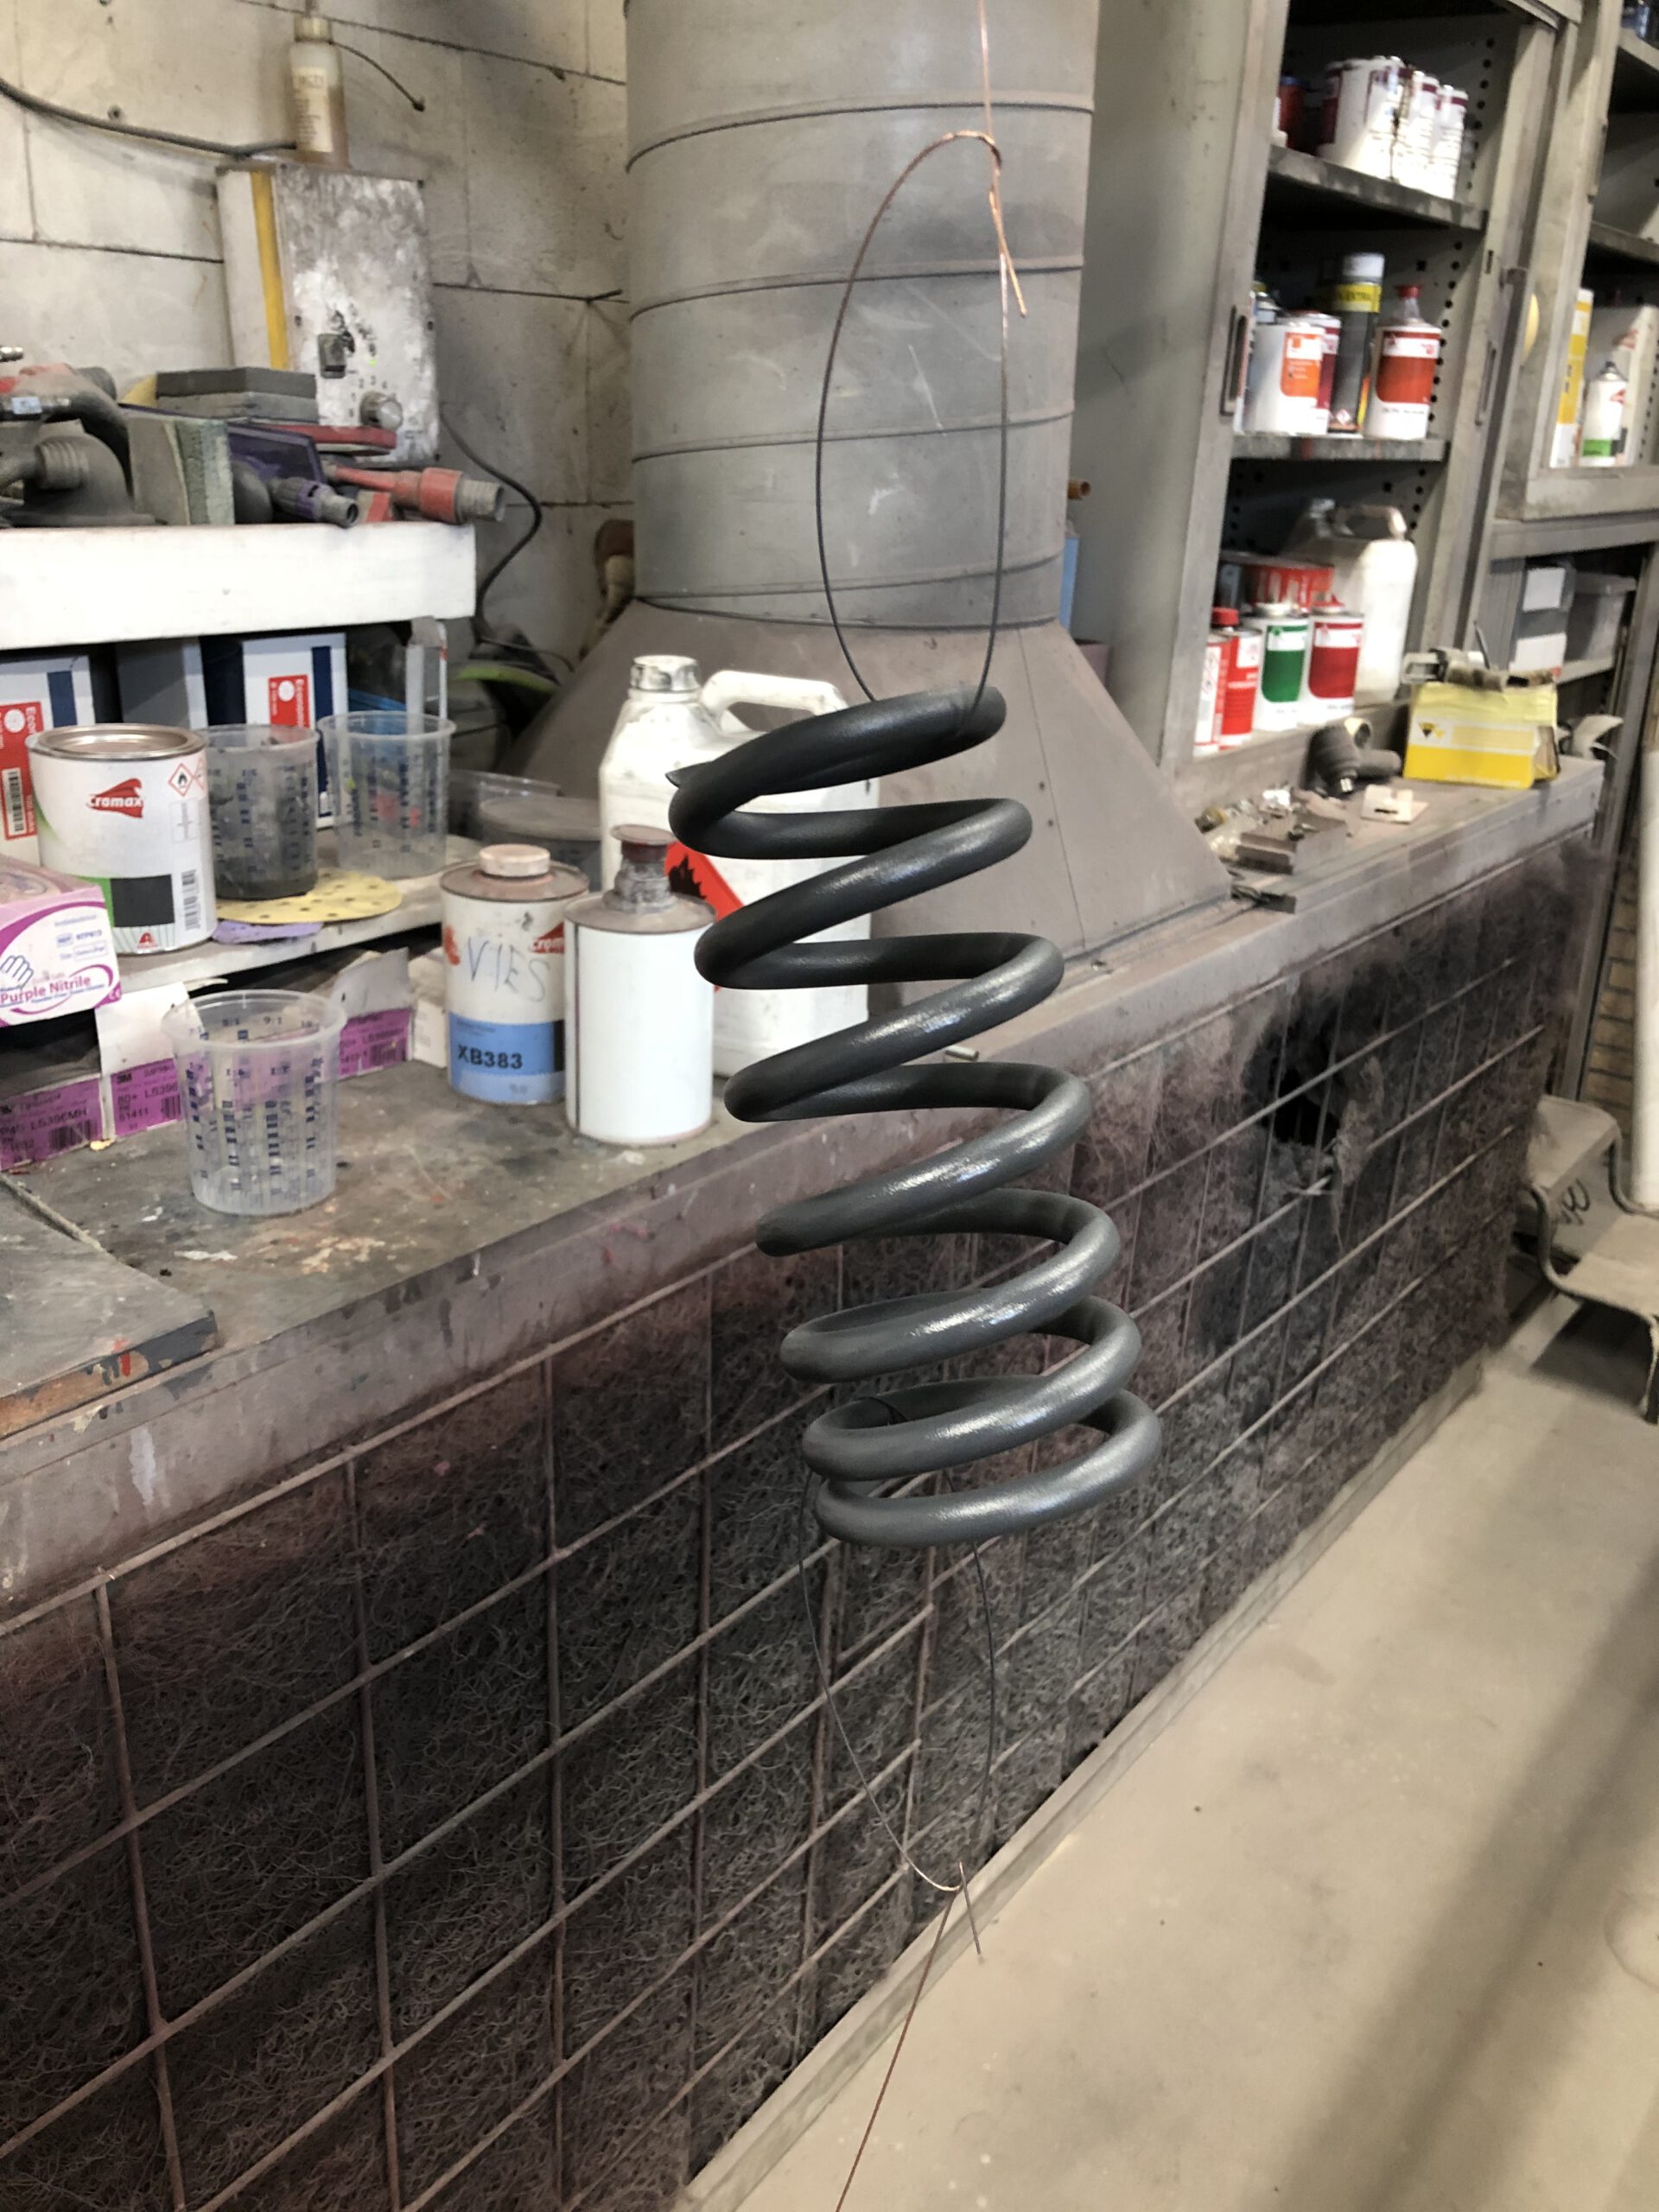
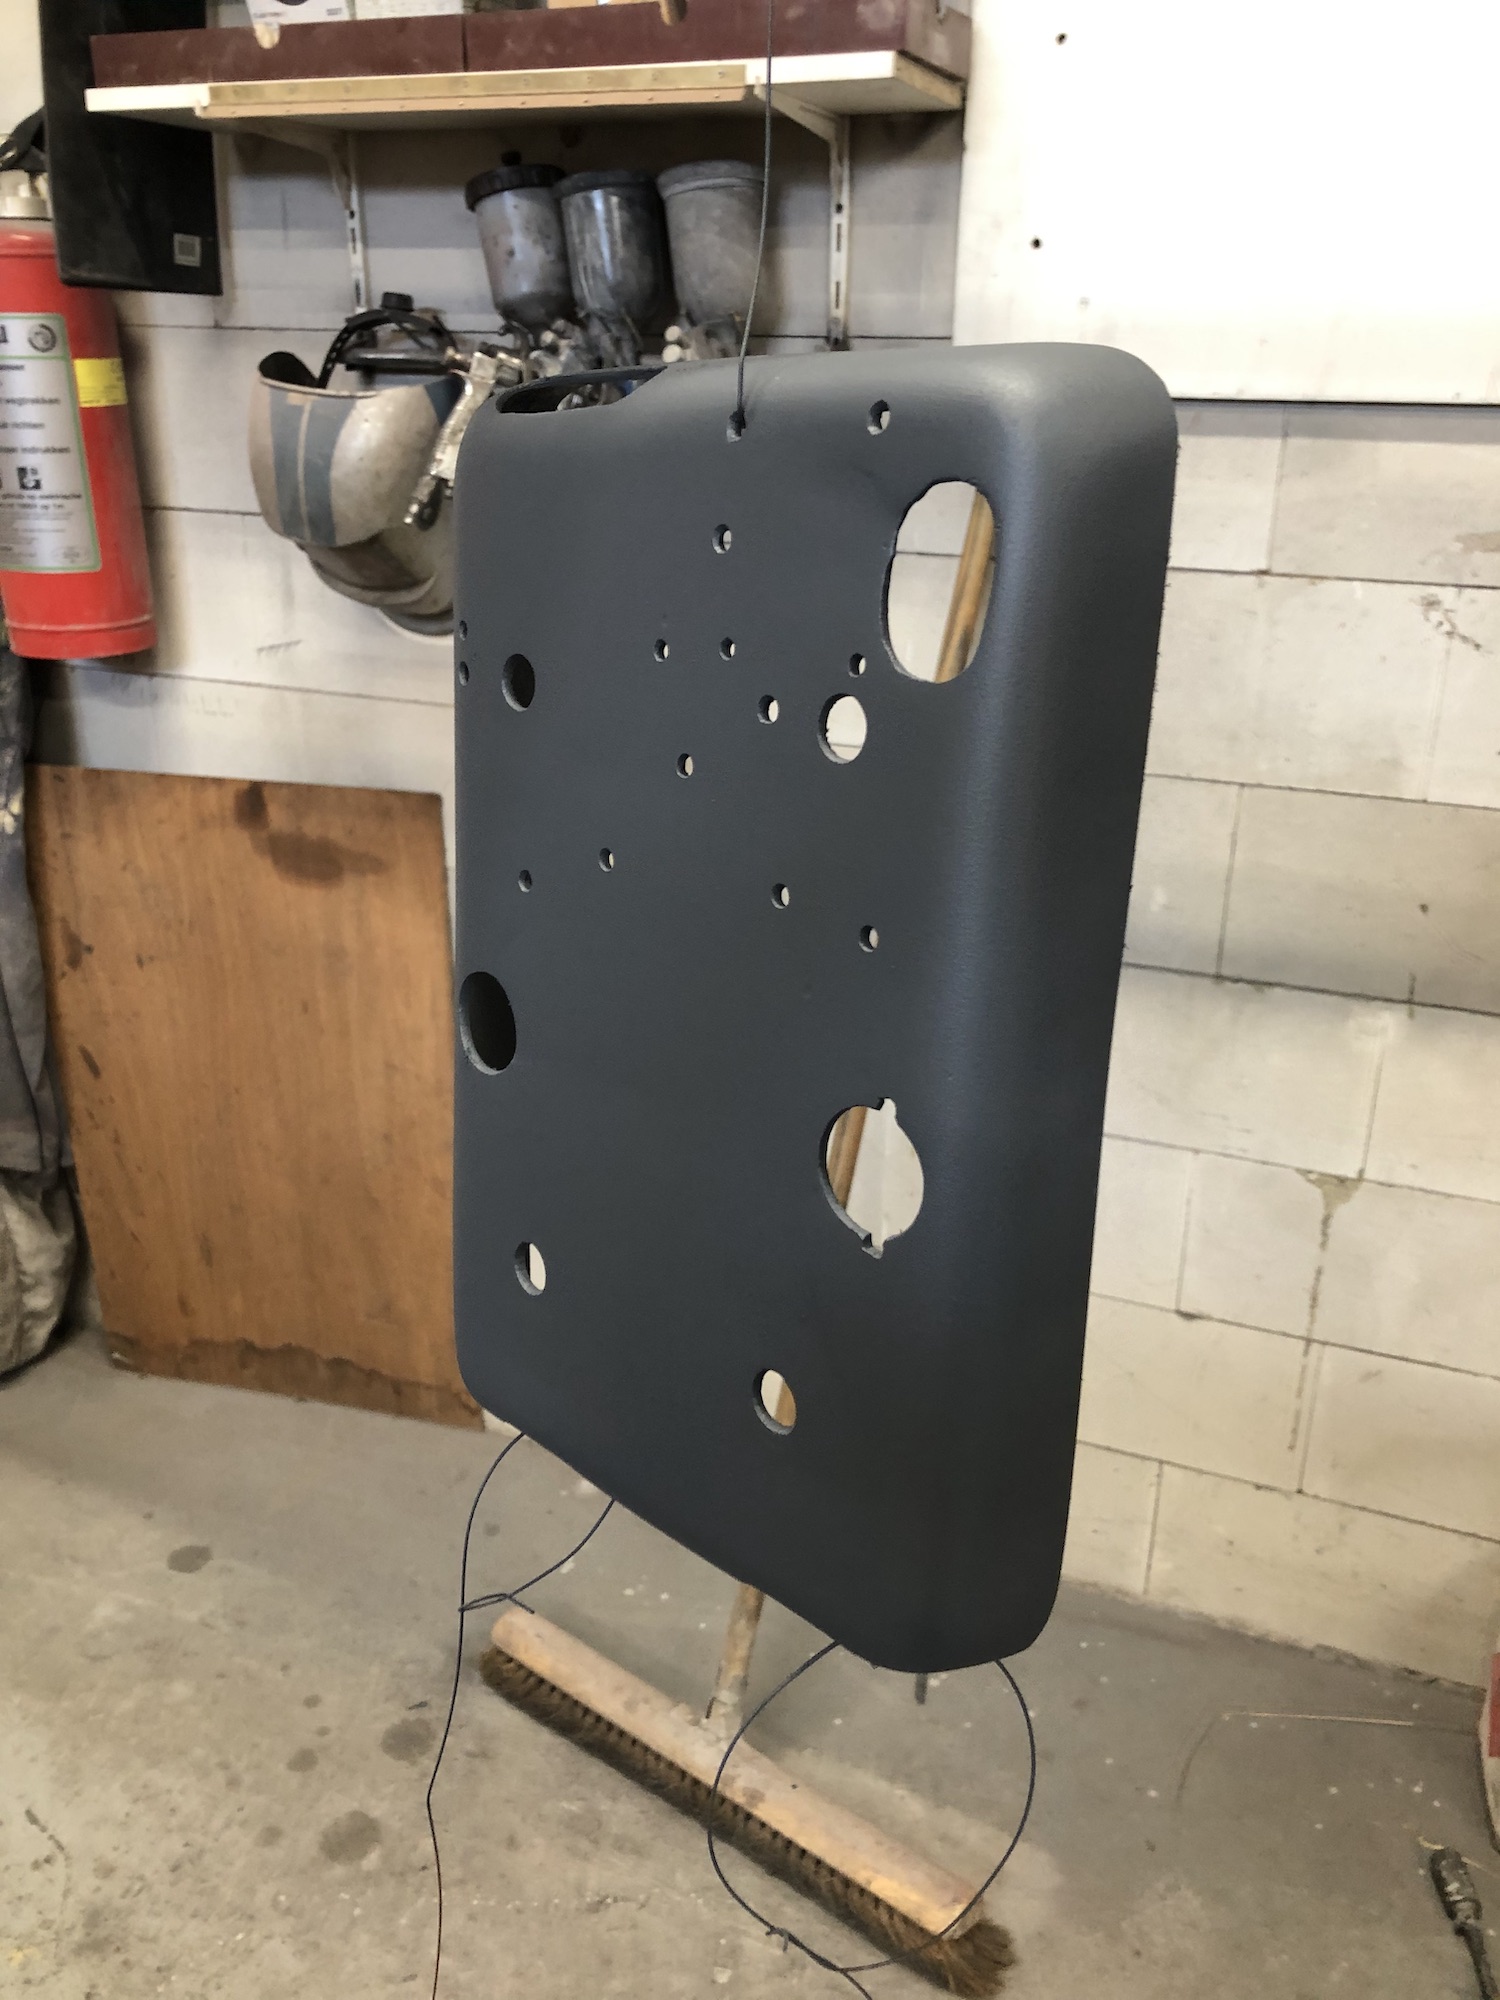
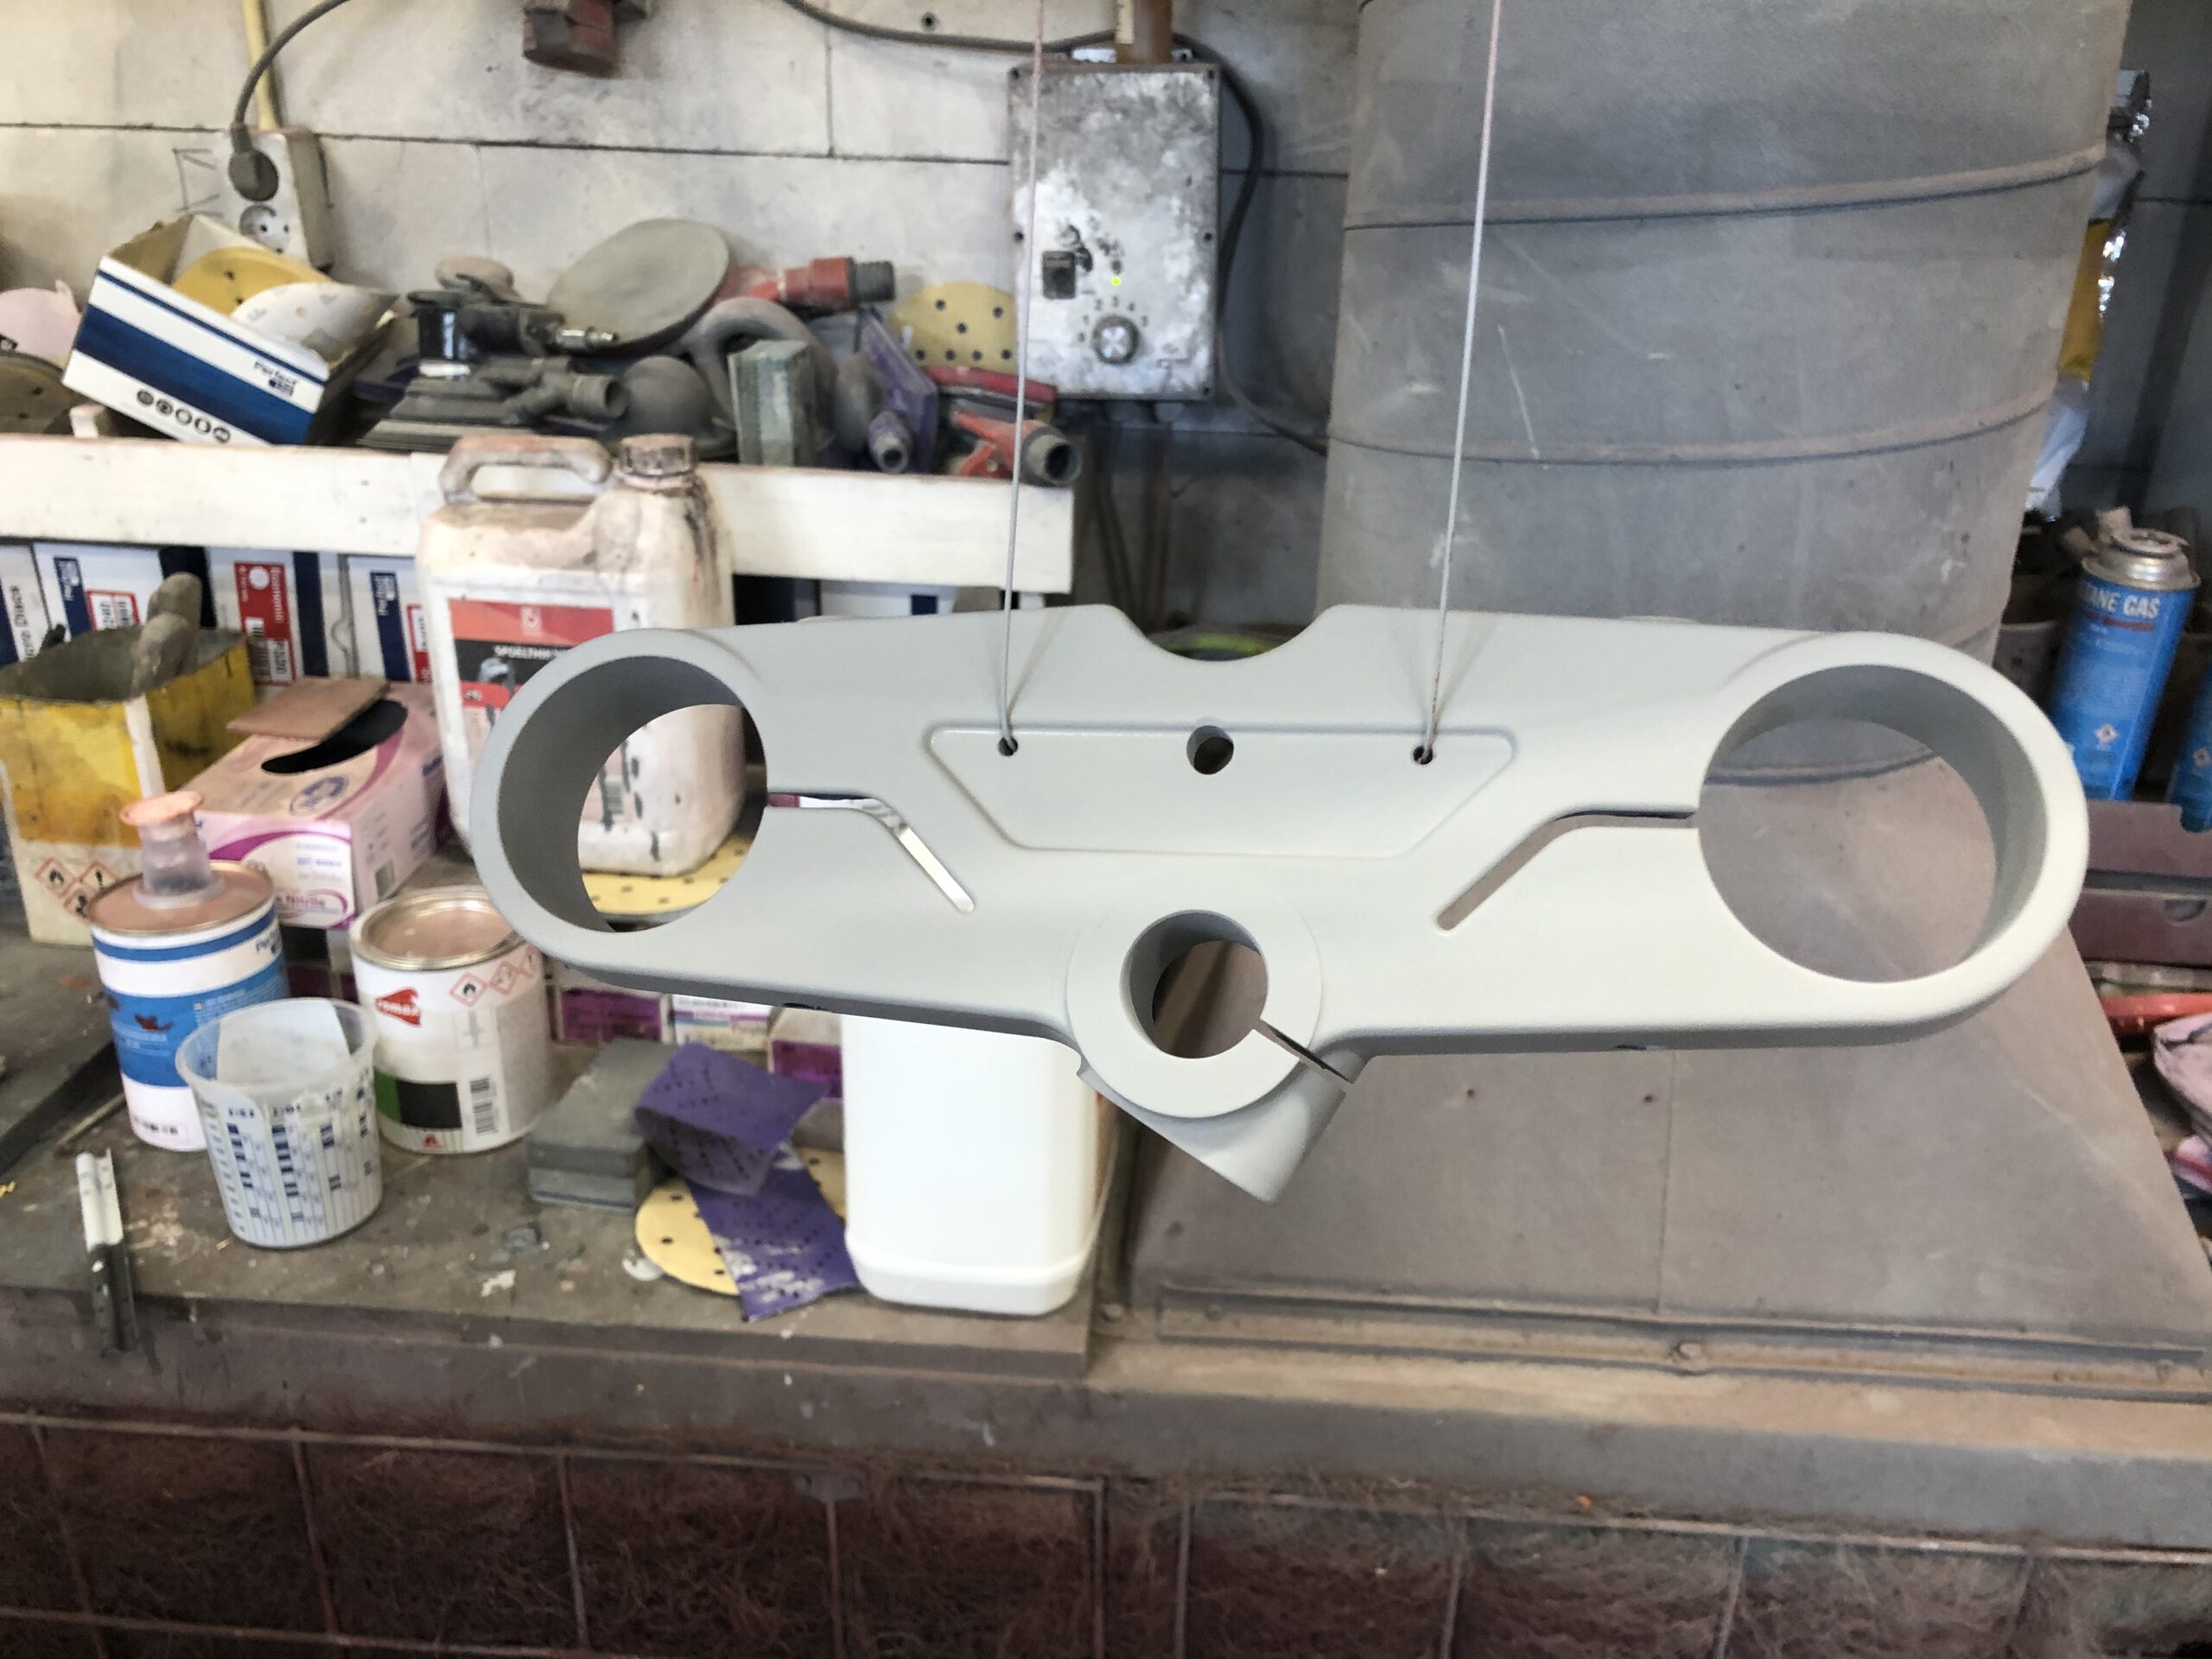
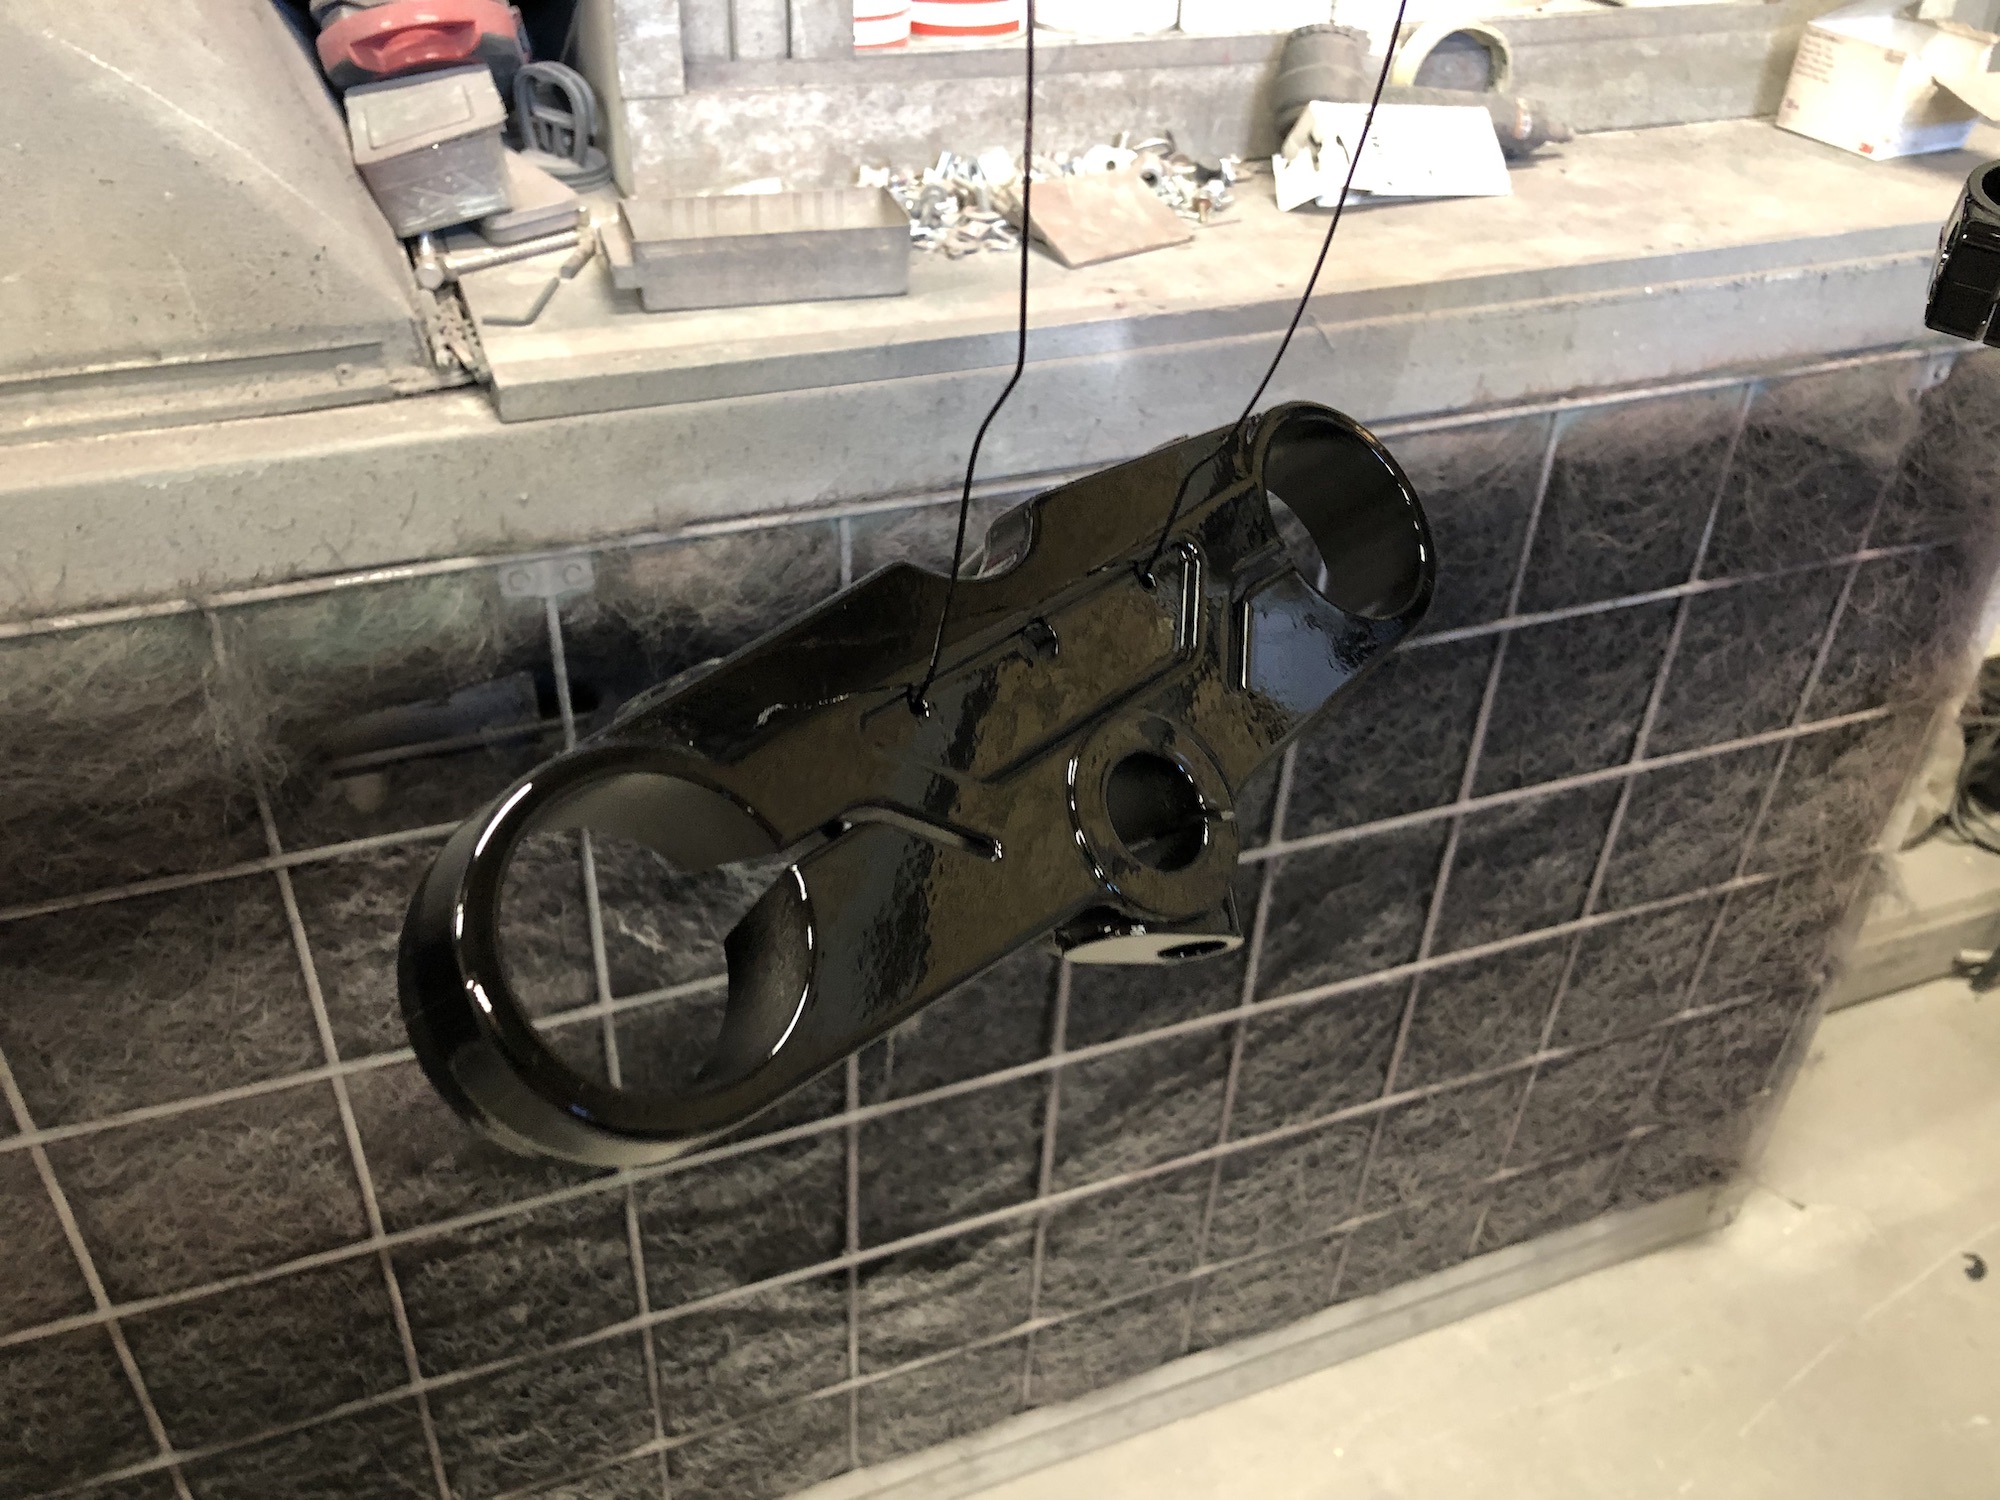
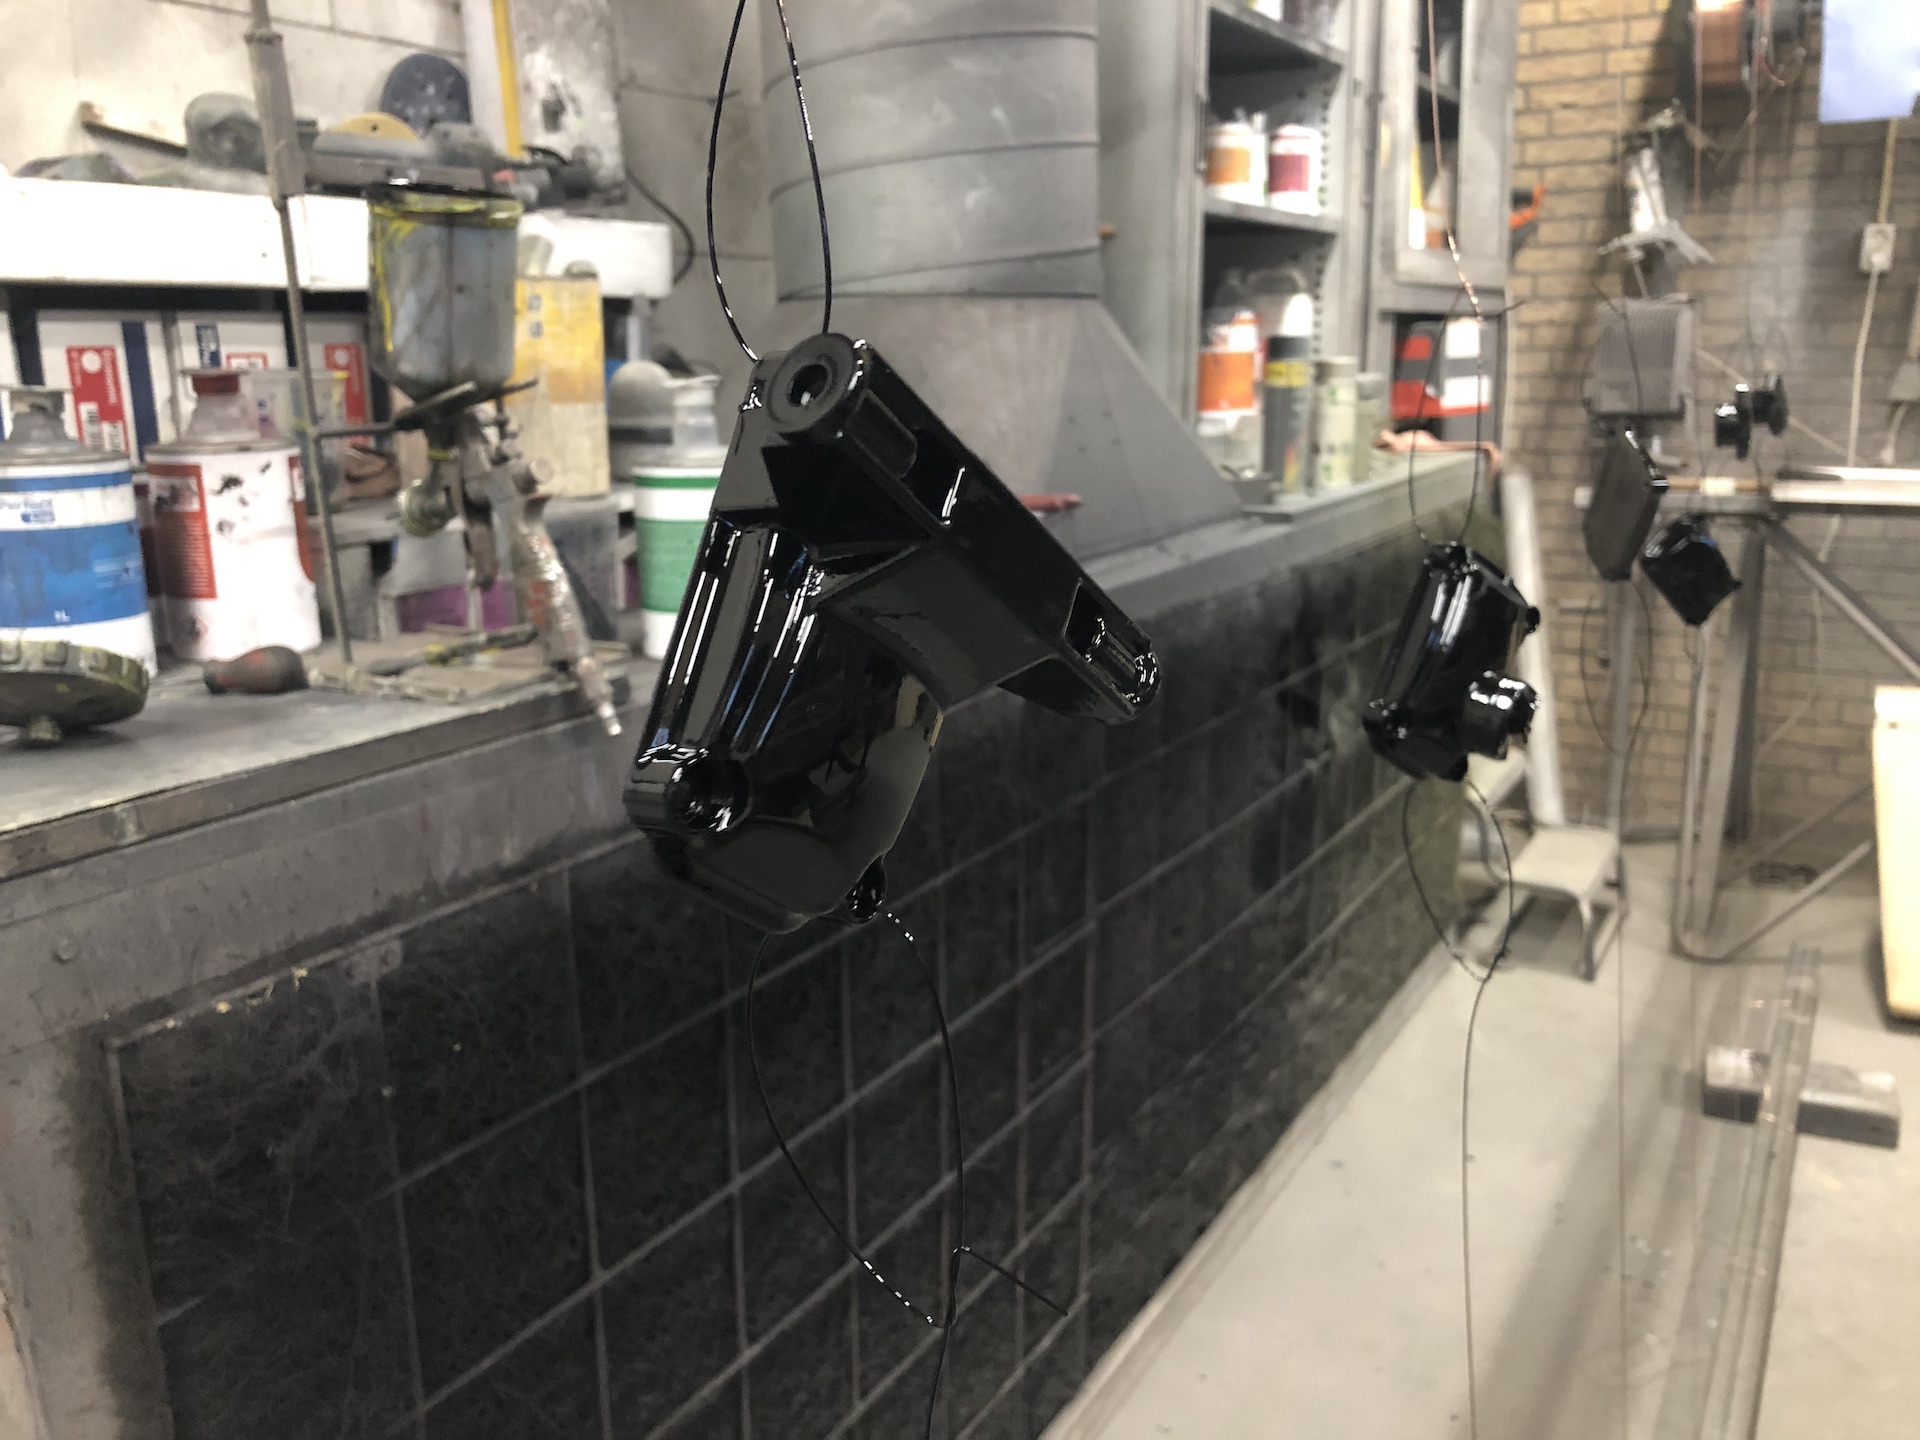
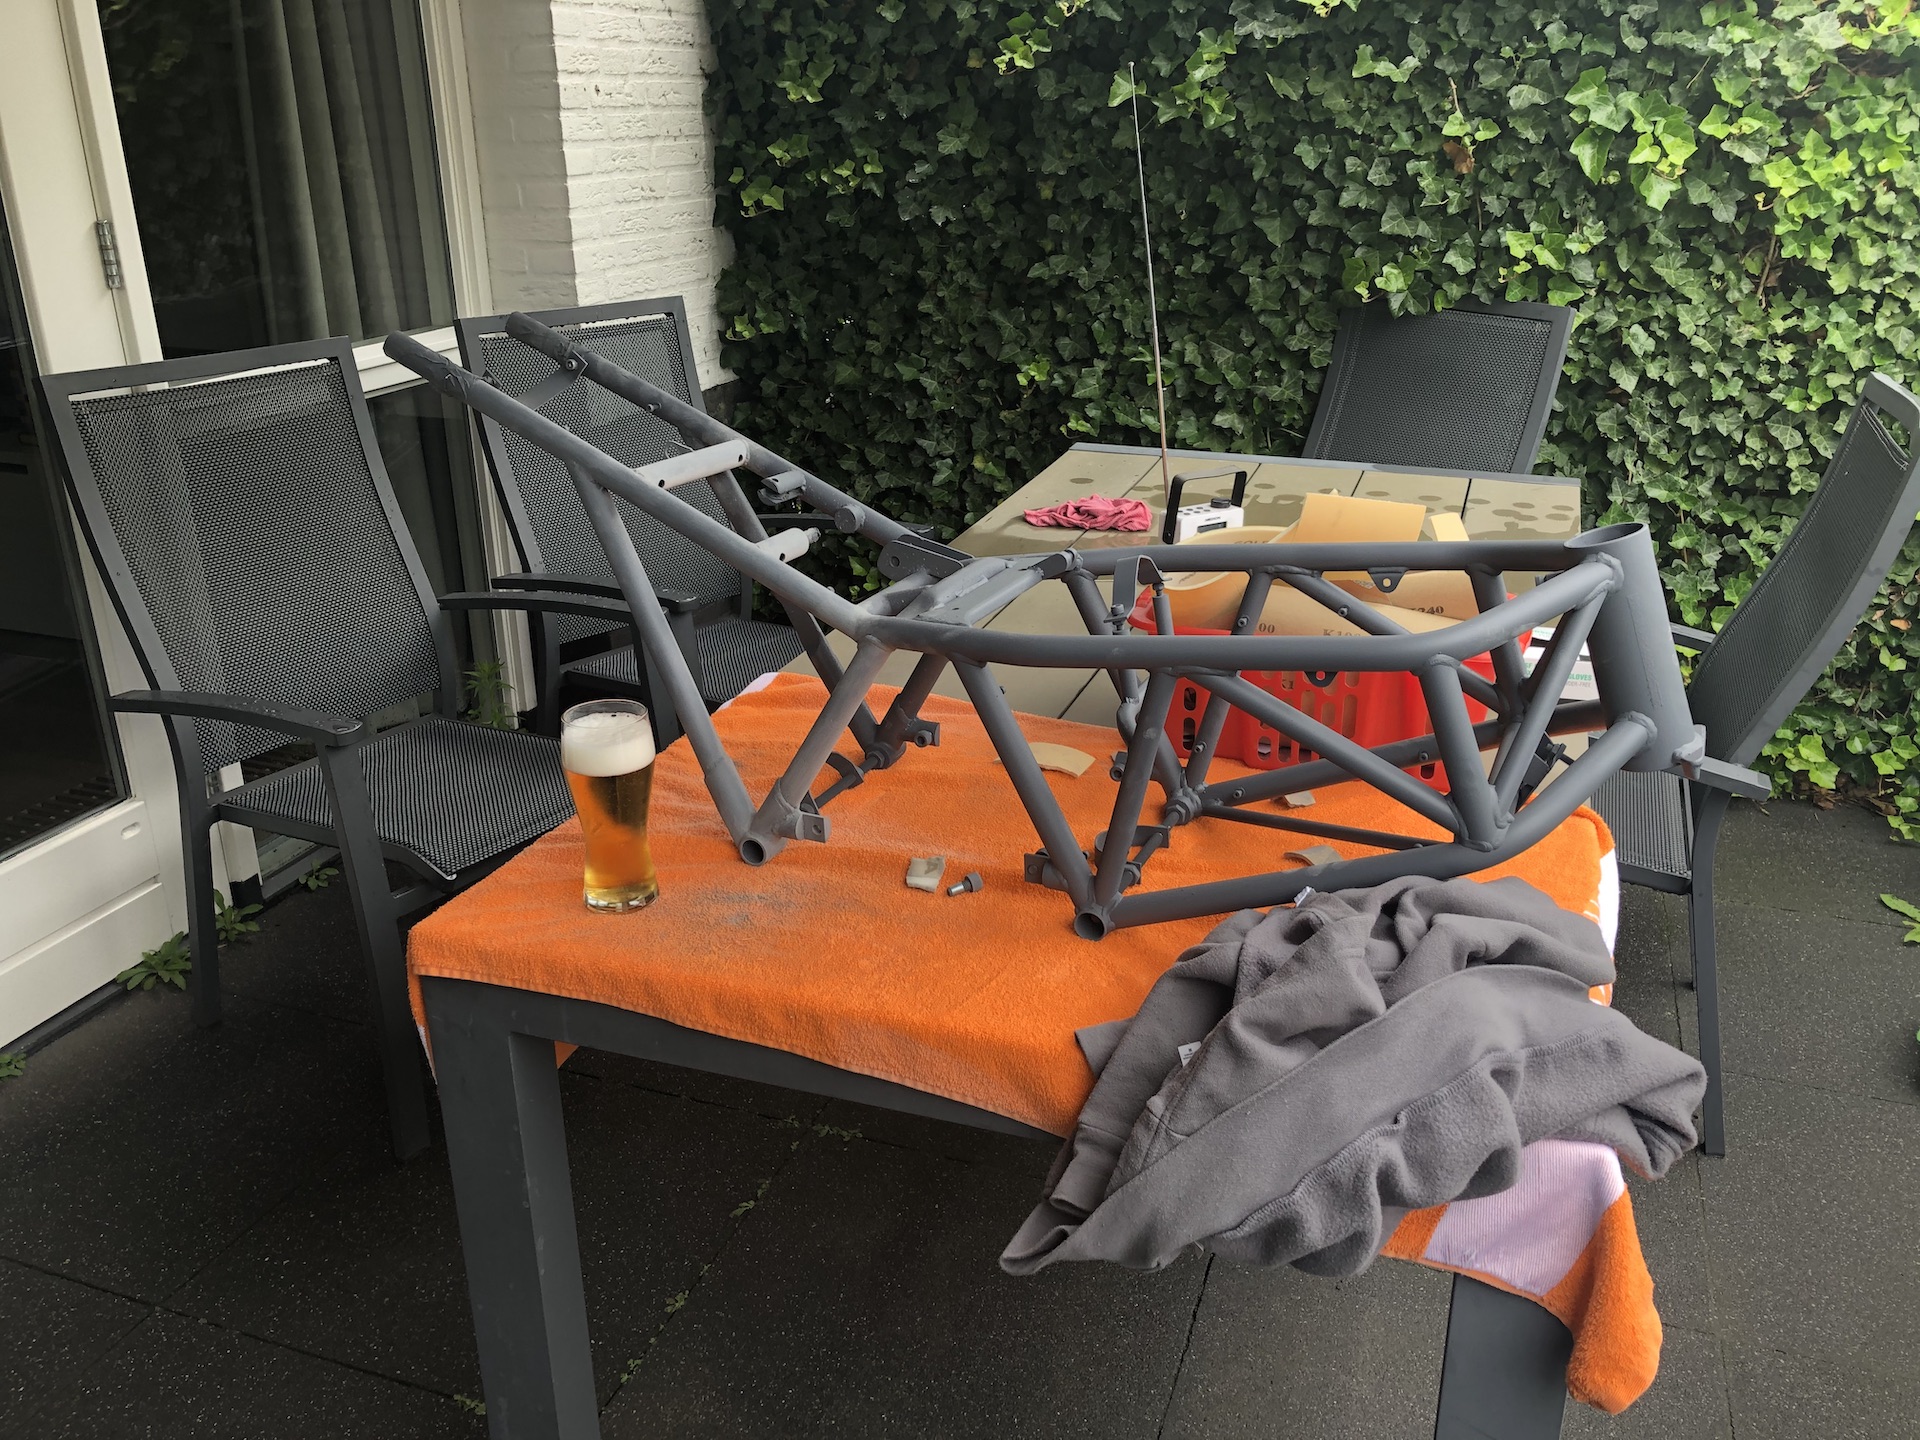
STARTING PAINT
Never worked with a paint gun before, but managed to get the first pieces done (thanks Cees).


FINISHING SMALL JOBS PART 2
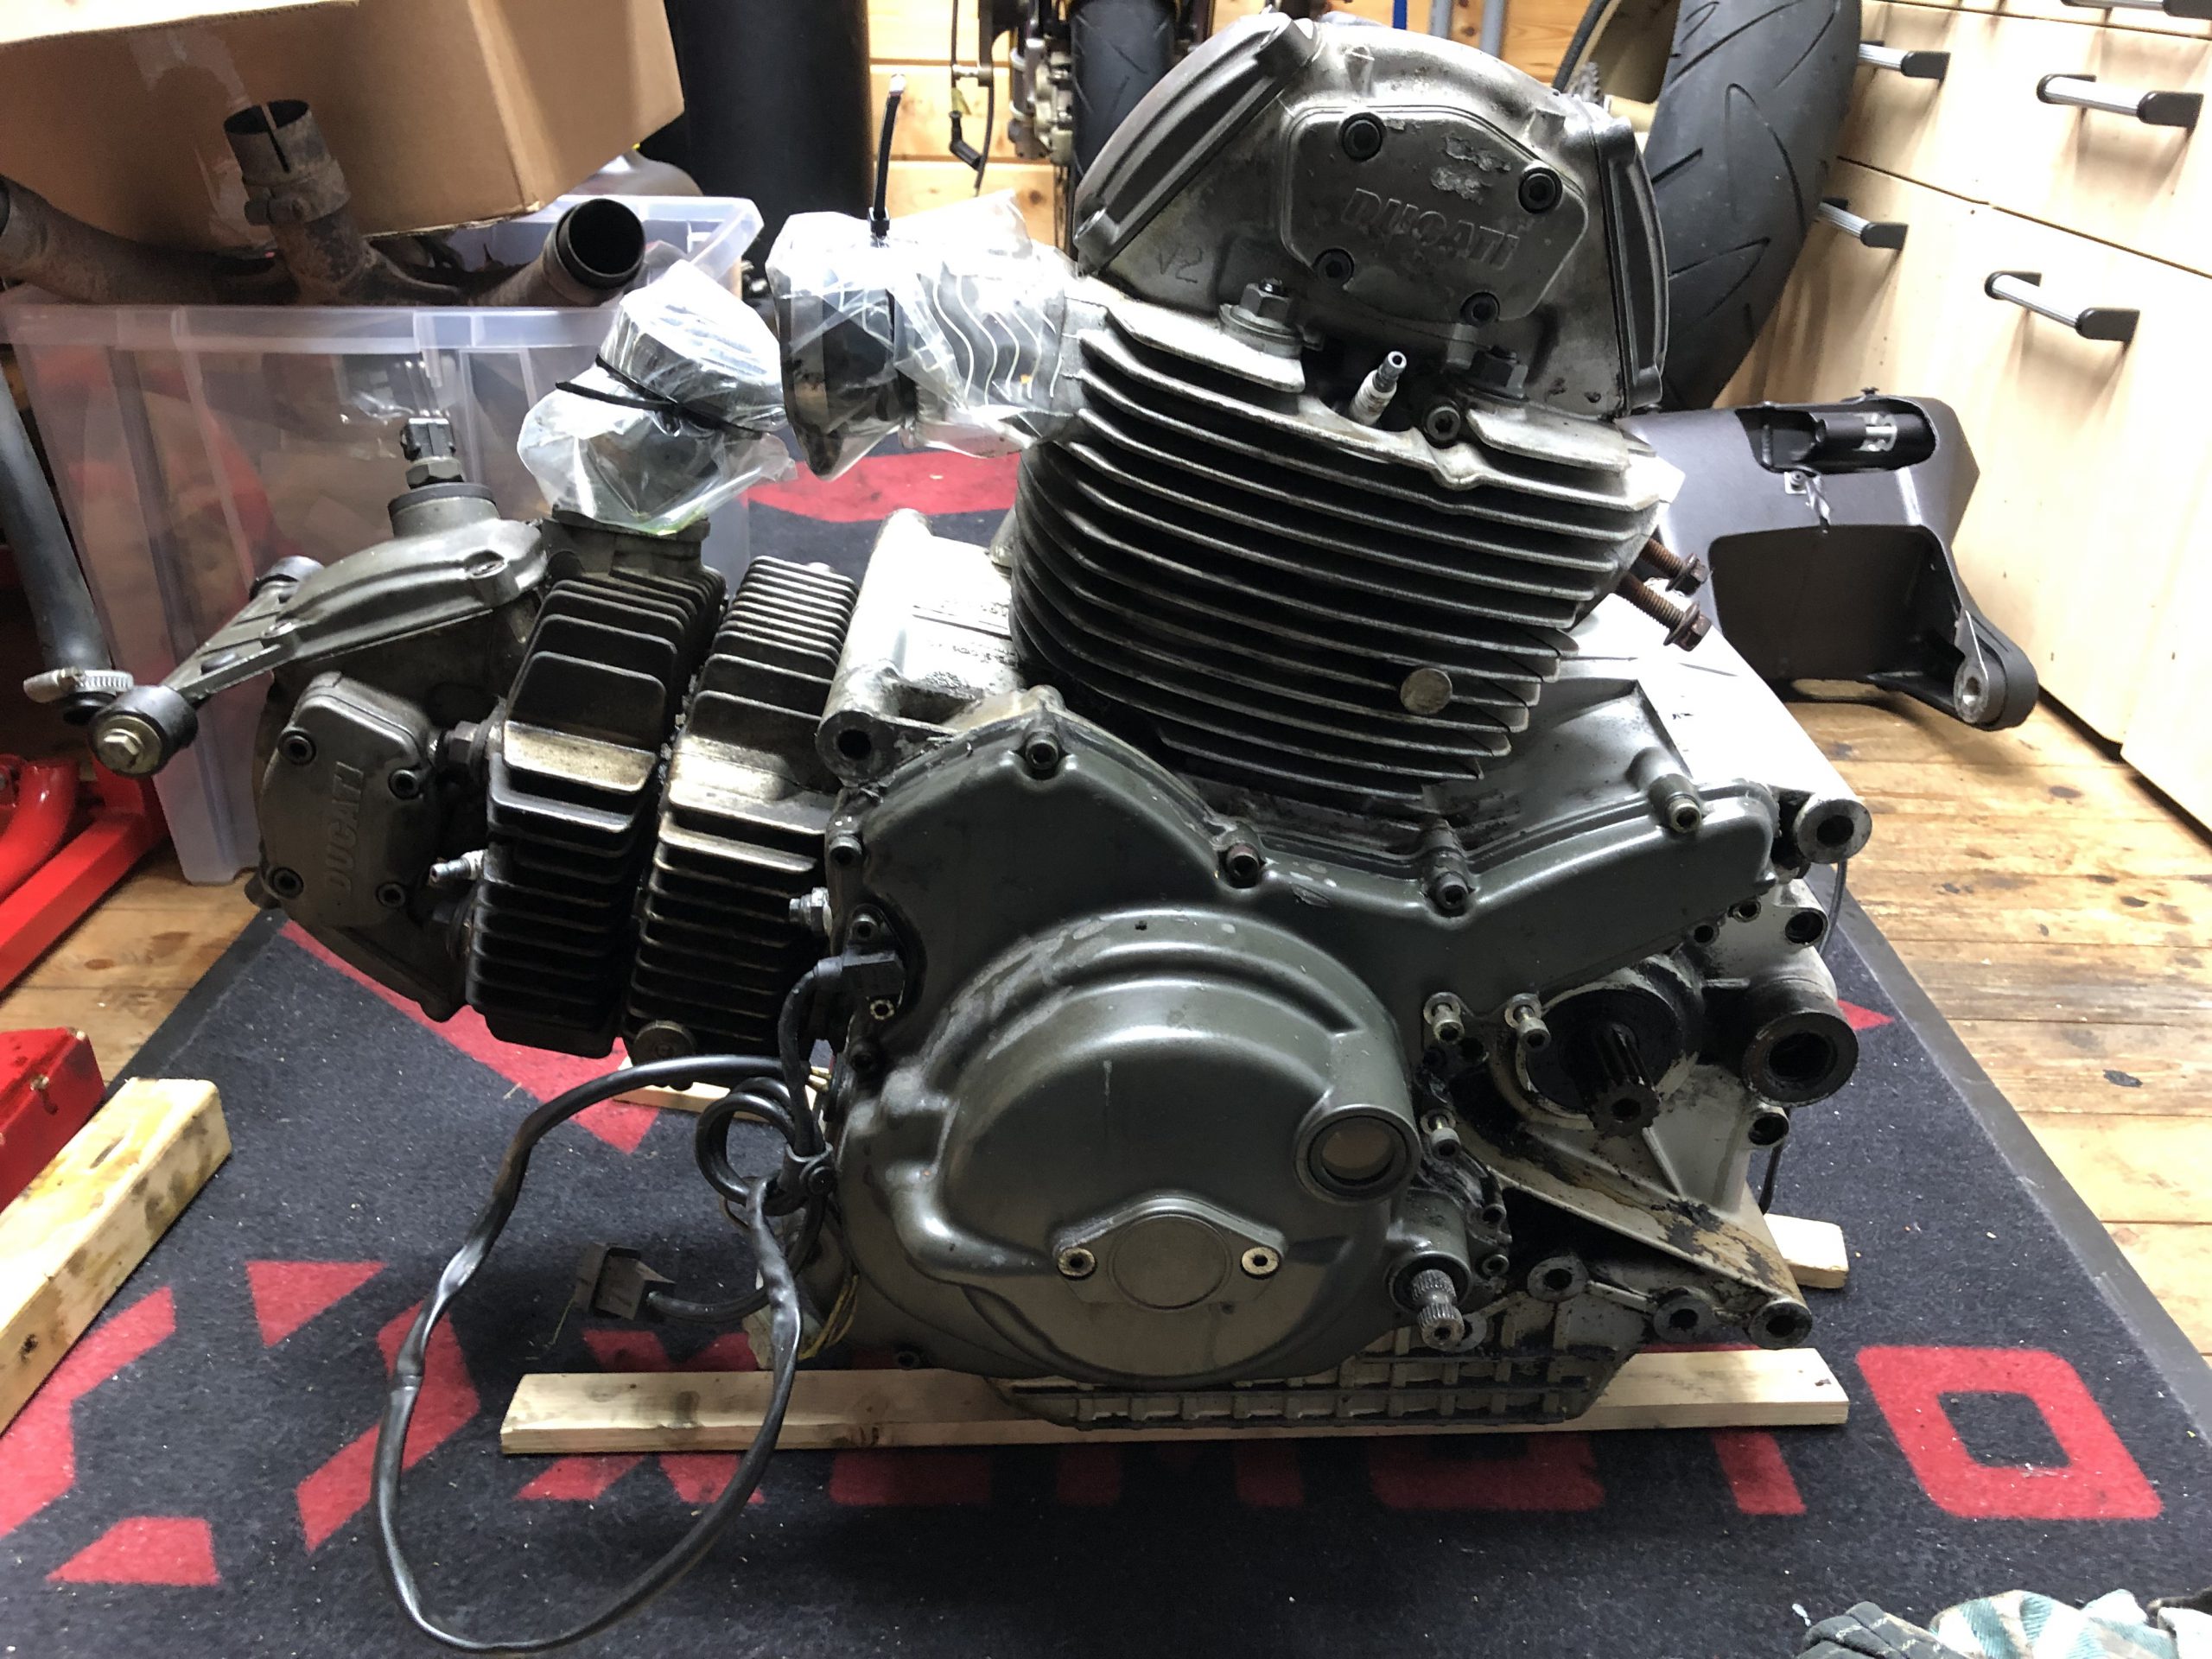
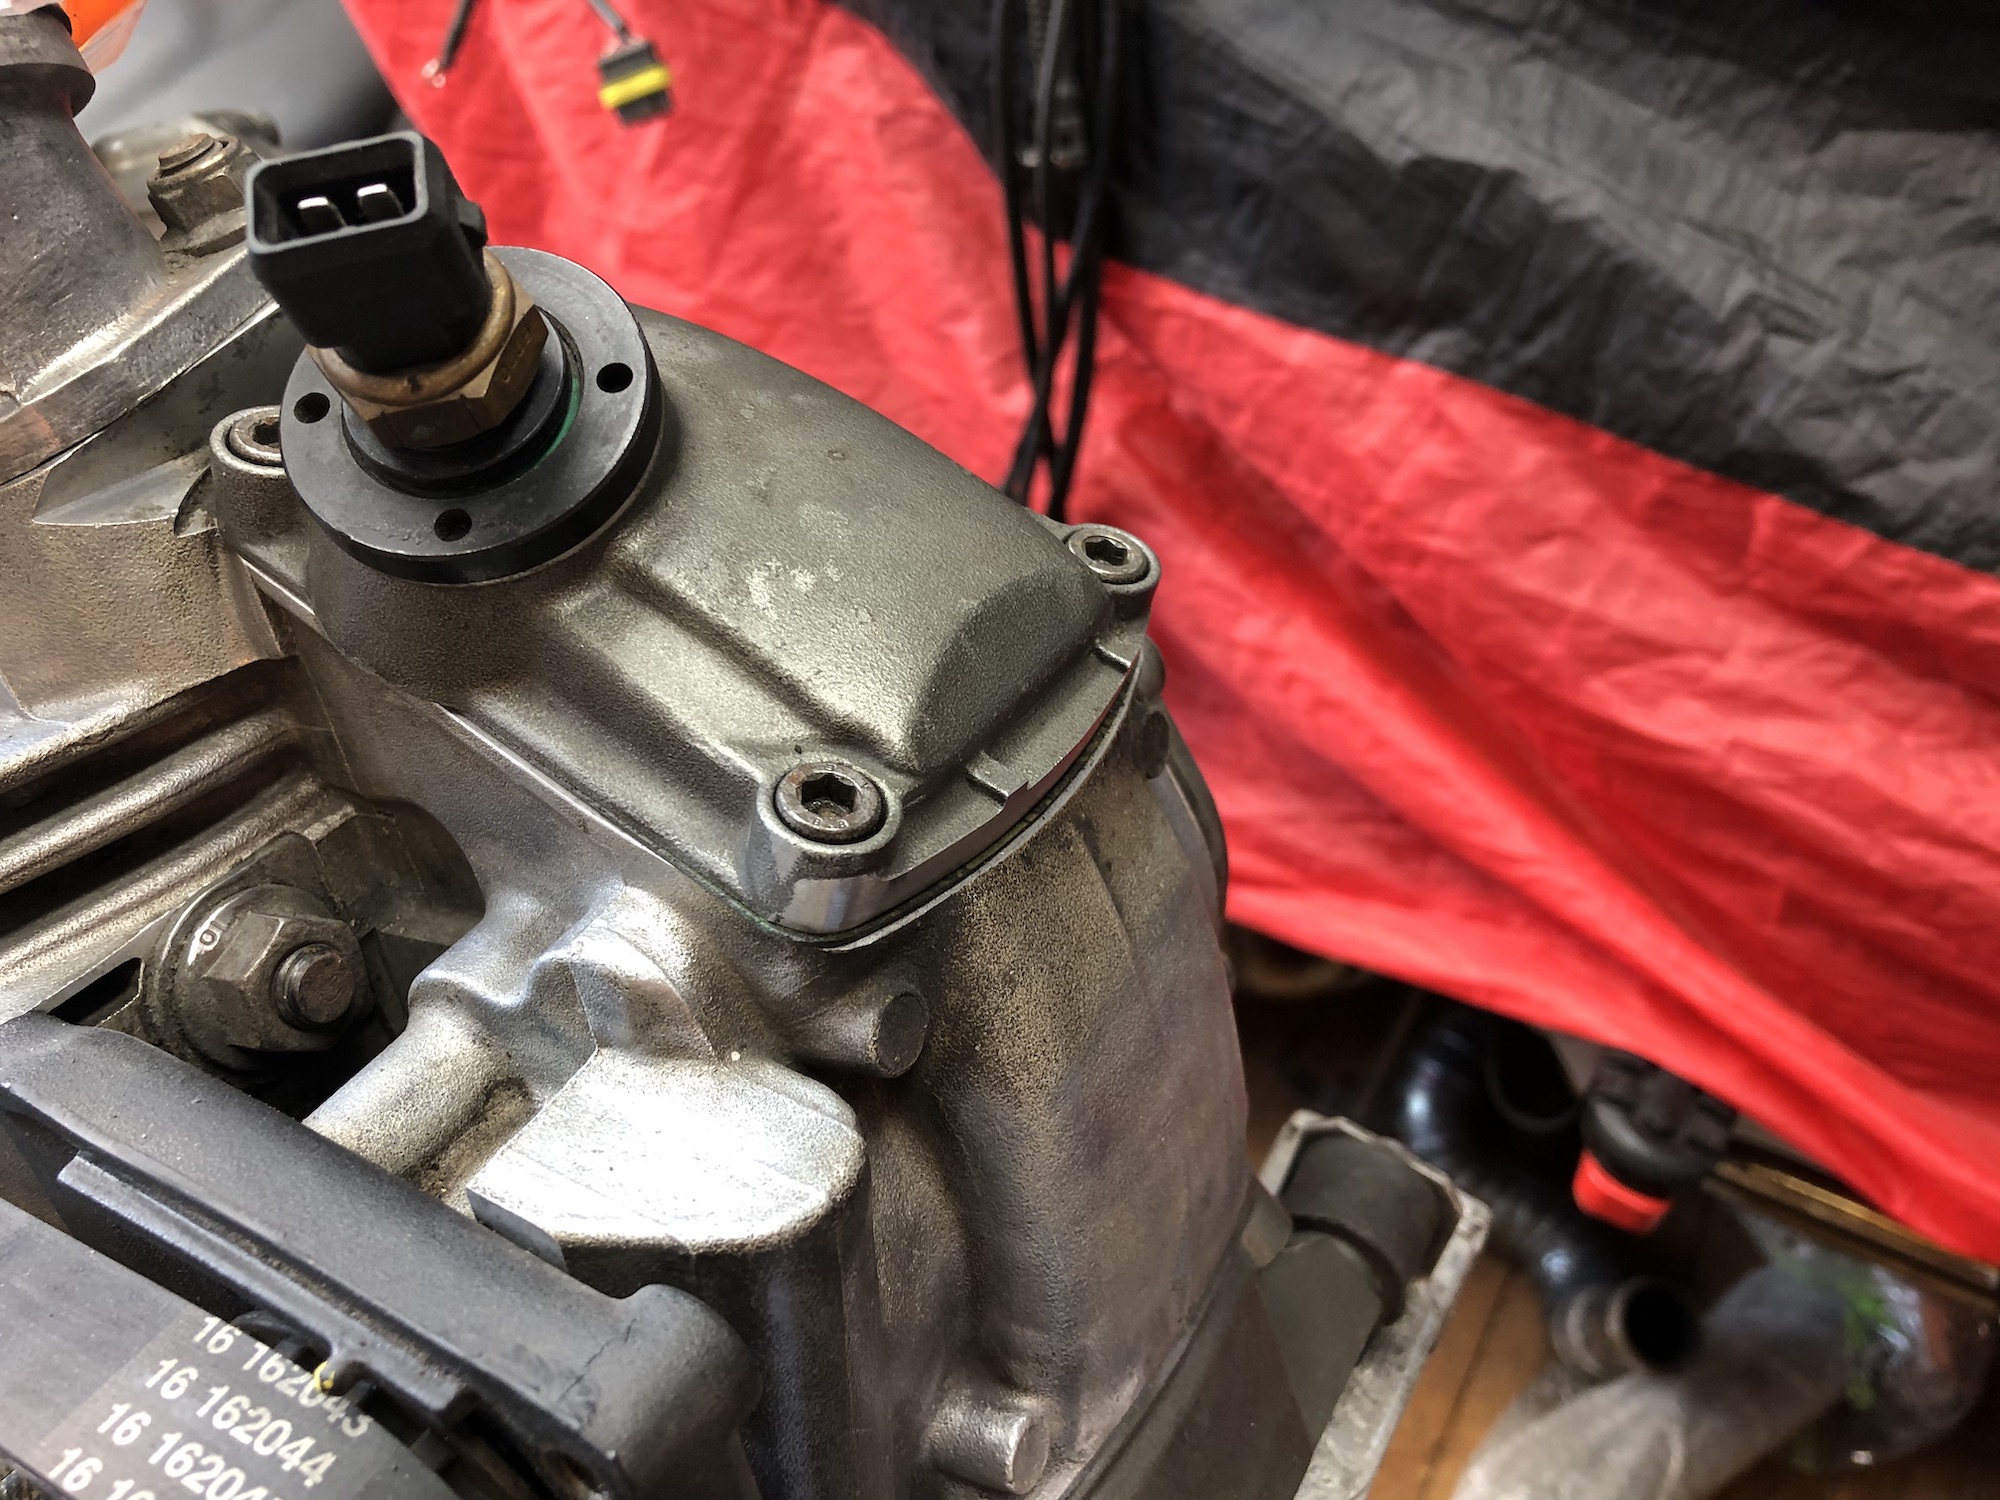
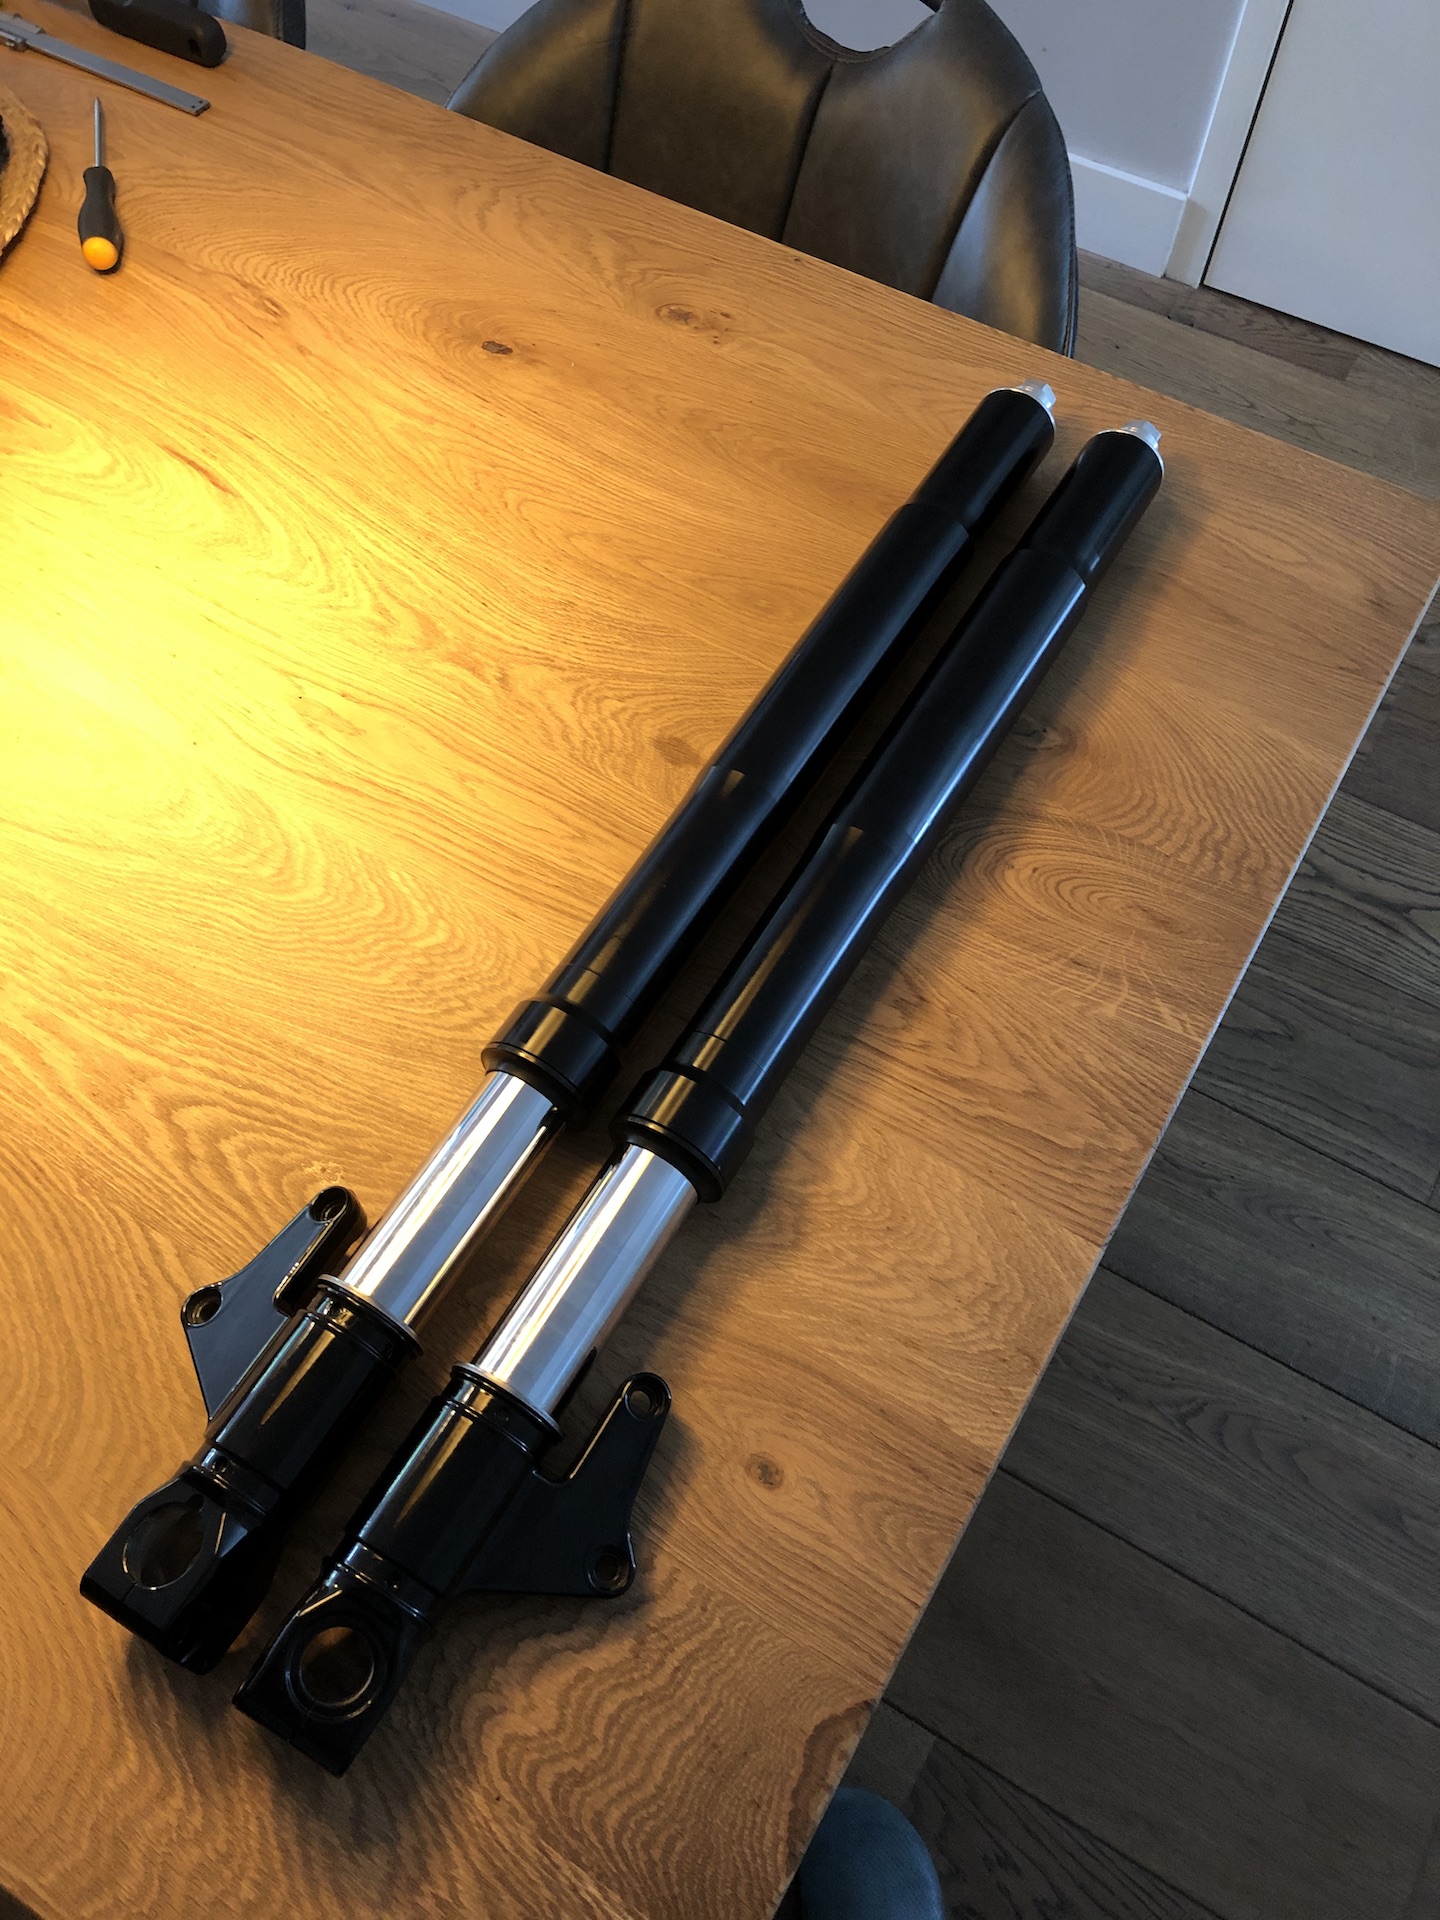
Finished some small jobs while the frame is waiting to be dropped of for sand blasting, and paint is drying in the paint booth :). Grinded down the horizontal cylinder top valve cover to remove the bracket for the oil cooler. Welded up the tank clip system. Painted the brake/clutch cylinders with matt clearcoat so the raw alu is protected. Picked up the front fork tubes, got them annodized black. Finished cleaning the engine, wont get any cleaner then this. Going to touch up the damaged paint later on on the engine.


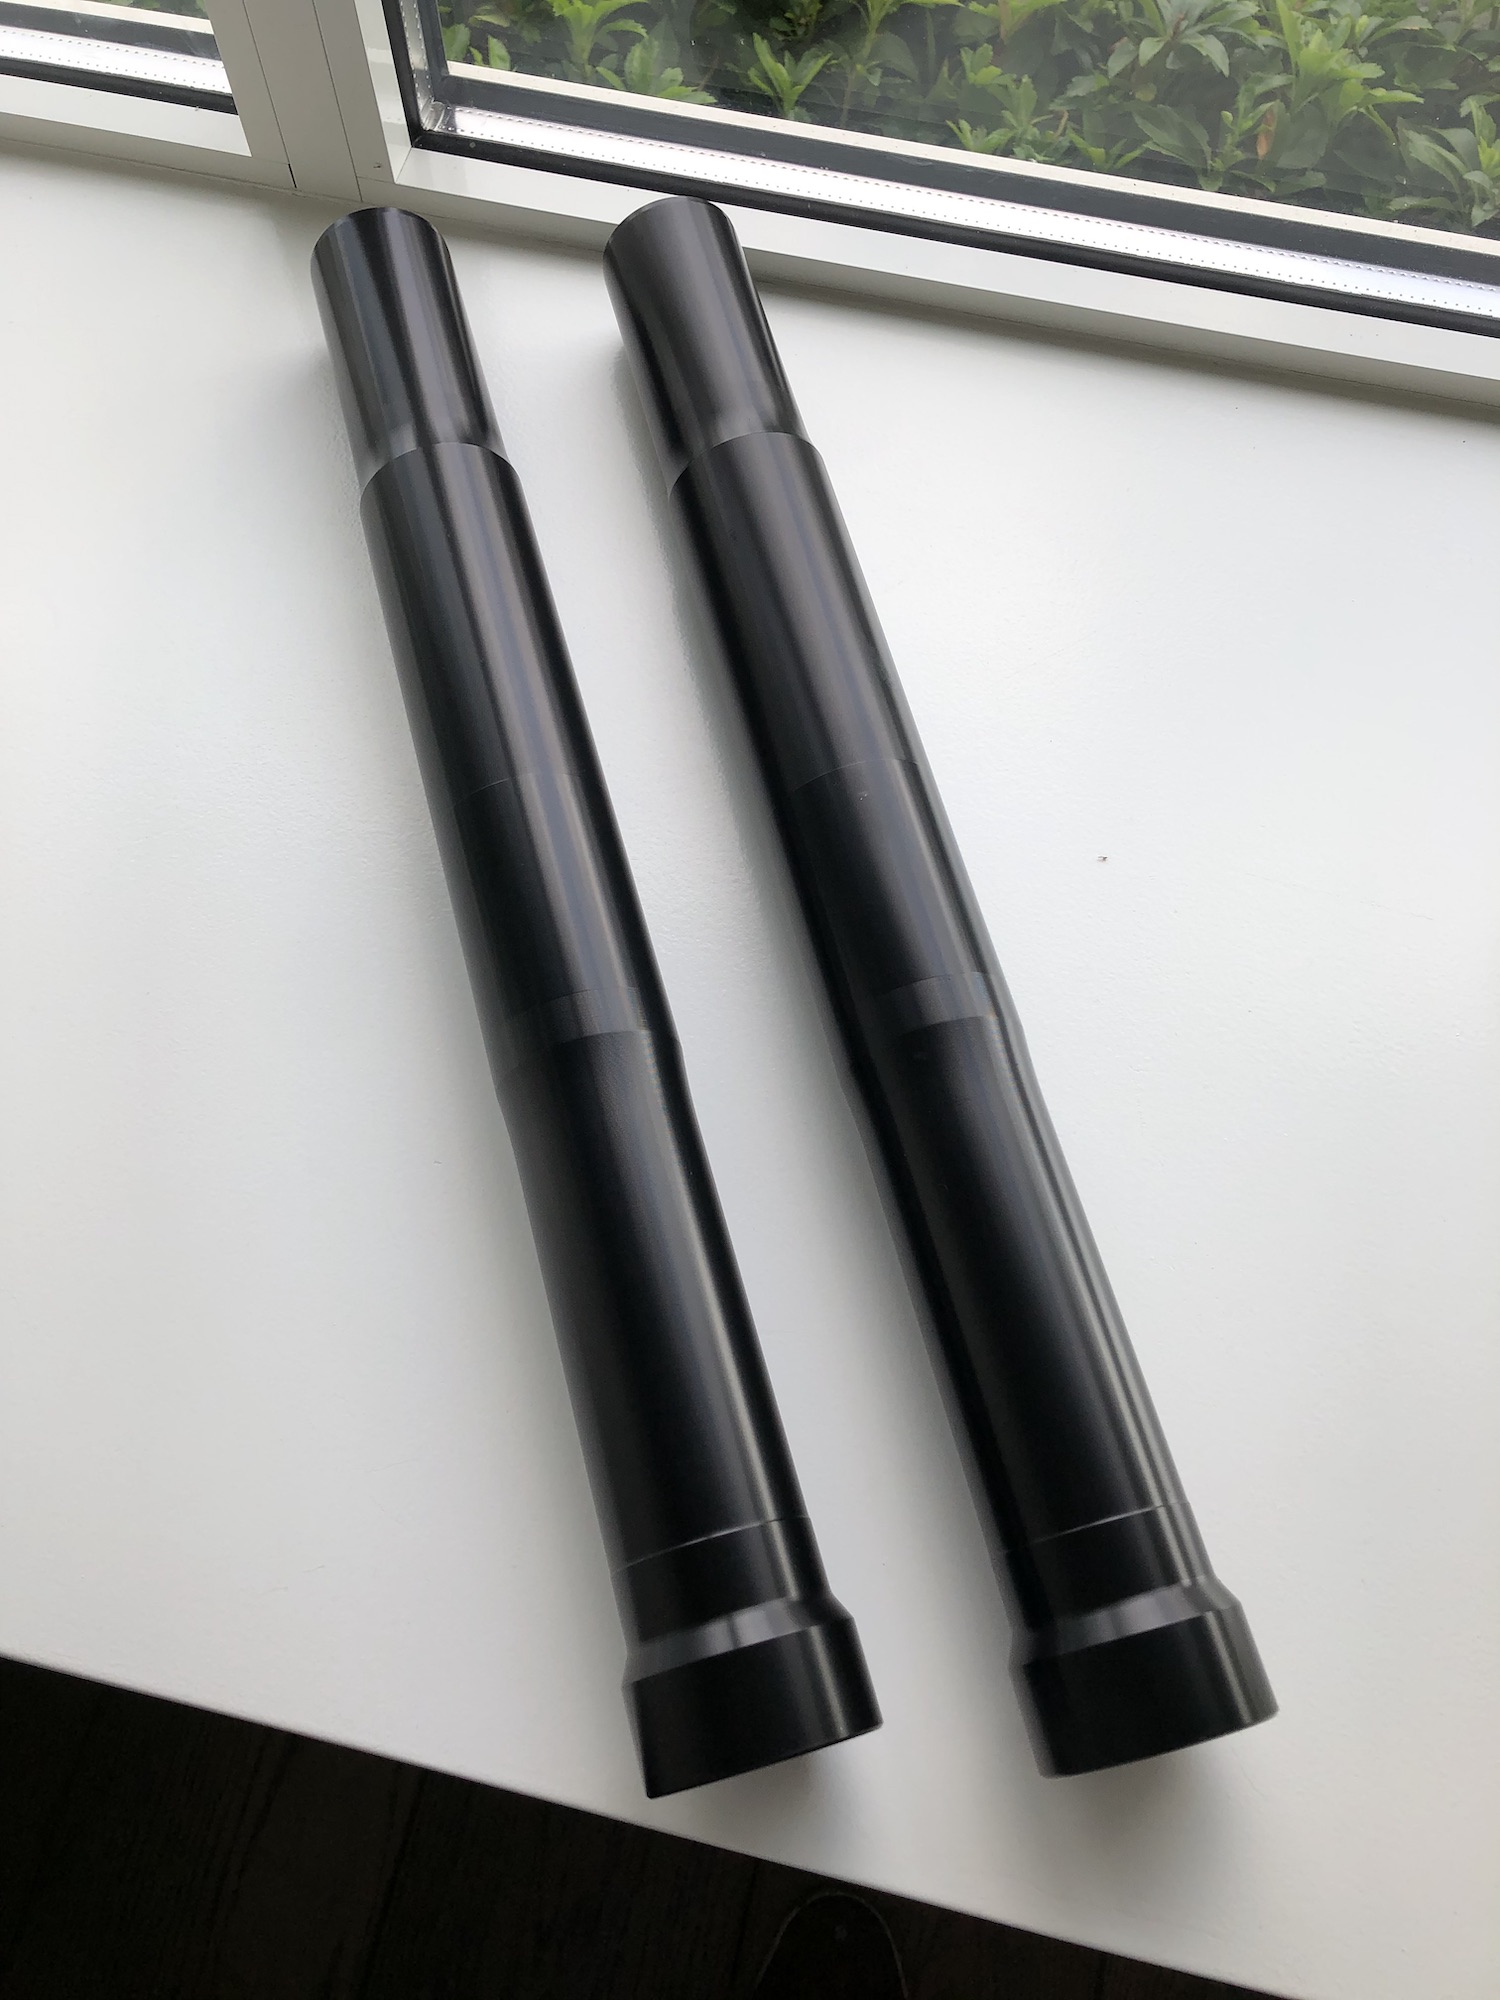
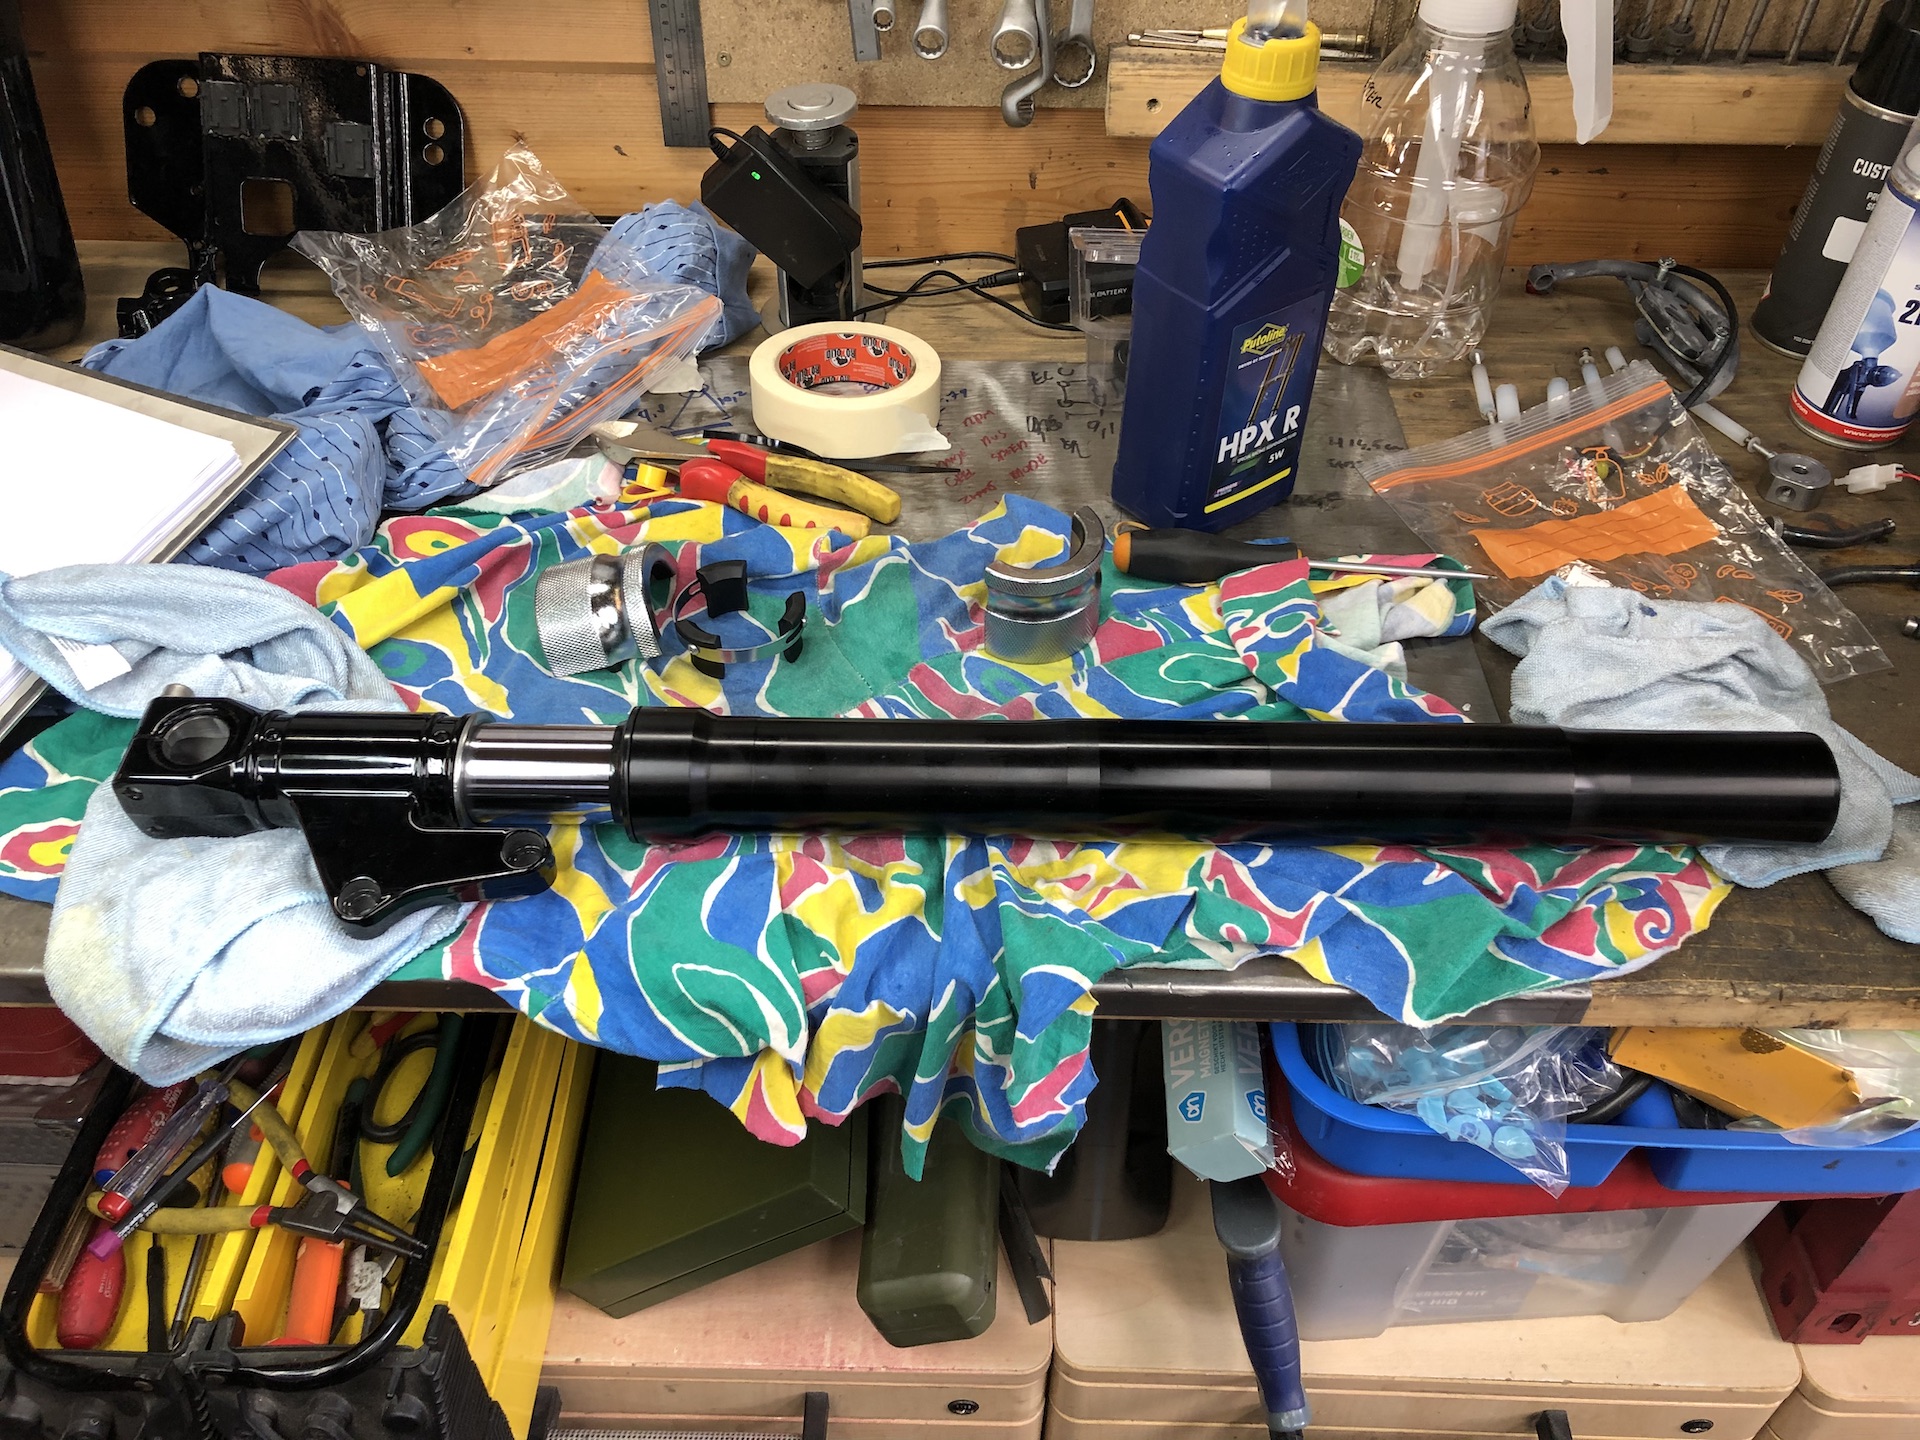
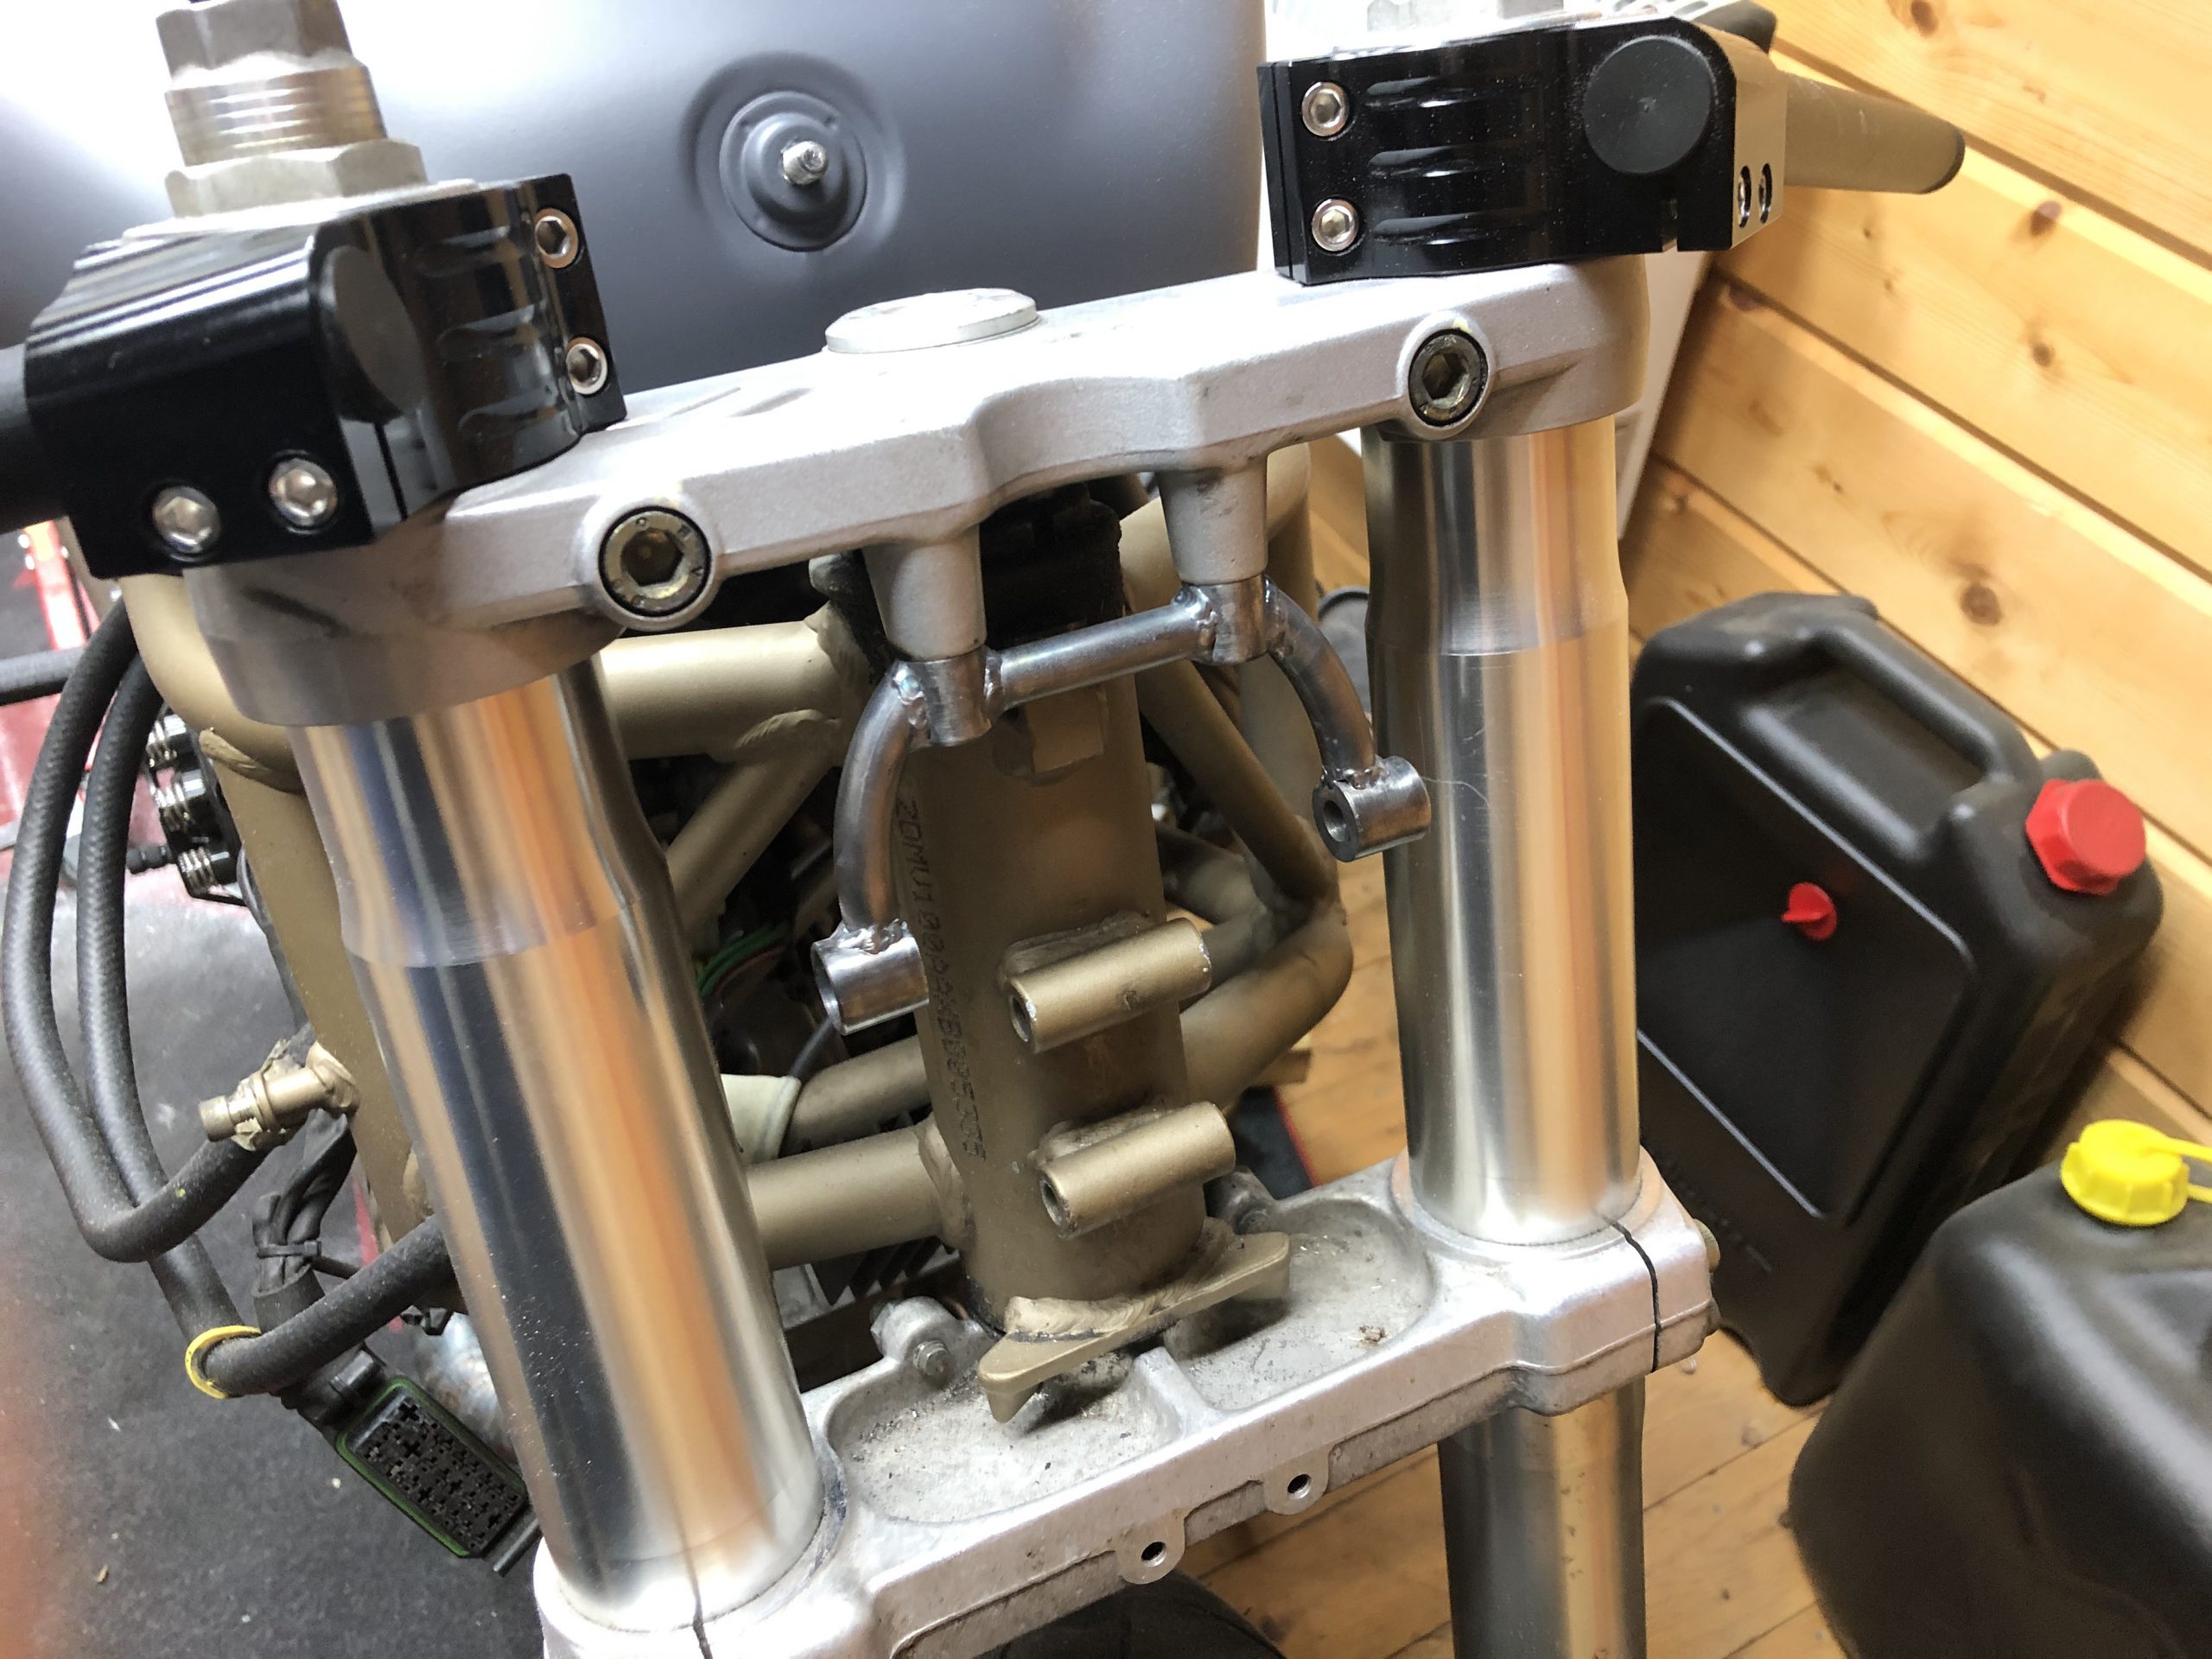
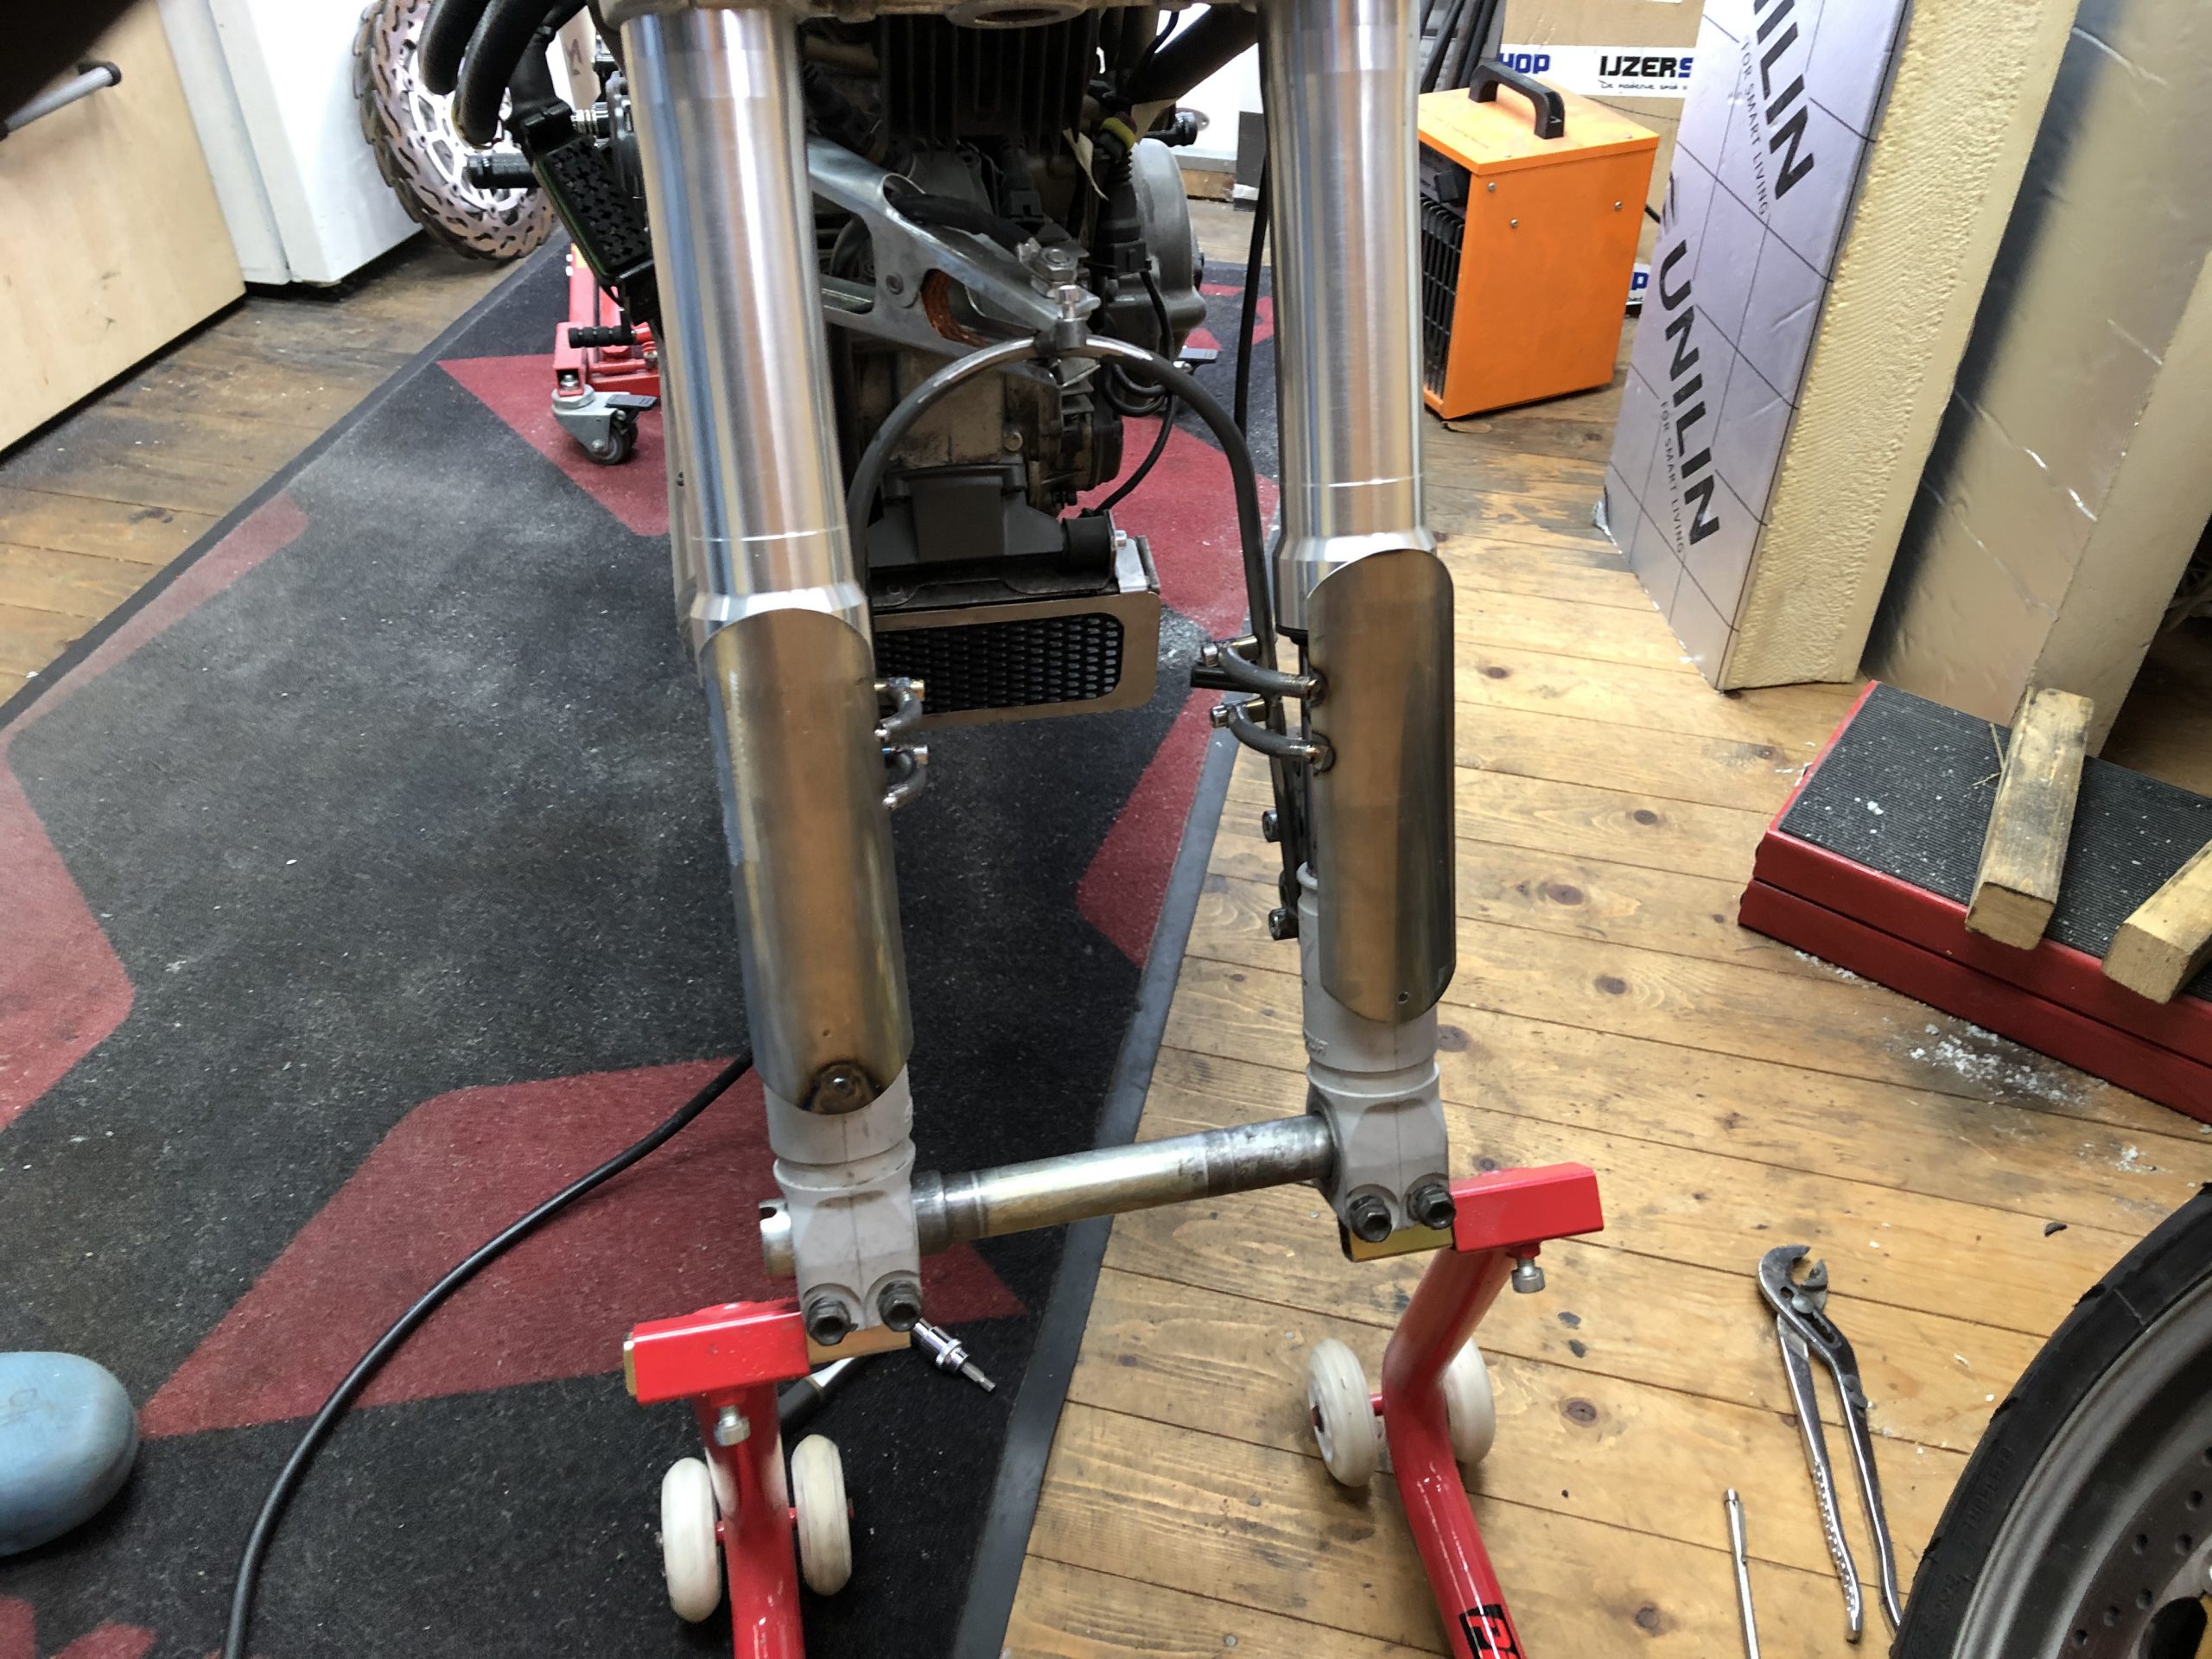
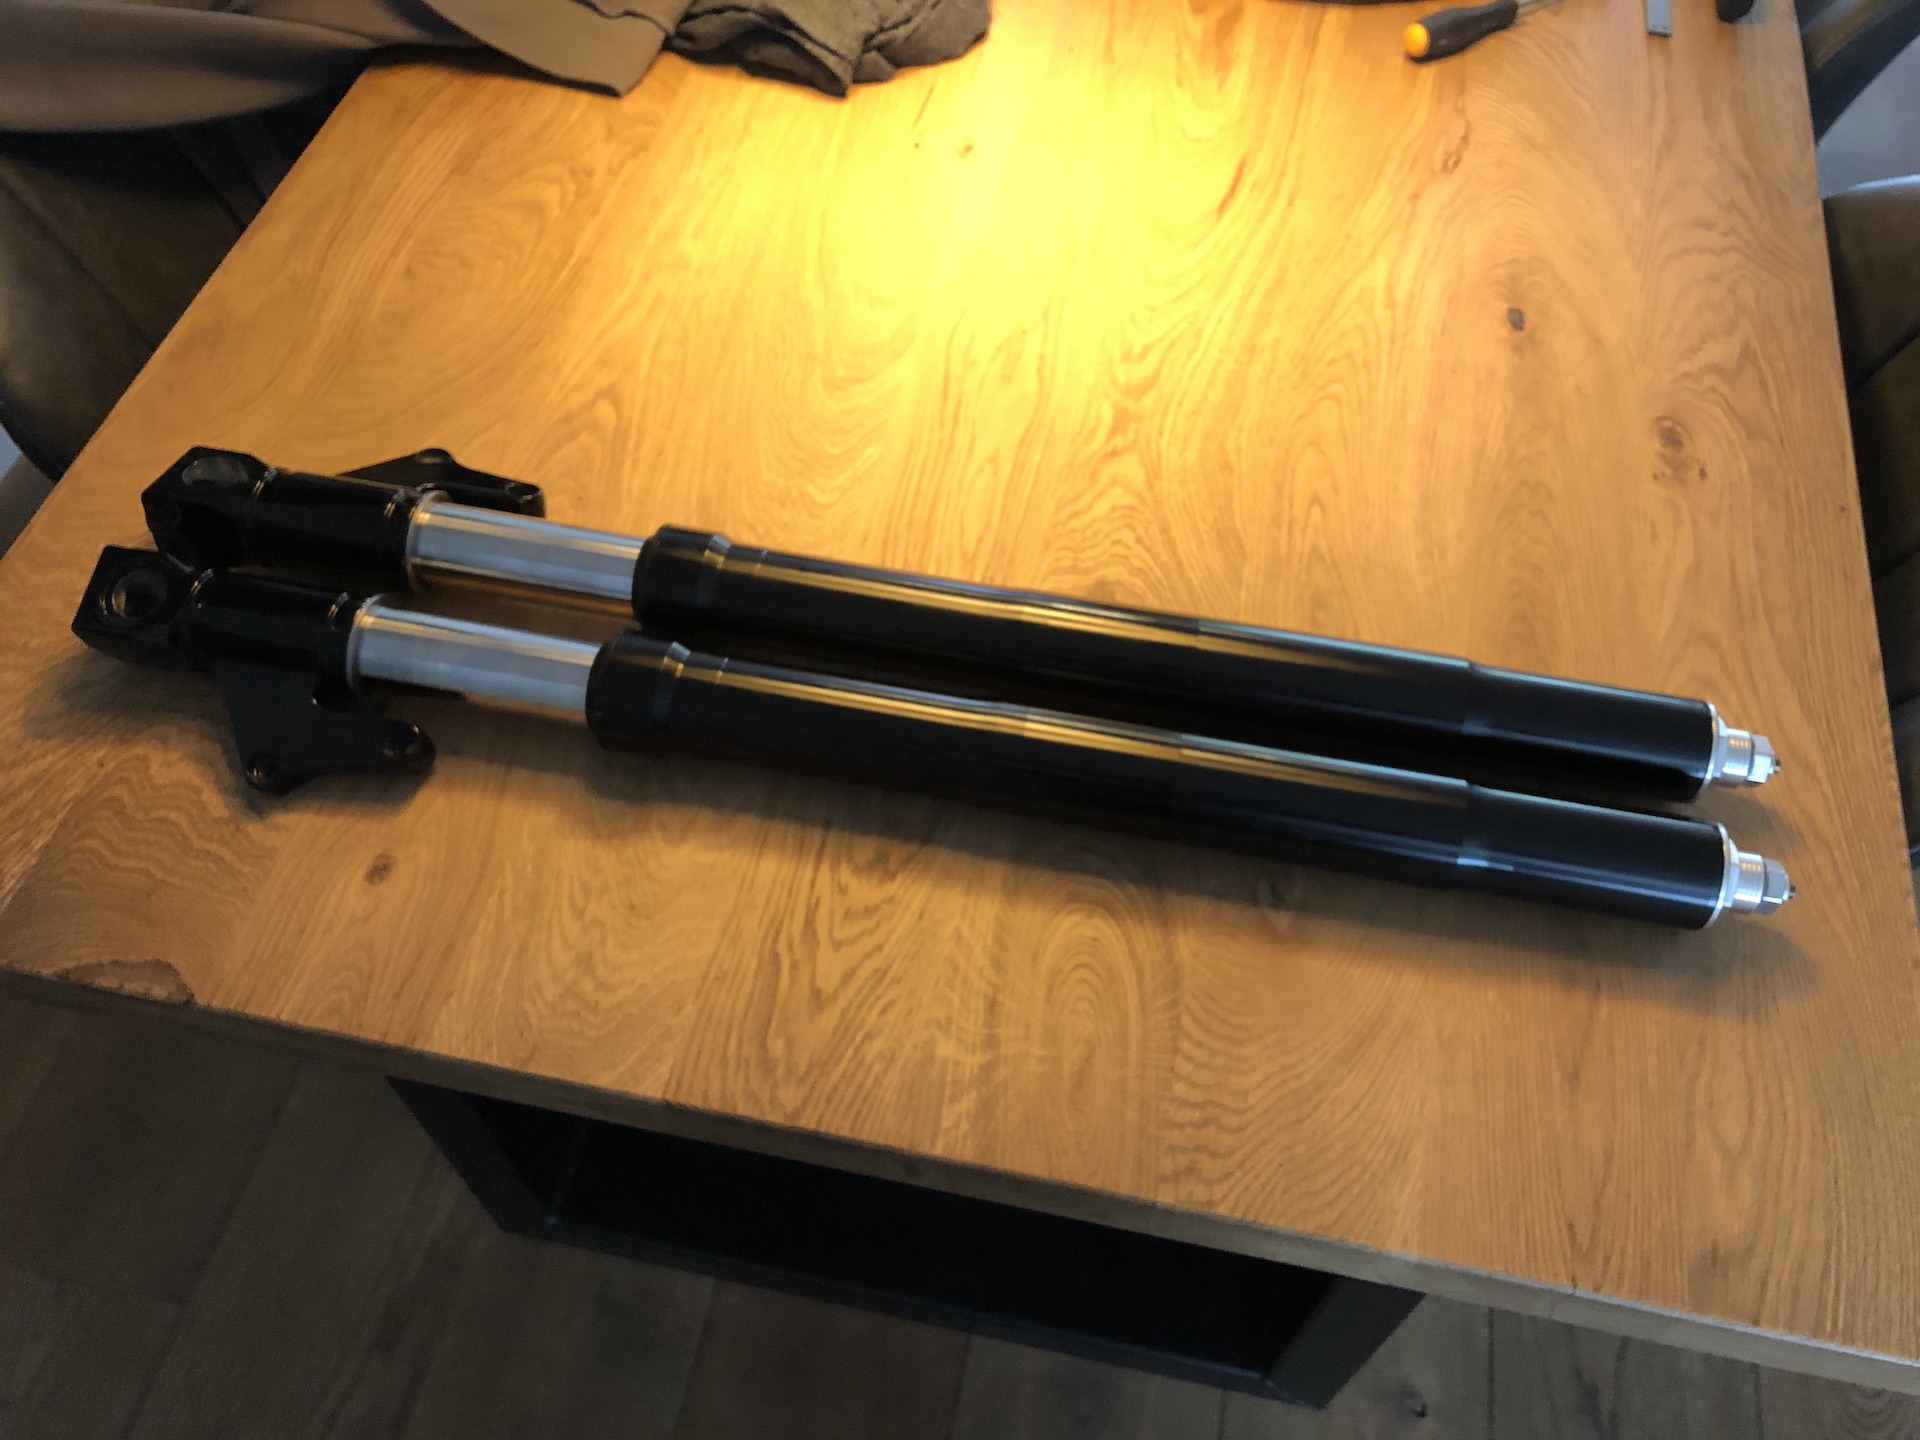
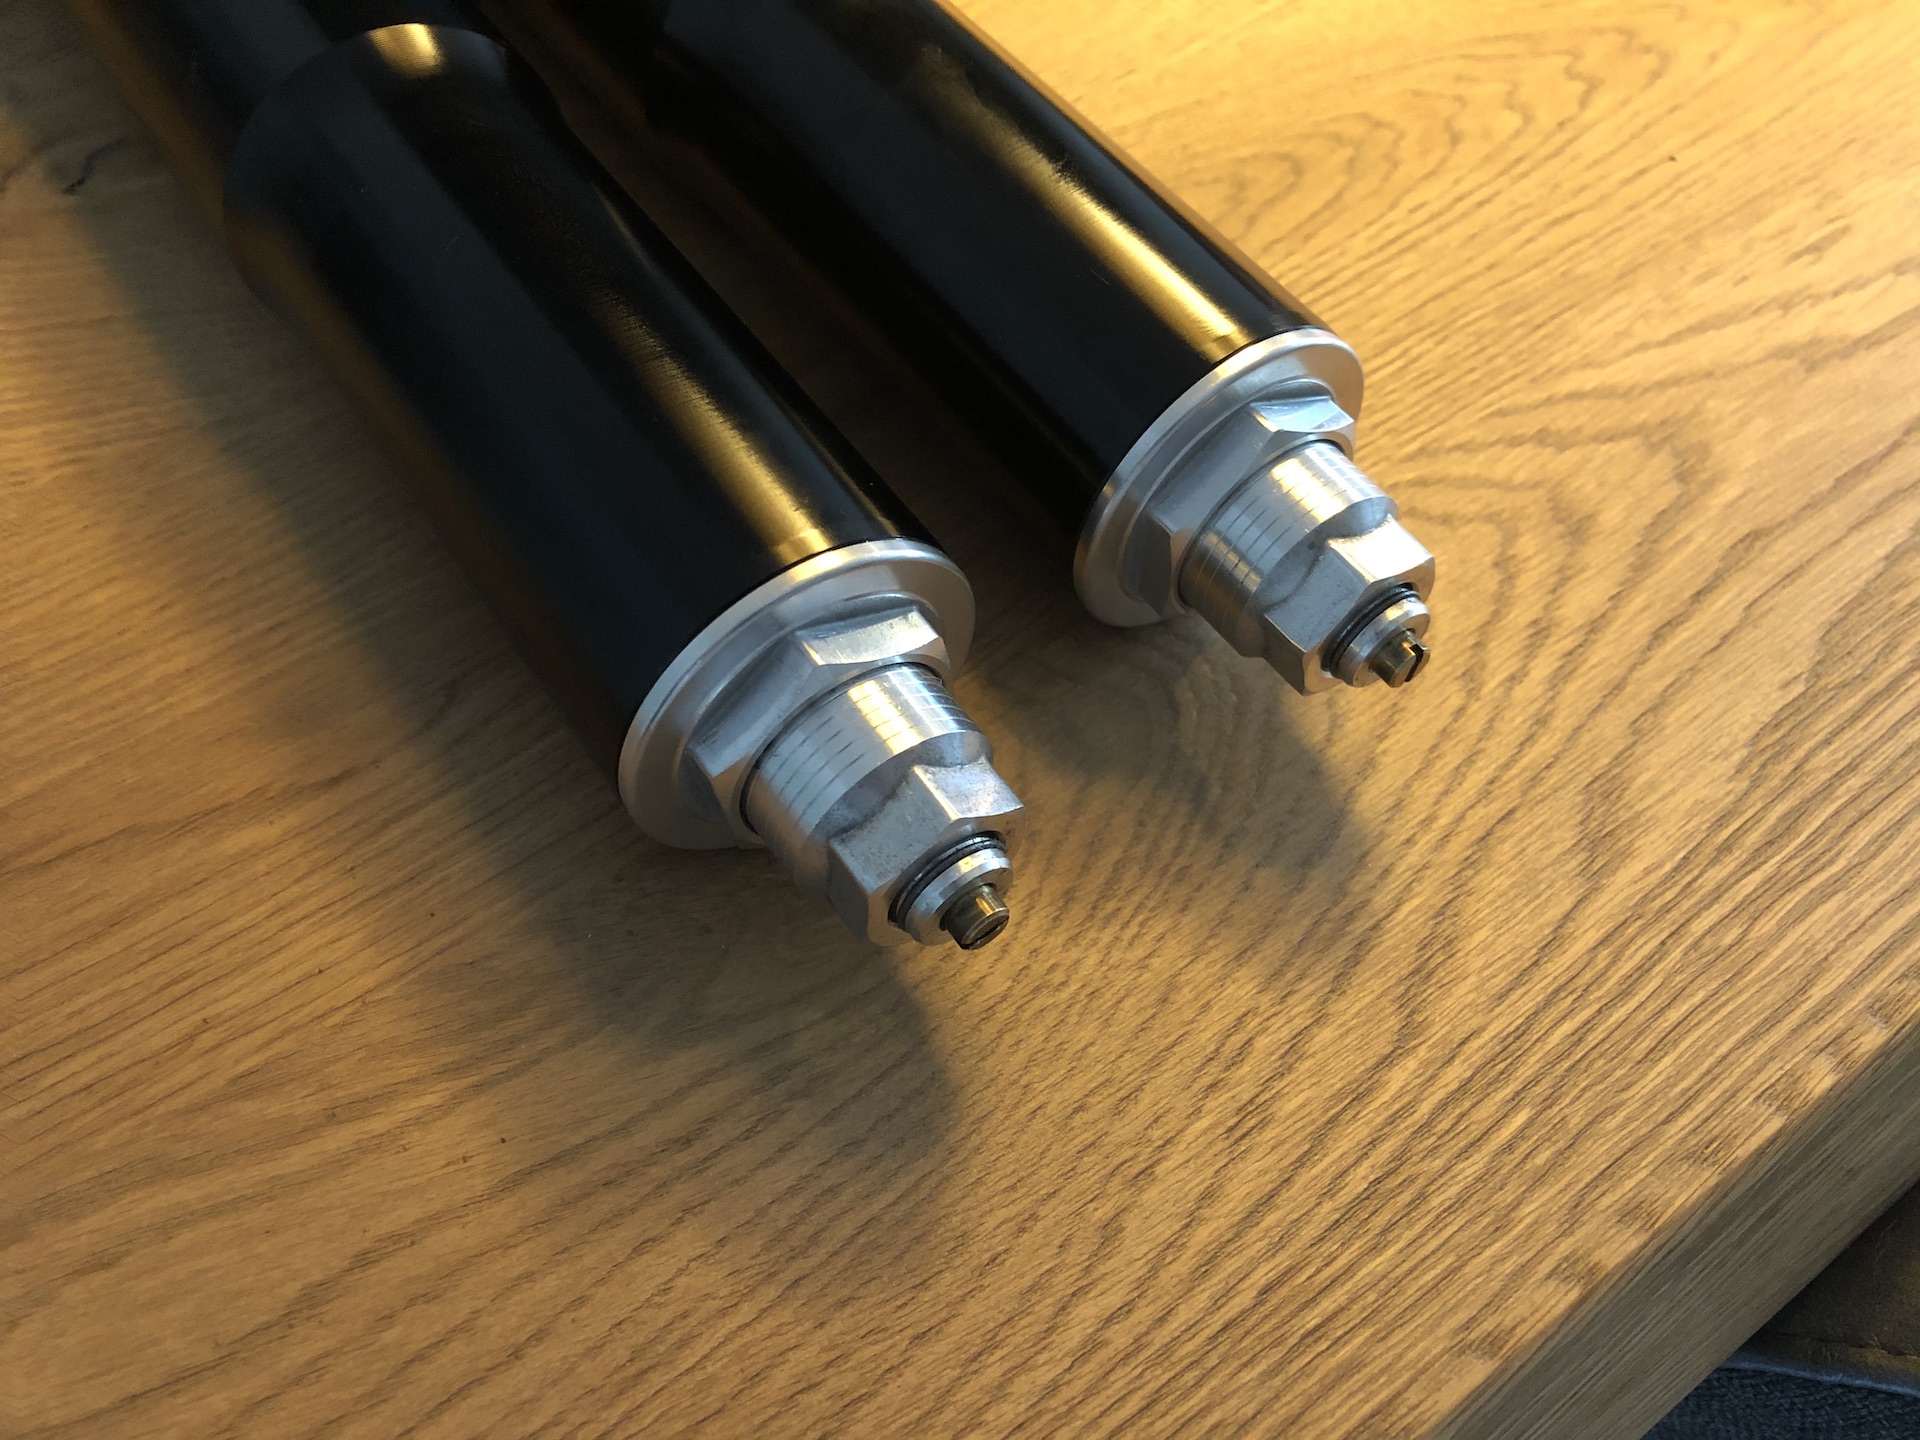
FRONT FORKS ALL DONE
Looking good :)!
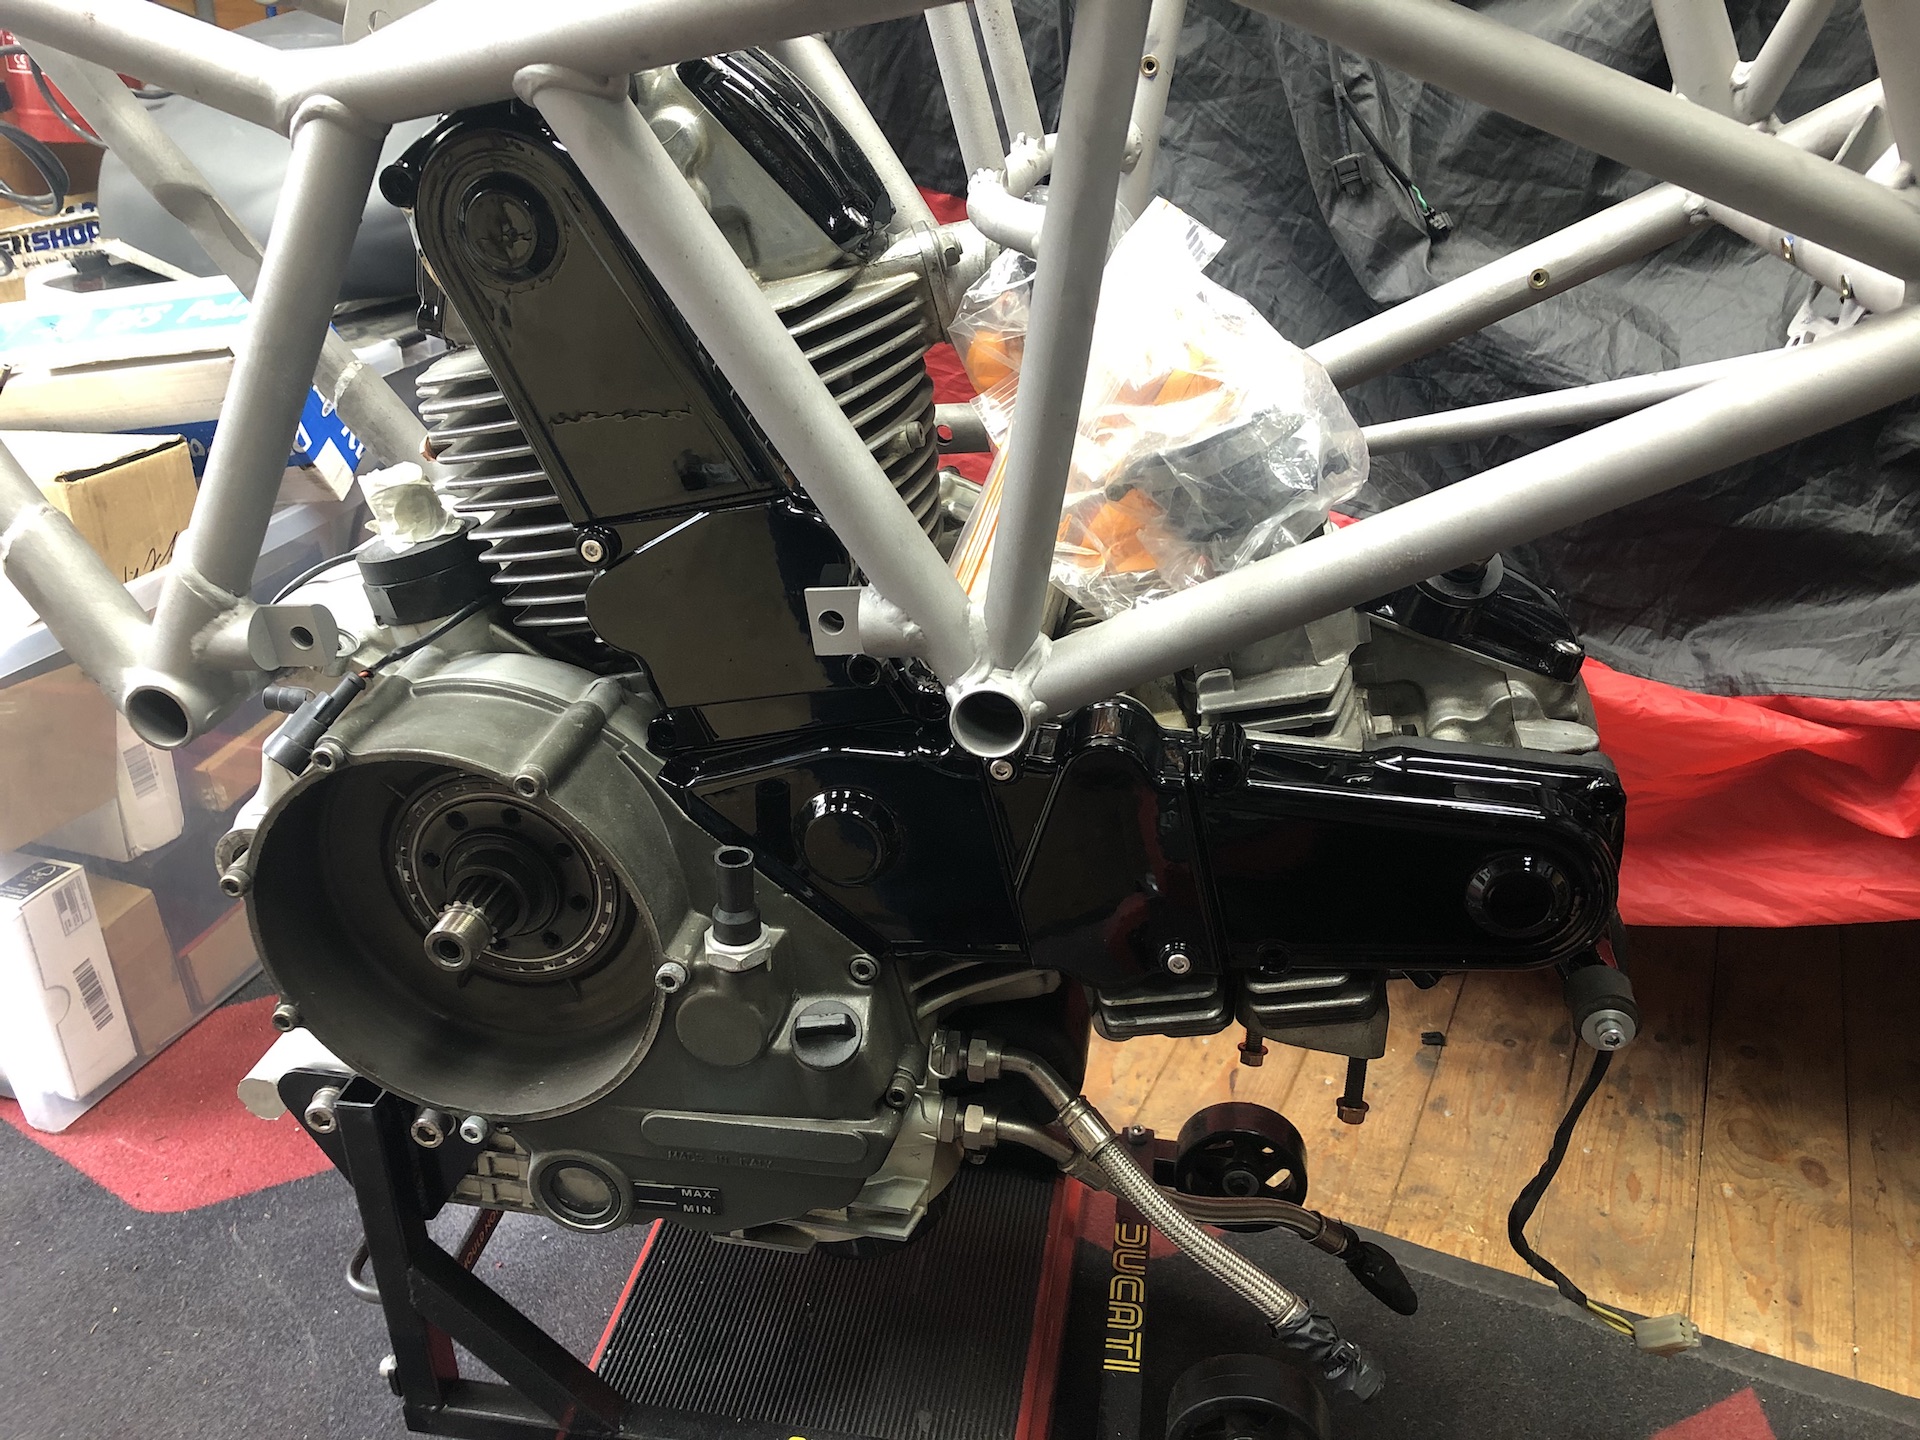
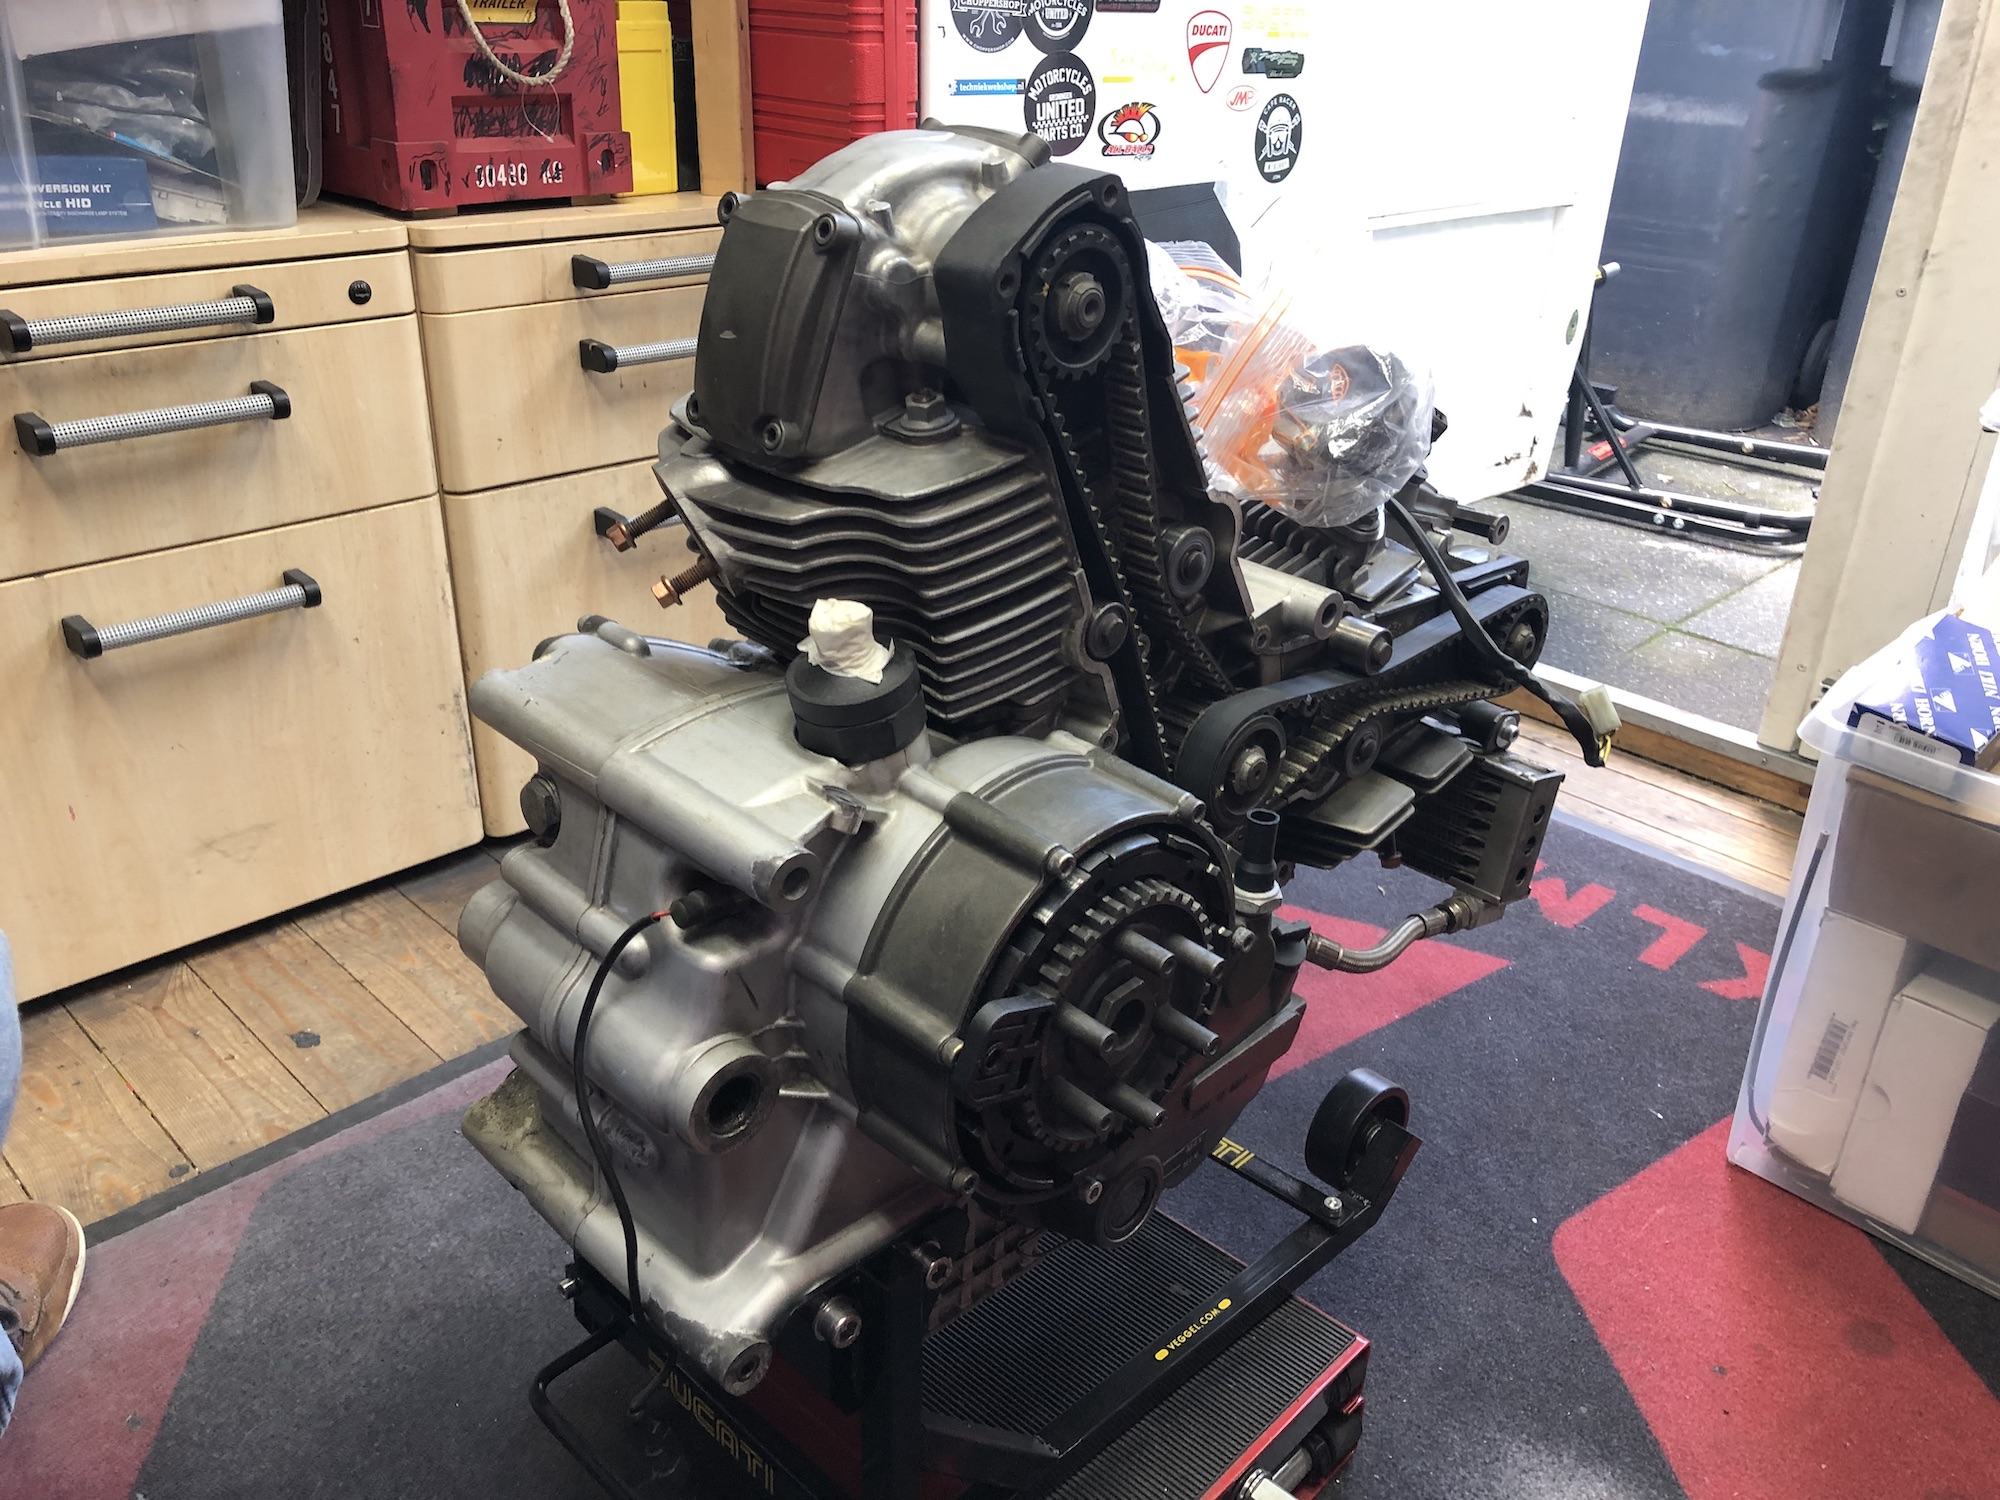
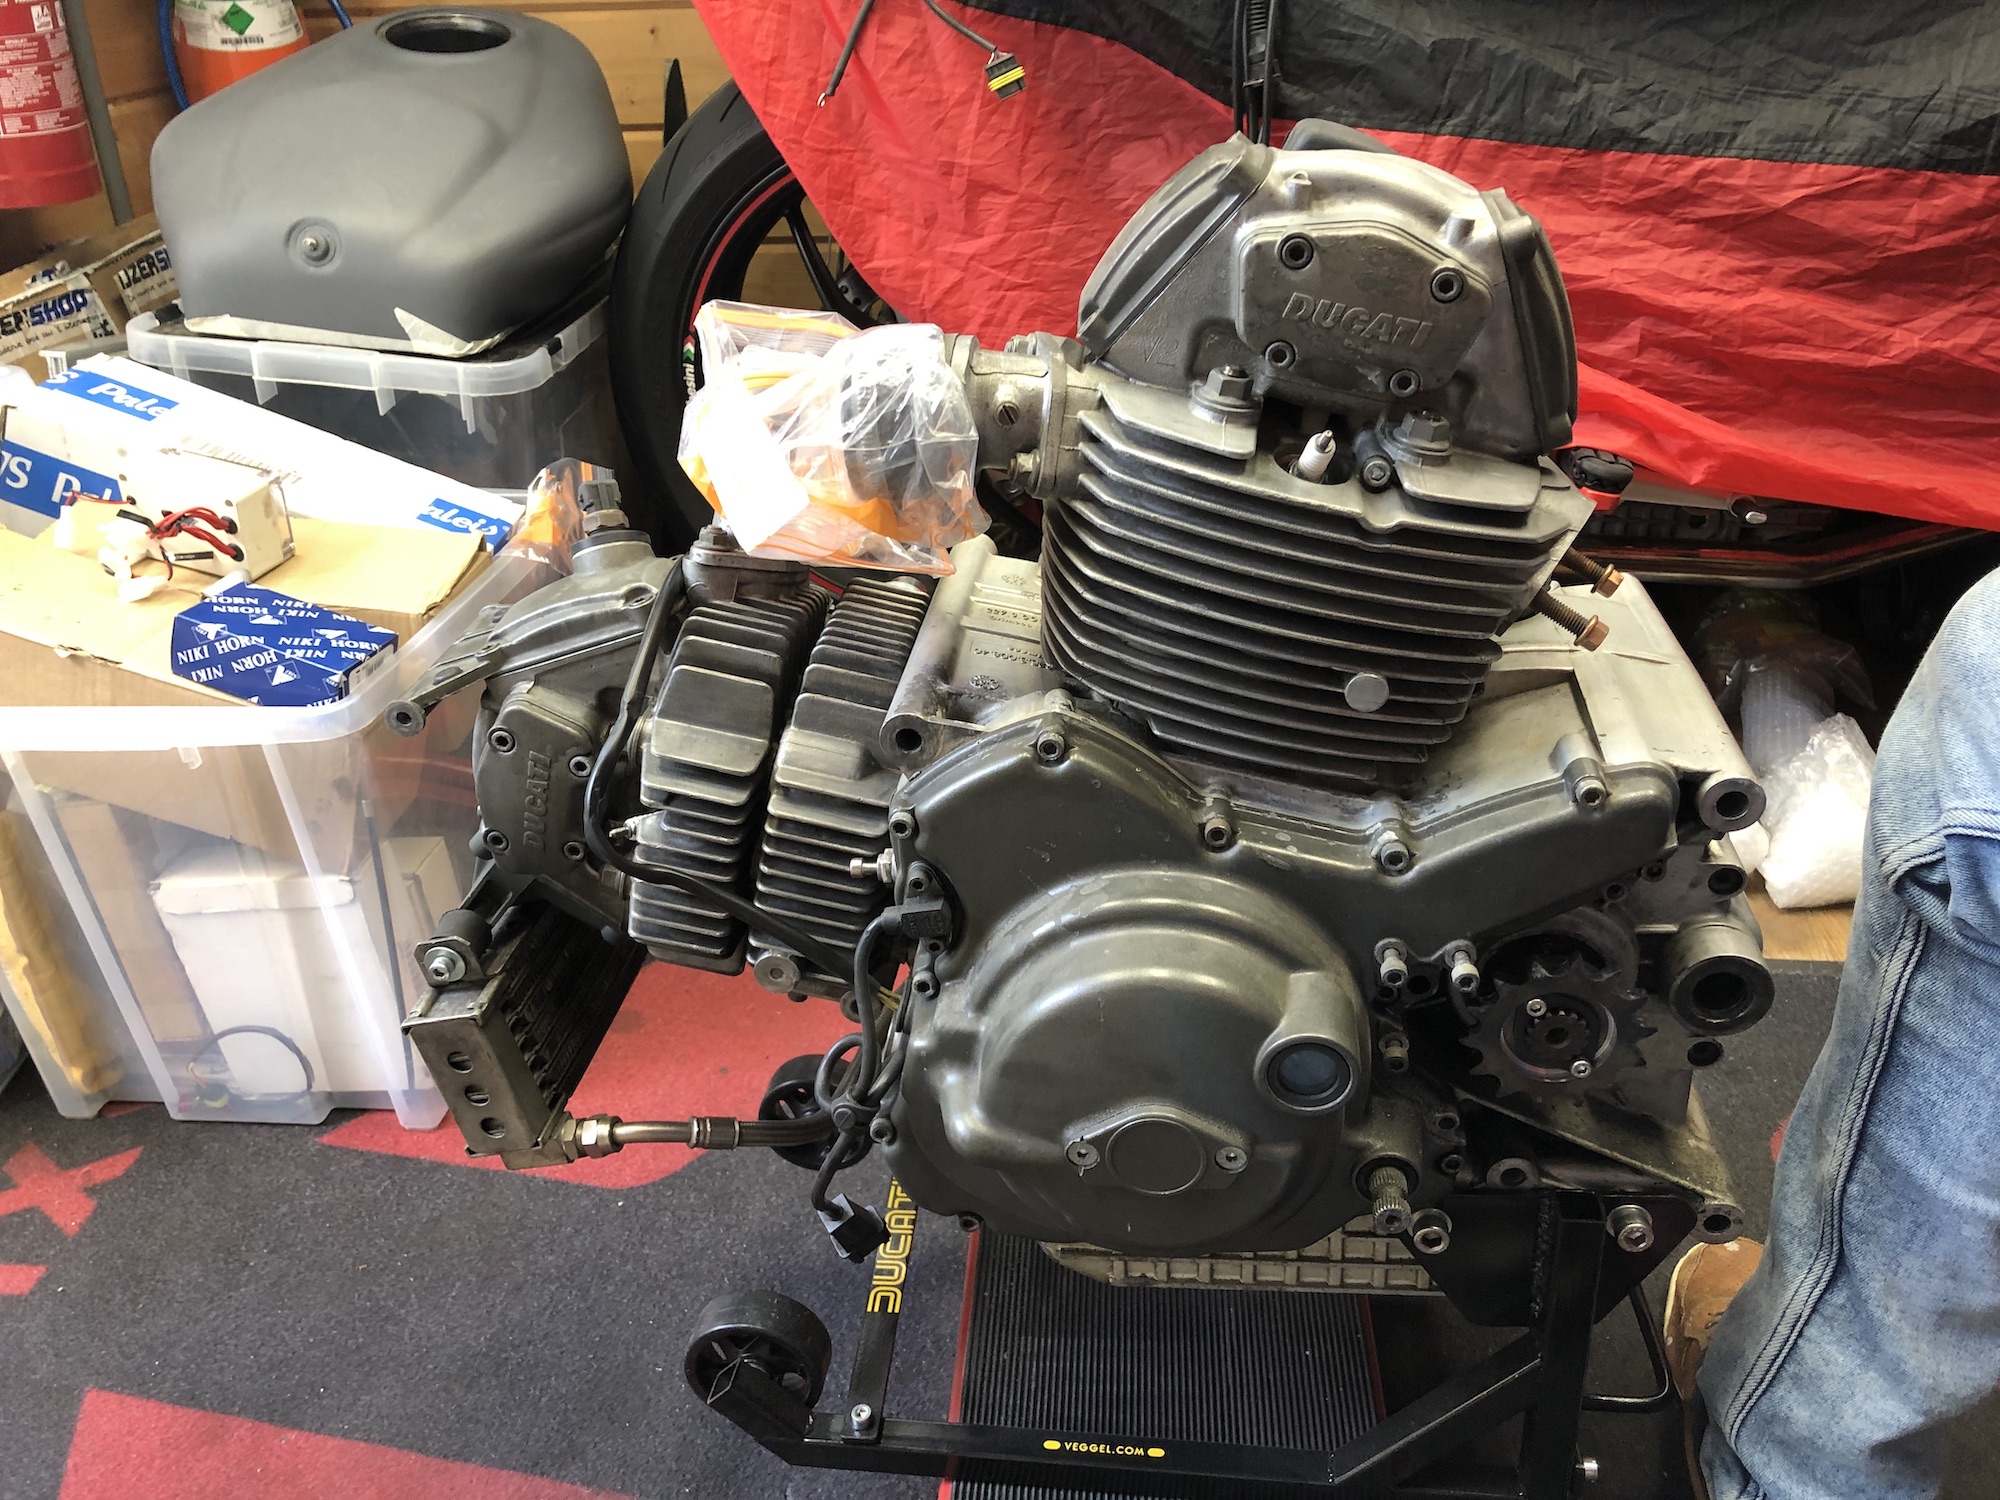
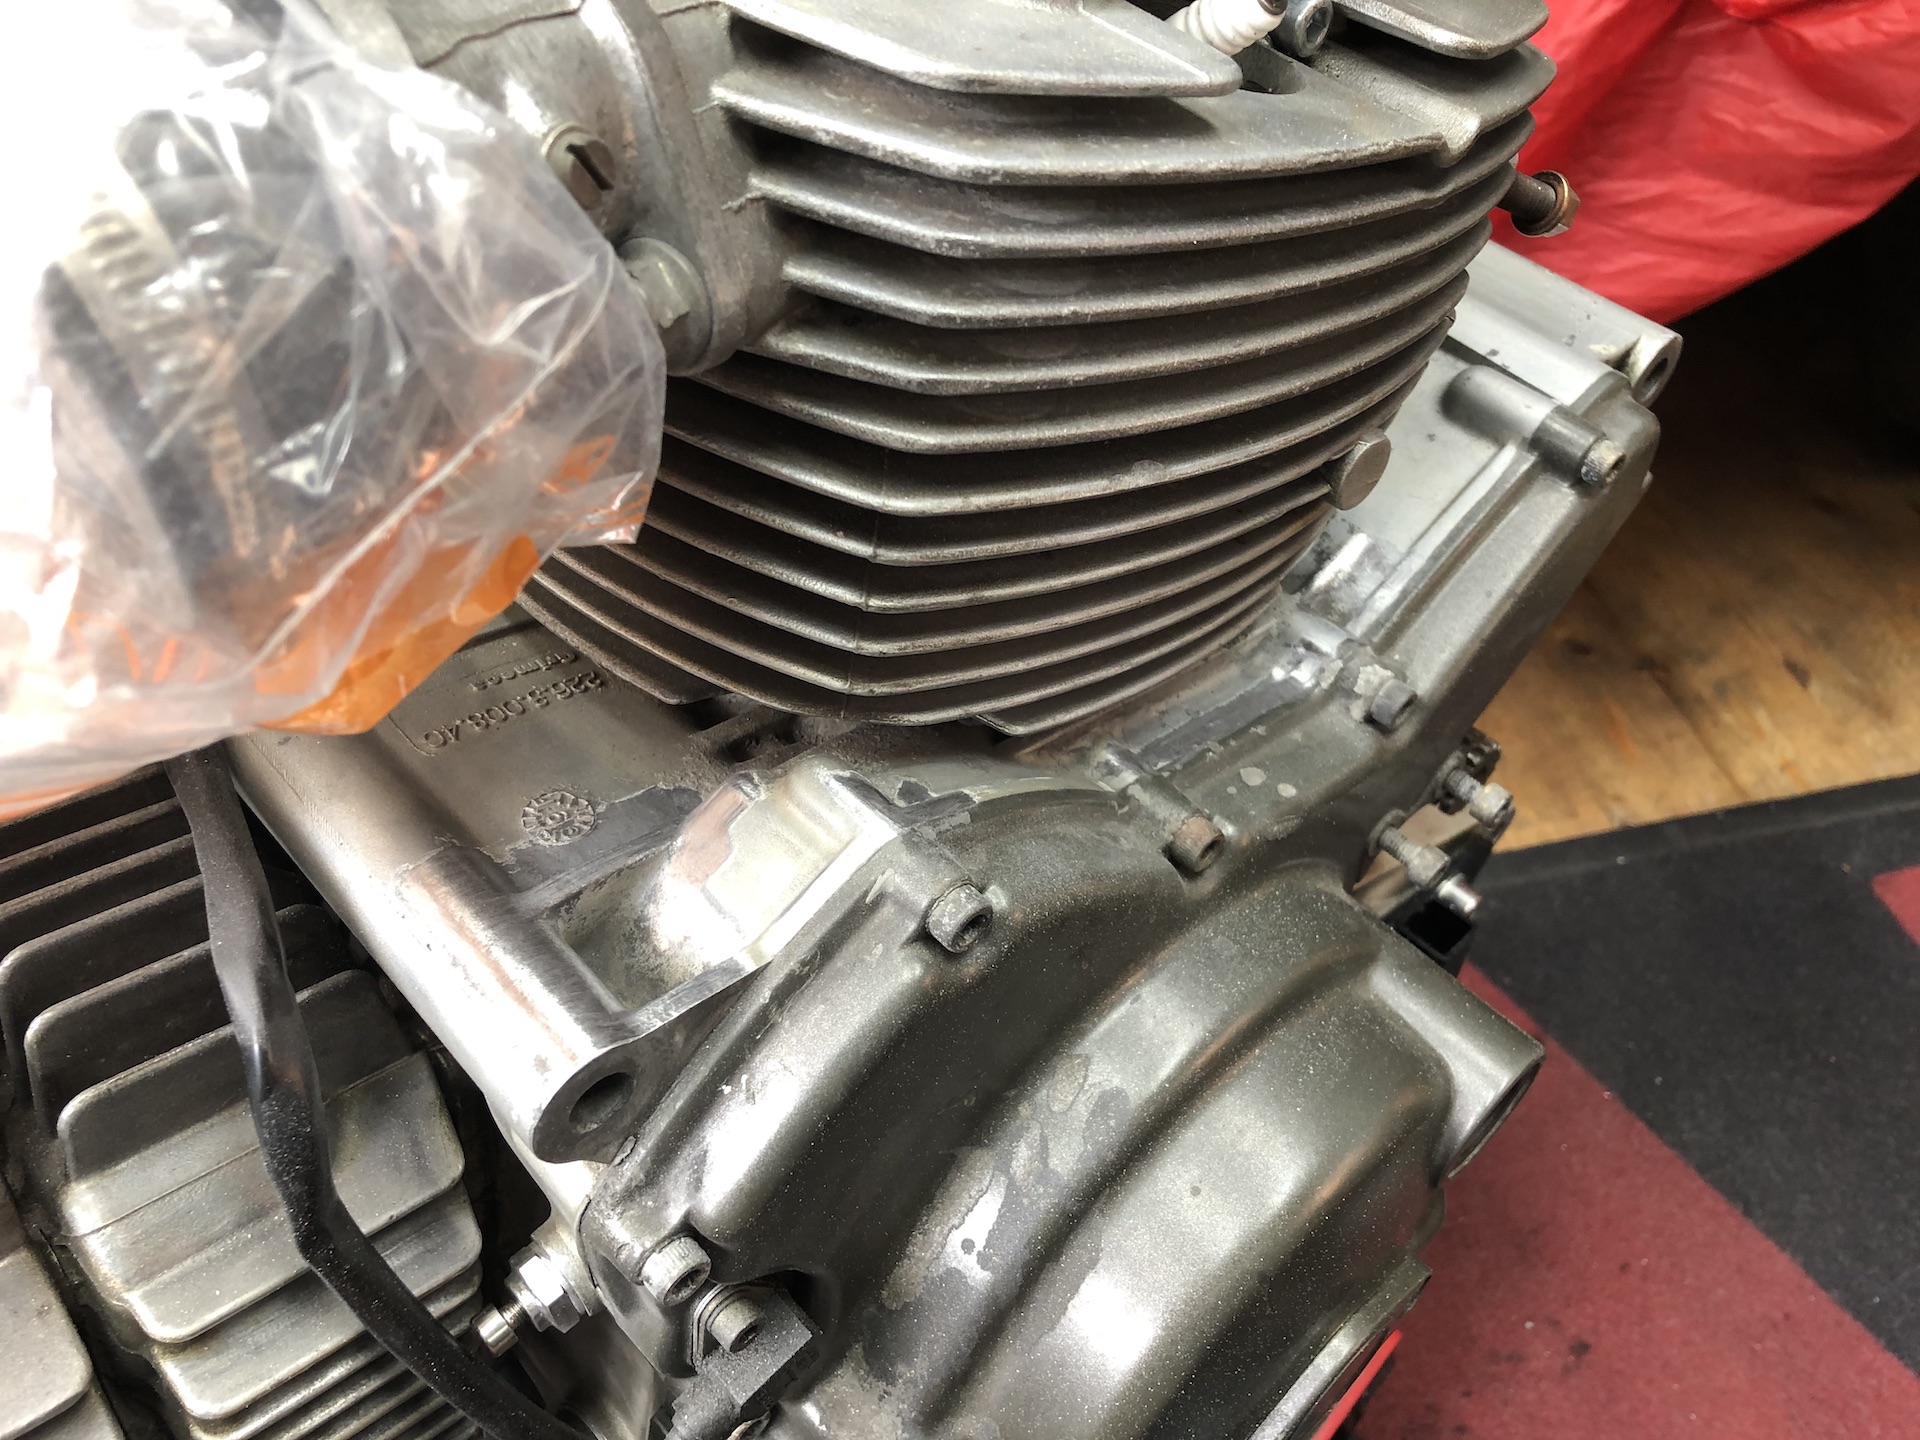
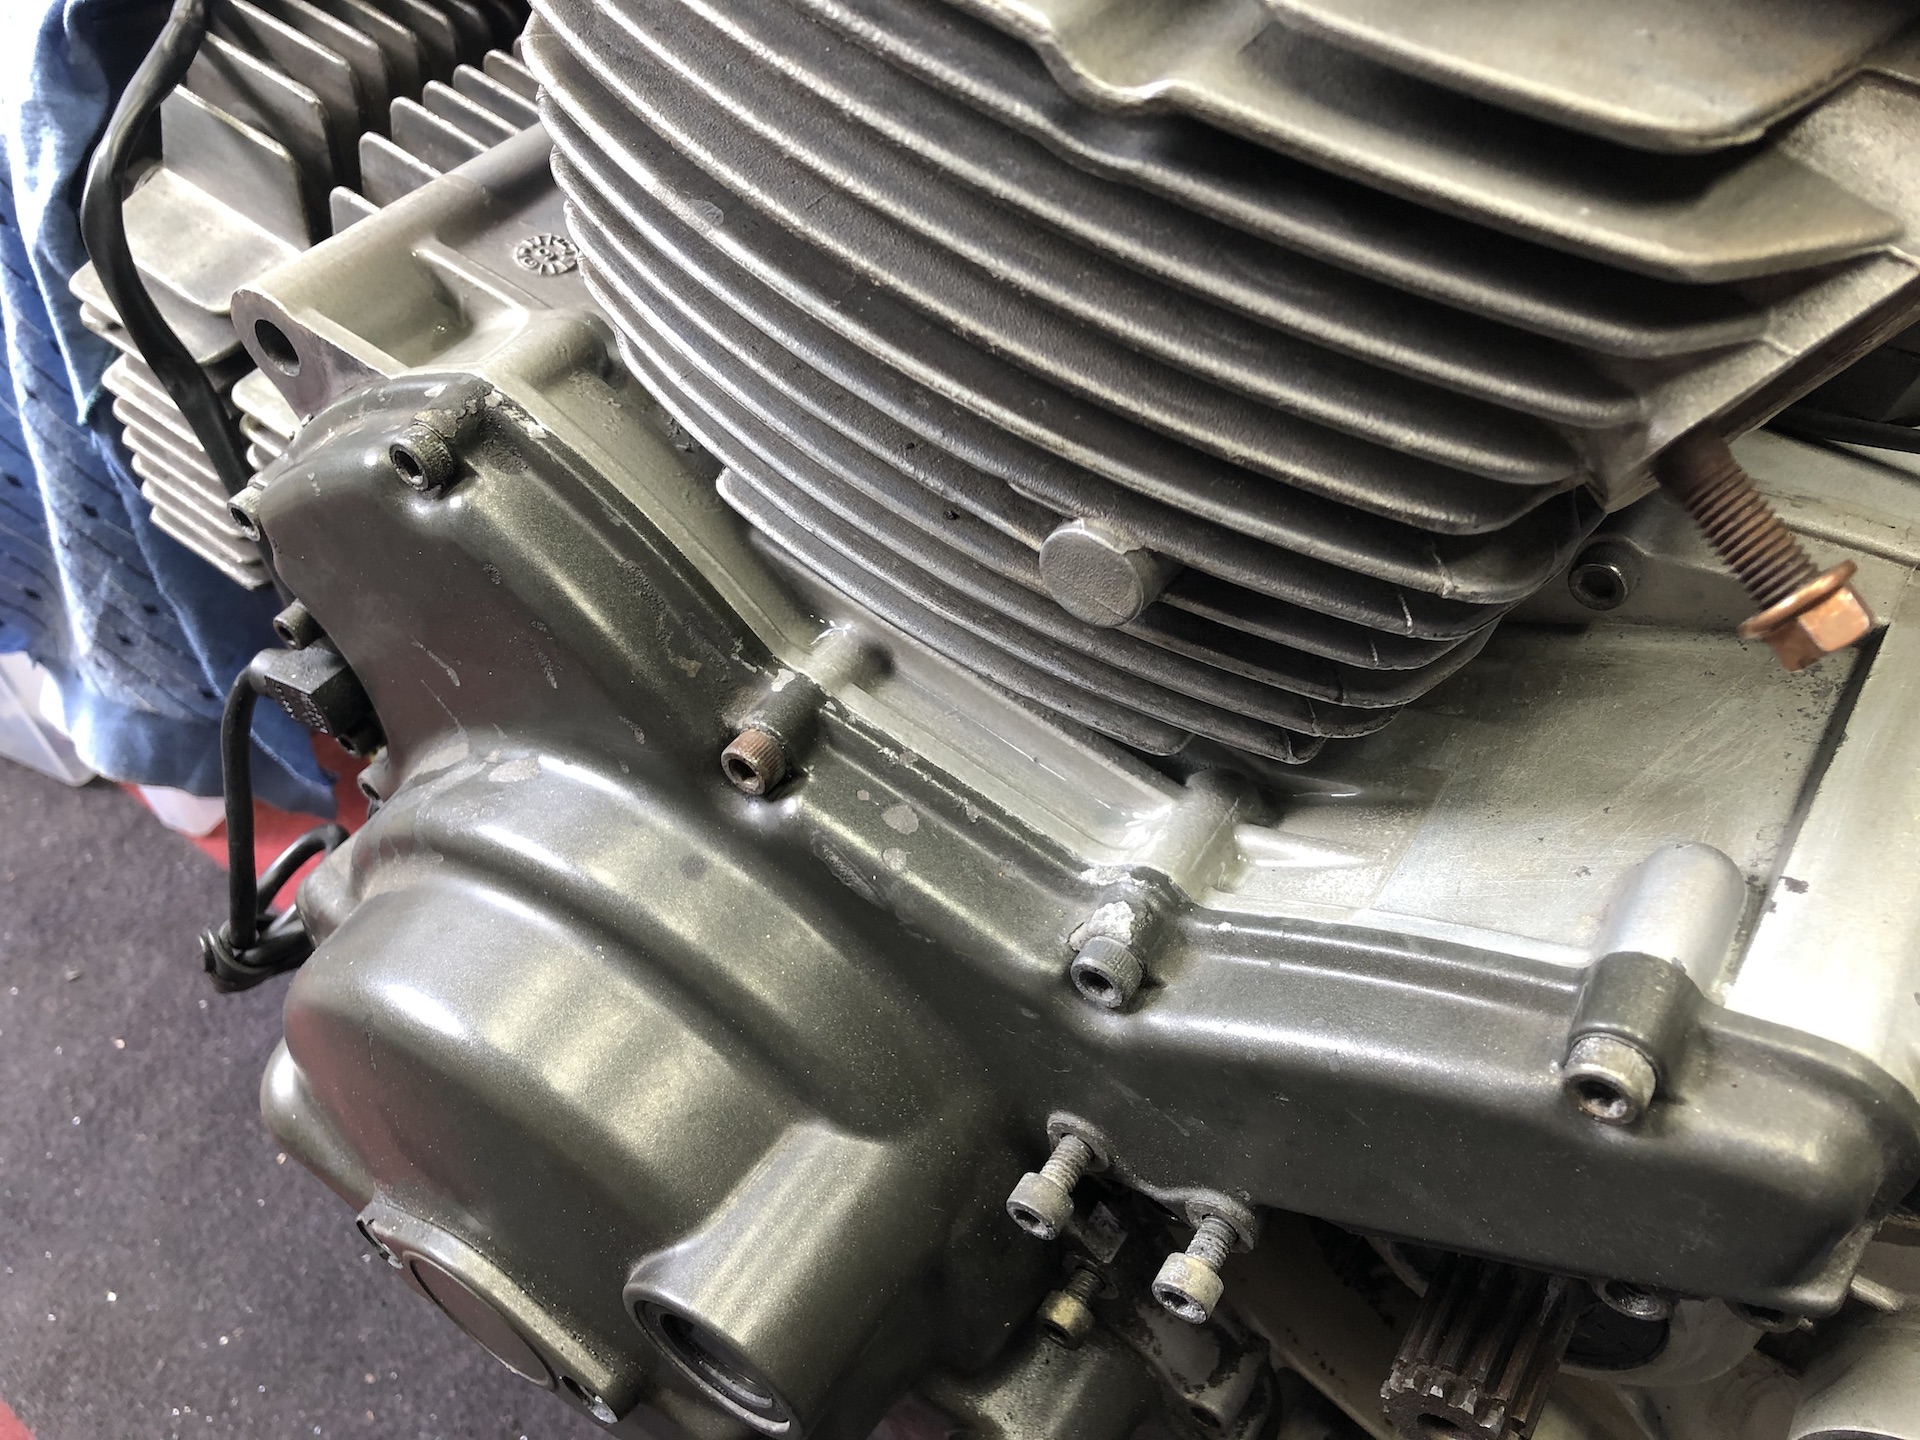
ENGINE TOUCH-UP
I think the engine had battery acid leaked over it in the past. the paint was fucked up and bare aluminium was showing. However i also didnt feel like painting the whole engine, since im going to pull the whole engine apart upcoming winter. So time for some touch-ups that look somewhat decent.
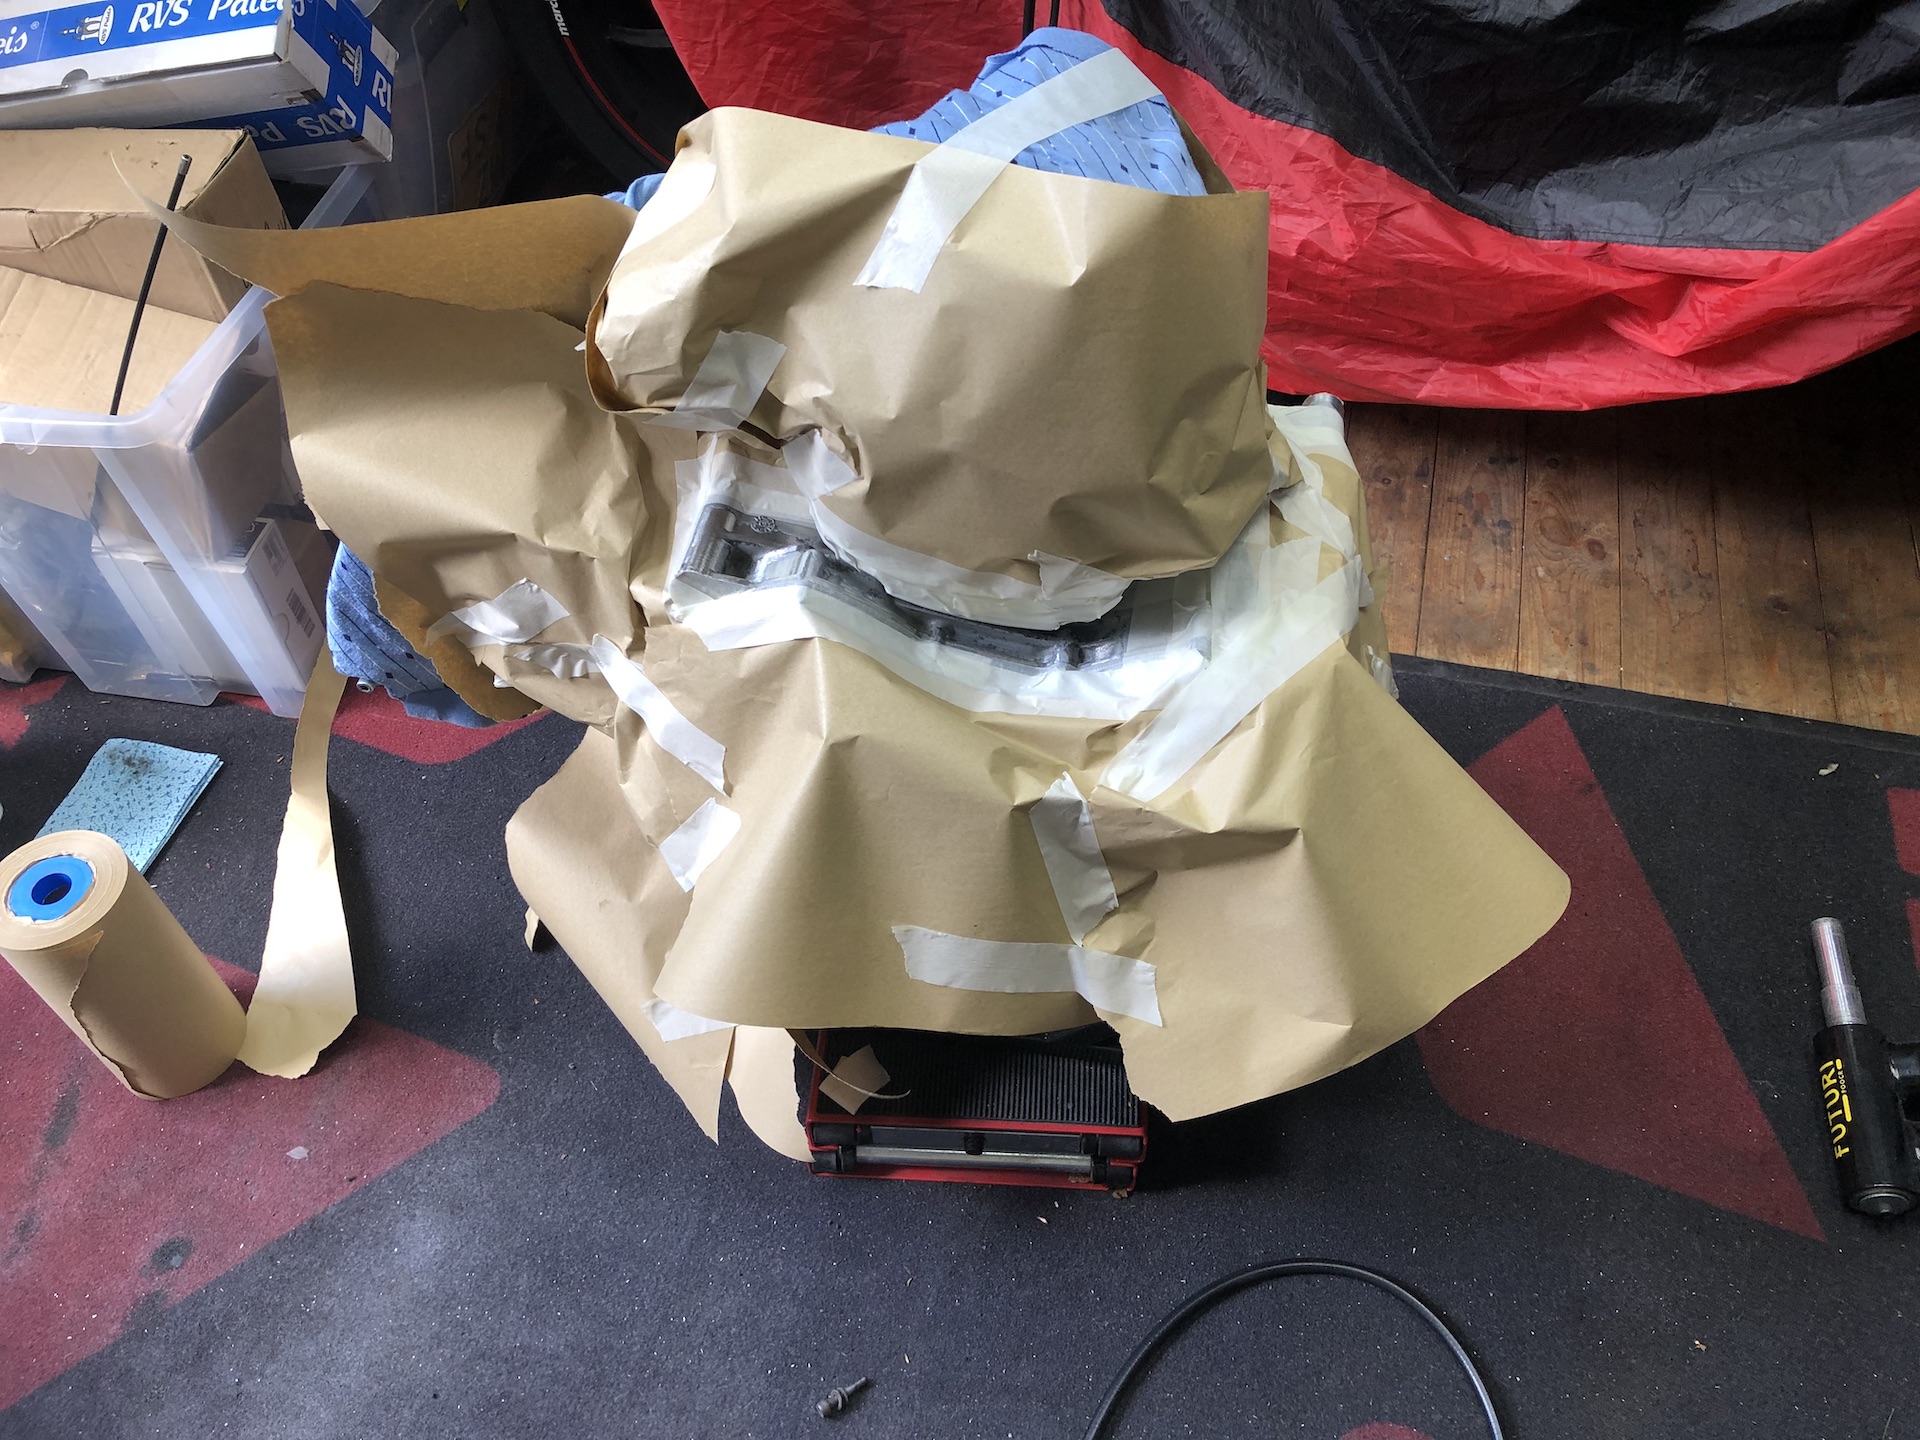

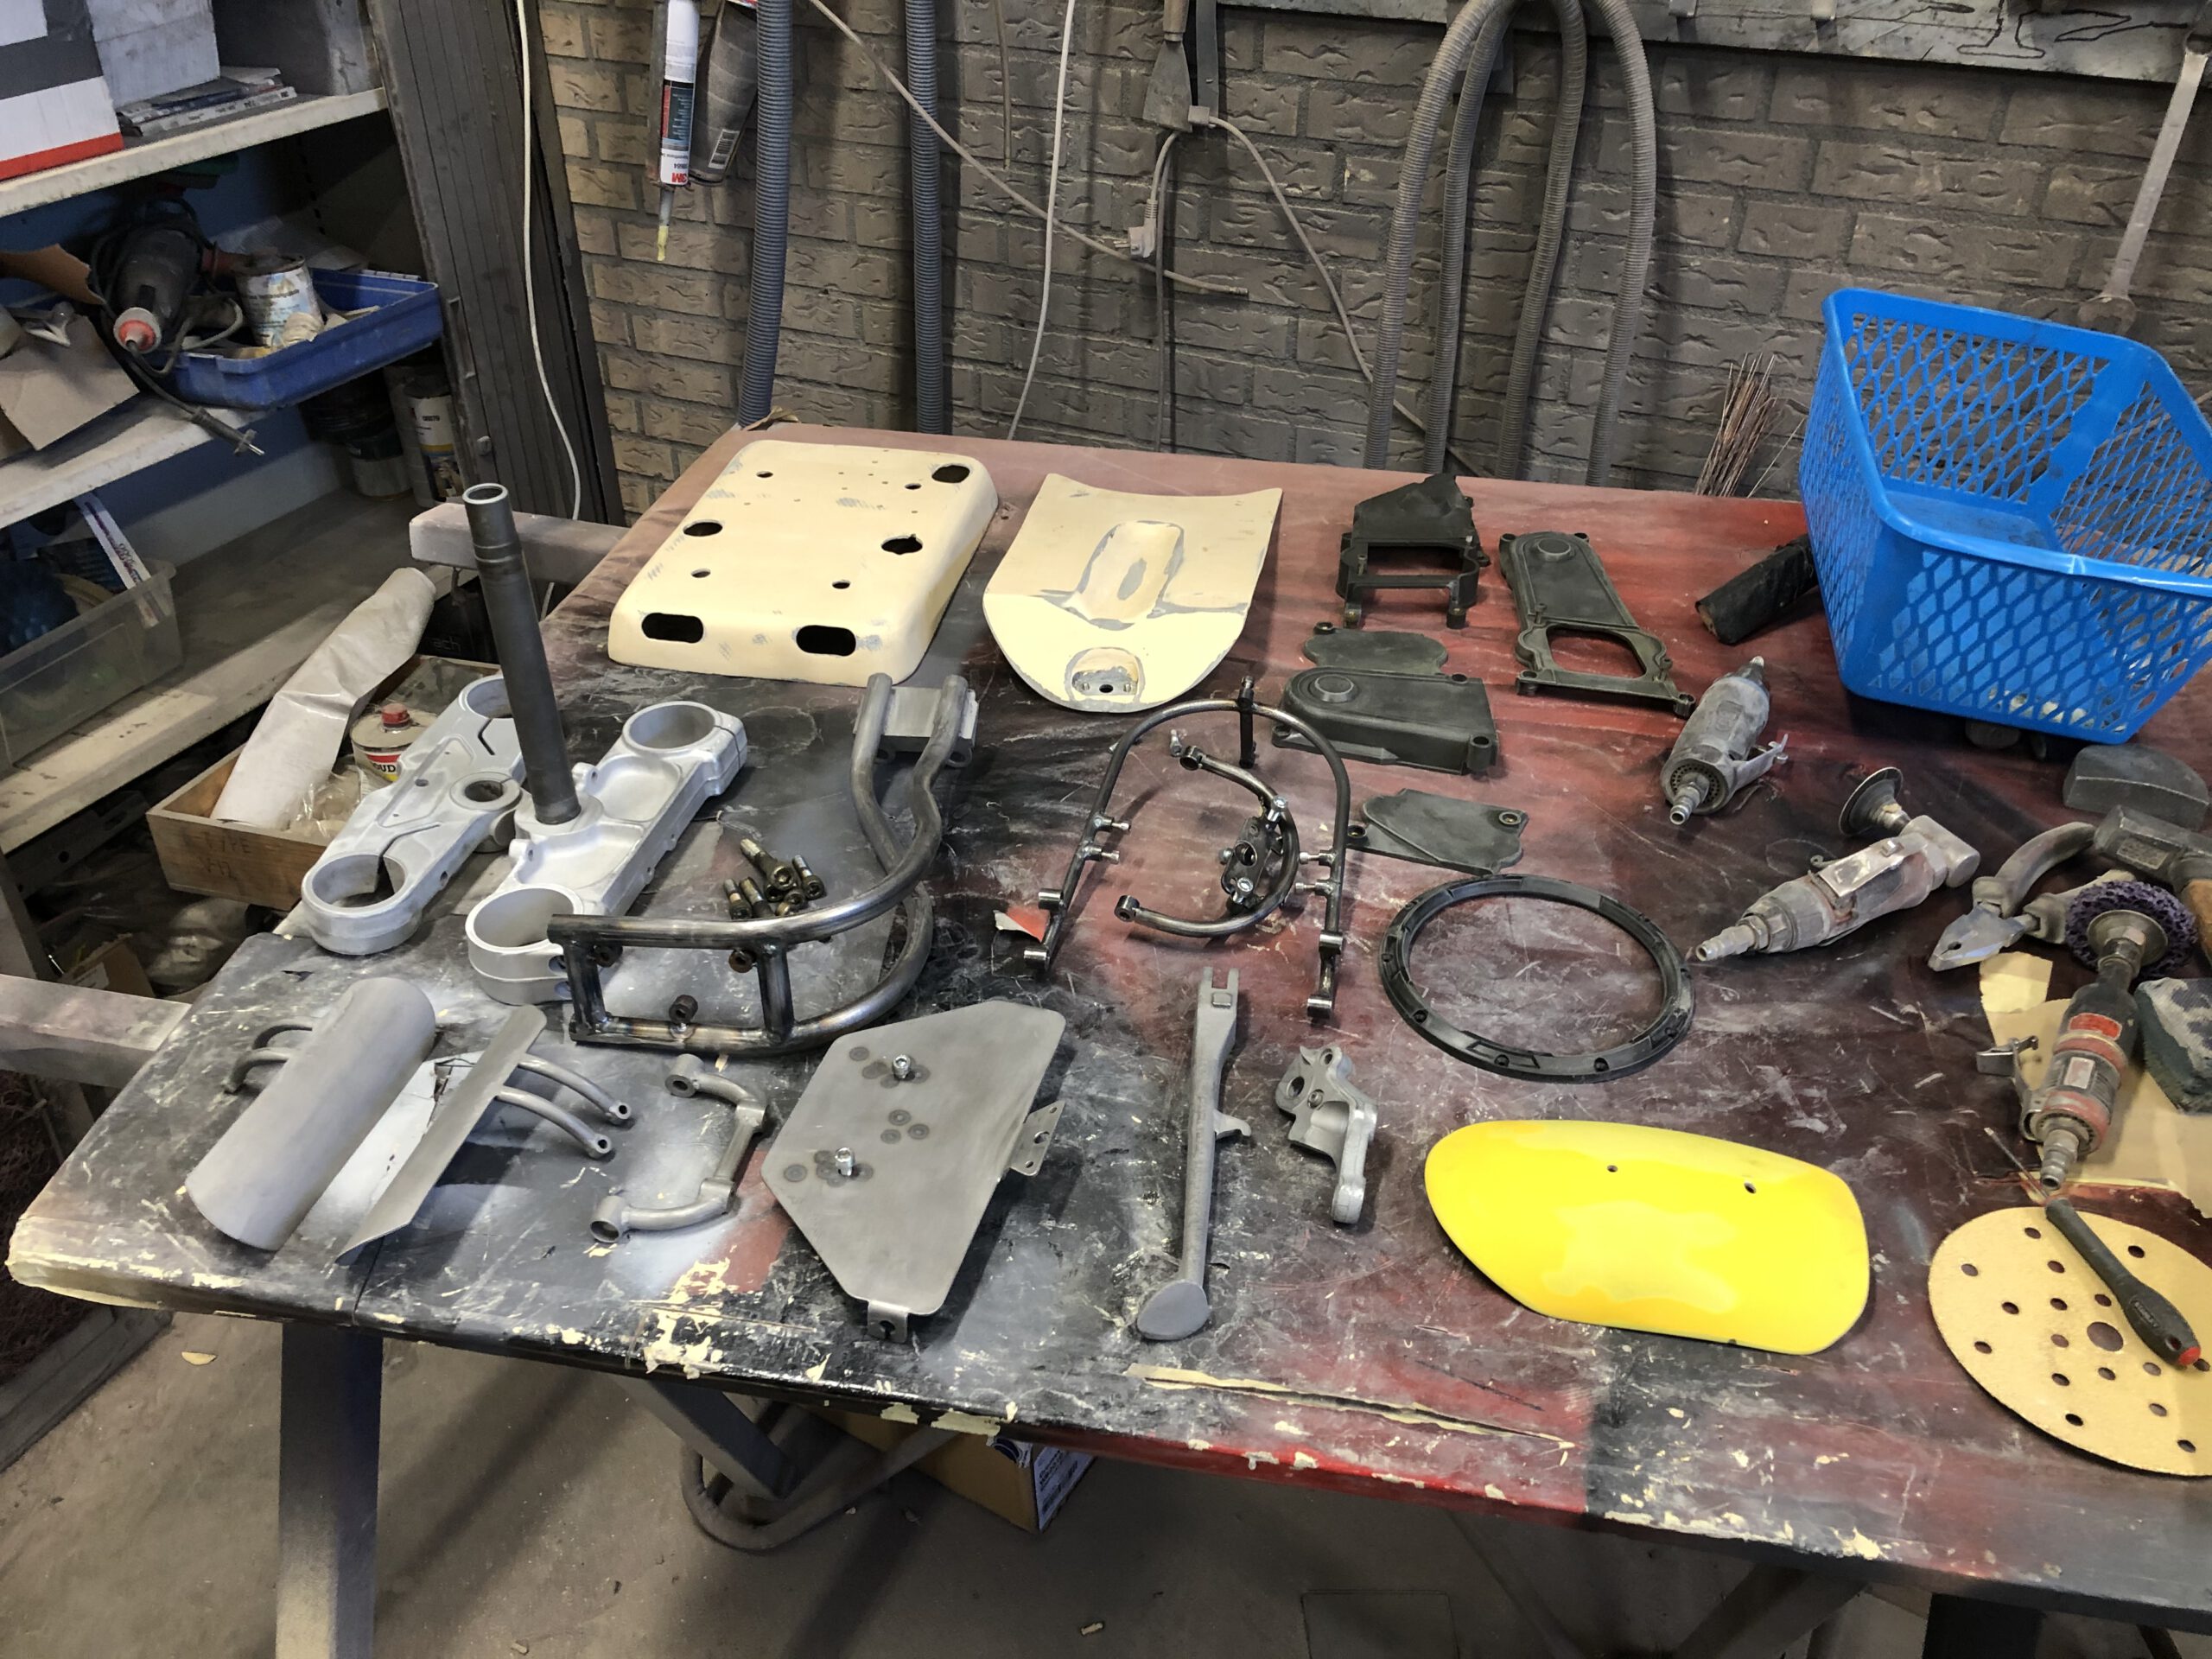
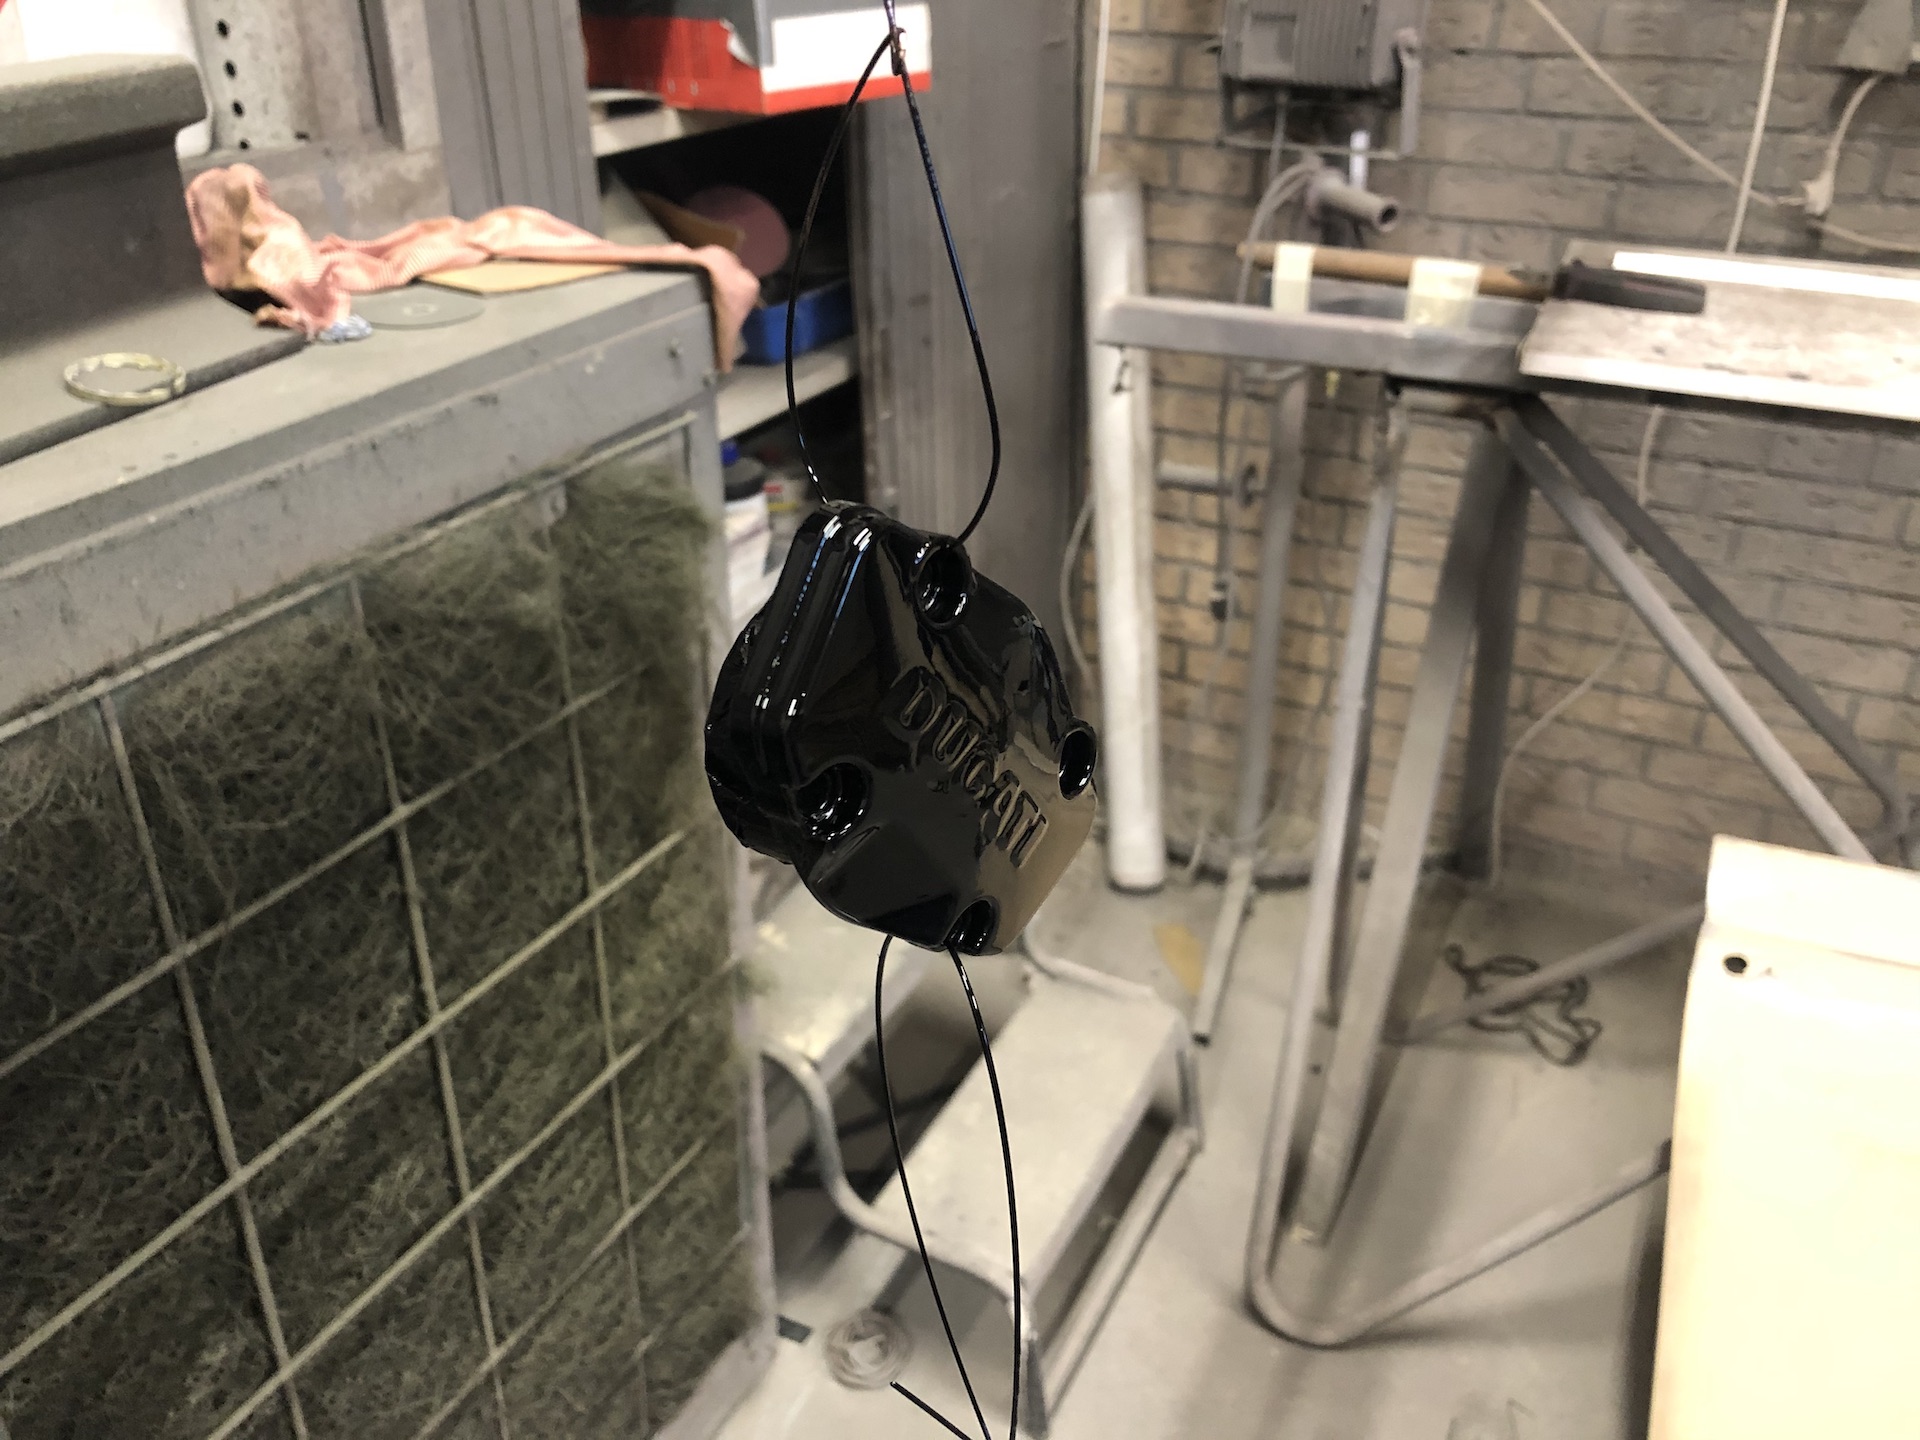
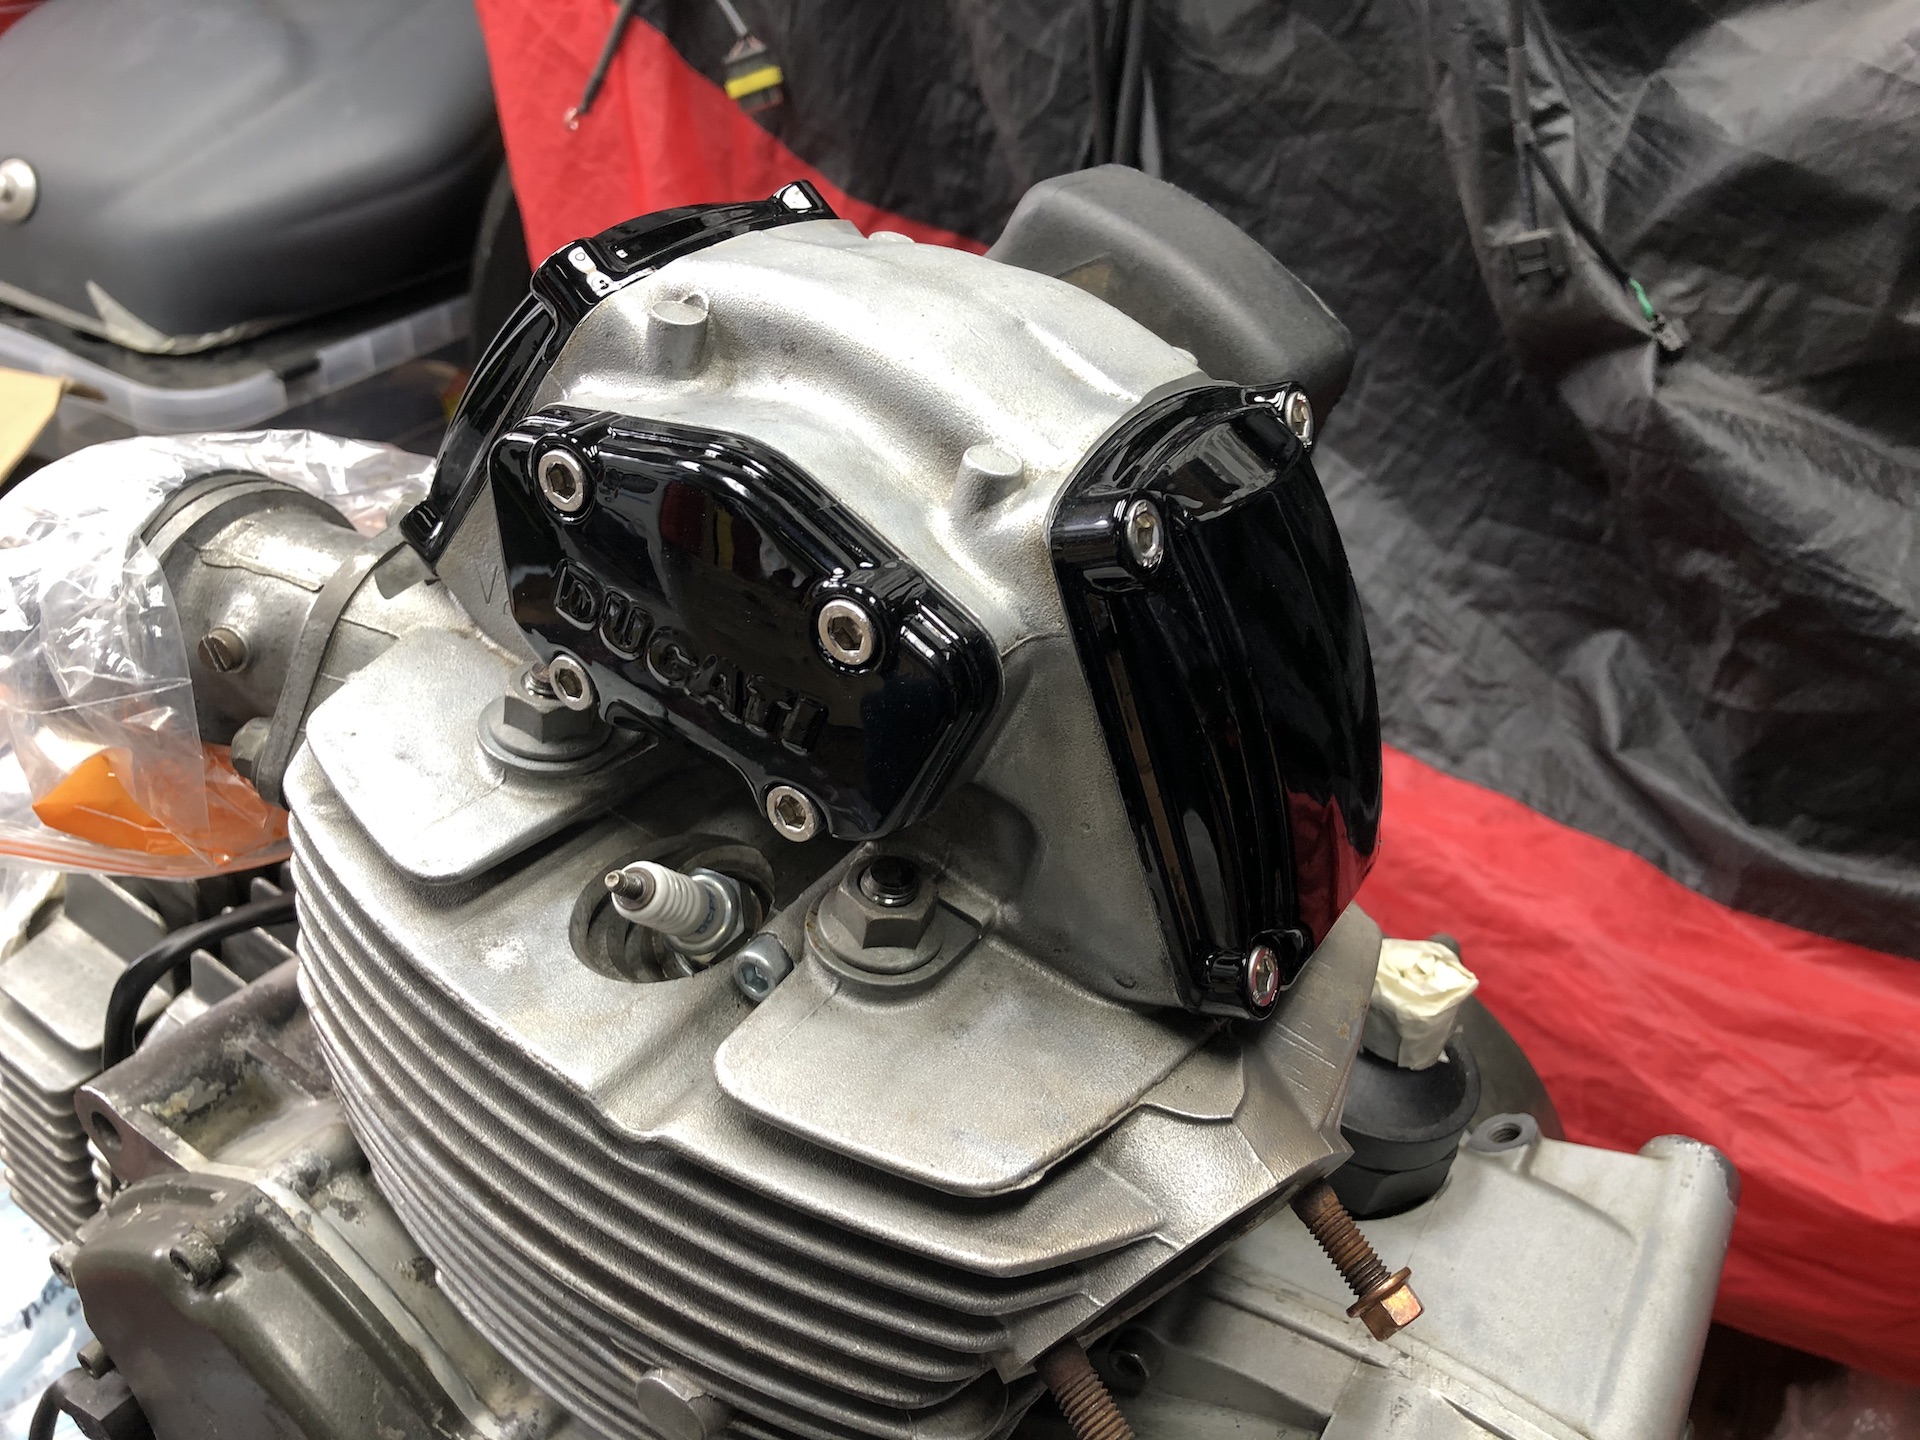
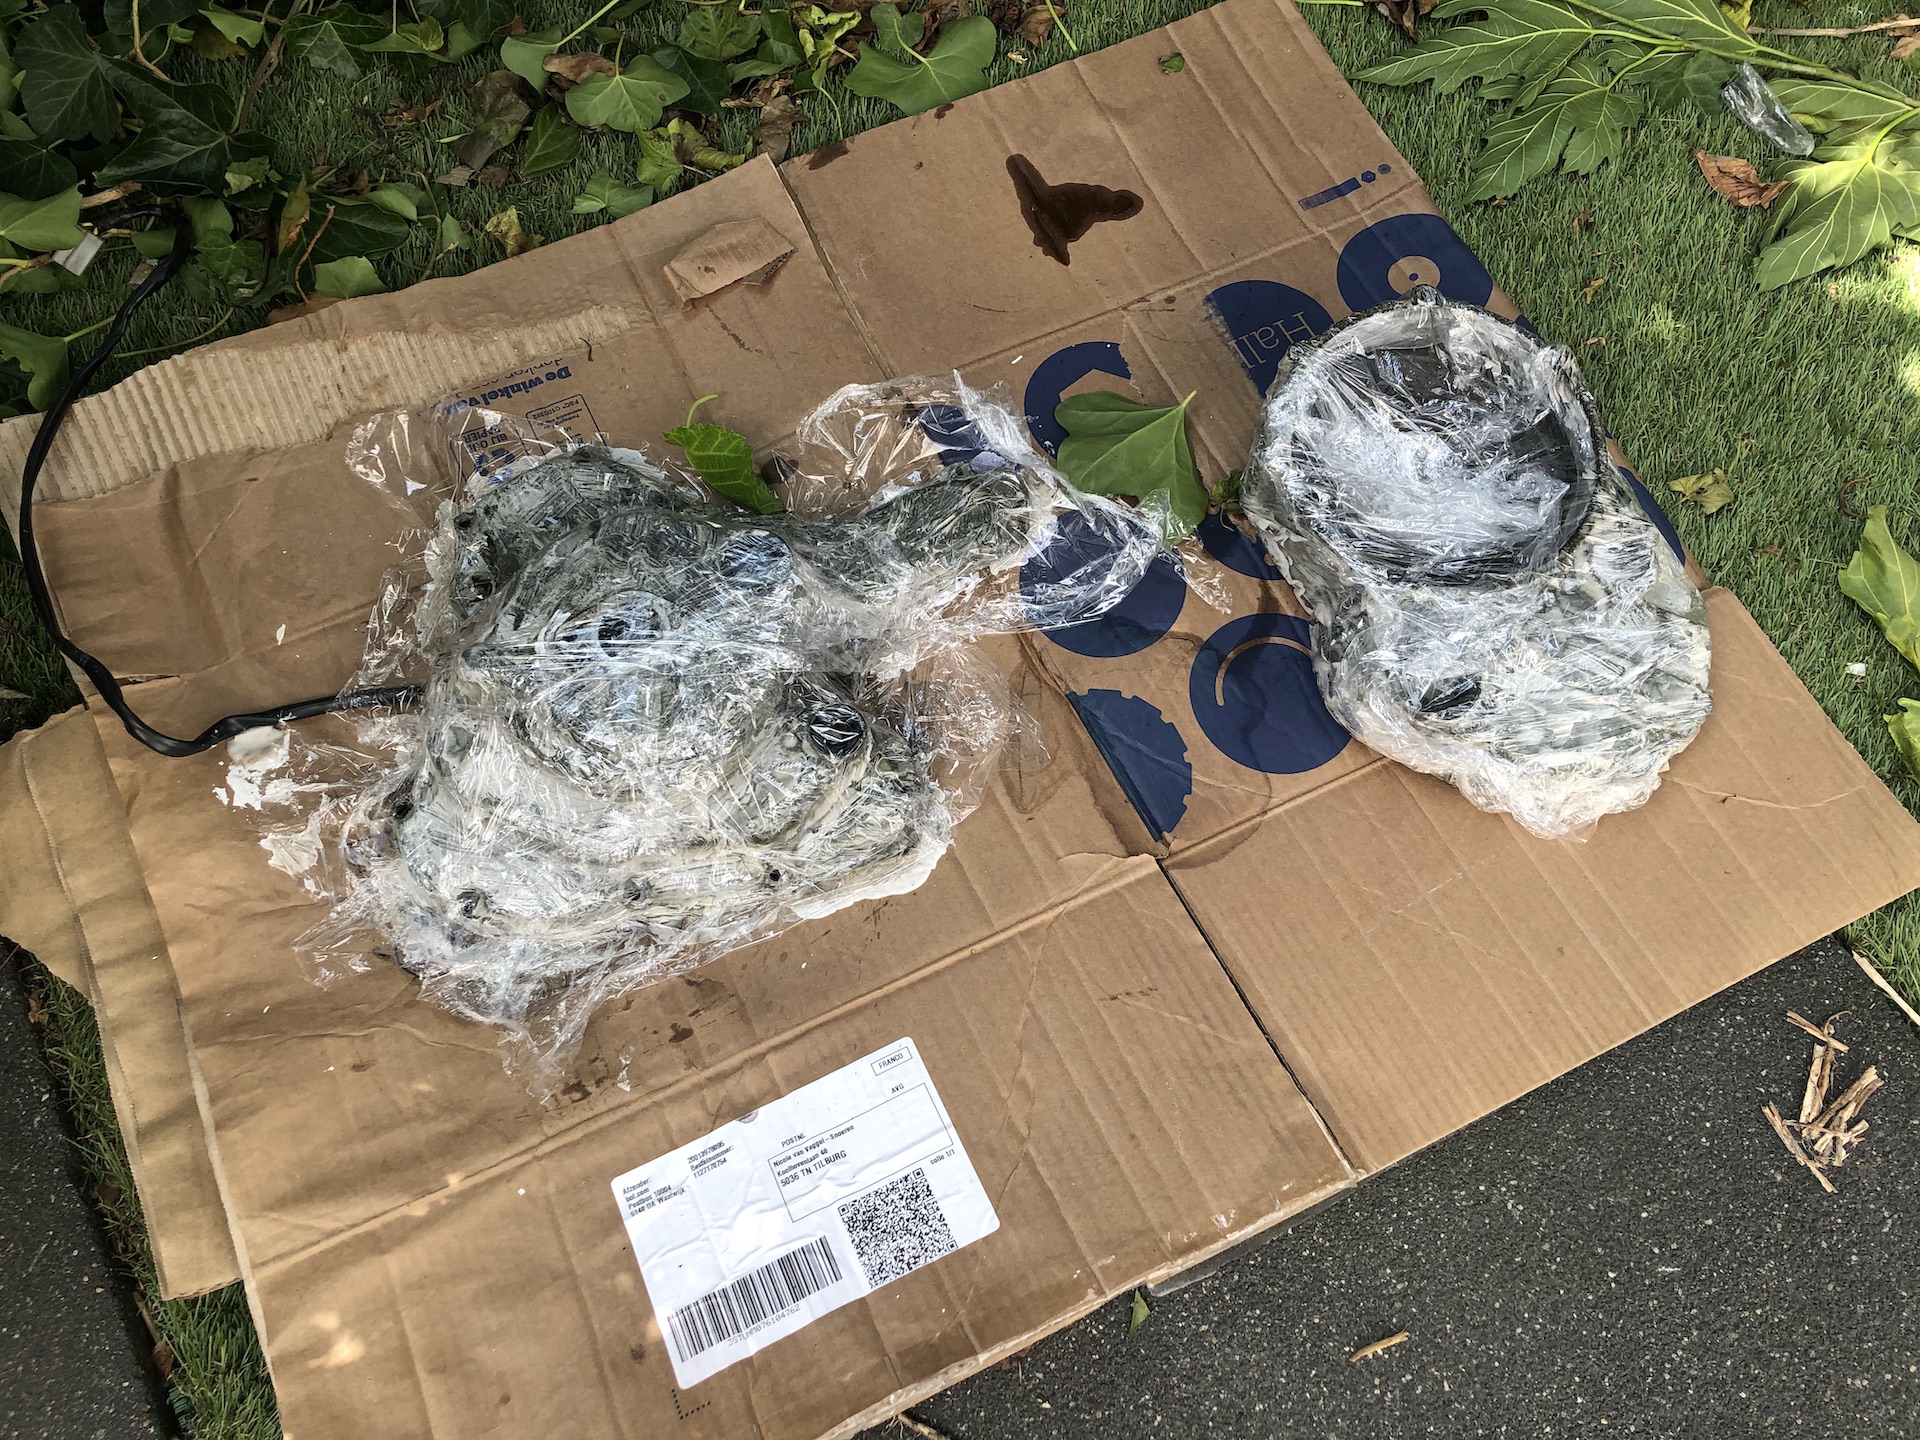
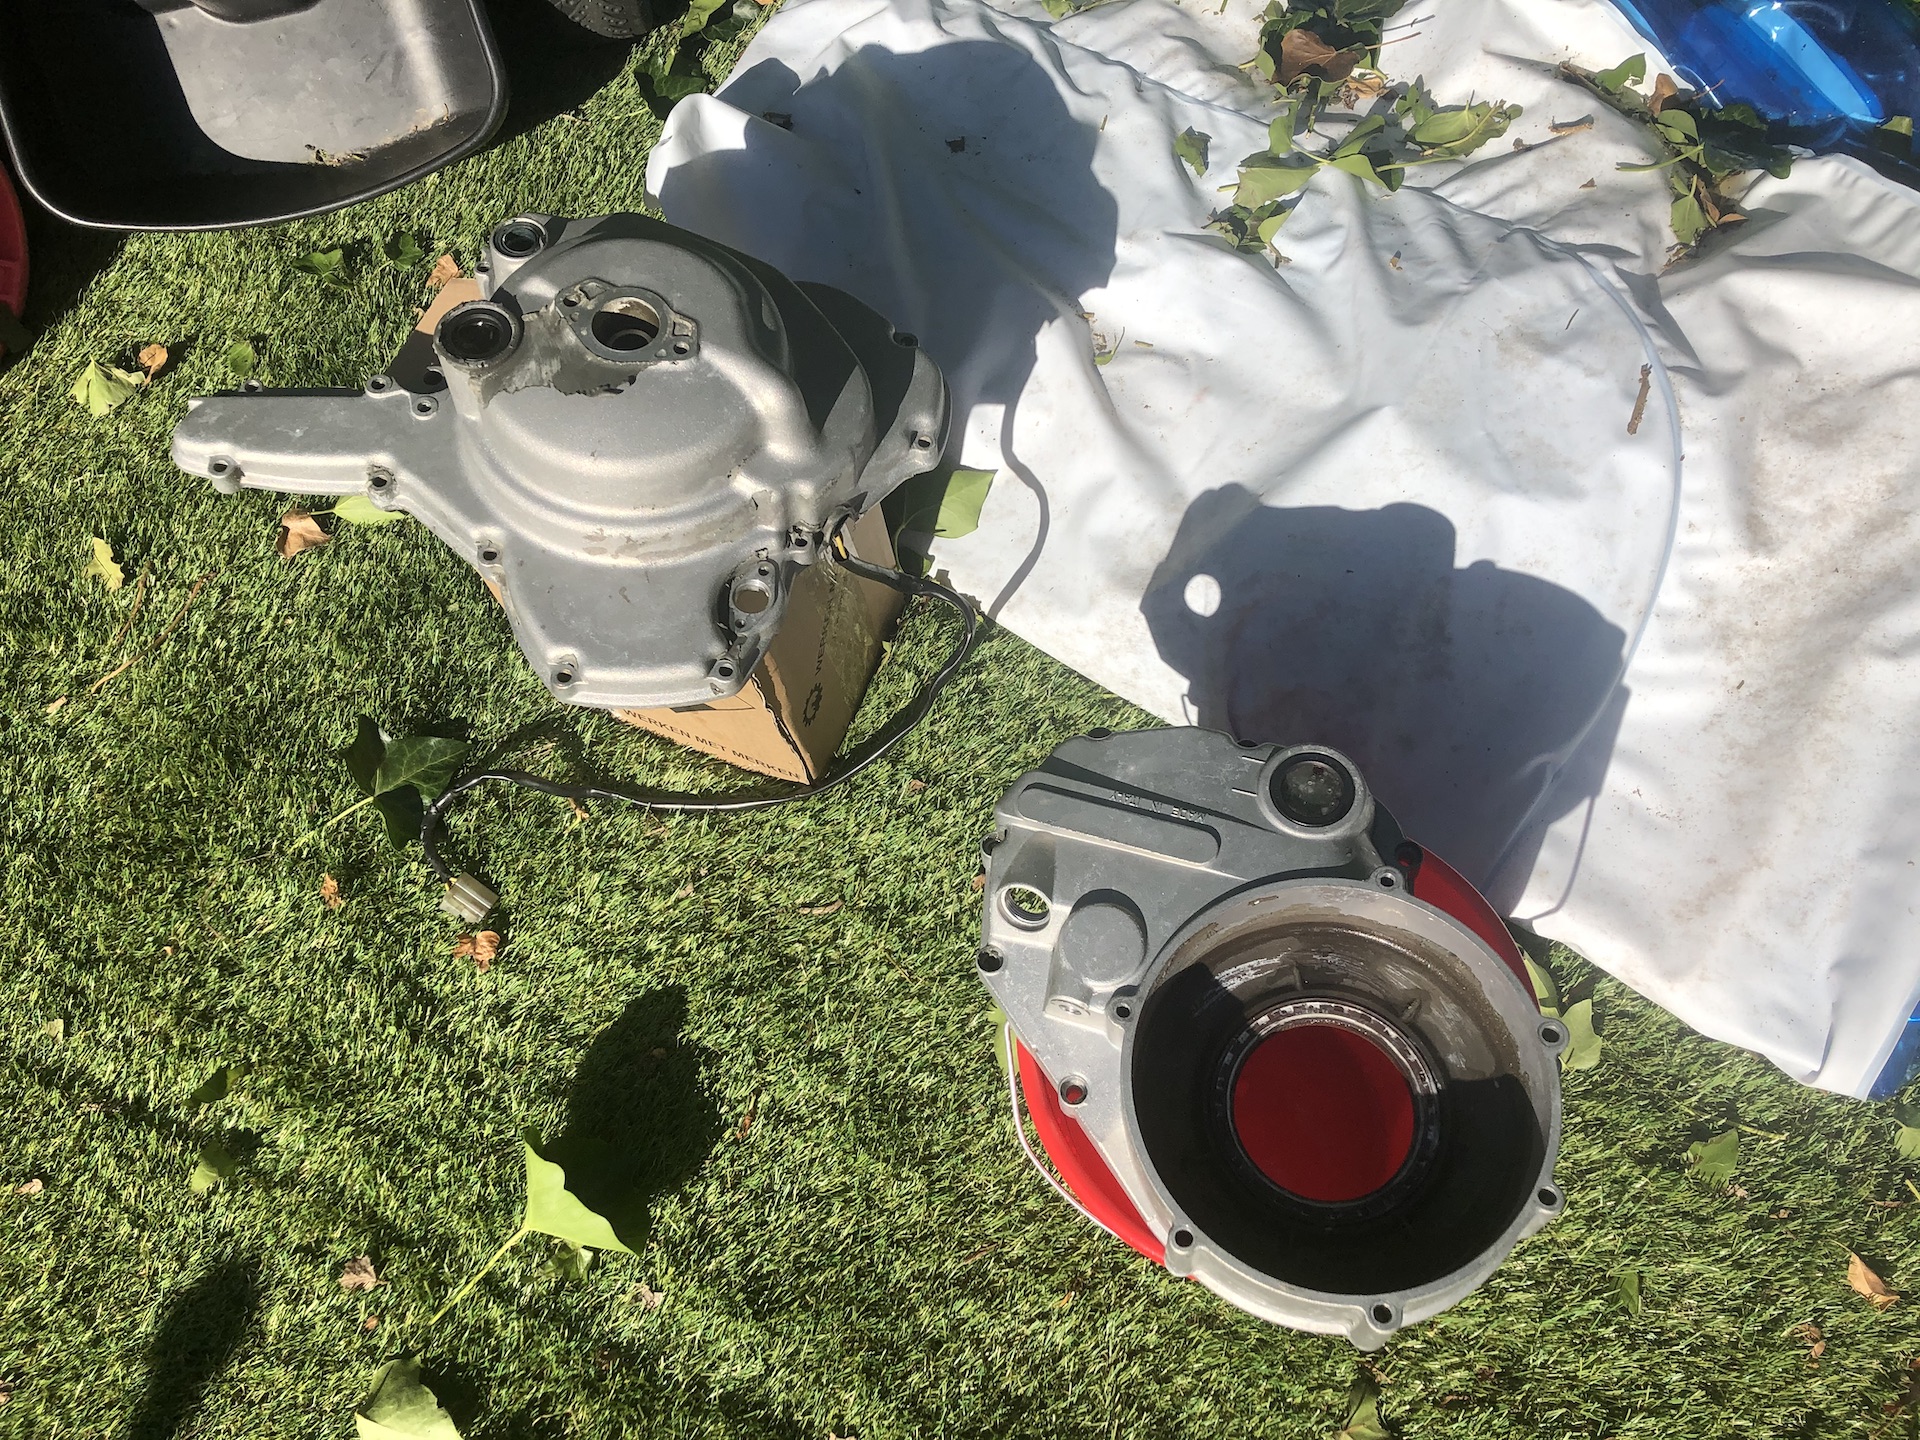
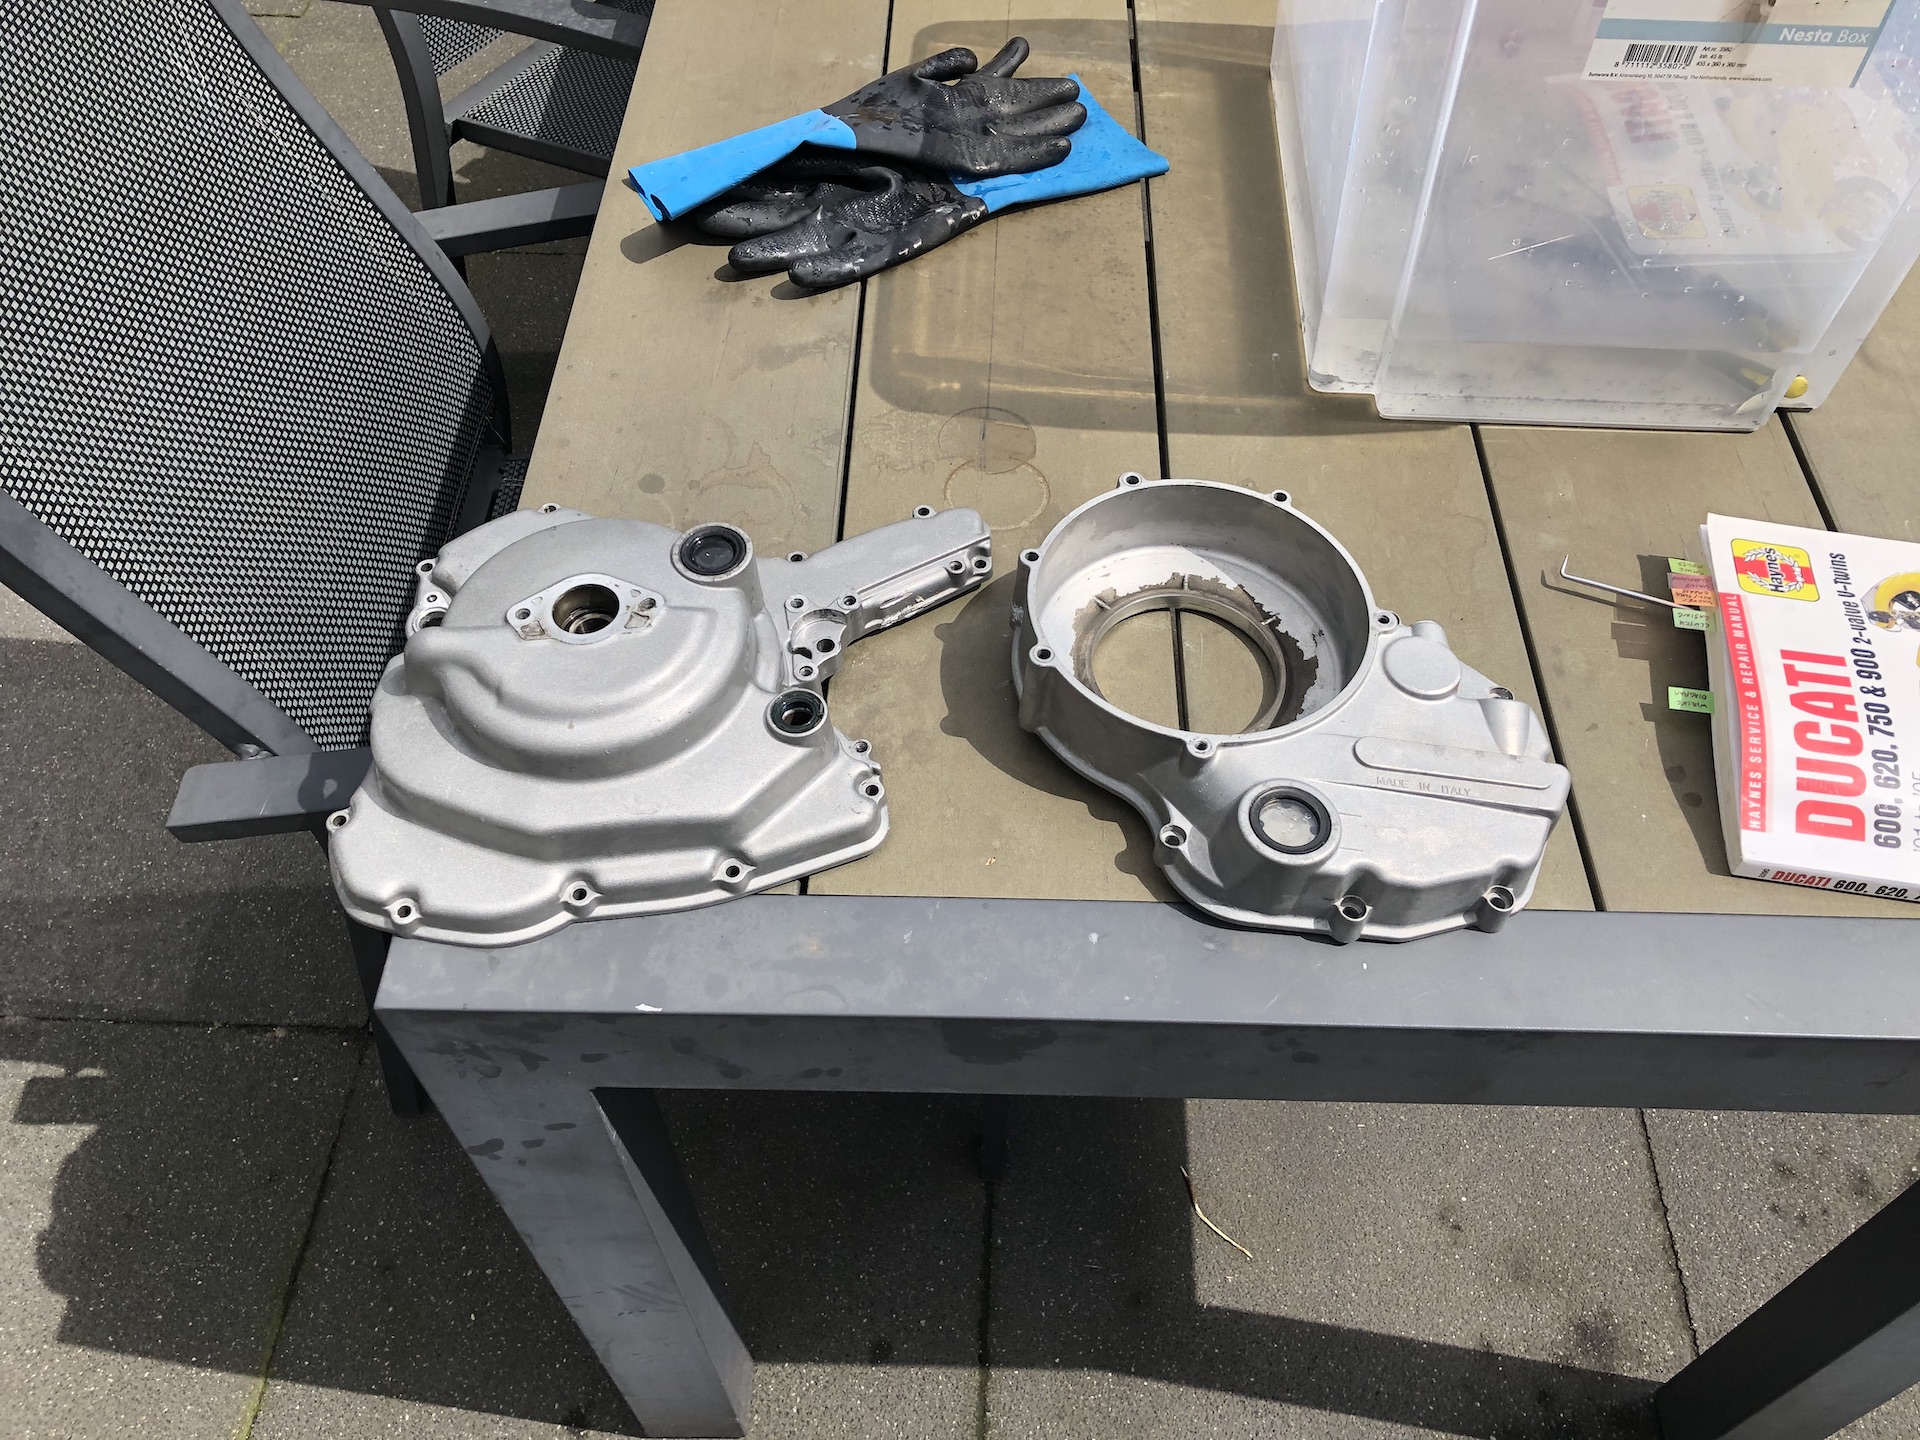
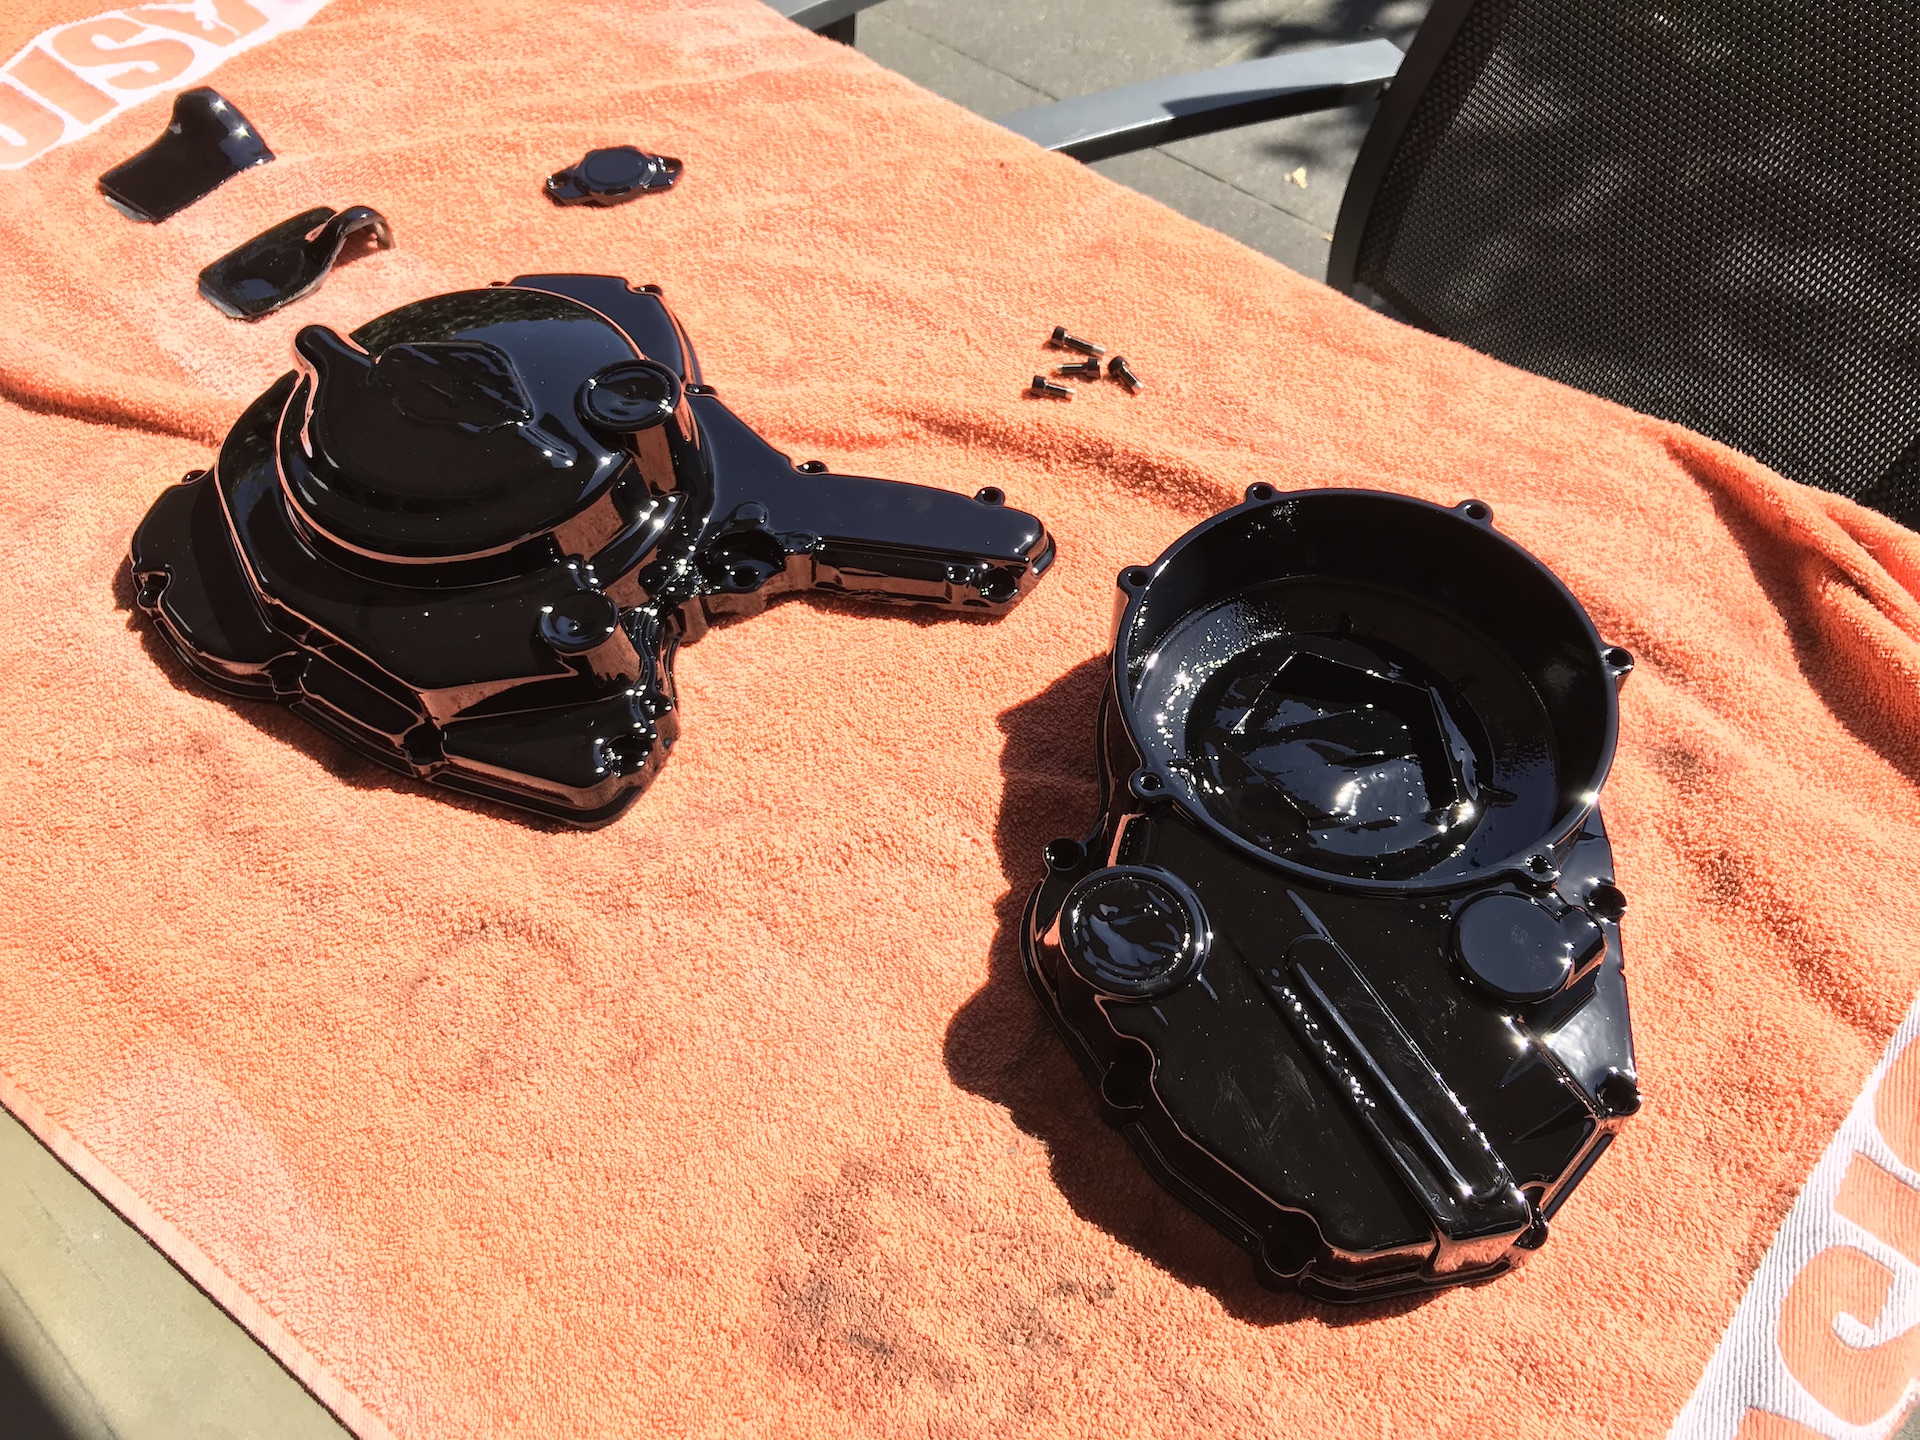
ENGINE COVERS NEW PAINT
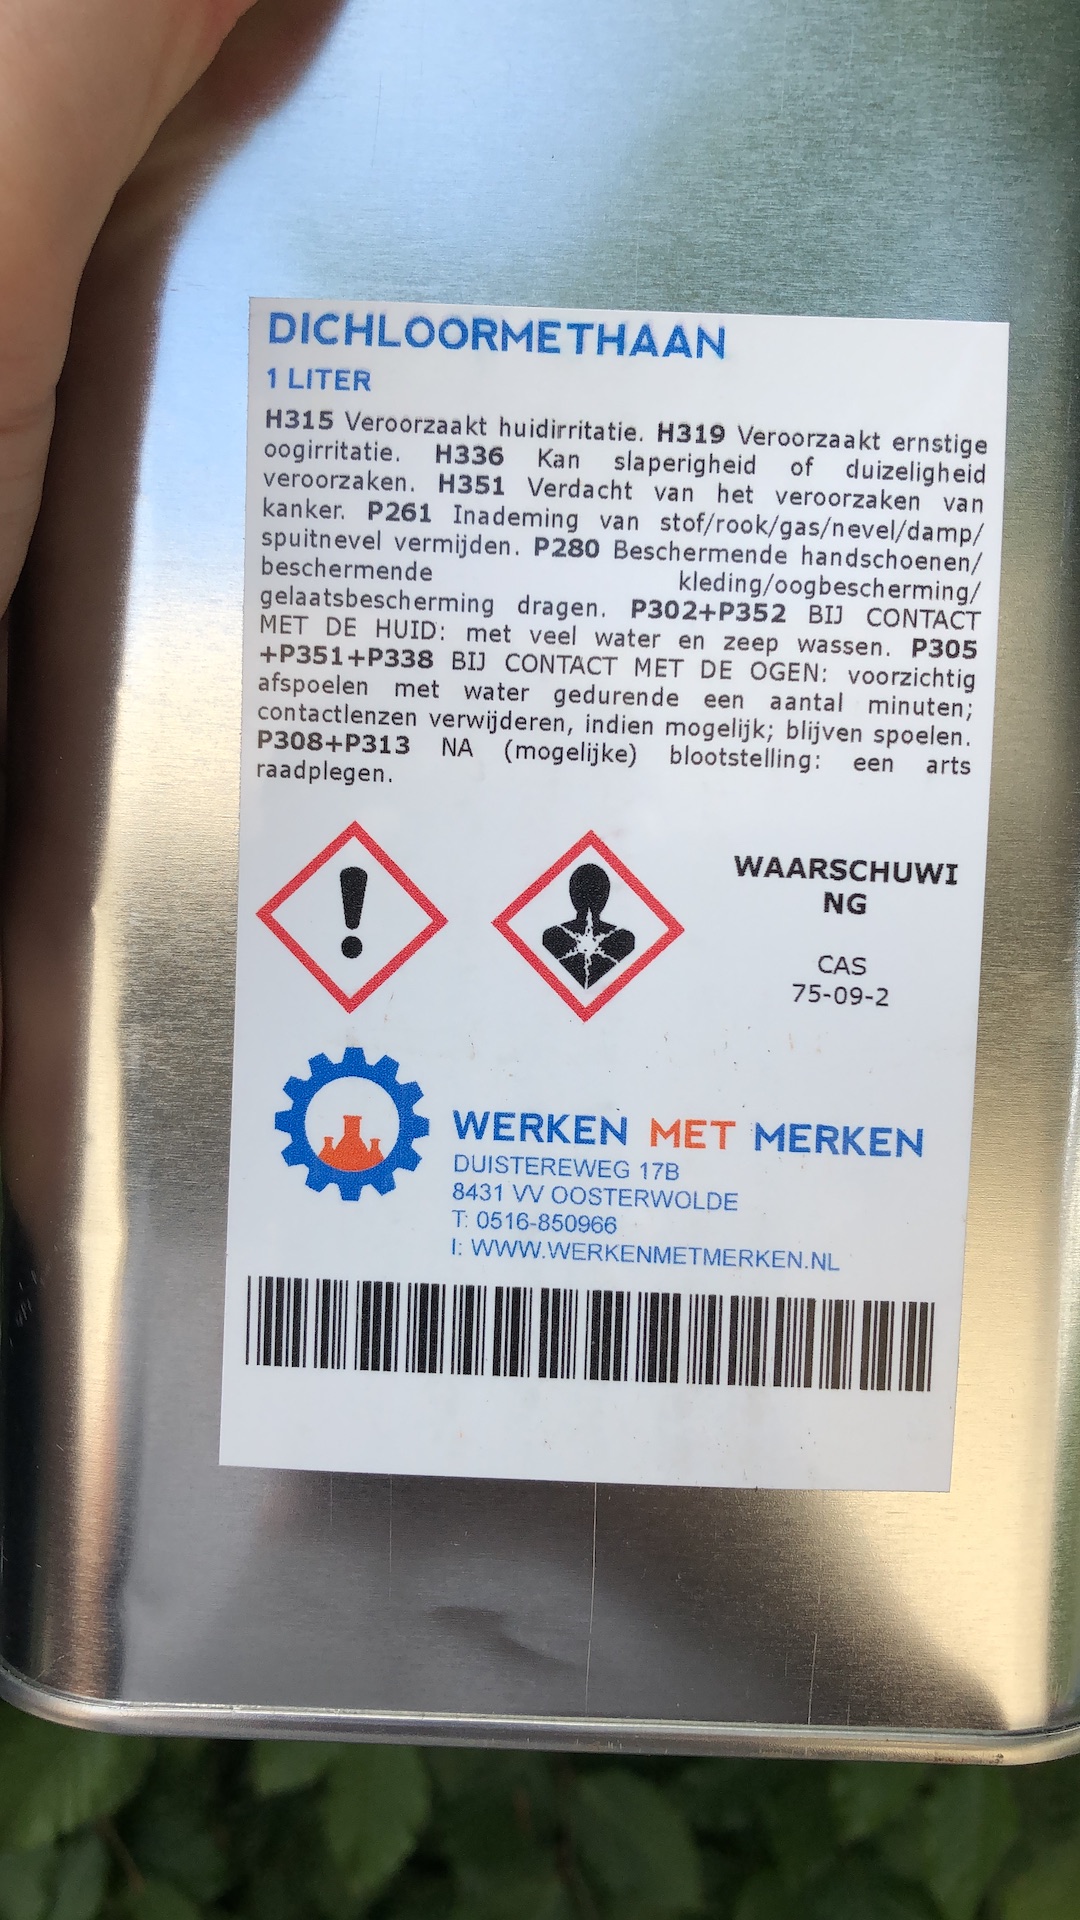
The engine covers had some damage on them probably from battery acid etc. Time for some new paint. But holy shit, this old paint is hard to get off. Got some industrial paint remover (horrible stuff, nearly fainted when working with it outside….). Result i can live with. Not perfect since the covers are cast aluminium.

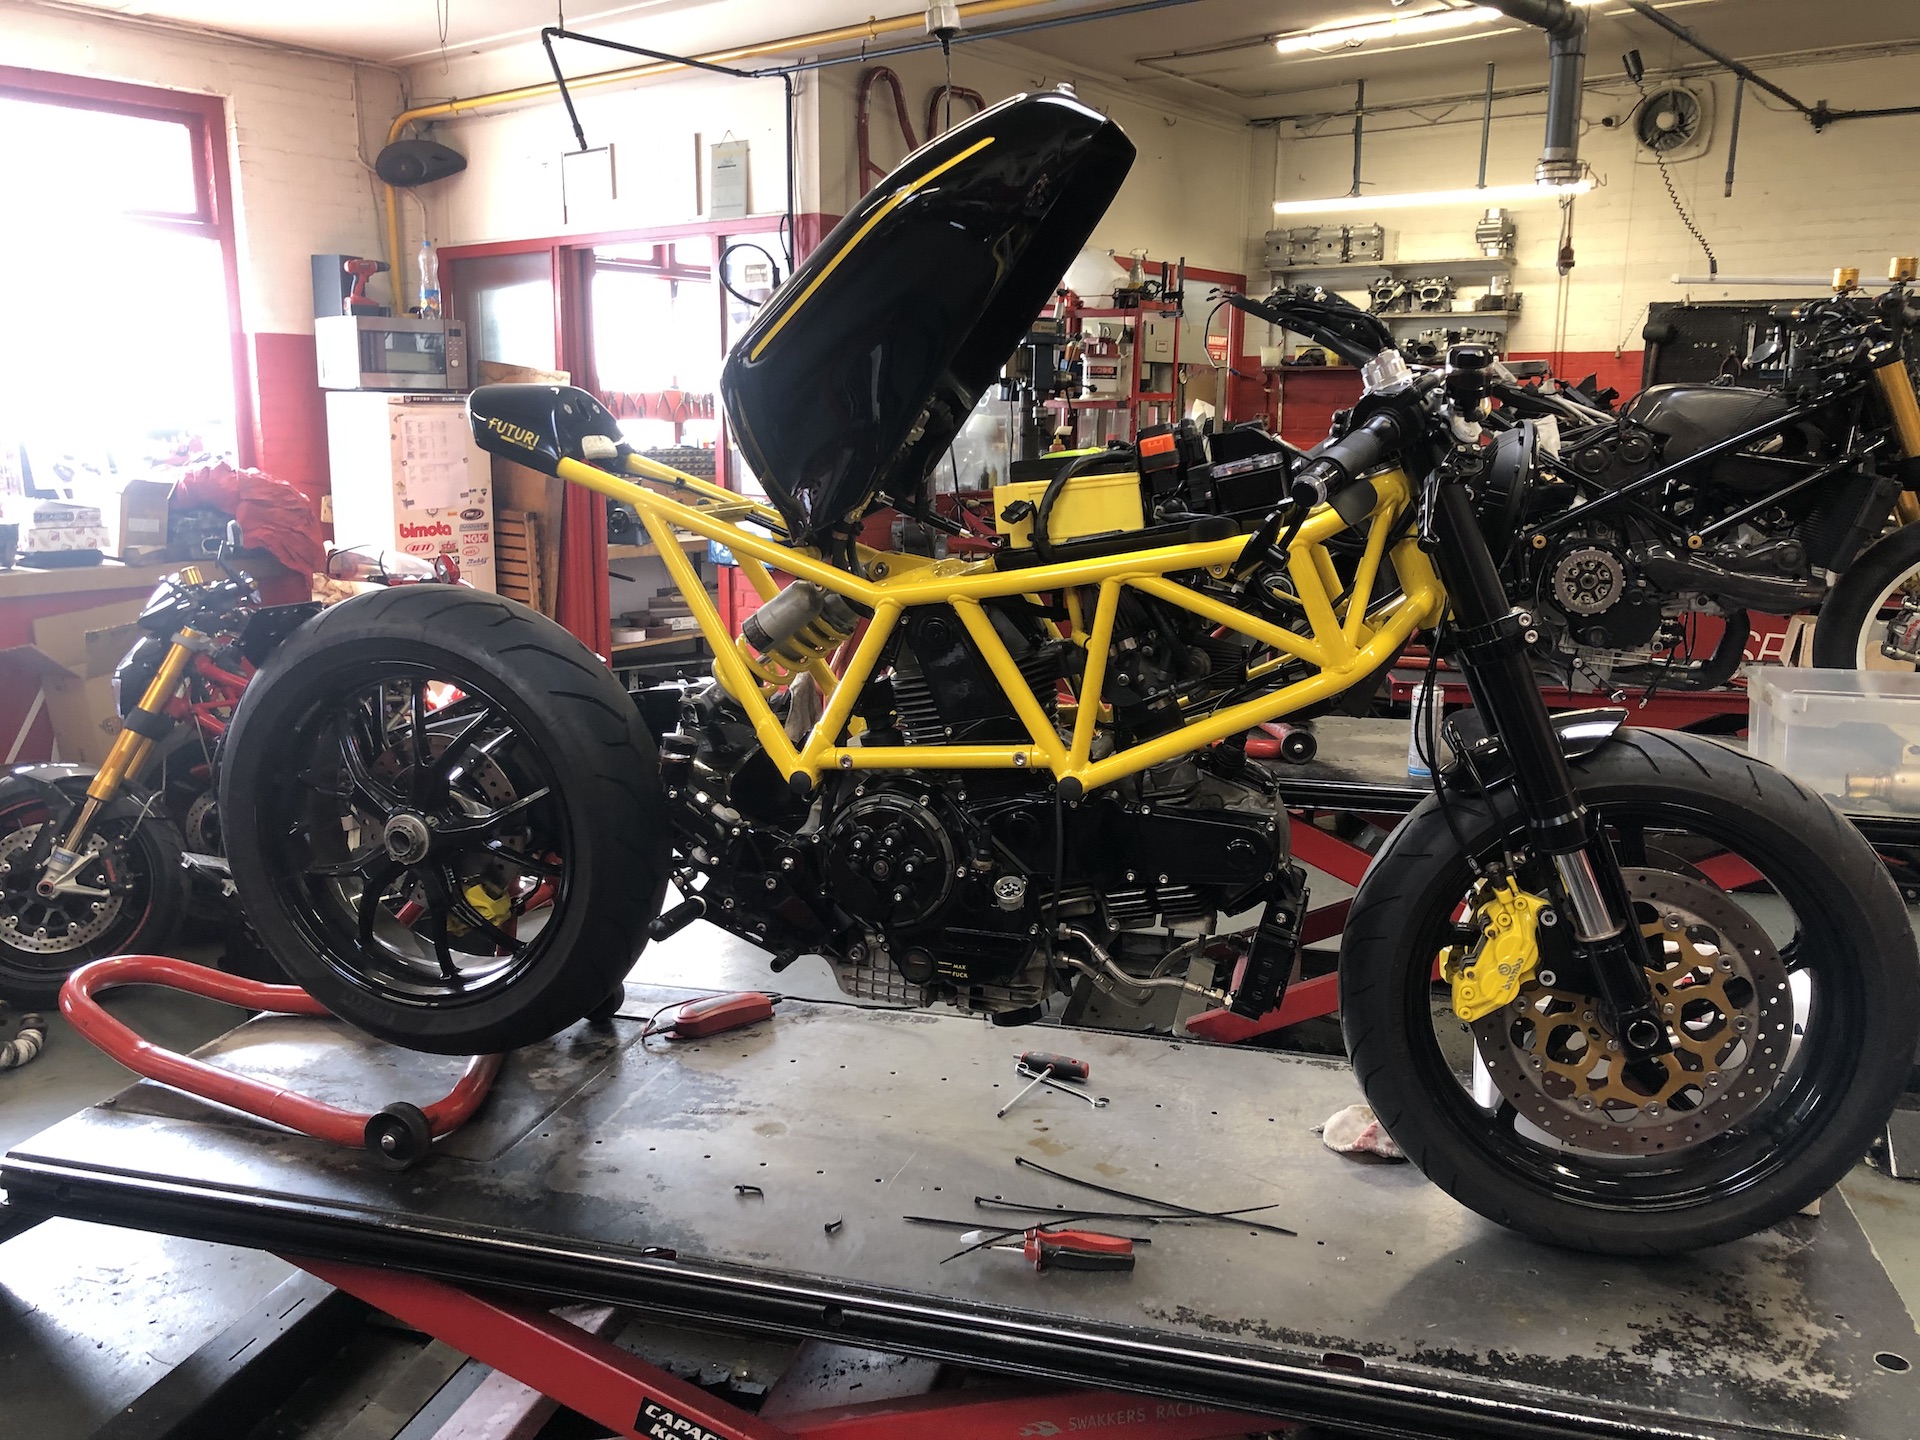
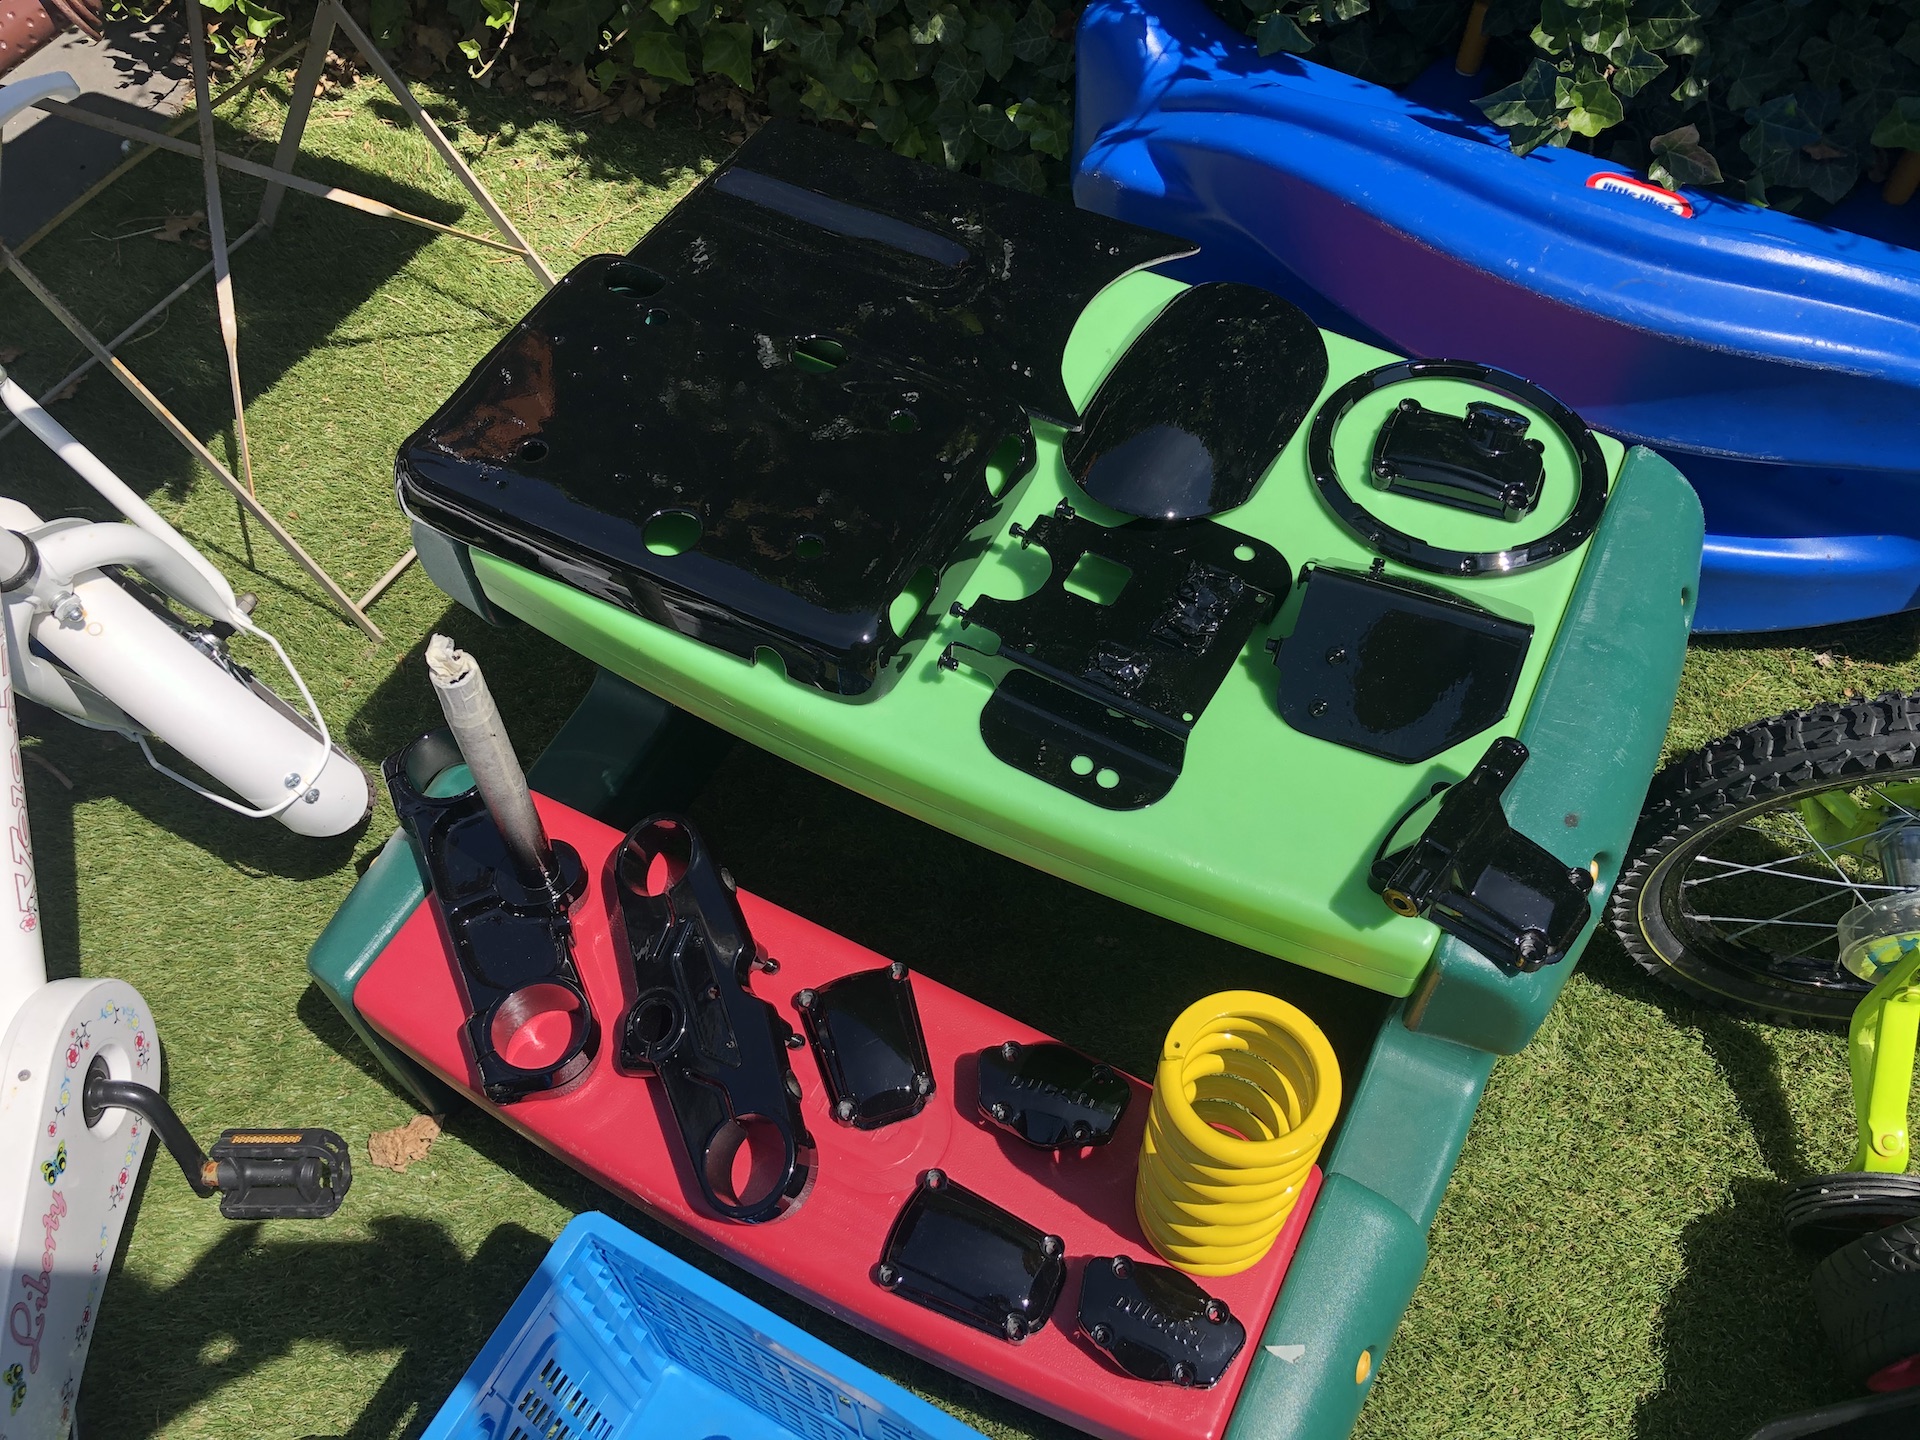
BUILDING UP
Almost all the parts are done from paint. Time to start building everything back up :D!


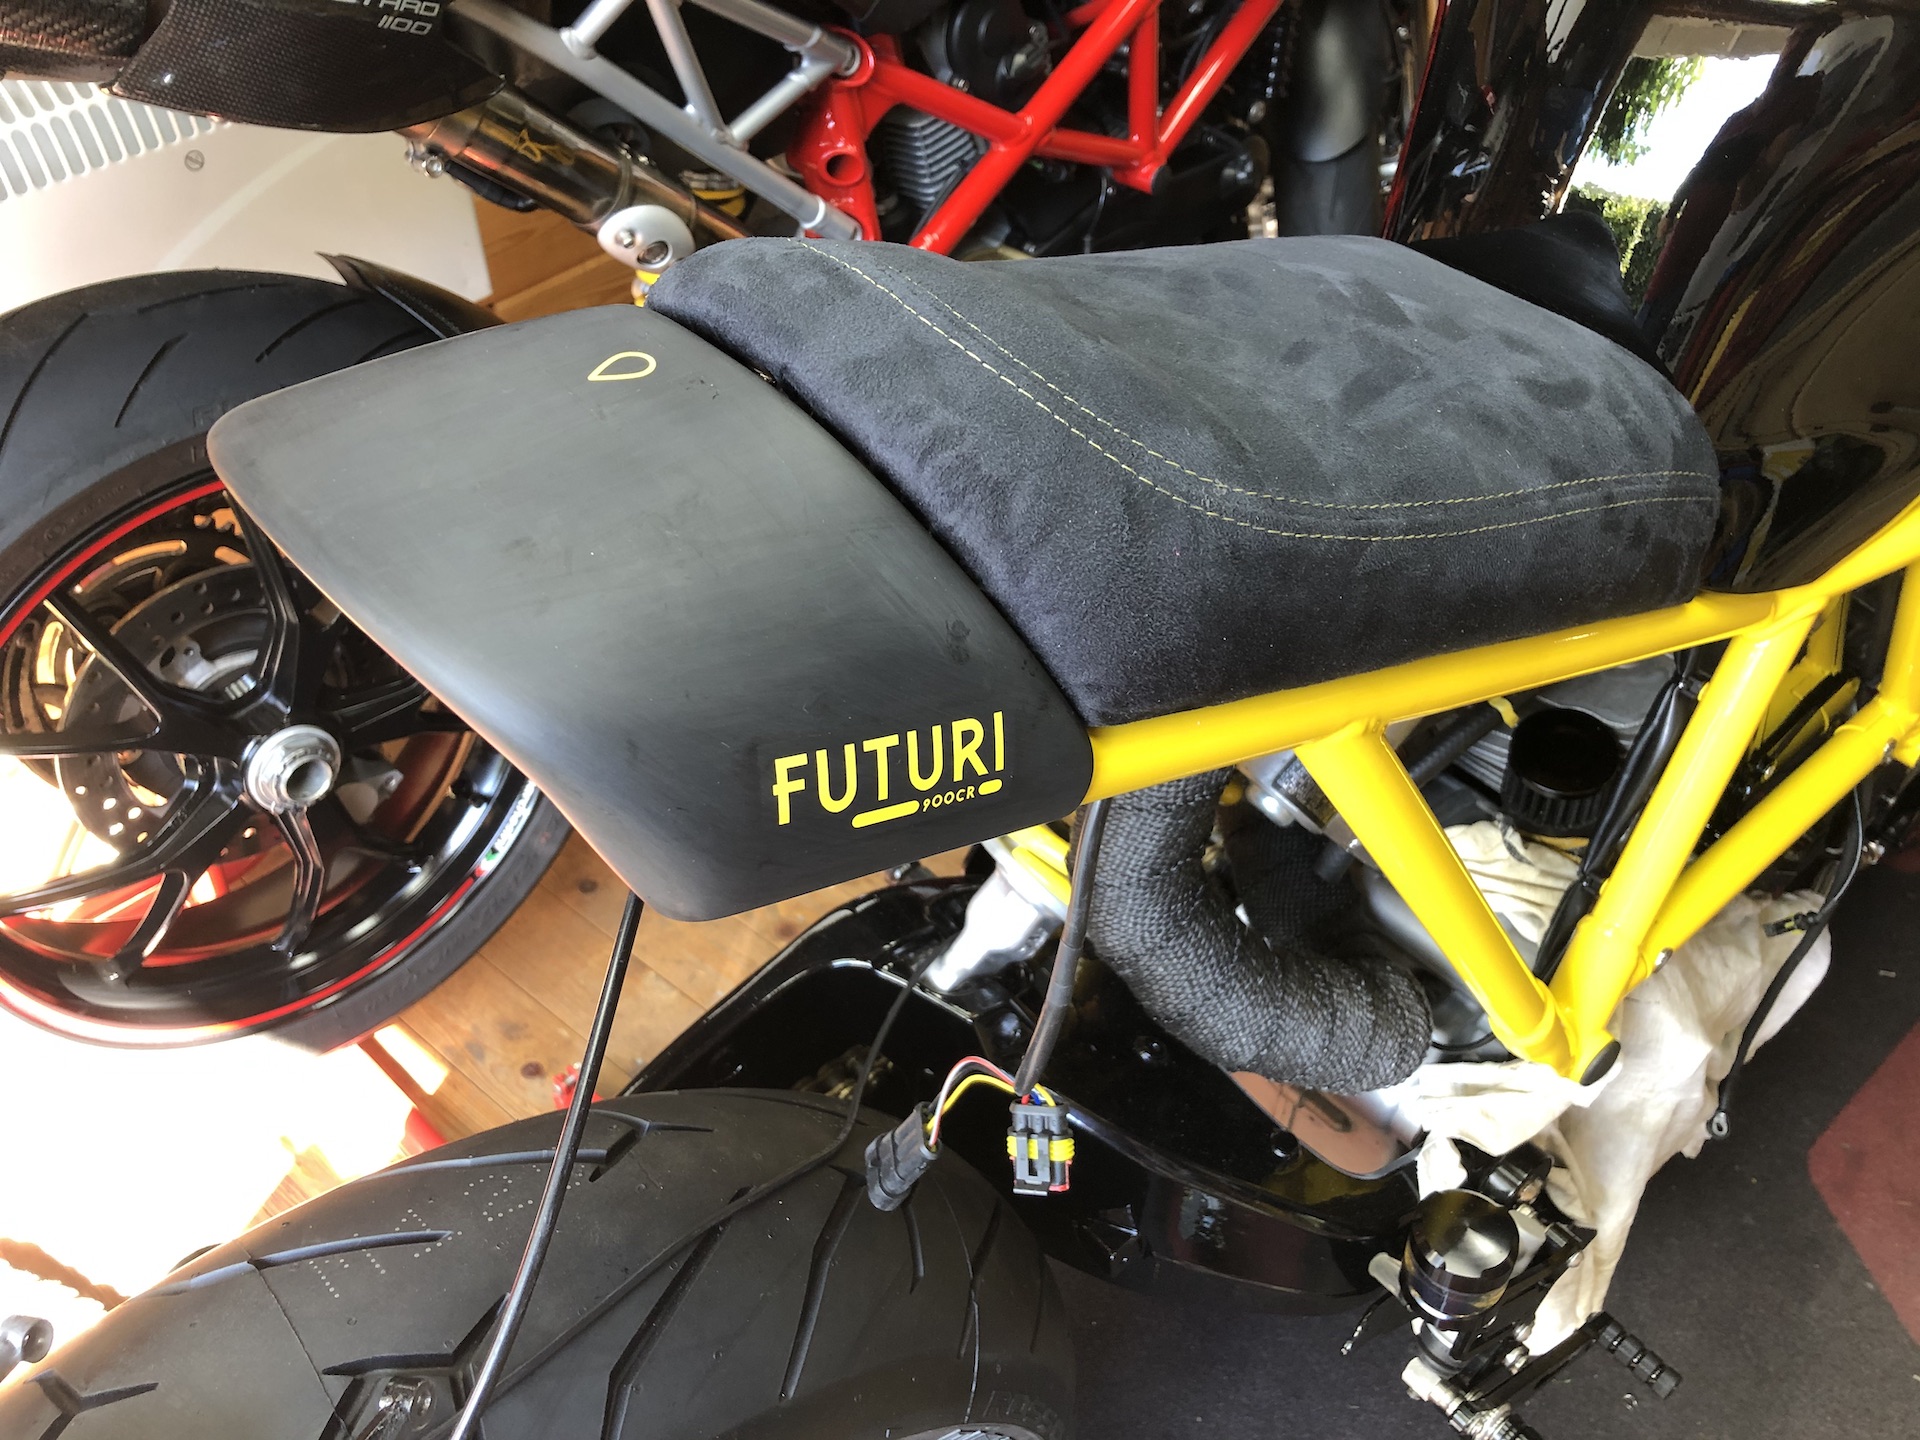
SEAT ALL DONE
Got the seat back from the upholstery lady. Not completely happy witht the result, but i can live with it. Wanted the fabric to be pulled more tightly, and the stitchting isnt exactly the way i wanted it. Maybe ill redo the seat during the winter :).


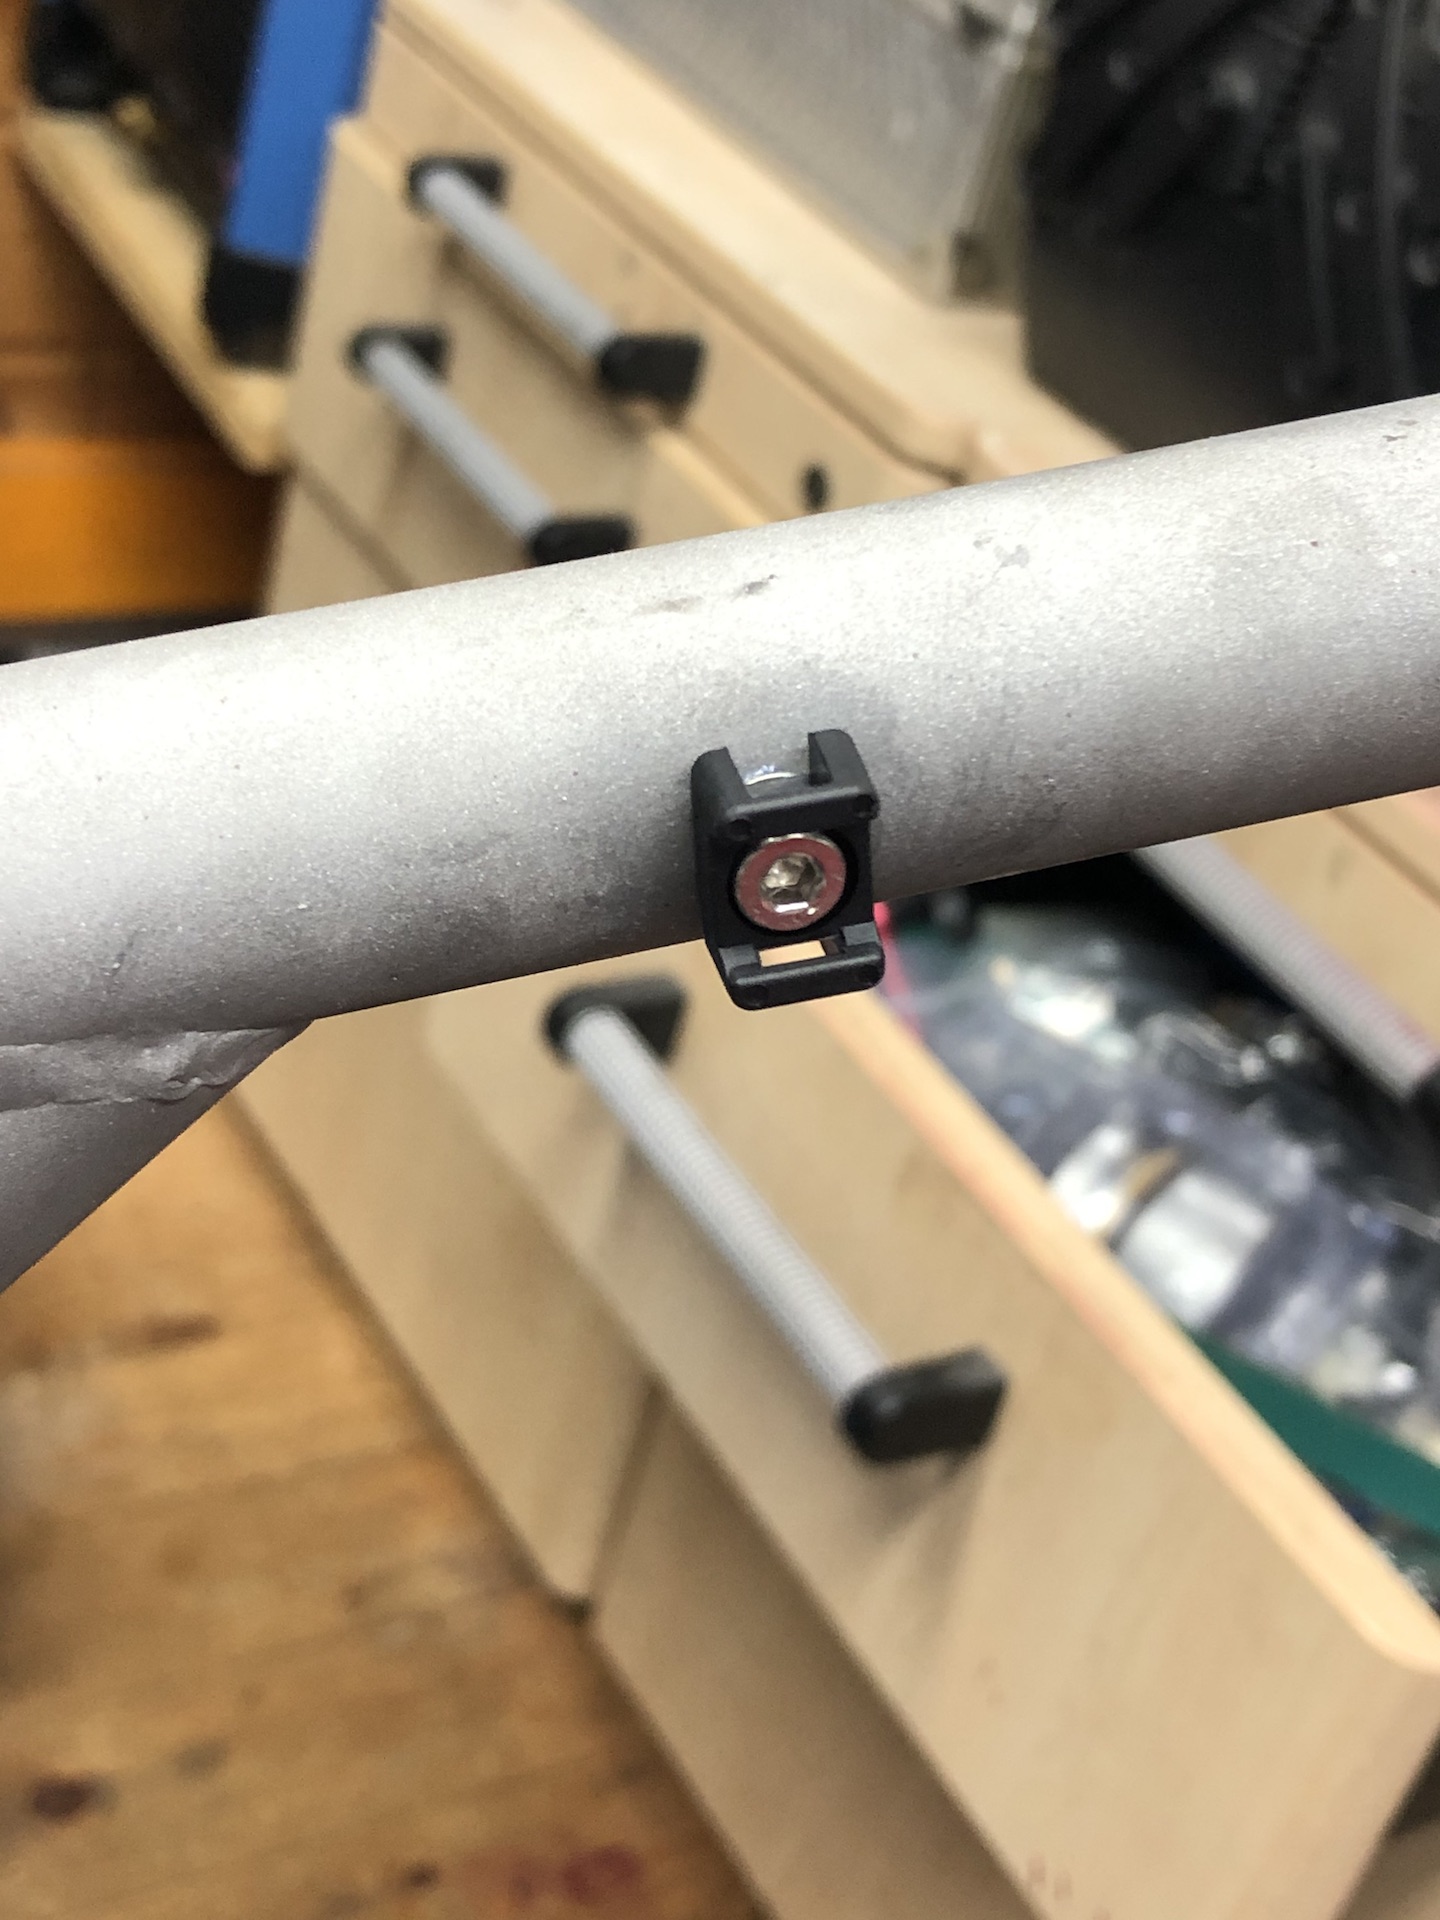
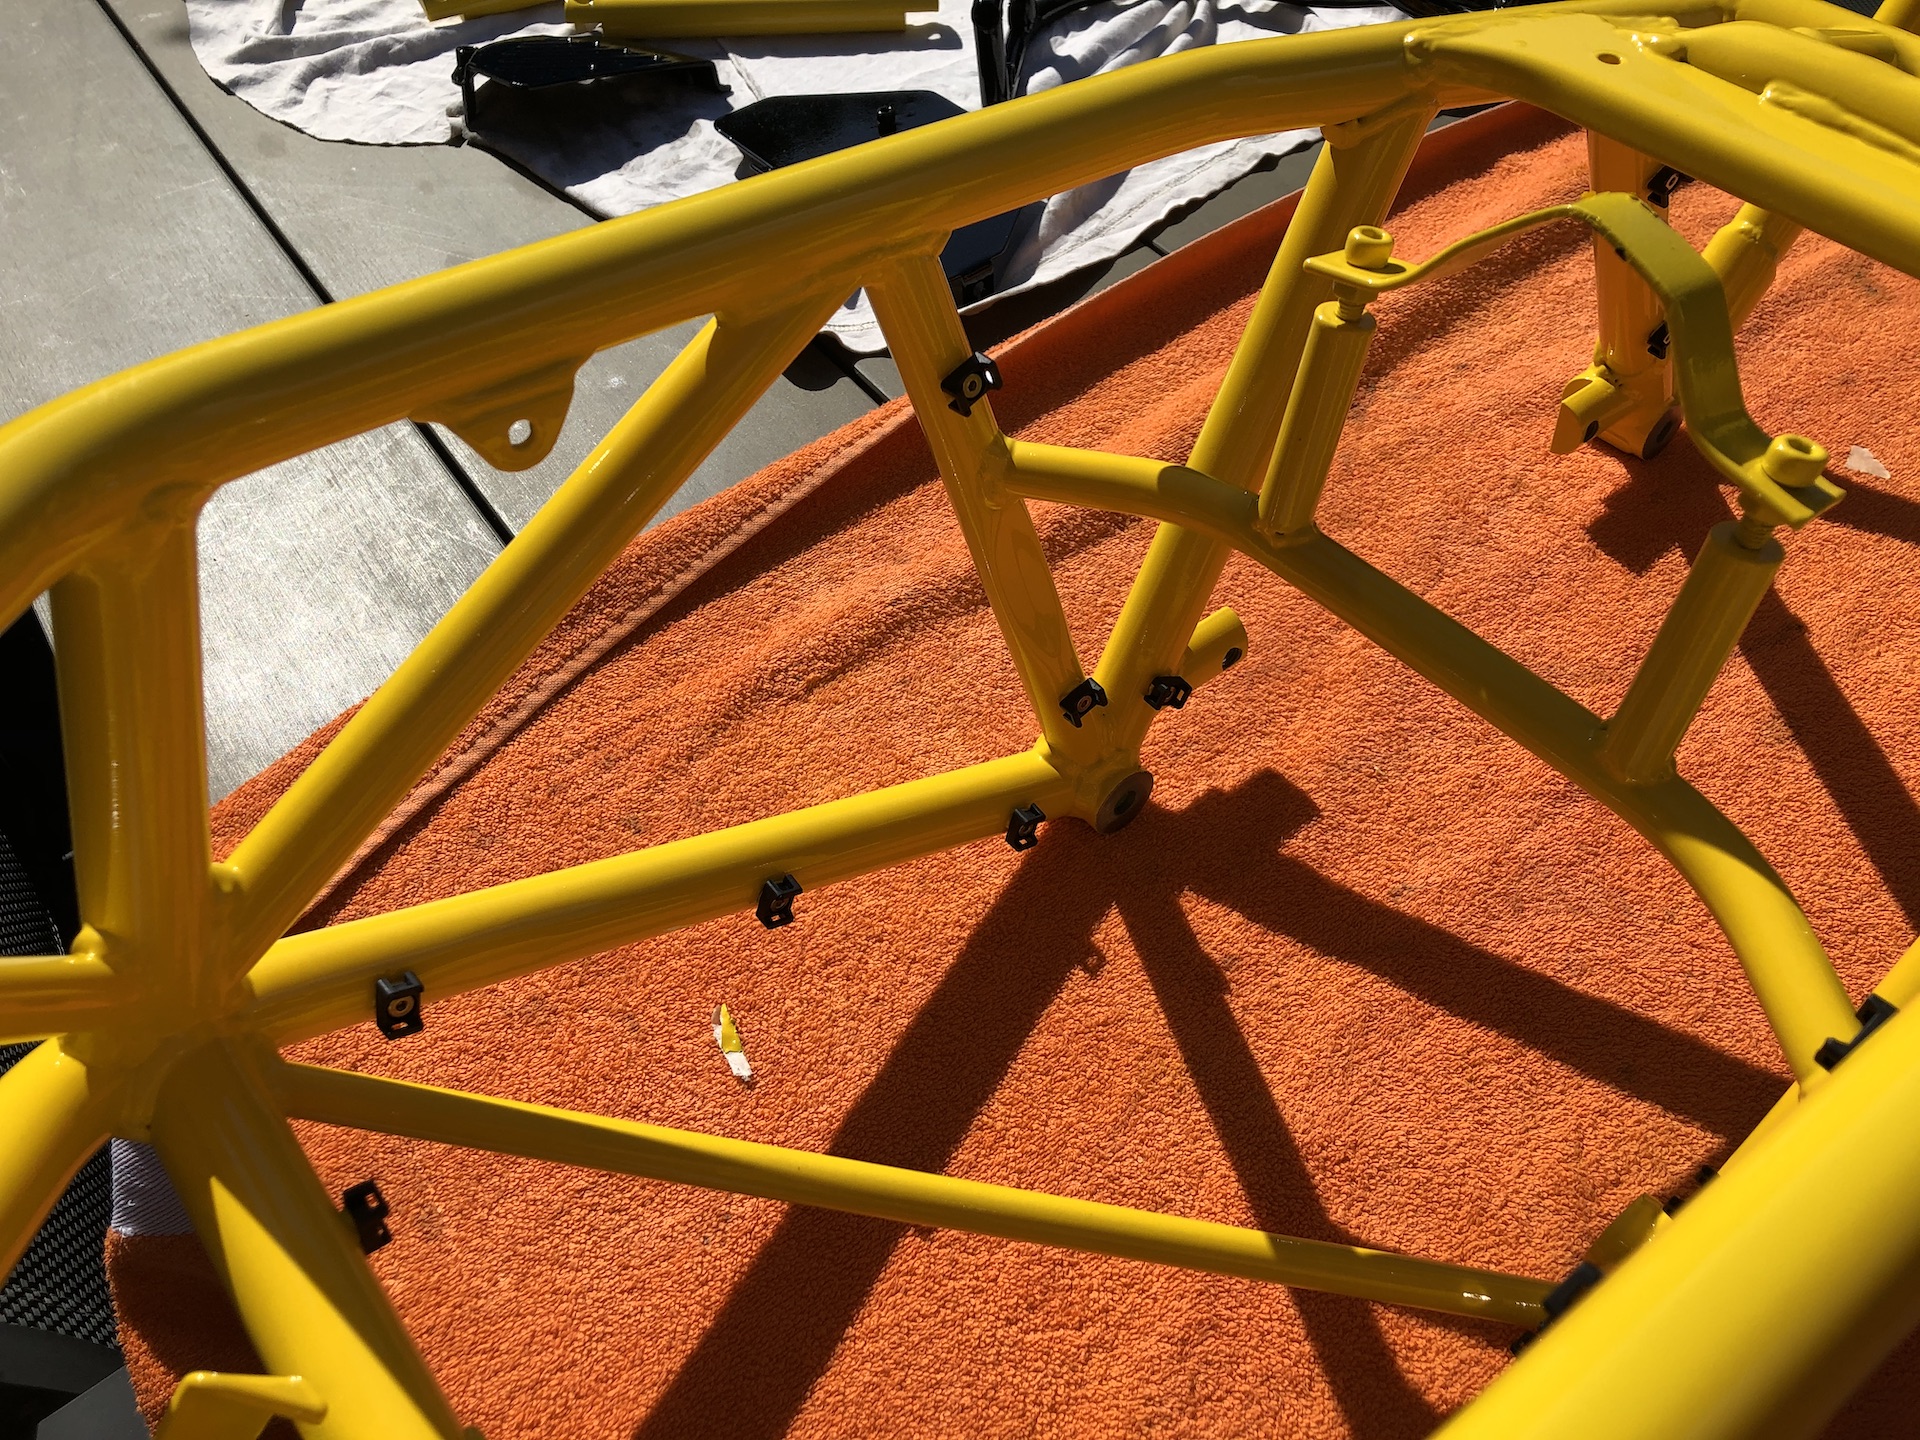
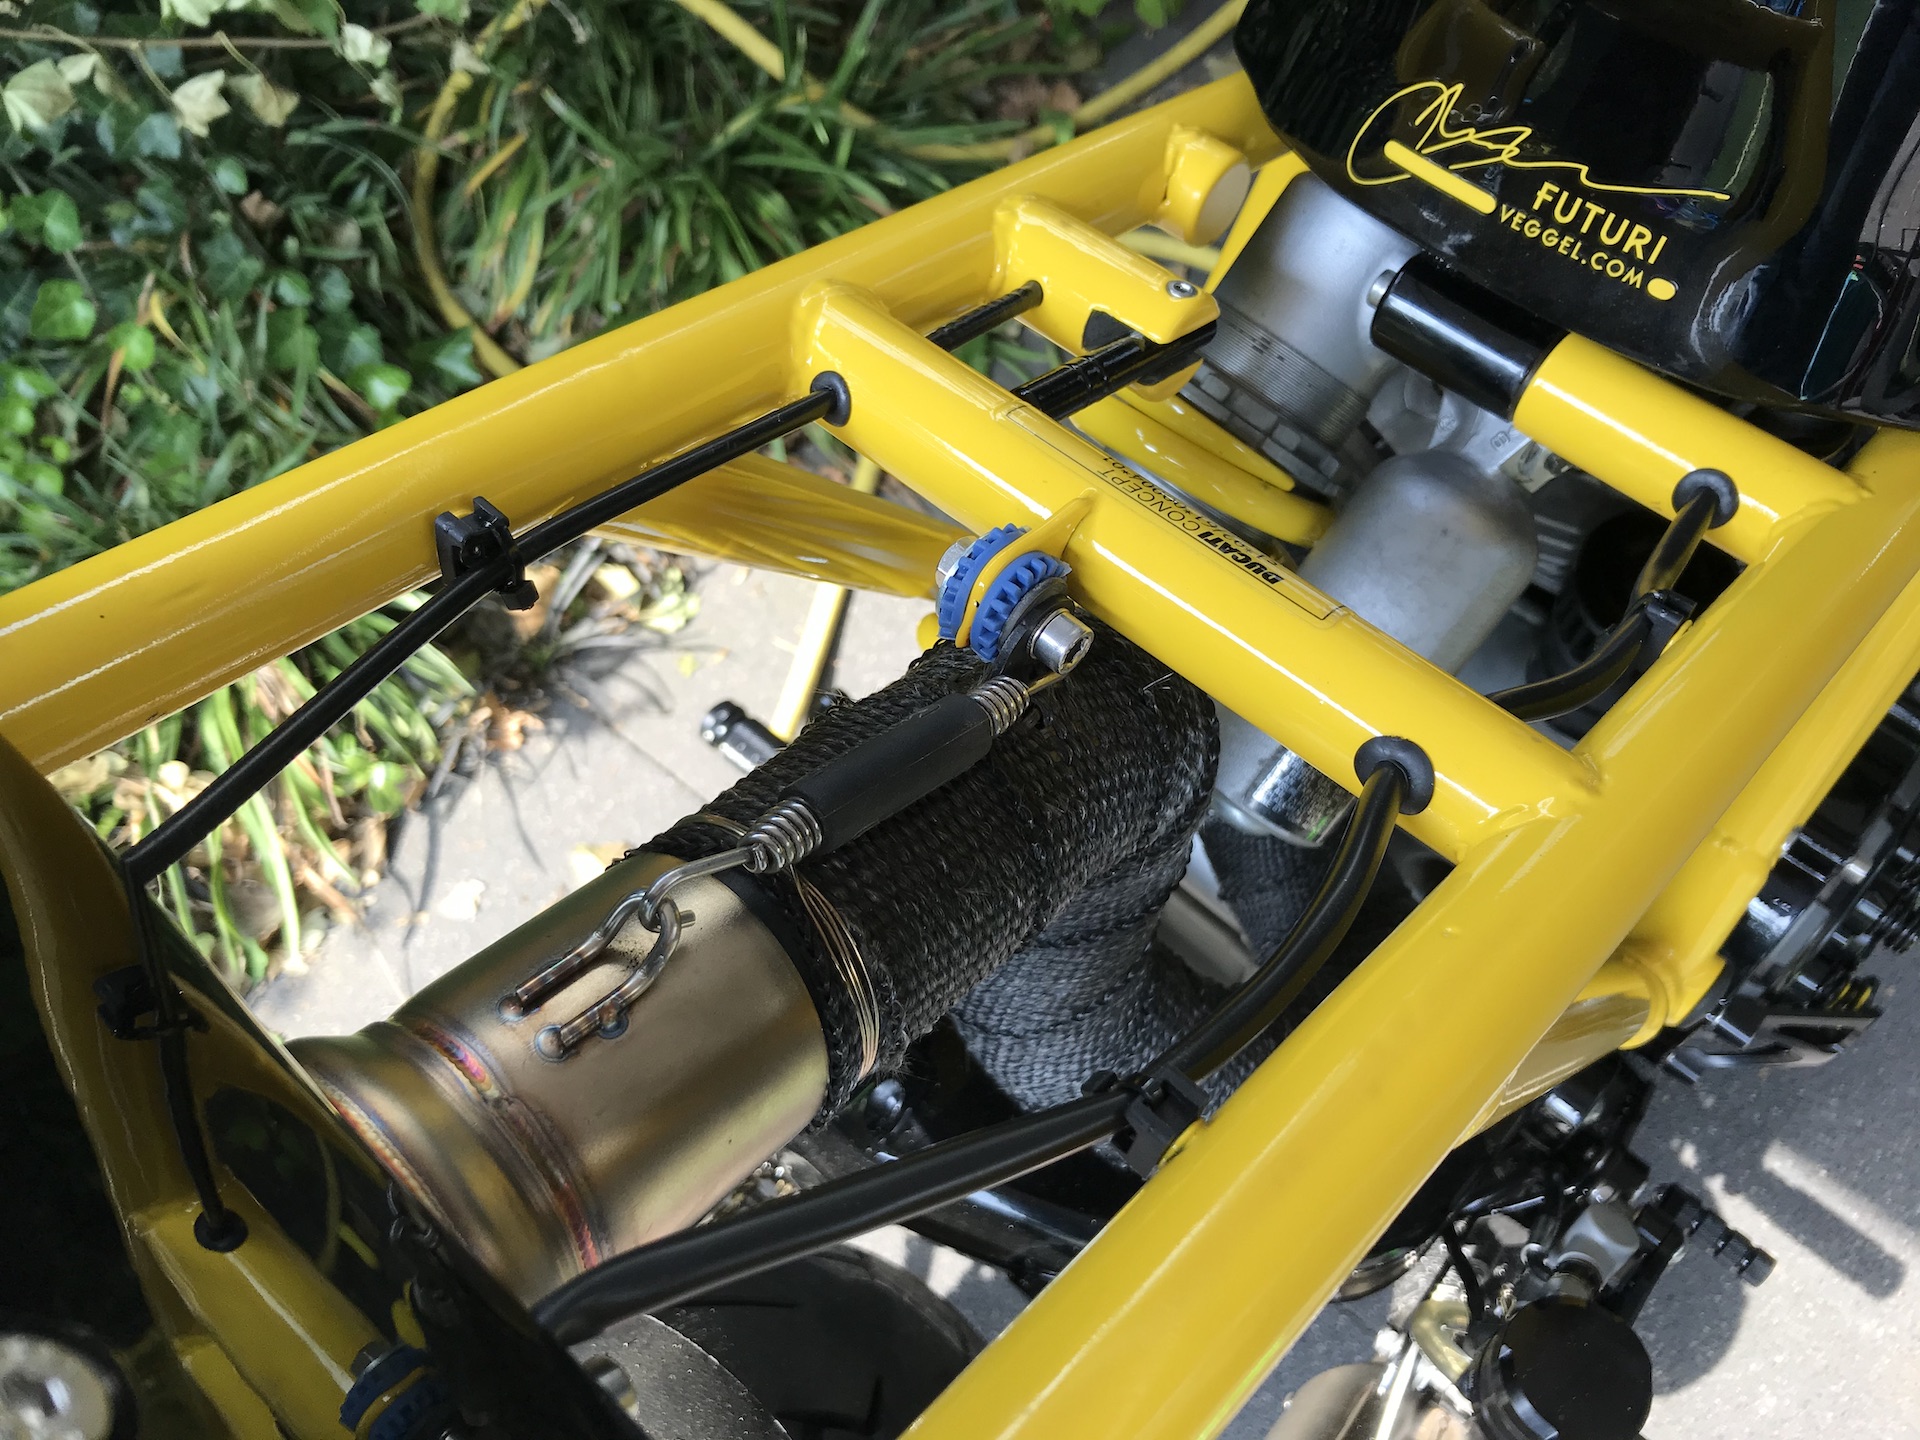
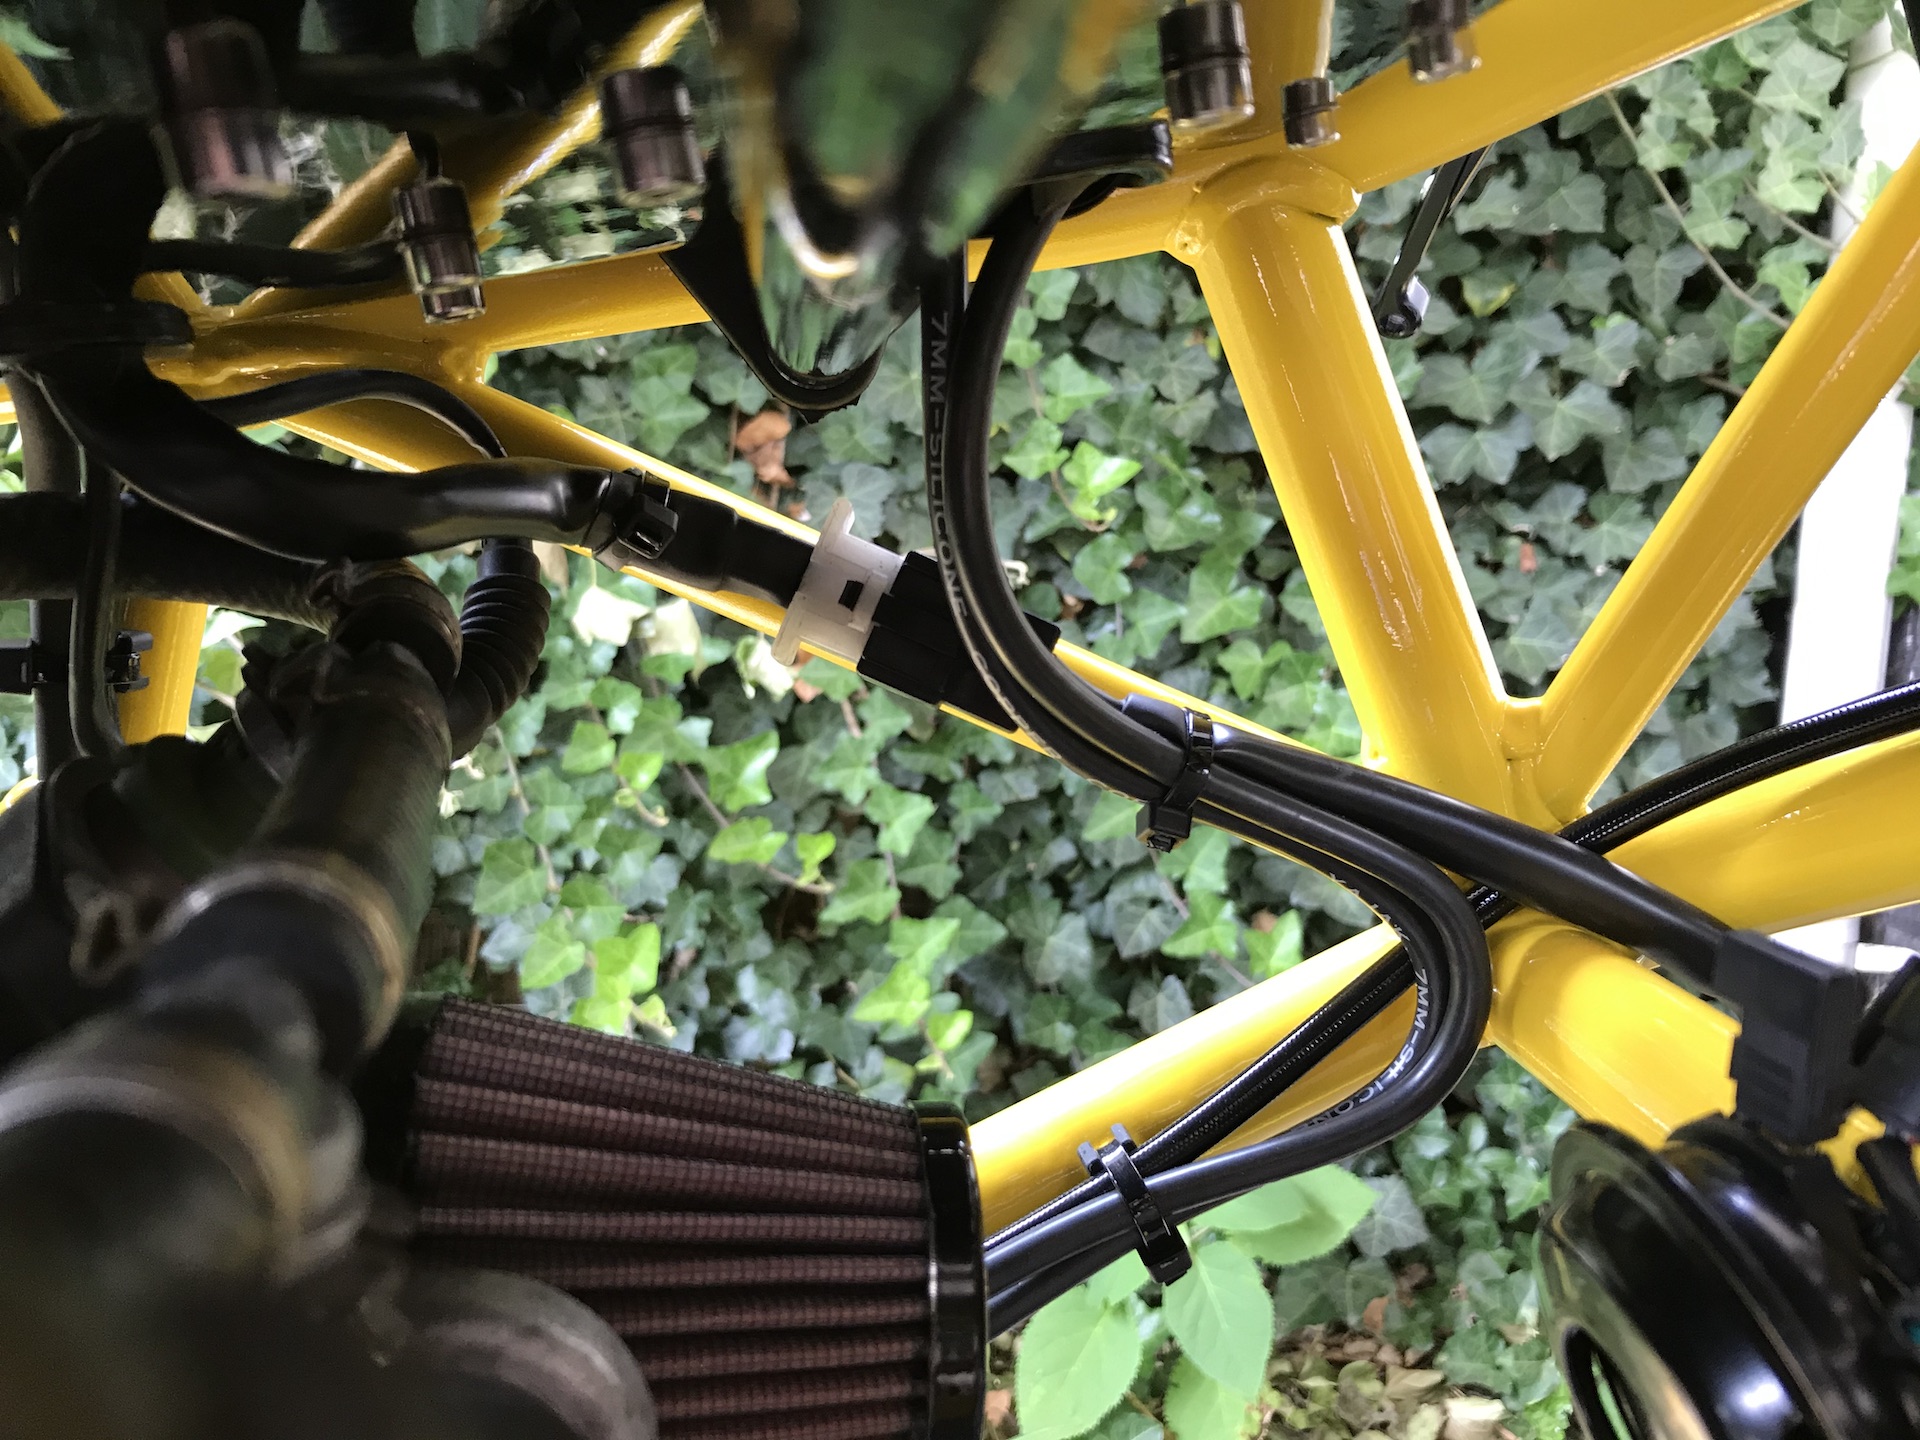
CABLE MANAGEMENT MANIA
I want as little cables/wires visible as possible. To achieve this i mounted tie wrap seats on the whole inside of the frame. Here are some shots of how i managed to get most cables away and hidden.
Also on most cafe racers the back of the frame is see through, with nothing visible. I achieved the same here also on the front of the frame. Clean as fuck!

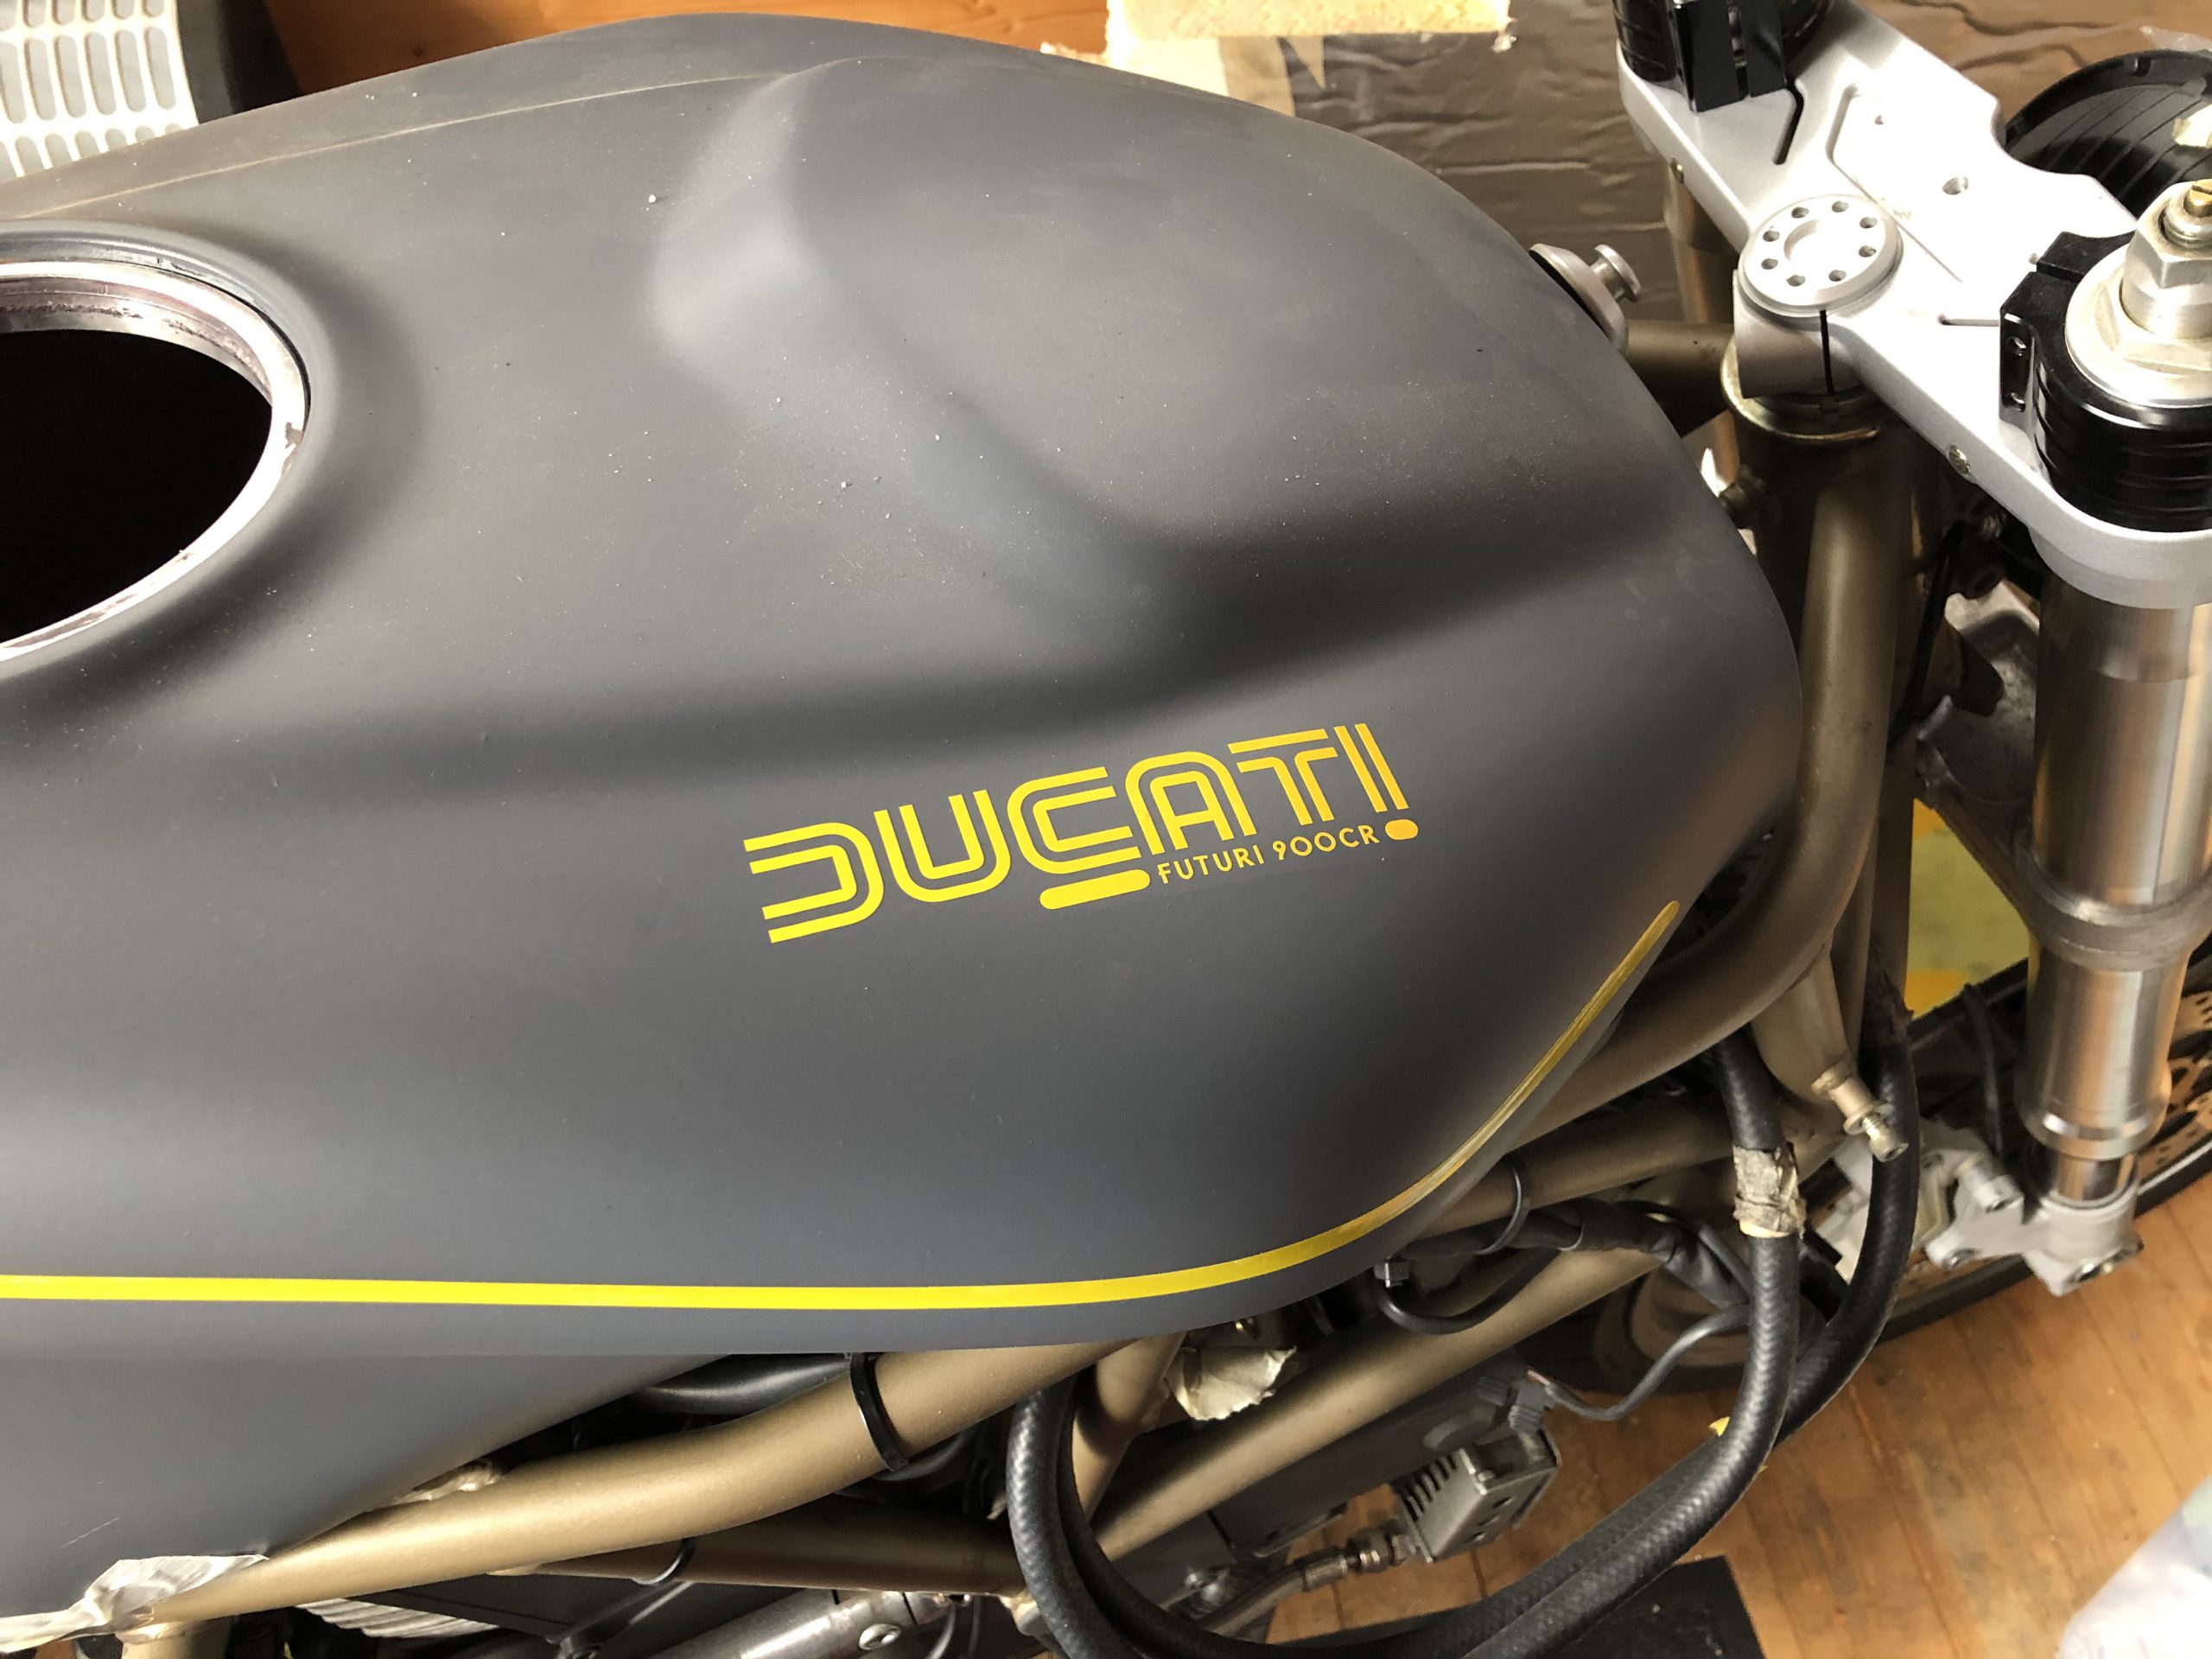
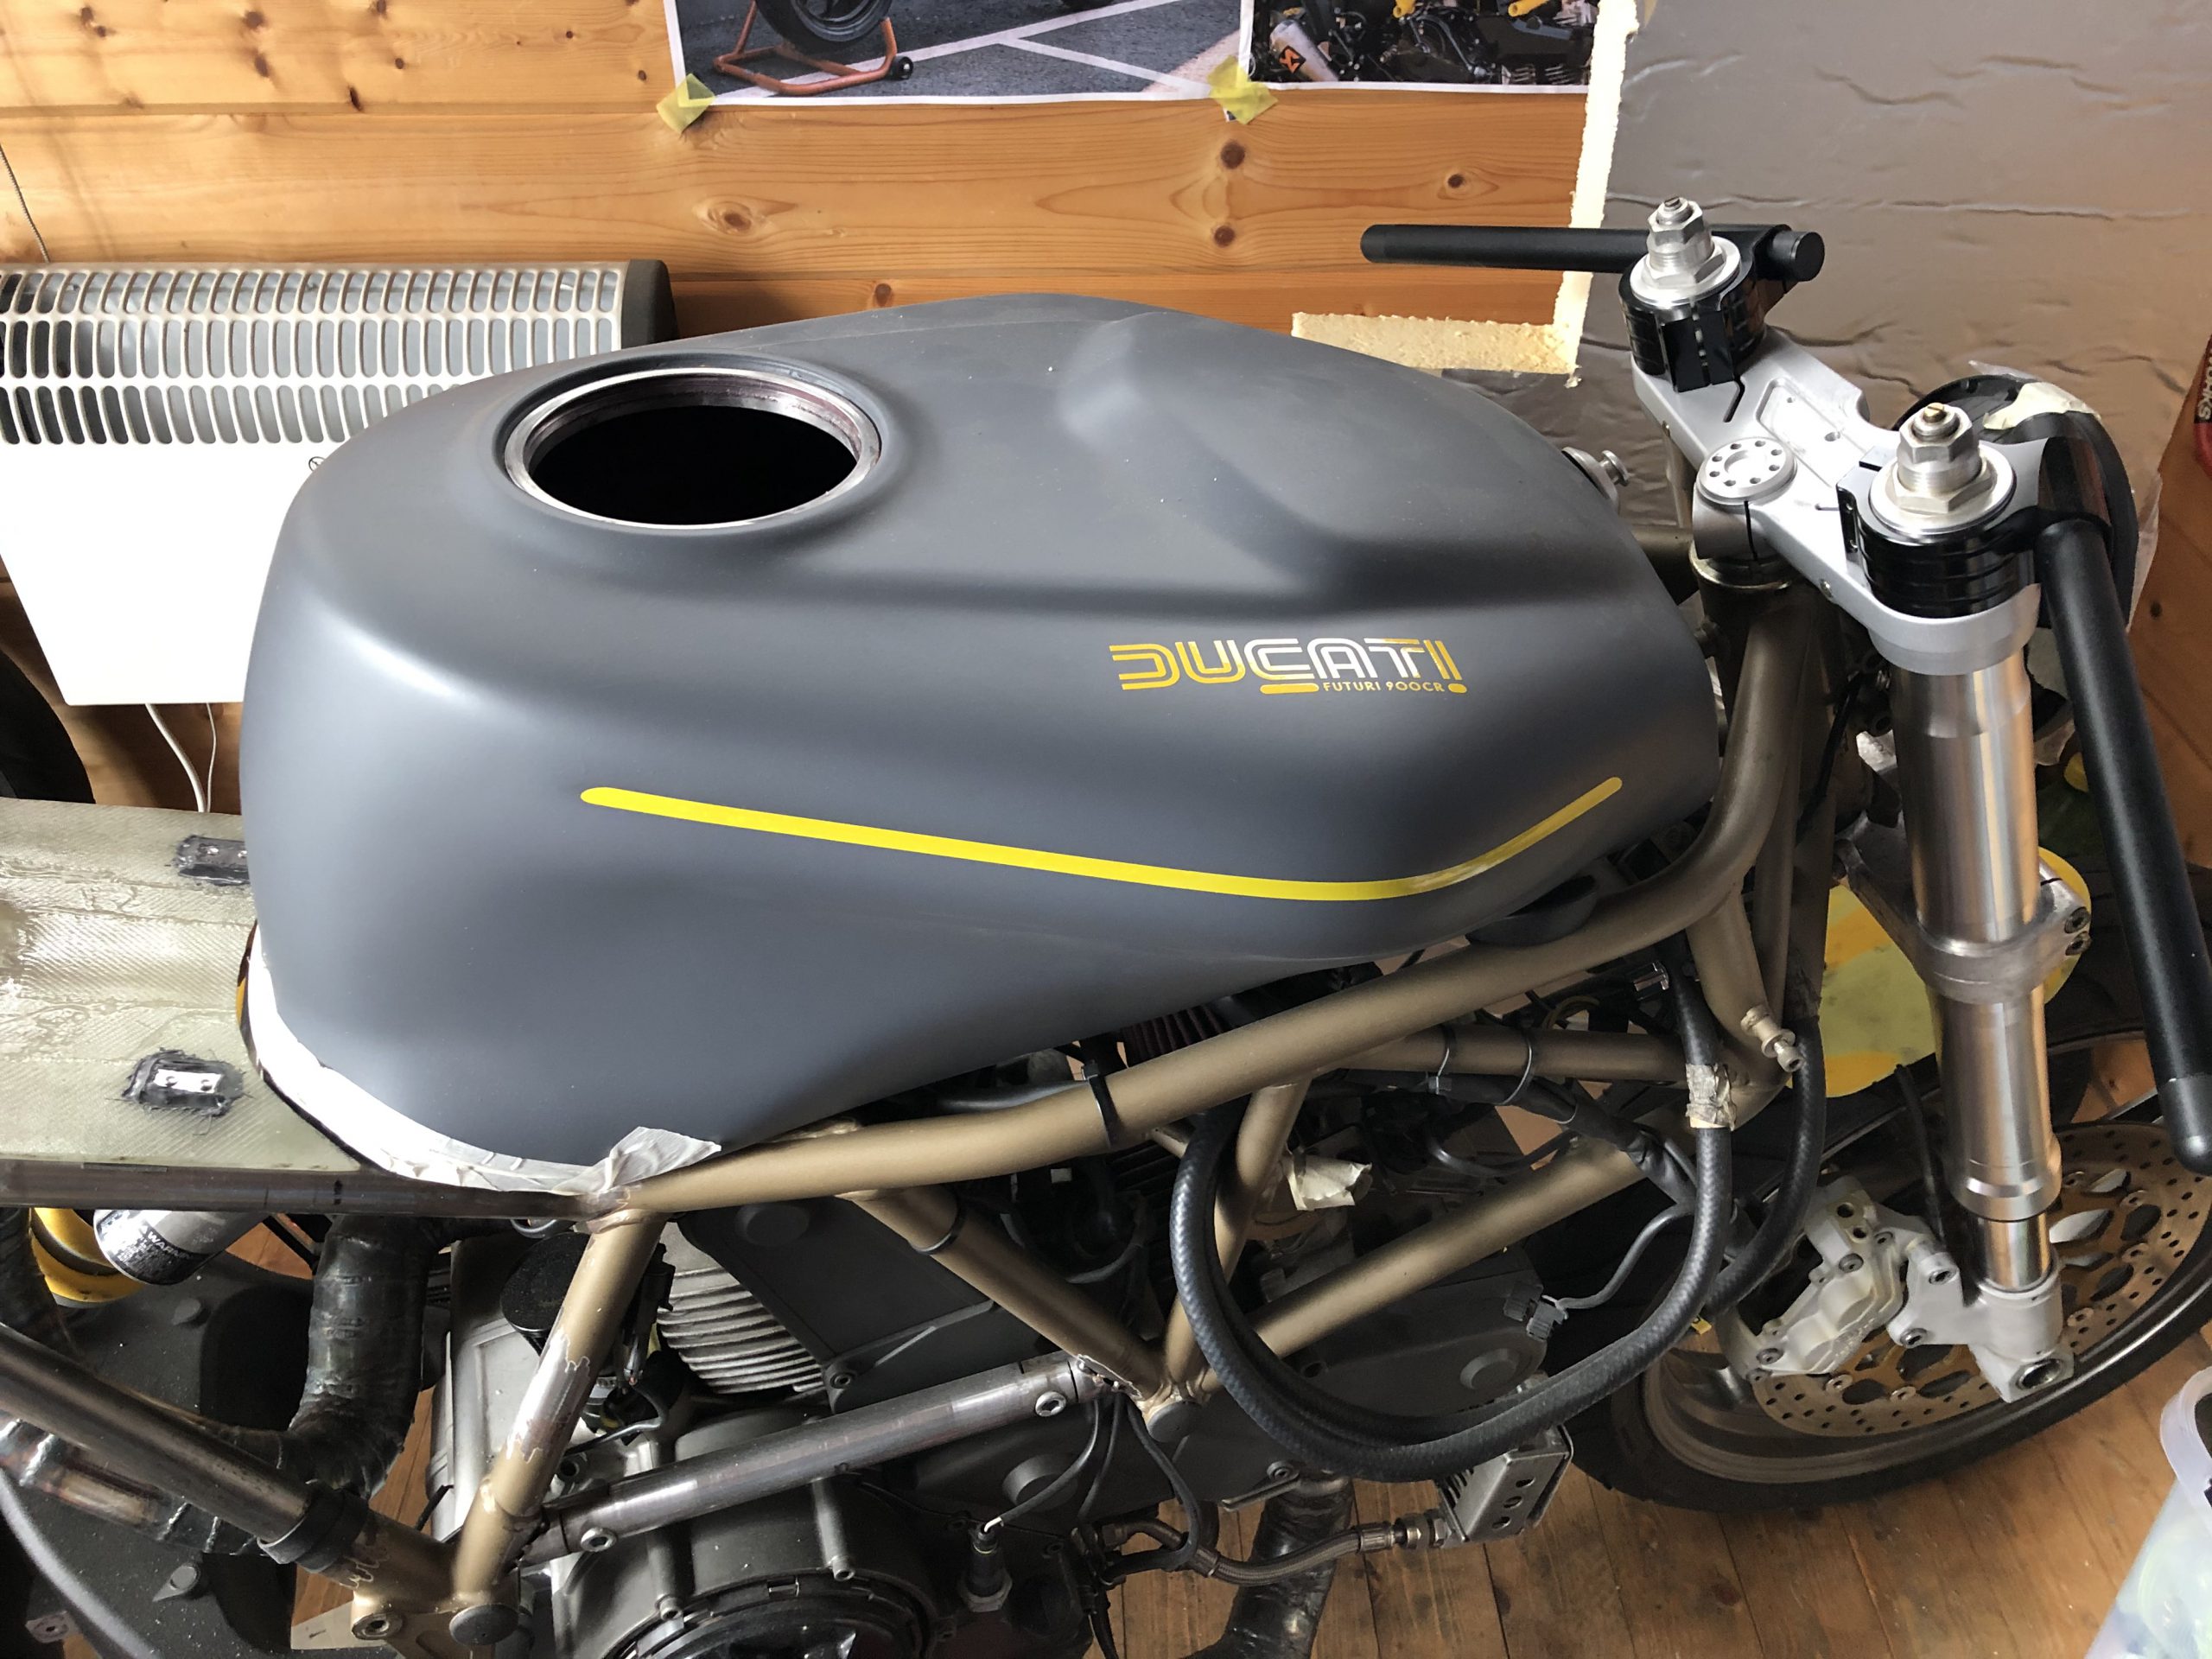
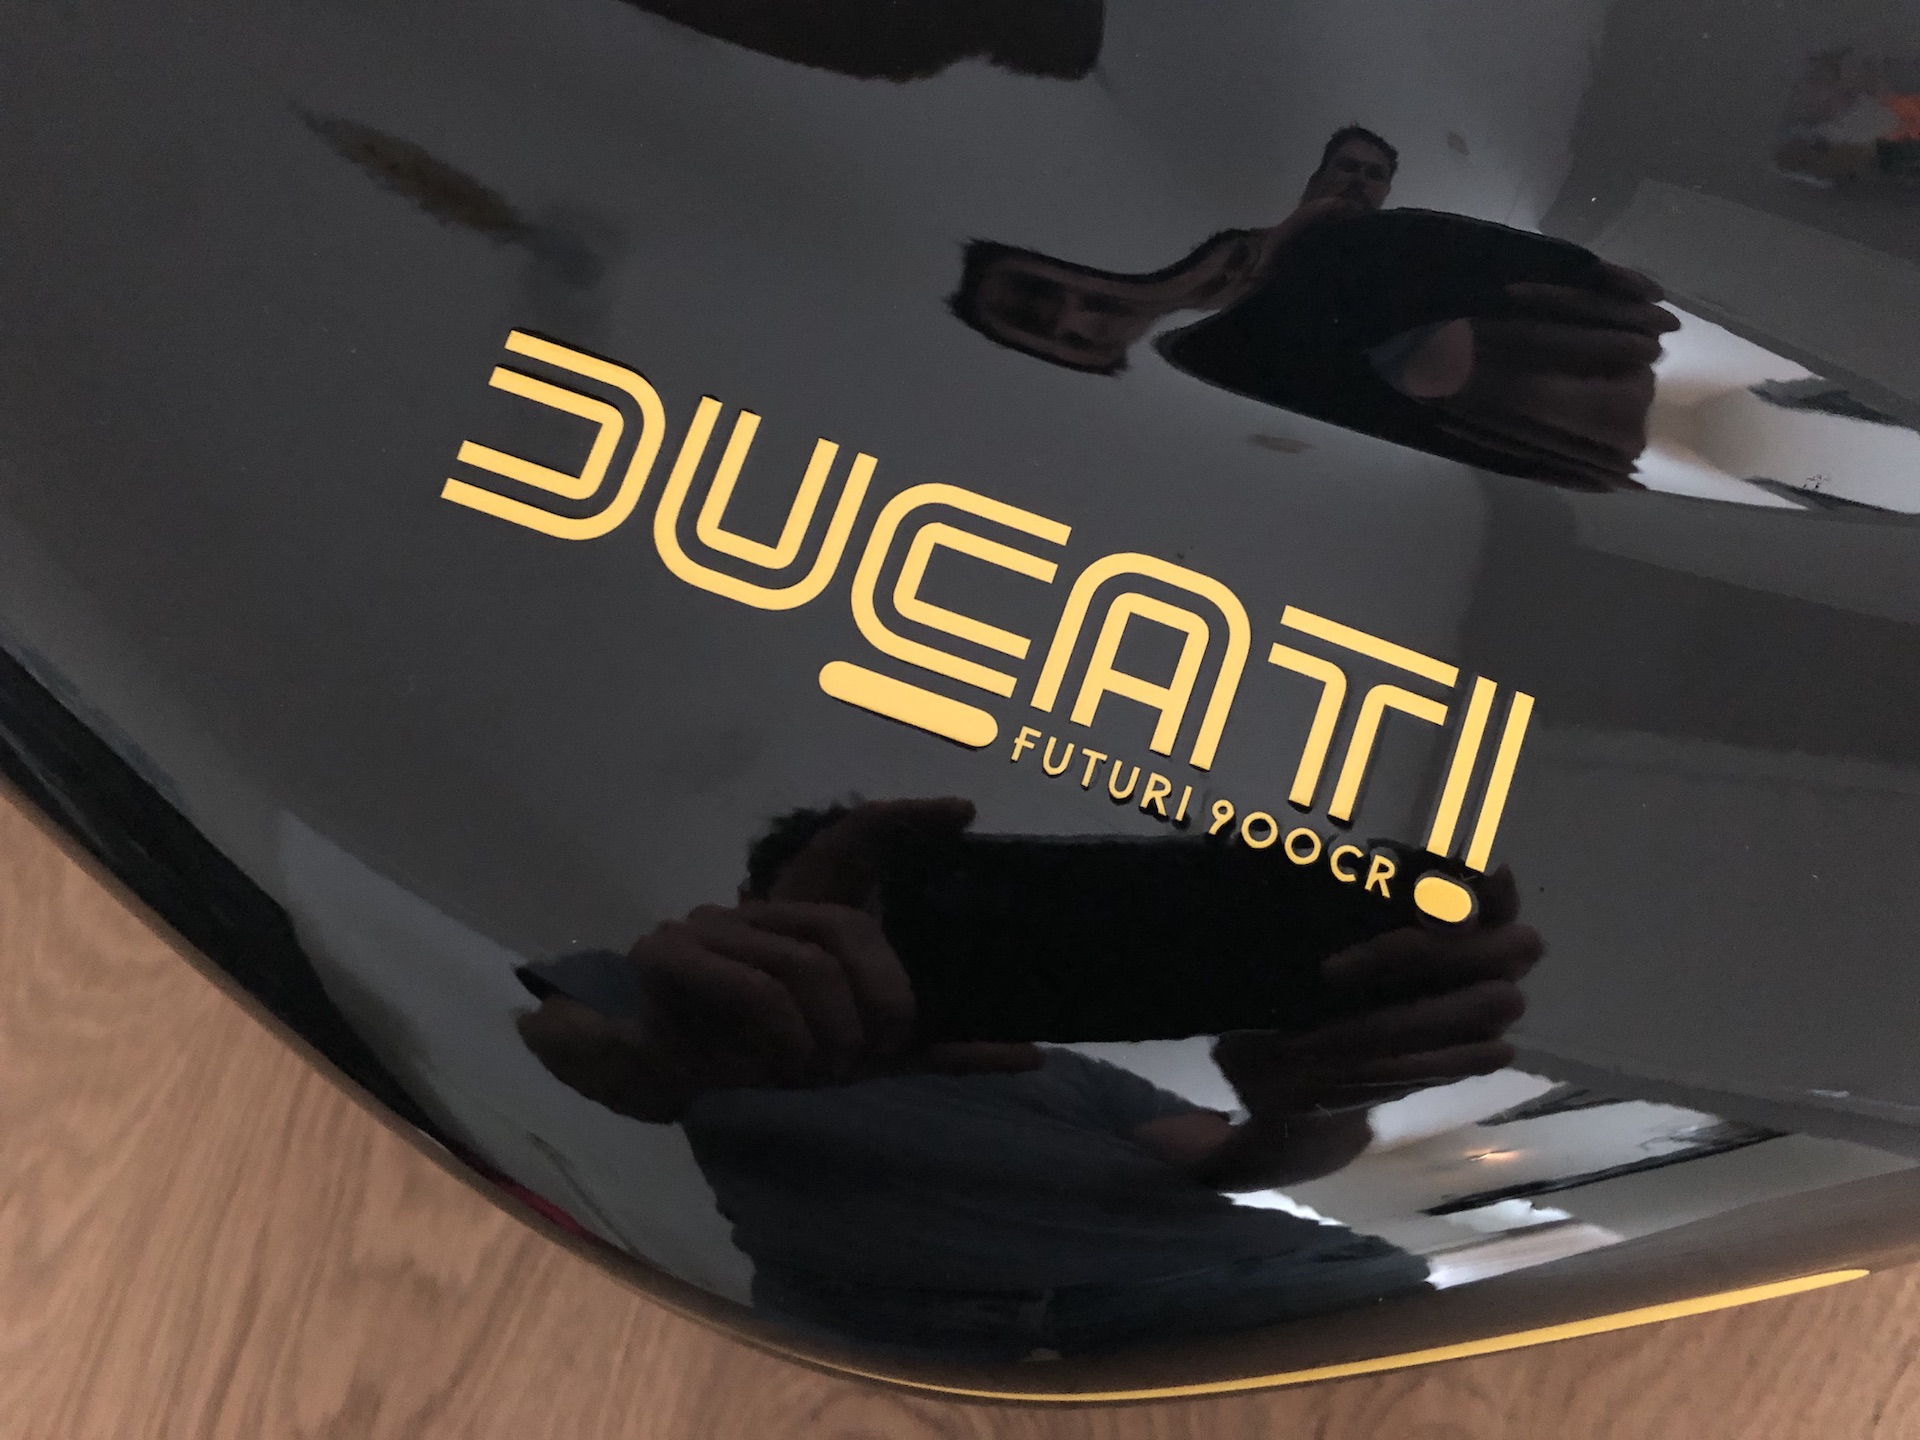
DECAL IT UP!
Lets get those stickers on the tank and rear tail piece, after that time for clearcoat!
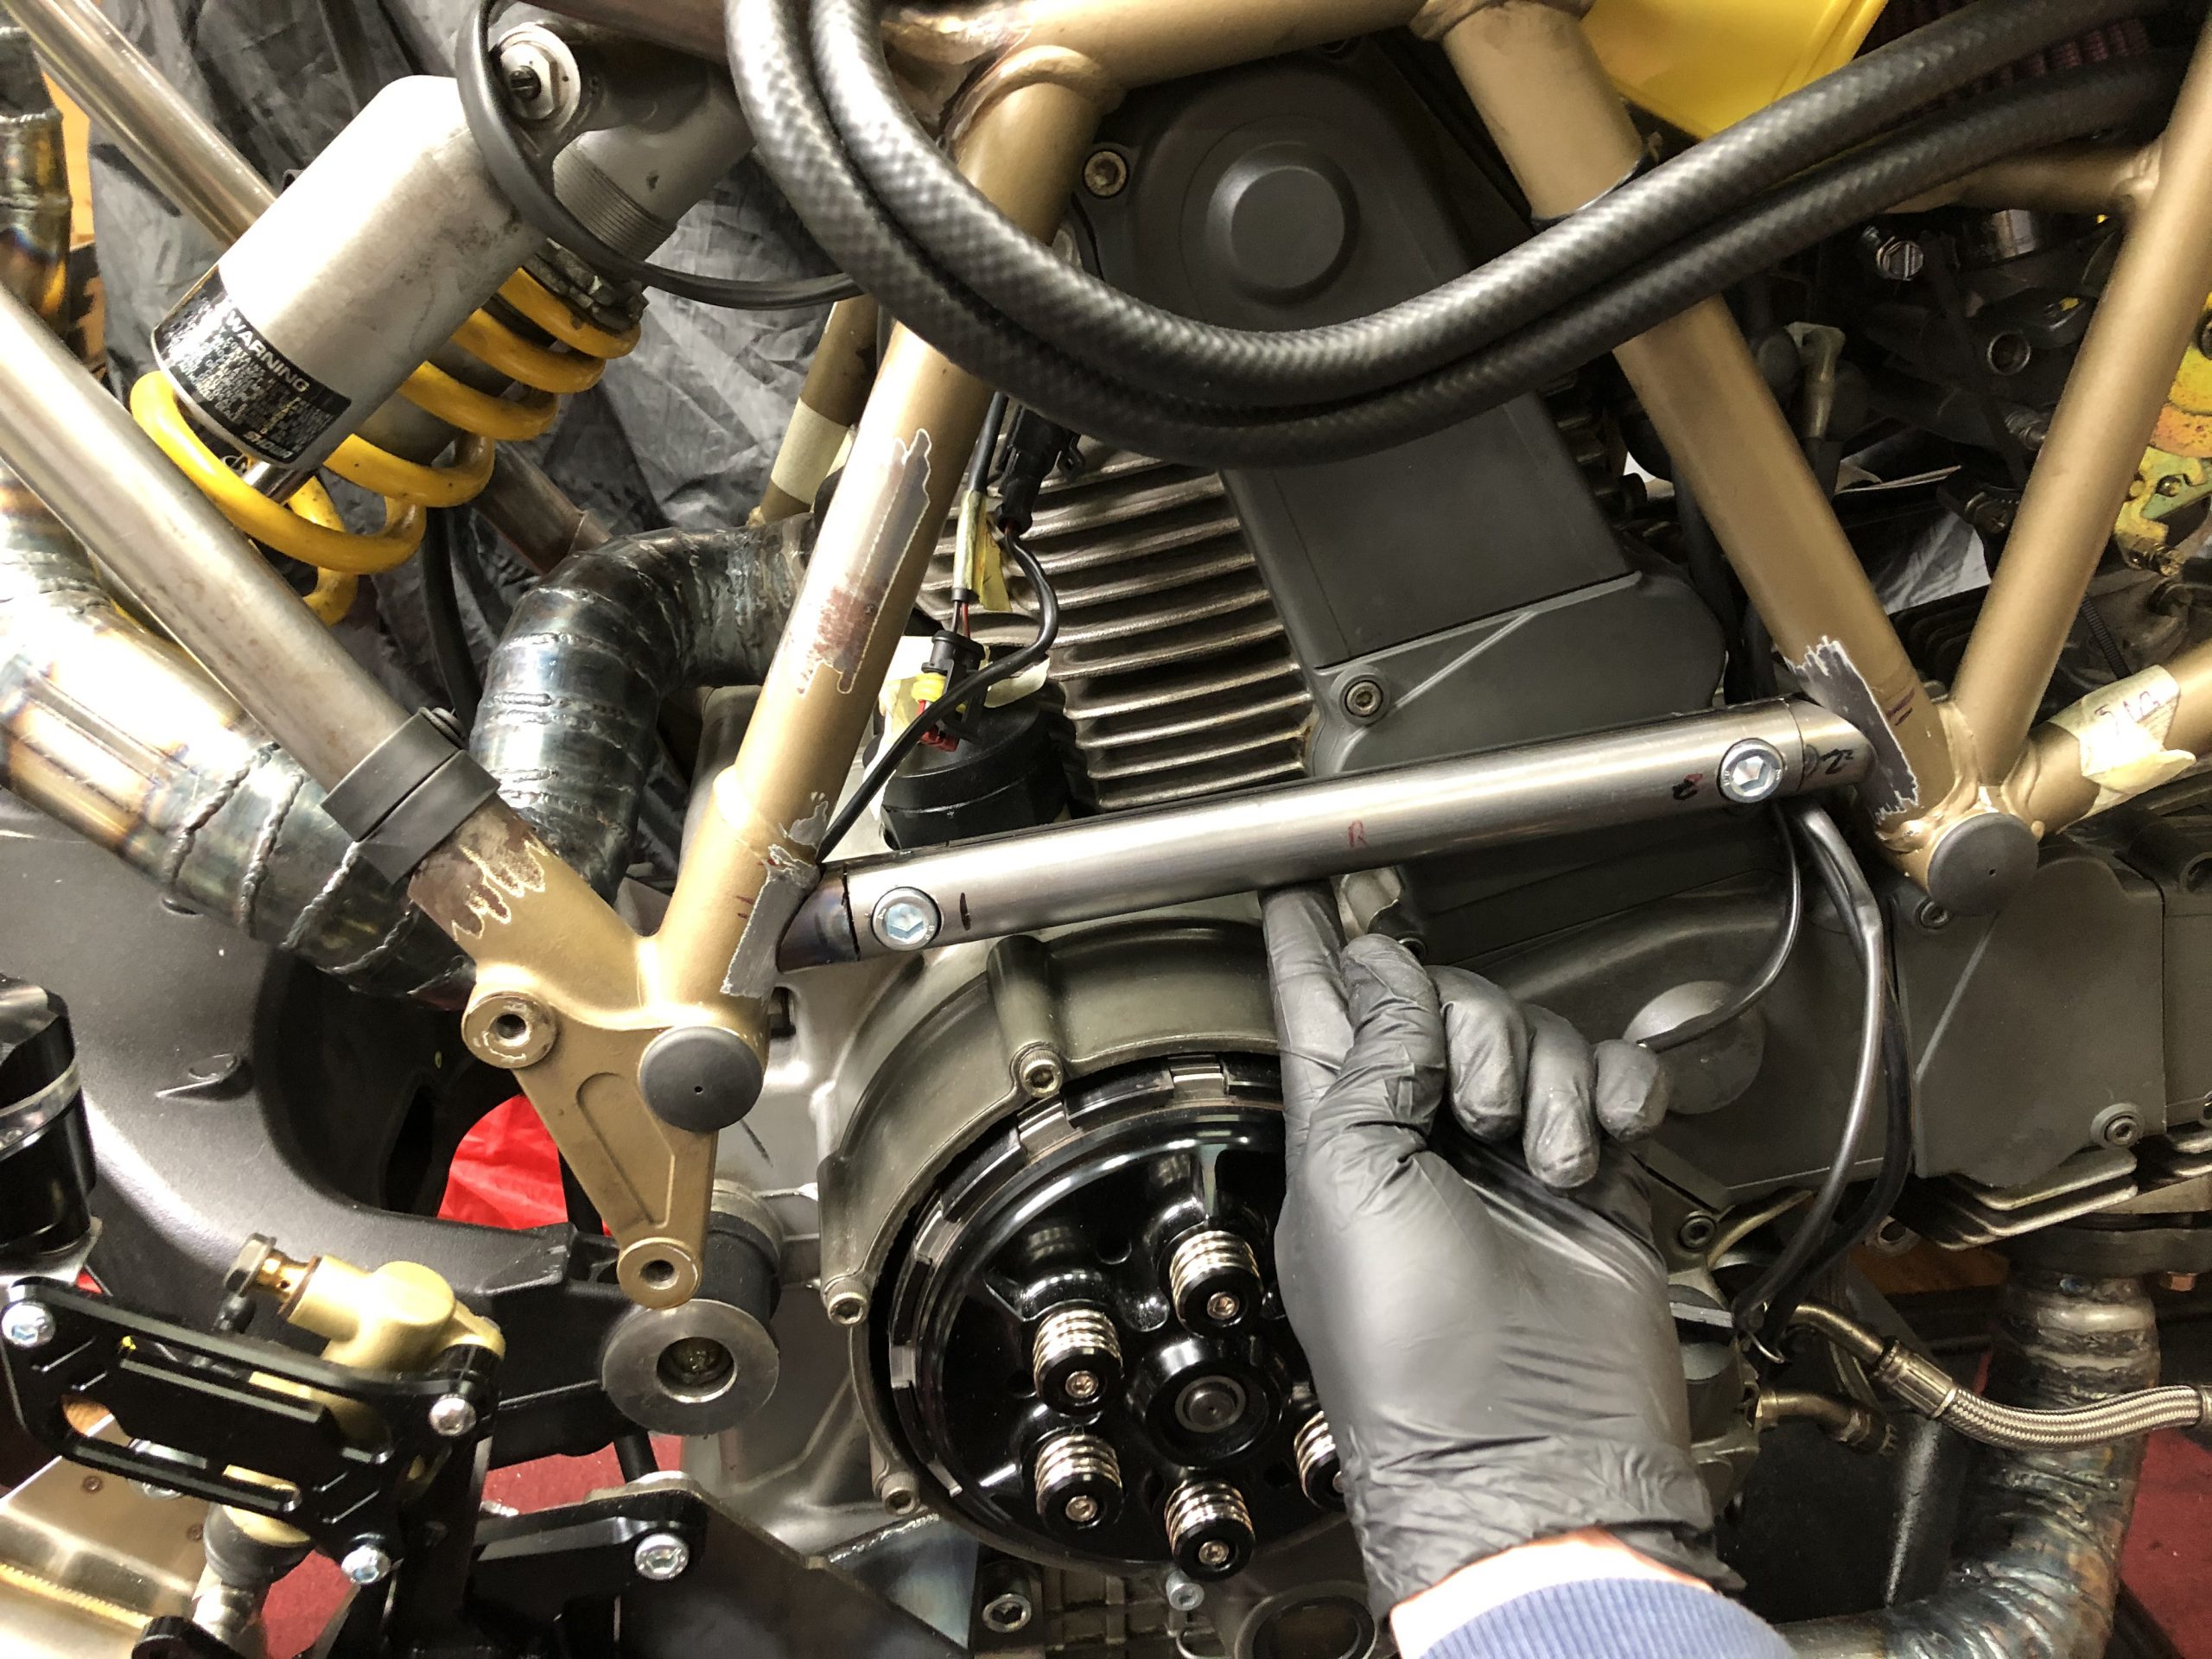
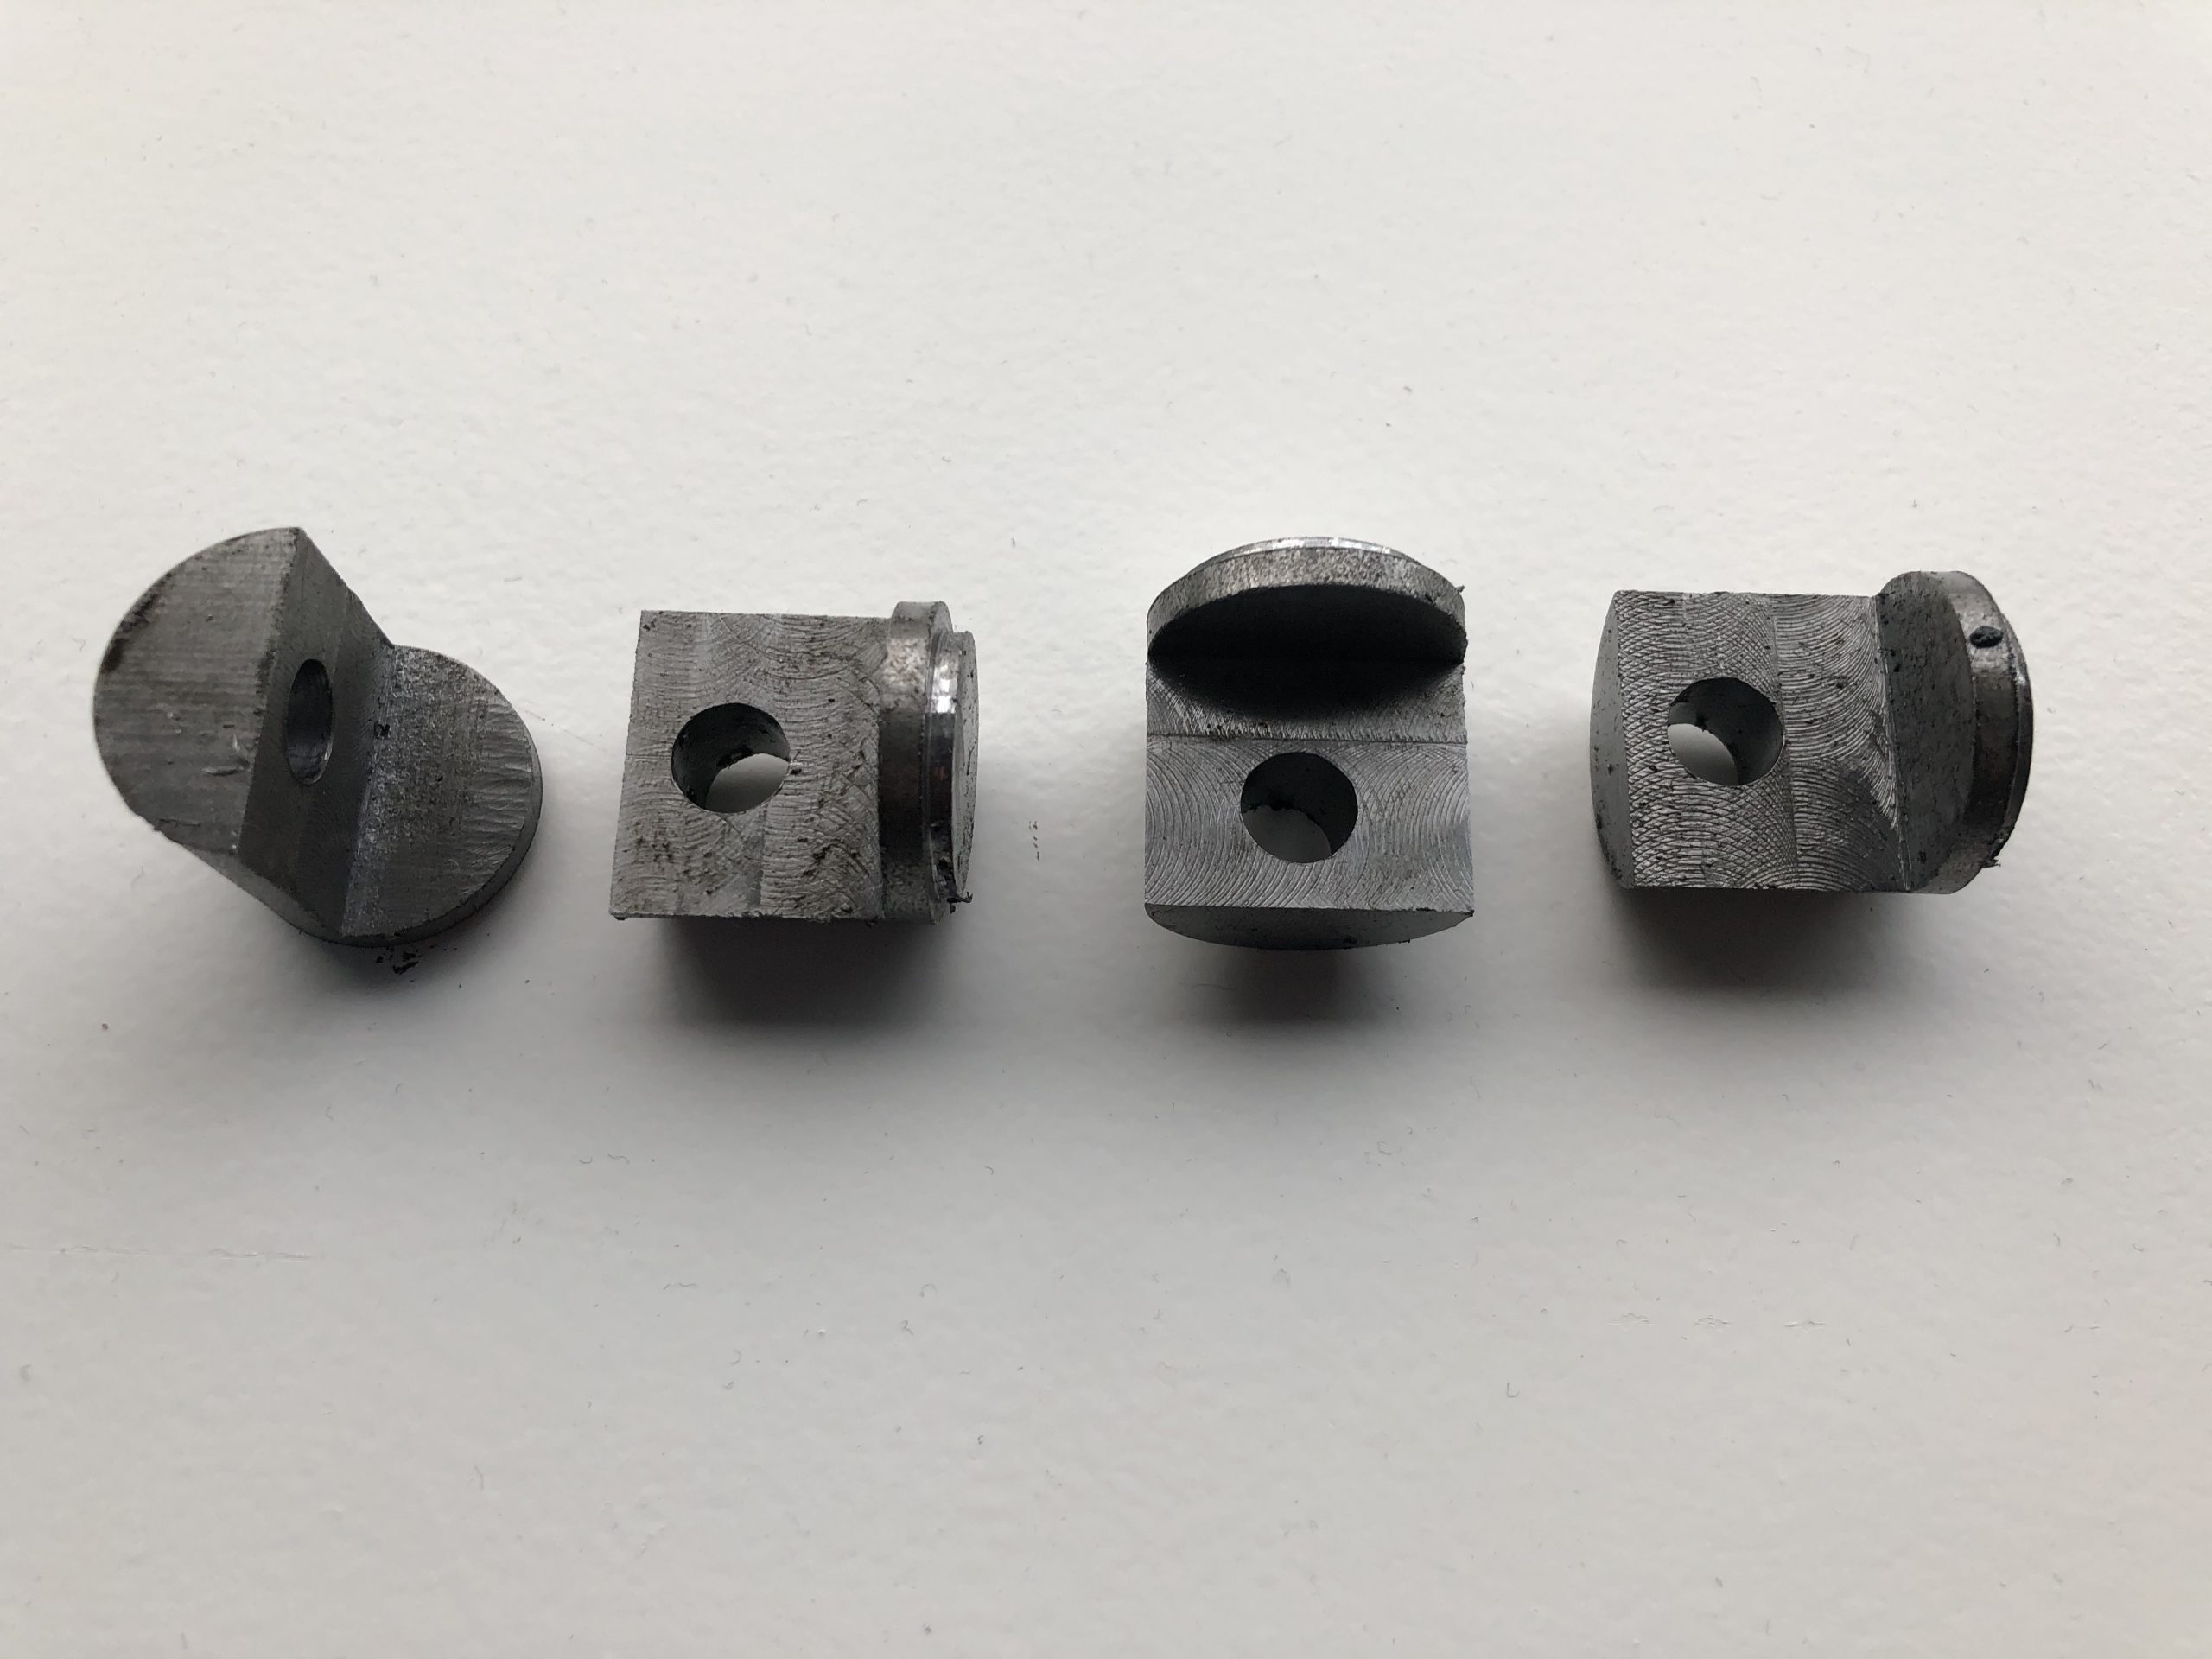
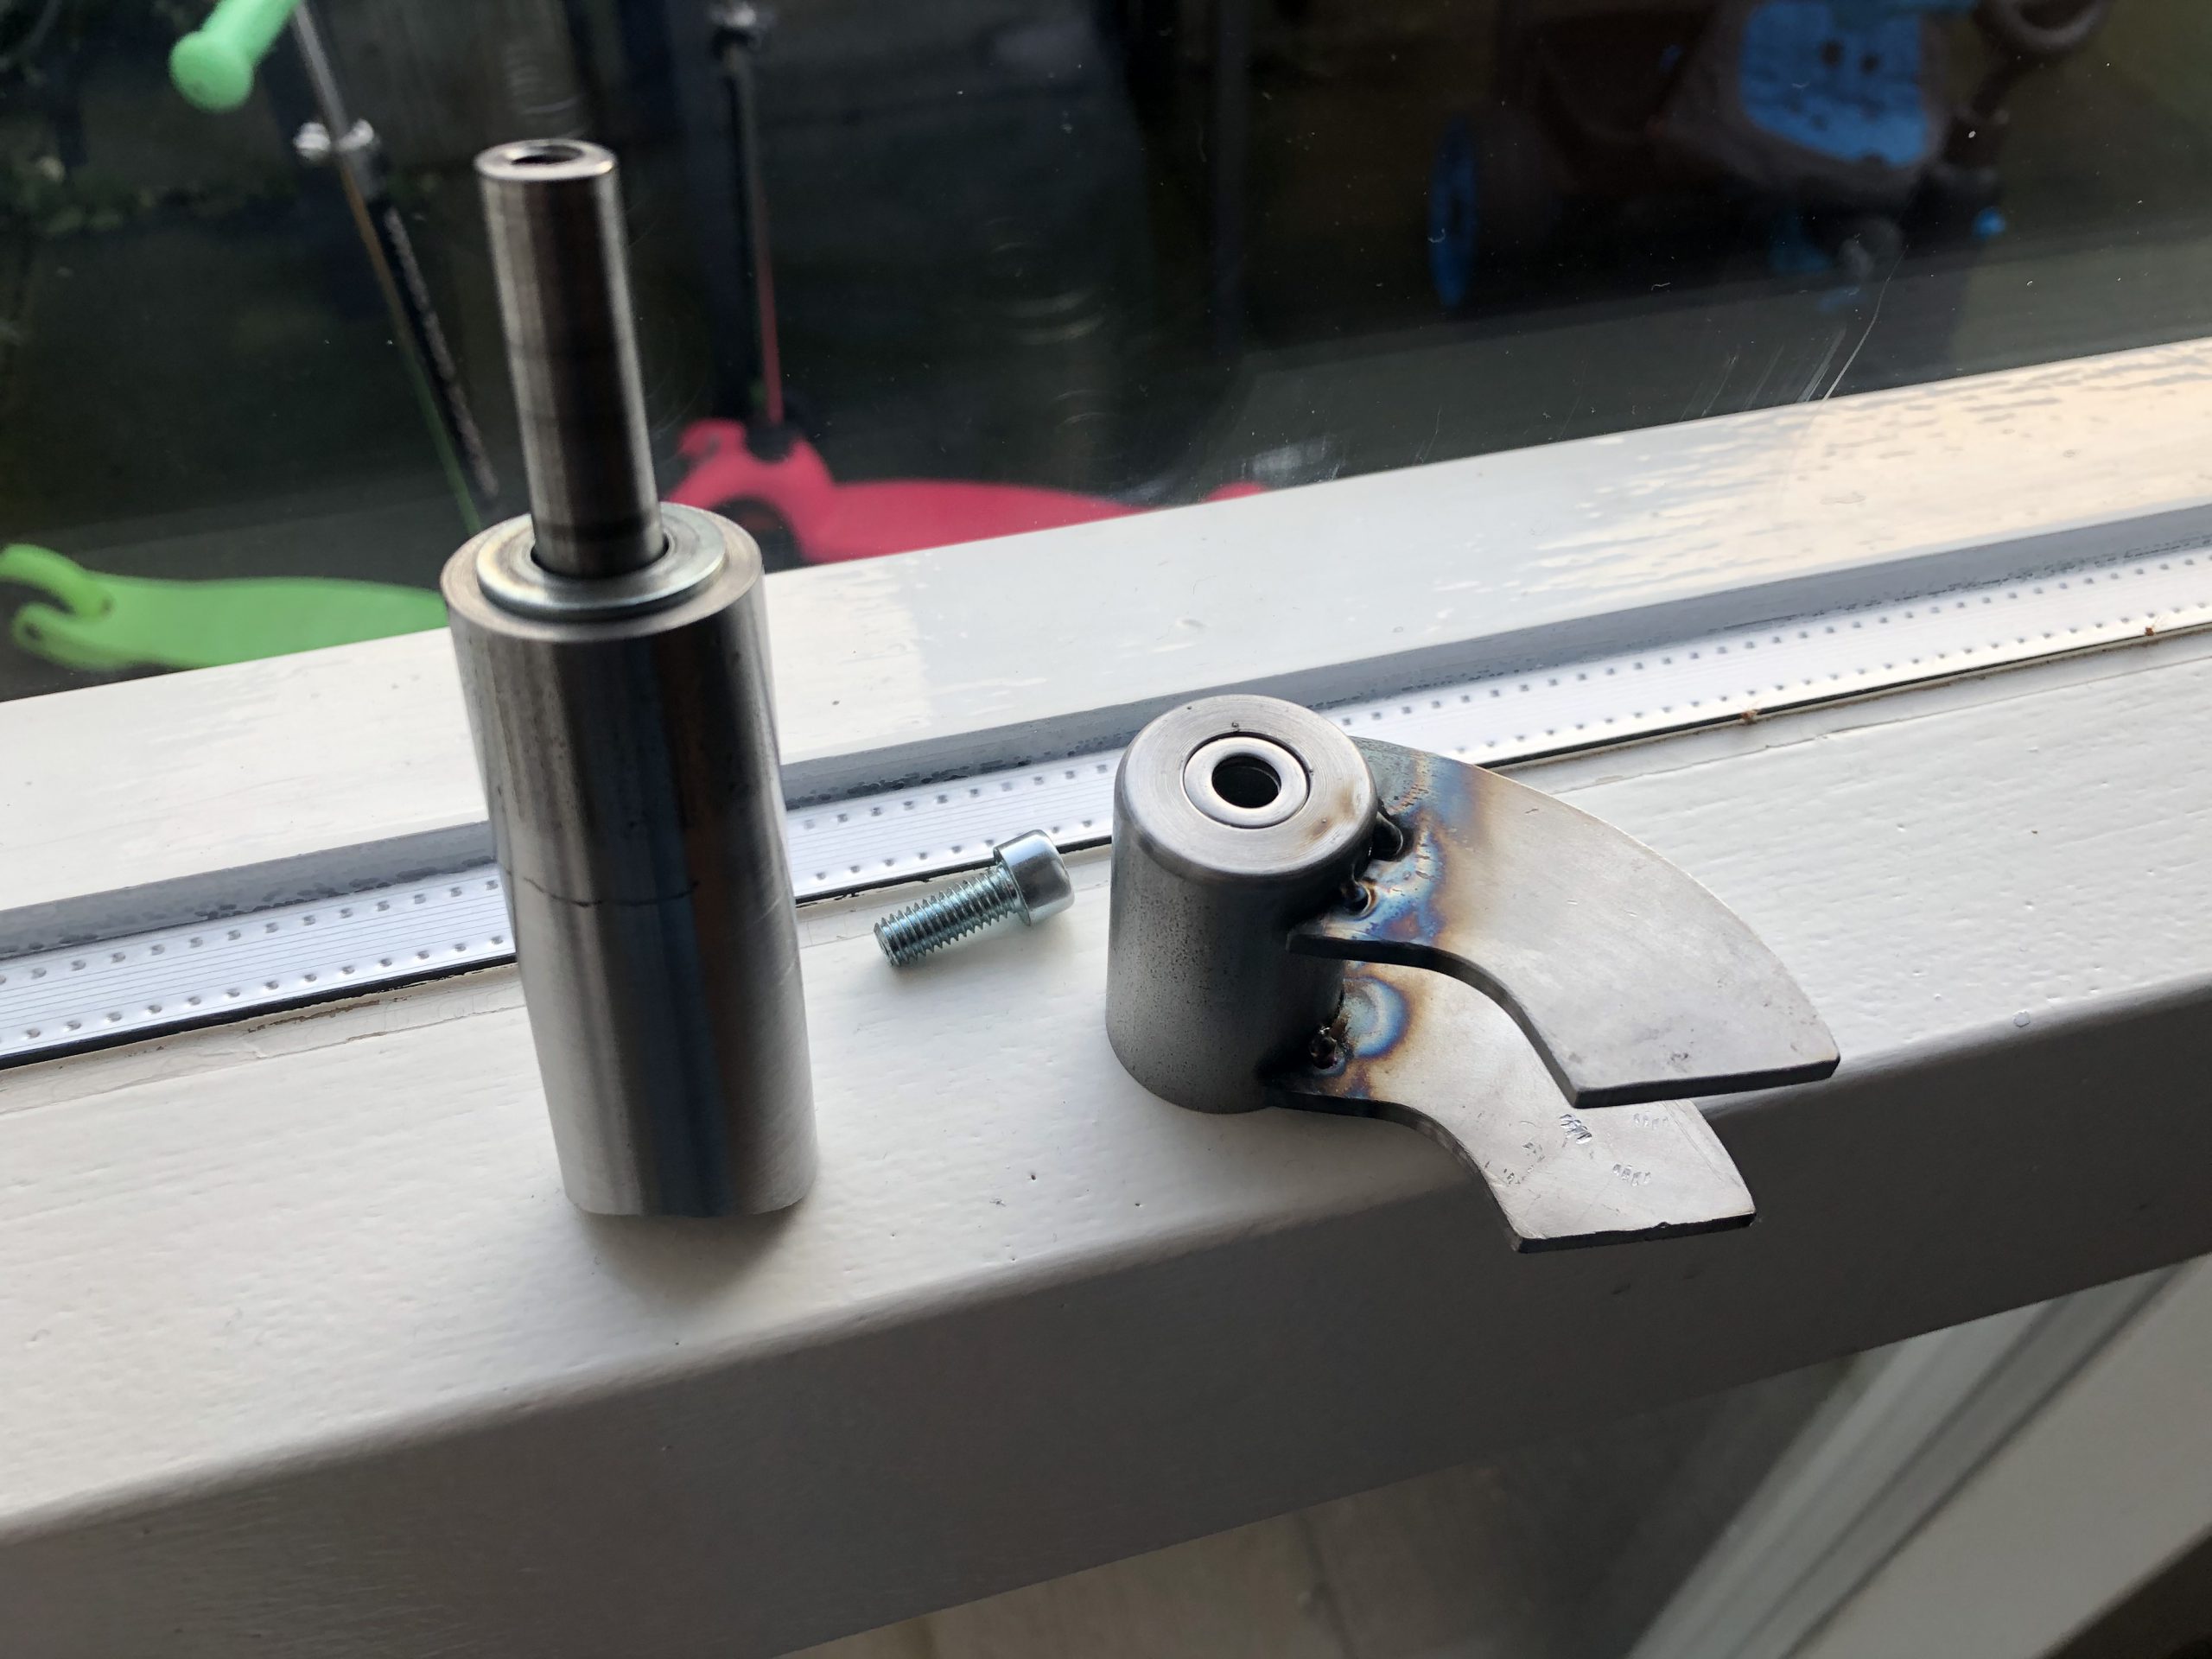
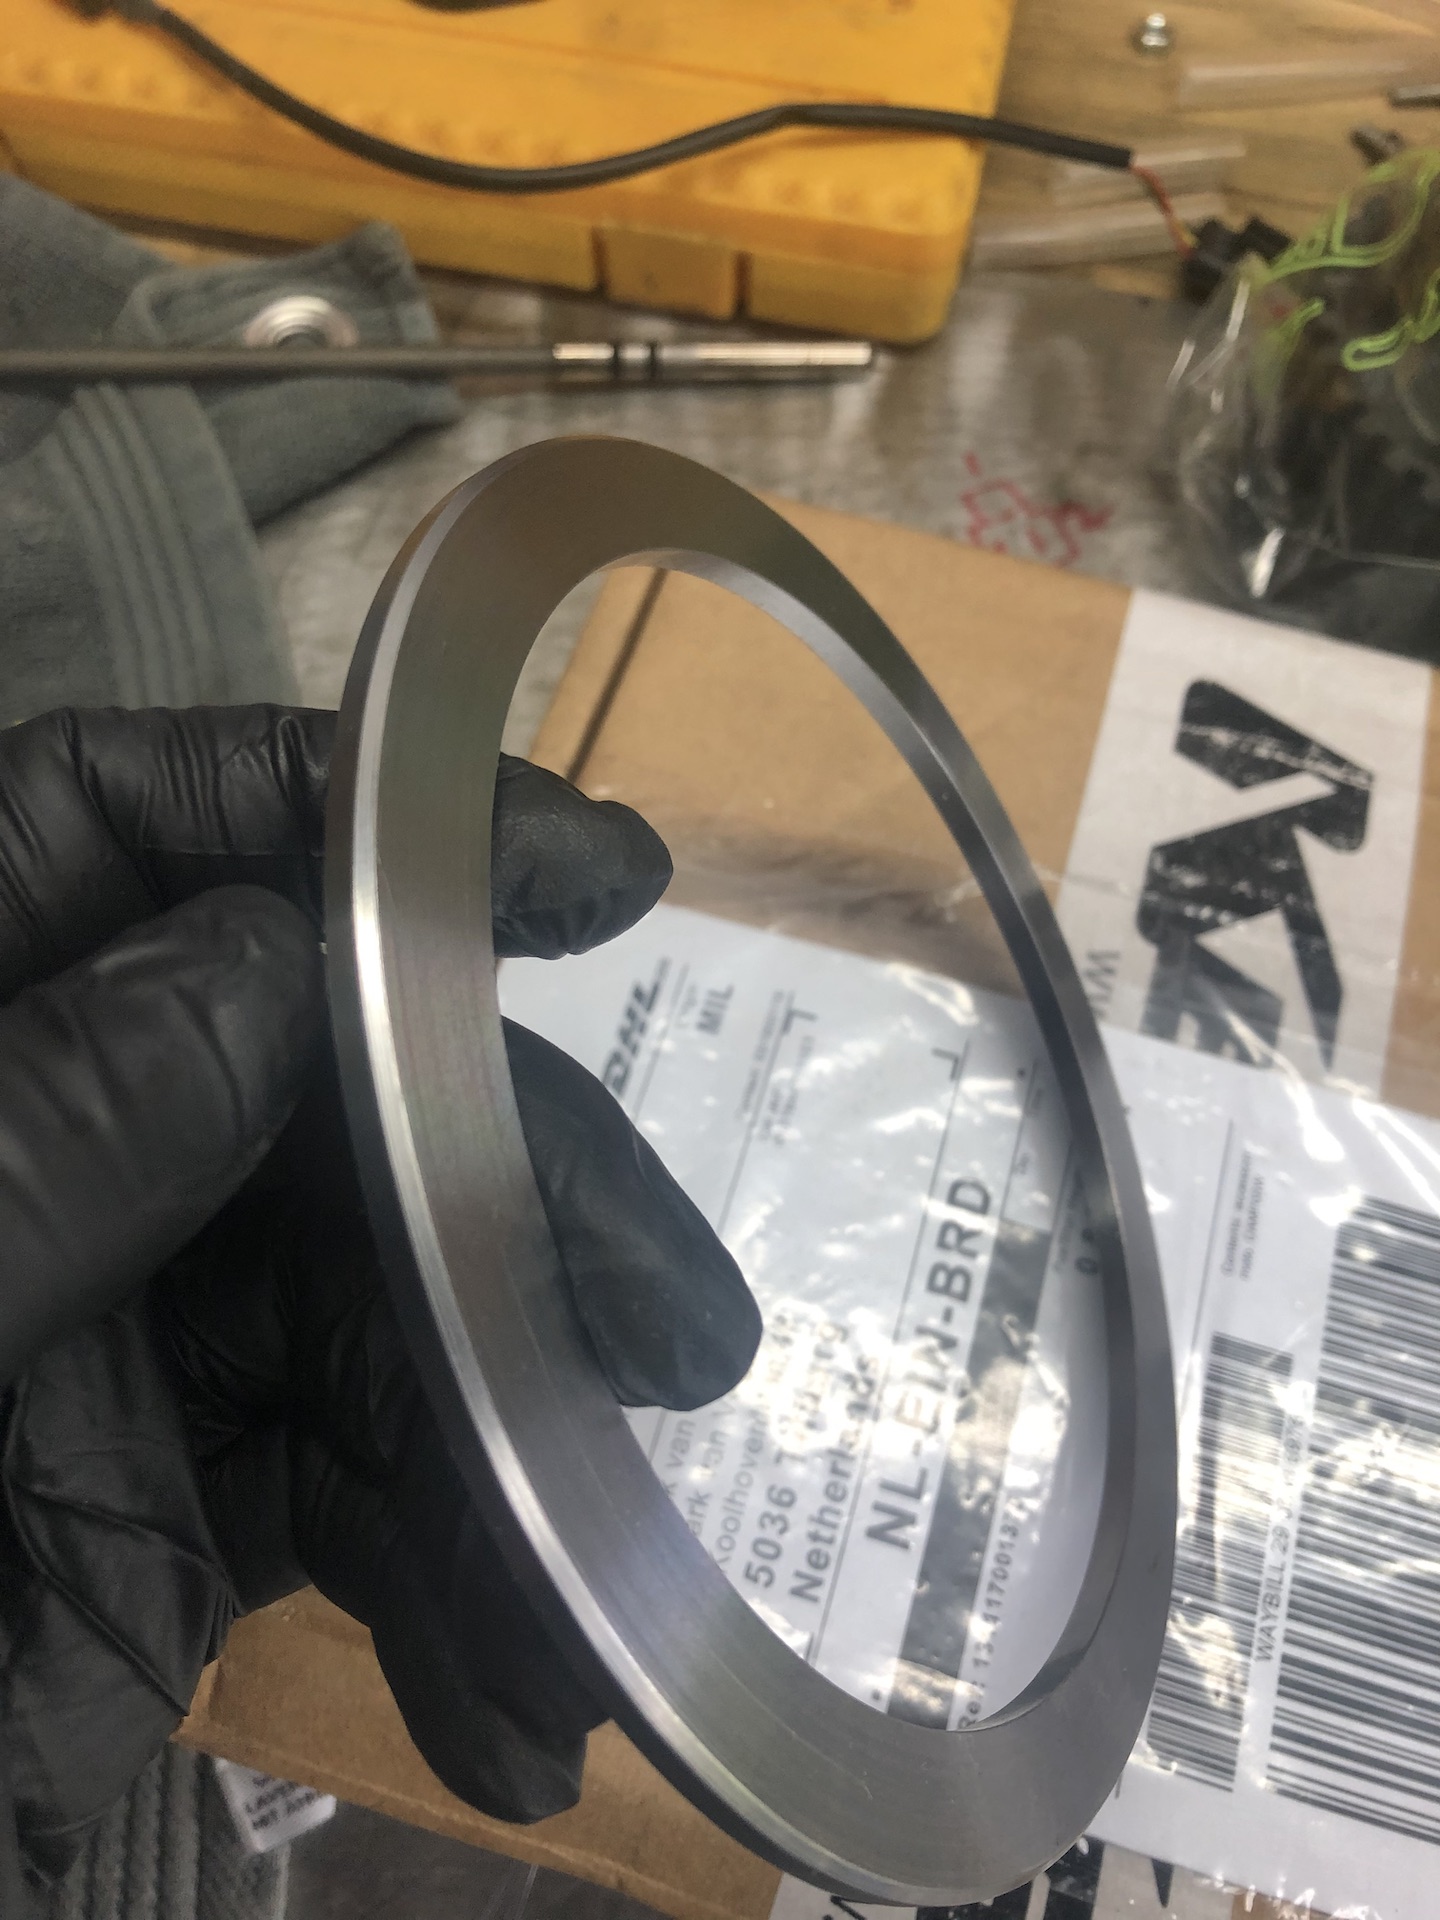
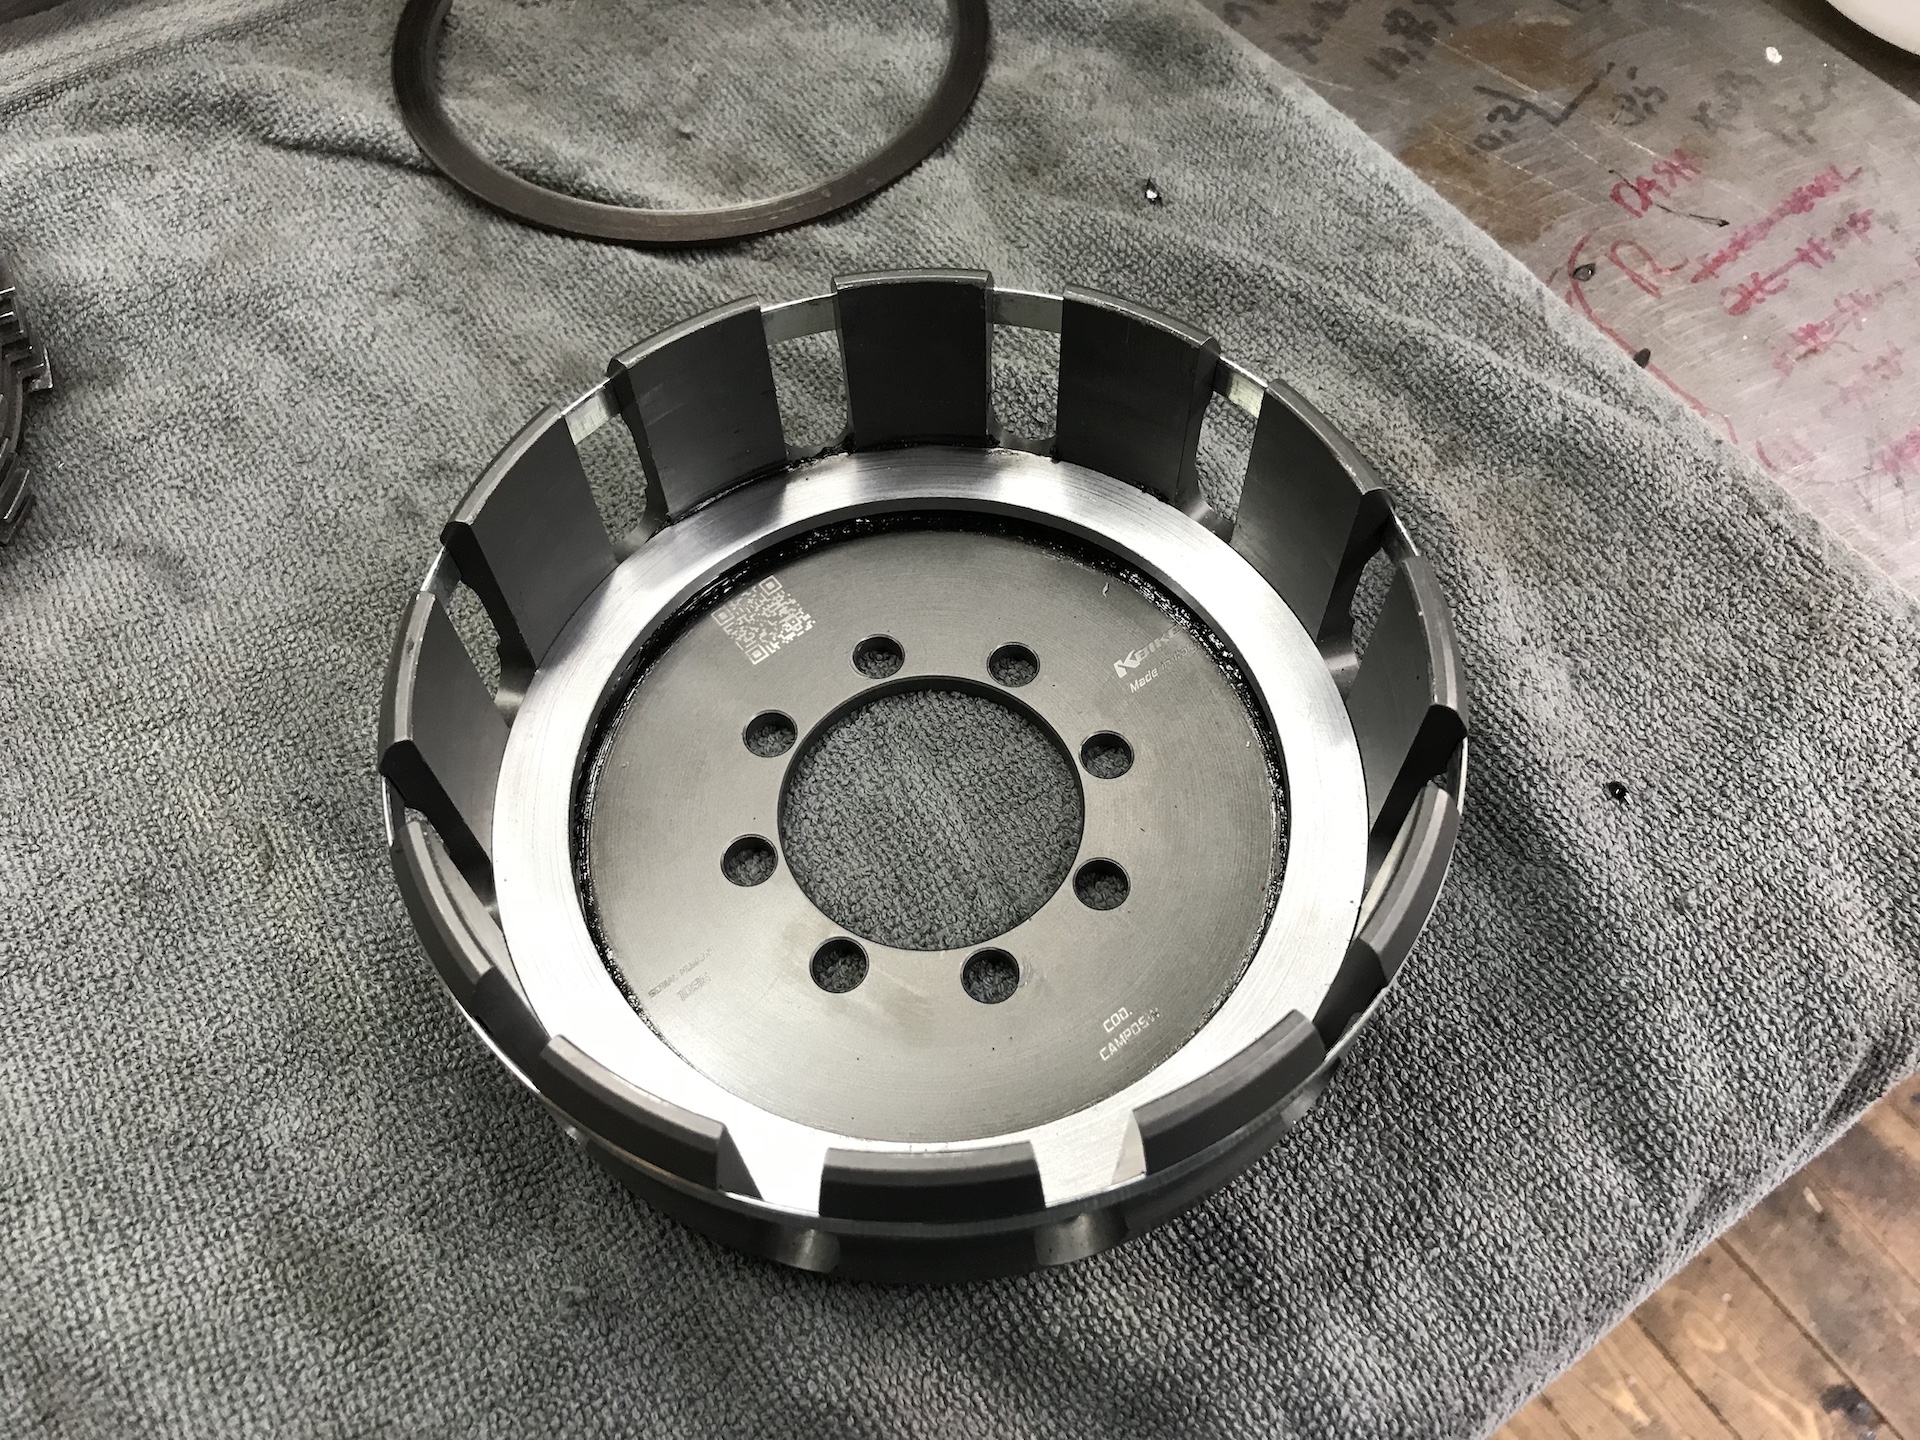
QUIET CLUTCH MOD, BIGGELAAR PERFORMANCE
Since i was 15 years old i knew of the quiet clutch mod done by Biggelaar Performance in Oisterwijk. Located only a few minutes from my house. The first bike i drove (996) also had this mod, and my current Hypermotard 1100 also. So this bike could not go without one. There is alot of material out there why you would want this mod, do a search on youtube if you want :).
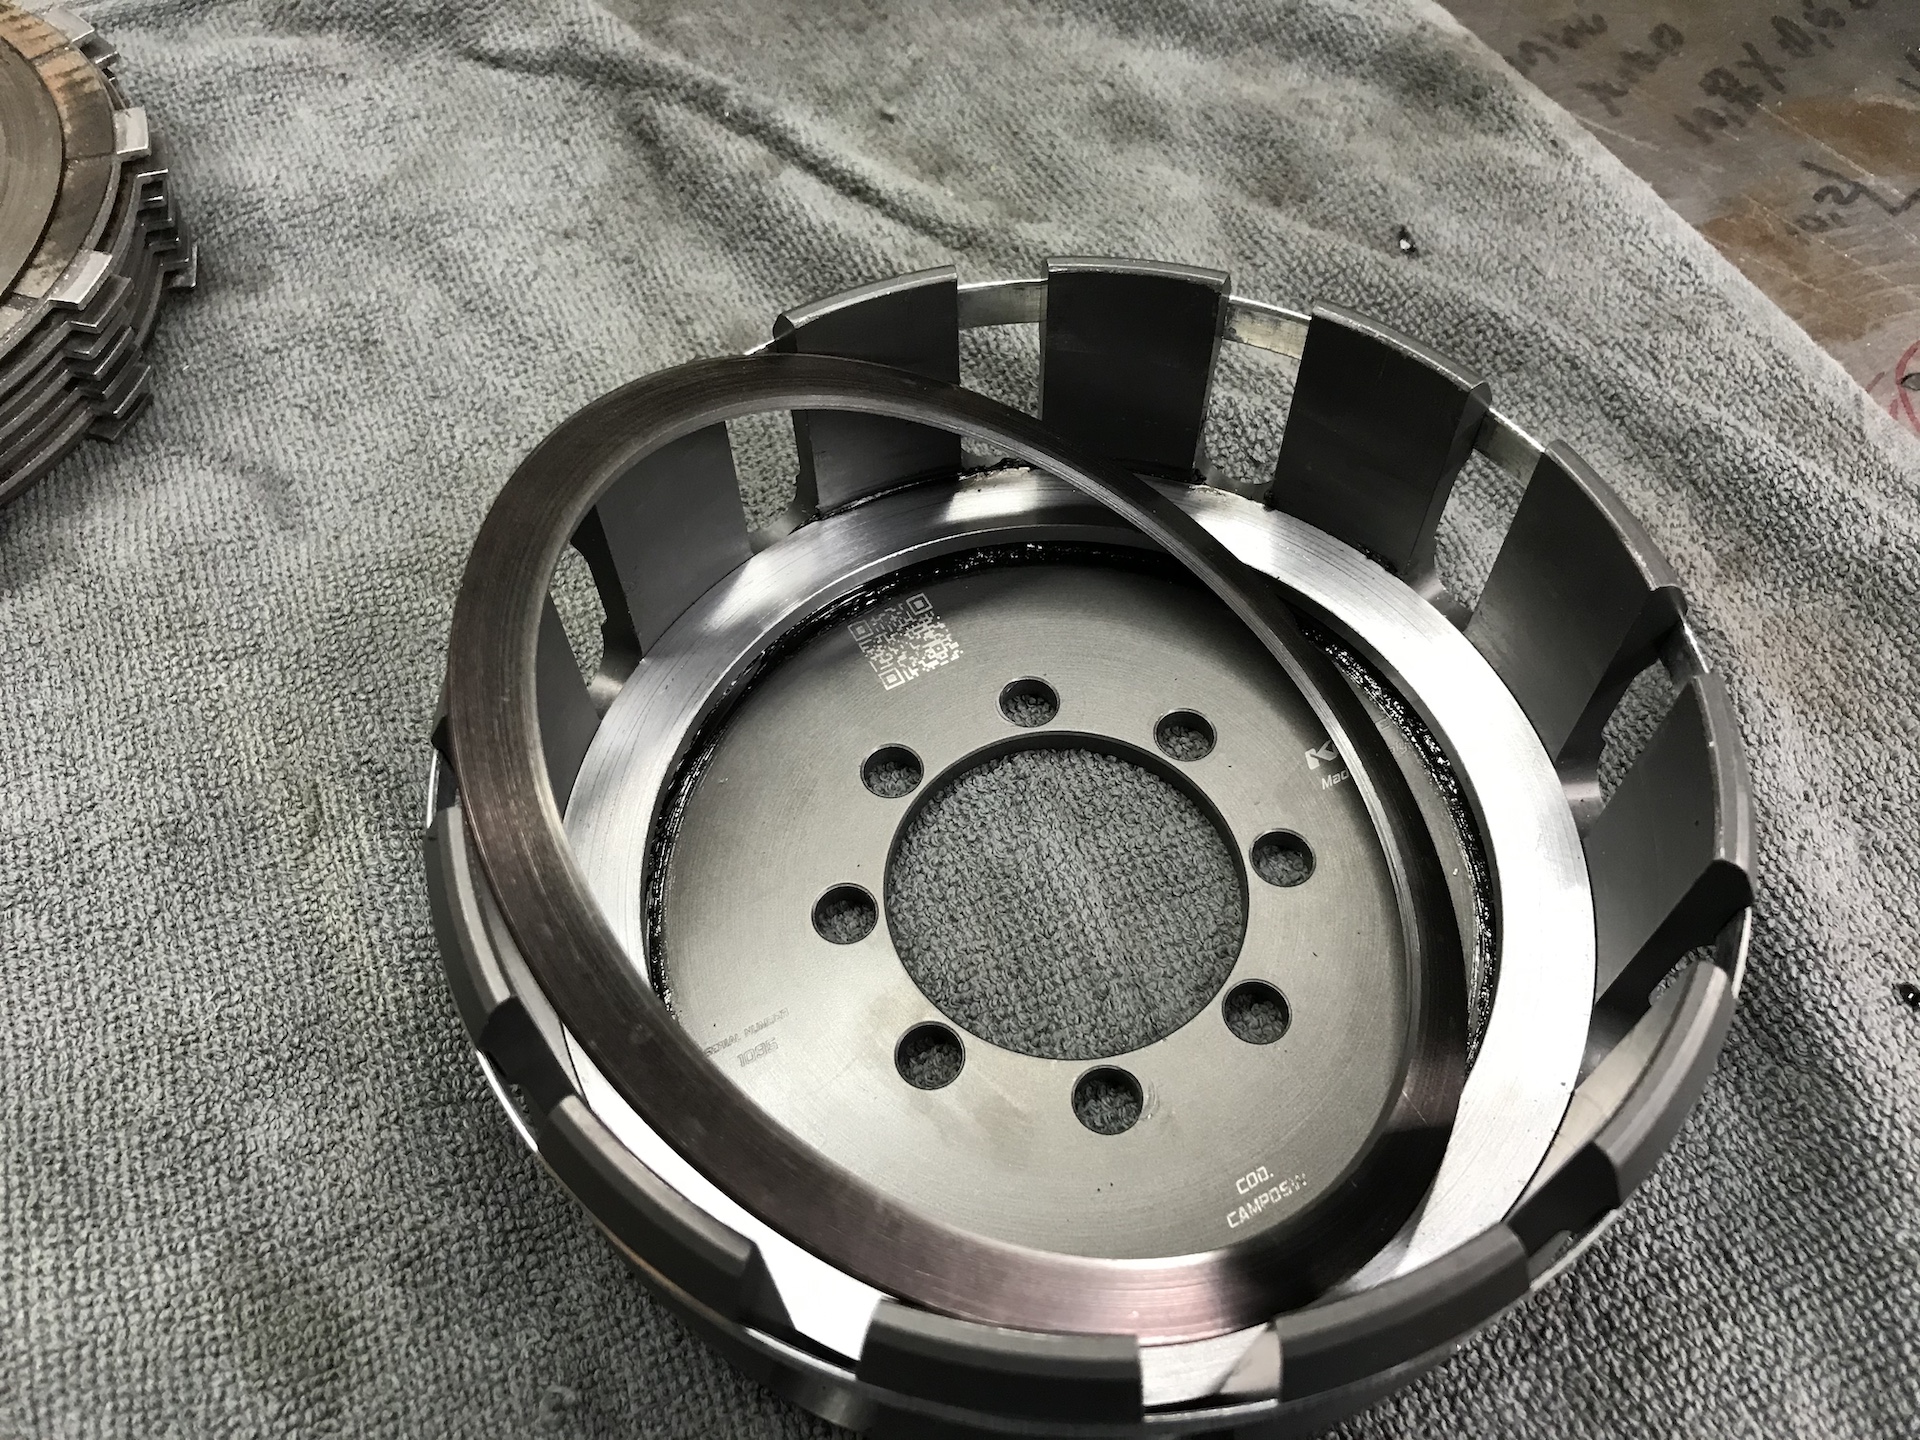
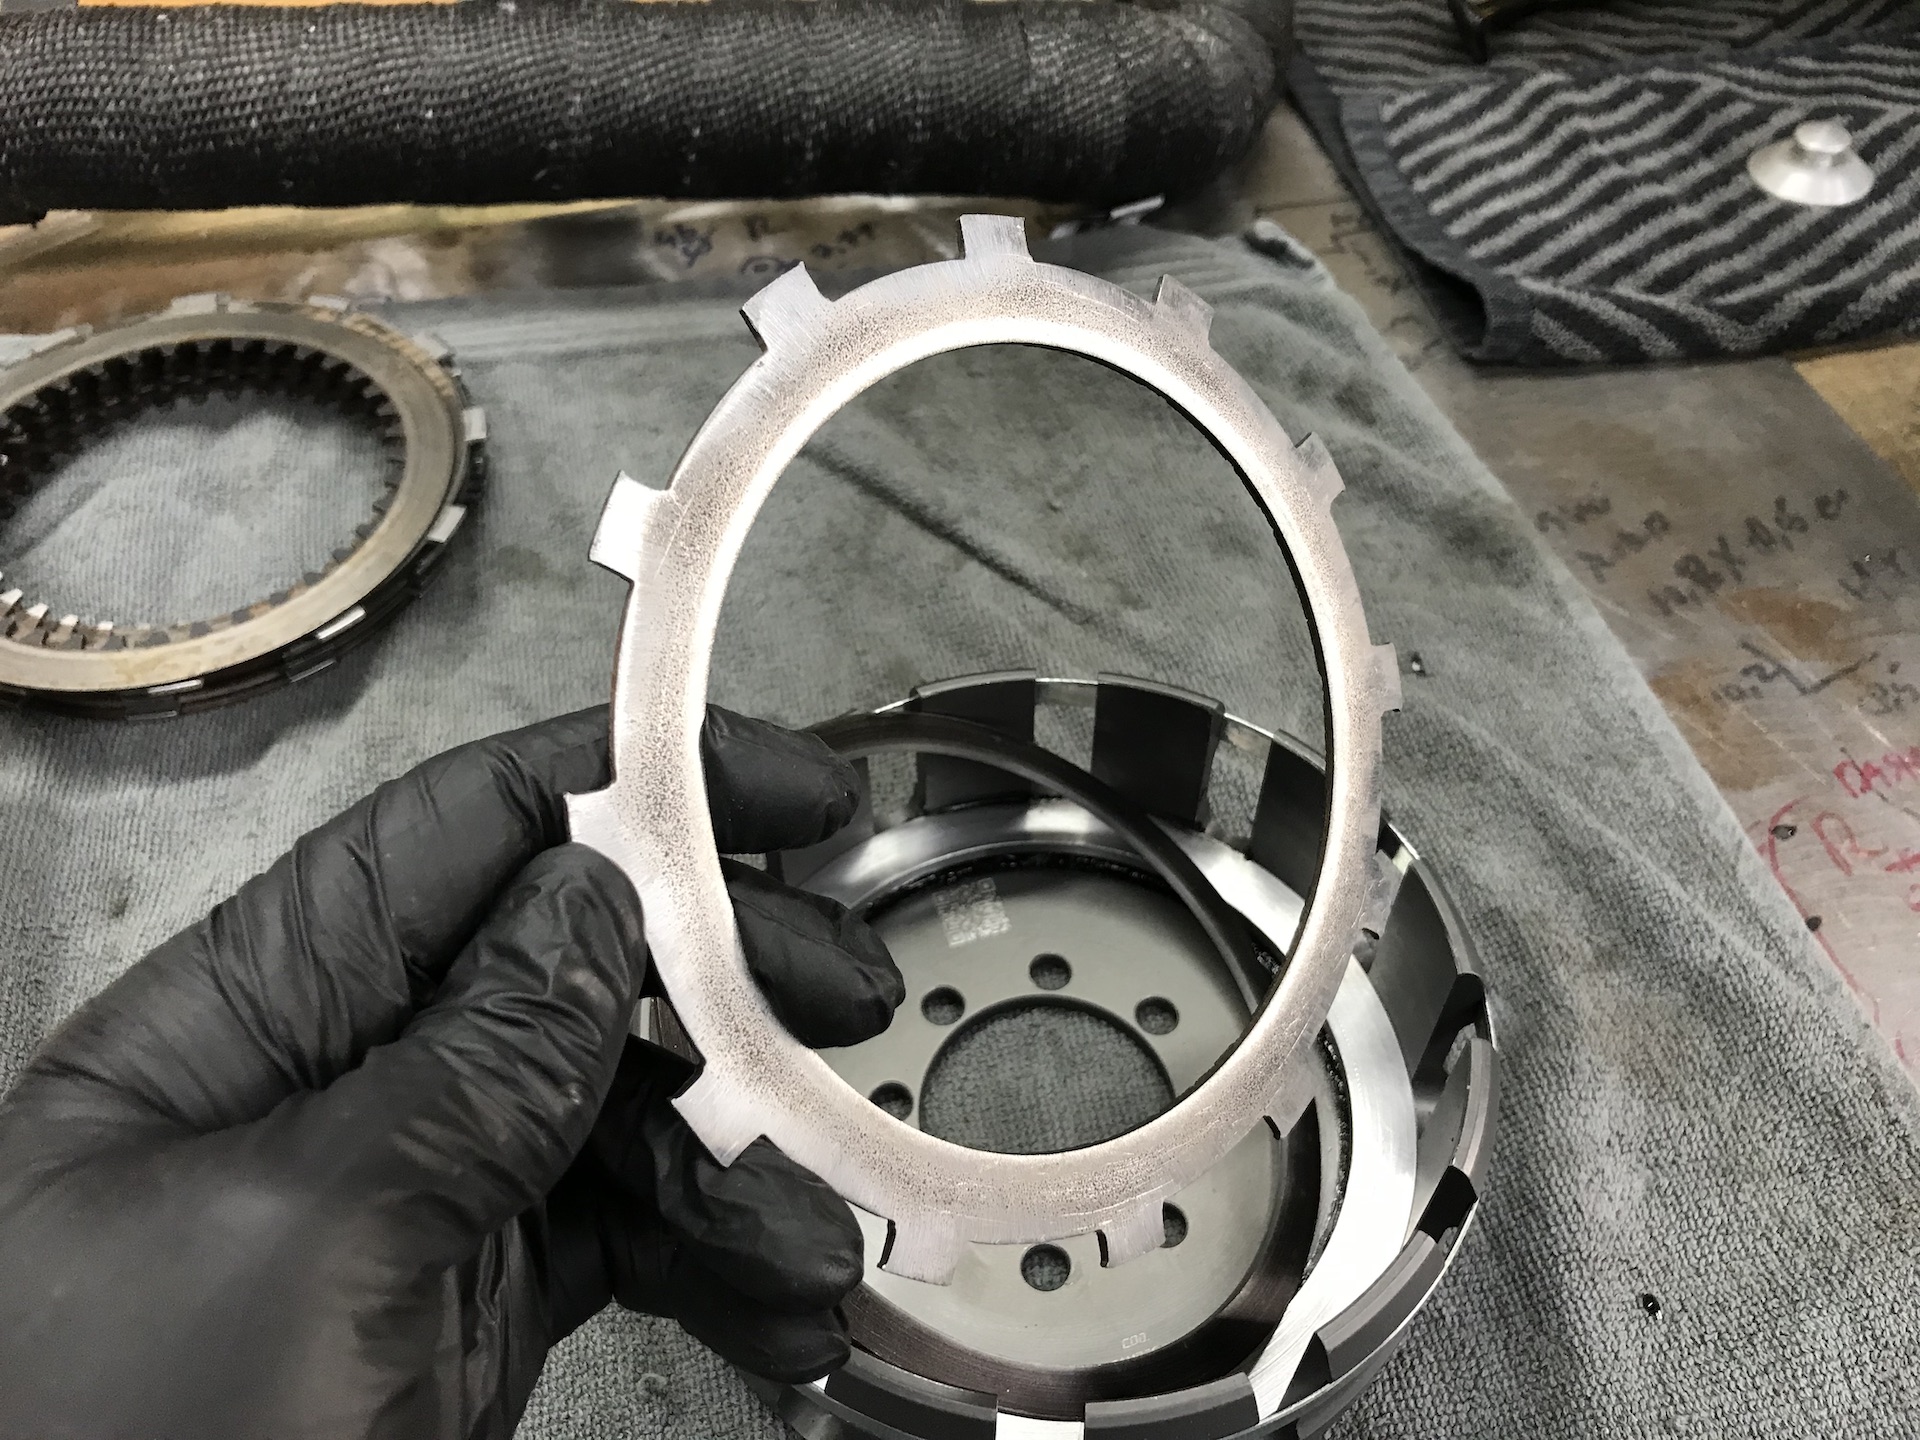
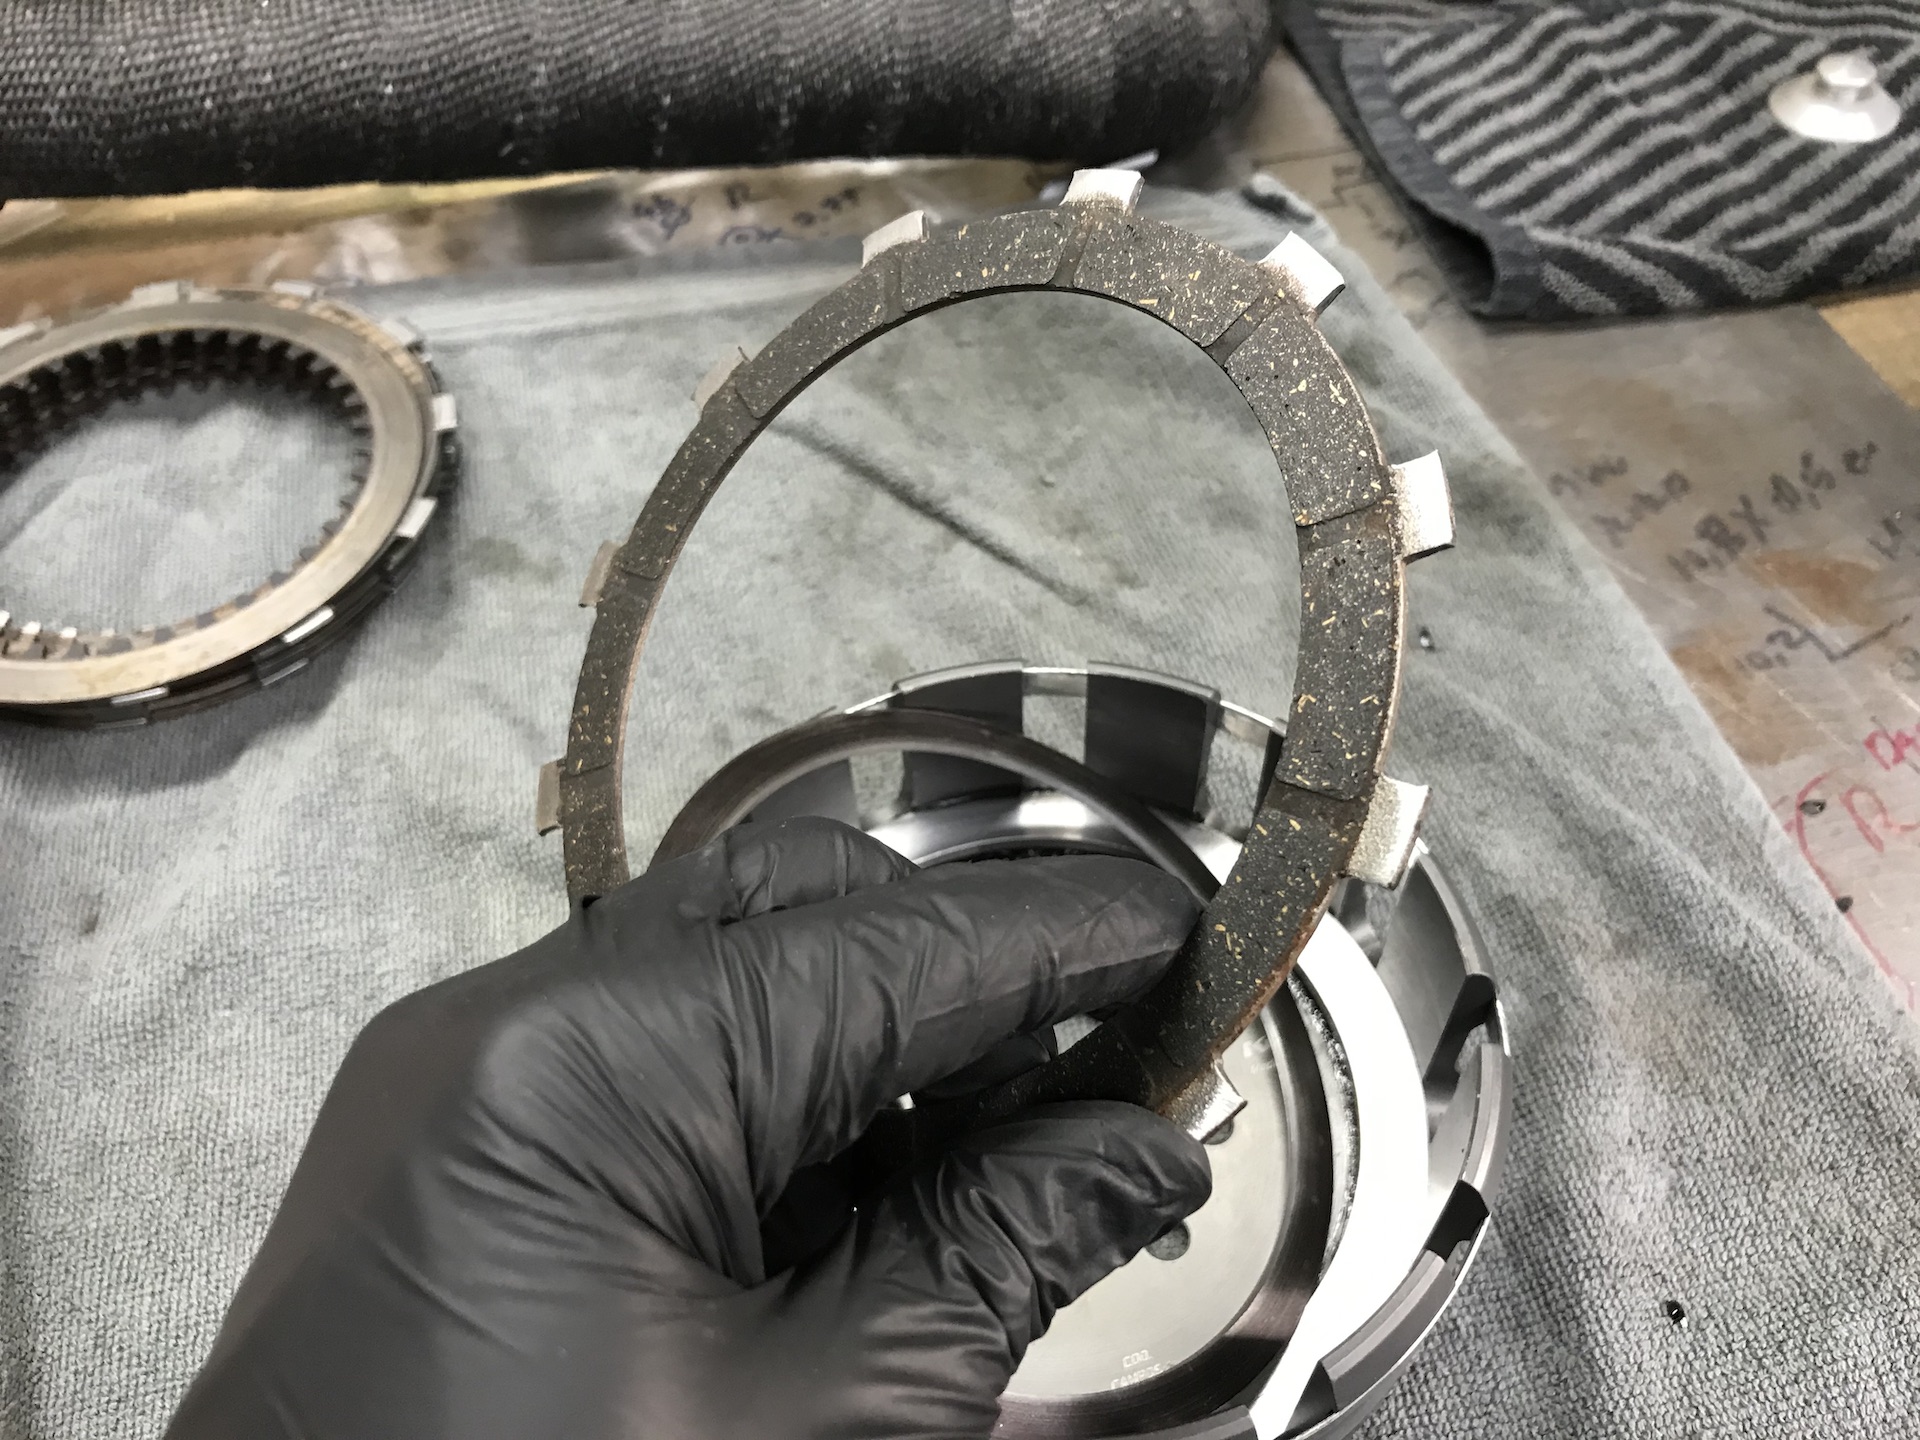
Long story short, it reduces the bashing on the basket creating notches, reduces/ellminates clutch noise while the clutch isnt pulled in and reduces stress on the clutch hub. How does it work? You push in (steel basket) or glue in (alu basket) a stainless steel ring with on top a convex reduced steel plate. And on top of that a friction plate that has 1 side turned down. Thats it! Using a alu basket you will need to drop 1 friction plate to make sure your stack height is ok.
ONE OF THE FIRST TEST DRIVES
Time for one the first test drives. Some small isuees that need fixing. To much heat/melting exhaust rubbers = remap. Small hickups/misfires at lower rpm = remap. Rear brake sticking. Front brakes not strong enough = new old pads installed. Clutch slipping = extra 1.5mm steel plate. Minor oil leakage = tighten drain plug etc etc.
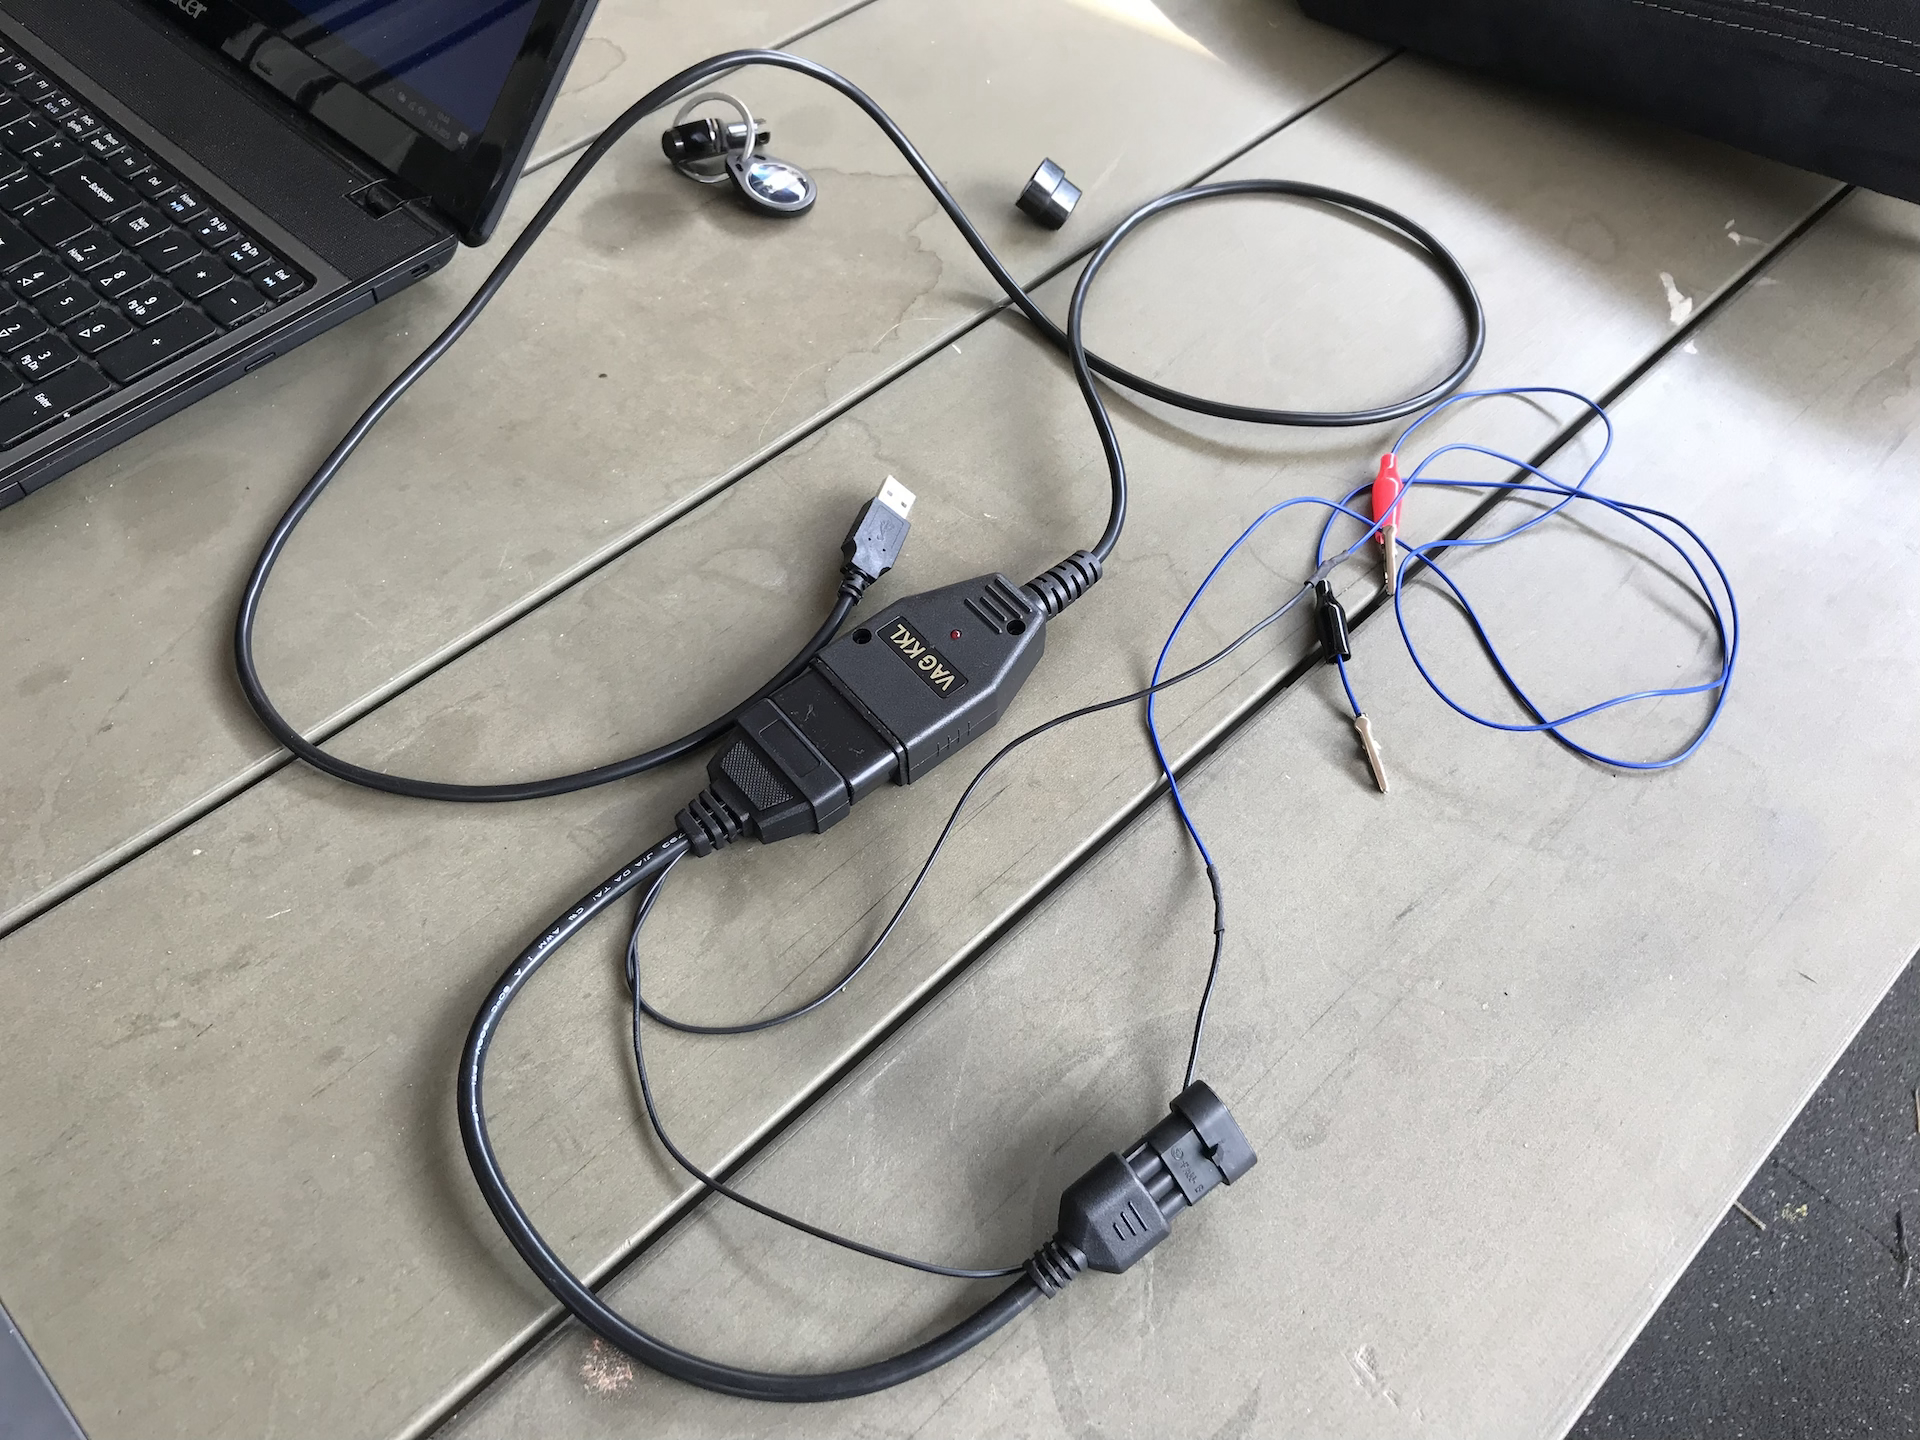
TESTING DIAGNOSTIC PORT
Because of the remap that is going to be done soon i needed to 100% sure that the diagnostic port worked so that Biggelaar Performance can flash a new map to the ECU. The new custom wiring loom required me to test it. It all still works thank god :D.
If you need the old JPdiag sofware to connect to these old ECU’s, here is a download link.


FIXING SMALL ISSUES
After the first small testdrives it is time to fix some small issues. The side stand is just to short and the bike stands at a to steap angle. So i made a small side stand extender out of aluminium.
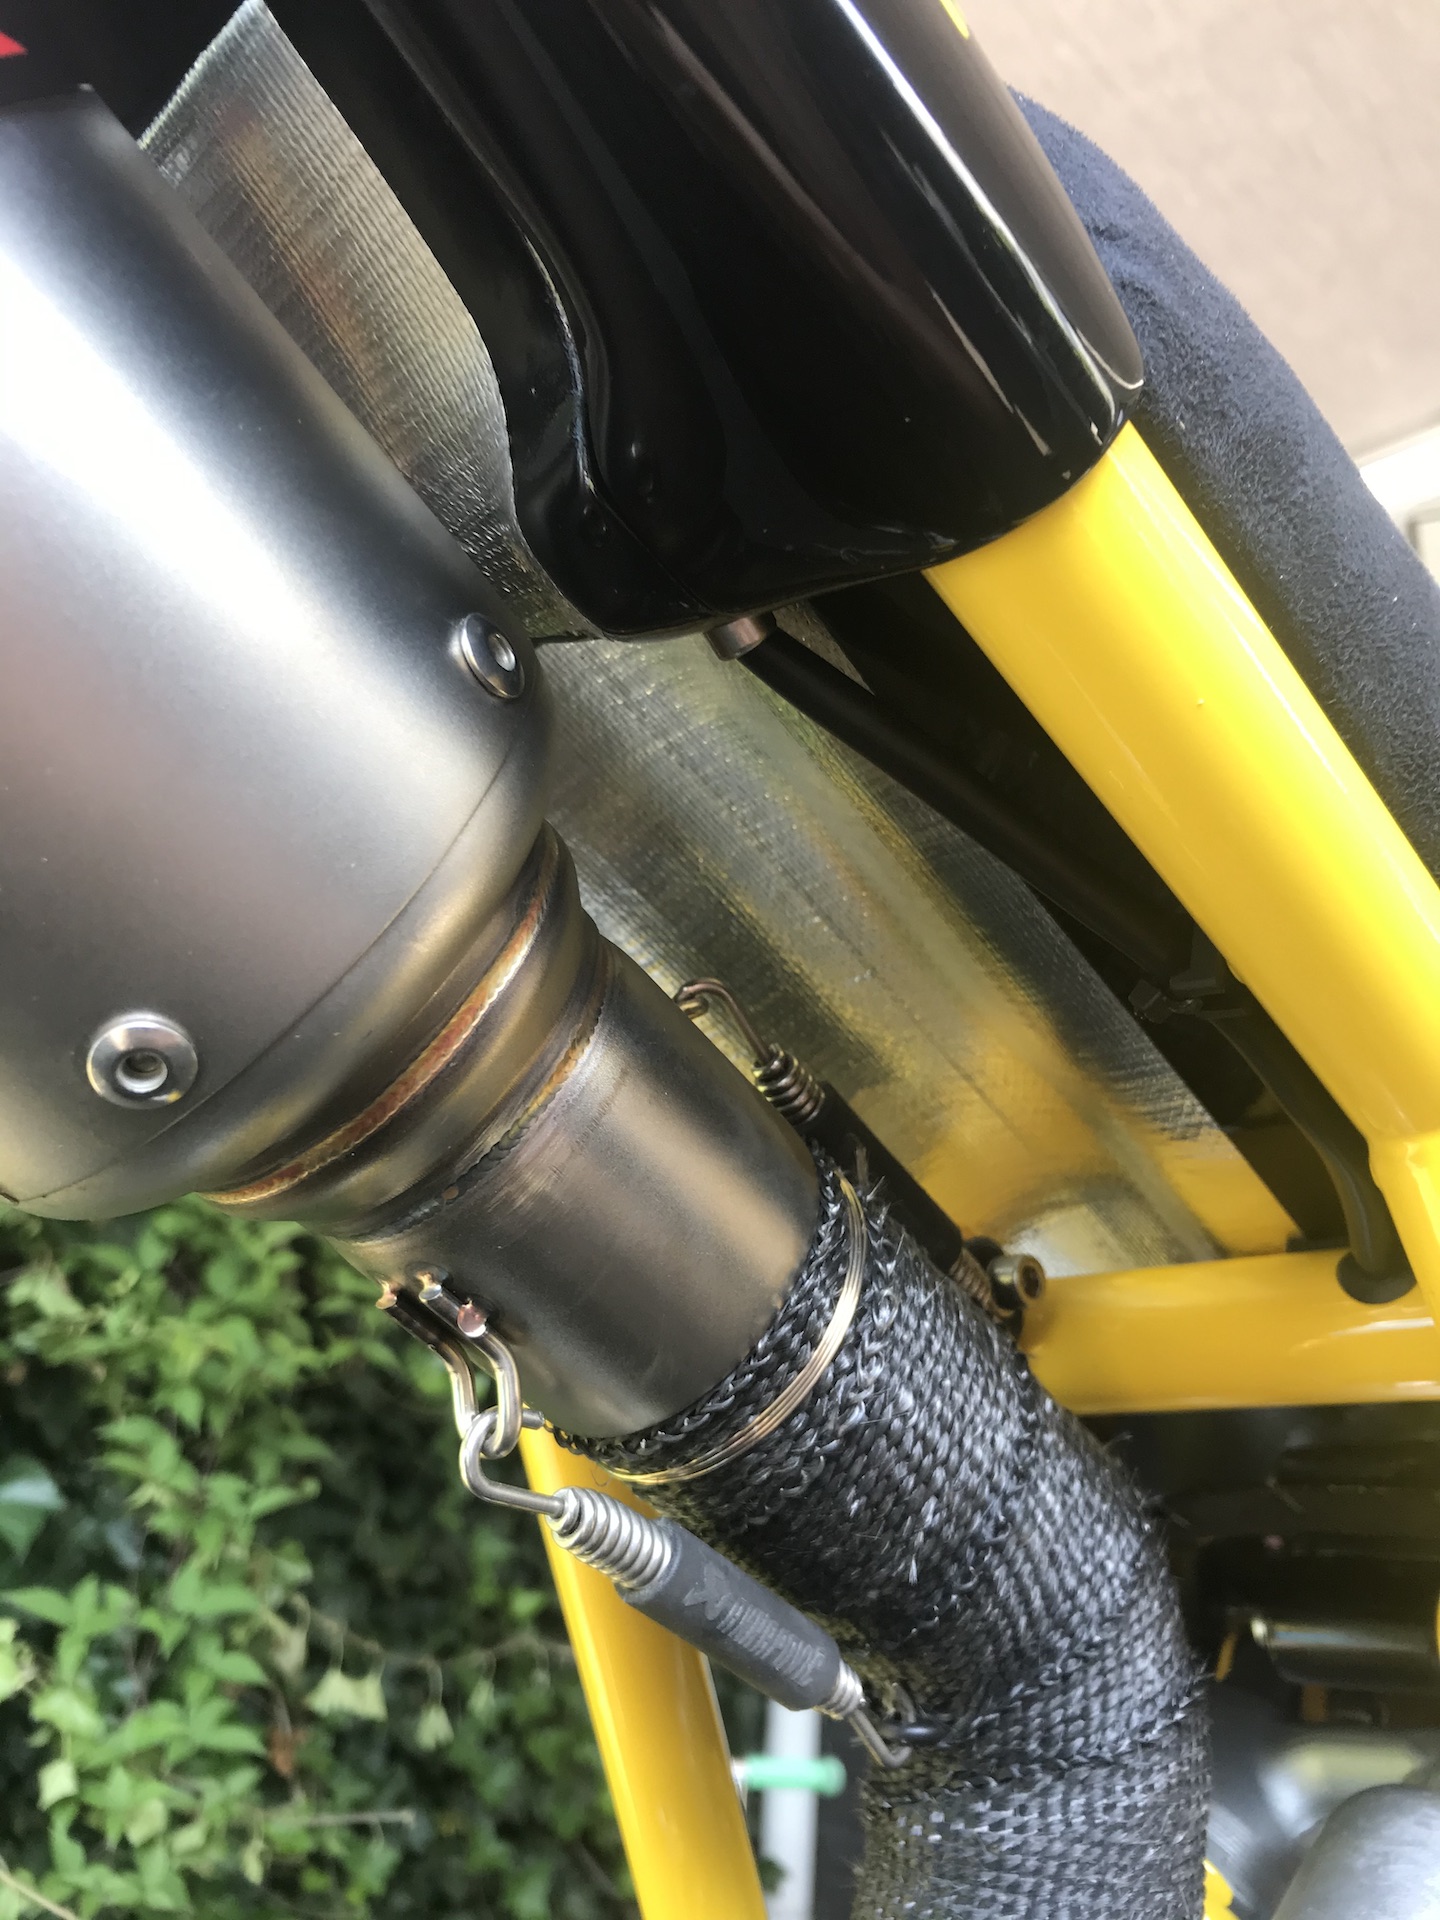
Also the exhaust mounting rubber just melted off because of the heat. The bike isnt remapped yet and runs leans therefor producing even more heat. I replaced it with the same rubber grommet that is used on my Hypermotard. Hopefully this wont melt off ;).
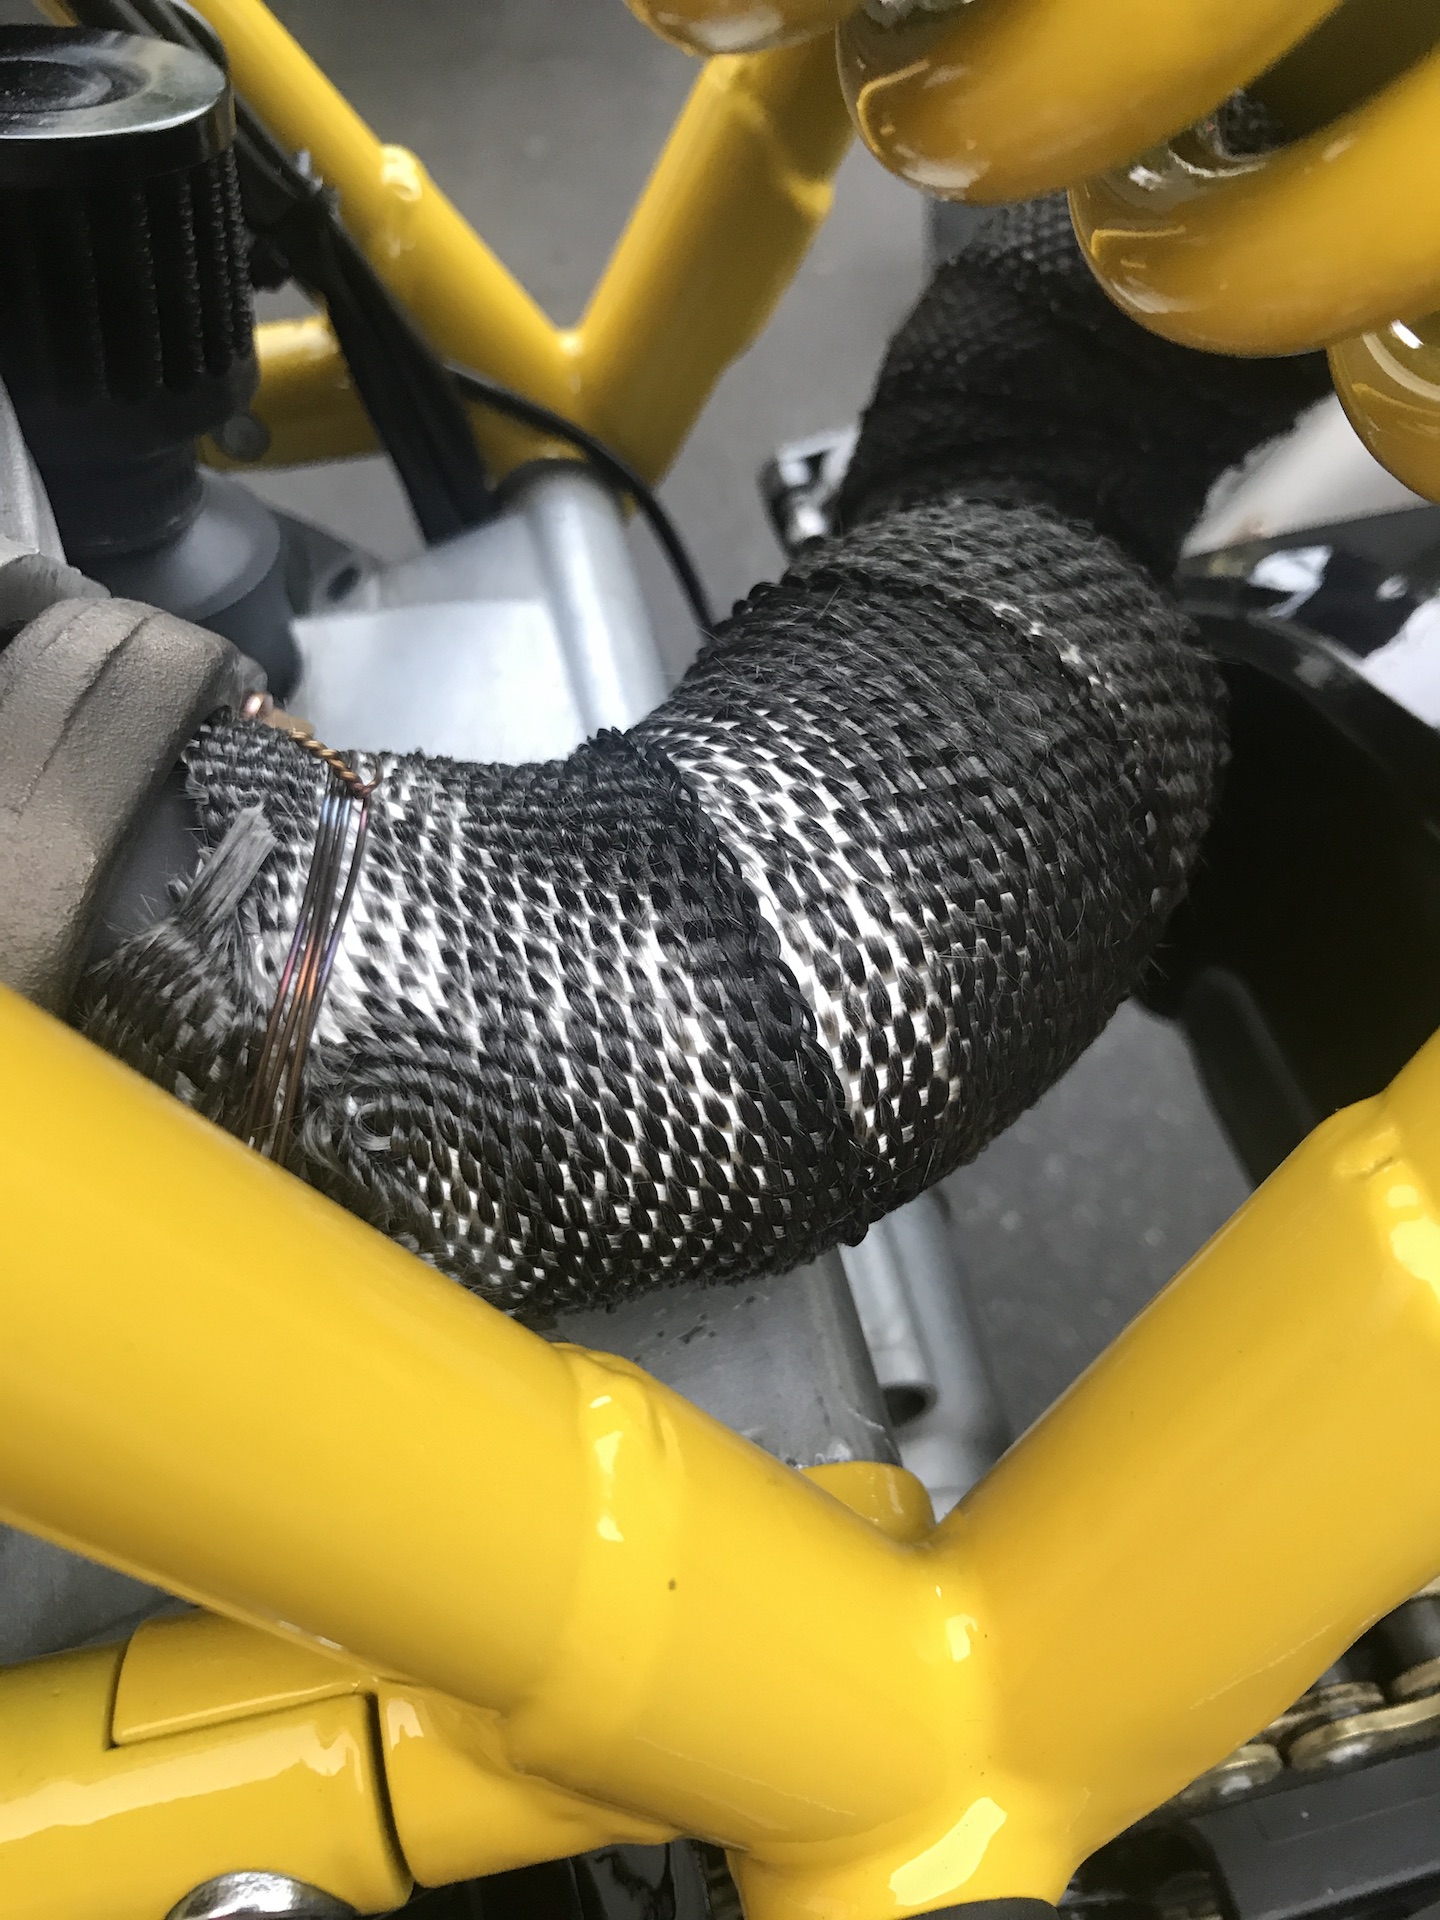
Also will need to rewrap the exhaust after the remap since the heat is just burning off the black color.
And finally addded some extra heat reflective tape beneath the seat and the rear fiber glass tail piece.
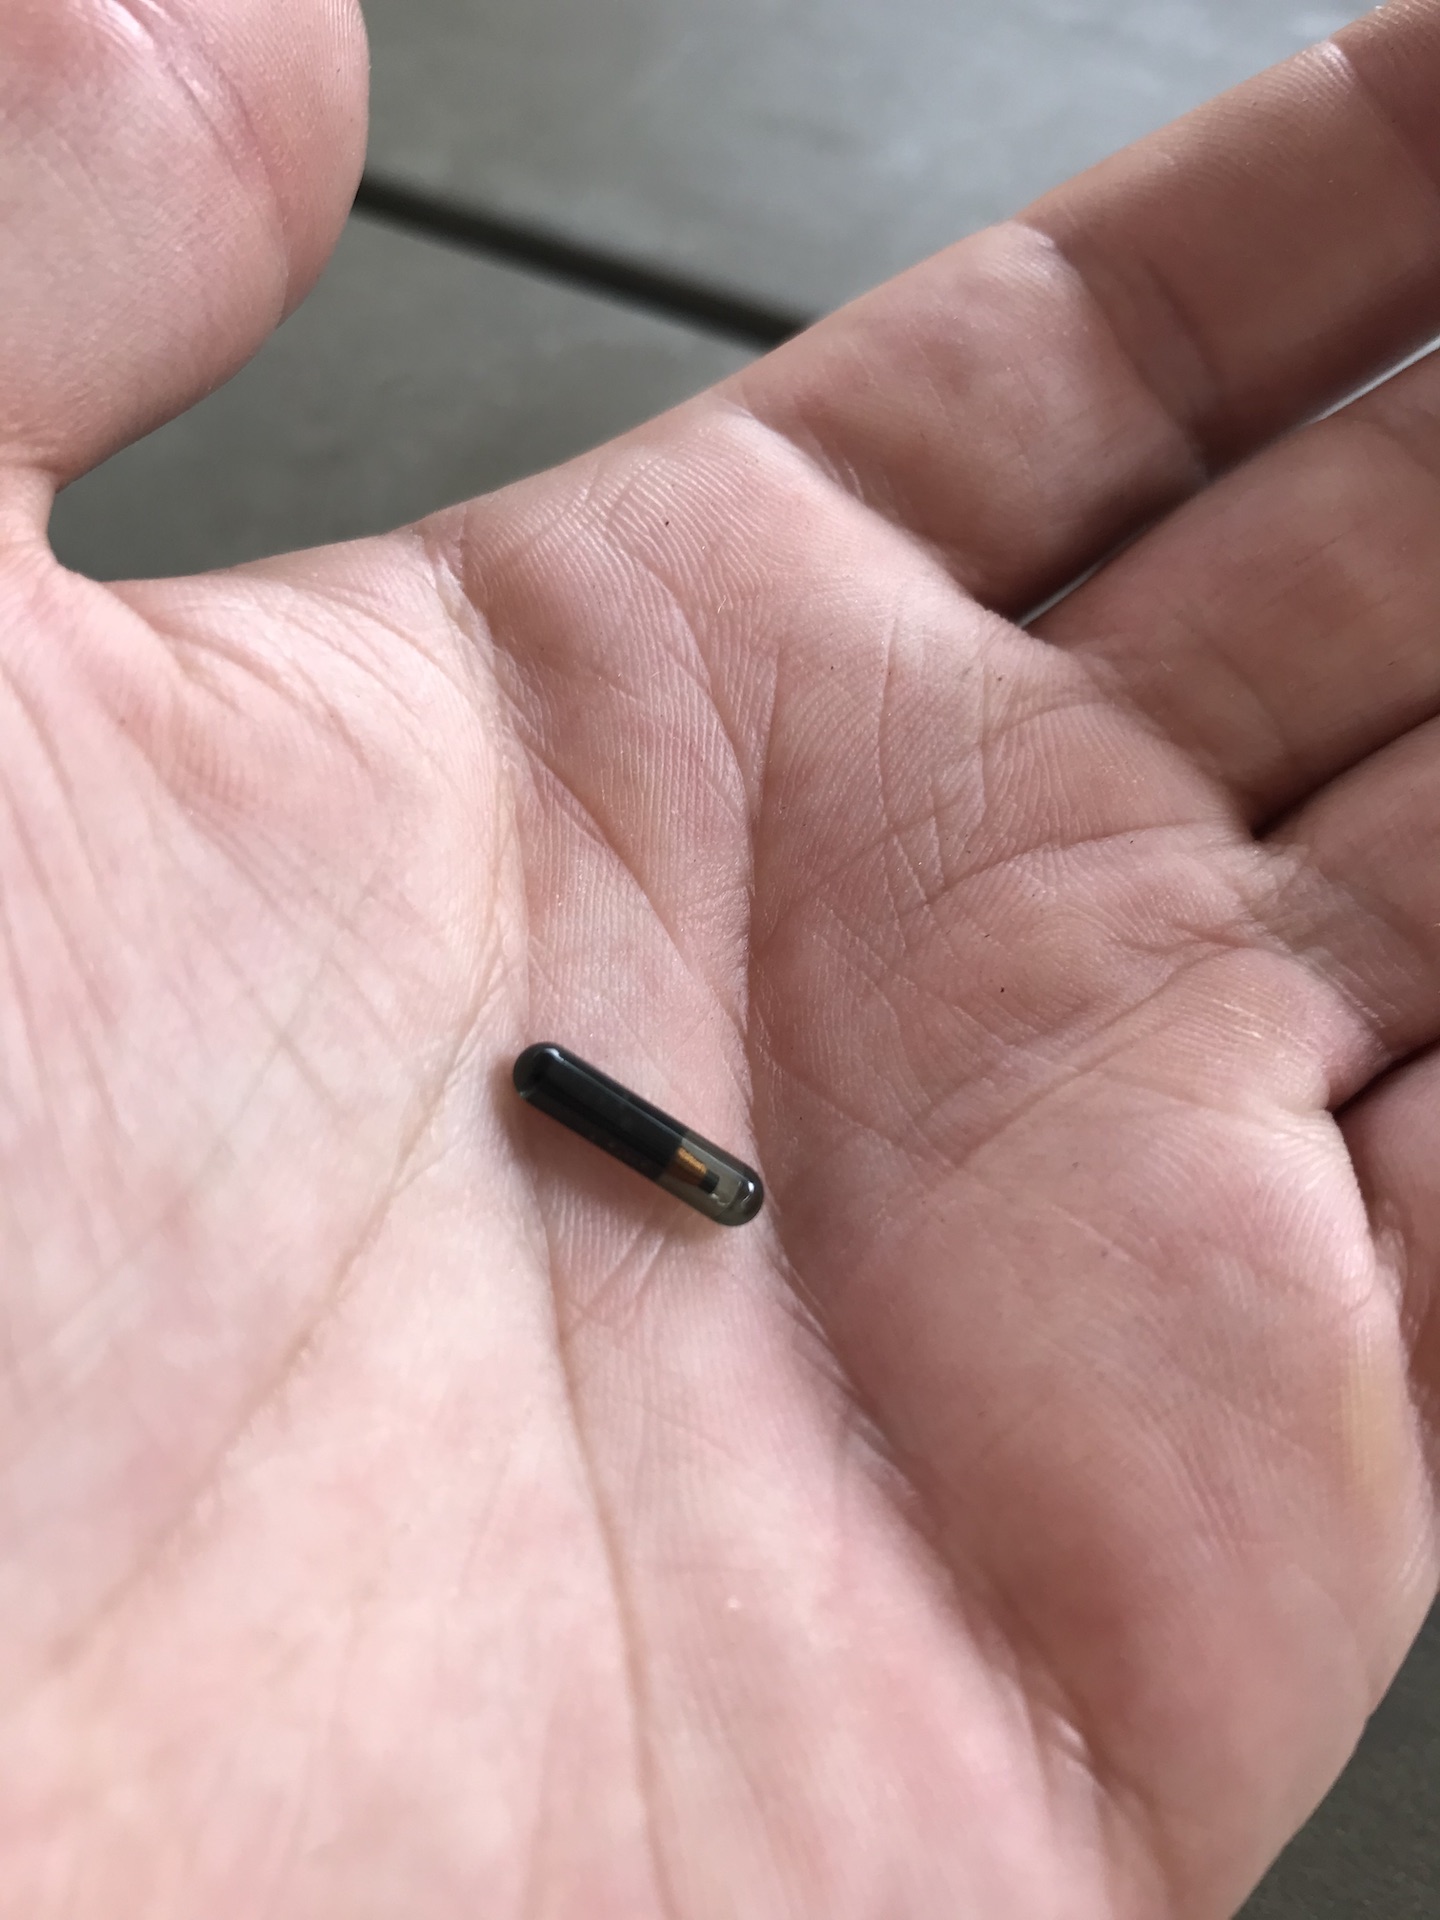
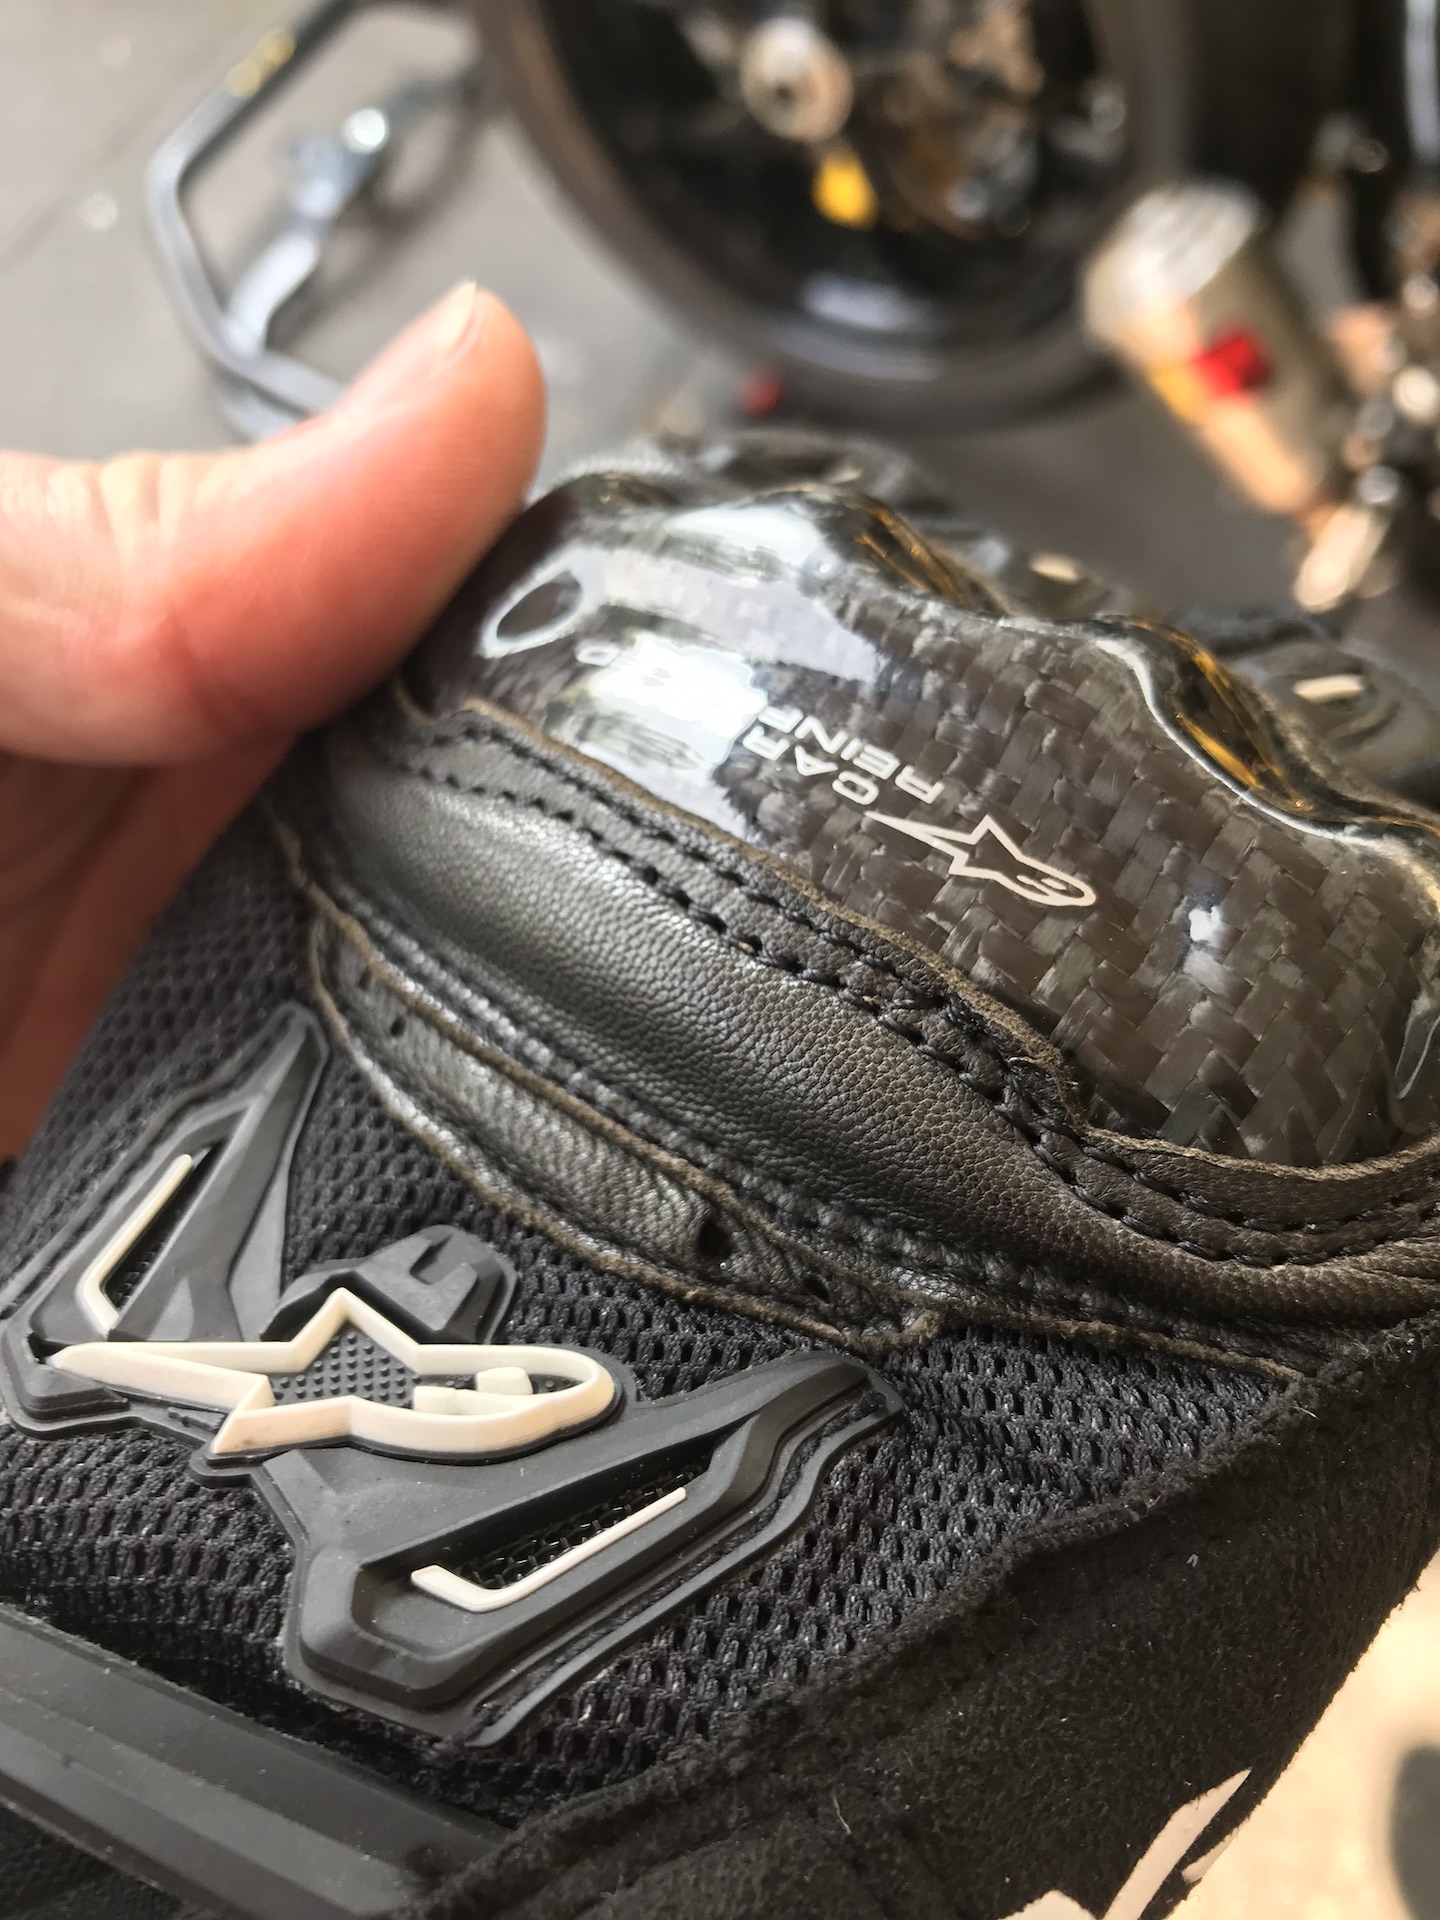
IGNITION WITHIN THE PALM OF YOUR HAND
Just bought myself a really small present. RFID tag from Motogadget to embed within my glove. This way i dont have to carry anything but my riding gear.

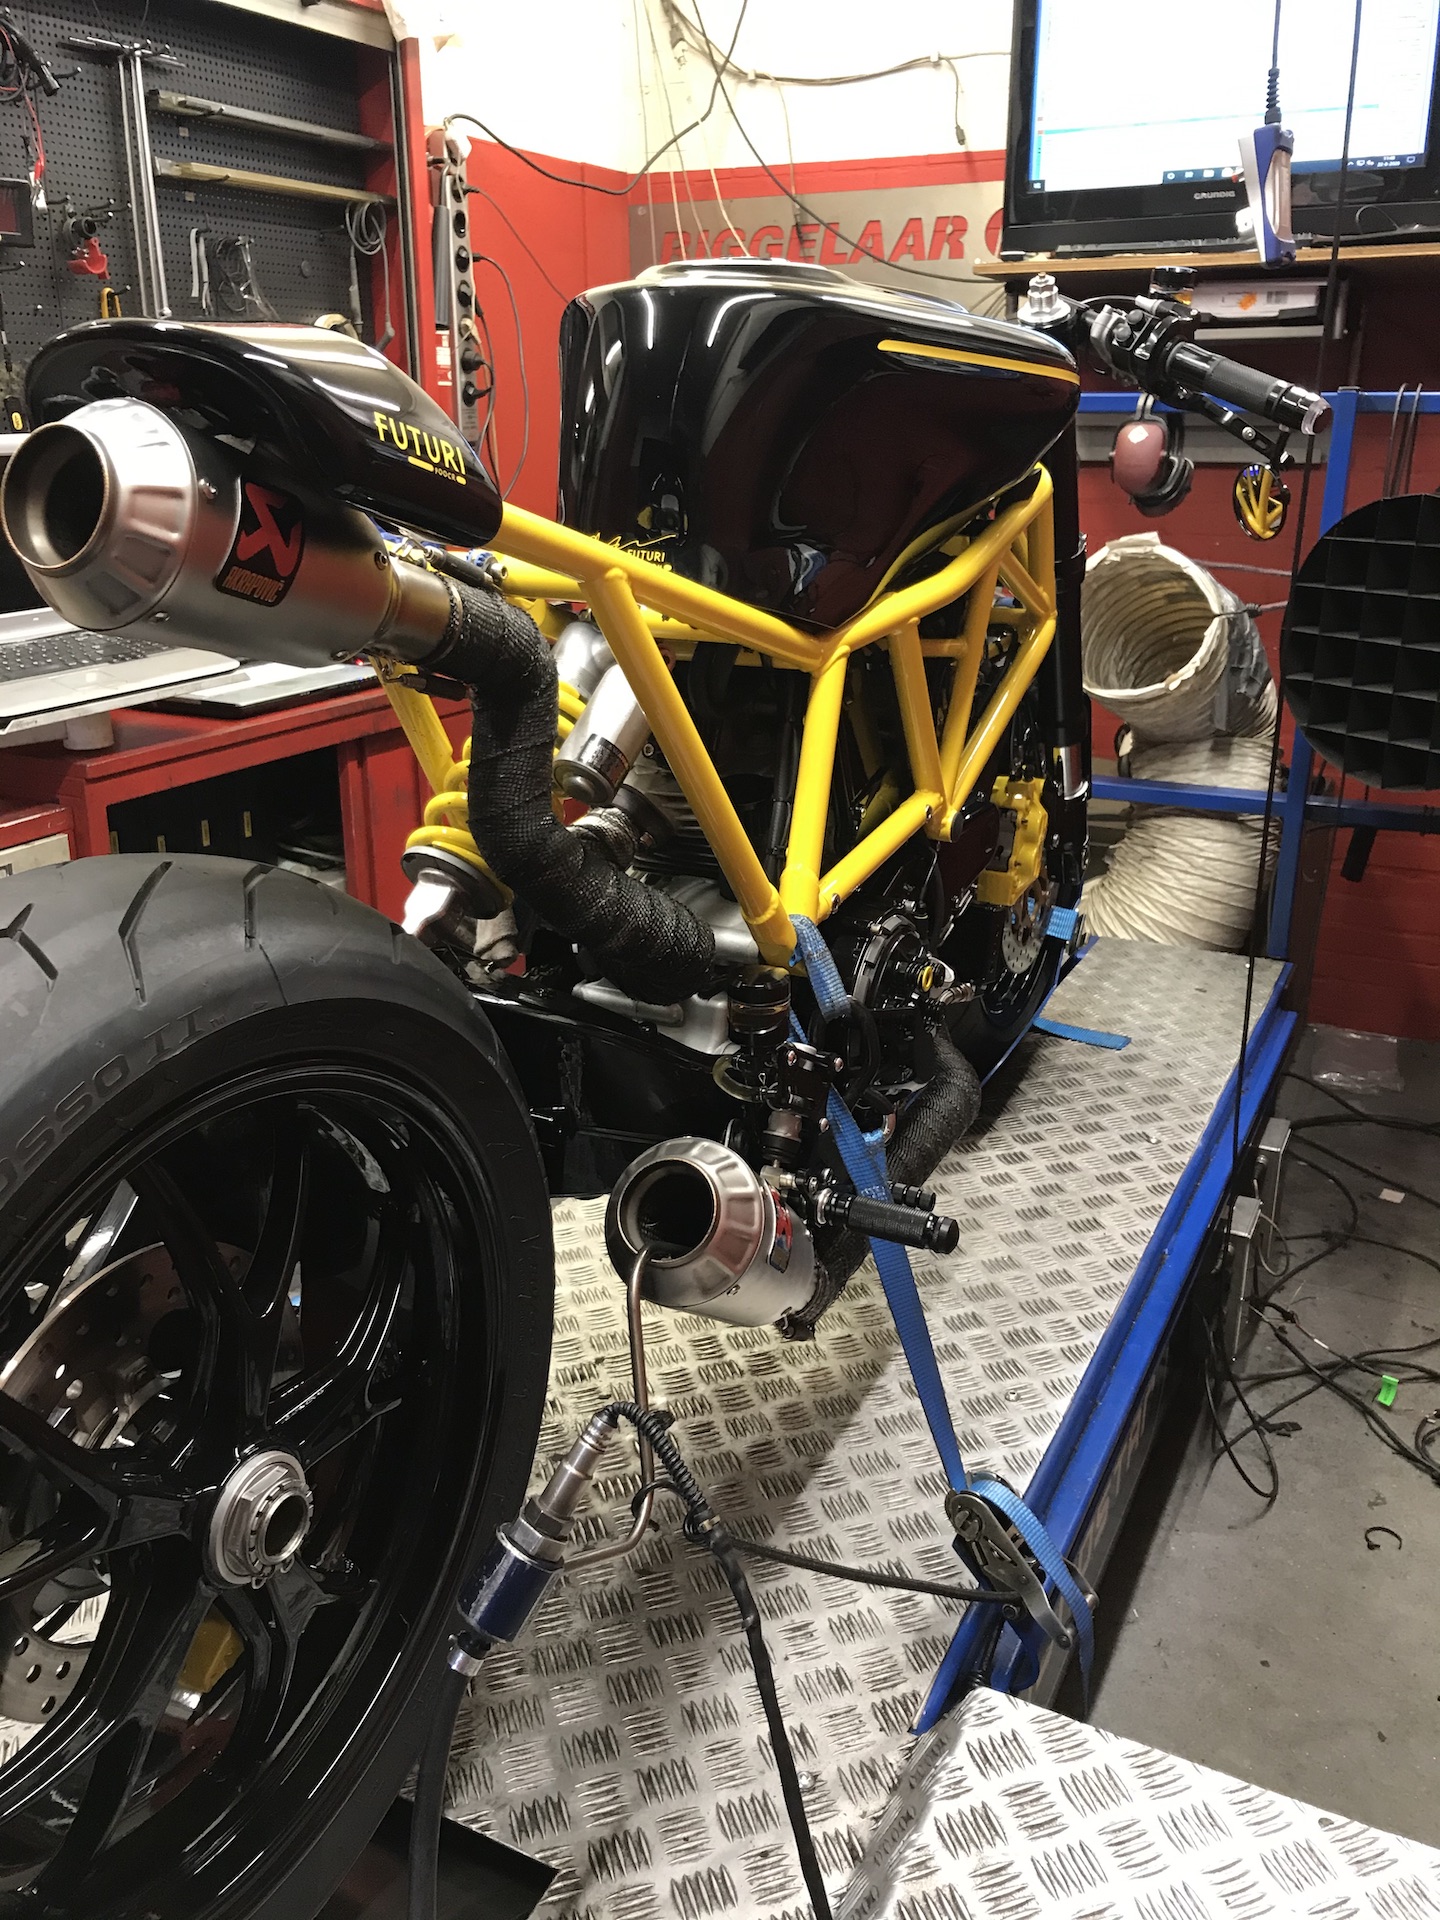
DYNO + REMAP, BIGGELAAR PERFORMANCE
Talked allot with Toine from Biggelaar Performance about the remapping of the bike. He thought we could get away with just adjusting the CO trimmer. And indeed thats all that it needed. Runs great now. Im not interested in power numbers, but i makes 78HP for the people wondering :). Could get 2HP more with larger pod filters, however i am satiesfied with this for now.


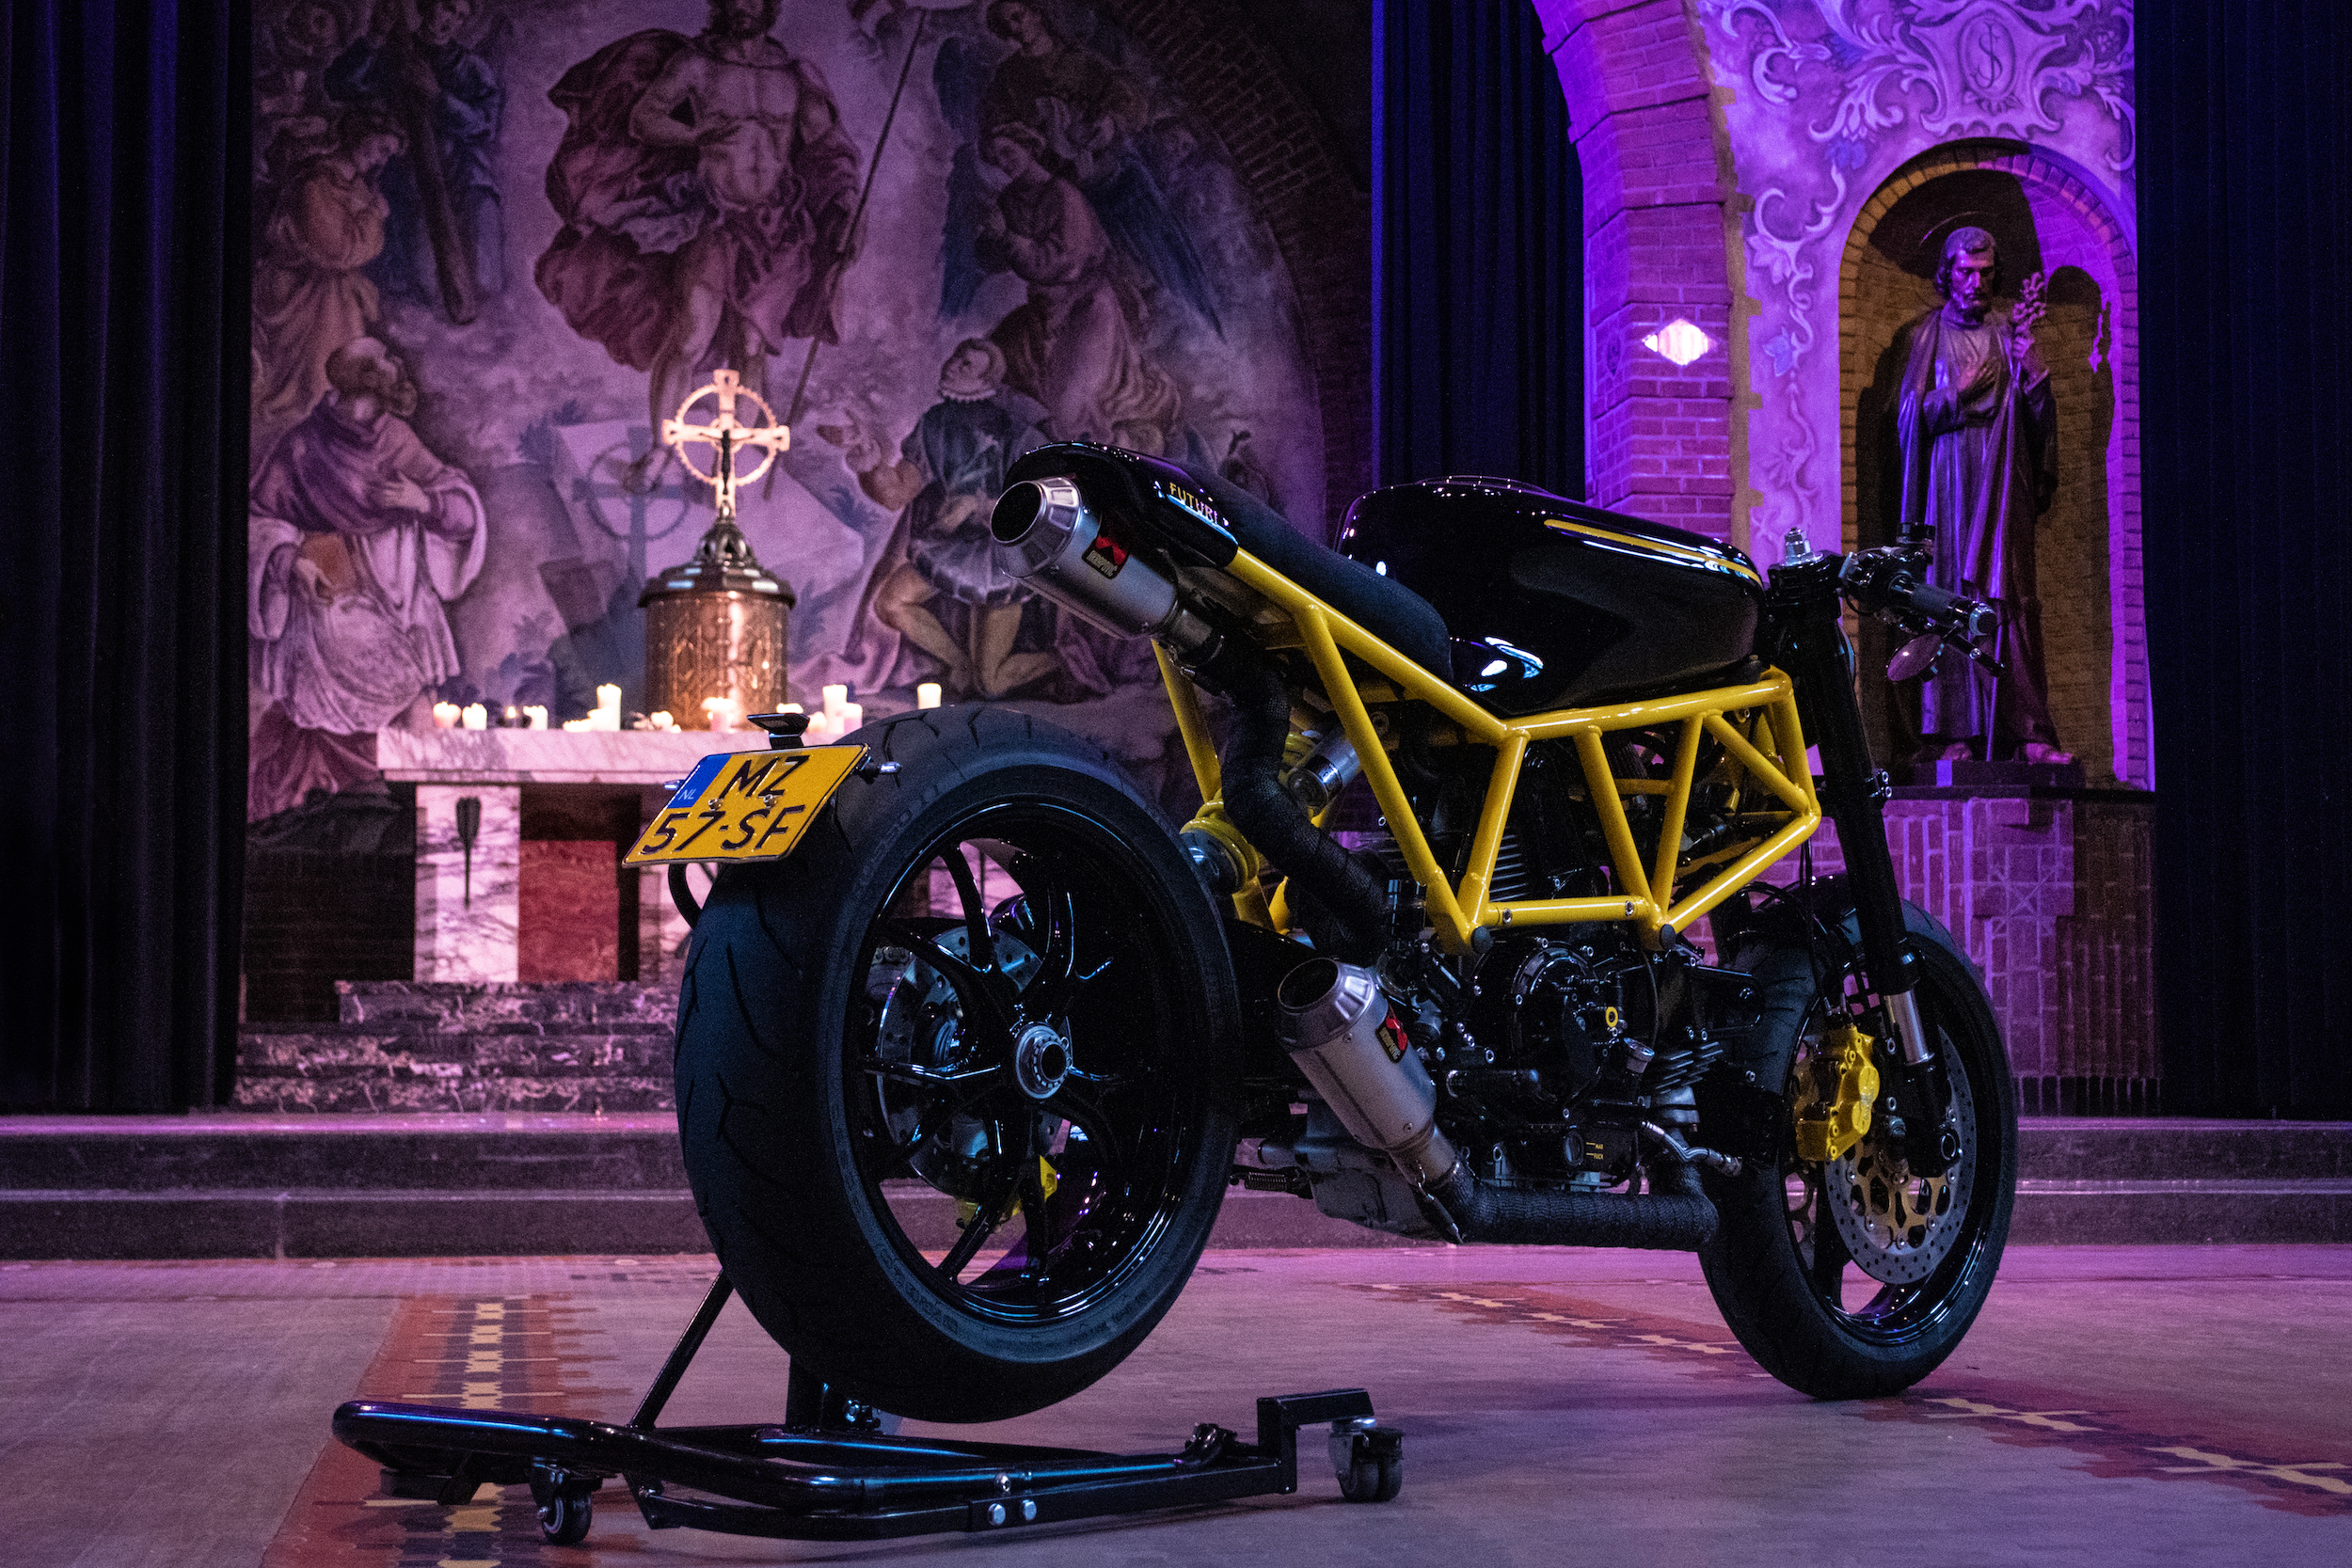
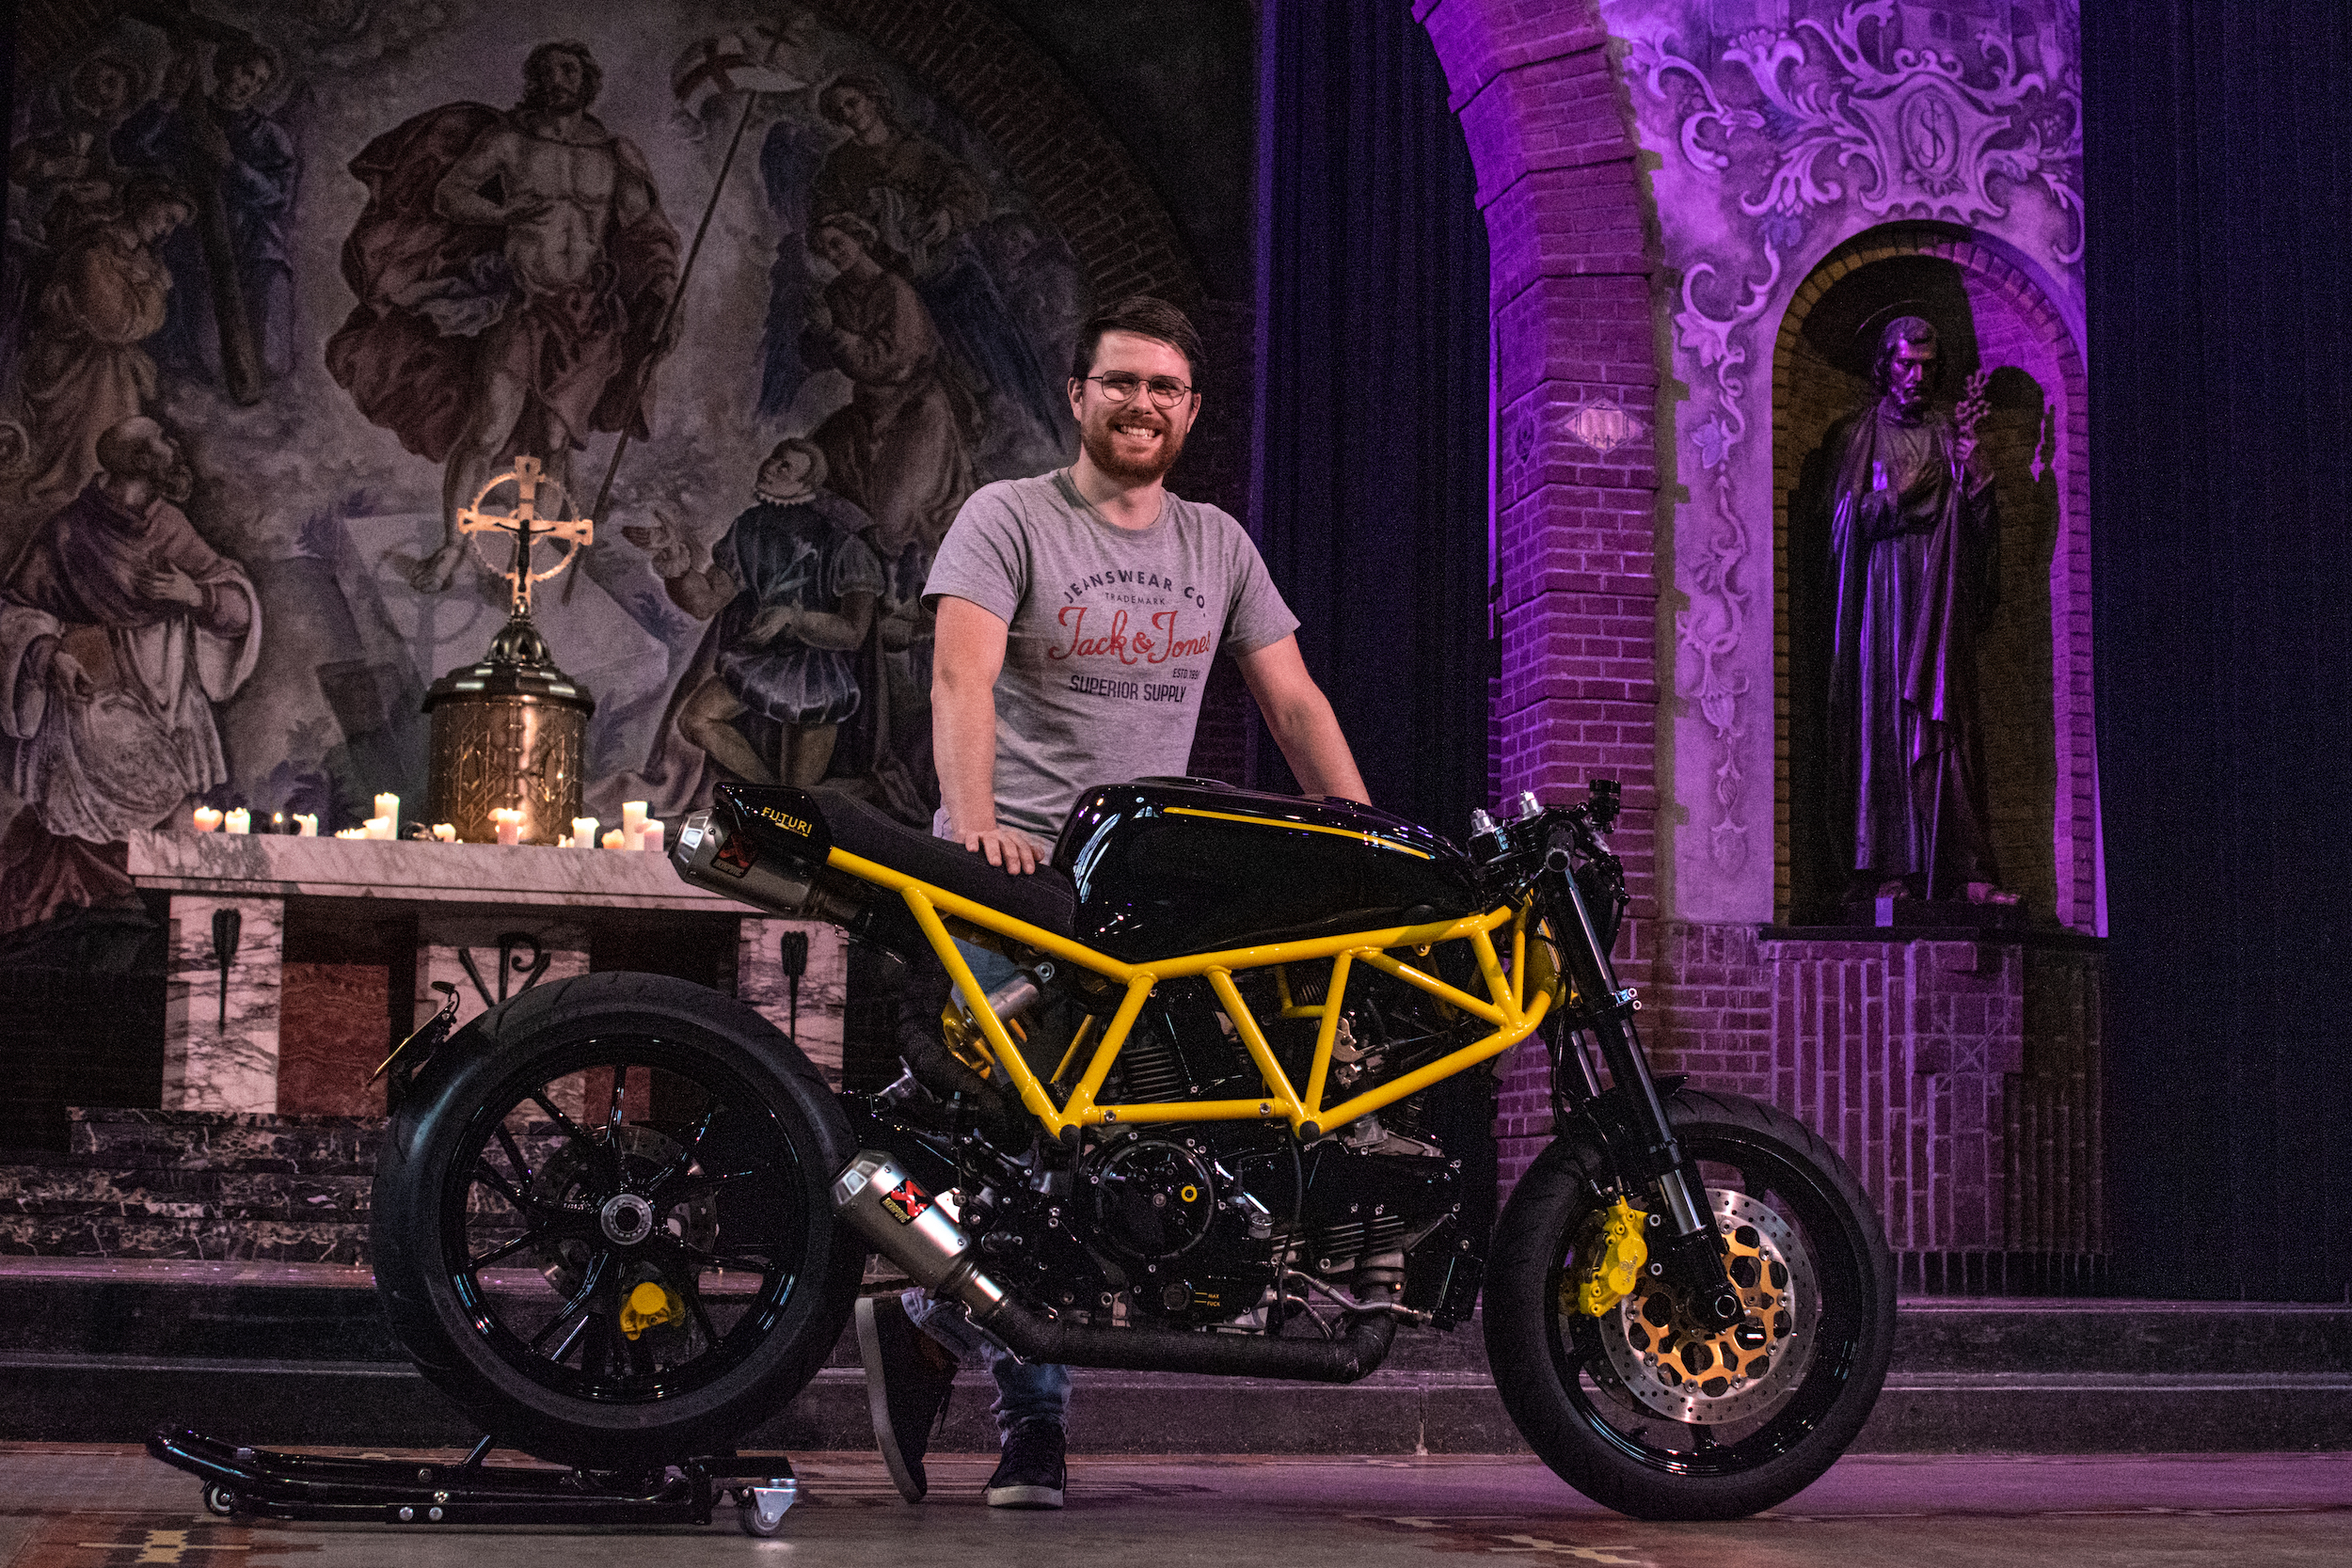
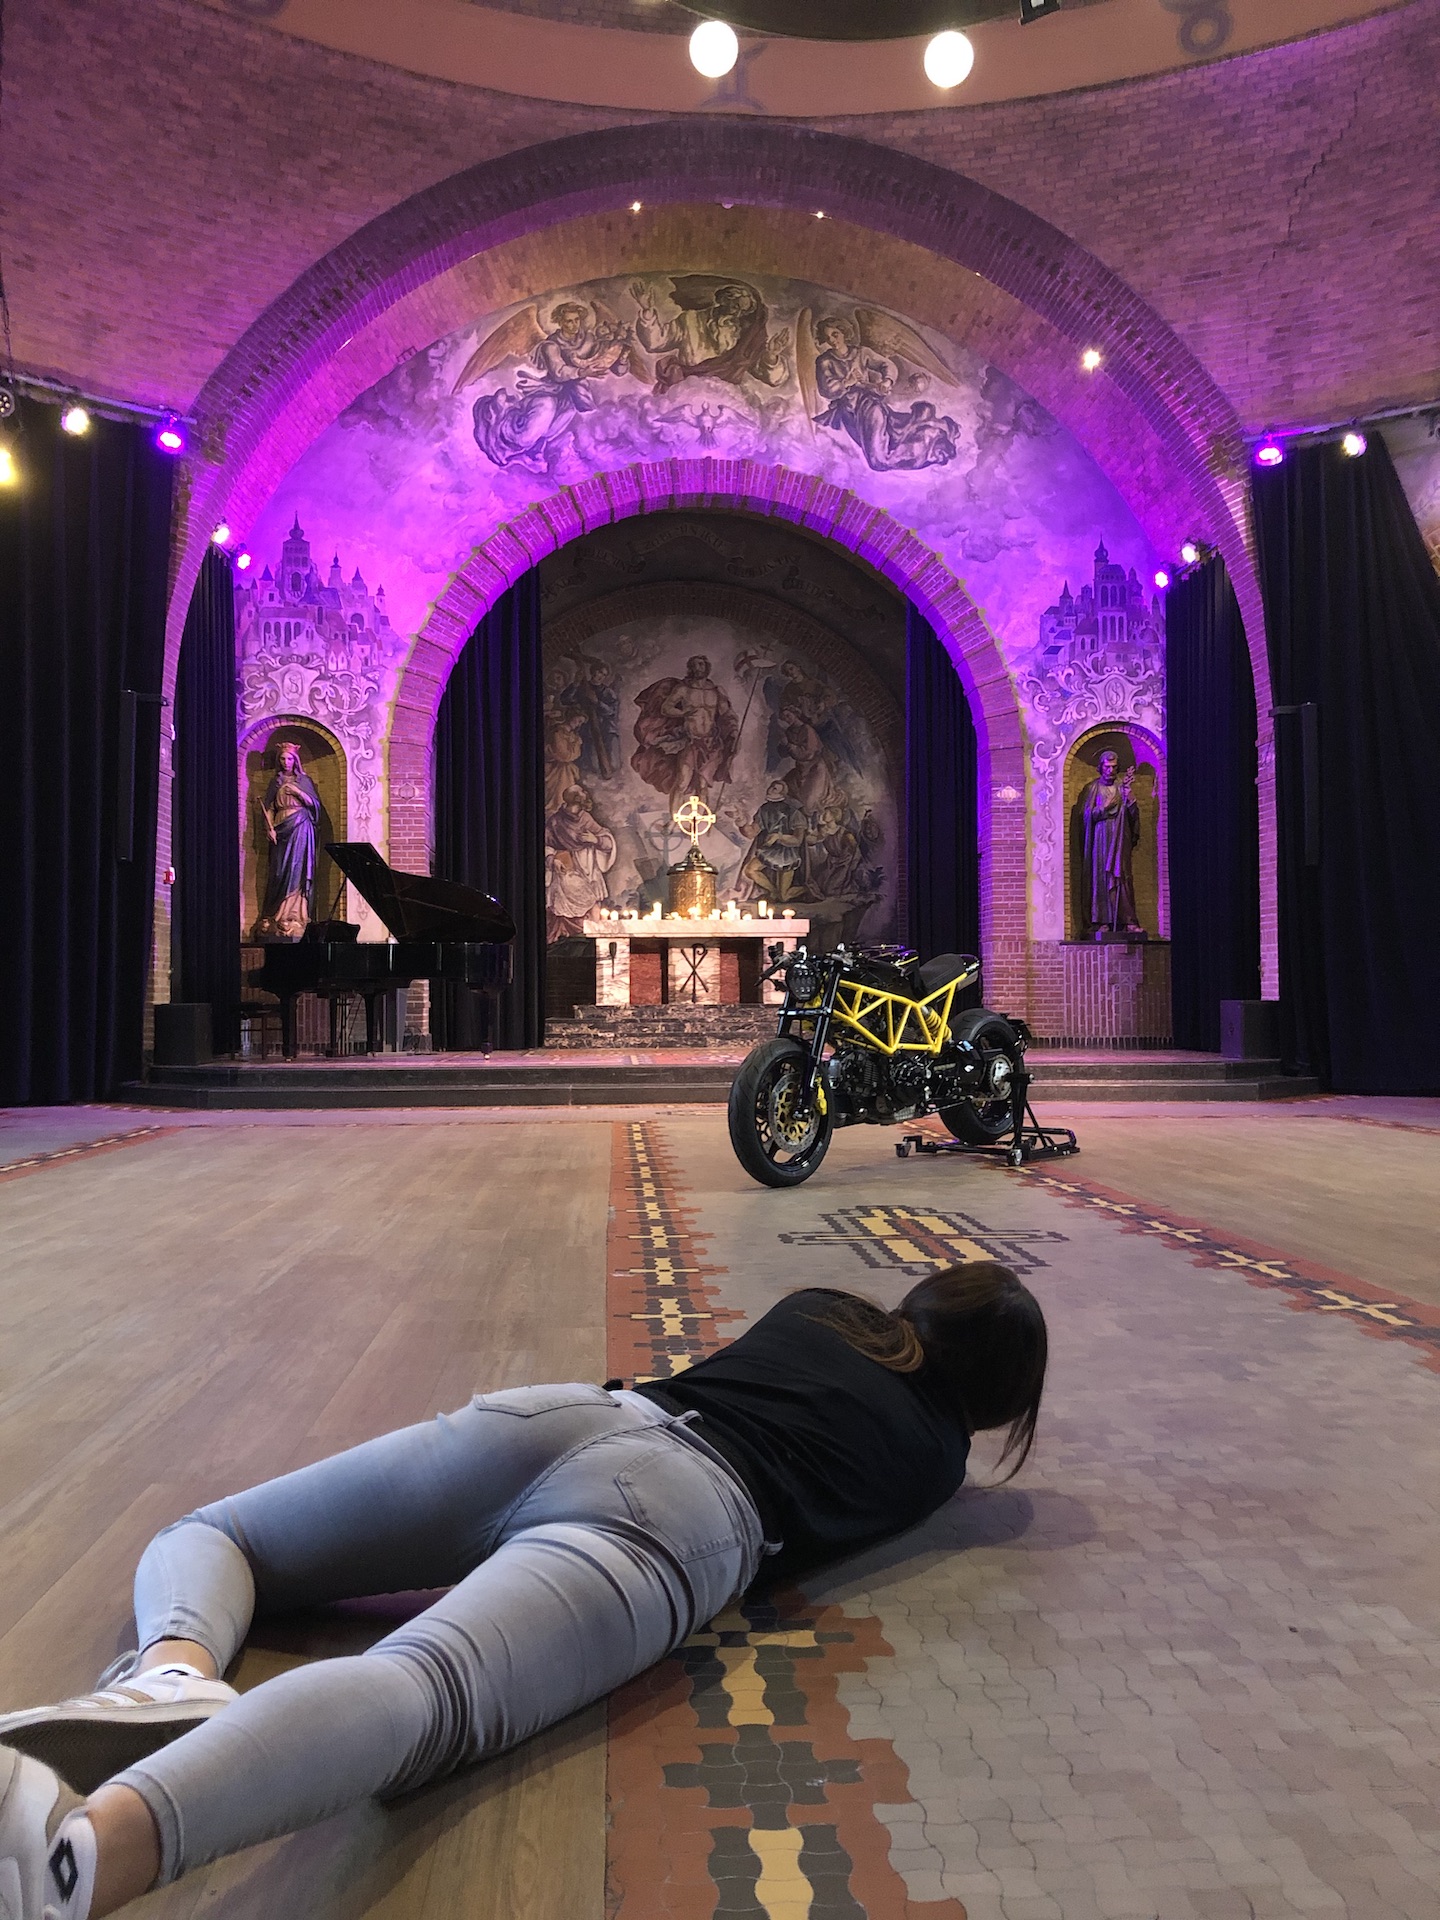
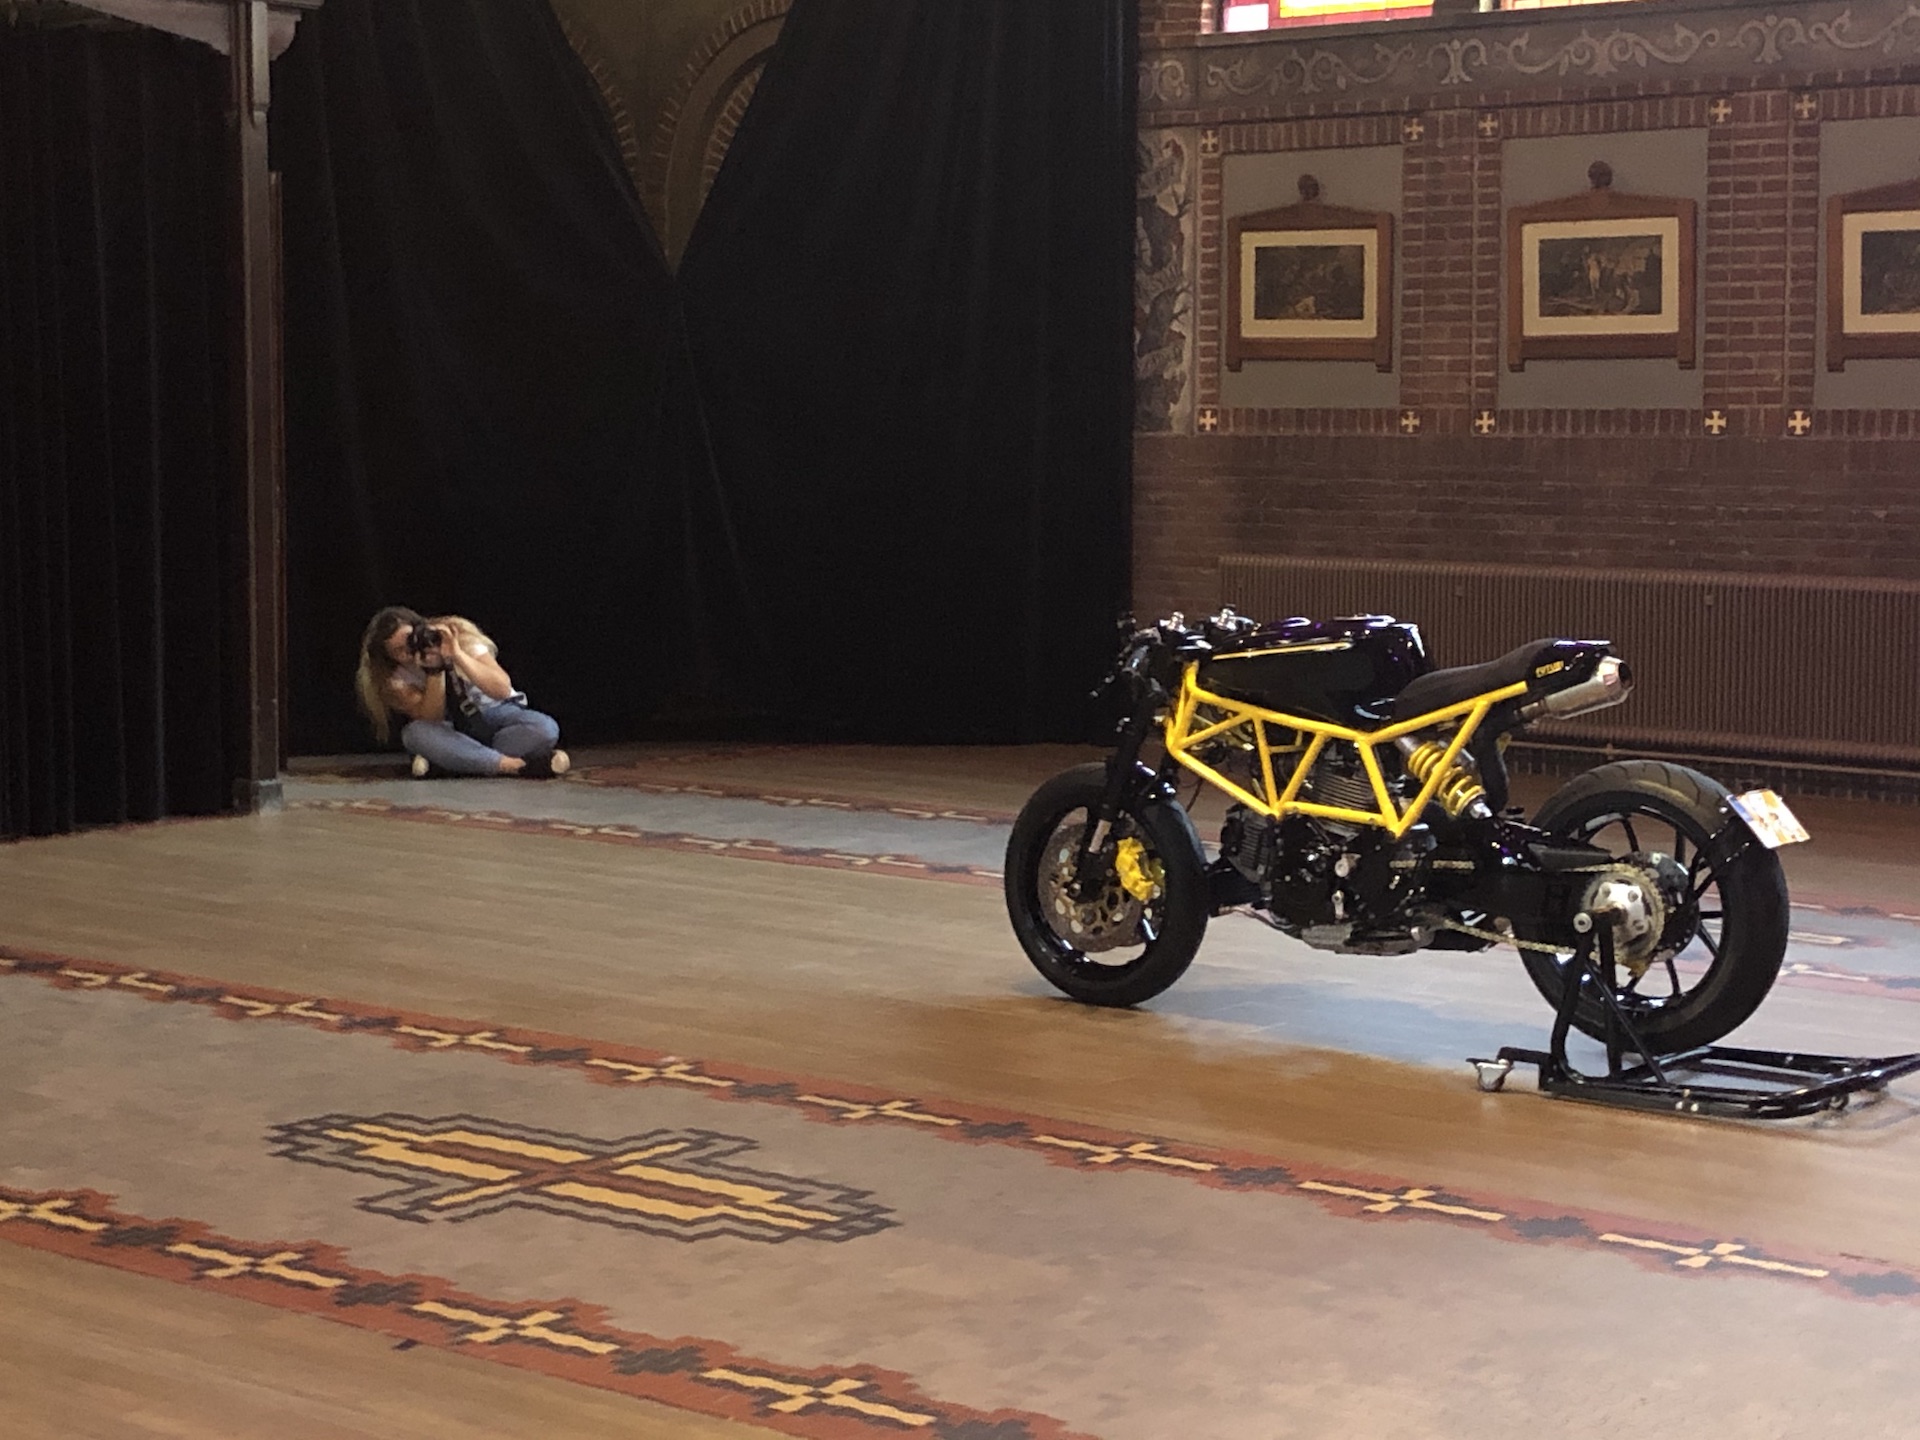
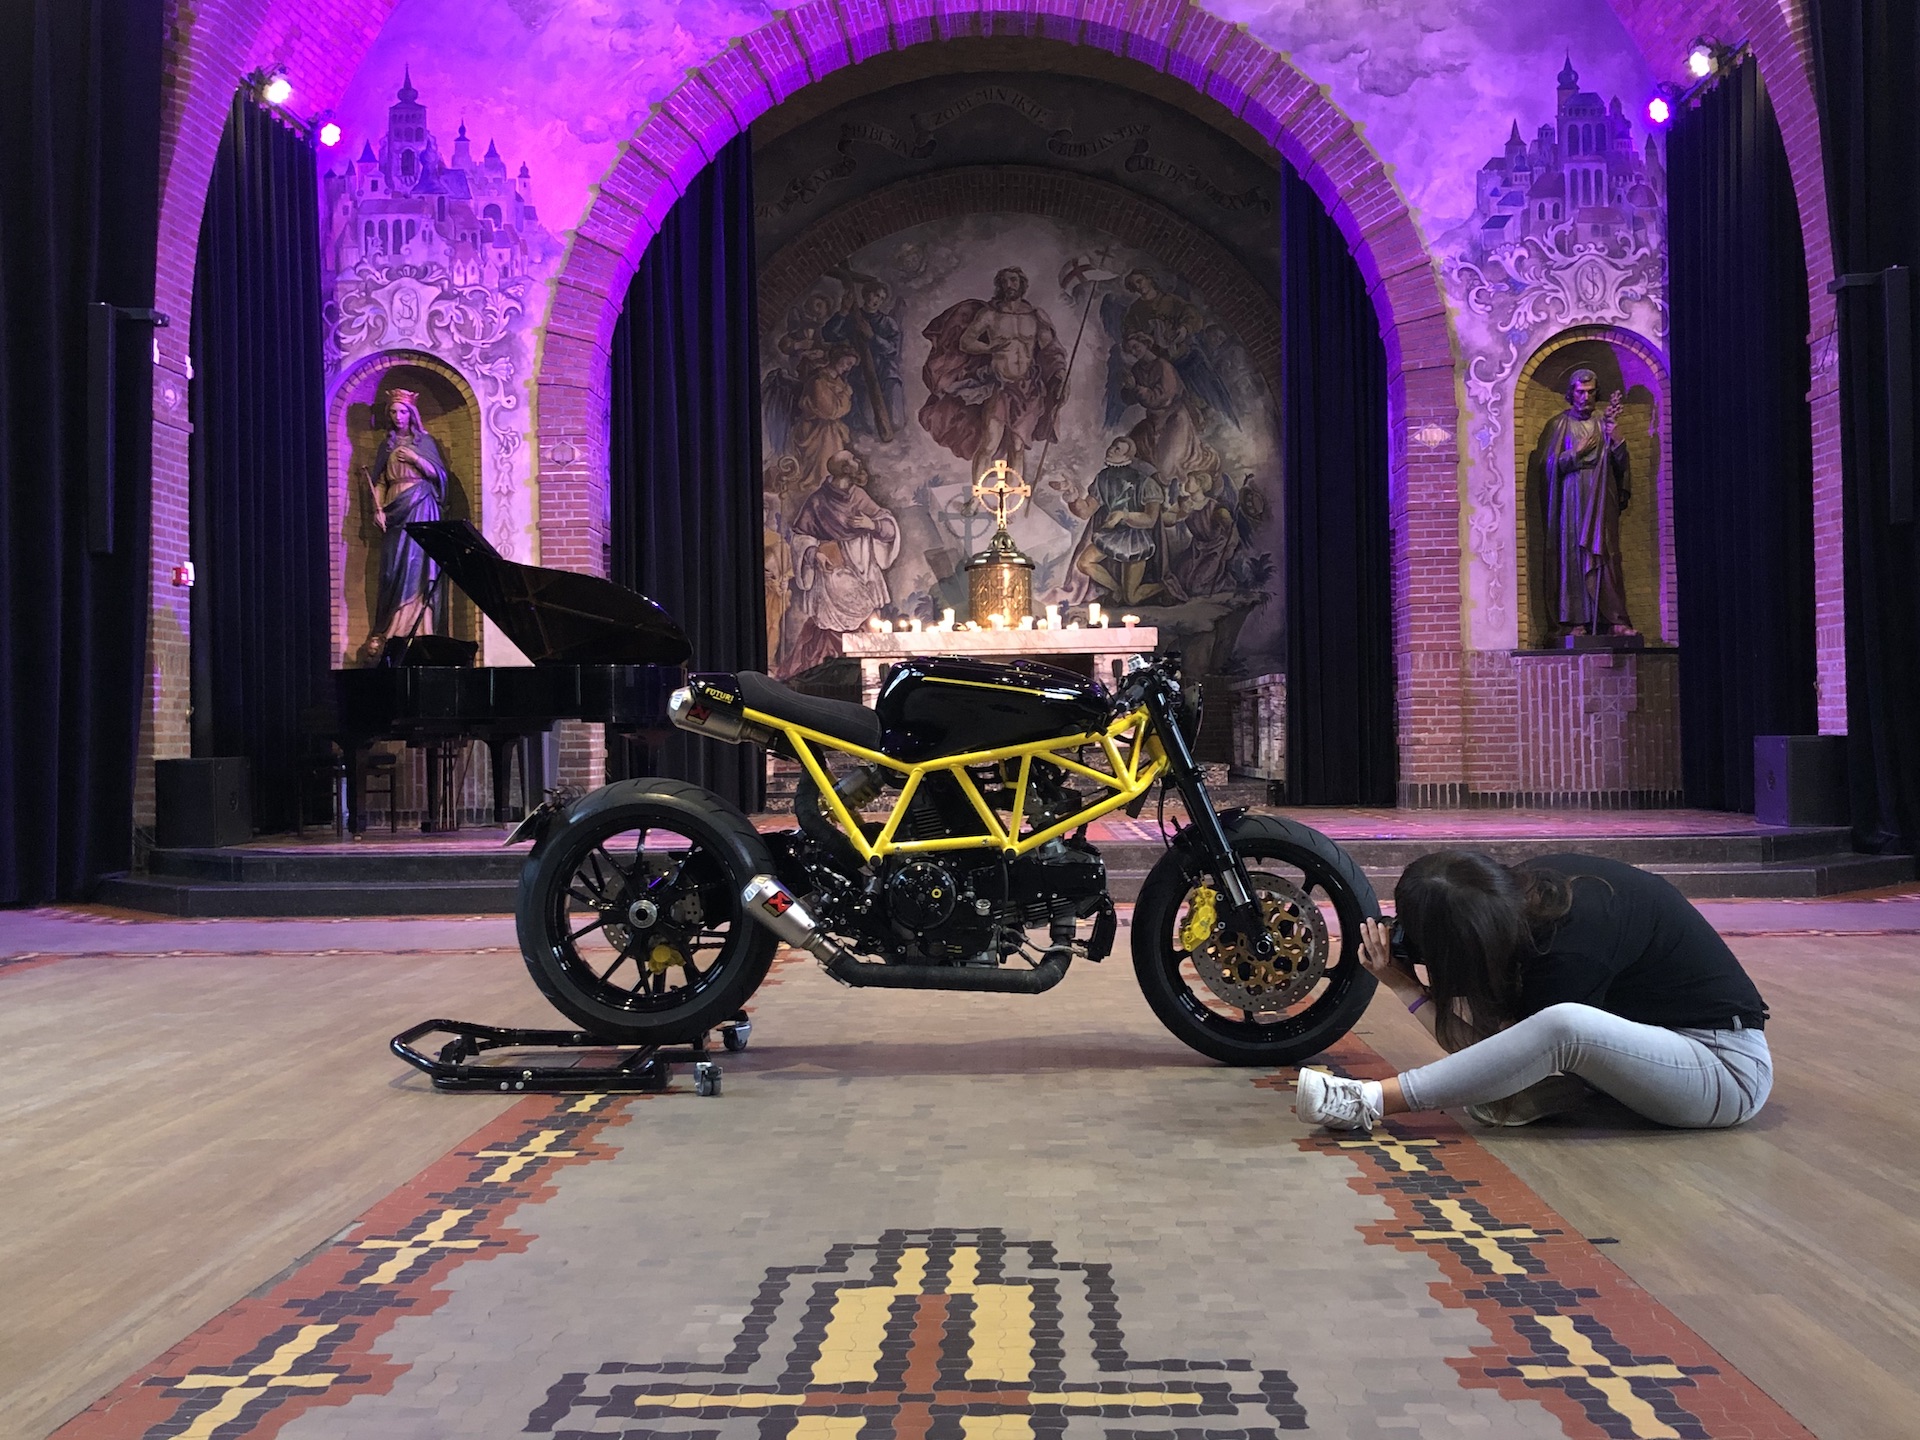
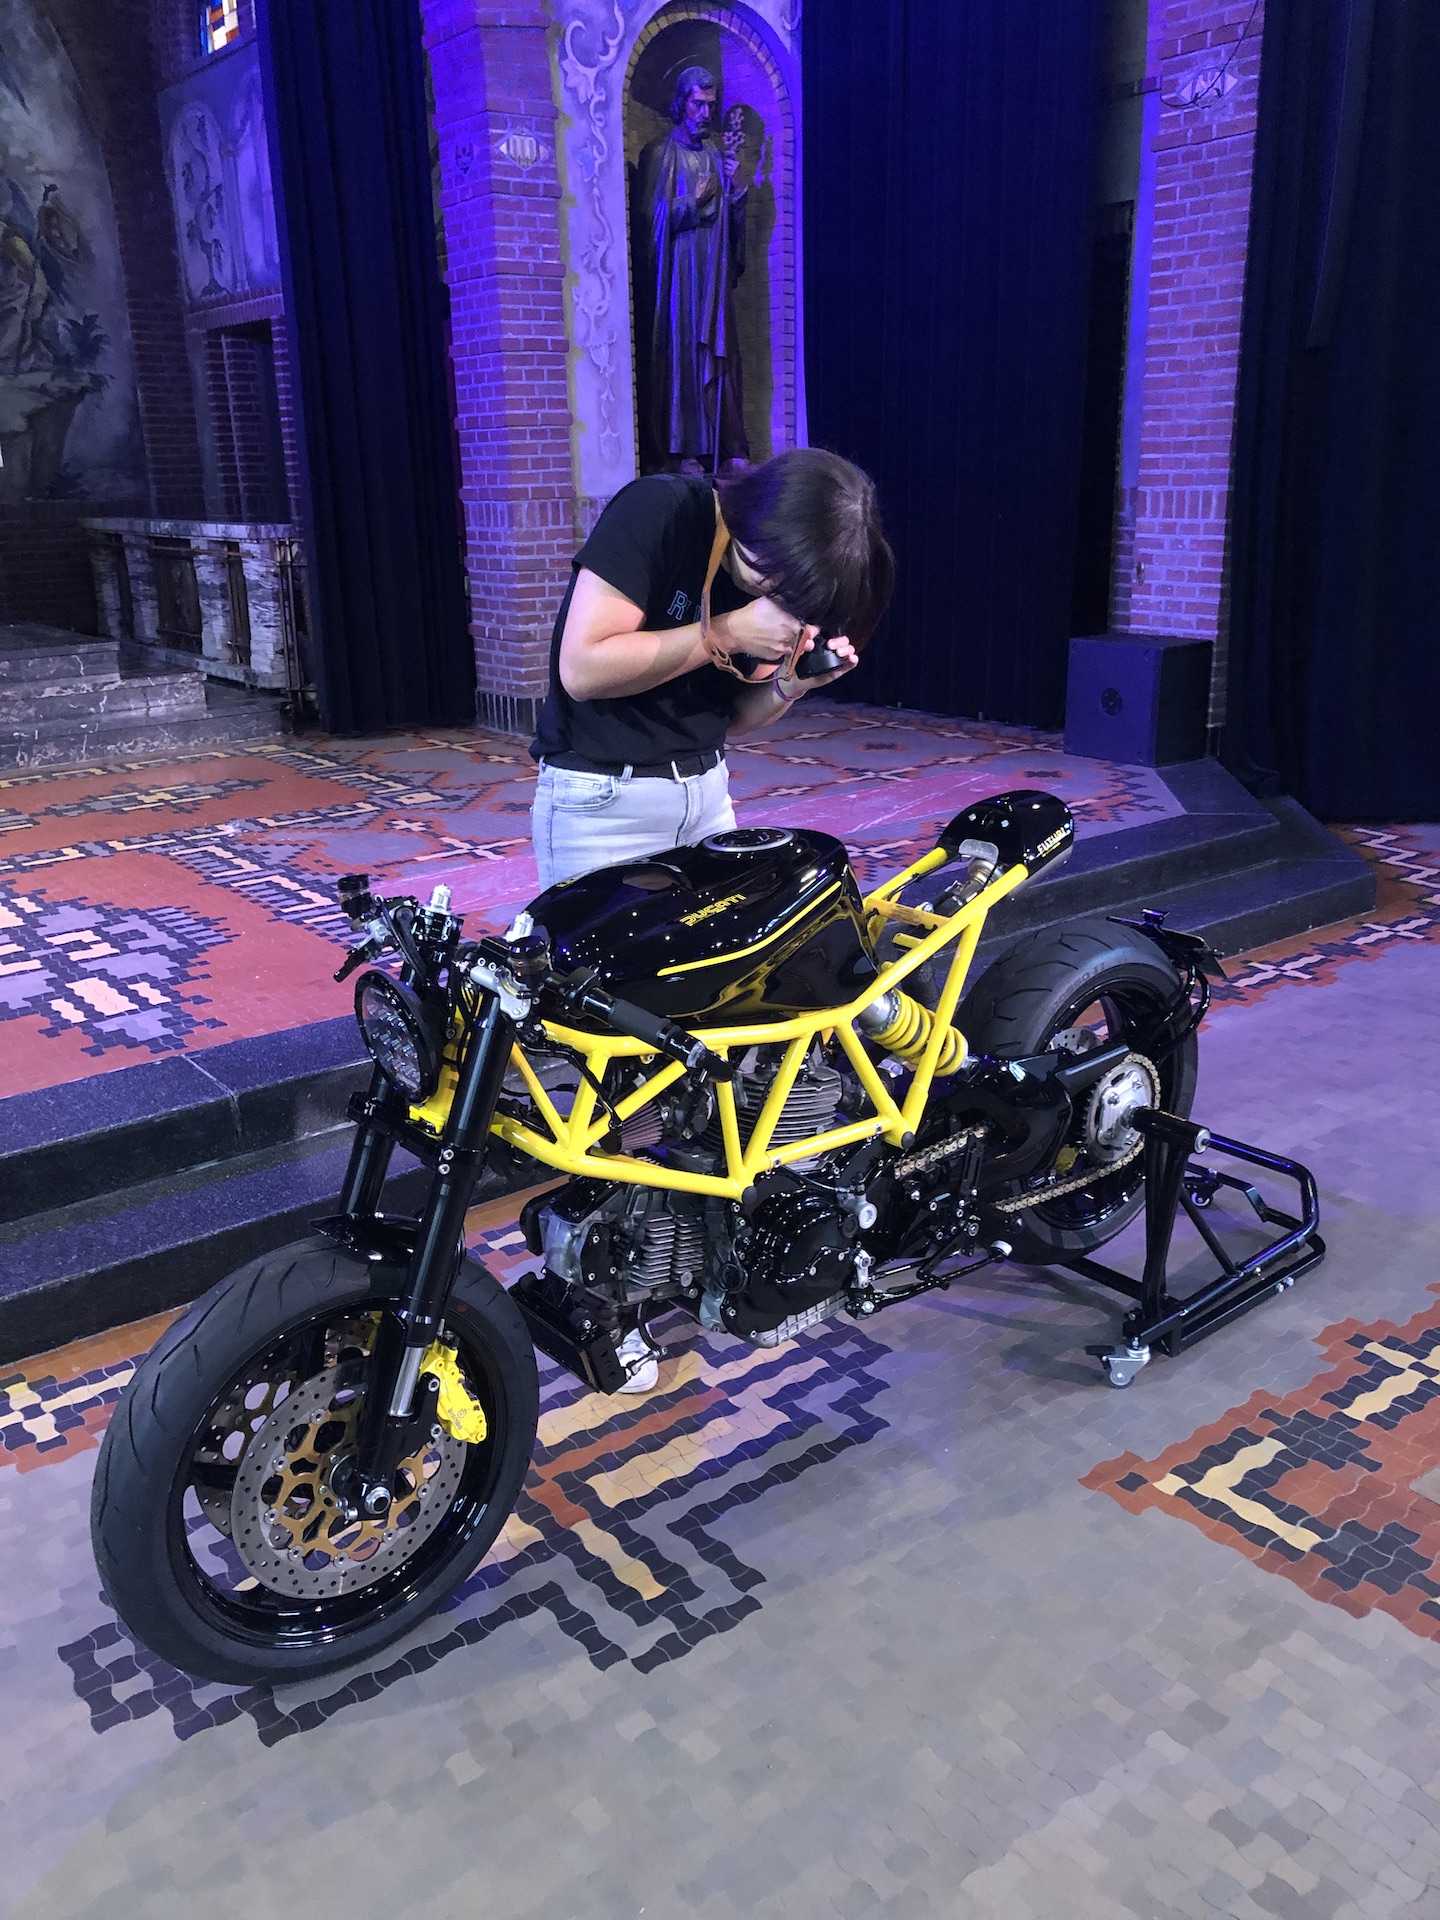
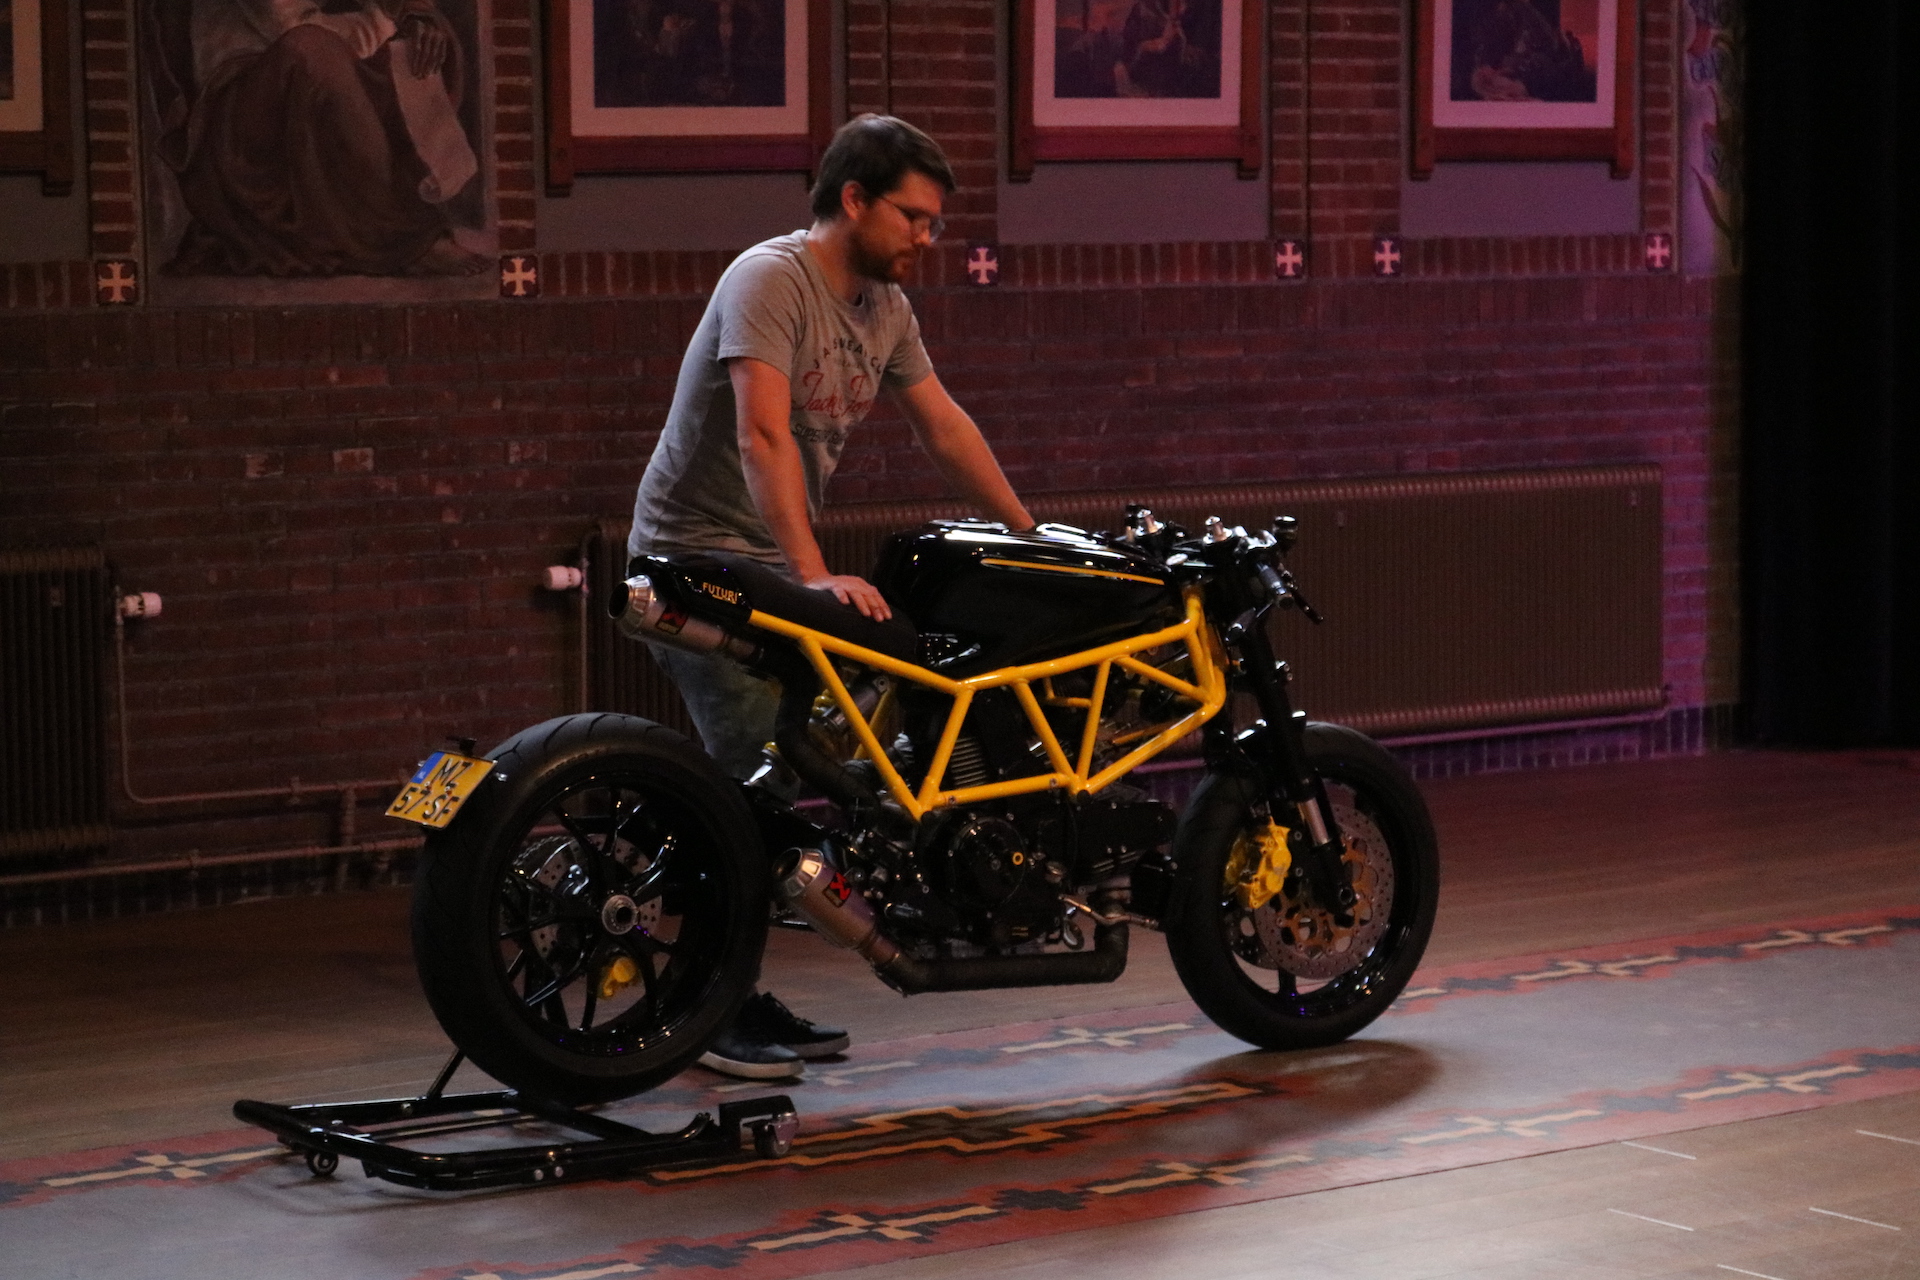
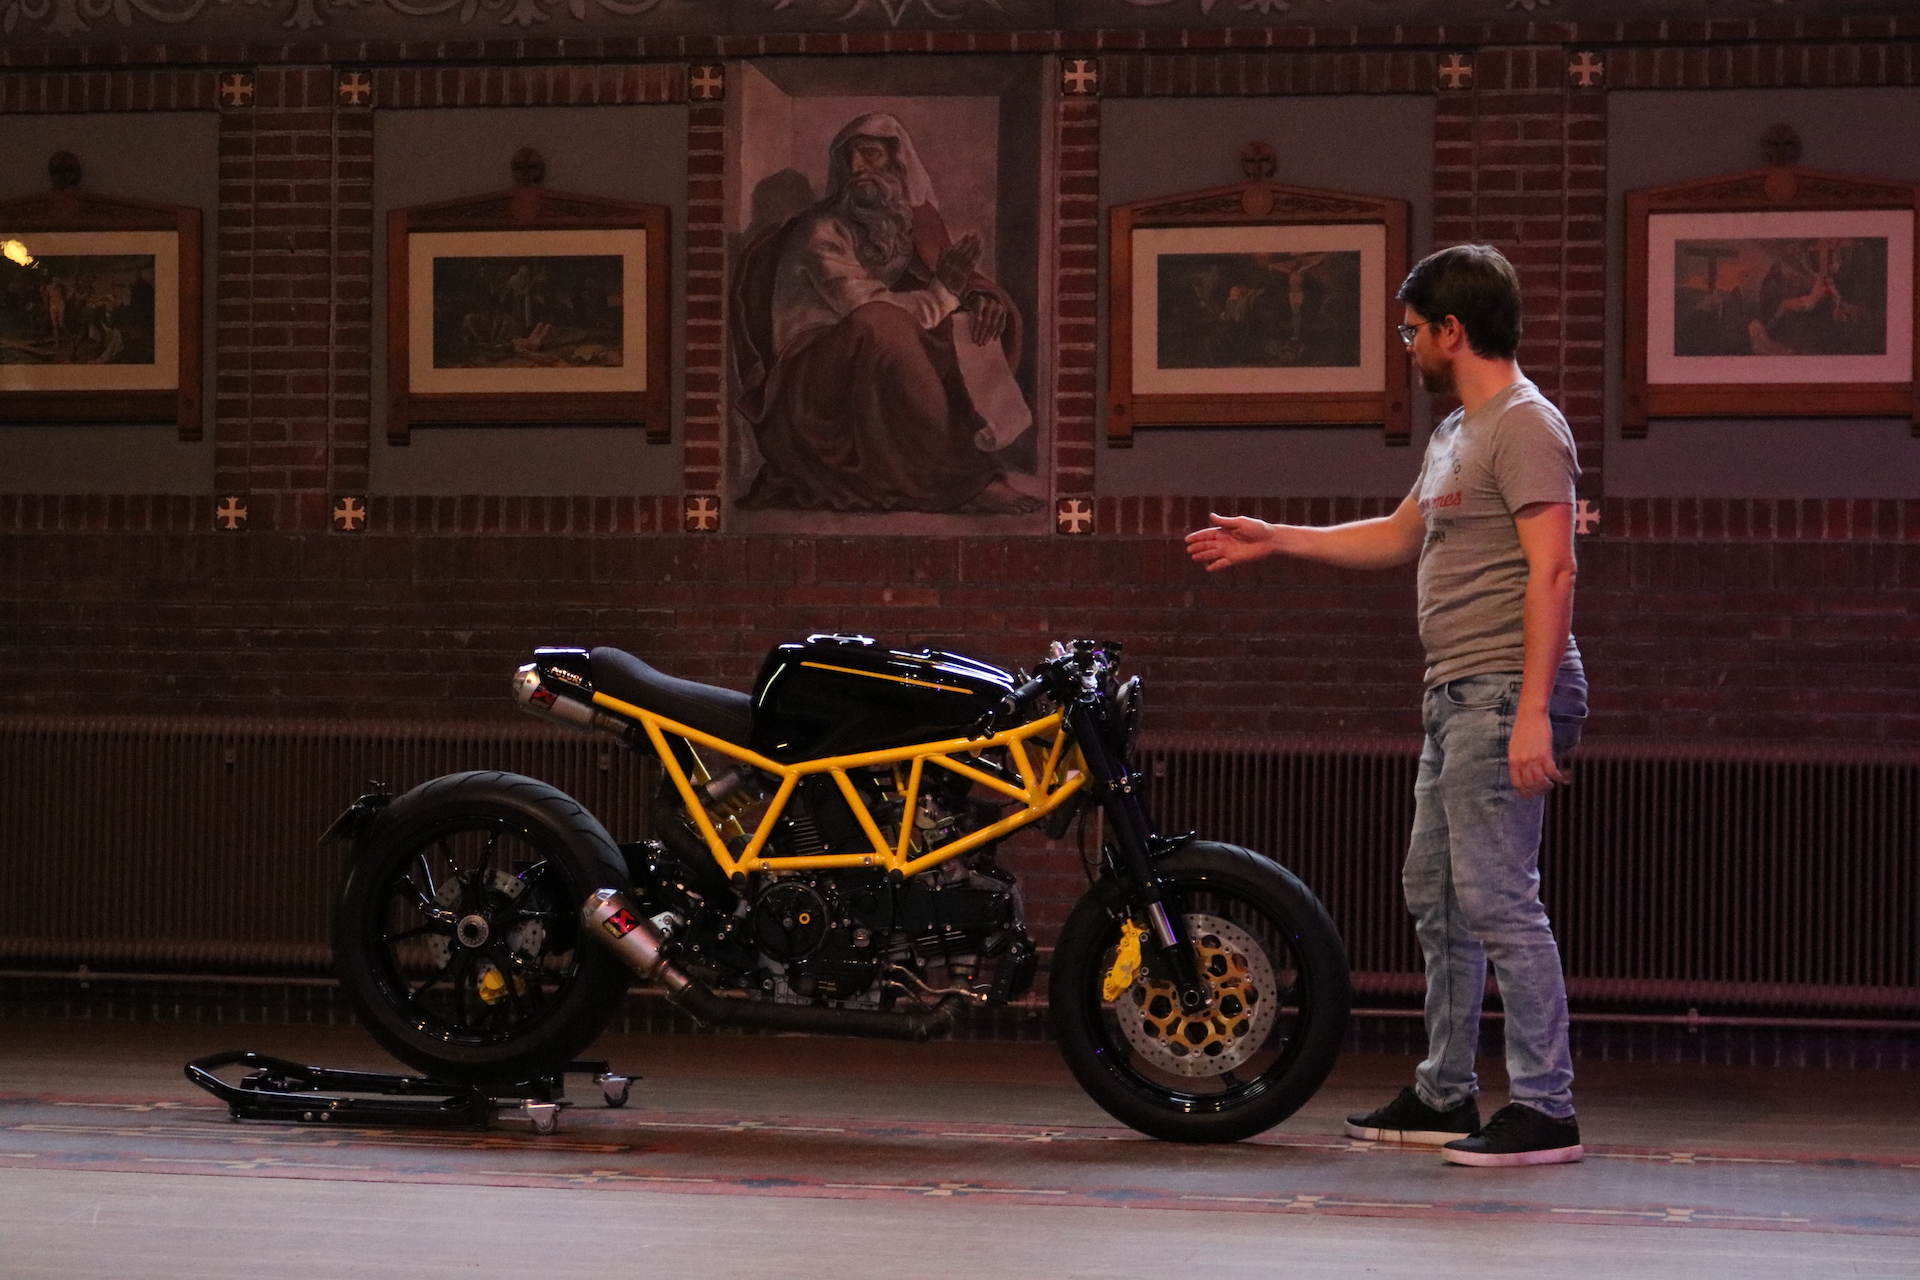
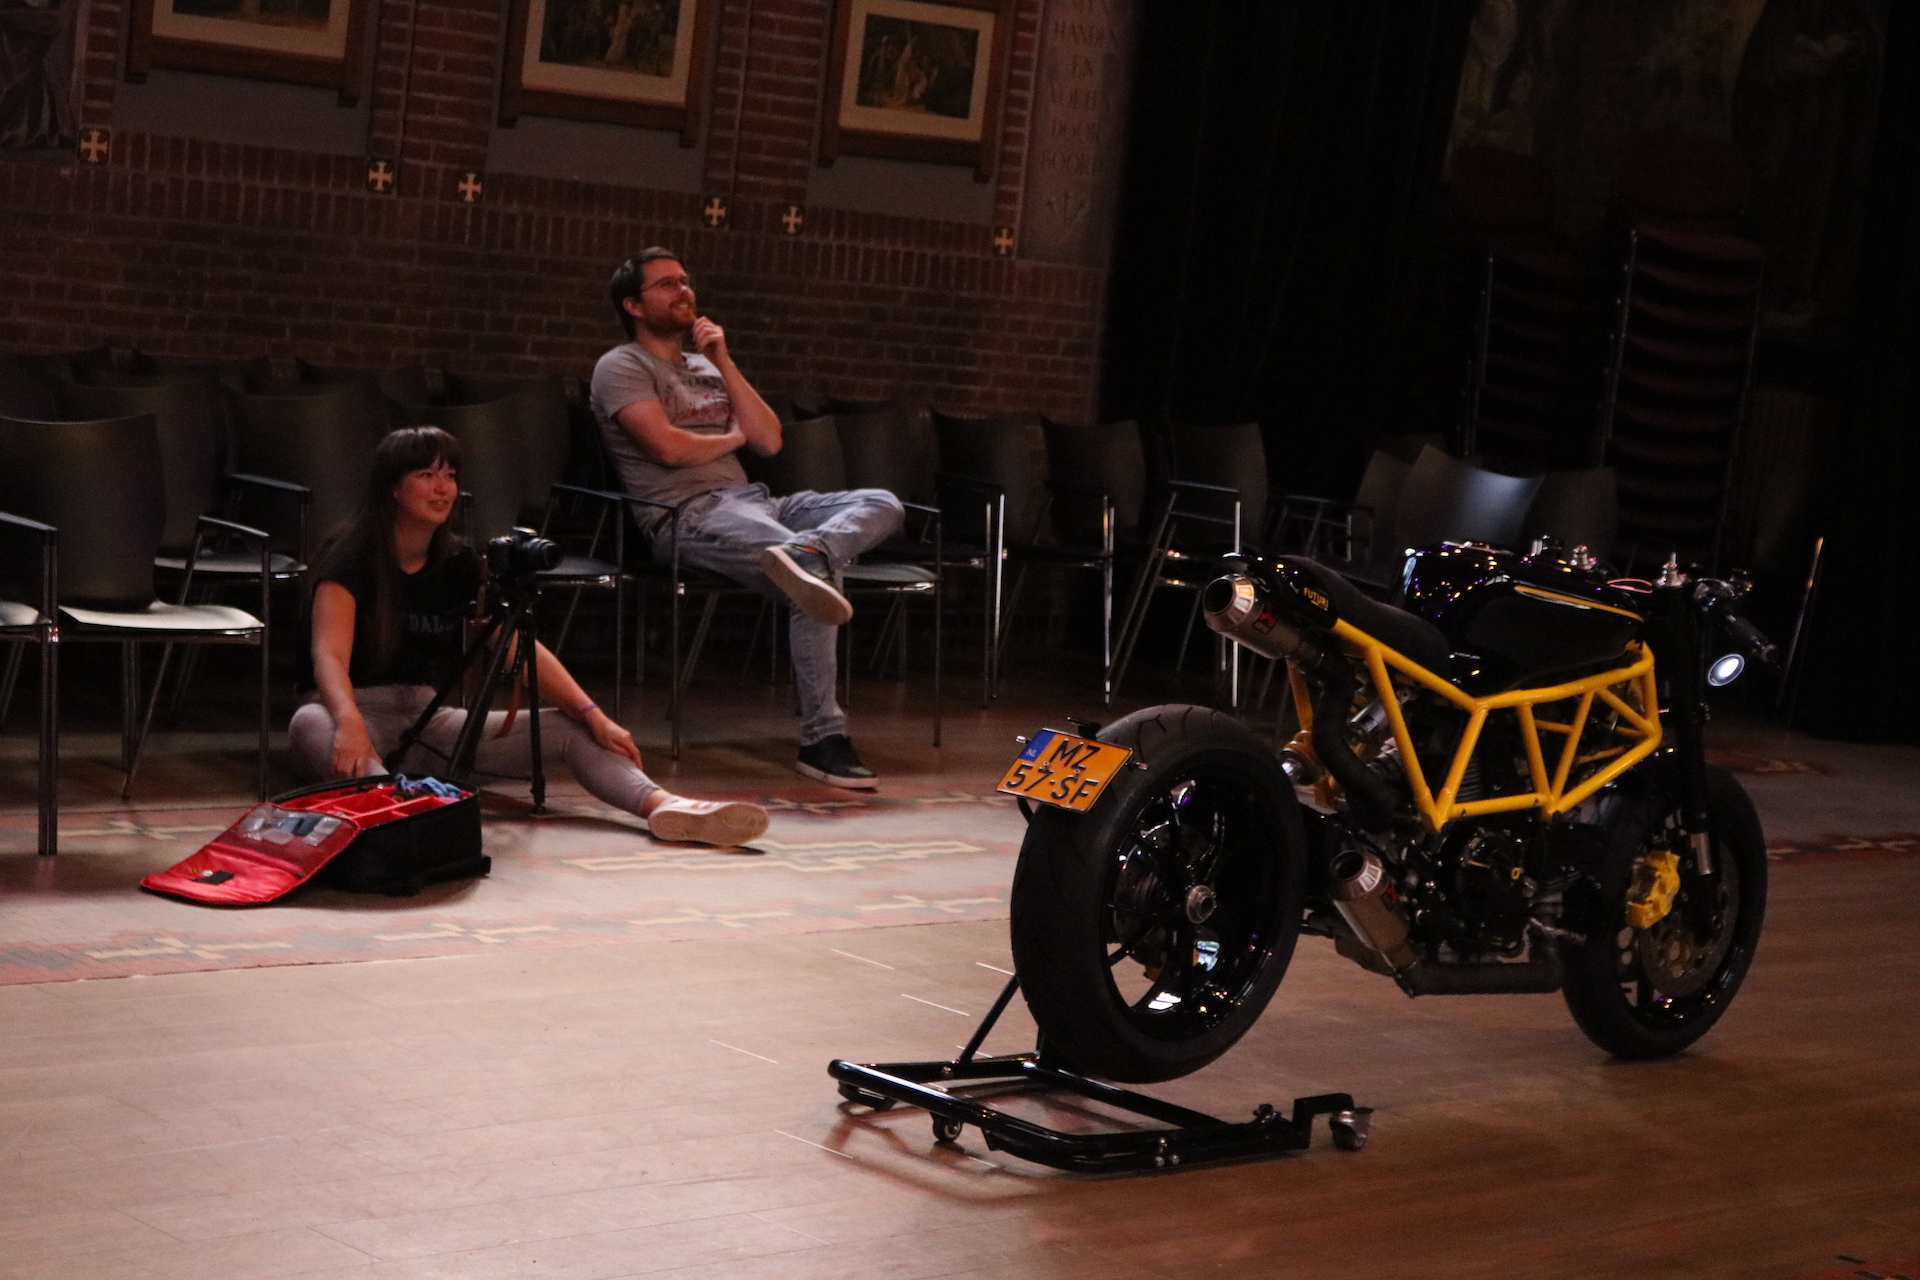
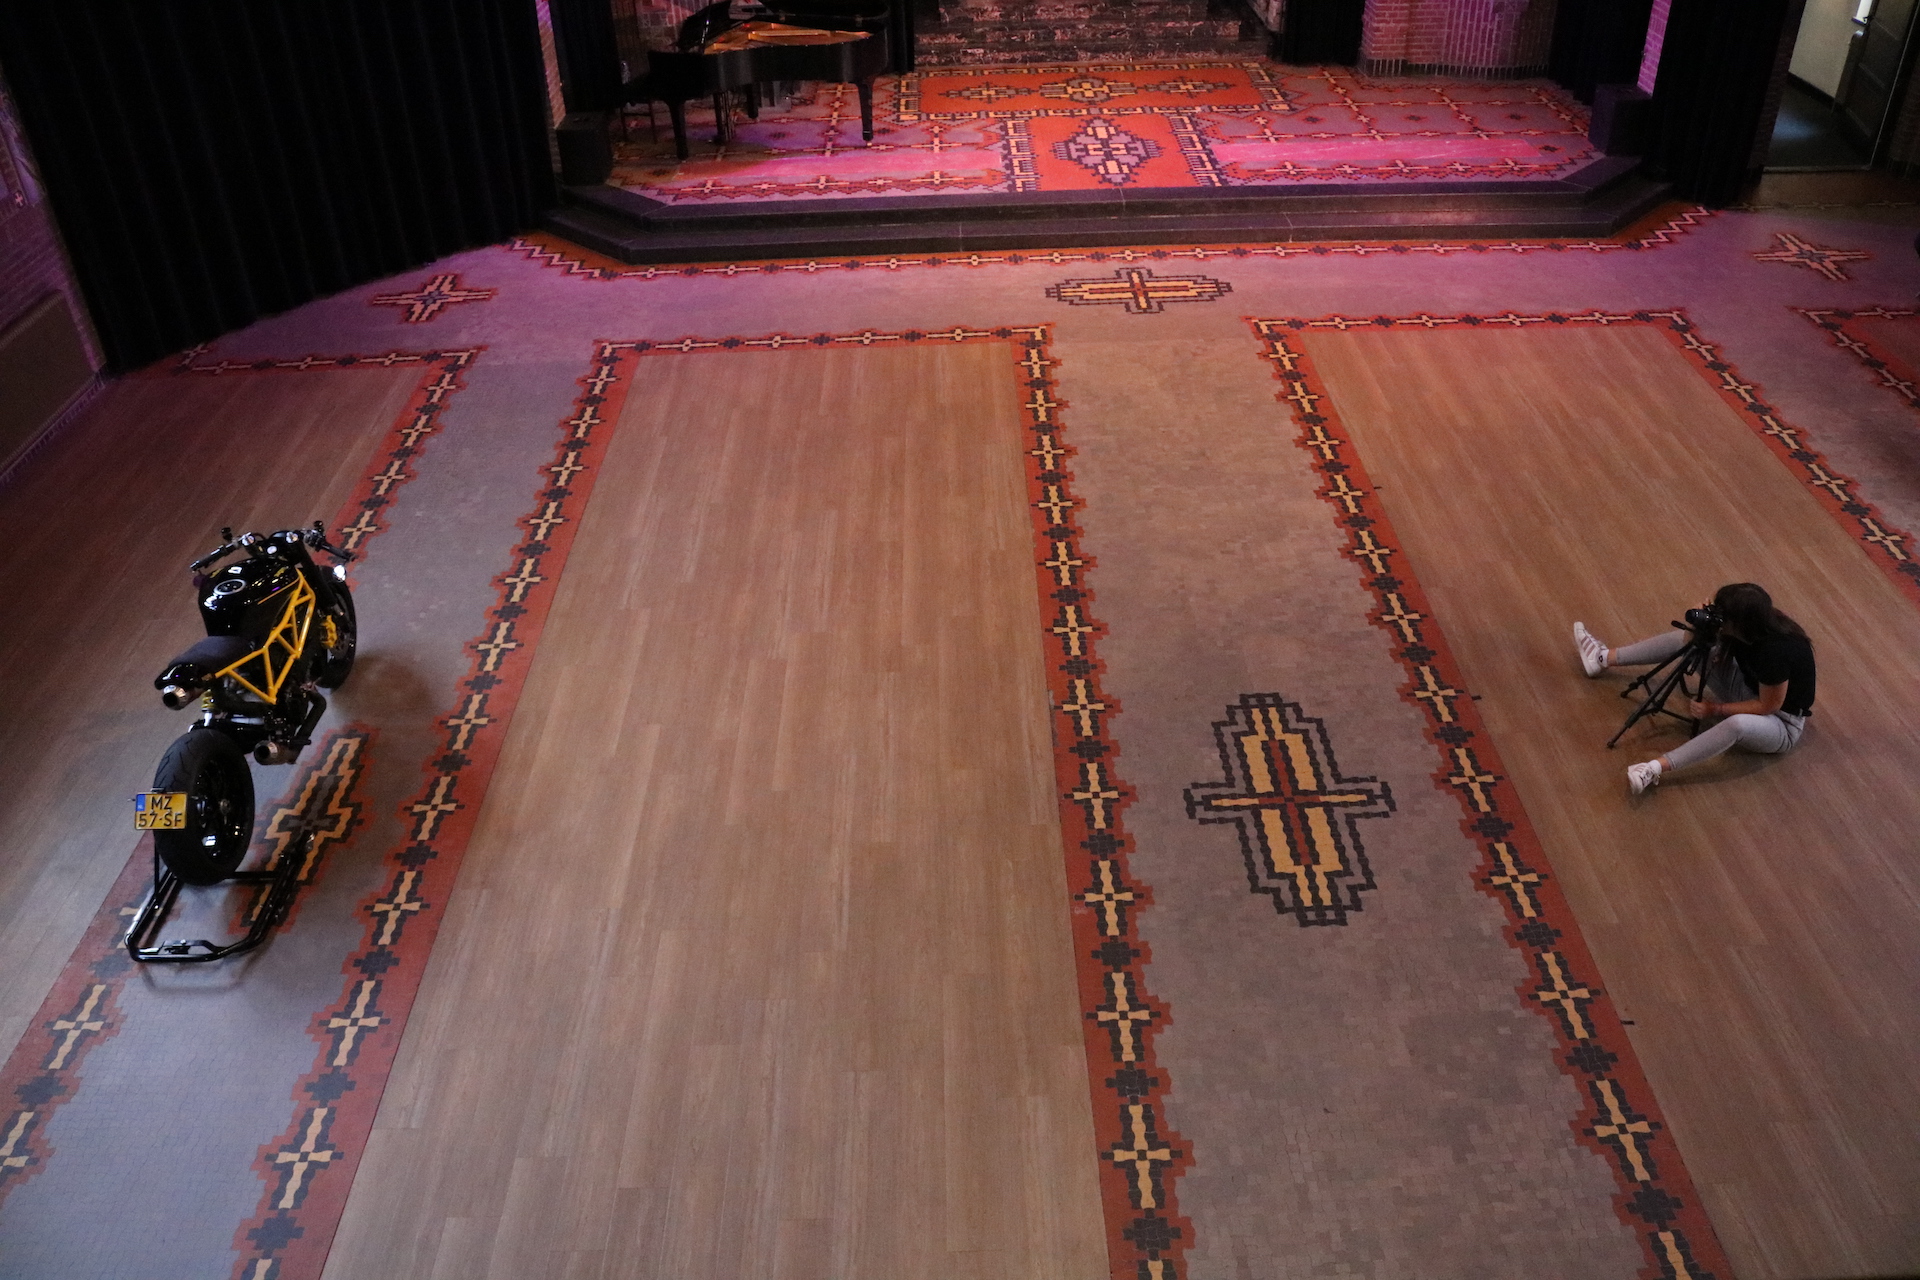
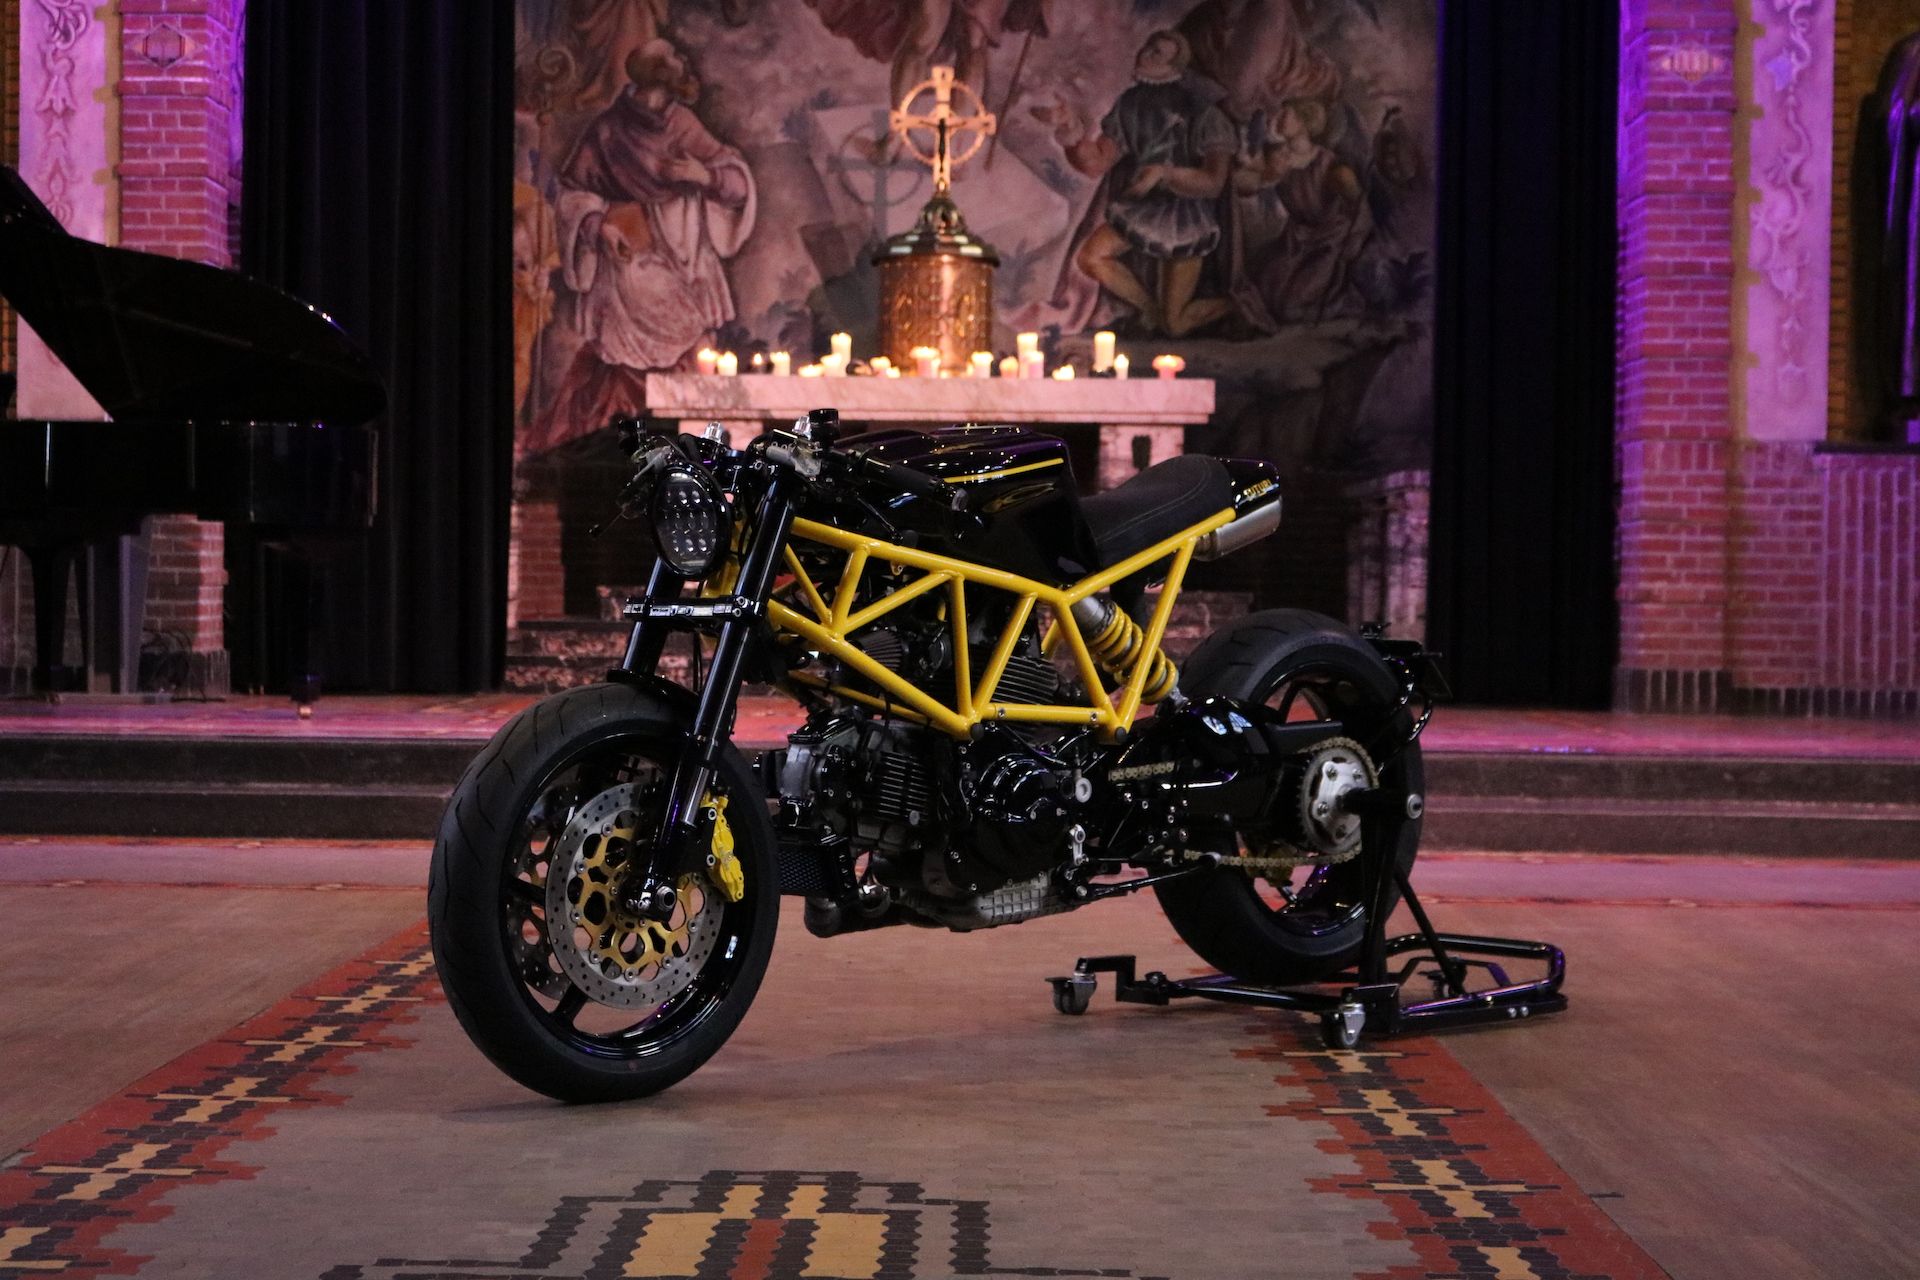
PHOTOSHOOT – BEHIND THE SCENES
Photos of the bike have been taken bij Djowindah (studiodjow.nl) and some pictures by my wife Nicole. Here some behind the scenes shots. Location of the photoshoot is the 1925 Chapel of the “Cultural Centre Jan van Besouw, Goirle Netherlands”.

BUILD FINISHED IN AUG/SEPT 2020
Build time: 650 hours over 14 months excluding research